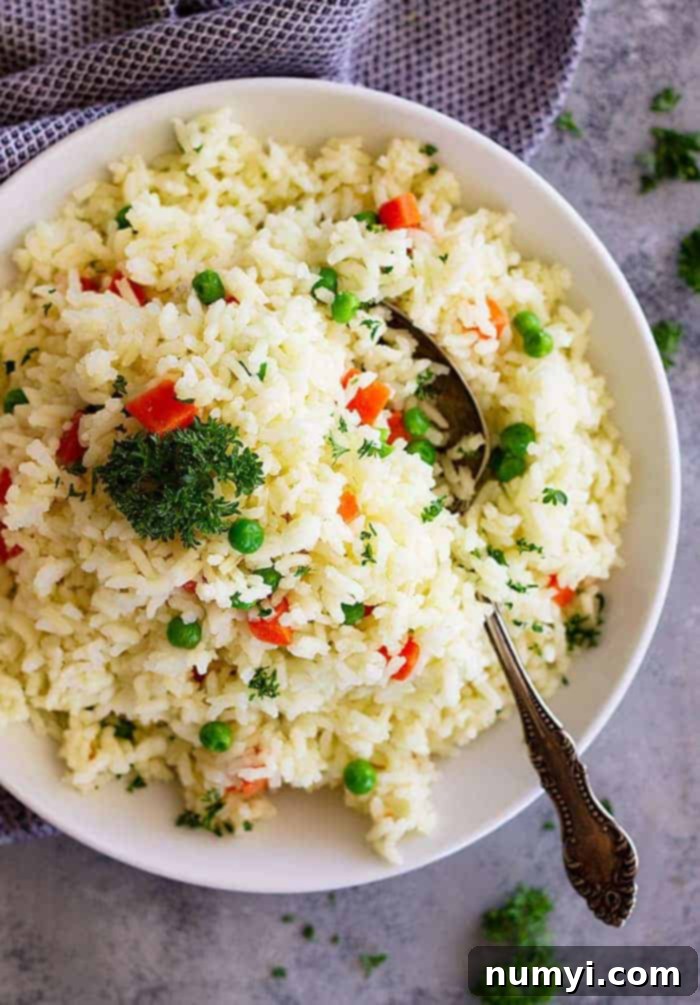
Easy & Flavorful Rice Pilaf with Carrots and Peas: Your Ultimate Go-To Side Dish
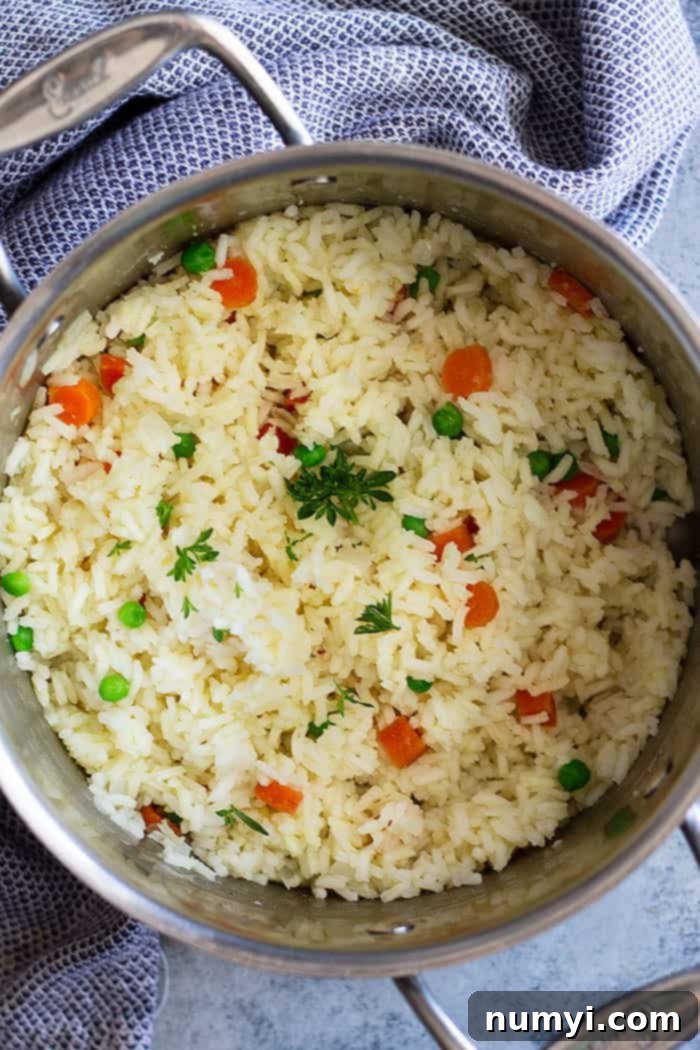
Elevate your dinner table with this incredibly simple yet profoundly flavorful Rice Pilaf featuring tender carrots and sweet peas. A true kitchen staple, this easy-to-master recipe combines aromatic onions, garlic, long-grain white rice, and wholesome vegetables into a perfectly fluffy side dish that complements almost any main course. It’s time to add this delightful homemade rice pilaf to your culinary repertoire!
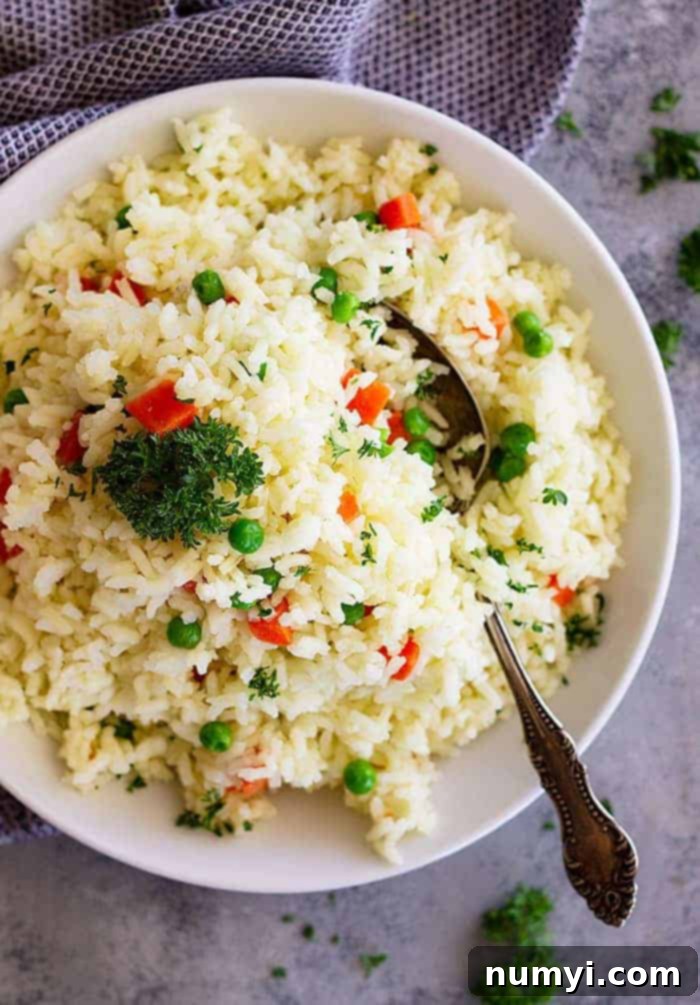
The Art of Homemade Rice Pilaf with Carrots and Peas
Homemade rice pilaf stands out as one of those essential side dishes that every home cook should feel confident preparing. More than just plain rice, a good pilaf builds layers of flavor, resulting in a dish that is both comforting and satisfying. Once you understand the fundamental steps and techniques involved in crafting a delicious rice pilaf, you unlock a world of possibilities for customization, allowing you to tailor it to your personal taste and whatever ingredients you have on hand.
This particular recipe, focusing on the sweet notes of carrots and peas, is a fantastic starting point. It’s a foundational skill that will serve you well, whether you’re looking for a quick weeknight accompaniment or an impressive yet simple dish for guests. The beauty of a well-made rice pilaf lies in its versatility and its ability to effortlessly elevate any meal.
More Effortless Side Dishes to Complement Your Meals:
Beyond this fantastic pilaf, there are many other simple-to-make side dishes that can perfectly round out your meal. Consider these easy and delicious options:
- Tomato Cucumber and Avocado Salad
- Lemon Parmesan Roasted Broccoli
- Honey Garlic Roasted Carrots
- Spinach, Apple, and Pomegranate Salad
- Roasted Sweet Potatoes with Cinnamon Glaze
- Skillet Garlic Green Beans
Why This Easy Rice Pilaf Will Become Your Family’s Favorite
There are countless reasons why this particular rice pilaf recipe deserves a permanent spot in your rotation. It ticks all the boxes for a perfect side dish:
- Perfectly Fluffy and Flavorful: This recipe guarantees separate, tender grains of rice, infused with the savory essence of sautéed aromatics and rich broth. No sticky, mushy rice here! Each bite is a harmonious blend of sweet carrots, earthy peas, and aromatic spices.
- Kid-Friendly: With its vibrant colors and mild, appealing flavors, this pilaf is a guaranteed hit with children. The tender peas and carrots provide a gentle sweetness that even picky eaters will appreciate, making it an excellent way to incorporate vegetables into their diet.
- Pairs with Everything: Its balanced flavor profile makes it an incredibly versatile companion. Whether you’re serving roasted chicken, baked fish, grilled steak, or even vegetarian main dishes like lentil patties or a hearty stew, this pilaf will complement them beautifully without overpowering them.
- Simple and Easy-to-Follow Directions: Forget complicated techniques. This recipe is designed for ease, with straightforward steps that even novice cooks can follow with confidence. It’s all about a few basic culinary principles applied smartly.
- Great Recipe for Beginners: If you’re new to cooking, or just new to making rice from scratch, this pilaf is an excellent starting point. It teaches fundamental skills like sautéing aromatics and cooking rice perfectly, laying a solid foundation for more complex dishes in the future.
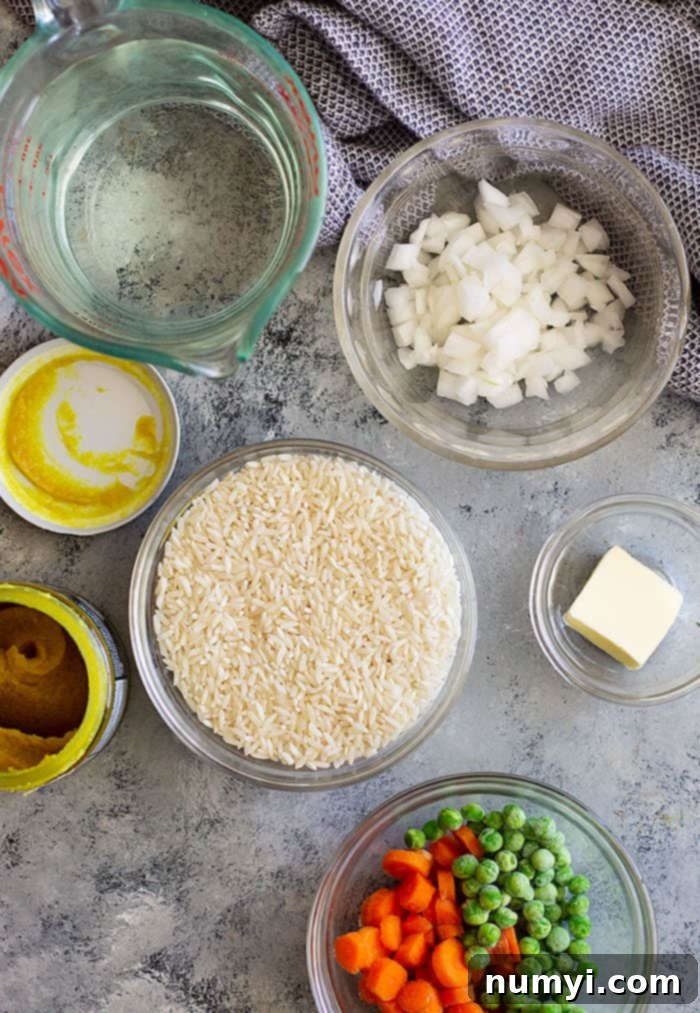
Step-by-Step Guide: How to Master Easy Rice Pilaf
Making a delicious rice pilaf is simpler than you might think. Follow these straightforward steps to achieve a dish that’s bursting with flavor and boasts a perfect texture every time.
Step 1: Building the Flavor Base
Begin by melting butter in a medium saucepan over medium heat. Once shimmering, add your finely chopped onions and diced carrots. Sauté them, stirring frequently, until they begin to soften and become slightly translucent, which usually takes about 3-5 minutes. This step is crucial as it allows the vegetables to release their natural sweetness and aromatic compounds, forming the foundational flavors of your pilaf. Next, stir in the minced garlic and cook for an additional 30 seconds until fragrant. Be careful not to burn the garlic, as it can quickly turn bitter.
Step 2: Toasting the Rice to Perfection
Add the long-grain white rice to the saucepan with the softened aromatics. Stir frequently, allowing the rice grains to toast gently in the butter and vegetable juices. Continue to stir for about 3-5 minutes, until the edges of the rice grains become slightly translucent. This toasting step, known as “sautéing” or “pilaf method,” is a game-changer. It helps to seal the individual rice grains, preventing them from becoming sticky and ensuring a wonderfully fluffy texture in the final dish, while also adding a subtle nutty depth of flavor.
Step 3: Simmer, Rest, and Fluff for Flawless Results
Carefully pour in the broth (chicken or vegetable) and bring the mixture to a rolling boil. Once boiling, reduce the heat to a low simmer, ensuring the heat is just enough to maintain a gentle bubbling. Cover the saucepan tightly with a lid – this is absolutely critical for retaining steam. Let the pilaf simmer undisturbed for 15 minutes. Resist the urge to lift the lid, as escaping steam will prevent the rice from cooking evenly. After 15 minutes, remove the saucepan from the heat, but keep the lid on, and let it rest for another 5 minutes. This resting period allows the rice to absorb any remaining liquid and ensures a perfectly fluffy consistency. Finally, mix in the slightly thawed frozen peas and gently fluff the rice with a fork (never a spoon!) to separate the grains. Serve immediately and savor every delicious spoonful!
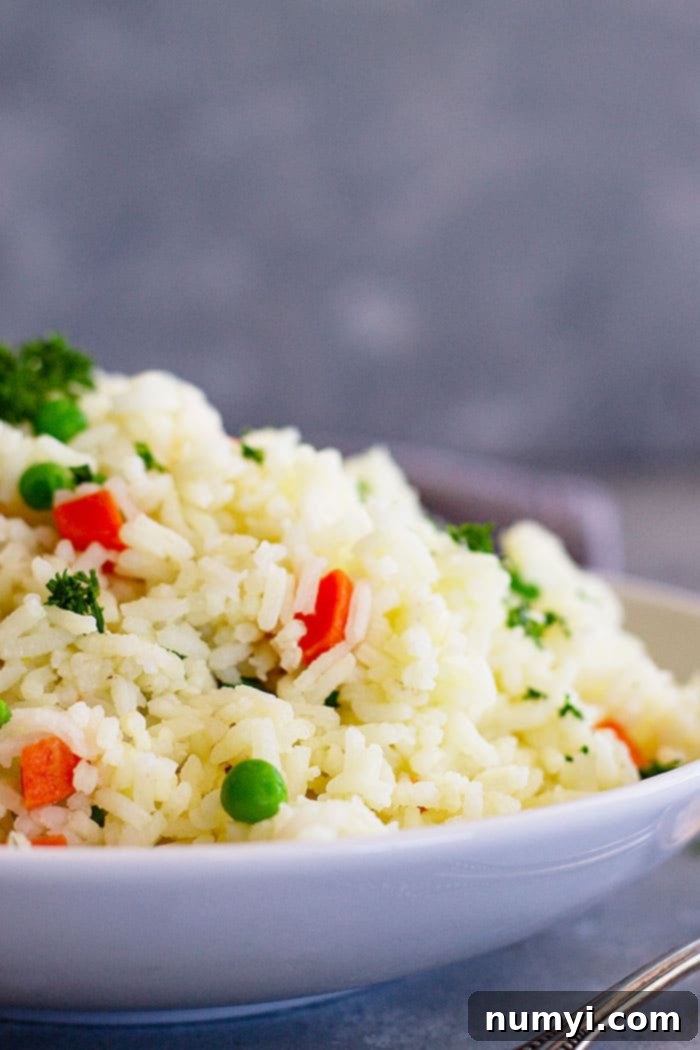
Expert Tips for Crafting the Best Vegetable Rice Pilaf
While this recipe is designed to be straightforward, a few expert insights can take your homemade rice pilaf from good to absolutely unforgettable. Pay attention to these details for consistently perfect results:
- You Will Need Long-Grain White Rice for This Pilaf: The type of rice you choose profoundly impacts the texture of your pilaf. For this recipe, long-grain white rice (such as Basmati or Jasmine, though standard long-grain works beautifully) is non-negotiable. Its elongated grains cook up light and separate, which is the hallmark of a good pilaf. Brown rice, on the other hand, requires different cooking times and liquid ratios due to its bran layer and denser texture, making it an unsuitable substitute here. Similarly, Arborio rice, known for its high starch content and creamy texture, is perfect for risotto but would result in a sticky, clumpy pilaf. Stick to long-grain white rice for the best outcome.
- Embrace the Power of Aromatics: What truly distinguishes pilaf from plain steamed rice is its rich aromatic base. This recipe uses onion, garlic, and carrots, but feel free to expand! Shallots can add a milder, sweeter onion flavor, while finely diced celery or bell peppers (especially red or yellow for sweetness and color) can introduce additional layers of complexity and texture. These aromatics are sautéed at the beginning to release their essential oils and flavors, infusing every grain of rice with their goodness. They create a fragrant foundation that makes your pilaf far more captivating than just plain white rice.
- Butter Adds Unrivaled Flavor: Cooking with butter isn’t just about greasing the pan; it’s about building depth. Butter contributes a rich, nutty flavor that complements the other ingredients beautifully, giving the pilaf a luxurious mouthfeel. However, if you prefer, or if you’re looking for a dairy-free option, olive oil works wonderfully too, lending its own distinct fruity notes. For an unexpected twist and a subtle tropical aroma, don’t hesitate to give coconut oil a try – it can be a delightful alternative, especially if you’re pairing the pilaf with an Asian-inspired main dish.
- Broth Makes All the Difference: While water can certainly cook rice, using broth elevates the flavor profile significantly. For this recipe, chicken broth is recommended for its savory depth, but you are absolutely encouraged to use any broth you have on hand – vegetable broth is an excellent choice for a vegetarian version. Here’s a little secret for intensely flavorful results: I often prefer using a high-quality bouillon concentrate (like “Better Than Bouillon”) diluted with water instead of pre-packaged carton broth. I find it provides a richer, more robust flavor that permeates the rice better than many store-bought liquid broths. But remember, the best ingredient is always the one you have readily available and enjoy most!
- The Golden Rules: Don’t Lift the Lid & Fluff with a Fork: These two seemingly small tips are paramount to achieving perfectly cooked, fluffy rice. Firstly, once you’ve covered the pot and reduced the heat, do not lift the lid! Every time you peek, precious steam, which is essential for cooking the rice evenly and thoroughly, escapes. This can lead to undercooked or inconsistent rice. Secondly, after the rice has finished cooking and rested, use a fork to fluff it. A fork gently separates the grains, promoting air circulation and preventing them from clumping together. A spoon, by contrast, tends to smash the grains, resulting in a denser, less appealing texture.
Explore the World of Rice Pilafs
It might seem like a lot of information for what appears to be a simple pot of rice, but these nuances are what transform a basic side into a truly delicious and memorable dish. Once you master this classic vegetable rice pilaf, you’ll understand why these small details lead to big results.
And while our recipe offers a fantastic, approachable introduction, the world of rice pilafs is incredibly diverse. From light and herby to rich and complex, there’s a pilaf for every palate. Don’t be afraid to experiment with different additions and seasonings once you’re comfortable with the basic technique. For inspiration, explore varieties like Fluffy Rice Pilaf with Curry, Almond Cranberry Rice Pilaf, and Herbed Rice Pilaf. Whether you prefer super simple and basic or very complex with tons of flavors, the pilaf method is your canvas.
Frequently Asked Questions About Rice Pilaf
The beauty of rice pilaf lies in its adaptability! You can easily customize this recipe by adding a variety of ingredients to enhance flavor and texture. Consider incorporating:
- Bell peppers: Diced red, yellow, or orange bell peppers add sweetness and vibrant color.
- Mushrooms: Sliced mushrooms, sautéed with the onions, contribute an earthy, umami depth.
- Zest from oranges, lemons, or limes: A touch of citrus zest brightens the entire dish, adding a fresh, aromatic lift.
- Orzo: For a classic pilaf twist, toast a quarter cup of orzo pasta with the rice before adding liquid.
- Fresh herbs and spices: Stir in fresh parsley, cilantro, dill, or a pinch of turmeric or paprika at the end for an extra layer of flavor and color.
- Celery: Finely diced celery, cooked with the onions and carrots, adds a subtle savory crunch.
- Almonds or pecans: Toasted slivered almonds or chopped pecans can be folded in at the end for a delightful nutty crunch.
These additions can transform your pilaf into a new experience every time!
This versatile rice pilaf pairs beautifully with a wide array of main courses. Its balanced flavors make it an ideal accompaniment for almost any protein or hearty vegetarian dish. Here are some fantastic pairings:
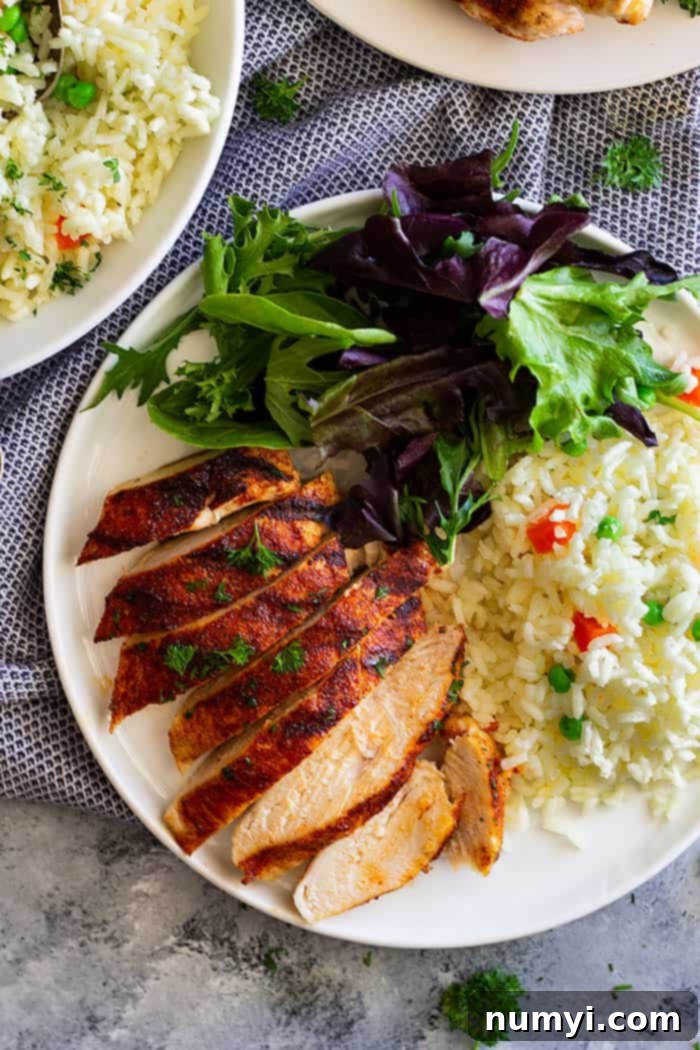
- Homemade Oven Roasted Rotisserie Chicken: The savory chicken and fluffy pilaf are a classic, comforting combination.
- Chicken in Garlic Mushroom Cream Sauce: The pilaf soaks up the creamy sauce beautifully, making for a rich and satisfying meal.
- Grilled Chicken: A lighter, smoky grilled chicken is perfectly complemented by the tender, flavorful rice.
- Bacon Wrapped Pork Loin: The richness of pork and bacon is balanced by the fresh vegetables in the pilaf.
- Grilled Teriyaki Pork Chops: The sweet and savory notes of teriyaki shine alongside this simple pilaf.
- Mushroom and Blue Cheese Stuffed Flank Steak: For a more gourmet pairing, the pilaf acts as a delicate contrast to the robust flavors of the steak.
It also makes a wonderful base for bowls with roasted vegetables, chickpeas, or a fried egg!
Yes, you can certainly make this easy rice pilaf recipe ahead of time, which makes it great for meal prep! However, it’s worth noting that the pilaf is truly at its peak when enjoyed fresh, right after it’s been made and fluffed. The grains will be at their most tender and separate.
If you do make it ahead, store it in a sealed, airtight container in the refrigerator for up to 3 days. While it’s perfectly safe to eat, the texture may become slightly less fluffy and a bit firmer after refrigeration. To reheat, you can use a skillet with a tablespoon or two of water or oil over low heat, stirring occasionally to prevent sticking and to rehydrate the rice. Alternatively, reheat individual portions in the microwave, adding a splash of water to help steam and soften the grains. For freezing, spread the hot cooked rice in an even layer on a baking sheet to cool completely, then transfer to freezer bags and seal well. Freeze for no longer than 2 months for best quality. Reheat directly from frozen for the best texture, as thawing in the refrigerator can sometimes lead to a less ideal consistency.
Discover More Incredible Side Dish Recipes
Looking for more inspiration to complete your meals? Here are a few more fantastic and easy side dish recipes that are sure to become family favorites:
- Easy Fried Rice
- Simple Roasted Green Beans
- Easy Mushroom Risotto
- Roasted Potatoes
- Easy Spanish Rice
HUNGRY FOR MORE? Don’t miss out on delicious recipes and culinary tips! Subscribe to my newsletter and follow along on Pinterest, Facebook, and Instagram for all my latest updates and mouth-watering creations!
Rice Pilaf with Carrots and Peas
4 -6 servings
Malinda Linnebur
Save Recipe
Saved!
5 minutes
25 minutes
30 minutes
Ingredients
- 1 tablespoon butter
- 1 small onion, chopped
- ⅓ cup (45g) diced carrot
- 1 clove garlic, minced
- 1 cup (220g) long grain white rice
- 2 cups (475ml) chicken broth or broth of choice (I actually use just a hair less than 2 cups of water)
- ¼ cup (35g) frozen peas, slightly thawed
Instructions
-
Heat a medium saucepan over medium heat. Add butter, onion, and carrot. Cook stirring frequently until slightly softened (about 3-5 minutes). Stir in garlic and cook for 30 seconds. Stir in rice and cook stirring frequently until edges become slightly translucent (about 3-5 minutes).
-
Add broth and bring to a boil. Reduce heat to a simmer and cover with a tight fitting lid. Simmer for 15 minutes without lifting the lid. Remove from heat and let stand 5 minutes without lifting the lid, then fluff with a fork and add the peas.
Notes
- Nutrition info calculated using reduced sodium chicken broth.
- STORAGE: Store in the refrigerator for up to 3 days.
- FREEZER FRIENDLY: Spread hot cooked rice in an even layer on a baking sheet and place in the freezer to cool completely. After cooled scoop into freezer bags and seal well. Freeze for no longer than 2 months. Don’t thaw in the refrigerator but instead reheat it straight from frozen for the best texture. Reheat in the microwave or on the stove top with a couple tablespoons of water added. Cook over low heat stirring frequently to prevent burning.
Nutrition
Carbohydrates: 54g |
Protein: 7g |
Fat: 4g |
Saturated Fat: 2g |
Cholesterol: 7mg |
Sodium: 78mg |
Potassium: 294mg |
Fiber: 2g |
Sugar: 2g |
Vitamin A: 3495IU |
Vitamin C: 8.6mg |
Calcium: 36mg |
Iron: 1mg
