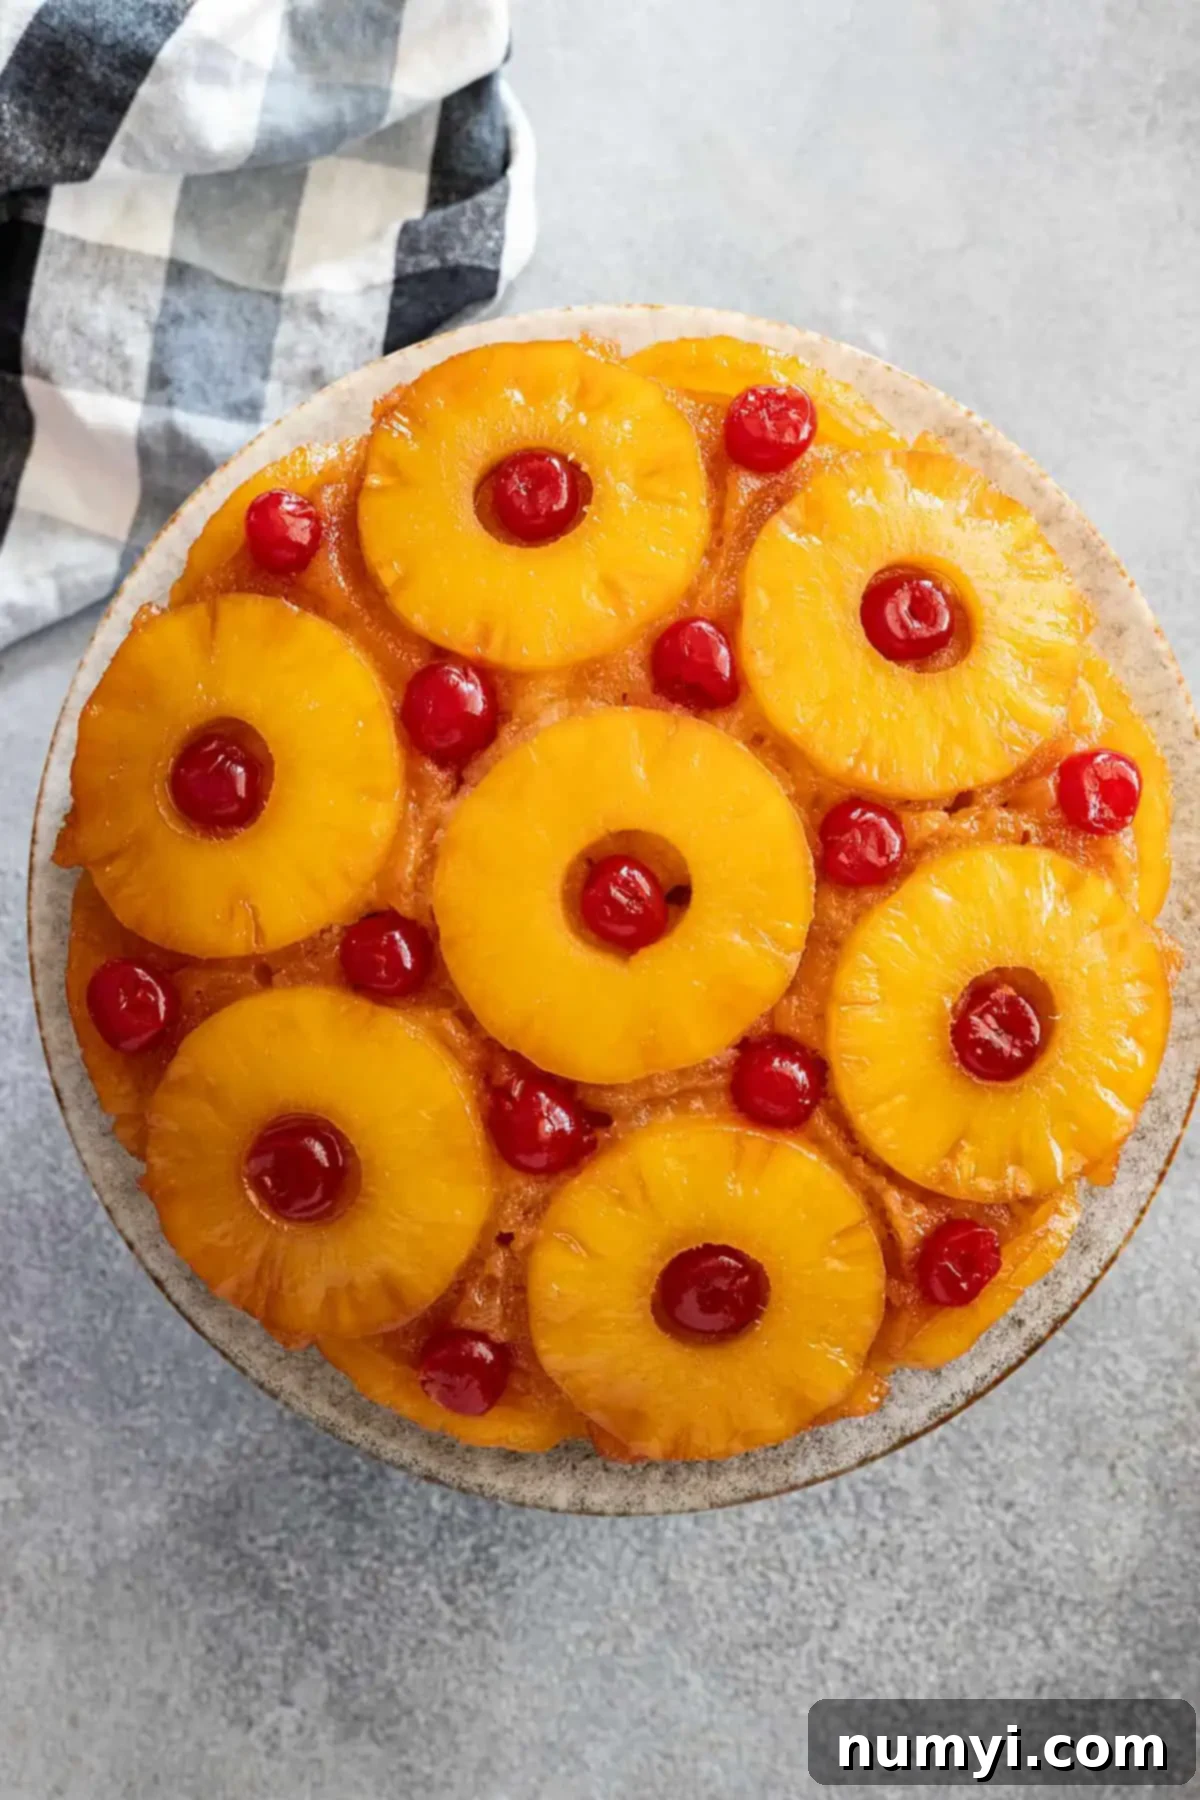
The Ultimate Guide to Making a Perfect Homemade Pineapple Upside Down Cake
This soft and buttery homemade pineapple upside down cake is a timeless classic, cherished by generations for its delightful flavor and stunning presentation. Featuring a tender, moist vanilla cake crowned with a glistening layer of caramelized pineapple and vibrant maraschino cherries, this dessert offers such rich flavor that it needs no additional icing. Crafted from scratch with simple, accessible ingredients like canned pineapple and jarred cherries, it’s an impressive treat that’s surprisingly easy to master.
I originally published this beloved recipe in 2015 and have since updated it with fresh photos, enhanced details, and even more helpful tips to ensure your baking success!
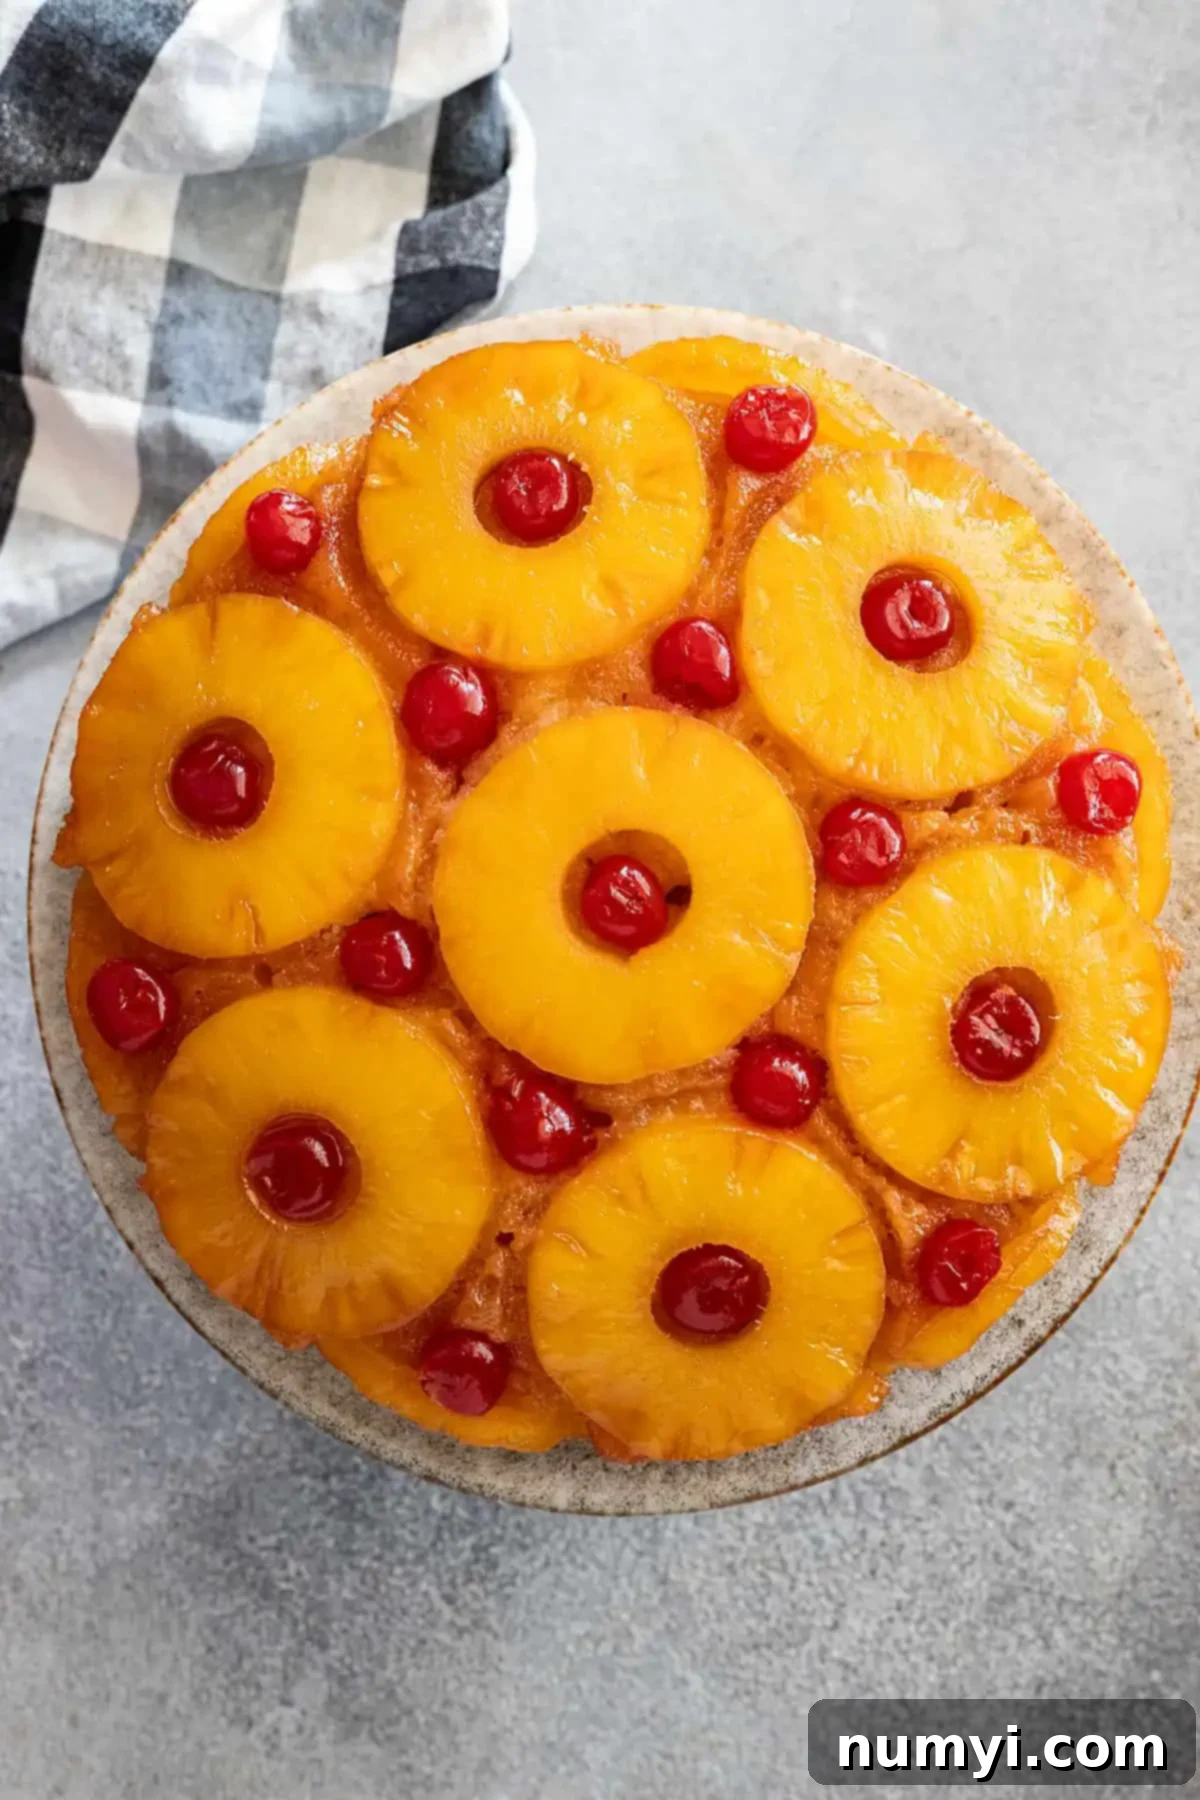
Pineapple upside down cake holds a special place in the hearts of many, often celebrated as a true classic dessert – some might even call it a charming retro treat – that brings joy year-round. Its visually elaborate facade, adorned with glistening caramelized pineapple rings and bright red cherries, belies its incredible simplicity. This recipe is wonderfully forgiving and easy to customize, making it perfect for both novice bakers and seasoned pros. Don’t love pineapple? No problem! We’ll explore exciting variations later on.
The foundation of this masterpiece is a simple vanilla cake, boasting a texture so moist and slightly dense, it rivals that of a traditional pound cake. What truly elevates this dessert is the magical transformation of the pineapple topping during baking. Submerged in a luscious bath of melted butter and rich brown sugar, the pineapple caramelizes beautifully, its sweet juices seeping into the cake, infusing every bite with an irresistible tropical flavor. The vibrant maraschino cherries are more than just a pop of color; they add a delightful burst of complementary flavor, though they remain an optional flourish you can easily omit or substitute.
Serving a warm slice of this classic cake is an experience in itself. While utterly delicious on its own, its flavors are wonderfully complemented by a dollop of freshly whipped cream or a scoop of vanilla bean ice cream. With such an abundance of flavor and its melt-in-your-mouth texture, this cake truly stands proudly without any fancy adornments.
Why You’ll Love This Homemade Pineapple Upside Down Cake
There are countless reasons why this Pineapple Upside Down Cake will become a staple in your recipe collection:
- Effortlessly Impressive: This is an ideal cake for beginners. It’s quick and simple to prepare, yet consistently delivers a stunning result that looks like you spent hours in the kitchen. No intricate frosting skills required!
- Nostalgic Comfort: Certain desserts transport us back in time, and this cake is definitely one of them. Serving this classic to guests often sparks fond memories and wonderful conversations, making it a perfect centerpiece for any gathering.
- Naturally Beautiful: The unique “upside down” baking method creates a show-stopping design with minimal effort. The natural arrangement of pineapple and cherries forms an exquisite pattern, eliminating the need for complex decorations.
- Rich, Balanced Flavors: The combination of tangy pineapple, sweet caramelized brown sugar, and a tender vanilla cake creates a harmonious flavor profile that is both comforting and exciting.
- Moist and Tender: Thanks to the buttermilk in the batter and the moist caramelized fruit topping, this cake stays incredibly moist and tender for days.
- Versatile for Any Occasion: Whether it’s a casual weeknight treat, a family Sunday dinner, a holiday gathering, or a potluck, this cake fits perfectly into any setting.
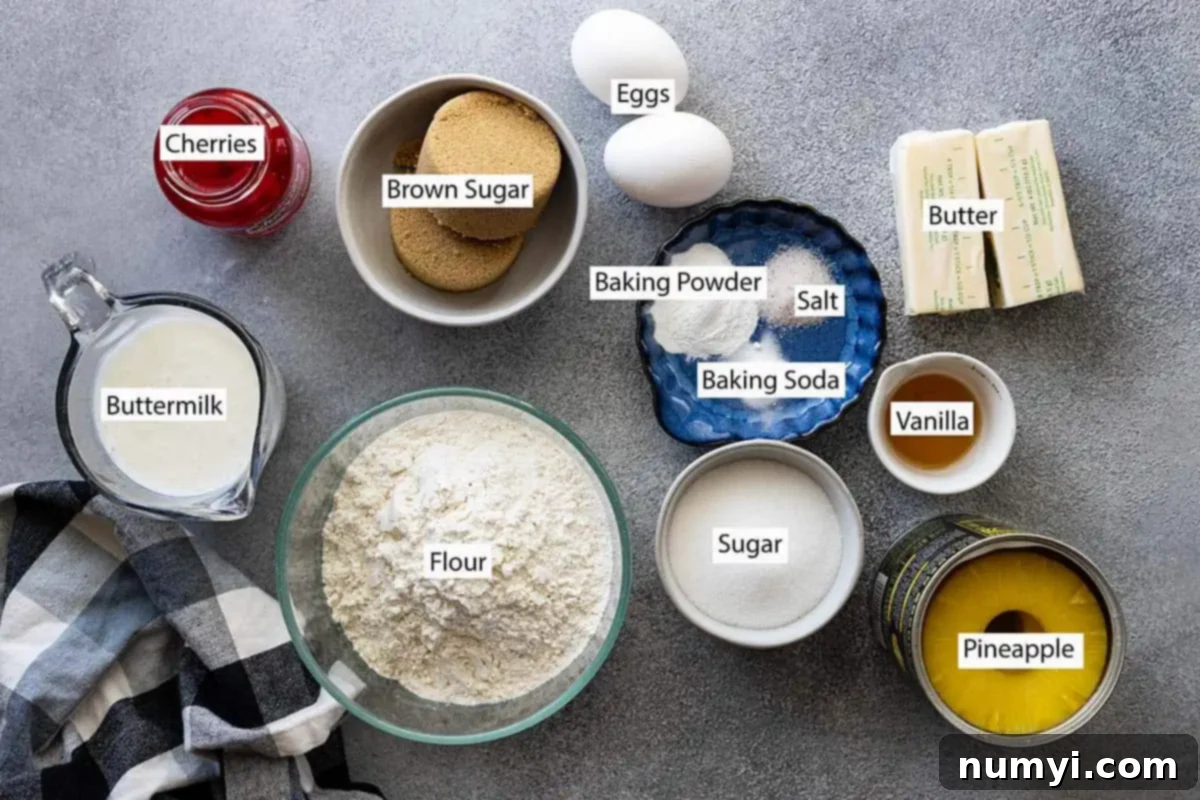
Ingredients to Make The Best Pineapple Upside Down Cake
Creating this delicious cake starts with a few simple, high-quality ingredients. Here’s a closer look at what you’ll need and why each component is important:
- Butter & Brown Sugar: These two form the magical base for our caramelized topping. As they melt and bake, they create a rich, sticky, golden-brown syrup that perfectly coats the fruit and infuses the cake with deep, complex sweetness. Use unsalted butter for better control over the saltiness.
- Canned Pineapple: Opt for sliced canned pineapple, preferably packed in juice rather than heavy syrup, to avoid an overly sweet or artificial flavor. It’s crucial to drain the pineapple thoroughly and pat the slices completely dry with paper towels. This step is vital for preventing a soggy cake bottom. Don’t discard the leftover juice! It can be used to moisten the cake, add to cocktails, or make a simple syrup.
- Maraschino Cherries: While optional, these bright red cherries add a vibrant pop of color and a distinct fruity flavor that complements the pineapple beautifully. They are a classic addition to this retro dessert. If you’re not a fan, don’t worry – there are plenty of delicious substitutions.
- All-Purpose Flour: The structural backbone of our cake. Ensure you measure it correctly, preferably by weight (grams), or by spooning it into your measuring cup and leveling it off, to avoid a dense cake.
- Granulated Sugar: Provides sweetness and contributes to the tender crumb of the cake batter.
- Buttermilk: A secret ingredient for an incredibly tender and moist cake. Its acidity reacts with the baking soda, creating air pockets that result in a light texture, and it also contributes to the cake’s rich flavor. If you don’t have buttermilk, you can make your own by adding 1 tablespoon of white vinegar or lemon juice to a measuring cup, then filling the rest with regular milk to reach ¾ cup. Let it sit for 5-10 minutes until it slightly curdles.
- Baking Powder & Baking Soda: These are our leavening agents. Baking powder provides the initial lift, while baking soda reacts with the acidic buttermilk to give the cake its airy texture. Using both ensures a perfectly risen and light cake.
- Salt: A pinch of salt is essential for balancing the sweetness and enhancing all the other flavors in the cake, making them more pronounced and delicious.
- Large Eggs: Contribute to the cake’s structure, richness, and moisture. Ensure they are at room temperature for better emulsification with the butter and sugar, leading to a smoother batter.
- Vanilla Extract: Pure vanilla extract is crucial for a classic, comforting flavor. It harmonizes wonderfully with both the pineapple and the buttery cake base.
How To Make This Irresistible Upside Down Cake
Making this pineapple upside down cake is a straightforward and enjoyable process. This section provides a comprehensive overview of the method, including valuable tips for each stage. For precise measurements and a print-friendly version, please refer to the detailed recipe box at the bottom of this post.
STEP 1: Prepare Your Pan and Caramel Topping. Begin by preheating your oven to 350 degrees F (175°C). Melt ⅓ cup of butter, then carefully pour it into the bottom of a 9-inch baking pan, ensuring the entire bottom is evenly coated. A round or square pan works beautifully, and for a rustic touch, a cast-iron skillet is also an excellent choice, enhancing the caramelization. Sprinkle the brown sugar evenly over the melted butter. This layer will transform into the luscious caramel sauce. Next, ensure your drained pineapple slices and maraschino cherries are thoroughly patted dry with paper towels – this is a critical step to prevent a soggy cake! Artfully arrange the pineapple slices in a pattern of your choosing over the brown sugar and butter layer. Fill the centers of the pineapple rings and any gaps with the bright red cherries for a burst of color and flavor.
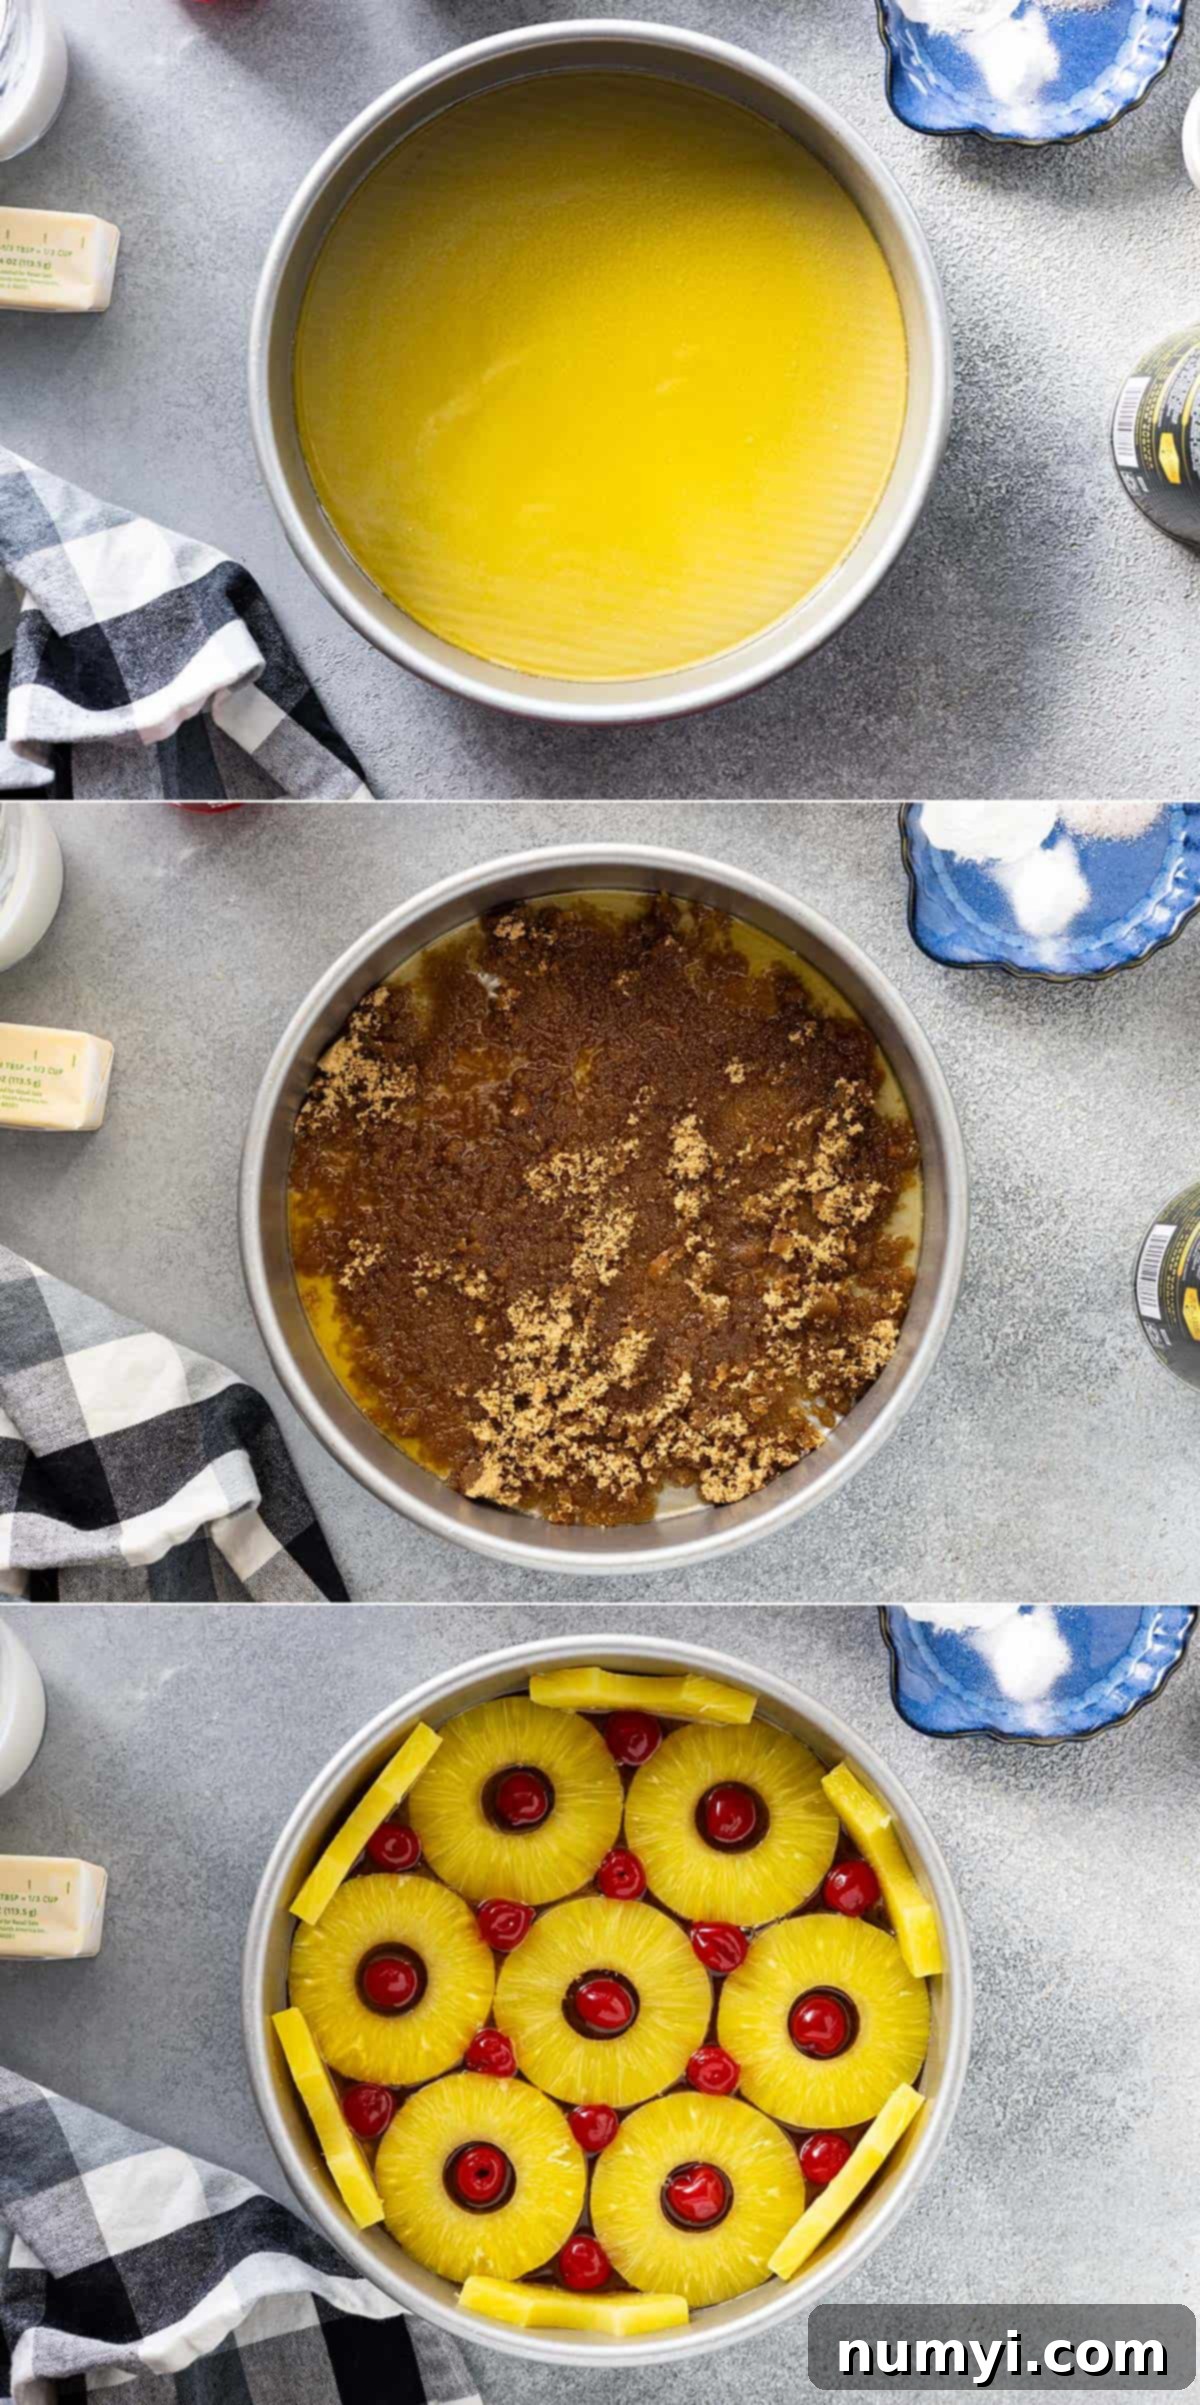
Note: Taking the time to properly dry the fruit significantly impacts the final texture of your cake, preventing excess moisture from making the bottom mushy. For extra security, you can even let them rest on a paper towel for 30 minutes before arranging them.
STEP 2: Mix the Cake Batter to Perfection. In a large mixing bowl, using an electric mixer, cream together the remaining butter and granulated sugar until the mixture is light, fluffy, and pale in color. This process incorporates air, which is essential for a tender cake. Add the eggs one at a time, beating well after each addition to fully incorporate them. This helps prevent the batter from curdling and ensures a smooth consistency. Stir in the vanilla extract, which ties all the flavors together beautifully.
In a separate small bowl, whisk together the dry ingredients: all-purpose flour, baking powder, baking soda, and salt. This ensures that the leavening agents and salt are evenly distributed throughout the flour. Now, gradually add the dry mixture to the creamed butter mixture, alternating with the buttermilk. Start by adding ⅓ of the flour mixture, mixing just until it’s combined (do not overmix!). Then, add ⅓ of the buttermilk, mixing gently. Repeat this process two more times, ending with the dry ingredients. Overmixing the batter can lead to a tough cake, so mix only until the ingredients are just incorporated. Finally, gently pour the prepared cake batter evenly over the arranged fruit in your baking pan.
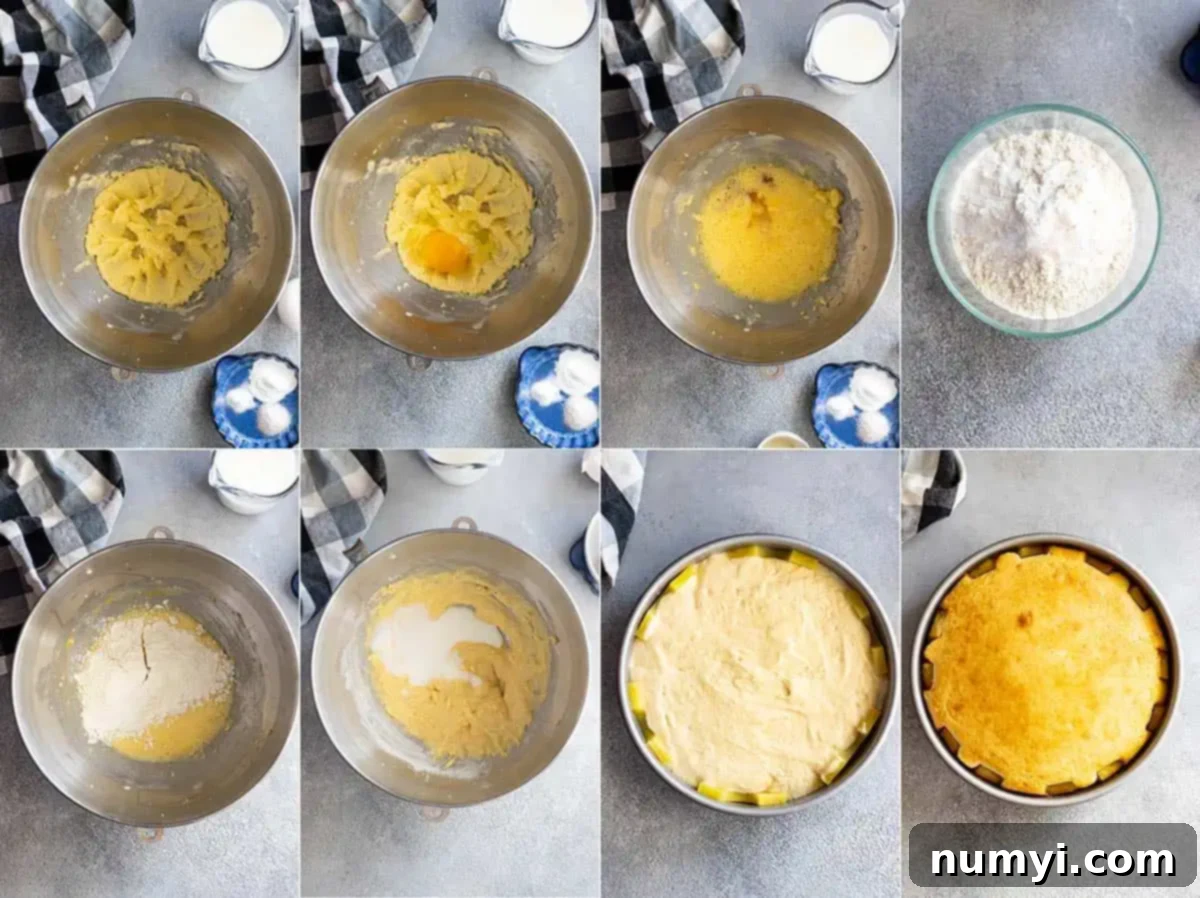
STEP 3: Bake, Cool, and Invert Your Masterpiece. Carefully place the baking pan in the preheated oven and bake for 40-45 minutes. The cake is done when a toothpick inserted into the center comes out clean or with only a few moist crumbs attached. Avoid opening the oven door too frequently, especially during the first 30 minutes, to ensure an even rise.
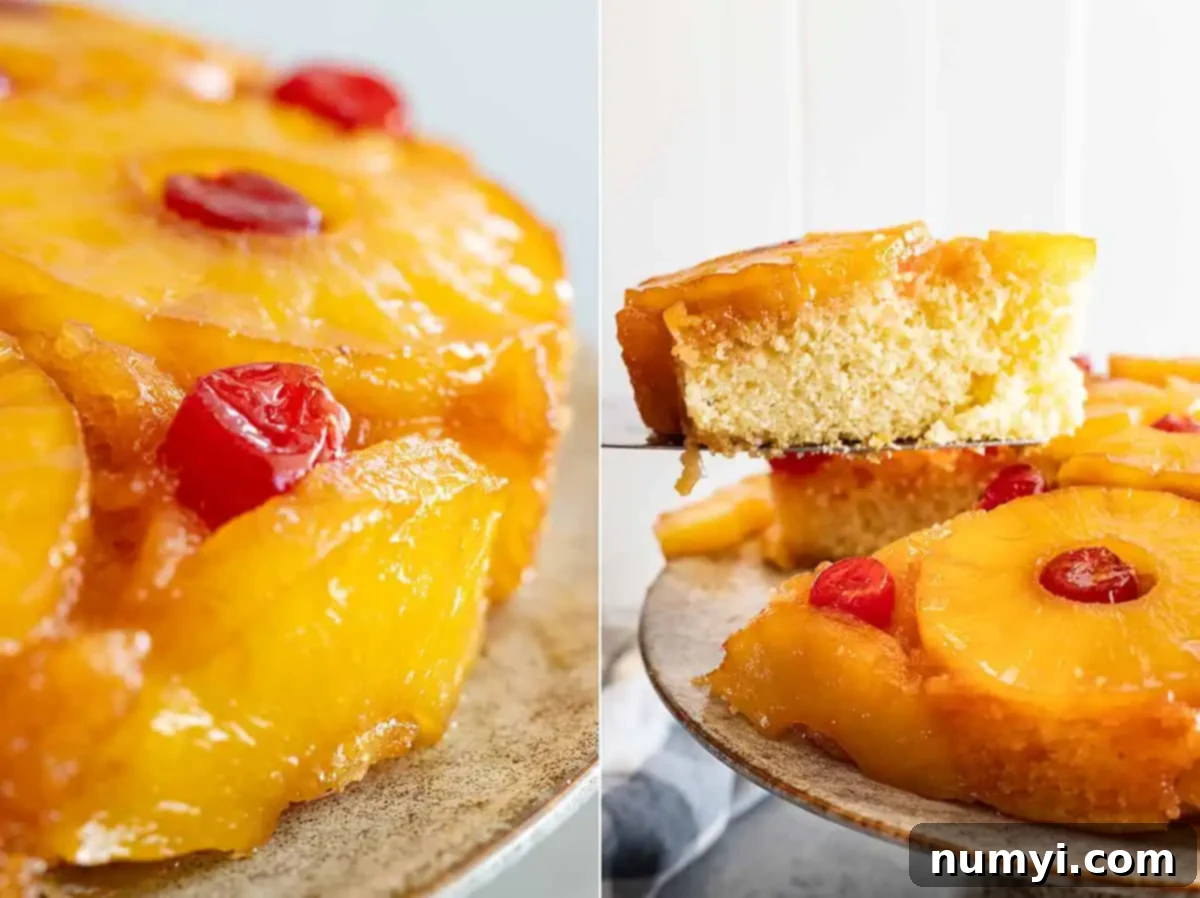
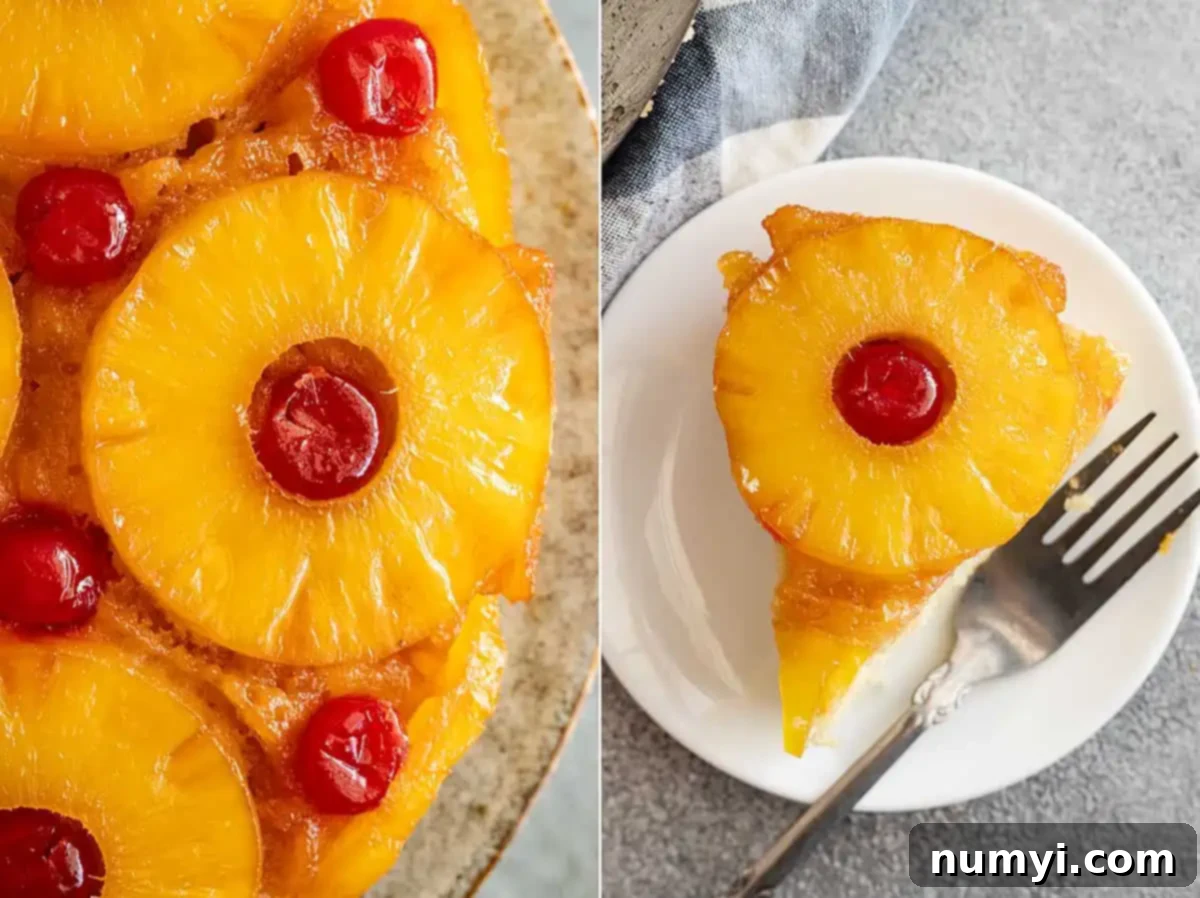
Once baked, remove the cake from the oven and allow it to cool on a wire rack in the pan for about 20 minutes. This cooling period is crucial: it allows the cake to firm up slightly and the caramelized topping to set, but not harden completely. After 20 minutes, carefully place your serving platter or a large cooling rack over the top of the cake pan. With a swift, confident motion, invert the cake onto the platter. The delicious caramelized fruit will now be proudly displayed on top! Lift the pan slowly. If any fruit sticks, gently ease it off the pan with a spatula and place it back onto the cake. Allow the cake to cool further before slicing and serving slightly warm. A dollop of freshly whipped cream or a scoop of vanilla ice cream makes for an exquisite accompaniment, if desired.
FAQs About Pineapple Upside Down Cake
Sogginess is a common issue, usually caused by excess moisture from the fruit. To prevent this, it’s absolutely essential to fully drain your canned pineapple slices and maraschino cherries. After draining, pat them thoroughly dry with paper towels. For an extra safeguard, you can even spread them out on a few layers of paper towels and let them rest for at least 30 minutes before arranging them in the pan. This extra drying time ensures minimal liquid is introduced to the cake, leading to a perfectly moist (not soggy!) result.
While not strictly necessary, using parchment paper can certainly make cleanup easier and provides extra assurance that your beautiful cake will release perfectly from the pan. The initial step of pouring melted butter into the pan usually creates a non-stick surface, allowing the cake to come out quite easily upon inversion. However, if you prefer to minimize potential sticking and simplify cleanup, you can grease your pan, then line the bottom with a circle of parchment paper before pouring in the melted butter and arranging your pineapple and cherries. This acts as an additional release layer.
Maraschino cherries are traditional, but if you’re not a fan or don’t have them, there are many delightful alternatives! A fantastic option is to use nuts like pecans or walnuts, which will get beautifully toasted and caramelized in the butter-brown sugar mixture, adding a wonderful crunch and nutty flavor. Other fruit substitutes include fresh or frozen berries (strawberries, raspberries, or blueberries work well), or even small pieces of dried fruit. You could also try other candied fruits for different color and flavor profiles.
To keep your pineapple upside down cake fresh and delicious, allow it to cool completely to room temperature. Once cooled, transfer it to an airtight container and store it in the refrigerator. Stored properly, the cake will remain wonderfully moist and flavorful for about 4-5 days. You can gently warm individual slices in the microwave for a few seconds before serving to bring back that freshly baked taste.
Absolutely! While canned pineapple is convenient, fresh pineapple can be used for an even brighter, tangier flavor. Ensure you peel, core, and slice the pineapple into rings of a similar thickness to canned slices. Just like with canned pineapple, pat the fresh slices very dry to remove excess moisture, which is even more important with fresh fruit as it contains more water.
There are a few reasons why a cake might stick. First, ensure you’ve generously coated the bottom of your pan with melted butter and brown sugar. If using parchment paper, make sure it’s properly greased underneath and on top. Second, timing is crucial: invert the cake after it has cooled for about 15-20 minutes, when the caramel is still warm and slightly fluid, but the cake itself has firmed up. If you wait too long, the caramel can harden and act like glue. If it still sticks, run a thin knife around the edges of the cake to loosen it before inverting.
Variations and Substitutions to Explore
This classic pineapple upside down cake recipe is wonderfully adaptable. Feel free to get creative and personalize it with these exciting variations:
- Pineapple Juice Infusion: For an even more intense pineapple flavor, consider replacing a portion of the buttermilk (e.g., ¼ cup) with the drained pineapple juice from the can. This subtly infuses the cake batter with an extra layer of tropical sweetness and moisture.
- Add a Nutty Crunch: Introduce a delightful textural contrast by sprinkling chopped pecans, walnuts, or almonds over the brown sugar layer before arranging the pineapple. The nuts will toast and caramelize beautifully in the butter-sugar mixture, adding a rich, nutty flavor and a satisfying crunch.
- Experiment with Other Fruits: The “upside down” technique works wonderfully with a variety of fruits. I’ve successfully made a delicious peach upside-down cake, but you could also explore sliced pears, apples, plums, or even a medley of berries like strawberries or blueberries. Adjust the cooking time slightly if using very juicy or delicate fruits.
- Colorful Cherry Options: Beyond the traditional red maraschino cherries, you can use green candied cherries for a festive twist, especially around the holidays. The combination of red and green can transform this into a lovely Christmas cake! Alternatively, use fresh pitted cherries when in season for a more natural flavor.
- Spice it Up: A pinch of cinnamon, nutmeg, or even a tiny bit of ground ginger in the cake batter can add a warm, cozy dimension that complements the fruit perfectly.
- Citrus Zest: Grate a little orange or lemon zest into the cake batter for a bright, aromatic lift that enhances the overall flavor profile.
- A Hint of Booze: For an adult twist, a splash of rum or bourbon can be added to the melted butter and brown sugar layer, or brushed lightly over the inverted cake for an extra layer of sophisticated flavor.
More Delicious Cake Recipes To Try
- Classic Strawberry Shortcake
- Authentic Tres Leches Cake
- Lemon Blueberry Coffee Cake
- Refreshing Lemon Blueberry Poke Cake
- Easy Blueberry Buckle Bars
HUNGRY FOR MORE? Don’t miss out on my latest recipes and kitchen adventures! Subscribe to my newsletter and follow along on Pinterest, Facebook, and Instagram for all my delicious updates!
Pineapple Upside Down Cake Recipe

Ingredients
- ⅔ cup (152g) butter; divided
- ⅔ cup (130g) packed brown sugar
- 1 (20 oz) (567g) can sliced pineapple, drained
- 1 (10 oz) (283g) maraschino cherries
- ⅓ cup (70g) sugar
- 2 large eggs
- 1 teaspoon vanilla
- 1½ cups (205g) all purpose flour
- 1 teaspoon baking powder
- ¼ teaspoon baking soda
- ½ teaspoon salt
- ¾ cup (175ml) buttermilk
Instructions
-
Preheat oven to 350 degrees F (175°C). Melt ⅓ cup butter and pour into the bottom of a 9-inch baking pan, ensuring an even coating. (You can use a round, square, or even a cast-iron skillet). Sprinkle ⅔ cup of brown sugar evenly over the melted butter. Blot the pineapple slices and cherries thoroughly dry with paper towels, then artfully arrange the pineapple in a pattern of your choosing over the brown sugar and butter. Place cherries throughout the pineapple rings and gaps.
-
In a large bowl, using an electric mixer, beat the remaining ⅓ cup butter and ⅓ cup granulated sugar until the mixture is light and fluffy, about 2-3 minutes. Add the 2 large eggs one at a time, mixing well after each addition to fully incorporate. Stir in the 1 teaspoon of vanilla extract.
-
In a separate small bowl, whisk together the 1½ cups all-purpose flour, 1 teaspoon baking powder, ¼ teaspoon baking soda, and ½ teaspoon salt. Gradually add the dry mixture to the wet mixture, alternating with the ¾ cup buttermilk. Start with ⅓ of the flour, mix until just combined, then add ⅓ of the buttermilk, mix until just combined. Repeat this sequence two more times, ending with the dry ingredients. Be careful not to overmix the batter. Gently pour the finished cake batter evenly over the arranged fruit in your baking pan.
-
Bake for 40-45 minutes, or until a wooden toothpick inserted into the center of the cake comes out clean or with only a few moist crumbs. Remove the cake from the oven and let it cool on a wire rack in the pan for 15-20 minutes. After cooling, carefully place a large serving platter or cooling rack over the cake pan and, with a swift, confident motion, invert the cake onto the platter. Allow it to cool further before slicing and serving. Serve slightly warm, perhaps with whipped cream or ice cream, if desired.
Notes
- STORAGE: To store your pineapple upside-down cake, ensure it has cooled completely to room temperature. Then, transfer it to an airtight container and store it in the refrigerator for up to 5 days.
- NUTRITION FACTS: The nutritional information provided is an estimate based on common ingredient brands and typical serving sizes. Values can vary significantly depending on specific ingredients used and preparation methods. This website does not offer nutritional advice, nor is it intended as a diet or health plan. Readers are solely responsible for their health and dietary decisions.
Nutrition
