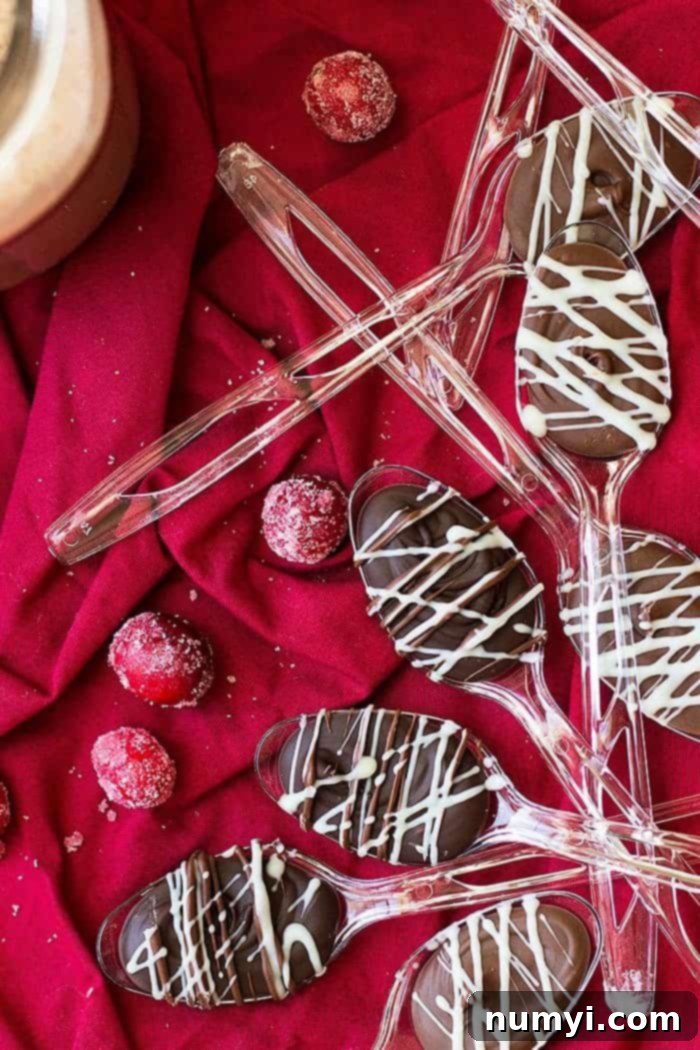
Delicious DIY Chocolate Spoons: The Ultimate Guide to Homemade Hot Cocoa Stirrers
There’s something truly magical about a warm, comforting drink on a chilly day, and these homemade Chocolate Spoons are designed to elevate that experience to new heights. More than just a simple treat, they are a delightful and incredibly easy-to-make homemade gift idea, perfect for the holiday season or any special occasion. Whether you’re looking for charming Christmas gift ideas, unique stocking stuffers, or a thoughtful present for a gift exchange, these delectable chocolate stirrers add a special, gourmet touch to any mug of hot chocolate, coffee, or even a cozy latte. Imagine the joy on someone’s face as they stir their warm beverage with a spoon that slowly melts into a rich, creamy, chocolatey indulgence!
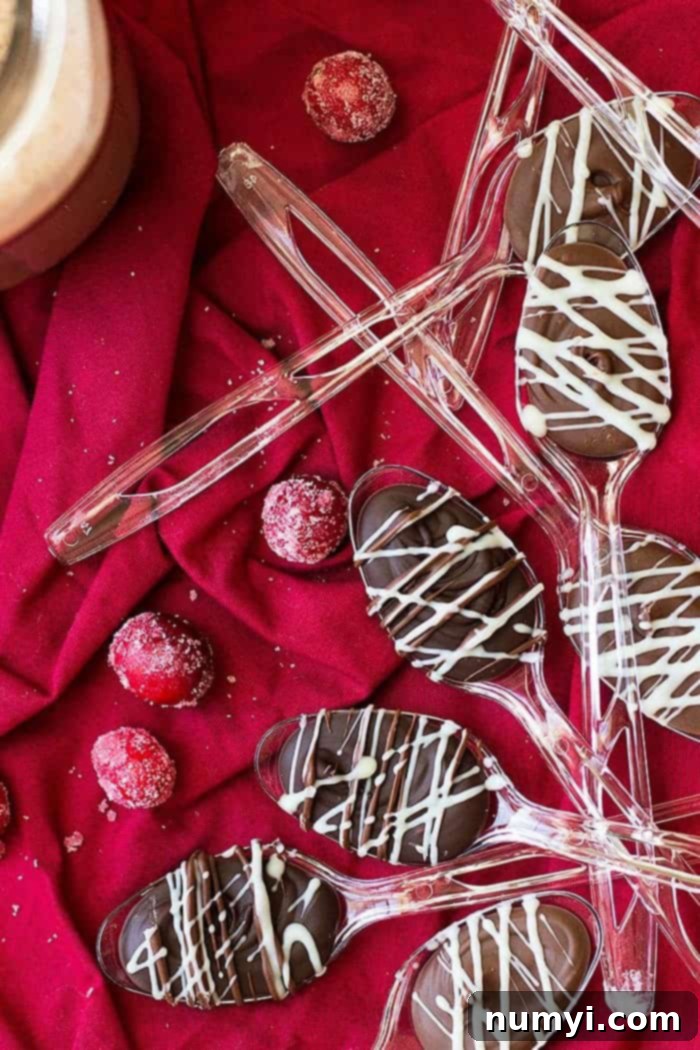
Crafting Homemade Chocolate Spoons: A Delightful Experience
Elevate the flavor of your favorite warm drink with this fun and simple DIY hot chocolate spoons recipe! Creating these chocolate stirrers is a quick and enjoyable project that promises to bring smiles to both kids and adults. The beauty of this recipe lies in its simplicity and endless customization possibilities. You can get wonderfully creative with various toppings and decorations, crafting unique flavor combinations in batches. Group a few different flavors together, perhaps tied with a festive ribbon, to create a charming variety pack that makes for an unforgettable presentation.
The best part about these delightful treats is how quickly they come together. In a matter of minutes, you can transform simple ingredients into elegant, edible gifts. So, if you’re searching for an original and personal homemade gift this year, roll up your sleeves and try your hand at making these enchanting homemade chocolate spoons. They’re not just gifts; they’re an experience, a moment of warmth and indulgence.
Why You’ll Adore These Chocolate Dipped Spoons
There are countless reasons why these homemade chocolate spoons will become your new favorite edible gift or personal treat:
- Endlessly Fun to Make: This recipe is a fantastic creative outlet. Whether you’re a seasoned baker or a crafting novice, the process of melting chocolate and decorating spoons is enjoyable and therapeutic. It’s also a wonderful activity to involve children, making it a perfect family project during holidays or weekends.
- Taste Sensation in Every Sip: These aren’t just pretty to look at; they transform ordinary drinks into extraordinary experiences. Imagine the rich, smooth chocolate melting into your hot chocolate, adding depth and creaminess. They are equally delicious stirred into lattes, coffee, espresso, or even a mug of warm milk, infusing each sip with decadent chocolate flavor.
- Quick and Effortless: In a world of complicated recipes, these chocolate spoons stand out for their incredible ease and speed. With minimal ingredients and straightforward steps, you can whip up a batch in under 20 minutes of active time, making them ideal for last-minute gifts or spontaneous cravings.
- Perfect for Planning Ahead: Need to prepare gifts in advance? No problem! These chocolate spoons can be made up to two weeks ahead of time, allowing you to get a head start on your holiday preparations without sacrificing freshness or quality. Proper storage ensures they remain delicious and ready for gifting.
- Versatile for Any Celebration: While they shine brightly as a DIY Christmas gift, their charm isn’t limited to one season. These versatile treats are fantastic for birthdays, Valentine’s Day, Mother’s Day, teacher appreciation gifts, party favors, or simply as a special “just because” gesture.
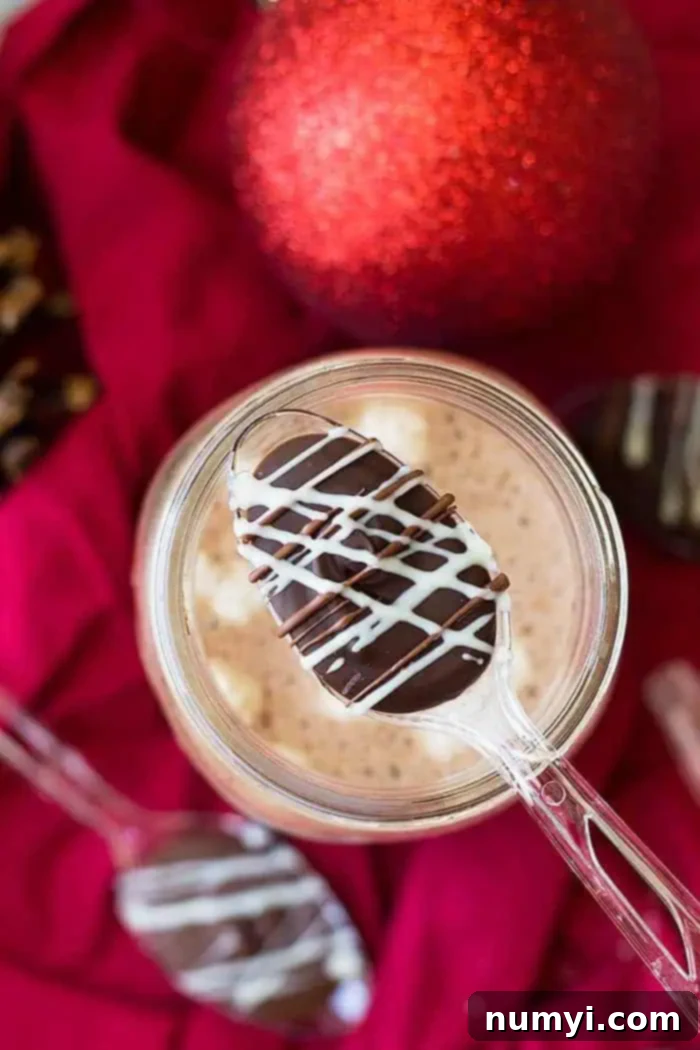
Essential Ingredients to Craft Your Delicious Hot Cocoa Spoons
Creating these delightful chocolate spoons requires just a few key ingredients, allowing the quality of each component to truly shine. The beauty is in their simplicity and the potential for personalization:
- Premium Quality Chocolate of Your Choice: The foundation of your chocolate spoons is, naturally, the chocolate itself. Opt for good quality chocolate chips, melting wafers, or chopped chocolate bars for the best flavor and smoothest melt. You can use:
- Dark Chocolate: For a rich, intense flavor that pairs beautifully with coffee or a more robust hot cocoa.
- Milk Chocolate: A classic choice, offering a sweeter, creamier, and milder chocolate flavor that appeals to most palates.
- White Chocolate: A wonderfully sweet and versatile option, perfect for colorful sprinkles or contrasting drizzles.
For an exciting variety, feel free to use all three, creating a colorful and flavorful assortment!
- Creative Toppings and Decorations: This is where you can truly let your imagination run wild and customize each spoon. While a simple decorative drizzle is elegant on its own, adding toppings takes your spoons to the next level. Consider:
- Crunchy Bits: Toffee bits, crushed peppermints (especially festive for holidays), or even chopped nuts for a textural contrast.
- Sweet & Chewy: Freeze-dried marshmallows (regular marshmallows will get hard in the fridge, so opt for the freeze-dried variety for the best texture and longevity).
- Salty & Sweet: A delicate sprinkle of sea salt to enhance the chocolate’s flavor.
- Colorful Fun: Various sprinkles, jimmies, or edible glitter for a playful and vibrant look.
- Extra Chocolatey: Mini chocolate chips, chocolate shavings, or a contrasting white chocolate drizzle over dark chocolate (or vice versa) for added visual appeal and flavor complexity.
Experiment with combinations to suit different tastes and occasions!
Simple Steps to Create Your Own Chocolate Spoons
Making these gourmet hot chocolate spoons is surprisingly straightforward. Follow these easy steps, and you’ll have a batch of beautiful, edible gifts in no time:
Step 1: Prepare Your Workspace and Melt the Chocolate
Begin by lining a baking sheet with parchment paper. This will prevent the chocolate from sticking and make cleanup a breeze. Next, prepare your chocolate. You can melt it in the microwave in a microwave-safe bowl. Heat the chocolate in 15-20 second intervals, stirring well after each interval, until the chocolate is smooth and fully melted. Be careful not to overheat the chocolate, as this can cause it to seize or burn. Alternatively, you can use a double boiler method for a more controlled melt. Lay your chosen spoons (plastic or vintage metal) onto the prepared baking sheet, ready for filling.
Step 2: Fill and Decorate Your Spoons with Precision
Once your chocolate is perfectly melted, transfer it to a disposable cake decorating bag (or a sturdy zip-top bag with a corner snipped off). This method offers the most control and ensures a clean, professional finish, though it’s not strictly necessary – you can also carefully spoon the chocolate into each spoon. Snip a small tip off the decorating bag, then carefully pipe or fill each spoon with the melted chocolate. Work relatively quickly, as the chocolate will begin to set. While the chocolate is still soft and pliable, generously add any desired toppings or decorations. Gently press chunkier toppings like toffee bits or larger sprinkles into the chocolate to ensure they adhere well once set, but be careful not to overfill the spoon or cause the chocolate to spill over the sides.
Step 3: Chill Until Perfectly Set
Carefully transfer the baking sheet with the filled and decorated spoons to the refrigerator. Chill them for at least 15-30 minutes, or until the chocolate is completely firm and set. Once firm, they are ready to be enjoyed, packaged, or stored. If you plan to add a contrasting chocolate drizzle, ensure the base chocolate is fully set and cold before drizzling to achieve clean, defined lines.
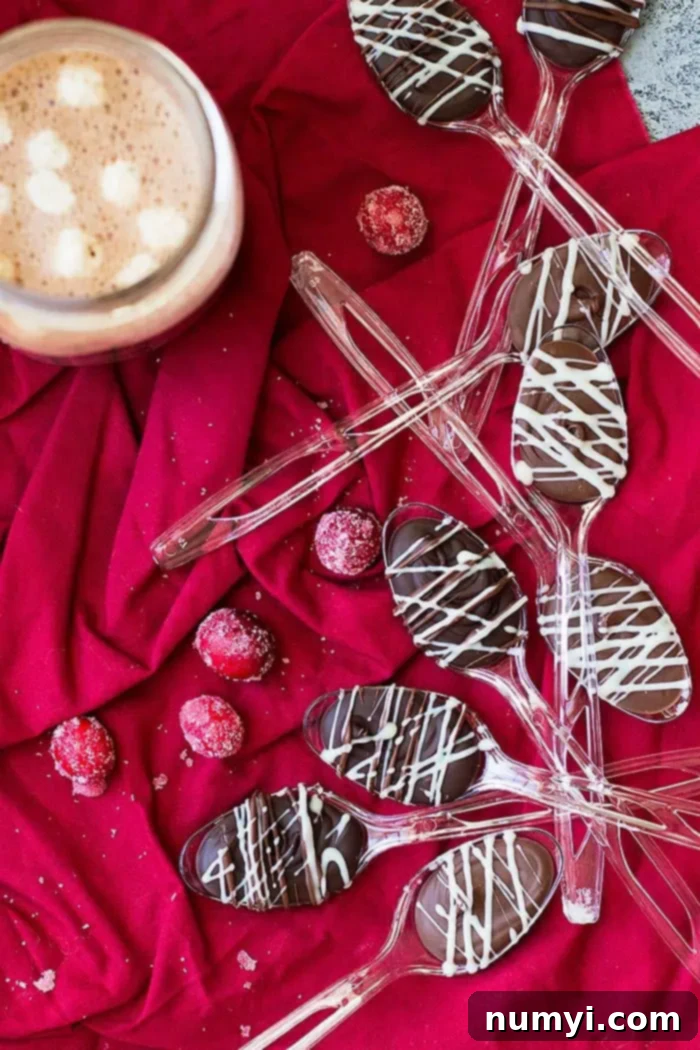
Frequently Asked Questions About Chocolate Spoons
Using these delightful chocolate spoons is part of the fun! First, heat approximately 8 ounces (about 1 cup) of your favorite warm beverage – be it coffee, milk, or hot water for cocoa – in a mug. Next, place a chocolate spoon into the hot drink and gently stir until all the chocolate has melted, infusing your drink with rich flavor. For a truly decadent hot cocoa experience, simply warm a mug of your preferred dairy or plant-based milk (like almond or oat milk) and stir in 1 or 2 chocolate spoons until fully dissolved. Then, sip, savor, and enjoy your gourmet creation!
Absolutely! This is an excellent, kid-friendly recipe that encourages creativity and involvement in the kitchen. Younger children will especially love the task of adding all the colorful toppings and sprinkles to each spoon, which is a great way to develop fine motor skills. Older children, with a little supervision, are perfectly capable of handling the entire recipe on their own, from melting the chocolate to the final decoration. It’s a wonderful way to spend quality time together and create edible masterpieces!
Chocolate spoons make for a wonderful, thoughtful, and incredibly easy holiday gift exchange idea, or a sweet treat for teachers, neighbors, coworkers, or friends. For an elegant presentation, once the chocolate is completely firm, wrap each individual chocolate spoon in clear cellophane and tie it securely with a festive ribbon. For a more substantial gift, place a few wrapped chocolate spoons into a beautiful, decorative mug, perhaps alongside a small packet of gourmet coffee or cocoa mix. You can also assemble them into a larger DIY gift basket with other treats like homemade cookies or a cozy blanket. Presentation truly enhances the charm of these homemade delights!
When stored correctly, your homemade chocolate spoons will last approximately 2 weeks. To maintain their freshness and prevent them from melting or sticking, it’s crucial to store them in an airtight container at room temperature, away from direct sunlight or heat. If your home is particularly warm, you can keep them in the refrigerator, but allow them to come to room temperature for a few minutes before using for the best melting experience. For gifting, individual wrapping in cellophane after they are fully set helps protect them and keeps them fresh until they’re ready to be enjoyed.
Hot Chocolate Spoons DIY Pro Tips for Perfection
To ensure your DIY hot chocolate spoons are not just good, but absolutely perfect, consider these expert tips:
- Invest in Quality Chocolate: The type of chocolate you use makes a significant difference in both flavor and melt-ability. Opt for good quality brands like Lindt, Ghirardelli, Callebaut, or other high-quality couverture chocolate. These chocolates melt smoother, taste richer, and provide a superior overall experience compared to standard baking chips.
- Choose Your Spoons Wisely: You have a couple of fun options for your spoons. Plastic disposable spoons are convenient, affordable, and readily available. For a charming, rustic, or vintage aesthetic, consider repurposing vintage spoons! You can often find unique and inexpensive options at consignment stores, yard sales, antique shops, or flea markets. Just ensure they are clean and food-safe.
- Piping Bag for Precision: While not strictly necessary, using a piping bag (or a sturdy ziploc bag with a corner snipped off) is highly recommended. It offers the easiest and cleanest method for filling the spoons, giving you better control and a more polished finish. If you don’t have one, you can carefully use a regular spoon to fill each spoon, but avoid dipping the spoons directly into the chocolate; this often results in a messy, uneven underside once dried.
- Gently Press Chunkier Toppings: When adding larger or heavier toppings like toffee bits, crushed peppermints, or larger sprinkles, gently press them into the soft chocolate. Apply just enough pressure to secure them firmly, but not so much that the chocolate spills over the sides of the spoon. This ensures the toppings stay put once the chocolate sets.
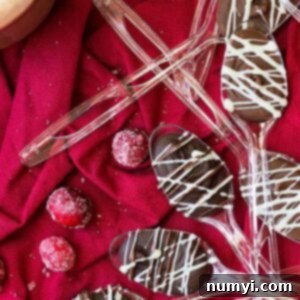
- Master the Drizzle (if desired): If you plan to add an extra layer of visual appeal with a contrasting chocolate drizzle (e.g., white chocolate over dark), wait until your filled chocolate spoons have cooled and set completely. Drizzling over firm, cool chocolate allows for layered, defined designs, making your chocolate spoons for hot cocoa look significantly more elevated and professional.
- Optimal Storage for Freshness: These delightful spoons will last approximately 2 weeks when stored properly. Once the chocolate is fully firm and set, individually wrap each spoon tightly in cellophane or small plastic bags. Then, store them stacked in an airtight container in a cool, dry place away from direct sunlight. This method helps maintain freshness and prevents them from sticking together until you’re ready to gift or enjoy them.
More Great Homemade Gift Ideas To Try
If you loved making these chocolate spoons, you might enjoy crafting these other thoughtful and delicious homemade gifts:
- Homemade Dark Chocolate Hot Cocoa Mix
- Sweet and Spicy Pecans
- Homemade Dark Chocolate Truffles
- Mason Jar Cranberry Chocolate Chip Pancakes
Thanks so much for reading! I hope you’re inspired to create your own batch of these wonderful chocolate spoons. Let me know what you think about this chocolate spoon recipe and how yours turn out!
HUNGRY FOR MORE? Subscribe to my newsletter and follow along on Pinterest, Facebook, and Instagram for all my latest updates!
DIY Hot Chocolate Spoons
Ingredients
- ⅓ cup (60g) bittersweet chocolate
- 6 plastic spoons
- toppings of choice: toffee bits, crushed peppermints, sea salt, white chocolate, freeze-dried marshmallows
- disposable cake decorating bags
Instructions
-
Melt chocolate in the microwave for 15 sec stir well and repeat until melted. Place plastic spoons on a small tray or baking sheet.
-
Place a disposable cake decorating bag inside a large cup and fold edge of bag over cup. Fill bag with melted chocolate. Cut tip off of bag and fill spoons. Sprinkle with desired toppings and place spoons in the refrigerator until chocolate is set.
-
Wrap each spoon in cellophane and tie with a small ribbon.
Notes
- Using a disposable cake decorating bag is not necessary to make these I just found it to be the easiest and cleanest.
- If you would like to drizzle the spoons with chocolate, let chocolate spoons cool completely before drizzling.
- NUTRITION: Nutrition is calculated without toppings.
