Homemade “No-Fry” Refried Beans: Quick, Easy, & Healthy (Ready in 20 Minutes!)
Craving a flavorful side dish for your next Mexican feast, but short on time and looking for a healthier option? Look no further! These Quick and Easy “Refried” Beans are a game-changer. They offer all the delicious, creamy texture you love about classic refried beans, but with a simple twist: they’re made easy using canned pinto beans and significantly healthier because they aren’t deep-fried. Get ready to elevate your meal prep with a recipe that’s ready in just 20 minutes!
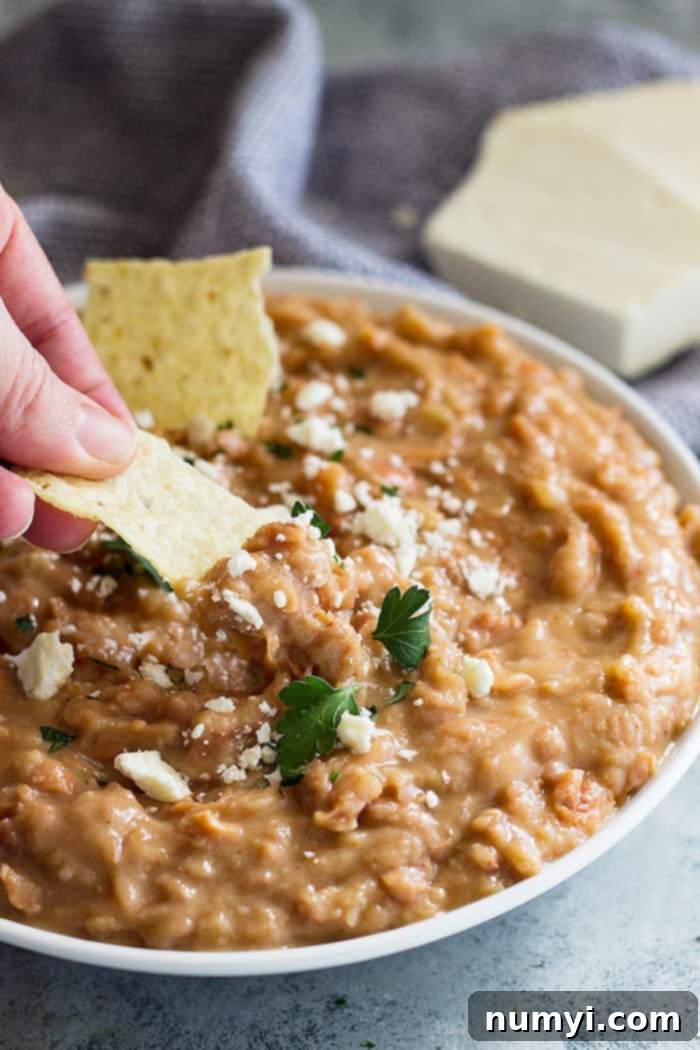
Why You’ll Love These Quick and Easy “Refried” Beans
I’ve been whipping up these homemade “refried” beans for ages, and I honestly can’t believe it’s taken me this long to share them with you. They’ve become a staple in our household for good reason – they’re incredibly simple, packed with flavor, and so much better for you than their traditional counterparts. Forget the lengthy soaking times and the heavy frying; this recipe delivers authentic taste with minimal fuss.
The secret to their simplicity lies in using readily available canned pinto beans. This means no overnight soaking or hours of simmering from scratch. Just drain, rinse, and you’re halfway there! And the “healthier” part? We skip the traditional deep-frying in lard or excessive oil, opting instead for a gentle simmer and mash that keeps the beans light yet incredibly satisfying.
These beans are wonderfully versatile. They are absolutely perfect served alongside any Mexican dish, from tacos to enchiladas, burritos, and quesadillas. But don’t stop there! They also make an amazing, hearty chip dip that will disappear faster than you can say “guacamole.”
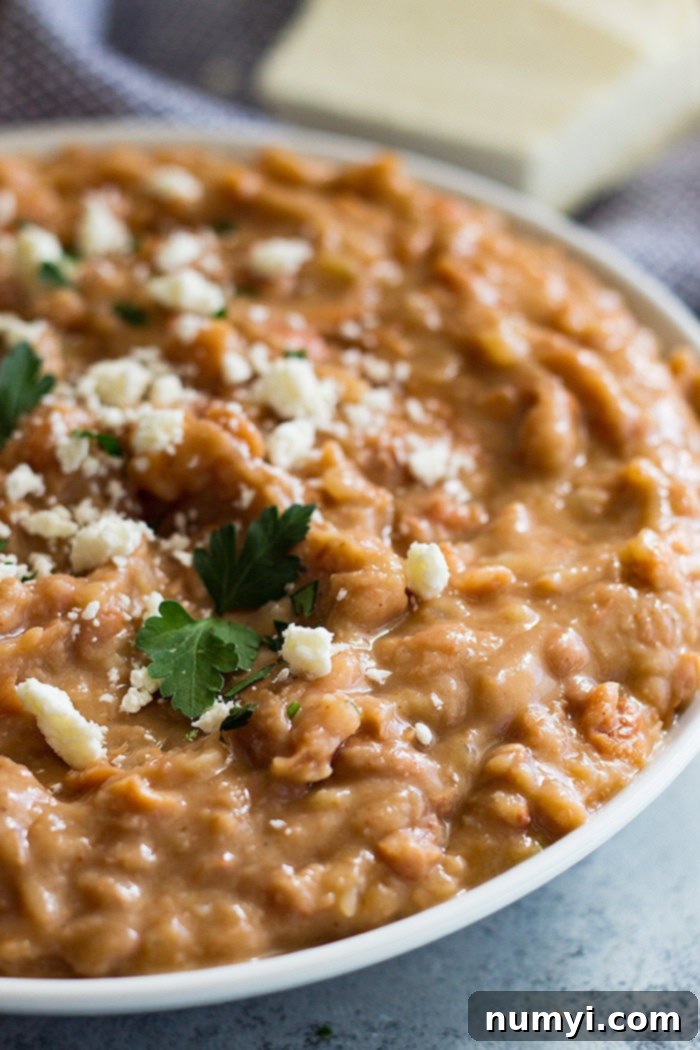
Recipe Highlights & Dietary Notes:
- Quick & Easy: Thanks to canned beans, you’ll have these on the table in about 20 minutes.
- Healthier Alternative: By skipping the “refry” step, we significantly reduce the fat content, making these a much lighter and more nutritious option.
- Dietary Friendly: These beans are naturally vegetarian and vegan (just omit the cheese garnish). They are also gluten-free, but always remember to double-check your ingredient labels to ensure they meet your dietary standards.
- Freezer-Friendly: Make a big batch! They store beautifully in the refrigerator or freezer for future meals.
- Black Bean Option: If pinto beans aren’t your favorite, black beans make an excellent substitute and work just as well in this recipe.
Serving Suggestions: More Than Just a Side!
While these “refried” beans shine as a classic Mexican side, their creamy texture and robust flavor mean they can do so much more. Get creative with how you enjoy them!
- Classic Side Dish: Serve them alongside your favorite Slow Cooker Shredded Mexican Chicken or Sheet Pan Steak Fajitas for a complete and satisfying meal.
- Quesadilla Filler: Spread a layer of these beans into your Green Chile Turkey Quesadillas (or chicken!) for an added creamy texture and protein boost.
- Irresistible Dip: This is a personal favorite! Serve them warm with your favorite tortilla chips for a simple yet incredibly satisfying dip. Top with a dollop of sour cream, salsa, or extra cheese for an even richer experience.
- Burrito & Taco Base: Use them as the delicious foundation for homemade burritos and tacos. Their creamy consistency binds all the fillings together beautifully.
- Huevos Rancheros: Elevate your breakfast! A smear of these beans makes a fantastic base for eggs, salsa, and avocado.
- Tostada Topping: Spread them generously on crispy tostada shells, then layer with your favorite toppings like lettuce, tomatoes, cheese, and a protein.
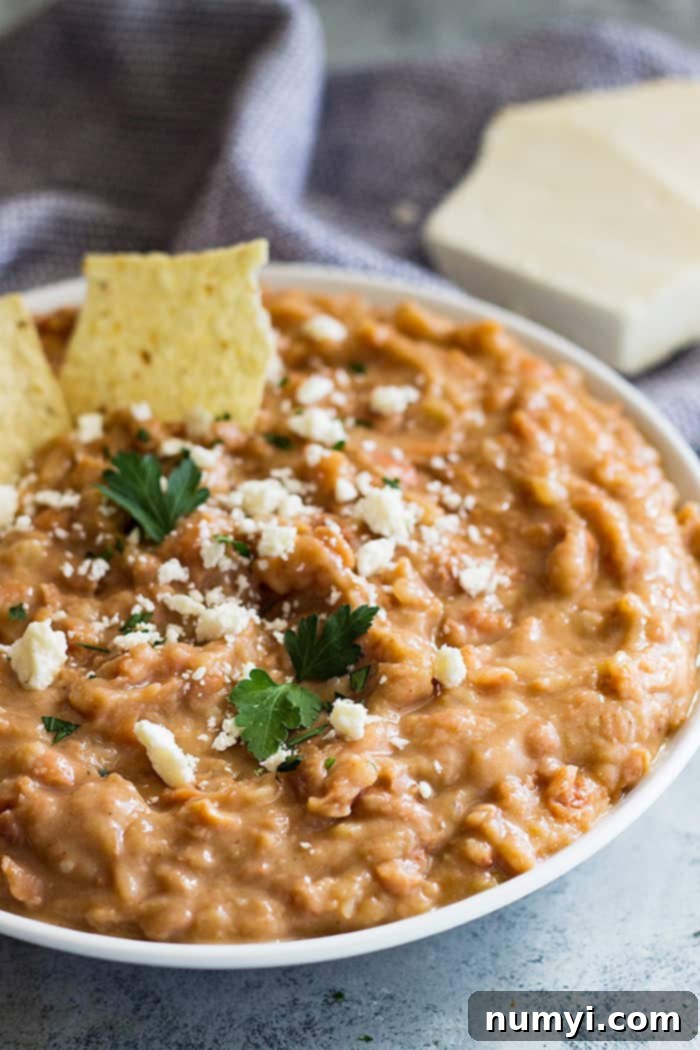
A Little Life Update (and Why Quick Meals are Essential!)
So, how was everyone’s weekend? Ours was a bit of a whirlwind, which often means quick and easy recipes like these beans become absolute lifesavers. It was absolutely beautiful here on Sunday, so we made the most of it by spending most of the day outside. That was a truly welcome change, as we haven’t been able to do a whole lot as a family lately. My husband has been working incredibly long hours, even Saturdays, which has limited our family time considerably.
And can we talk about the weather for a minute?! Mother Nature seems to be having a bit of an identity crisis! It was literally a balmy 70 degrees Fahrenheit here yesterday, and today it’s snowing and a whopping 20 degrees outside. What is going on?! This has certainly been one of the strangest winter weather patterns I can remember. Okay, deep breath, I got that off my chest, and we can proceed with more delicious bean talk now.

As I was saying, we spent most of Sunday outside, truly soaking up the unexpected warmth. We ventured out to the farm, and the kids had an absolute hay day (pun intended!). I really wish I had remembered my phone so I could have captured some videos of their antics. I definitely need to do a better job of remembering to document those precious family moments!
They had a blast climbing dirt piles, and the older ones even scaled the insanely tall ladders up the grain bins (not going to lie, I was panicking a little bit on the inside!). Their favorite activity, however, seemed to be sliding down the tarps on the silage piles. Needless to say, they were all in desperate need of a bath when we finally got home! After such an active day, a simple yet delicious meal like these “refried” beans was exactly what we needed to get dinner on the table without extra stress.
Quick and Easy Refried Beans

Ingredients
- 1 (28 oz) (850 g) can pinto beans, drained and rinsed (choose a low-sodium option if available)
- 1/2 cup (120ml) water (or vegetable broth for more flavor)
- 1 small onion, diced (yellow or white onion works best)
- 2 cloves garlic, minced (fresh is always best for flavor)
- 1/2 teaspoon chili powder (adjust to your spice preference)
- 1/2 teaspoon cumin (adds essential earthy flavor)
- 1/2 teaspoon dried oregano (Mexican oregano is ideal if you have it)
- salt, freshly ground black pepper, and cayenne pepper to taste (for an extra kick!)
Instructions
-
In a medium saucepan, combine all the ingredients: the drained and rinsed pinto beans, water (or broth), diced onion, minced garlic, chili powder, cumin, and dried oregano. Stir everything together until well combined. Bring the mixture to a gentle simmer over low heat and let it cook for 5 minutes, allowing the flavors to meld beautifully. After 5 minutes, begin to mash the beans with a potato masher or the back of a sturdy spoon. Note that these beans will have a more rustic texture and will not become perfectly smooth, which adds to their homemade charm.
-
Continue to cook the mashed beans over low heat for an additional 10 minutes, or until they reach your desired consistency. For a thicker consistency, simmer for a few more minutes, stirring frequently to prevent sticking. For a slightly thinner consistency, you can add a tablespoon or two more water or broth. Remember to stir occasionally to help prevent them from sticking to the bottom of the pan. The beans will also naturally thicken further as they cool, so keep that in mind when assessing their consistency. Taste and adjust seasoning with salt, pepper, and cayenne pepper if you desire more heat.
Notes
- Make ahead tip: These versatile beans are excellent for meal prep! They can be stored in an airtight container in the refrigerator for up to 4 days. For longer storage, freeze them in an airtight container for up to 3 months. Thaw in the refrigerator overnight and reheat gently on the stovetop or in the microwave, adding a splash of water or broth if needed to restore consistency.
- If you would rather use black beans, they substitute beautifully in this recipe. Simply follow the same instructions for pinto beans.
- These beans are inherently vegetarian and vegan. If serving to vegans, be sure to omit any cheese garnish.
- They are also naturally gluten-free. As always, for strict dietary needs, double-check the labels on your canned beans and spices to ensure no hidden gluten-containing ingredients.
- Flavor Variations: For a smoky flavor, add a pinch of smoked paprika. For extra richness, stir in a tablespoon of olive oil or vegan butter before serving.

