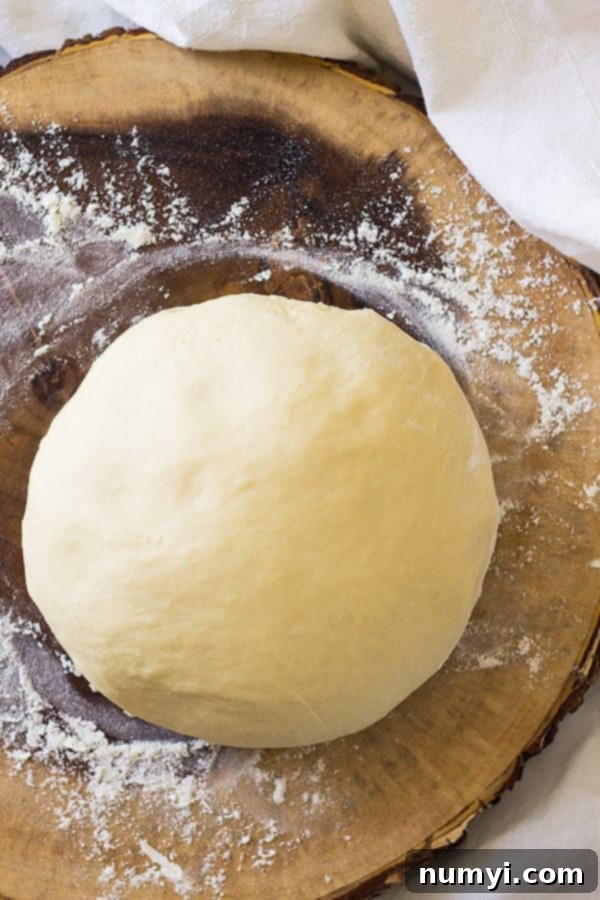
The Ultimate Easy Homemade Pizza Dough Recipe: Just 6 Ingredients for Perfect Pizza Night
Unlock the secret to the best pizza night at home with this incredibly easy, budget-friendly homemade pizza dough. Requiring only 6 simple ingredients, this recipe consistently delivers a perfect, flavorful crust that will make you ditch store-bought dough forever!
For years, I’ve been refining this homemade pizza dough recipe, and it has truly become my ultimate go-to. It’s the foundation for countless memorable pizza nights, consistently delivering a crust that’s superior to anything you can buy at the store. This perfected recipe is not just for amazing pizzas like my Chicken Bacon Ranch Pizza or a classic Three Cheese Pizza, but it’s also fantastic for creating delicious Cheese Bread Sticks or even calzones!

*Originally published March 2017. This content has been updated with new photos, expanded text, and refined recipe details to enhance your baking experience.*
Why Choose Homemade Pizza Dough Over Store-Bought?
Many of you might wonder why bother making pizza dough from scratch when readily available options line grocery store shelves. The answer is simple yet profound: once you taste homemade, you’ll never look back. The difference in flavor, texture, and overall quality is undeniable. Store-bought dough often lacks the nuanced flavors that develop during a proper yeast rise, and its texture can be dense or bland. Homemade dough, on the other hand, offers:
- Superior Flavor: The slow fermentation process in homemade dough creates complex, yeasty notes that elevate your pizza from good to extraordinary.
- Perfect Texture: Achieve your ideal crust – whether you prefer it thin and crispy, or thick and chewy – with a dough that’s pliable and easy to work with.
- Control Over Ingredients: You know exactly what goes into your dough. No preservatives, artificial flavors, or unnecessary additives.
- Cost-Effectiveness: Making dough from basic pantry staples is significantly cheaper than buying pre-made versions, especially if you enjoy pizza frequently.
- A Rewarding Experience: There’s immense satisfaction in creating something delicious from scratch. The aroma of fresh dough rising is an experience in itself!
It’s truly not as daunting as it seems, and this comprehensive guide is designed to give you all the confidence and knowledge you need to master your own homemade pizza dough.
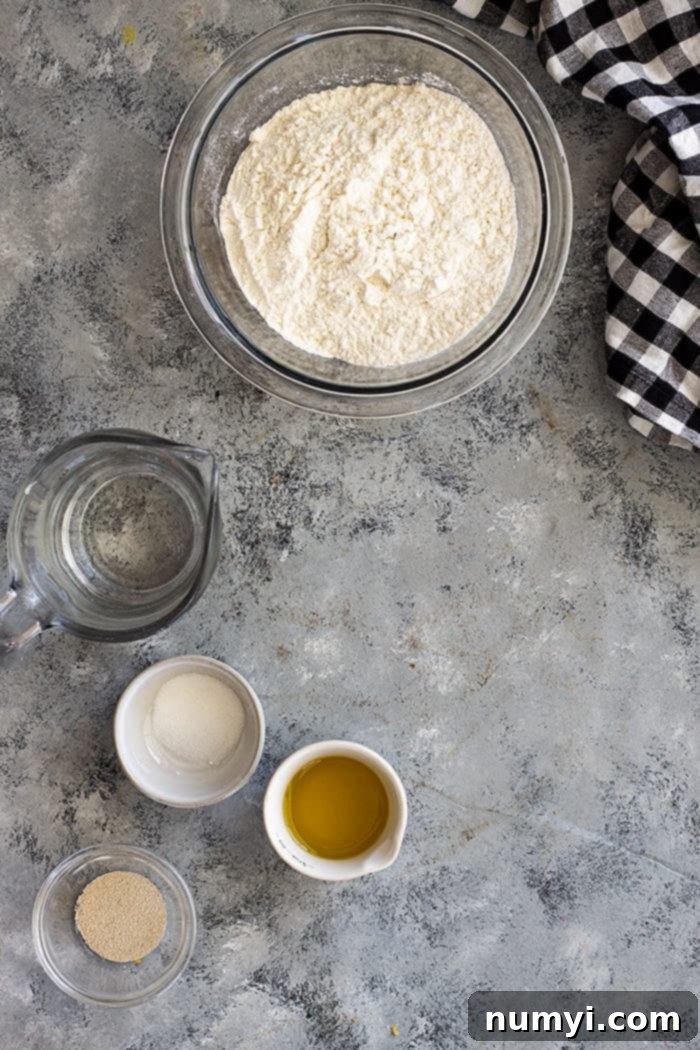
Understanding Your 6 Homemade Pizza Dough Ingredients:
This simple pizza dough recipe relies on just six essential ingredients, each playing a crucial role in creating the perfect crust. Let’s delve into what each component brings to the table:
- Flour: The backbone of your dough. You have two excellent options here.
- All-purpose flour: A readily available choice that produces a perfectly good pizza crust.
- Bread flour: My preferred option. It has a higher protein content, which leads to greater gluten development, resulting in a chewier, more structured crust. If you’re aiming for that classic pizzeria texture, bread flour is the way to go. However, always feel free to use what you have on hand; both will work beautifully.
- Yeast: The magical leavening agent that makes your dough rise and gives it that characteristic airy texture and yeasty flavor.
- This recipe works perfectly with both **active dry yeast** and **instant (or rapid rise) yeast**.
- If using active dry yeast, it generally requires a bit more time to “proof” or activate and rise, but the final result is just as delicious. Instant yeast, as its name suggests, is quicker and can often be mixed directly with the dry ingredients.
- I personally prefer Red Star All Natural Yeast because it contains no added ingredients, ensuring a pure, natural flavor profile.
- Water: Essential for hydrating the flour and activating the yeast.
- The temperature of your water is critical: aim for 110-115 degrees F (43-46 degrees C). This warmth is perfect for waking up the yeast without killing it. Too cold, and the yeast won’t activate; too hot, and it will die.
- For a slightly richer and softer crust, you can substitute the water with an equal amount of milk.
- Oil: I recommend using **extra virgin olive oil**.
- It imparts a lovely, subtle flavor to the dough, complementing your pizza toppings.
- Beyond flavor, olive oil contributes to the dough’s tenderness and helps create a beautiful golden-brown crust during baking. It also makes the dough easier to handle.
- Sugar: Just a small amount is needed.
- Its primary role is to act as food for the yeast, giving it a boost to start the fermentation process.
- It also aids in browning the crust, contributing to that appealing golden hue.
- Salt: A vital ingredient in yeast baking.
- While sugar feeds the yeast, salt helps to regulate its activity, ensuring a steady and controlled rise. This slow and steady fermentation is key to developing that distinct, rich homemade flavor.
- Salt also strengthens the gluten structure in the dough, improving its elasticity and chewiness. And, of course, it enhances the overall flavor of your crust, preventing it from tasting bland.
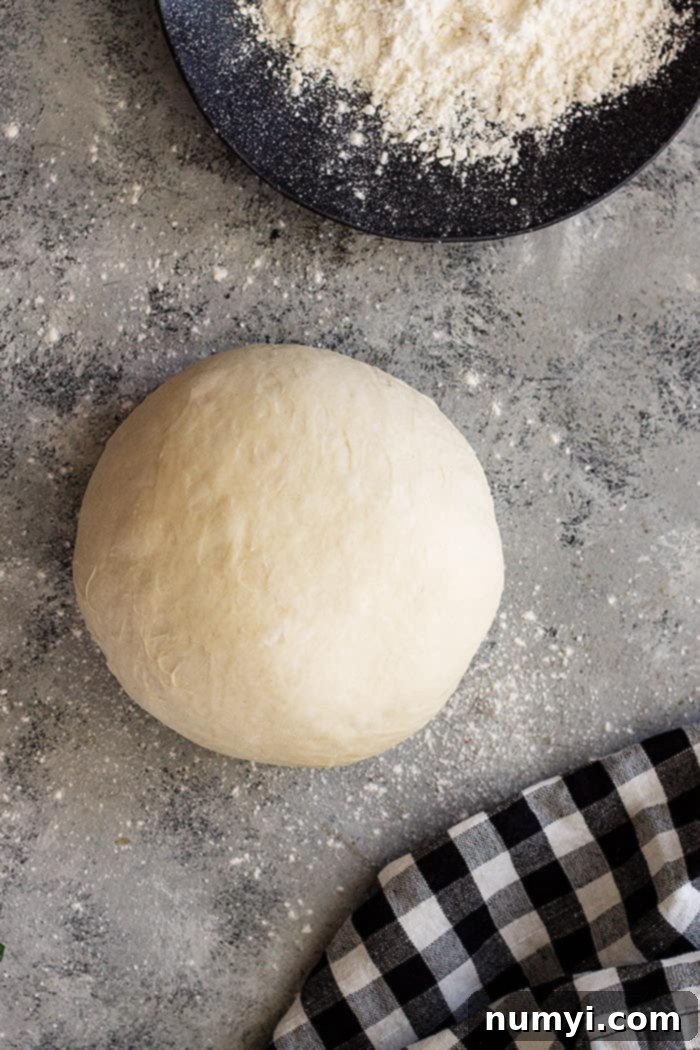
How to Master Homemade Pizza Dough: A Step-by-Step Guide
Making pizza dough from scratch is a straightforward process that anyone can master. Follow these simple steps for a perfect, flavorful crust every time:
- Combine Dry Ingredients: In a large mixing bowl (or the bowl of your stand mixer), whisk together the flour, sugar, salt, and yeast. This ensures even distribution of all the dry components.
- Add Wet Ingredients & Mix: Pour in the warm water and olive oil. If using a stand mixer, attach the dough hook and mix on low speed until all ingredients are thoroughly combined and a shaggy dough forms. If mixing by hand, use a sturdy spoon or your hands until everything comes together.
- Knead the Dough: Kneading is crucial for developing the gluten structure, which gives your pizza crust its chewiness and elasticity.
- With a Stand Mixer: Increase the speed to low-medium and knead for 8-10 minutes. The dough should become smooth, elastic, and pull away from the sides of the bowl.
- By Hand: Turn the dough out onto a lightly floured surface and knead for about 10-15 minutes, pushing and folding until it’s smooth and springy. You can watch a helpful video on how to knead by hand if you’re new to it.
- The dough should be only slightly tacky to the touch. If it’s too sticky, add a tiny bit more flour, one teaspoon at a time. If it’s too dry, add a few drops of water.
- First Rise (Proofing): Lightly grease a clean mixing bowl with olive oil. Place the dough ball in the bowl, turning it once to coat. Cover the bowl loosely with plastic wrap or a clean kitchen towel.
- Set the bowl in a warm, draft-free place (a slightly warmed, turned-off oven works perfectly). Let it rise until it has doubled in size, which usually takes 45-90 minutes, depending on the warmth of your environment and the type of yeast used.
- Make-Ahead Option: For enhanced flavor, let the dough rise for about 30 minutes at room temperature, then place it in the refrigerator for up to 24 hours. Remember to remove it 2-3 hours before you plan to use it to allow it to come to room temperature and relax.
- Punch Down & Shape: Once doubled, gently punch down the dough to release the air bubbles. This redistributes the yeast and prepares the dough for shaping.
- Turn the dough out onto a lightly floured surface and form it into a smooth ball.
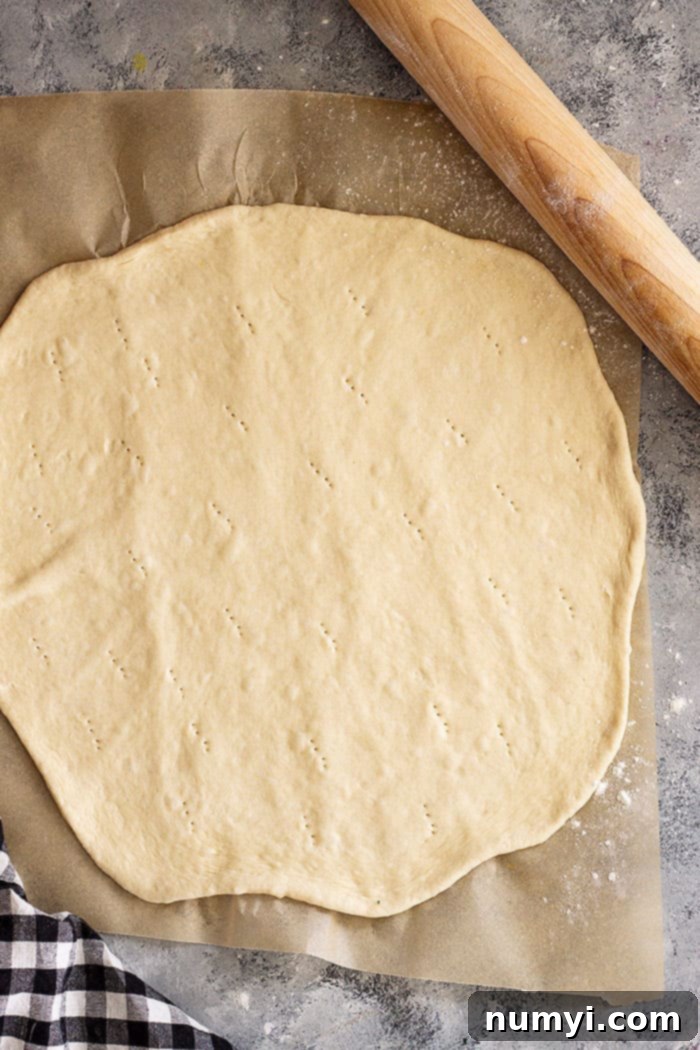
- Roll or stretch the dough out into a 12 to 14-inch circle, or your desired shape and thickness. If the dough resists and shrinks back, cover it and let it rest for 10-15 minutes before continuing. This allows the gluten to relax.
- Prepare for Toppings: Carefully transfer the shaped dough to a lightly greased pizza pan, baking sheet, or preheated pizza stone.
- Pierce the dough numerous times with a fork across the entire surface. This crucial step prevents large air bubbles from forming and ensures an even crust.
- Top & Bake: Now comes the fun part! Spread your favorite homemade pizza sauce over the dough, add your preferred cheese, and load up with your favorite pizza toppings. Bake according to your pizza recipe’s instructions (typically in a very hot oven, around 450-500°F or 230-260°C, for 10-15 minutes).
Freezer Friendly: Prepare Ahead for Instant Pizza Nights!
One of the best features of this homemade pizza dough is how well it freezes. Preparing a double batch means you’re always just a thaw away from a delicious pizza night, saving you time and effort on busy weeknights.
- To Freeze the Pizza Dough: After the dough has completed its first rise and you’ve punched it down, form it into a tight, smooth ball. Lightly coat the entire surface of the dough ball with olive oil to prevent freezer burn. Place it into a freezer-safe plastic bag, pressing out as much air as possible before sealing. Label and date the bag. The dough can be frozen for up to 3 months.
- To Thaw Frozen Pizza Dough: Transfer the frozen dough from the freezer to the refrigerator and let it thaw slowly for 8-10 hours, or overnight. Once thawed, remove it from the refrigerator and allow it to sit at room temperature for 2-3 hours before you plan to use it. This final resting period helps the dough relax and become pliable. After thawing and resting, proceed with step 5 of the instructions (punch down and roll out).

Pro Baker’s Tips for the Perfect Pizza Dough:
Elevate your pizza dough game with these expert tips, ensuring a consistently excellent crust every time:
- Dough Shrinking Back? Let it Rest! If you’re struggling to roll or stretch your dough because it keeps springing back, it means the gluten is too tight. Simply cover the dough and let it rest for 15 minutes at room temperature. This allows the gluten strands to relax, making the dough much easier to handle and shape without resistance.
- Experiment with “Double Zero” Flour: For an exceptionally silky, tender, and authentic Italian-style crust, try using “00” flour (Doppio Zero). This finely milled Italian flour has a low protein content and a very fine texture, which helps prevent the dough from shrinking back and results in a wonderfully delicate crust. You can often find it online or at specialty Italian markets.
- The Magic of Cold Fermentation: Allowing your dough to sit in the refrigerator overnight (after a brief initial rise) is a game-changer for flavor. The slow, cold fermentation process develops more complex and nuanced flavors in the dough, mimicking the taste of artisan bakery bread. It’s a simple step that yields incredible results.
- Amp Up the Flavor: Don’t hesitate to customize your dough! Incorporate dried herbs like oregano, basil, or Italian seasoning, or add a teaspoon of garlic powder to the flour mixture. These additions infuse the crust with extra aromatic depth, complementing your pizza toppings beautifully.
- Troubleshooting Dough that Won’t Rise: If your dough isn’t rising, the most common culprits are old or inactive yeast, or water that was too hot (killing the yeast) or too cold (not activating it). Ensure your yeast is fresh, and always check your water temperature with a thermometer.
- Preheat Your Oven (and Stone!): For a crispy crust, a hot oven is key. If using a pizza stone or steel, place it in the oven while it preheats and let it get scorching hot. This creates a blast of heat from underneath, replicating a professional pizza oven.
- Don’t Over-Flour: While a lightly floured surface is necessary for handling, excessive flour can make your dough tough and dry. Use just enough to prevent sticking.
HUNGRY FOR MORE? Don’t miss out on delicious recipes and baking tips! Subscribe to my newsletter and follow along on Pinterest, Facebook, and Instagram for all my latest updates and culinary adventures!
Homemade Pizza Dough
1
pound of dough (enough for 1 (14″) pizza)
Malinda Linnebur
15
mins
45
mins
1
hr
Ingredients
- 2¼ cups (380g) all-purpose flour or bread flour
- 1 teaspoon sugar
- 1½ teaspoons salt
- 1 teaspoon active dry yeast
- ¾ cup (180ml) warm water (about 110°F / 43-46°C)
- 3 tablespoon extra virgin olive oil
Instructions
-
In the bowl of your stand mixer (or a large mixing bowl), combine the flour, sugar, salt, and yeast. Attach the dough hook (if using a mixer) and add in the warm water and olive oil. Mix on low speed until everything is well combined and a shaggy dough forms.
-
Once combined, continue to mix on low speed (or knead by hand on a lightly floured surface) for 10 minutes. The dough should become smooth and elastic, and only slightly tacky to the touch. If it’s too sticky, add a small amount of flour at a time until it’s more manageable. If too dry, add a few drops of water.
-
Lightly coat a large bowl with olive oil and place the dough in the bowl, turning once to coat the entire surface. Cover the bowl loosely with plastic wrap or a clean kitchen towel and set it in a warm, draft-free place to rise until doubled in size (typically 45-90 minutes). A slightly warmed, turned-off oven makes an ideal spot for rising.
-
Gently punch down the dough to release the air bubbles and reshape it into a ball. At this stage, your dough is ready to be used, frozen, or refrigerated. Refer to the notes below for detailed freezing or make-ahead instructions.
-
If using immediately, place your dough on a lightly floured surface and roll or stretch it to a 12-14 inch circle (or your desired shape). Carefully transfer it to a lightly greased pizza pan or a preheated pizza stone. Pierce the dough numerous times with a fork to prevent large air bubbles. Top with your favorite pizza sauce and toppings, then bake according to your preferred pizza recipe.
Notes
- Freezer Friendly: To freeze the pizza dough: After the dough has risen and been punched down, form it into a ball. Lightly coat with olive oil, place in a freezer-safe bag, remove as much air as possible, and freeze for up to 3 months. To thaw frozen pizza dough: Transfer to the refrigerator for 8-10 hours. Remove from the refrigerator 2-3 hours before use to come to room temperature, then continue with instruction step 5.
- Make-Ahead (Refrigerate): For an overnight rise, let the dough rise for about 30 minutes at room temperature, then place it in a lightly oiled, covered bowl in the refrigerator for up to 24 hours. If storing in the refrigerator, remove 2-3 hours before you want to serve your pizza to allow it to come to room temperature and relax.
- Nutrition facts: Since different brands of ingredients have varying nutritional information, the provided data is an estimate. The nutrition is calculated for the entire crust. To determine per slice, divide by the number of slices you make.
Nutrition
