Irresistible Maple Almond Granola: Your Guide to Crunchy Homemade Perfection
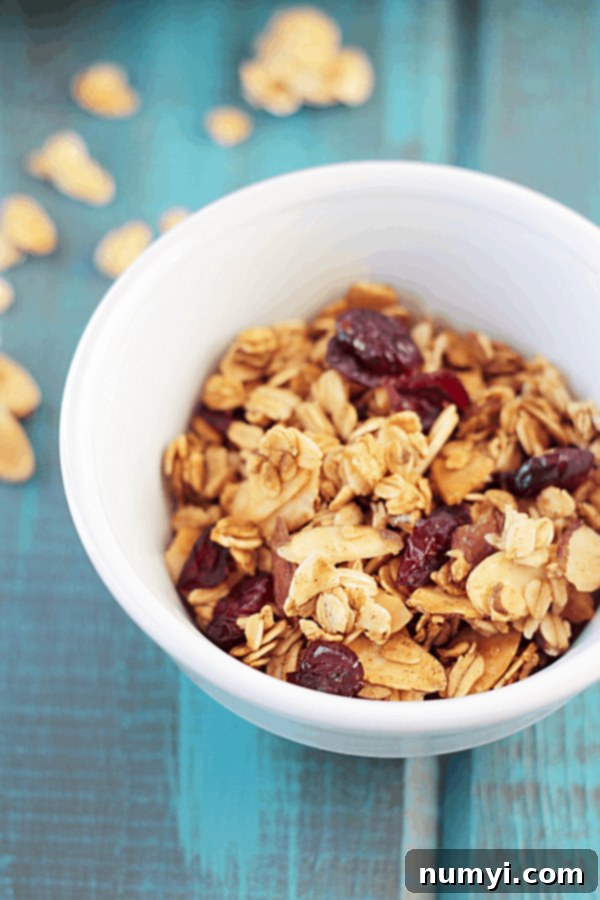
Discover the ultimate **homemade granola recipe** that will transform your breakfasts and snack times! This incredible maple almond granola is crafted with care, featuring **toasted almond slices** and hearty **old-fashioned oats** generously coated in the rich sweetness of **pure maple syrup**. Once baked to a golden crisp, it’s ready to be blended with your favorite dried fruits for an extra burst of flavor and texture. Perfect for sprinkling over creamy yogurt, elevating a scoop of ice cream, or simply enjoying by the handful, this recipe offers a delicious and healthy treat. Prepare a big batch ahead of time – it freezes beautifully – ensuring you always have a wholesome, quick-grab snack at your fingertips.

Why You’ll Fall in Love with This Homemade Granola Recipe
There’s a special joy that comes from making your own granola, and experiencing its freshly baked aroma filling your home is truly a luxury. This homemade maple almond granola recipe isn’t just easy to make; it’s a genuinely healthy and comforting option, made with wholesome ingredients you can easily pronounce and trust. Unlike many store-bought varieties, you maintain complete control over what goes into your bowl, allowing you to customize it with your favorite nuts, spices, and dried fruits, free from hidden oils or excessive sugars.
The moment this maple almond granola starts baking, your kitchen will be enveloped in an absolutely incredible scent. The warm, inviting aroma of toasted almonds and sweet cinnamon creates an ambiance that’s both cozy and irresistibly hunger-inducing. It’s more than just food; it’s an experience that evokes warmth and homeliness.
This particular recipe builds upon a cherished family tradition – my grandma’s original granola base. To elevate it further and achieve those coveted, extra-crunchy clusters we all adore, I incorporated a secret ingredient: whipped egg whites. This simple addition not only enhances the texture but also provides a little extra protein. The versatility of this homemade granola is astounding; it can be enjoyed in countless creative ways. Let’s explore some of my favorite ideas!
Creative Ways to Enjoy Your Homemade Maple Almond Granola
Once you’ve experienced the delightful crunch and flavor of your freshly baked maple almond granola, you’ll find endless possibilities for incorporating it into your daily meals and snacks. Here are some fantastic ways to enjoy this versatile treat:
- **Granola Bars:** Use this maple almond granola as the perfect foundation for crafting your own healthy homemade granola bars, like this delightful almond granola bar. It’s an ideal on-the-go snack.
- **Fruity Sandwiches:** Elevate your snack game by using it in these innovative apple peanut butter granola sandwiches. The crunch of the granola complements the smooth peanut butter and crisp apple beautifully.
- **Topping for Grilled Peaches:** I adore making juicy grilled peaches and finding something crunchy to top them with. This granola adds a wonderful texture contrast and a hint of sweetness that’s truly divine.
- **Ice Cream Sundae Topping:** Take your dessert to the next level! Add a scoop of ice cream to those grilled peaches and granola, or simply use the granola as a scrumptious topping for any ice cream sundae.
- **Classic Yogurt Parfait:** Yogurt and granola remain a classic pairing for a reason – it’s a wholesome, satisfying, and quick breakfast or snack. You can even take it a step further and make your own yogurt at home for an extra fresh experience!
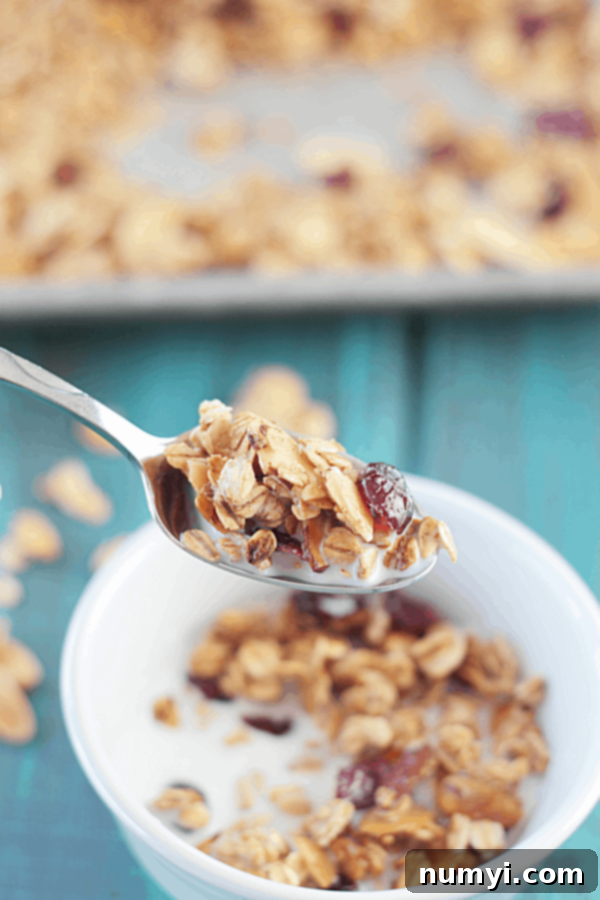
- **With Milk for a Quick Breakfast:** When you’re in a rush, a simple bowl of your maple almond granola with milk is incredibly satisfying. While animal milk is great, imagine the synergistic flavors of this specific granola with some creamy almond milk! Absolutely delicious!
- **Crisp Topping:** Enhance fruit crisps with a homemade touch! Use this granola to make a comforting strawberry crisp or a delightful blueberry crisp, adding an extra layer of flavor and crunch.
- **Thanksgiving Stuffing Twist:** For a truly unique culinary adventure, some people substitute breadcrumbs in stuffing with granola. The sweet and savory notes of this maple almond granola would lend themselves exceptionally well to a festive Thanksgiving stuffing, adding an unexpected, delightful dimension.
- **Homemade Gift:** Share the joy of homemade goodness! Package your delicious granola beautifully and give it as a thoughtful DIY gift to friends and family.
Key Wholesome Ingredients for Maple Almond Granola
One of the most appealing aspects of this granola, beyond its incredible taste, is its pure and wholesome composition. You can indulge in this delightful treat with complete confidence, knowing exactly what’s in it. There are no mysterious additives, unhealthy hidden oils, or excessive refined sugars here – just simple, natural ingredients that come together to create something truly special. Each component plays a crucial role in delivering the perfect texture, flavor, and nutritional balance.
- **Old-Fashioned Oats:** The hearty base of our granola, providing fiber and a satisfying chew.
- **Sliced Almonds:** Toasted to perfection, they add a delightful crunch and nutty flavor, complementing the maple syrup beautifully.
- **Cinnamon:** A warm, comforting spice that enhances the overall aroma and taste profile.
- **Salt:** Just a pinch to balance the sweetness and bring out the flavors of the other ingredients.
- **Honey:** Adds natural sweetness and contributes to the granola’s beloved clumping.
- **Coconut Oil:** Provides richness and helps achieve that golden-brown, crispy texture.
- **Maple Syrup:** The star sweetener, offering a distinctive, rich, and natural sweetness that defines this granola.
- **Egg White:** My secret ingredient for creating those wonderfully crunchy, satisfying clusters.
- **Dried Fruit:** (Optional, but highly recommended!) Choose your favorite – cranberries, raisins, apricots. Remember to chop larger pieces into smaller, bite-sized bits for even distribution and easier eating.

Step-by-Step Guide: How To Make Perfect Homemade Granola
Making your own granola is a surprisingly simple process, and the rewards—a house filled with a delightful aroma and a batch of fresh, crunchy granola—are well worth the effort. Follow these easy steps to create your own irresistible maple almond granola.
Step 1: Preheat Your Oven
Begin by preheating your oven to 300 degrees F (approximately 150 degrees C). Allowing the oven to reach the correct temperature beforehand ensures that your granola bakes evenly and achieves that perfect golden crispness from the start. This prevents it from drying out or cooking inconsistently.
Step 2: Combine the Dry Ingredients
In a large mixing bowl, combine the foundation of your granola: the old-fashioned oats, sliced almonds, ground cinnamon, and a delicate pinch of salt. Stir these ingredients thoroughly until they are well combined. Ensuring an even distribution of spices and salt now will guarantee consistent flavor throughout your finished granola.
Step 3: Prepare and Add the Wet Ingredients
In a separate, smaller bowl, gently melt the coconut oil in the microwave until it’s just warm and liquid, but not hot. Once melted, add in the pure maple syrup, honey, and a teaspoon of vanilla extract. Stir this mixture well until all the liquid ingredients are thoroughly incorporated. Pour this fragrant wet mixture over the dry oat mixture in the large bowl, and stir carefully but completely until all the oats and almonds are evenly coated. This sticky coating is what will bind everything together and give your granola its signature sweetness.
Step 4: Incorporate Egg White and Bake to Perfection
In another small, clean bowl, whisk the egg white until it becomes light and frothy. This frothy texture is key to creating those delightful clusters. Gently fold the whisked egg white into the oat mixture, stirring just enough to combine without deflating the egg white completely. Pour the entire granola mixture onto a large baking sheet, spreading it out into a single, even layer. Bake the granola for 35-40 minutes, making sure to gently stir it halfway through the baking time. This stirring prevents burning and promotes uniform crispness. During the last 10 minutes, keep a close eye on your granola, as it can brown quickly. You’re looking for a beautiful golden-brown color.
Step 5: Cool Completely and Add Dried Fruit
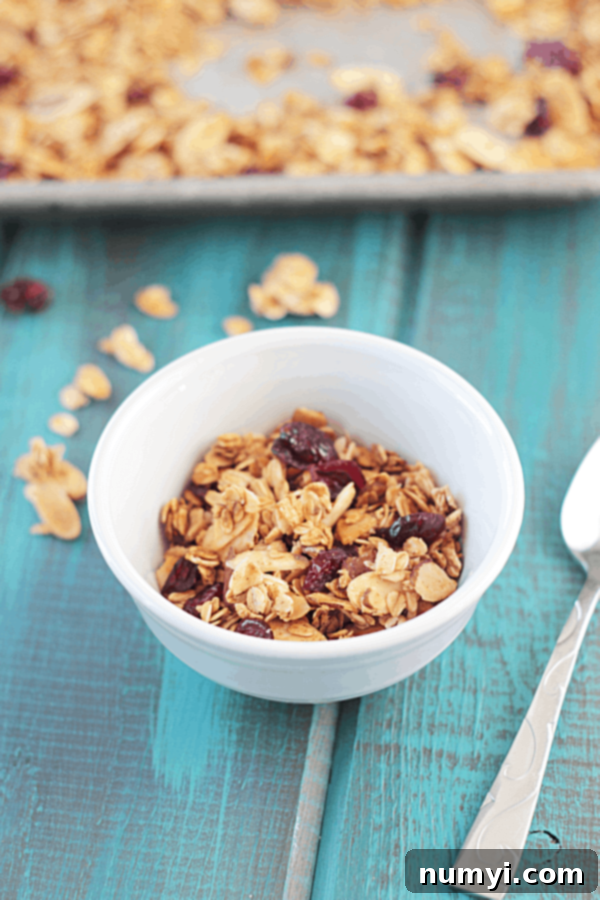
Once your granola is beautifully golden and fragrant, remove it from the oven. This step is crucial for achieving maximum crunch: allow the granola to cool completely on the baking sheet before attempting to move it or add any dried fruit. As it cools, it will crisp up significantly. Only once it’s entirely cool, gently break it into clusters and then stir in your chosen dried fruit. Adding dried fruit while the granola is still warm can make it soft and chewy, so patience is key here!
Step 6: Proper Storage
After your homemade granola has cooled completely and the dried fruit has been added, it’s ready for storage. Proper storage will keep it fresh and crunchy for longer. You can store it and enjoy it in a multitude of delicious ways, ensuring you always have a healthy snack on hand!
Frequently Asked Questions About Homemade Granola
New to making granola at home? Or just have some lingering questions? Here are answers to common questions about homemade granola, helping you master this delightful recipe.
Absolutely, making your granola at home is almost always more cost-effective in the long run. While the initial grocery trip for ingredients might seem a bit pricier than buying a single bag of store-bought granola, you’ll find that those ingredients yield significantly more product – often three or even more batches! This translates to considerable savings per serving, especially when considering the premium prices of high-quality, artisanal granolas on the market. Plus, you control the quality and freshness of every component.
Several factors contribute to homemade granola’s irresistible crunch. The primary one is, of course, the baking process itself, which dries out the oats and nuts, making them crisp. However, my secret weapon for achieving that extra-crunchy, cluster-filled texture is the addition of an egg white. When whisked until frothy and then baked, the egg white helps bind the ingredients together tightly, creating those delightful, satisfyingly crunchy clumps. As an added bonus, it subtly boosts the protein content too! Ensuring the granola cools completely on the baking sheet also plays a crucial role in its final crispness.
The delightful clumping in granola largely comes from sticky sweeteners that caramelize during baking. In this particular recipe, the primary culprits for binding everything into mouthwatering clusters are the pure maple syrup and honey. These natural sweeteners not only impart their delicious flavors but also act as a natural adhesive. When combined with the frothy egg white, which provides additional binding power and structure, they create those wonderful, crunchy clusters that make homemade granola so enjoyable. These sticky elements, once cooled, solidify to form those perfect, easy-to-grab clumps.
While I prefer not to label foods as inherently “good” or “bad,” homemade granola does tend to be a healthier option in most cases. The key advantage is transparency and control. When you make granola at home, you can meticulously control the amount and type of sugar you add, opting for natural sweeteners like maple syrup and honey over refined sugars. You also avoid the unhealthy oils (like palm or highly processed vegetable oils) and artificial additives often found in commercial granolas. This allows you to create a product that aligns perfectly with your dietary preferences and health goals, making it a truly wholesome choice.
To maintain its freshness and satisfying crunch, ensure your granola is completely cooled before storing it. Once fully cooled, transfer it to an airtight container and keep it at room temperature, where it will stay delicious for up to two weeks. For a much longer shelf life, you can also store it in the freezer for several months. When you’re ready to enjoy it from the freezer, simply allow it to defrost overnight at room temperature. Remember, it is absolutely essential that the granola is completely cool before storing; any residual warmth or moisture will lead to condensation and cause it to go stale or spoil quickly.
Explore More Granola Recipes to Try
If you’ve loved this maple almond granola, you’re in for a treat! The world of homemade granola is vast and full of delicious possibilities. Expand your repertoire and discover new favorite flavors with these exciting recipes:
- These chewy peanut butter granola bars are the perfect grab-and-go snack for busy mornings or an afternoon energy boost!
- Indulge in the golden goodness of honey almond granola, fantastic with some Greek yogurt and a generous drizzle of extra honey.
- There’s simply nothing like the classic and comforting combination of a rich chocolate peanut butter granola – a decadent yet wholesome treat!
- For a truly seasonal delight, our crunchy pumpkin granola is the ideal choice for embracing the cozy flavors of the fall season.
HUNGRY FOR MORE? Don’t miss out on any of my latest recipes and kitchen tips! Subscribe to my newsletter and follow along on Pinterest, Facebook, and Instagram for all my latest updates!
Maple Almond Homemade Granola Recipe

Ingredients
- 4 cups old fashioned oats
- 1 cup sliced almonds
- 1/2 teaspoon cinnamon
- pinch of salt
- 1/4 cup oil I used coconut oil
- 1/3 cup maple syrup
- 1/4 cup honey
- 1 teaspoon vanilla
- 1 egg white
- 1 cup dried fruit if it is in big chucks, chop it to smaller pieces
Instructions
-
Preheat the oven to 300 degrees F.
-
In a large bowl combine the oats, almonds, cinnamon and salt.
-
In a small bowl melt the or heat the oil in the microwave just until warm. Add in the maple syrup, honey and vanilla. Pour over the oat mixture and stir to combine.
-
In a small bowl whisk the egg white until frothy and pour over the oat mixture. Stir to combine. Pour onto a baking sheet and spread into an even layer. Bake for 35-40 minutes gently stirring half way through. Watch carefully the last 10 minutes so it doesn’t burn.
-
Let granola cool completely before removing from the pan and adding in the dried fruit.
-
Store in an airtight container for up to 1 week or in the freezer for a longer period of time.
Notes
Make sure the granola is completely cool before storing. Any excess moisture will cause it to go bad quickly.
