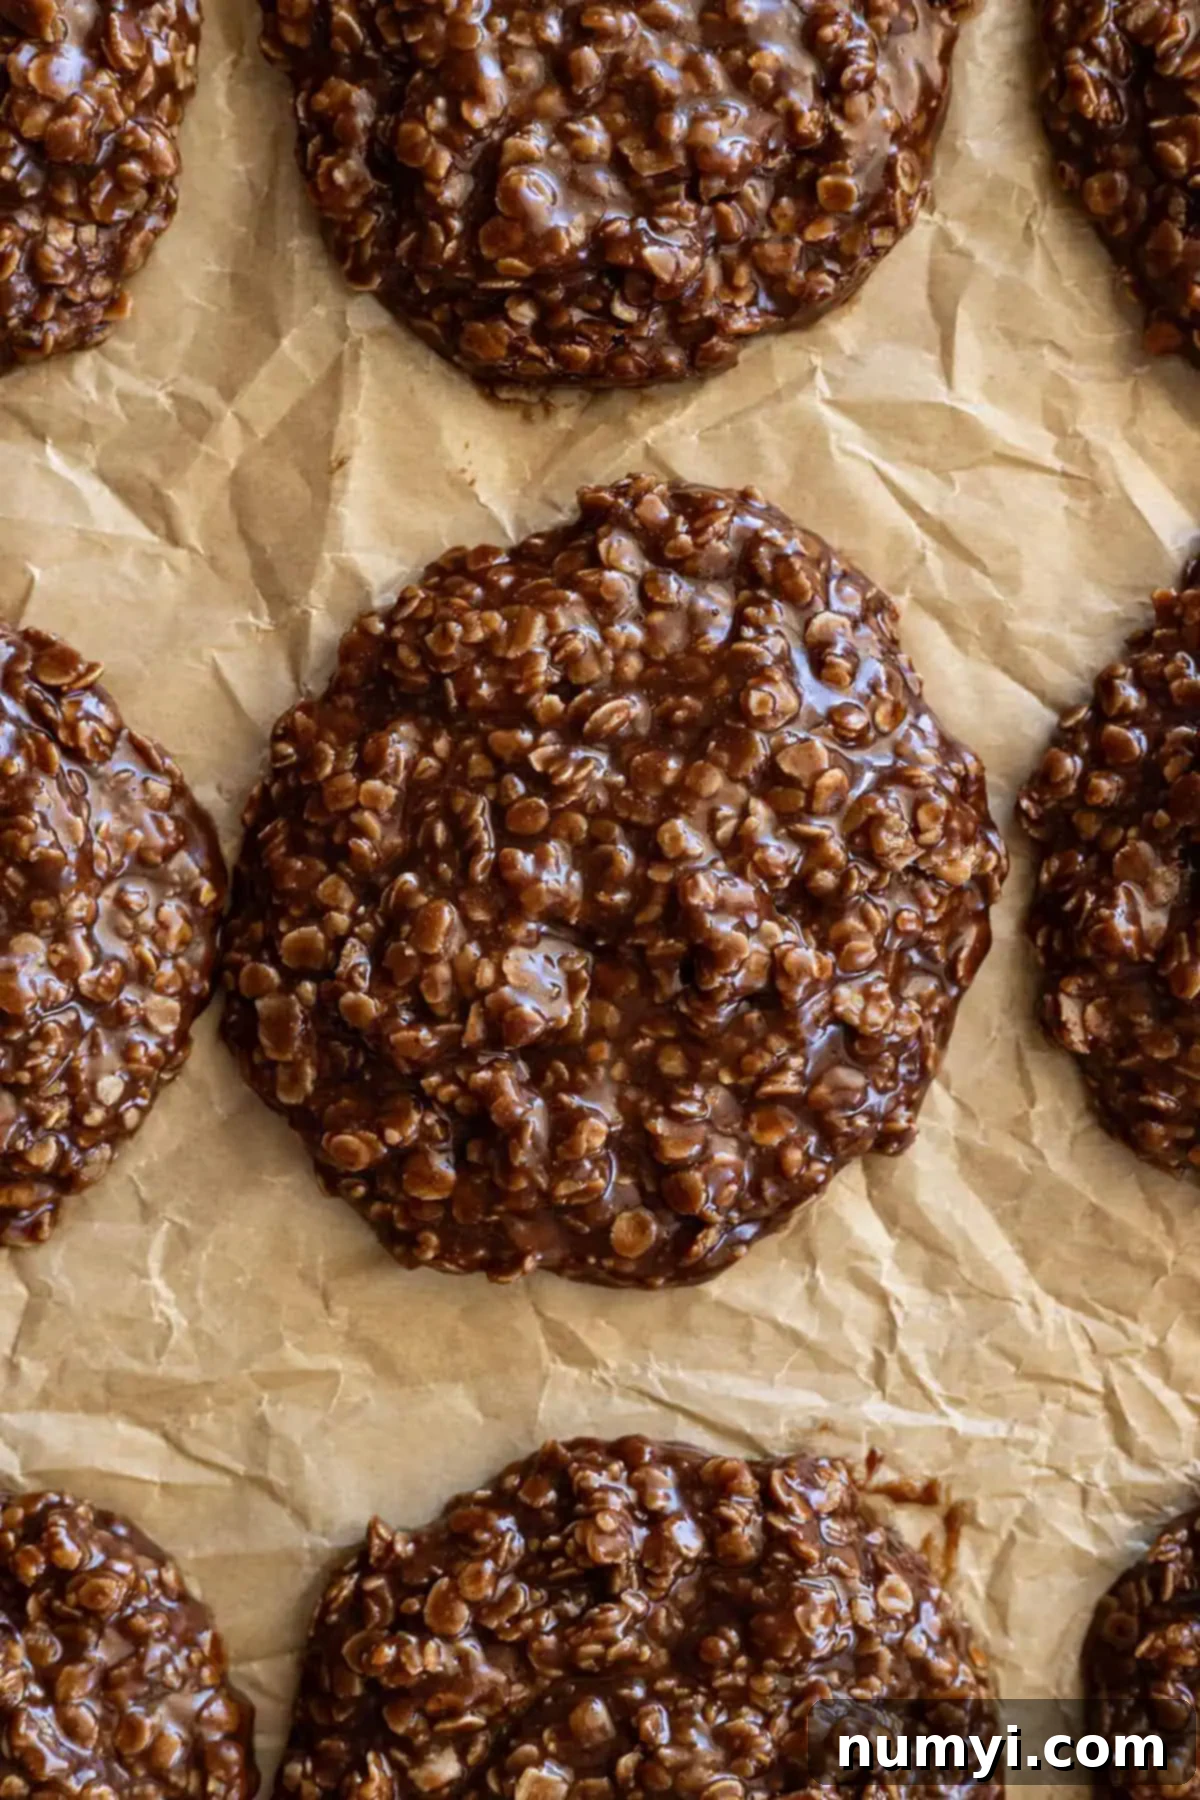
Nostalgic No-Bake Chocolate Peanut Butter Cookies: The Easiest Recipe for a Classic Treat
Step back in time and rekindle cherished childhood memories with these irresistibly simple No-Bake Chocolate Peanut Butter Cookies. Boasting that perfect blend of rich chocolate and creamy peanut butter, they’re not just a dessert; they’re a delightful journey back to simpler times. Whether you’re looking for a quick after-school snack, a surprise treat in a lunchbox, or a universally loved dessert for your next gathering, these cookies are guaranteed to bring smiles to faces, young and old alike.
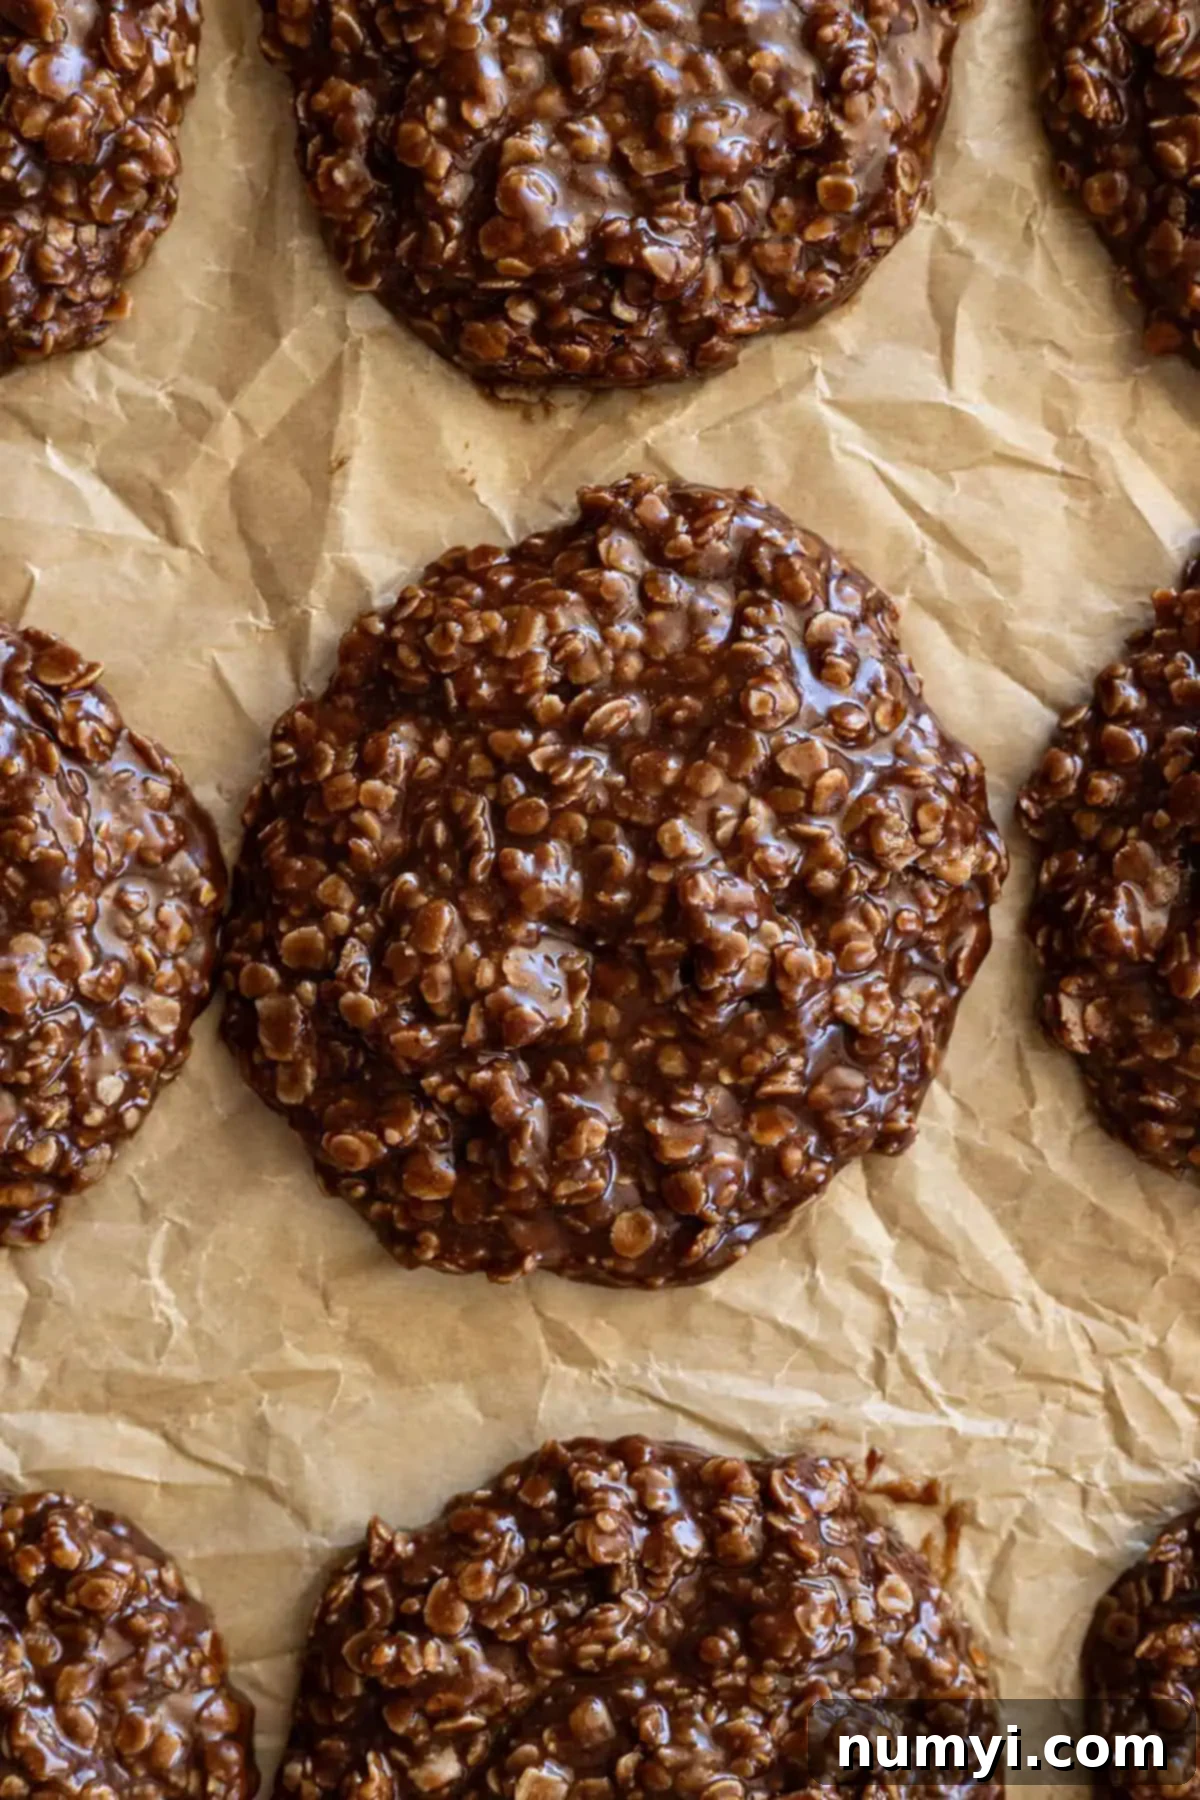
These classic no-bake chocolate peanut butter cookies hold a special place in my heart, as they were one of the very first recipes I ever learned to make. Their sheer simplicity makes them an absolute dream for aspiring young chefs, as they require no oven and minimal supervision. The magical combination of chocolate and peanut butter is a perennial family favorite in our home, much like our beloved No-Bake Chocolate Peanut Butter Bars, which are often described as tasting just like a homemade Reese’s Peanut Butter Cup!
This recipe isn’t just easy; it’s a testament to how simple ingredients can come together to create something truly extraordinary. It’s the perfect treat to whip up when you’re short on time but long on cravings for a sweet, comforting bite. The no-bake aspect is a lifesaver, especially during hot summer months when turning on the oven is the last thing you want to do. Get ready to create some delicious memories with this foolproof cookie recipe!
Why These No-Bake Chocolate Peanut Butter Cookies Will Become Your New Favorite:
There are countless reasons why these delightful cookies stand out, making them a top choice for busy weeknights, spontaneous cravings, or planned events. Here’s why this recipe will quickly earn a permanent spot in your recipe collection:
- A Cherished Family Favorite: This isn’t just any recipe; it’s a tried-and-true classic that has delighted generations. Its consistent success and widespread appeal ensure it’s always a crowd-pleaser and a staple in many households.
- Minimal, Everyday Ingredients: You only need 7 straightforward ingredients, and chances are, most of them are already comfortably residing in your pantry. This eliminates the need for special grocery trips, making them incredibly convenient to whip up anytime.
- Effortless Clean-Up: With no baking involved and a process that uses just one saucepan and a mixing bowl, the clean-up is wonderfully minimal. Spend less time scrubbing and more time enjoying your delicious creation!
- Ideal for Any Gathering: These cookies are universally loved! Their simple yet satisfying flavor profile appeals to everyone, from the pickiest toddlers to the most discerning adults, making them a perfect addition to potlucks, parties, or family dinners.
- Freezer-Friendly Convenience: Make a big batch and store them for later! These cookies freeze beautifully, allowing you to have a delicious treat on hand whenever a craving strikes or unexpected guests arrive. Just thaw and enjoy!
- Quick to Prepare: From start to finish, these cookies come together incredibly fast. With just a few minutes of active cooking and a short cooling time, you can have a fresh batch ready to enjoy in under an hour.
- No Oven Required: Perfect for summer or when your oven is already occupied! This no-bake method means you don’t have to heat up your kitchen, making it an energy-efficient and comfortable way to bake.
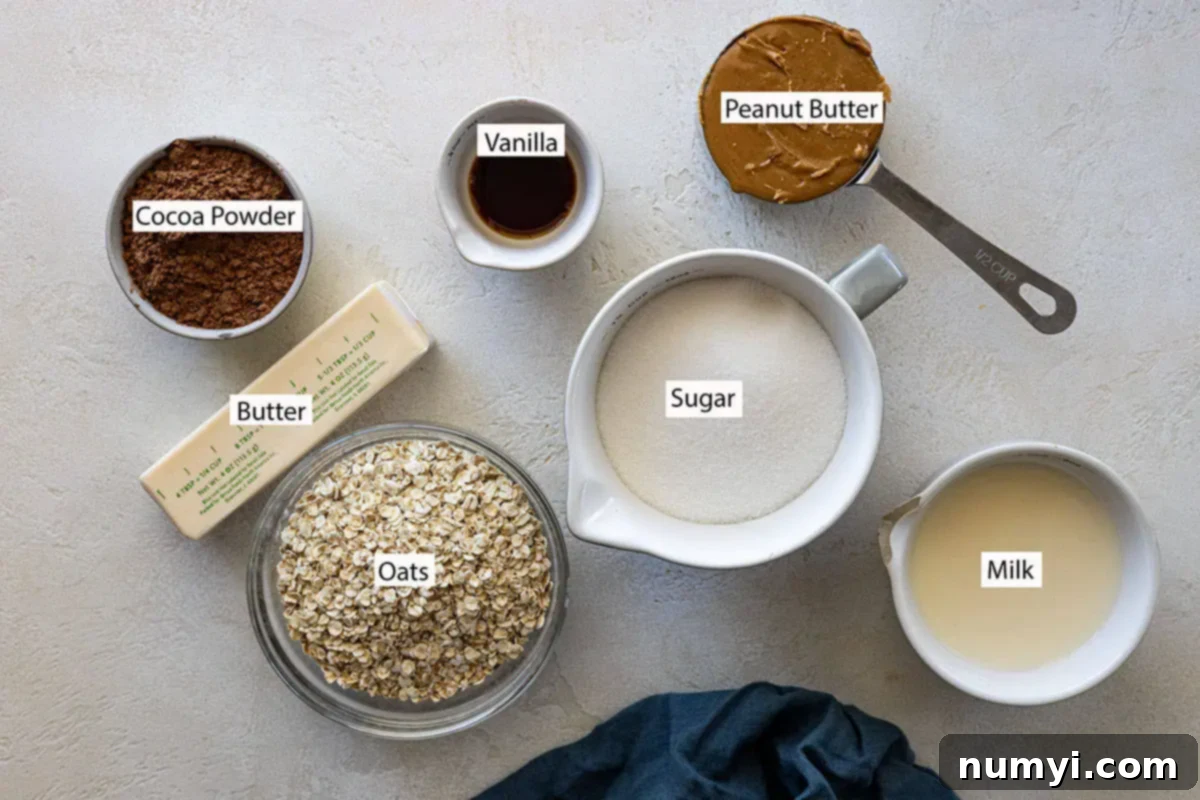
Understanding Your Ingredients: Key Notes for Success
While this recipe prides itself on simplicity, a little insight into each ingredient can significantly elevate your no-bake cookie experience. Below is a quick overview; specific measurements and step-by-step cooking instructions are always found in the printable recipe card at the very bottom of this post.
- OATMEAL: I’ve always achieved fantastic results using quick-cooking oats. They absorb liquid faster and contribute to a softer, chewier cookie. However, if you prefer a cookie with a bit more texture and a heartier chew, you can absolutely substitute old-fashioned rolled oats. Just be aware that old-fashioned oats might require a slightly longer setting time due to their larger flake size. Avoid steel-cut oats, as they won’t soften sufficiently without cooking.
- PEANUT BUTTER: The beauty of this recipe is its flexibility! Both creamy and crunchy peanut butter work wonderfully. My family enjoys both variations, so feel free to use your favorite. If you opt for crunchy peanut butter, I recommend using a generous, *heaping ½ cup* to ensure there’s enough peanut butter to bind the oats and provide that rich flavor without making the cookies too dry. Natural peanut butter can also be used, but you might need to adjust the amount slightly as its oil content can vary. Make sure it’s well-stirred before adding.
- COCOA POWDER: For the classic, rich chocolate flavor we all know and love, stick with natural unsweetened cocoa powder. This type of cocoa powder has a slightly acidic profile that reacts with other ingredients to deepen the chocolate notes. If you’re looking for a more intense, darker chocolate experience, feel free to use dark cocoa powder (often Dutch-processed). The cocoa powder isn’t just for flavor; it also plays a crucial role in thickening the cookie mixture, contributing to the perfect set and texture.
- BUTTER: We use unsalted butter in this recipe, allowing us to control the overall saltiness. If you only have salted butter, you might consider slightly reducing any added salt in the recipe, though typically the amount is small enough it won’t drastically alter the taste. Make sure your butter is cut into pieces for easier melting and even distribution in the saucepan.
- GRANULATED SUGAR: Standard white granulated sugar is essential here. It provides the sweetness and, more importantly, interacts with the other liquids to create the necessary syrup base that helps these cookies set without baking. Do not reduce the sugar significantly, as it affects the texture and setting properties.
- MILK: Any type of milk (dairy or non-dairy, like almond or soy milk) will work for this recipe. The milk provides the liquid needed for the sugar and cocoa to dissolve into a syrup.
- VANILLA EXTRACT: A touch of pure vanilla extract elevates the overall flavor profile, adding warmth and depth that complements both the chocolate and peanut butter beautifully. Don’t skip it!
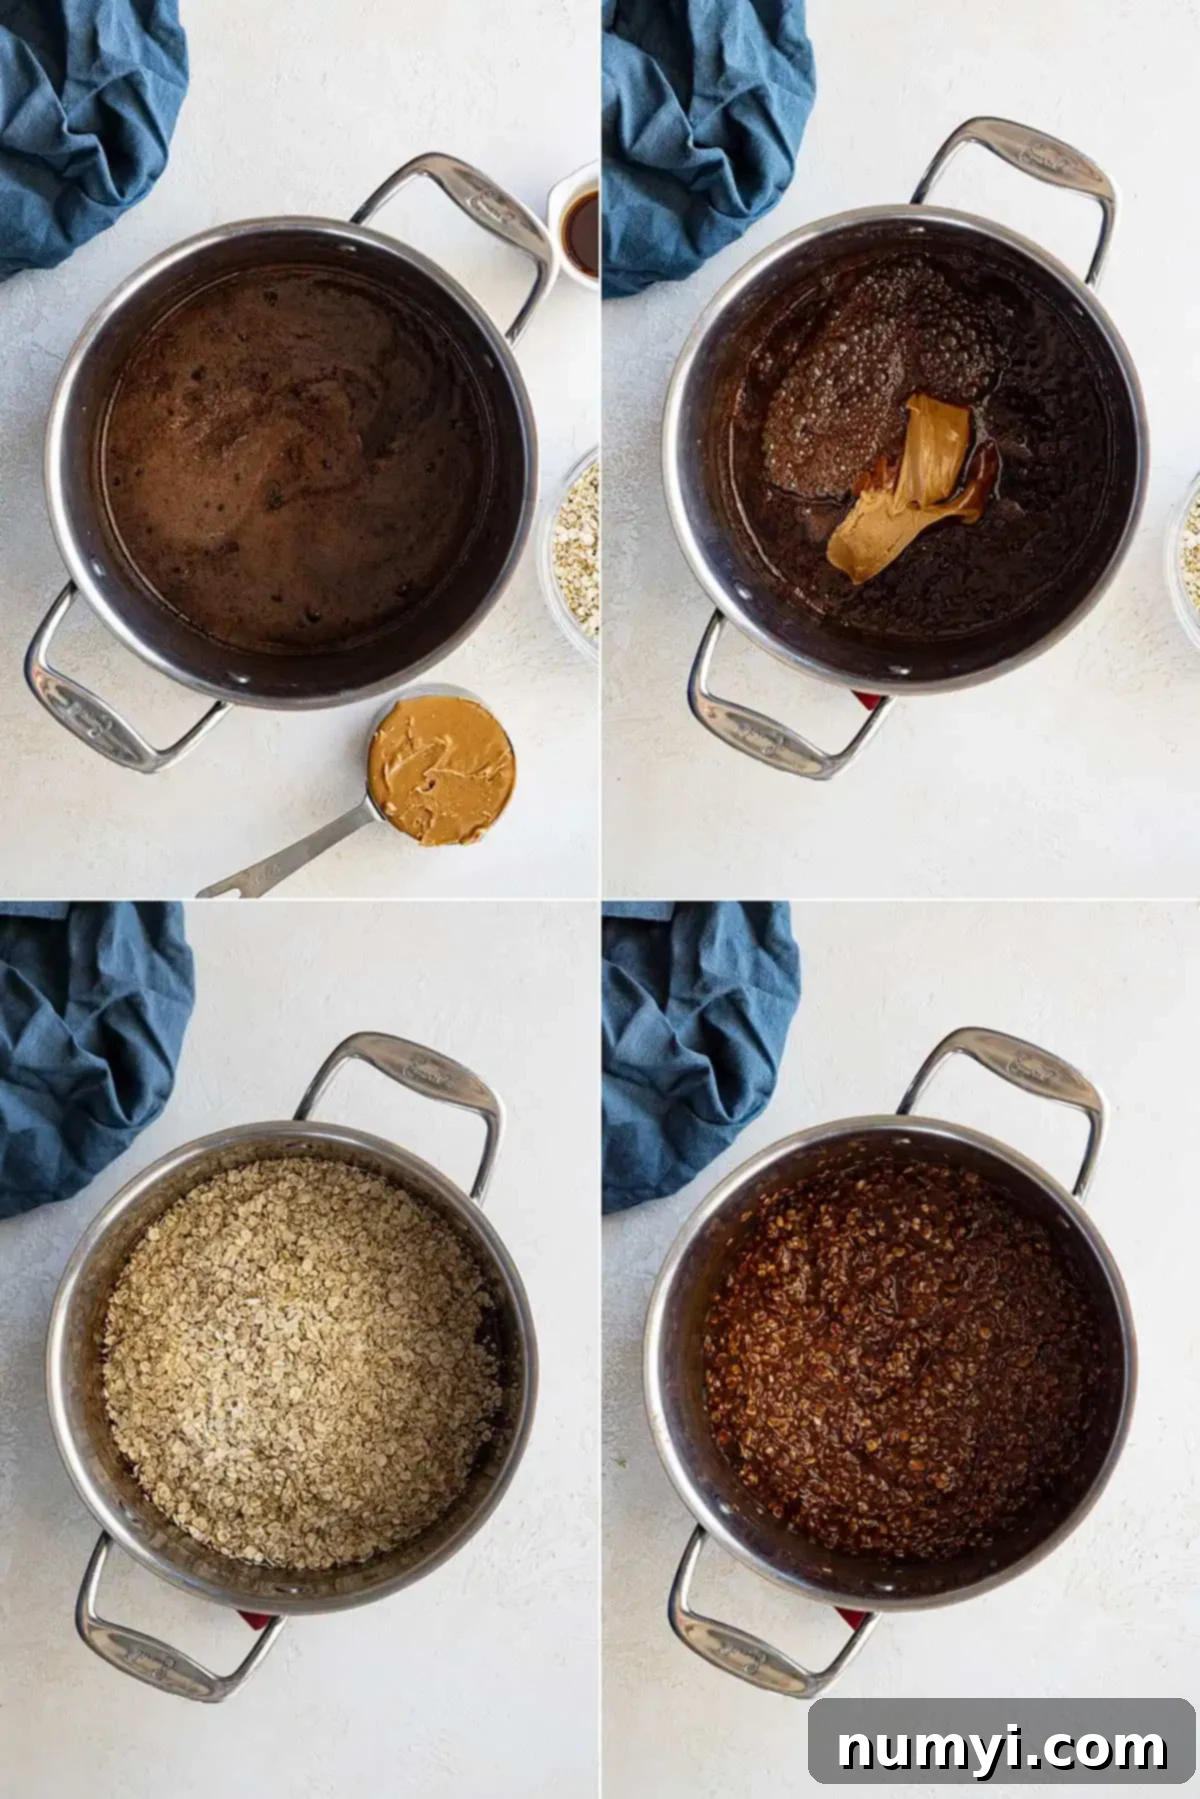
How To Master No-Bake Chocolate Peanut Butter Cookies
Making these cookies is incredibly straightforward, but following these steps precisely will guarantee perfect results every time. Remember, the key to no-bake cookies is timing!
- STEP 1: Create the Chocolate Base: In a large, heavy-bottomed saucepan, combine the butter (cut into pieces to help it melt faster), granulated sugar, milk, and cocoa powder. Place the saucepan over medium to medium-low heat, stirring frequently with a whisk or wooden spoon to ensure the sugar dissolves and the cocoa powder is fully incorporated. Bring the mixture to a *full, rolling boil*. Once it reaches a full boil (bubbles should cover the entire surface, not just the edges), start your timer and boil for precisely 60 seconds, stirring occasionally to prevent scorching. This crucial step is what allows the cookies to set properly.
- STEP 2: Infuse Flavor and Add Oats: Immediately remove the saucepan from the heat. Stir in the peanut butter and vanilla extract until completely smooth and well combined. The residual heat will melt the peanut butter into the mixture beautifully. Next, quickly add the quick-cooking oats and stir vigorously until all the oats are thoroughly coated with the chocolate-peanut butter mixture. Work swiftly, as the mixture will begin to thicken as it cools.
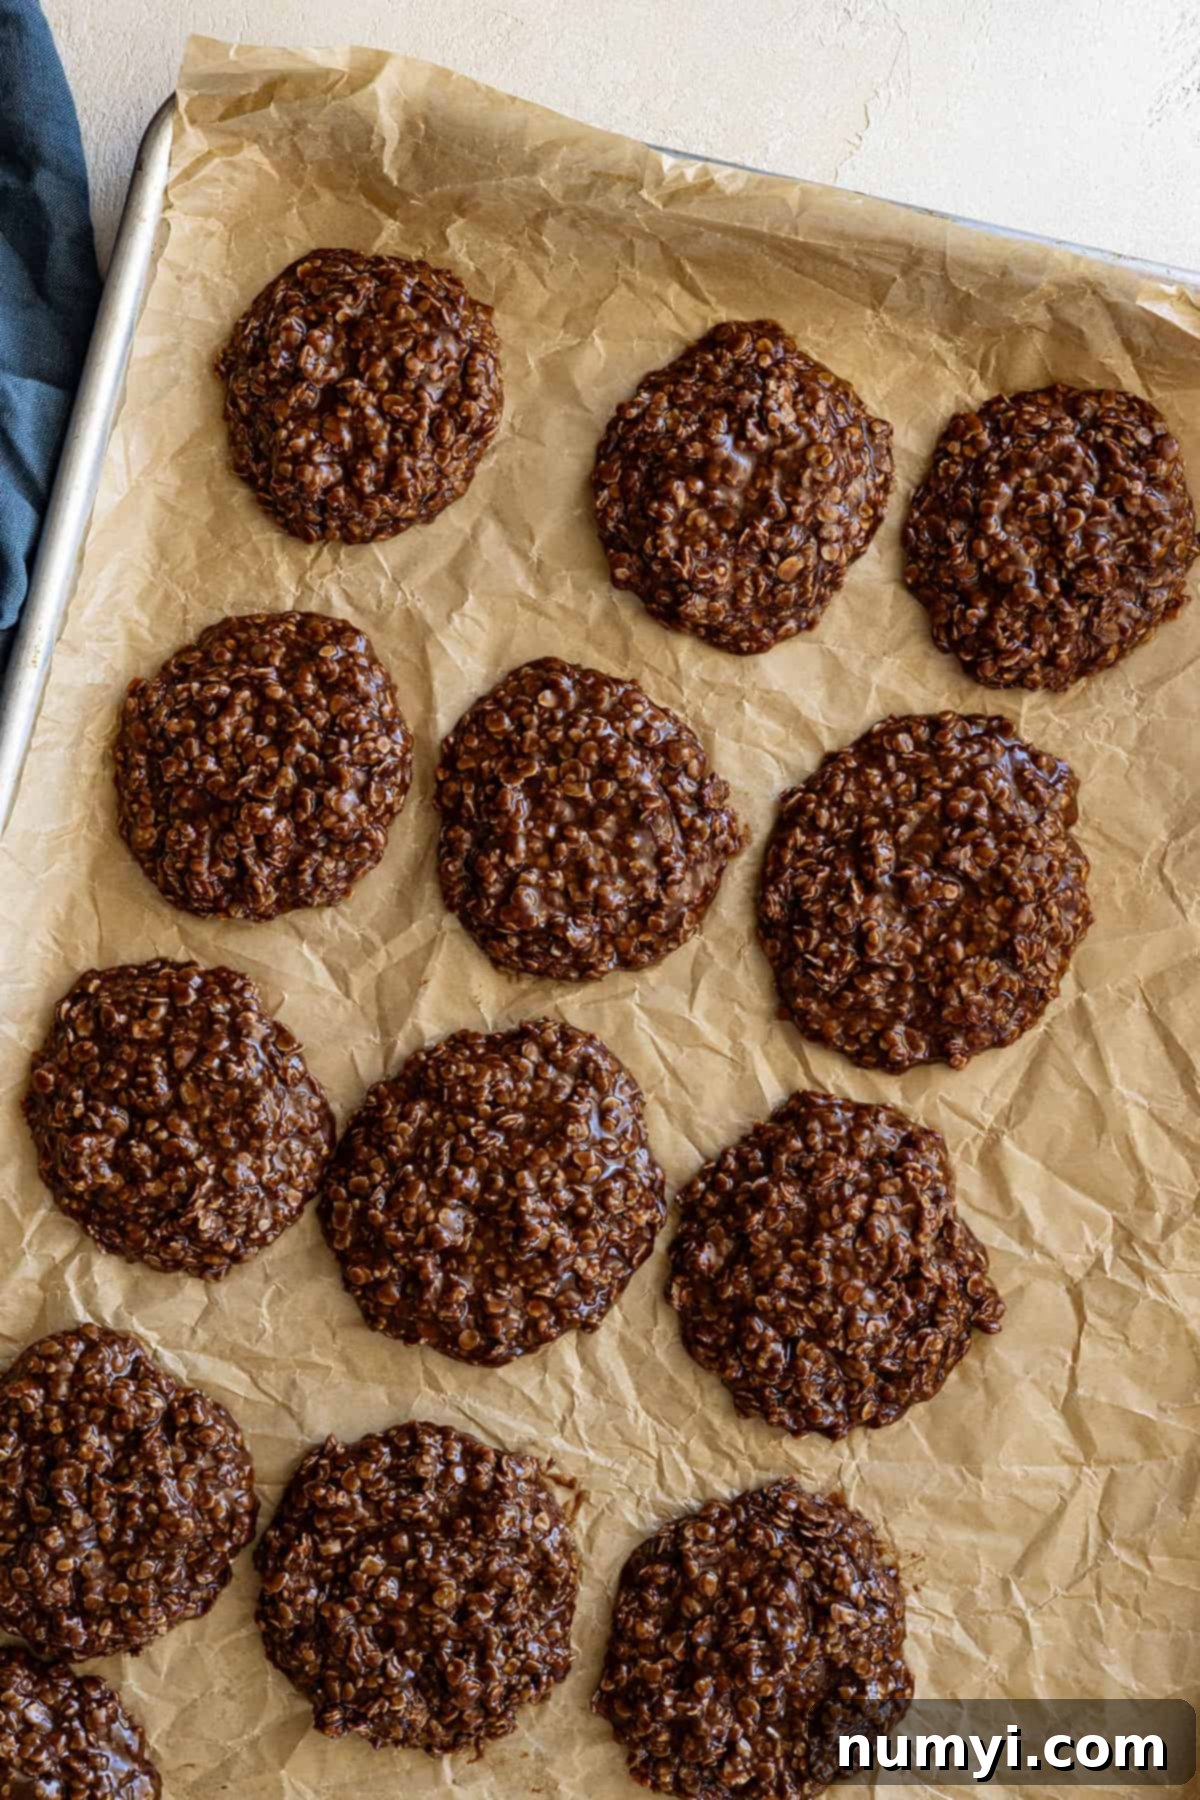
- STEP 3: Scoop and Set: Using a 2-tablespoon cookie scoop or two spoons, drop rounded spoonfuls of the warm cookie mixture onto baking sheets lined with parchment paper. The parchment paper is essential to prevent sticking. Allow the cookies to cool completely at room temperature or transfer them to the refrigerator for about 30 minutes to speed up the setting process. Once firm, they’re ready to be devoured!
Frequently Asked Questions (FAQs) About No-Bake Cookies
This is a common issue and almost always related to the boiling stage. If your cookies remain too gooey or don’t harden properly, it’s likely the sugar mixture wasn’t boiled at a full, rolling boil for long enough. The recommended time is a precise 60 seconds. This allows enough moisture to evaporate and the sugar to reach the correct temperature for crystallization, which is what helps the cookies set. Make sure to set a timer and keep the heat consistent! If your mixture is still too runny, you can try gently reheating it and boiling for another 15-30 seconds, then stirring in a small amount of extra oats (¼ to ½ cup) before re-scooping.
On the flip side, if your no-bake cookies turn out dry, crumbly, or too hard, it means the mixture was boiled for a little too long. Over-boiling causes too much liquid to evaporate, resulting in a sugar syrup that becomes too concentrated and leads to a dry, brittle cookie texture. To prevent this, be very precise with your timer. Next time, try boiling for 10-15 seconds less to see if that improves the consistency. The goal is a soft boil, not a vigorous, extended one.
Proper storage ensures your delicious no-bake cookies stay fresh and delightful.
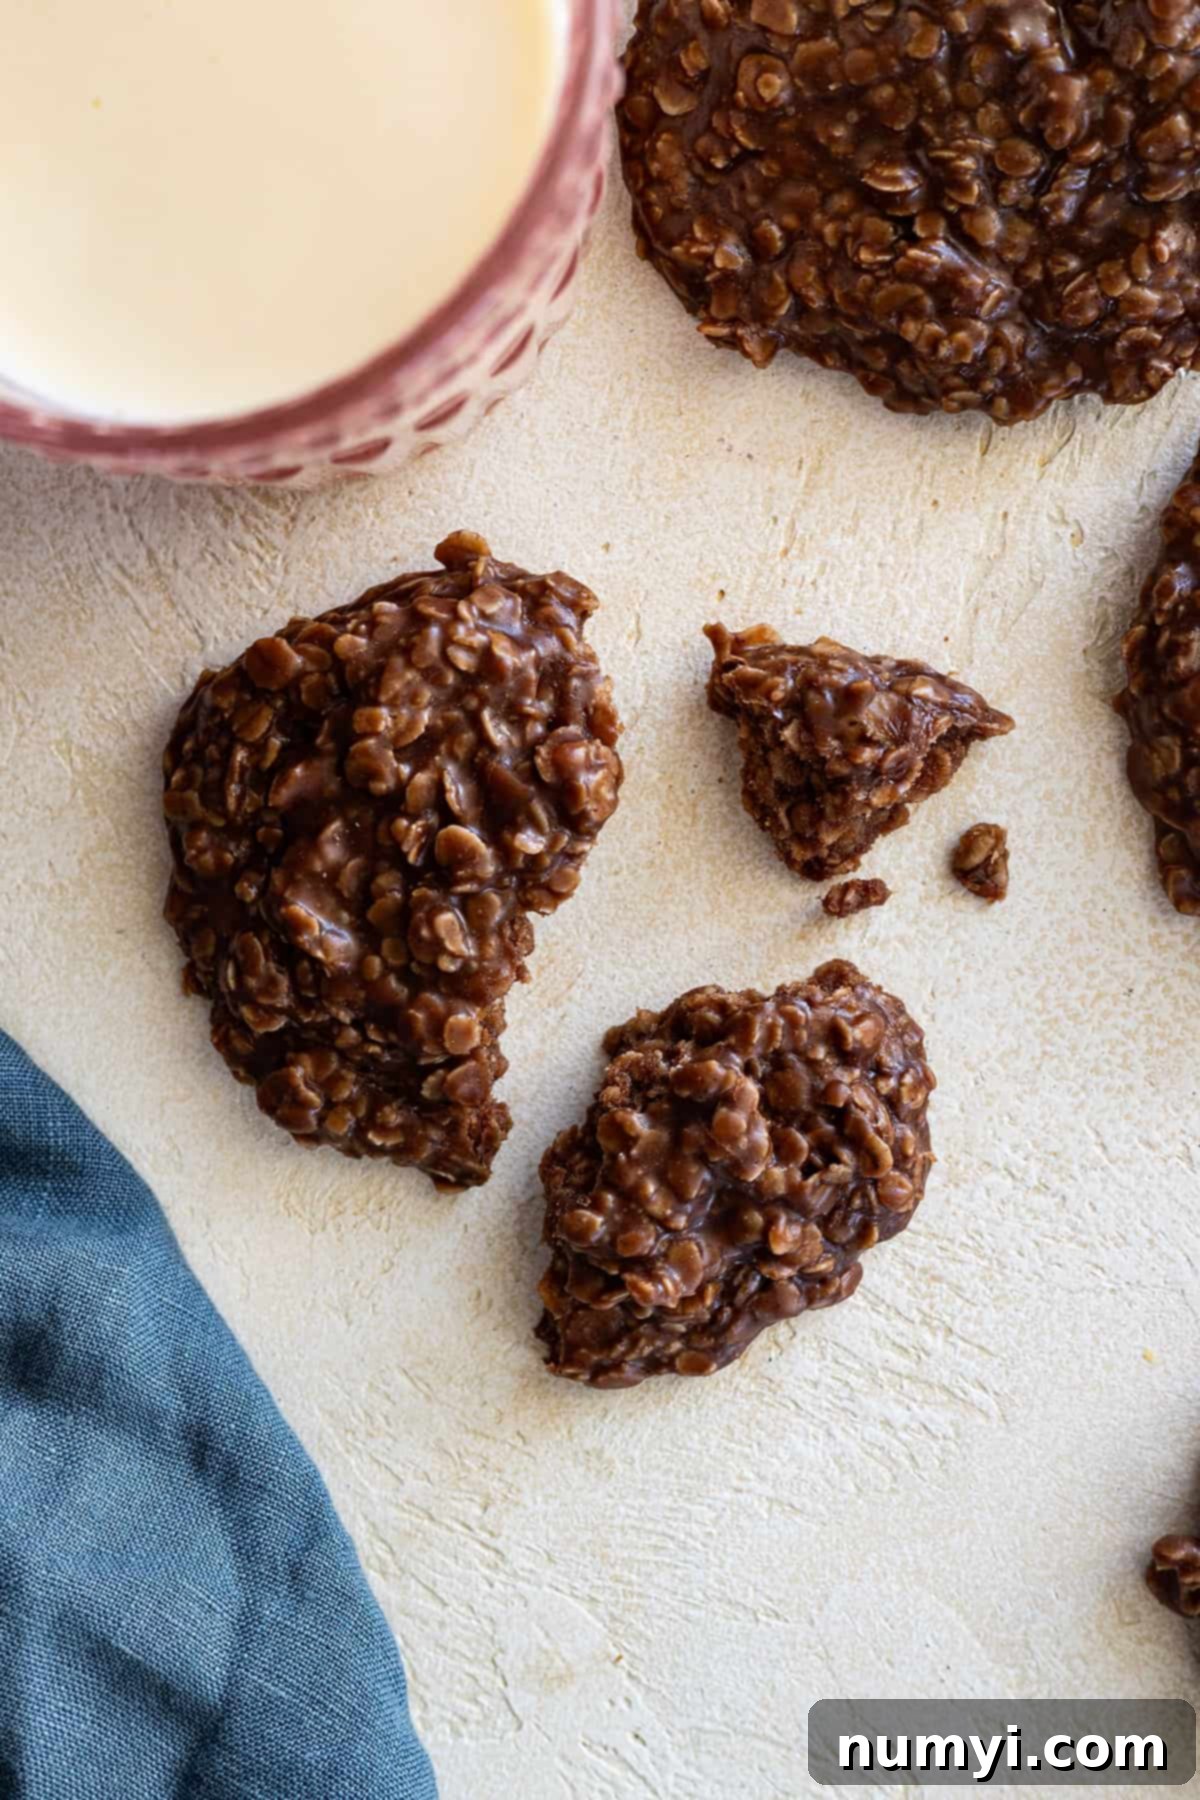
To Store: Once completely cooled and set, place the cookies in an airtight container at room temperature. They will stay fresh and delicious for up to 1 week. For slightly longer storage or in very warm climates, you can keep them in the refrigerator, but they tend to be a bit firmer when chilled.
To Freeze: No-bake cookies are excellent for freezing! Place completely cooled cookies in a single layer on a parchment-lined baking sheet and freeze until solid (about 1-2 hours). Once firm, transfer them to a freezer-safe bag or container, using parchment paper in between layers to prevent them from sticking together. They can be frozen for up to 3 months. To enjoy, simply thaw them at room temperature for about 15-30 minutes, or enjoy them slightly frozen for a chewy treat!
Top Tips for No-Bake Chocolate Peanut Butter Cookie Success!
Achieving perfectly set, deliciously chewy no-bake cookies every time is easy with these insider tips:
- Practice Mise en Place: Before you even turn on the stove, measure out all your ingredients and have them ready to go. This “mise en place” strategy is critical because once the mixture is cooked, you need to add the remaining ingredients very quickly for the best results. Having everything pre-measured and within reach prevents frantic searching and ensures a smooth process.
- Precision with Your Timer: The 60-second boil time is arguably the most critical step. Use a kitchen timer and adhere strictly to it. Overcooking will lead to dry and crumbly cookies, while undercooking will result in cookies that won’t set. Don’t eyeball it; trust your timer!
- Use a Cookie Scoop for Uniformity: A 2-tablespoon cookie scoop is your best friend for this recipe. It makes the scooping process much easier and ensures that all your cookies are uniform in size. This not only makes them look more professional but also ensures they cool and set evenly.
- Adjust for Crunchy Peanut Butter: If you prefer to use crunchy peanut butter, consider adding a little extra – specifically, a heaping ½ cup. The added nut pieces can sometimes alter the consistency slightly, so a bit more peanut butter helps maintain the desired texture and ensures the oats are well coated.
- Stir Constantly During Boiling: While the recipe suggests stirring occasionally during the 60-second boil, it’s best to stir almost constantly, especially if you’re new to making these. This prevents the sugar from scorching on the bottom of the pan, which can give your cookies a burnt taste and affect their texture.
- Don’t Overcrowd Your Baking Sheets: Give your cookies a little space to breathe (and cool!) on the parchment-lined baking sheets. This allows for even air circulation and helps them set more quickly and efficiently.
- Resist the Urge to Taste Too Soon: While tempting, allow the cookies to cool completely and set before indulging. They truly develop their perfect texture and flavor once fully firm. Chilling them in the fridge can speed up this process!
DID YOU KNOW….
rating and sharing recipes is one of the best ways you can support your favorite food bloggers? If you make this recipe, I would love if you clicked the stars when commenting below to leave a rating and/or sharing a photo on Instagram, Facebook, or Pinterest! Your support means the world and helps others discover these wonderful recipes!
No-Bake Chocolate Peanut Butter Cookies
Ingredients
- ½ cup (113g) butter, cut into pieces
- 1 ⅔ cups (285g) granulated sugar
- ½ cup (120ml) milk
- ⅓ cup (30g) cocoa powder
- ½ cup (130g) creamy peanut butter
- 2 teaspoons vanilla
- 3 cups (300g) quick cooking oats
Instructions
-
Measure out all ingredients prior to starting this recipe. Line 2 large baking sheets with parchment paper; set aside.
-
Combine the butter, sugar, milk, and cocoa powder in a large saucepan. Cook, stirring often, over medium to medium-low heat. Bring to a soft boil and boil for 60 seconds, stirring occasionally. *set a timer!
-
Remove from heat and stir in the peanut butter and vanilla. Stir in the oats mixing well to ensure all oats are coated. Use a 2 tablespoon cookie scoop and drops scoopfuls onto the parchment paper lined baking sheets. Allow to set at least 30 minutes before serving.
Notes
- STORAGE: Store completely cooled cookies in an airtight container at room temperature for up to 1 week.
- FREEZER-FRIENDLY: Place completely cooled cookies in a freezer bag using parchment paper in between layers. Freeze for up to 3 months. Thaw at room temperature.
- NUTRITION: Since different brands of ingredients have different nutritional information, the information shown is just an estimate. This website is not intended as nutritional advice, or a diet or health plan. Readers of this website are ultimately responsible for all decisions pertaining to their health.
Nutrition
