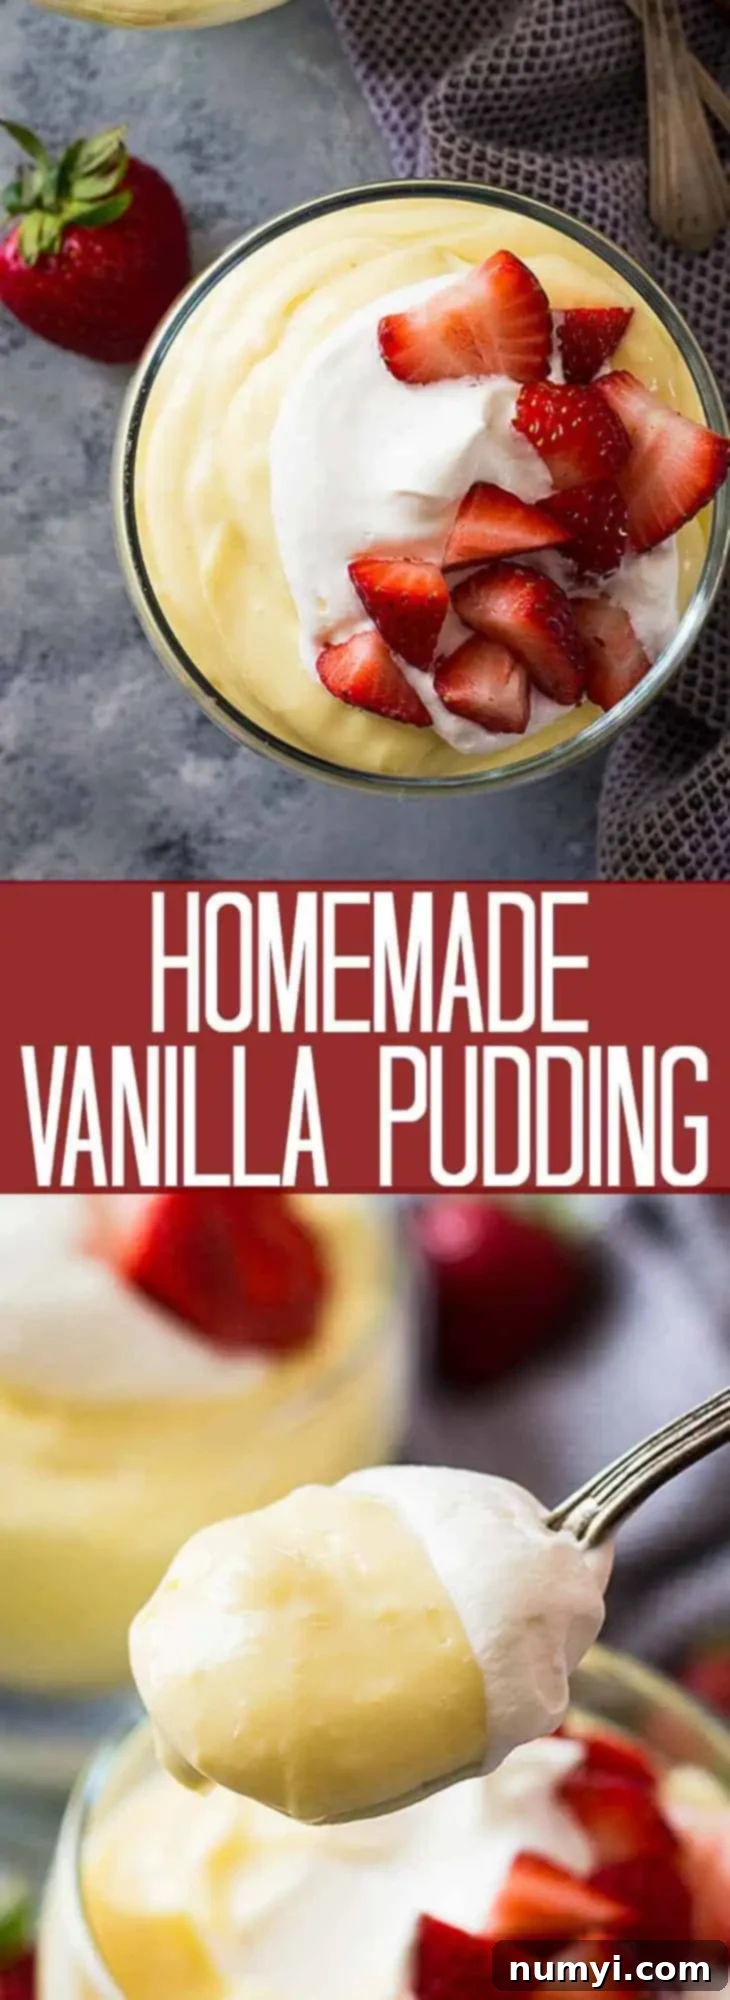
The Best Homemade Vanilla Pudding Recipe: Easy & Creamy Classic Dessert
There’s something truly special about a homemade dessert – the rich flavors, the comforting aroma, and the pure satisfaction of creating something delicious from scratch. This Homemade Vanilla Pudding Recipe perfectly embodies that sentiment. Forget about bland, artificial-tasting boxed mixes; this recipe delivers a luxuriously creamy, deeply flavorful vanilla pudding with just a handful of simple, wholesome ingredients you likely already have in your pantry.
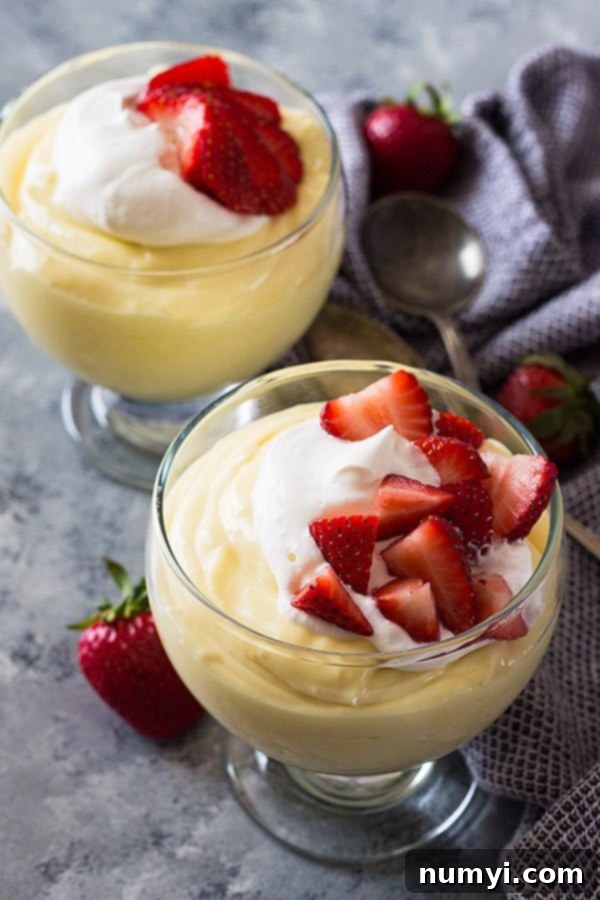
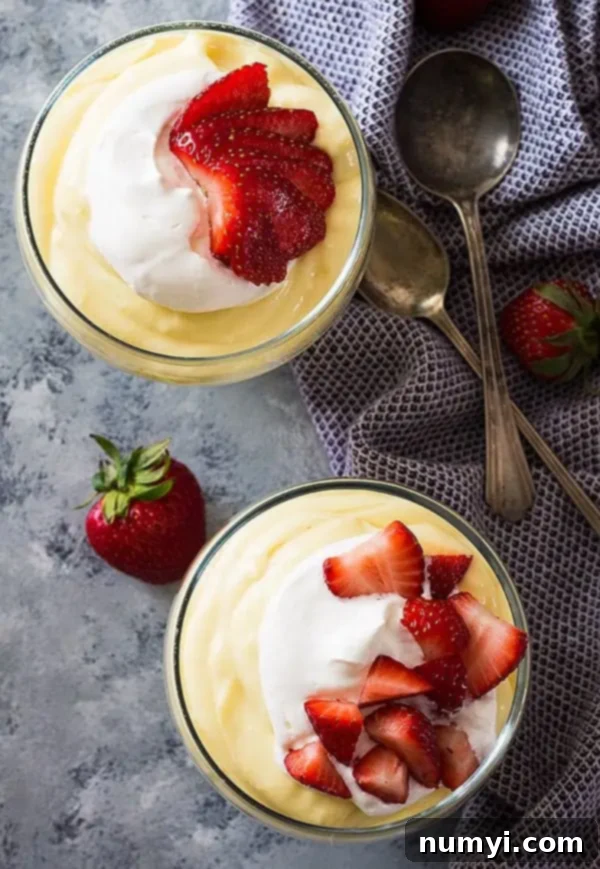
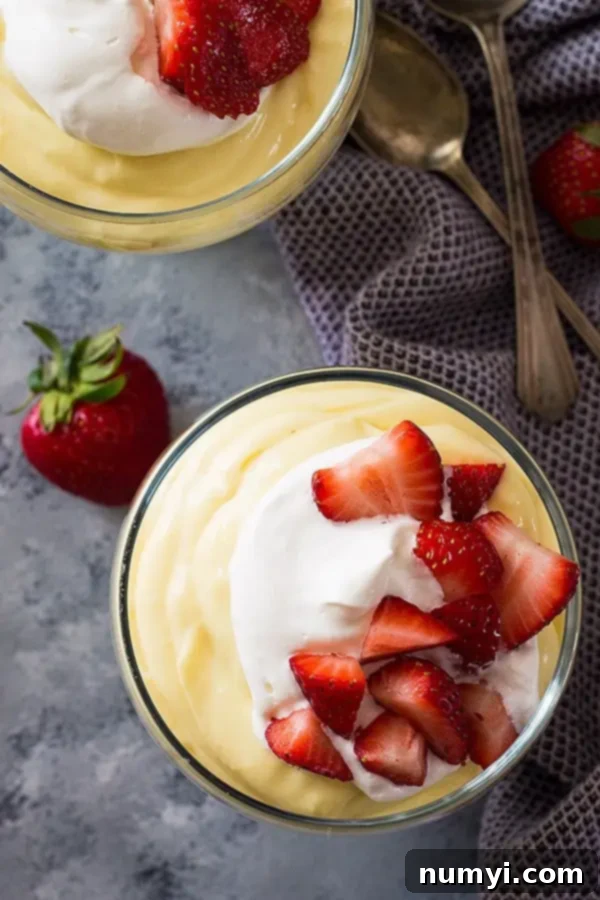
Whether you’re a seasoned baker or just starting your culinary journey, this recipe is designed to be straightforward and rewarding. It’s perfect for a cozy dessert at home, an impressive ending to a dinner party, or a delightful treat for the kids. Dress it up with some fresh-cut fruit, a dollop of homemade whipped cream, or even chocolate shavings for an extra special touch!
Why Choose Homemade Vanilla Pudding? It’s a Back-to-Basics Essential!
Welcome back to my “Back to the Basics” series! It’s been a little while, but I’m thrilled to dive back in with a recipe that truly highlights the power of simple ingredients: homemade vanilla pudding. These posts are designed for novice bakers, focusing on fundamental techniques and the joy of creating from scratch. If you’re an experienced chef, feel free to scroll down directly to the recipe card!
You might be wondering, “Why bother making pudding from scratch when there are so many convenient boxed options?” The answer lies in an incomparable difference in taste, texture, and quality. While a boxed mix offers speed, it often sacrifices authentic flavor, relies on artificial ingredients, and can result in a less satisfying texture. Our homemade version, on the other hand, provides a multitude of benefits:
- Unbelievably Delicious Flavor: The rich, warm flavor of real vanilla, fresh milk, and butter shines through, creating an authentic taste that no mix can replicate. You’ll truly appreciate the depth of flavor.
- Pure and Wholesome Ingredients: You have complete control over what goes into your dessert. This recipe uses simple, pronounceable ingredients, free from artificial colors, flavors, or preservatives often found in commercial mixes.
- Achieve the Perfect Creamy Texture: Mastering the technique yields a silky, smooth, and luxuriously thick consistency that is far superior to the sometimes gelatinous or watery texture of instant puddings.
- Surprisingly Quick to Prepare: Despite its gourmet taste, the active cooking time for this pudding is only about 15 minutes. The chilling time accounts for the rest, making it a relatively quick hands-on project.
- Versatile Dessert Base: This foundational recipe isn’t just for eating on its own! It serves as an excellent base for countless other desserts, from elegant pies and trifles to delightful parfaits.
- A Universal Crowd-Pleaser: The comforting, classic flavor of vanilla pudding appeals to everyone, from the pickiest eaters to the most discerning palates. It’s a dessert that brings smiles.
My first post in this series, No-Chill Soft Chocolate Chip Cookies, proved that mastering basic techniques can lead to incredible results. This vanilla pudding recipe is no different – it’s a foundational skill that opens up a world of dessert possibilities. Don’t be intimidated by homemade pudding; if you know how to whisk, you can easily make this rich, creamy treat!
Essential Ingredients for Your Homemade Vanilla Pudding
Crafting the perfect vanilla pudding requires a few common ingredients, each playing a vital role in achieving that rich flavor and luxurious texture. Understanding their function will help you appreciate the magic of this simple recipe:
- Granulated Sugar: This provides the necessary sweetness, ensuring our pudding is perfectly balanced without being overly sugary. Sugar also contributes to the smooth texture of the finished pudding.
- Cornstarch: This is the secret behind perfectly thick, yet silky results! Cornstarch acts as a primary thickening agent, creating a stable, glossy, and beautifully set pudding. Don’t skip it! Alternatively, you can use all-purpose flour, but cornstarch typically yields a clearer, more delicate pudding.
- Milk (Whole or 2%): Milk forms the liquid base of our pudding. While 2% milk will work, I highly recommend using whole milk for the richest, creamiest, and most decadent results. The higher fat content in whole milk significantly contributes to the pudding’s luxurious mouthfeel.
- Heavy Whipping Cream: To elevate the pudding to an even more luxurious level, heavy whipping cream is indispensable. It adds an extra layer of richness, contributing to an incredibly smooth and velvety texture that truly makes this homemade pudding stand out.
- Salt: Just a pinch of salt is crucial, not for making the pudding salty, but for enhancing and balancing the sweetness of the sugar and deepening the overall vanilla flavor. It brings out the best in all the other ingredients.
- Egg Yolks: Egg yolks are a classic thickening agent in custards and puddings, providing rich flavor, a beautiful golden hue, and an incredibly smooth, firm texture. To prevent them from cooking too quickly and scrambling, we’ll use a technique called tempering, which is explained in detail in the instructions.
- Vanilla Extract: As the name suggests, vanilla is the star! For that warm, comforting, and authentic vanilla flavor, use a good quality vanilla extract. For an even more intense and visually appealing result, you could use vanilla bean paste or scrape the seeds from a fresh vanilla bean.
- Unsalted Butter: Added at the very end of cooking, butter melts into the warm pudding, providing a final touch of richness, a beautiful glossy sheen, and an even silkier mouthfeel. It helps integrate all the flavors and adds a luxurious finish.
Step-by-Step Guide: How to Make Vanilla Pudding From Scratch
Making homemade vanilla pudding is simpler than you might imagine, and the results are incredibly rewarding. Follow these steps for a perfectly creamy and delicious dessert every time:
-
Create Your Pudding Base:
In a large, heavy-bottomed saucepan, combine the granulated sugar and cornstarch. Whisk them together thoroughly until smooth and there are absolutely no clumps. This is a crucial step to prevent a grainy texture in your finished pudding. Next, gradually whisk in the milk and heavy whipping cream until the mixture is completely smooth and well combined. Set this saucepan aside for a moment.
In a separate, medium-sized bowl, lightly beat the egg yolks until they are just combined and appear uniformly yellow. Set these aside as well.
-
Begin Cooking the Liquid Mixture:
Place the saucepan with the sugar, cornstarch, milk, and cream mixture over medium to medium-low heat. It is essential to whisk constantly and patiently throughout this stage. Continuous whisking prevents the mixture from scorching on the bottom of the pan and helps the cornstarch dissolve and begin to thicken evenly. As the mixture heats, it will slowly start to thicken – you’ll notice it coating the back of a spoon more readily. Once it reaches a noticeable, light thickness (just before it comes to a simmer), remove it from the heat. It’s now ready for tempering the eggs.
-
Temper the Egg Yolks (The Foolproof Method):
Immediately remove the saucepan from the heat. This step is critical for preventing the egg yolks from scrambling. Take about half of the hot liquid mixture and, while continuously whisking the egg yolks vigorously in their bowl, slowly pour the hot liquid into the yolks in a thin, steady stream. The goal here is to gradually raise the temperature of the egg yolks without cooking them. Keep whisking quickly throughout this process until the egg yolks are fully incorporated with the hot liquid. This gentle heating of the eggs prevents them from seizing or scrambling when introduced to the hotter main mixture.
-
Return to Heat and Finish Thickening:
Pour the tempered egg yolk mixture back into the large saucepan with the remaining hot liquid. Return the saucepan to medium-low heat. Continue to cook, whisking constantly, as the pudding will now begin to thicken more significantly. Cook until the pudding reaches a nice, thick, pudding-like consistency – it should be thick enough to coat the back of a spoon thickly and leave a clear path when you run your finger across it. Remember, the pudding will continue to thicken further as it cools, so avoid overcooking it to an overly dense consistency on the stovetop.
-
Flavor and Chill:
Once the desired thickness is achieved, remove the pan from the stovetop. Stir in the unsalted butter until it’s completely melted and smoothly incorporated, adding a lovely glossy sheen and extra richness. Then, stir in the vanilla extract. Taste and adjust for sweetness if desired, though the proportions are carefully balanced for optimal flavor.
Immediately transfer your warm vanilla pudding to a heatproof container, such as a large serving bowl or individual ramekins. To prevent a “skin” from forming on the surface as it cools, place a piece of plastic wrap directly onto the surface of the pudding, ensuring it touches every part. Refrigerate for at least 2 hours, or until thoroughly chilled and firmly set, before serving. The longer it chills, the better the texture and flavor will develop.
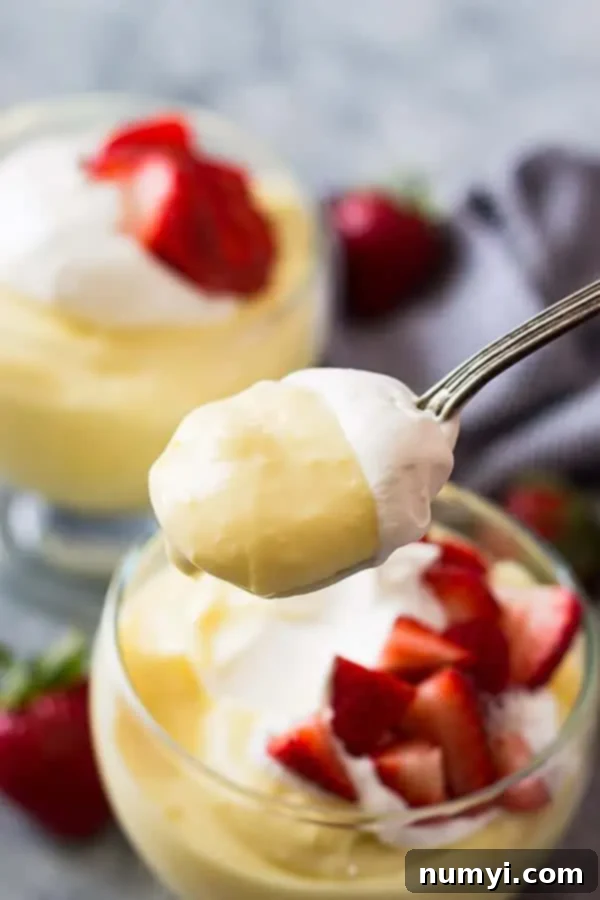
Tips for Pudding Perfection Every Time
Achieving the perfect homemade vanilla pudding is easy with these helpful tips:
- Use a Heavy-Bottomed Saucepan: This type of pan distributes heat more evenly, significantly reducing the risk of your pudding scorching on the bottom, which can ruin the flavor and texture.
- Whisk Constantly: Consistency is key! Continuous whisking throughout the cooking process ensures your pudding remains perfectly smooth and lump-free, and prevents it from sticking to the pan.
- Master the Tempering Technique: When tempering your egg yolks, pour the hot liquid slowly and whisk quickly. Patience here prevents the eggs from scrambling, which is essential for a smooth, creamy pudding.
- Direct Contact Plastic Wrap: Always press plastic wrap directly onto the surface of the warm pudding before chilling. This prevents a rubbery “skin” from forming on top, keeping your pudding perfectly smooth and inviting.
- Chill Thoroughly: For the best flavor, texture, and a fully set pudding, allow it to chill for the full recommended time of at least 2 hours. This also allows the flavors to meld beautifully.
- Flavor Variations: Don’t be afraid to experiment! Consider adding a touch of almond extract with the vanilla, infusing the milk with a cinnamon stick, or even stirring in some lemon zest at the end for a brighter flavor.
Delicious Serving Suggestions for Your Homemade Pudding
While this vanilla pudding is absolutely divine on its own, its simple elegance makes it a versatile base for countless other desserts or simply elevated with some delightful toppings:
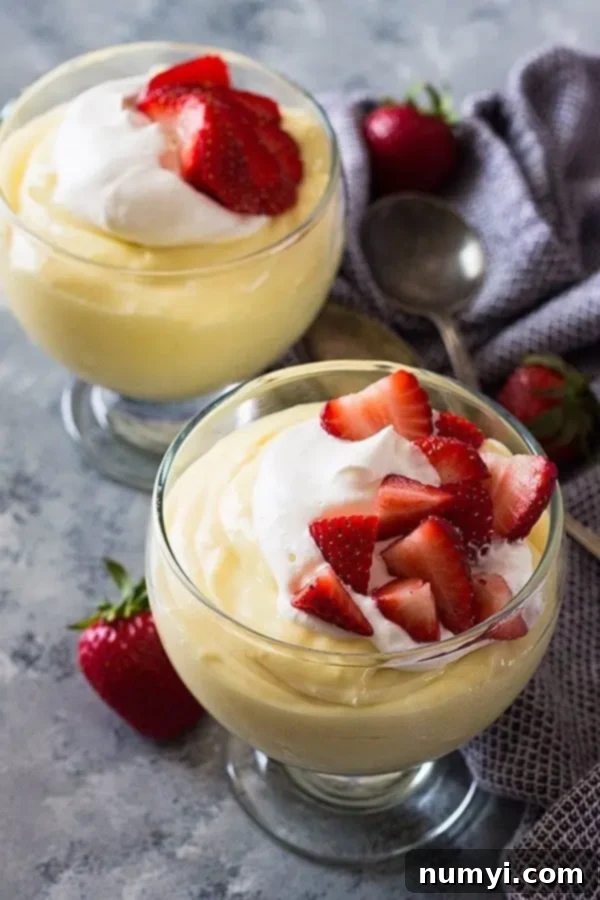
- Classic Toppings: A generous dollop of homemade whipped cream and fresh berries (strawberries, raspberries, blueberries, or a mix) are a timeless and always appreciated pairing.
- Chocolate Lover’s Dream: Elevate it with a sprinkle of chocolate shavings, mini chocolate chips, or a decadent drizzle of chocolate fudge sauce.
- Fruity Delights: Layer with sliced bananas (for a classic banana pudding!), fresh peaches, a mixed fruit compote, or even a cherry pie filling for a quick and easy dessert.
- Crunchy Additions: Add textural contrast with crushed cookies (like Nilla wafers, graham crackers, or shortbread), chopped toasted nuts (pecans, walnuts), or toasted coconut flakes.
- Dessert Base: Use this incredible pudding as a creamy filling for pudding pies, individual trifles, layered parfaits, or even as a luscious layer in your favorite poke cakes. The culinary possibilities are truly endless!
Frequently Asked Questions About Homemade Vanilla Pudding
This versatile vanilla pudding is a fantastic foundation for many desserts! You can make classic banana pudding, delicious pudding pies, layered parfaits, or even use it as a filling for poke cakes. Of course, it’s also wonderfully satisfying enjoyed simply on its own with some fresh-cut fruit and a swirl of homemade whipped cream. My kids absolutely adore this recipe and often request it as their favorite dessert!
The secret to a perfectly thick and smooth pudding lies primarily with cornstarch! You only need a few tablespoons to achieve that luxurious, velvety texture you love. Do not skip it! Alternatively, you can use all-purpose flour instead, though cornstarch tends to give a slightly clearer and more delicate finish to the pudding.
Our base vanilla pudding recipe is incredibly tasty on its own, but there are many ways to customize and enhance it! Consider adding chopped nuts, mini chocolate chips, a touch of espresso powder for a subtle coffee kick, or a splash of rum or bourbon for an adult twist. You could also infuse the milk with citrus zest (lemon or orange) while heating it for a brighter flavor profile. Don’t be afraid to experiment to discover your favorite variations!
When stored properly in an airtight container with plastic wrap pressed directly onto the surface (to prevent a skin from forming), homemade vanilla pudding will last for 3-4 days in the refrigerator. It’s best enjoyed within the first 2-3 days for optimal freshness and texture.
While this specific recipe relies on dairy milk, cream, and egg yolks for its rich texture and flavor, you can find excellent dairy-free and vegan pudding recipes using plant-based milks (like full-fat coconut milk or almond milk), cornstarch for thickening, and sometimes silken tofu or specific vegan thickeners to achieve a similar creaminess. However, this recipe is formulated for traditional dairy ingredients.
More Delicious Pudding Recipes to Explore
If you loved making and tasting this homemade vanilla pudding, you might enjoy exploring some of our other comforting and delightful pudding recipes. They are perfect for expanding your dessert repertoire:
- Pumpkin Bread Pudding
- Creamy Rice Pudding
- Cranberry Bread Pudding with Whiskey Cream Sauce
- Homemade Banana Pudding Cups
Thank you so much for following along and trying out this classic homemade vanilla pudding recipe! We’re confident it will become a new favorite in your kitchen, offering a simple yet incredibly satisfying dessert experience. Let us know what you think in the comments below!
HUNGRY FOR MORE? Subscribe to our newsletter and follow us on Pinterest, Facebook, and Instagram for all our latest updates and delicious recipes!
Classic Homemade Vanilla Pudding
This easy vanilla pudding recipe is a simple dessert to make from scratch. Made with a handful of wholesome ingredients, it’s perfect for a comforting treat at home. Elevate it with fresh fruit and homemade whipped cream!

Servings: 4 (one cup servings)
Author: Malinda Linnebur
Prep Time: 5 mins
Cook Time: 10 mins
Total Time: 15 mins
Ingredients
- ½ cup granulated sugar
- 3 tablespoons cornstarch
- Pinch of salt
- 2 cups milk (I prefer whole but 2% will also work)
- 1 cup heavy whipping cream
- 4 large egg yolks
- 2 tablespoons butter
- 2 teaspoons vanilla
Instructions
-
Create Your Base:
In a large, heavy-bottomed saucepan, combine the sugar and cornstarch. Whisk well to ensure there are no clumps. Stir in the milk and heavy whipping cream until the mixture is fully combined. Set this aside.
In a separate medium-sized bowl, gently beat the egg yolks until just combined. Set aside.
-
Heat the Mixture:
Place the saucepan with the milk and sugar mixture over medium to medium-low heat. Whisk constantly as it heats to prevent lumps and scorching. Cook until the mixture starts to visibly thicken, just before it simmers. Remove the saucepan from the heat.
-
Temper the Eggs:
Slowly pour a thin, steady stream of about half of the hot liquid into the beaten egg yolks, whisking vigorously and constantly in the egg yolk bowl. This process is called tempering and prevents the eggs from scrambling. Continue whisking until the yolks are fully incorporated with the hot liquid.
-
Finish Cooking:
Pour the tempered egg mixture back into the saucepan with the remaining hot liquid. Return the saucepan to medium-low heat. Continue to cook, whisking constantly, until the pudding thickens to a desired consistency that coats the back of a spoon. Remember, it will thicken further as it cools.
-
Flavor and Chill:
Remove the pan from the stovetop. Stir in the butter until melted and then stir in the vanilla extract. Transfer the warm vanilla pudding to a heatproof container or individual serving bowls. Cover the surface of the pudding directly with plastic wrap to prevent a skin from forming. Refrigerate for at least 2 hours, or until thoroughly chilled and set, before serving.
