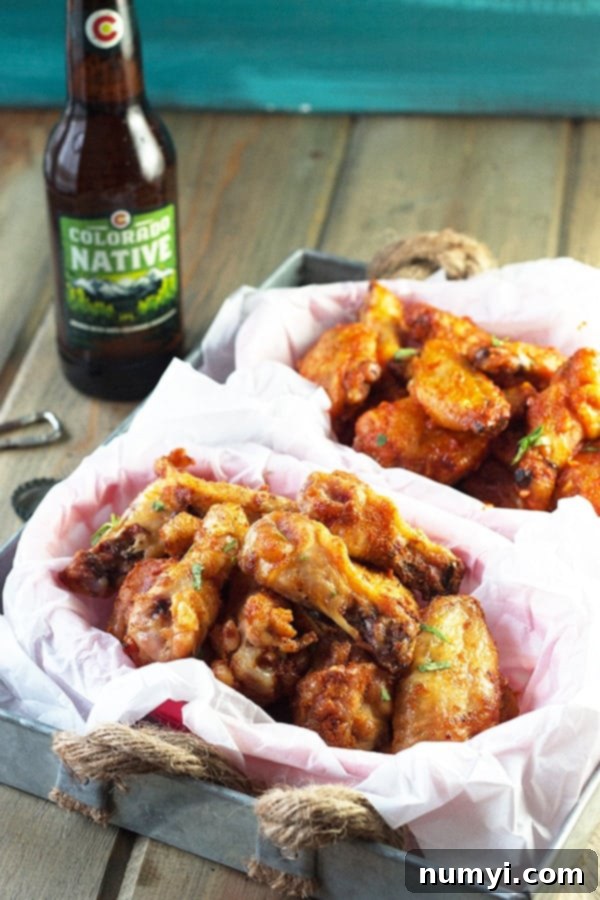
The Ultimate Crispy Baked Garlic Sriracha Chicken Wings (Two Delicious Ways!)
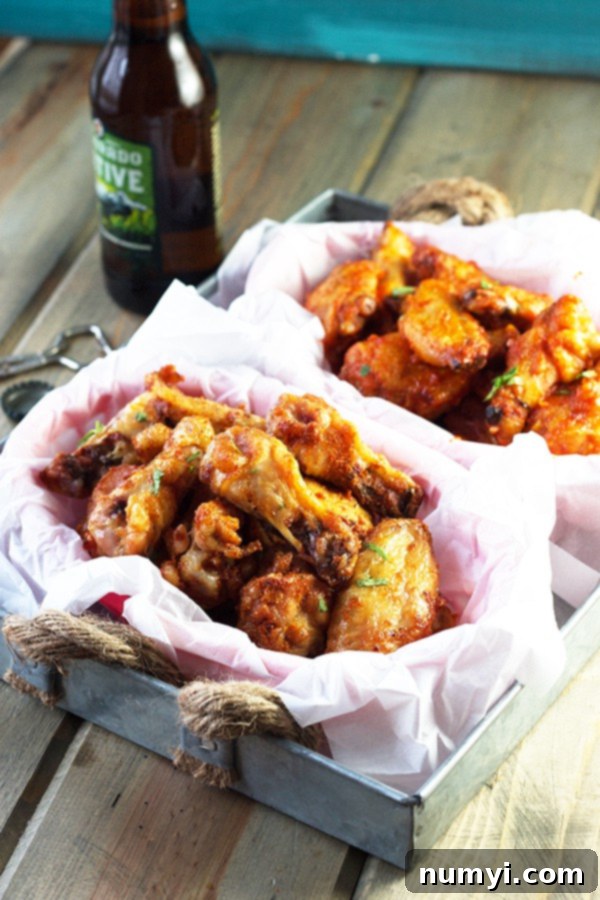
Prepare to elevate your snack game with these incredible Baked Garlic Sriracha Chicken Wings! Forget the deep fryer; these oven-baked beauties deliver an irresistible crunch, bursting with a harmonious blend of spicy sriracha and savory garlic. This recipe is a true two-for-one deal, showcasing both a robust, flavor-packed dry rub (a firm favorite in my household!) and a classic, sticky-sweet saucy version that will have you licking your fingers clean. Both methods promise a culinary experience that’s perfect for everything from game day gatherings to a simple weeknight craving.
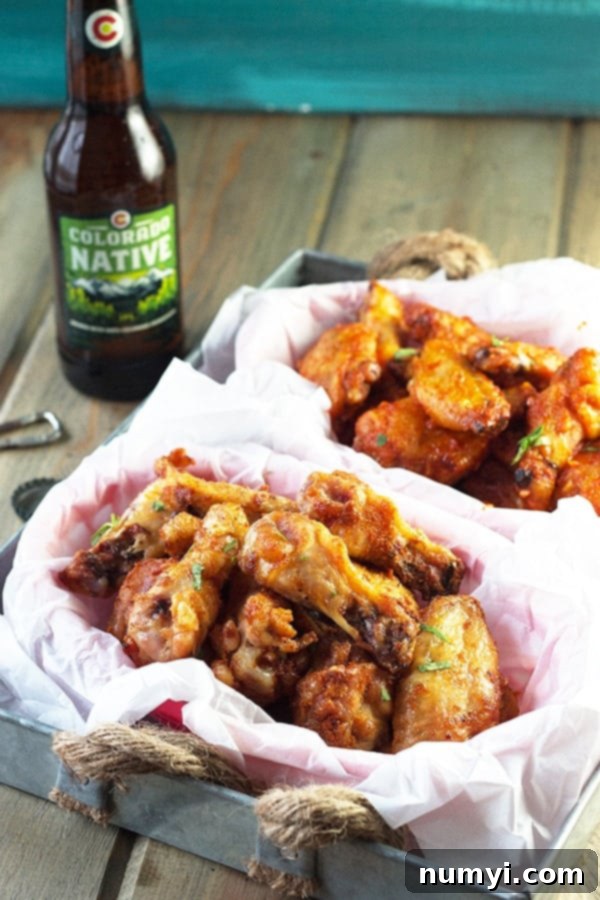
Why You’ll Fall in Love with These Garlic Sriracha Wings
Our journey into the wonderful world of chicken wings started a little later in life, much like many, with a memorable visit to Buffalo Wild Wings as married adults. It’s hard to believe we missed out for so long! Ever since, we’ve made up for lost time, indulging in crispy, flavorful wings whenever the craving strikes. This culinary exploration led me to develop recipes like my popular Crispy Oven Baked Chicken Wings with a Spicy Margarita Flavor. However, the inspiration for today’s recipe struck when my husband discovered sriracha powder at the grocery store.
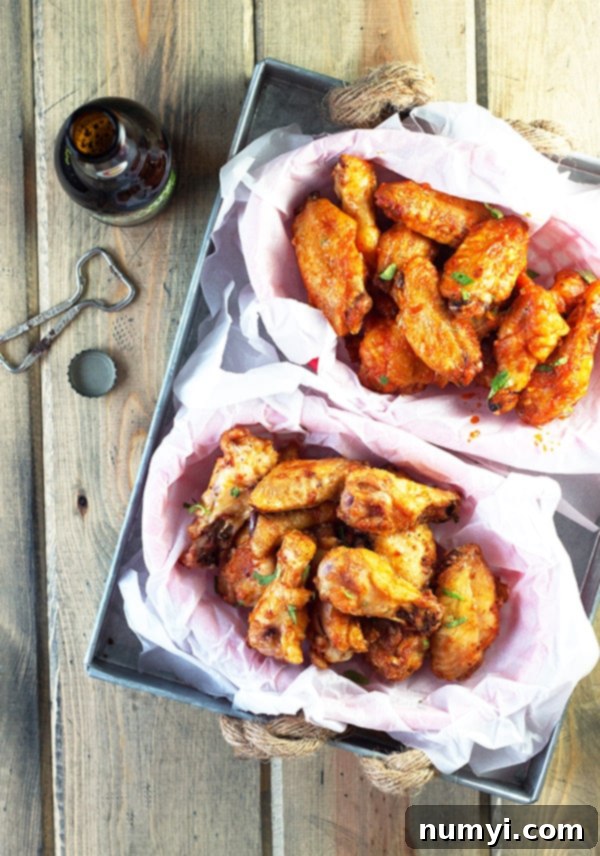
He envisioned it as the perfect base for a dynamic chicken wing seasoning, and he was absolutely right! This recipe truly offers the best of both worlds. I’ve created his beloved dry rub sriracha wings, known for their intense flavor and incredible crunch, alongside my personal favorite: a delectable, finger-licking saucy version that provides a harmonious balance of sweet, spicy, and savory notes. Both variations utilize the same simple, effective baking method to achieve maximum crispiness without the mess of deep-frying.
Whether you’re gearing up for the big game, hosting a casual backyard barbecue, or simply looking for an exciting new dinner idea, these homemade garlic sriracha wings are guaranteed to be a hit. They’re easy to prepare, full of bold flavors, and offer a fantastic alternative to takeout.
Essential Ingredients for Perfect Wings
One of the best things about this recipe is its simplicity. You only need a few core ingredients to create spectacular flavor. Here’s a detailed look at what you’ll need, along with some fun ideas for customization:
- Chicken Wings: Fresh or thawed. You can buy them pre-separated into drumettes and flats (wingettes), or whole, which you’ll need to trim yourself. For this recipe, I used whole wings and separated them.
- Baking Powder (Crucial!): This is the secret weapon for unbelievably crispy skin. It works by raising the pH of the chicken skin, breaking down proteins, and creating tiny air bubbles that crisp up beautifully in the oven. Do NOT substitute baking soda, as it will leave a metallic taste.
- Salt and Pepper: Basic seasonings to enhance the natural flavor of the chicken.
For the fantastic dry rub version, you’ll need two stars:
- Sriracha Powder: This concentrated powder delivers all the iconic spicy, tangy, and slightly sweet notes of sriracha sauce in a dry form. I found mine in the spice aisle at Walmart, but it’s becoming more widely available online and in specialty stores.
- Garlic Powder: Complements the sriracha beautifully, adding a rich, savory aroma that truly makes these wings irresistible.
For the luscious traditional saucy kind, gather these ingredients:
- Butter: Unsalted butter adds a rich, velvety texture and helps to carry the sriracha flavor evenly across the wings.
- Sriracha Sauce: The classic chili sauce brings its signature heat and a touch of sweetness. Adjust the amount to your preferred spice level.
- Garlic Cloves (Minced): Fresh garlic adds an incomparable pungent and aromatic depth to the sauce that garlic powder alone cannot replicate.
Creative Flavor Twists!
Feel free to experiment and make these wings your own! If you love a hint of sweetness with your heat, try these delicious variations:
- Maple Sriracha Wings: Add a tablespoon or two of pure maple syrup to your saucy mixture. You’ll want to taste and adjust the proportions to achieve a perfect balance between sweet, spicy, and savory.
- Honey Sriracha Wings: A classic combination we often enjoy when dining out. Swirl in some honey with your butter and sriracha sauce for a sticky, sweet-heat glaze. This is definitely next on my list to try!
- Asian-Inspired Sriracha Wings: Incorporate a splash of soy sauce, a dash of rice vinegar, and a pinch of grated fresh ginger into your wet sauce for an extra layer of umami and zest.
Don’t be shy about playing with flavors! Let me know in the comments if you come up with a fantastic new twist.
How To Make Perfectly Crispy Baked Chicken Wings
Achieving restaurant-quality crispy wings at home is easier than you think with this simple, two-stage baking method. Follow these steps for foolproof deliciousness!
Step 1: Preheat Your Oven and Prepare Baking Sheets
Begin by preheating your oven to 250 degrees F (120 degrees C). This initial low temperature is key to slowly rendering the fat, leading to incredibly tender meat and setting the stage for crispy skin. Line a very large baking sheet with foil for easy cleanup, or use two smaller baking sheets if needed to prevent overcrowding. A wire rack placed on top of the foil-lined sheet is also highly recommended to allow for even air circulation around the wings, further enhancing crispiness. Set the prepared baking sheet(s) aside.
Step 2: Prepare and Season the Chicken Wings
If your chicken wings aren’t pre-cut, you’ll need to trim them. Using a sharp knife or kitchen shears, cut off the tiny wing tips (you can discard these or save them for stock). Then, separate the drumette from the wingette (the flat part) at the joint. Once your wings are ready, the most crucial step for crispiness is to pat them thoroughly dry with paper towels. Excess moisture is the enemy of crispy skin! Place the dry wings in a large bowl. Sprinkle them generously with the baking powder, salt, and pepper. Toss them well to ensure every piece is evenly coated. This baking powder coating is what creates that signature crunch. Arrange the seasoned wings on your prepared baking sheet(s) in a single layer, making sure to leave a little space between each wing for optimal air circulation.
Step 3: The Two-Stage Bake for Ultimate Crispiness
First, bake the wings at the lower temperature of 250 degrees F (120 degrees C) for 30 minutes. This slow bake allows the fat under the skin to melt away, preparing the skin to get super crispy without burning. After 30 minutes, increase the oven heat to 425 degrees F (220 degrees C). Continue baking for an additional 40 minutes, or until the wings are deep golden brown and exceptionally crispy. You might want to flip them halfway through the high-temperature bake for even browning. Keep an eye on them; every oven is different, so adjust baking time as needed until they reach your desired level of crispiness.
Step 4: Prepare the Dry Rub
While the wings are baking or just as they come out of the oven, prepare your dry rub. In a small bowl, combine the sriracha powder and garlic powder. Mix thoroughly until well combined. Set aside, ready to be tossed with your perfectly crispy wings.
Step 5: Prepare the Saucy Glaze
For the saucy version, combine the butter, sriracha sauce, and minced garlic cloves in a small saucepan. Place it over medium-low heat and allow it to gently simmer for 2-3 minutes, stirring occasionally. This process melts the butter, infuses the sauce with fresh garlic flavor, and slightly thickens it, creating a rich, fragrant glaze.
Step 6: Coat Your Crispy Wings
Once your baked wings are hot and crispy, divide them roughly in half into two large bowls. In one bowl, sprinkle the prepared dry rub over half of the wings and toss gently until they are evenly coated. For the other half, pour the warm sriracha sauce over them and toss until each wing is glistening with the delicious glaze. The heat from the wings will help the flavors adhere.
Step 7: Serve Hot and Enjoy!
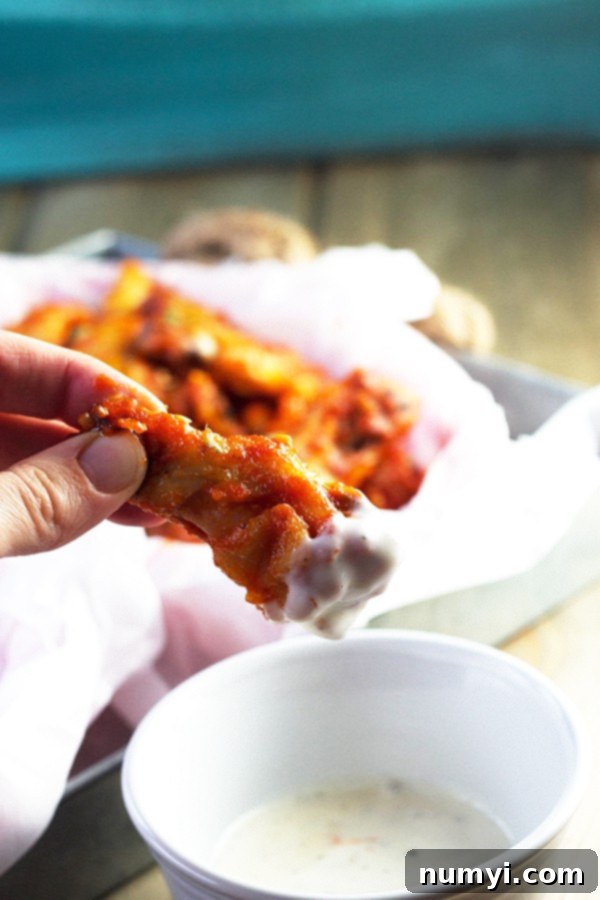
Serve your freshly coated Baked Garlic Sriracha Chicken Wings immediately. They are fantastic on their own, but truly shine when paired with cooling dips like creamy ranch or tangy blue cheese dressing. Don’t forget some celery and carrot sticks for a classic pairing. Get ready for rave reviews!
Pro Tips for the Best Baked Sriracha Wings
To ensure your chicken wings turn out perfectly every time, keep these expert tips in mind:
- Don’t Skip Patting Them Dry: This cannot be emphasized enough! Removing surface moisture is the absolute biggest factor in achieving truly crispy skin.
- Use a Wire Rack: Baking wings on a wire rack set over a foil-lined baking sheet allows air to circulate underneath the wings, ensuring even cooking and crisping on all sides. This prevents a soggy bottom!
- The Power of Baking Powder: Double-check that you’re using baking powder, not baking soda. It’s a game-changer for oven-baked wings, creating a bubbly, crispy texture.
- Space Them Out: Overcrowding the baking sheet will steam the wings instead of crisping them. Work in batches or use multiple sheets to give each wing enough space.
- Fresh Garlic for the Sauce: While garlic powder is great for the dry rub, fresh minced garlic in the sauce adds a brighter, more pungent flavor that truly stands out.
- Resting Period: After baking, let the wings rest for 5-10 minutes before tossing with sauce or dry rub. This helps the skin firm up and prevents it from becoming soggy too quickly.
- Garnish for Freshness: A sprinkle of fresh chopped cilantro or green onions adds a vibrant touch and a bit of herbaceous flavor that cuts through the richness of the wings. A squeeze of lime juice can also brighten the flavors.
FAQs About Baked Chicken Wings
The magic ingredient is baking powder! It works by raising the pH of the chicken skin, which promotes browning and crisping as it cooks. It also creates tiny air bubbles on the surface, making the skin extra crunchy. Remember, you absolutely cannot swap baking powder for baking soda; baking soda will leave an unpleasant metallic taste.
I find that a two-stage baking process yields the best results. Start by baking at a lower temperature (250°F / 120°C) for about 30 minutes. This slowly renders the fat under the skin, making the meat tender and preparing the skin for maximum crispness. Then, crank up the heat to a higher temperature (425°F / 220°C) for an additional 40 minutes, which crisps the skin to golden perfection.
For truly crispy baked wings, it is essential to add the sauce *after* they are fully baked. If you apply sauce before baking, the moisture will prevent the skin from crisping up properly, resulting in a soggy texture. Coating them post-bake allows the crispy skin to absorb the delicious flavor while maintaining its satisfying crunch.
Store your leftover baked chicken wings in an airtight container in the refrigerator for 3-4 days. To reheat and bring back their crispiness, avoid the microwave. Instead, warm them in the oven or an air fryer at about 350°F (175°C) for 10-15 minutes, or until they are thoroughly heated through and have regained their desired texture.
More Delicious Chicken Recipes You’ll Love
If you enjoyed these flavorful wings, be sure to check out some of my other popular chicken dishes:
- Baked Coconut Chicken Strips
- Sheet Pan Parmesan Chicken and Veggies
- Baked Chicken Nuggets
- Buffalo Chicken Baked Potatoes
- BBQ Marinated Chicken Kabobs
HUNGRY FOR MORE? Don’t miss out on my latest recipes and kitchen tips! Subscribe to my newsletter and follow along on Pinterest, Facebook, and Instagram for all my delicious updates!
Baked Garlic Sriracha Chicken Wings
Ingredients
- 6 1/2 pounds chicken wings mine were not trimmed and ready to go
- 3 tablespoons baking powder NOT BAKING SODA
- Salt and pepper to taste
- Dry Rub
- 3 tablespoons sriracha powder I found this in the Walmart spice isle
- 1/2 tablespoon garlic powder
- Traditional Saucy Kind
- 6 tablespoons butter
- 1/3 cup sriracha sauce
- 3 cloves garlic minced
Instructions
-
Preheat oven to 250 degrees F (120°C). Line a very large baking sheet with foil (or use two smaller ones for more space) and, if possible, place a wire rack on top. Set aside.
-
Prepare your wings by cutting off the tips and separating the wingette from the drumette. Pat them thoroughly dry with paper towels to ensure maximum crispiness. Place the dried wings in a large bowl. Sprinkle generously with baking powder, salt, and pepper. Toss to combine, ensuring every wing is evenly coated. Arrange the wings in a single layer on the prepared baking sheet(s), leaving a little room between each.
-
Bake at 250 degrees F (120°C) for 30 minutes. Then, raise the oven heat to 425 degrees F (220°C) and bake for an additional 40 minutes, flipping halfway through if desired, until your wings are beautifully golden brown and crispy.
-
For the Dry Rub: Combine sriracha powder and garlic powder in a small bowl. Mix well and set aside.
-
For the Sauce: Combine butter, sriracha sauce, and minced garlic in a small saucepan. Bring to a gentle simmer over medium-low heat for 2-3 minutes, stirring occasionally, until the butter is melted and the flavors are melded.
-
Once baked, divide the crispy wings into two separate large bowls. Sprinkle and toss one half with the prepared dry rub until evenly coated. Toss the other half with the warm sriracha sauce until each wing is glistening.
-
Serve your irresistible wings immediately with ranch or blue cheese dressing, and enjoy!
Notes

