Homemade Ham and Cheddar Biscuit Rolls: Your Ultimate Comfort Food Recipe
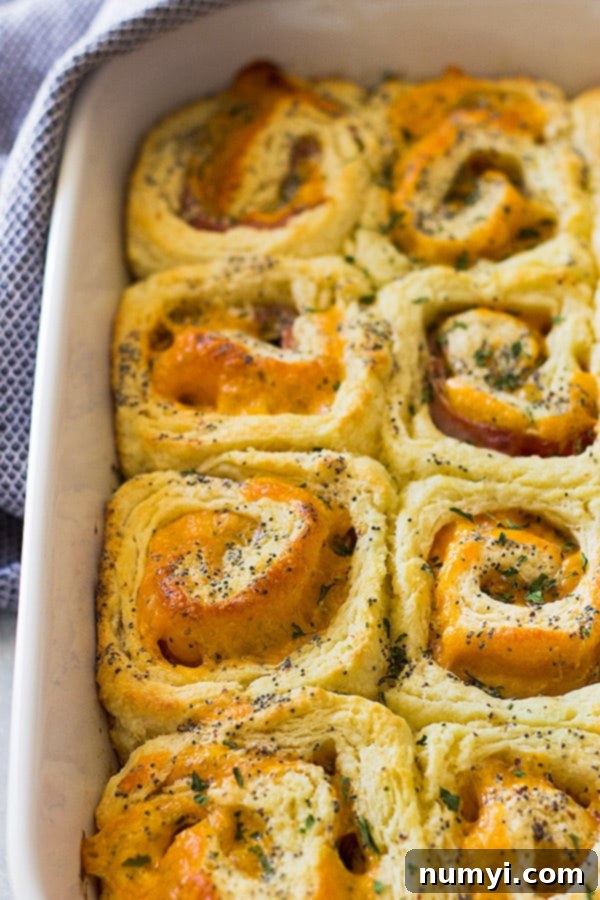
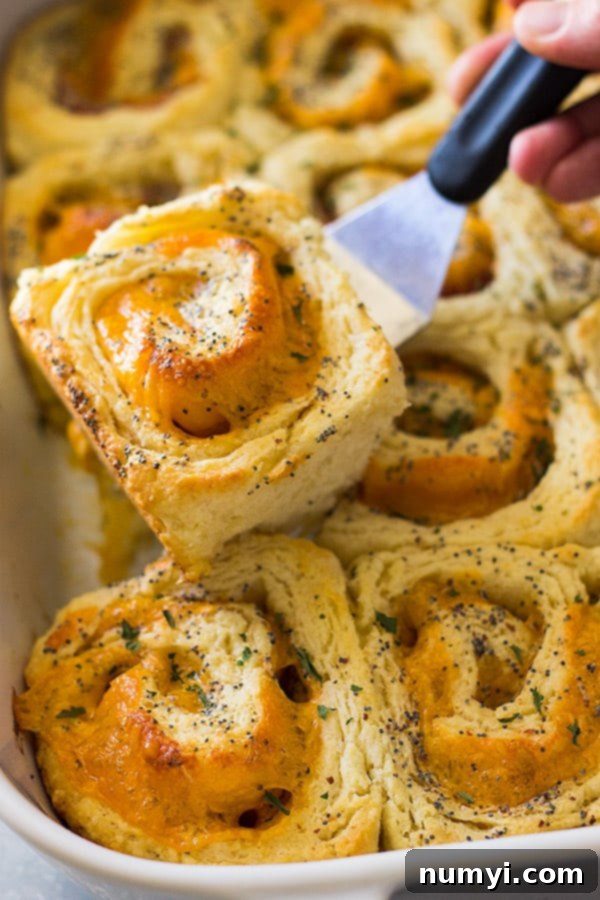
Prepare to fall absolutely in love with these incredibly delicious Ham and Cheddar Biscuit Rolls! Imagine biting into a soft, fluffy, golden-baked homemade biscuit, generously filled with savory diced ham and sharp, melty cheddar cheese. Each roll is then crowned with a delightful, slightly tangy glaze that perfectly complements the rich flavors within. This isn’t just a recipe; it’s an invitation to experience pure comfort food that promises to become a cherished favorite in your kitchen. Whether you’re looking for a hearty way to start your day, a crowd-pleasing dish for a special occasion, or a simple, satisfying snack, these versatile rolls fit the bill perfectly.

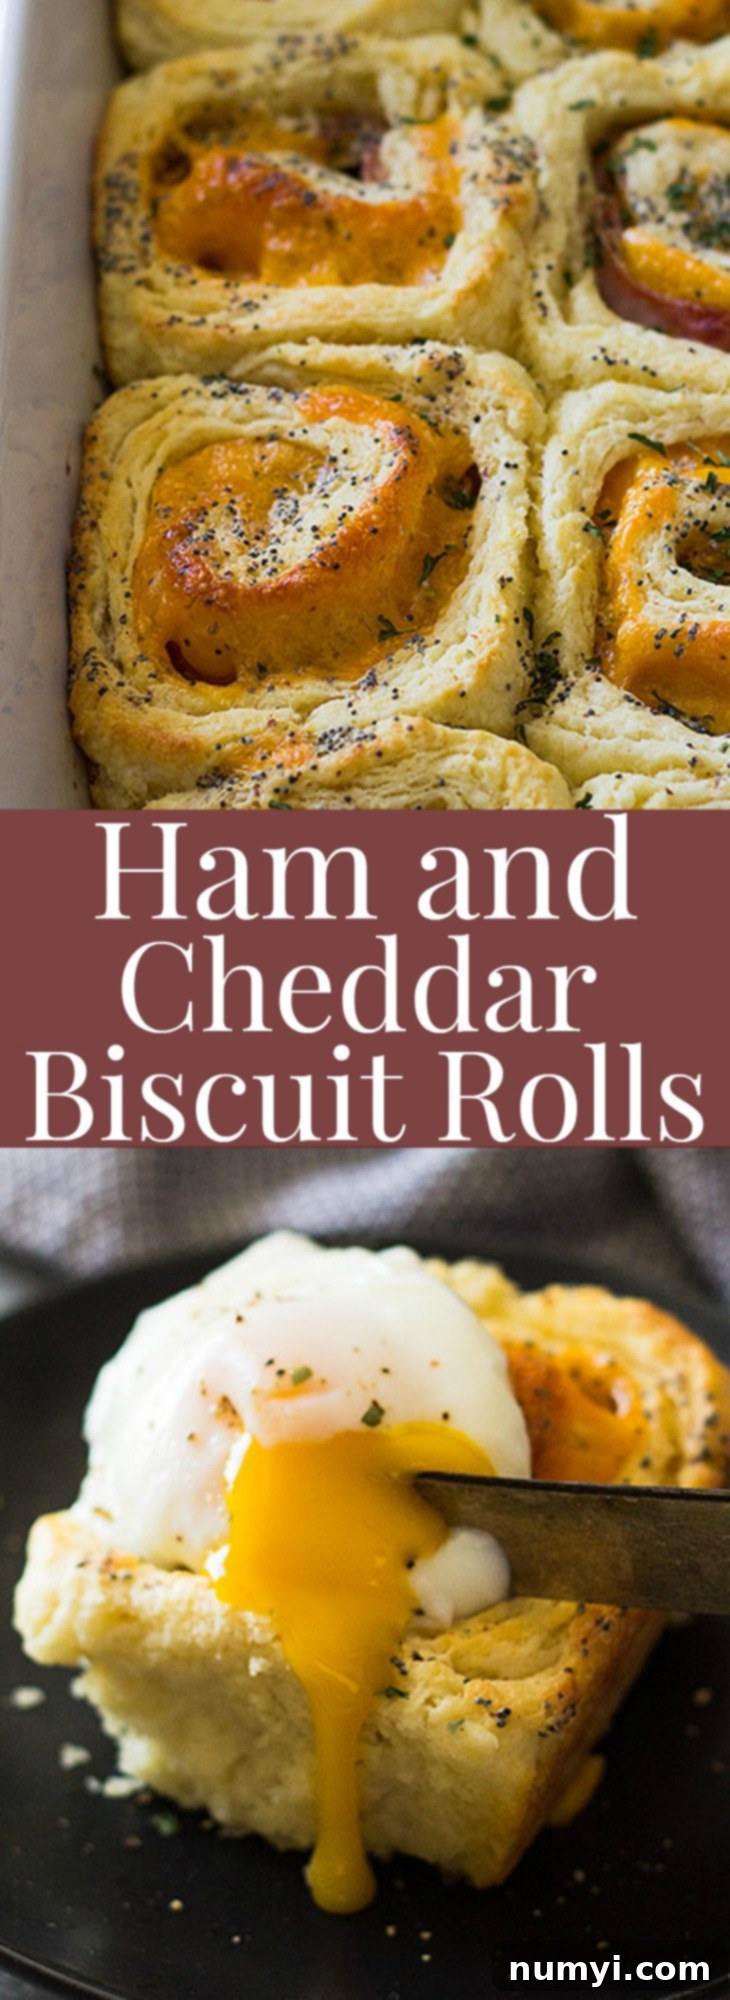
In our home, breakfast is more than just a meal; it’s a sacred start to the day. For a while, the chaos of busy mornings sometimes led us to rely on quick bowls of cereal. While convenient in a pinch, it quickly became apparent that cereal, no matter how colorful or sugary, wasn’t quite doing the job. My children would invariably start complaining of hunger long before lunchtime, creating a less-than-ideal situation for their dedicated teachers and, let’s be honest, for my peace of mind. As any parent knows, sometimes you have to do what you have to do to get through the most hectic periods, and cereal served its purpose during those particularly challenging mornings. However, I always strive to provide nourishing and truly satisfying meals whenever I can. So, when I first introduced these incredible Ham and Cheddar Biscuit Rolls to my family, the reaction was nothing short of ecstatic: a unanimous declaration that this was the “best breakfast EVER!” Hearing those words, seeing their joyful faces, and knowing they were starting their day truly satisfied, made every ounce of effort completely worthwhile. To make it an even more complete meal, I often serve these rolls alongside a perfectly poached egg—it’s my kids’ preferred choice, though a perfectly fried egg or a scramble would be equally delicious, adding a boost of protein to this already fantastic dish.


There’s no denying it: my children devoured these rolls with an enthusiasm and speed that completely overshadowed their usual cereal routine. It was the ultimate validation, a clear sign that these delightful, savory-sweet rolls needed to become a more frequent fixture on our breakfast menu. There’s just something inherently satisfying about warm, cheesy, ham-filled biscuits, and the happiness they bring, combined with the assurance of full tummies, is the best reward a cook can ask for.
The Art of Homemade Biscuit Dough: Why It’s Worth Every Minute
Admittedly, making these Ham and Cheddar Biscuit Rolls from scratch does require a little more time and attention than simply popping open a can of pre-made dough. However, I can’t emphasize enough that the effort invested in homemade biscuit dough is absolutely, unequivocally worth it. The difference in taste, texture, and overall quality is truly incomparable. Store-bought biscuits simply cannot replicate the tender, flaky layers and rich, buttery flavor that only come from a lovingly crafted homemade dough.
The secret to perfectly flaky biscuits lies in cold ingredients and minimal handling. Using very cold butter, cut into small pieces or even grated, ensures that tiny pockets of butter remain throughout the dough. As these melt in the hot oven, they release steam, creating those signature airy, flaky layers. Similarly, cold buttermilk reacts with the leavening agents (baking powder and baking soda) to give the biscuits their beautiful rise and tender crumb. Resist the urge to over-knead the dough, as this can develop the gluten too much, resulting in tough, chewy biscuits rather than the light, melt-in-your-mouth texture you desire. The process itself, from combining the dry ingredients to gently folding in the butter and buttermilk, is a rewarding culinary experience, and the aroma that fills your kitchen as these rolls bake is a true treat for the senses.
Effortless Entertaining: Smart Make-Ahead & Freezing Tips
One of the most practical and beloved aspects of these Ham and Cheddar Biscuit Rolls is their fantastic make-ahead potential. This feature makes them an ideal choice for busy weekdays, spontaneous weekend brunches, or even preparing in advance for upcoming holiday gatherings. You can easily assemble a batch of these rolls ahead of time, ensuring fresh, warm goodness is always just an oven away.
To freeze them, simply prepare the rolls as instructed, cutting them into rounds and placing them in your greased baking pan. Before freezing, cover the rolls directly with a layer of plastic wrap to prevent freezer burn and keep them moist. Then, cover the entire pan snugly with aluminum foil. These rolls can be frozen for up to 2-3 weeks without compromising their quality. When you’re ready to enjoy them, there’s no need for a lengthy thawing process. Just remove the pan from the freezer about 20 minutes before you plan to bake, allowing them to slightly temper. Pop them into a preheated oven, and you’ll have fresh, golden-brown biscuit rolls ready to serve. Be sure to add an extra 5 minutes or so to the standard cook time to account for starting with partially frozen dough, ensuring they are thoroughly cooked through and beautifully golden. This simple tip transforms a potentially time-consuming recipe into a convenient, delicious option for any occasion.

Beyond Breakfast: Versatility for Every Occasion
While these Ham and Cheddar Biscuit Rolls are undoubtedly a breakfast superstar, their savory-sweet profile and satisfying nature make them incredibly versatile for a multitude of occasions throughout the day, and even into the evening. Don’t let the “breakfast” label limit your creativity; these rolls are ready to shine in various culinary roles!
Brunch Perfection
Elevate your next brunch spread from ordinary to extraordinary with these irresistible rolls. They are a delightful addition, pairing beautifully with a fresh fruit salad, a vibrant green salad, or even a sophisticated mimosa. Their hearty yet refined character ensures your guests feel satisfied, while their unique flavor profile adds a special touch that will undoubtedly have everyone asking for the recipe. Imagine them alongside classic brunch items like quiches, frittatas, or even a simple platter of scrambled eggs and bacon.
Snack Time Saviors
When hunger strikes between meals, these rolls offer a far more satisfying and wholesome alternative to processed snacks. A warm roll, perhaps with an extra dollop of your favorite mustard, a side of apple butter, or even a bit of cream cheese, can be just the comforting pick-me-up you need to power through your afternoon. They are perfect for after-school snacks for hungry children or a quick, energizing bite for adults on the go.
Game Day Appetizers & Crowd-Pleasers
Hosting a lively game day party, a casual get-together, or simply feeding a crowd of hungry football fanatics? These Ham and Cheddar Biscuit Rolls are an absolute touchdown! They are perfectly portioned, easy to eat handheld, packed with irresistible flavors, and universally loved. To add an exciting kick for the adults, consider stirring a pinch of cayenne pepper, a dash of hot sauce, or even some smoked paprika into the glaze topping. My husband, for one, always appreciates that extra layer of savory heat, which adds another dimension to an already perfect bite. Serve them hot and watch them disappear faster than you can say “touchdown!”
Customization & Flavor Twists
The true beauty of this recipe lies not just in its inherent deliciousness but also in its remarkable adaptability. Feel empowered to experiment with different types of cheese to subtly alter the flavor profile; Gruyere or Swiss would offer a nutty complexity, while a spicier Monterey Jack could add a little zing. You could also swap out the ham for finely diced roasted turkey, crispy bacon bits, or even a vegetarian option like sautéed mushrooms and spinach. For an herbaceous touch, a sprinkle of fresh chives, finely chopped parsley, or even a hint of dried thyme in the biscuit dough or over the glaze would be wonderful. The glaze itself is also ripe for customization; a touch of honey or maple syrup could introduce a subtle sweetness, beautifully balancing the savory elements, while a dash of Worcestershire sauce could deepen the umami flavor. Whether you’re preparing them for a quiet family breakfast, a bustling brunch, or as a show-stopping appetizer for a lively gathering, these ham and cheddar biscuit rolls are guaranteed to delight and impress everyone who takes a bite.
Now, let’s dive into the specifics of how to create these culinary masterpieces with our detailed recipe:
Ham and Cheddar Biscuit Rolls

Ingredients
- BISCUIT DOUGH:
- 3 cups all purpose flour
- 2 tablespoons sugar
- 1 tablespoon baking powder
- 1/2 teaspoon baking soda
- 1/2 teaspoon salt
- 3/4 cup COLD butter cut into small pieces or grated with a grater
- 1 cup + 2-4 tablespoons COLD buttermilk
- FILLING:
- 1/2 pound sliced ham
- 12 slices sharp cheddar
- GLAZE:
- 2 tablespoons butter melted
- 1 tablespoon dijon mustard
- 1 teaspoon poppy seeds
Instructions
-
Preheat your oven to 425 degrees F (220 degrees C). Lightly grease a 9×13 inch baking pan and set it aside. Ensuring the oven is fully preheated is key for optimal biscuit rise and a perfectly golden crust.
-
In a large mixing bowl, thoroughly combine the dry ingredients: all-purpose flour, sugar, baking powder, baking soda, and salt. Whisk these together to ensure everything is evenly distributed. Next, add the COLD butter (either cut into small pieces or grated). Using a pastry blender or your fingertips, quickly cut the butter into the flour mixture until it resembles coarse crumbs, roughly the size of small peas. This step is crucial for achieving flaky biscuits, as the cold butter creates pockets of steam during baking. Gradually pour in the COLD buttermilk, stirring gently until the dough is just barely combined. It will look shaggy and a bit sticky. Transfer the dough to a lightly floured work surface and gently knead it about 10 times. Be careful not to over-knead, as this can lead to tough biscuits; the goal is simply to bring the dough together so it holds its shape.
-
Lightly sprinkle your work surface with additional flour to prevent sticking. Roll the dough into a rectangle approximately 15 inches long by 10 inches wide. Aim for an even thickness across the dough for consistent baking. Carefully arrange the sliced ham evenly over the entire surface of the rolled dough, leaving a small border around the edges. Then, layer the sharp cheddar slices over the ham. Starting from the long side facing you, tightly roll up the dough into a log. Once rolled, firmly pinch the seam shut to fully seal the delicious filling inside. With a sharp knife or even unflavored dental floss, cut the log into 12 even 2-inch rounds. Place these beautiful rolls seam-side down in your prepared 9×13 inch baking dish, arranging them snugly but with a little space between each to allow for expansion.
-
In a small bowl, whisk together the melted butter, Dijon mustard, and poppy seeds until they are well combined. This creates a wonderfully savory and slightly tangy glaze that adds incredible flavor and shine. Using a pastry brush, generously brush this glaze over the tops of each roll. The glaze will infuse the rolls with an extra layer of savory depth. Bake the rolls in the preheated oven for 20 minutes, or until they are beautifully golden brown on top and cooked through. The internal temperature should reach around 200-205°F (93-96°C). Once baked, remove the pan from the oven and let the rolls cool for 5-10 minutes before carefully removing them from the pan and serving. This resting period allows them to set slightly and prevents them from falling apart. Serve warm and savor every delightful bite!
Notes
**Freezing Instructions for Make-Ahead:** These rolls are perfect for preparing in advance and freezing for later enjoyment. Once you’ve assembled them and placed them in the greased baking pan, cover the rolls first with a layer of plastic wrap, pressing it directly onto the rolls to prevent freezer burn and maintain moisture. Then, cover the entire pan tightly with aluminum foil. You can freeze them for up to 2-3 weeks. When you’re ready to bake, remove the pan from the freezer approximately 20 minutes before placing it in the oven to allow the dough to slightly warm up. Bake at 425 degrees F (220 degrees C) for about 25 minutes, or until they are beautifully golden and thoroughly heated through. The slight increase in baking time accounts for starting with partially frozen dough.

