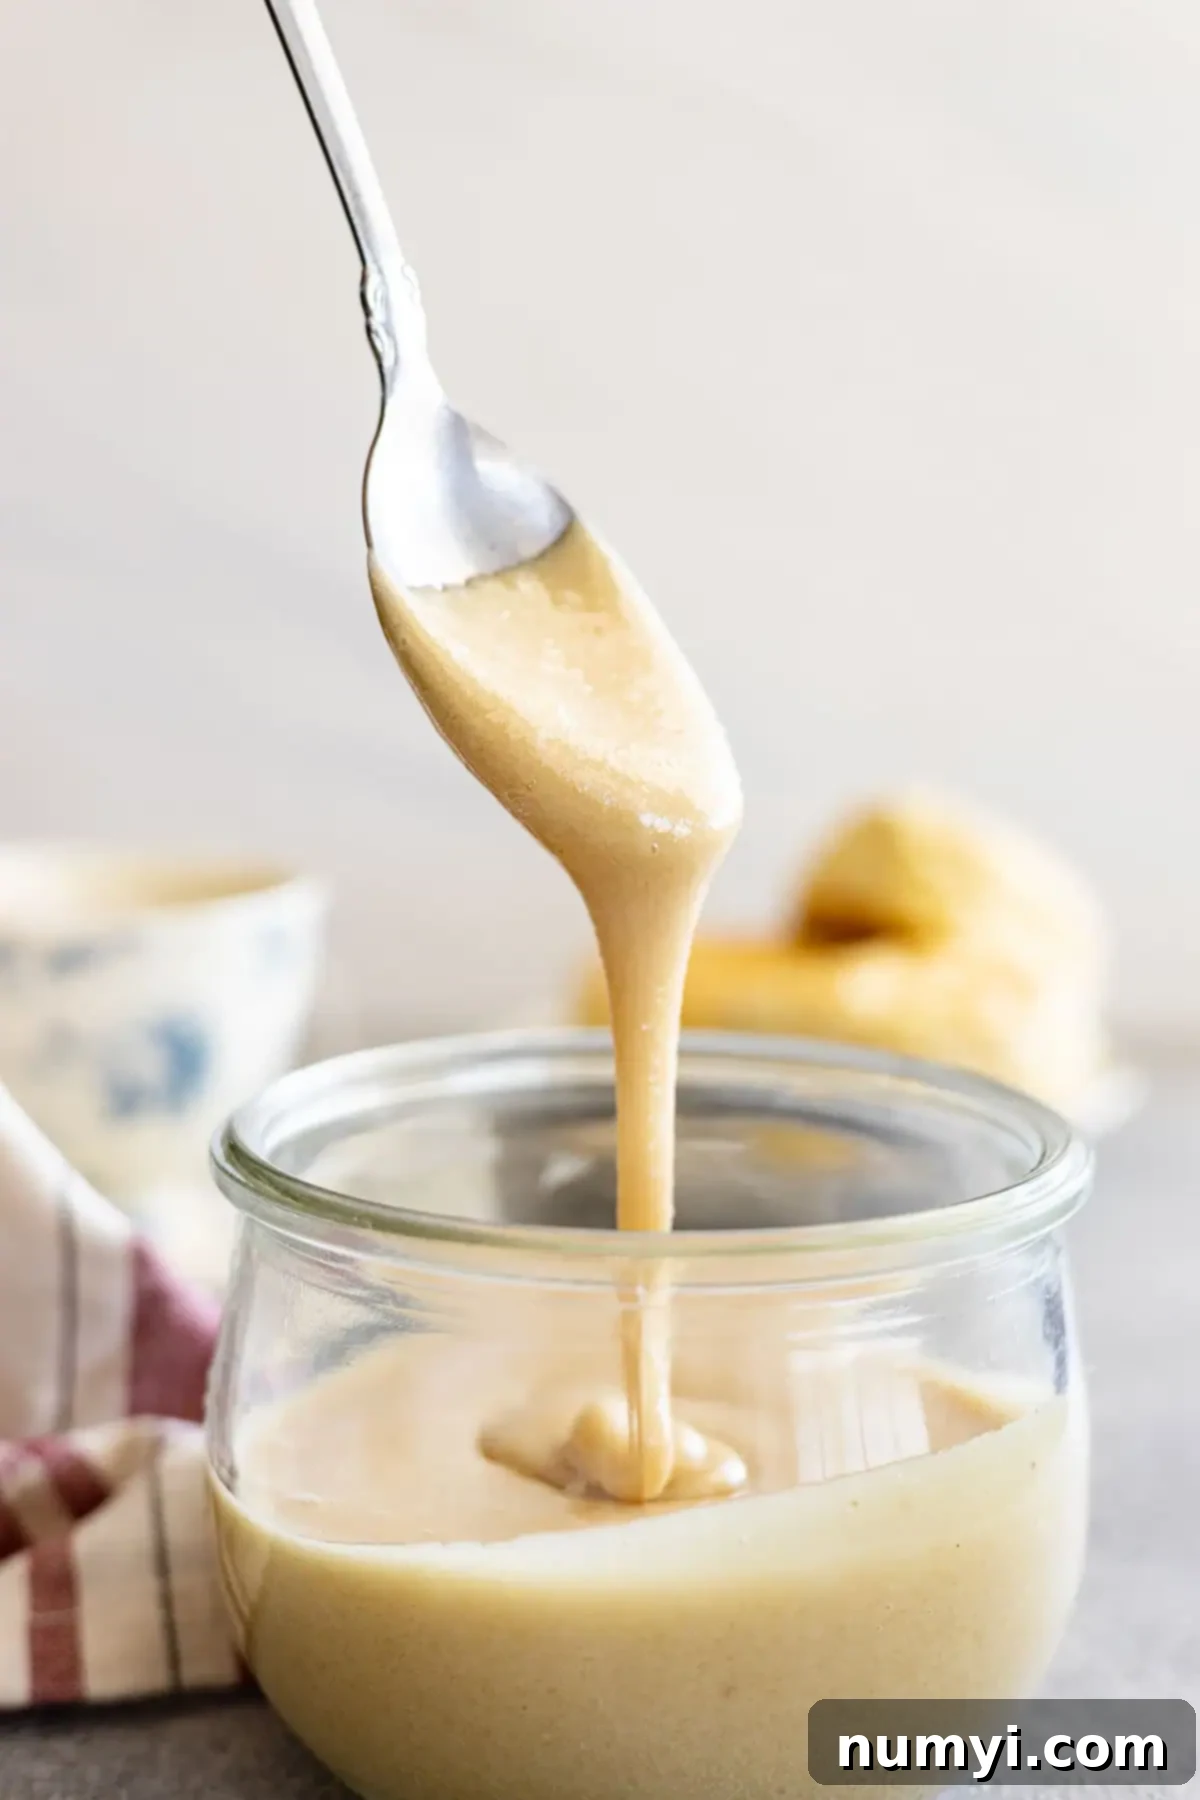
Homemade Whipped Honey: Transform Crystallized Honey into a Creamy Delicacy
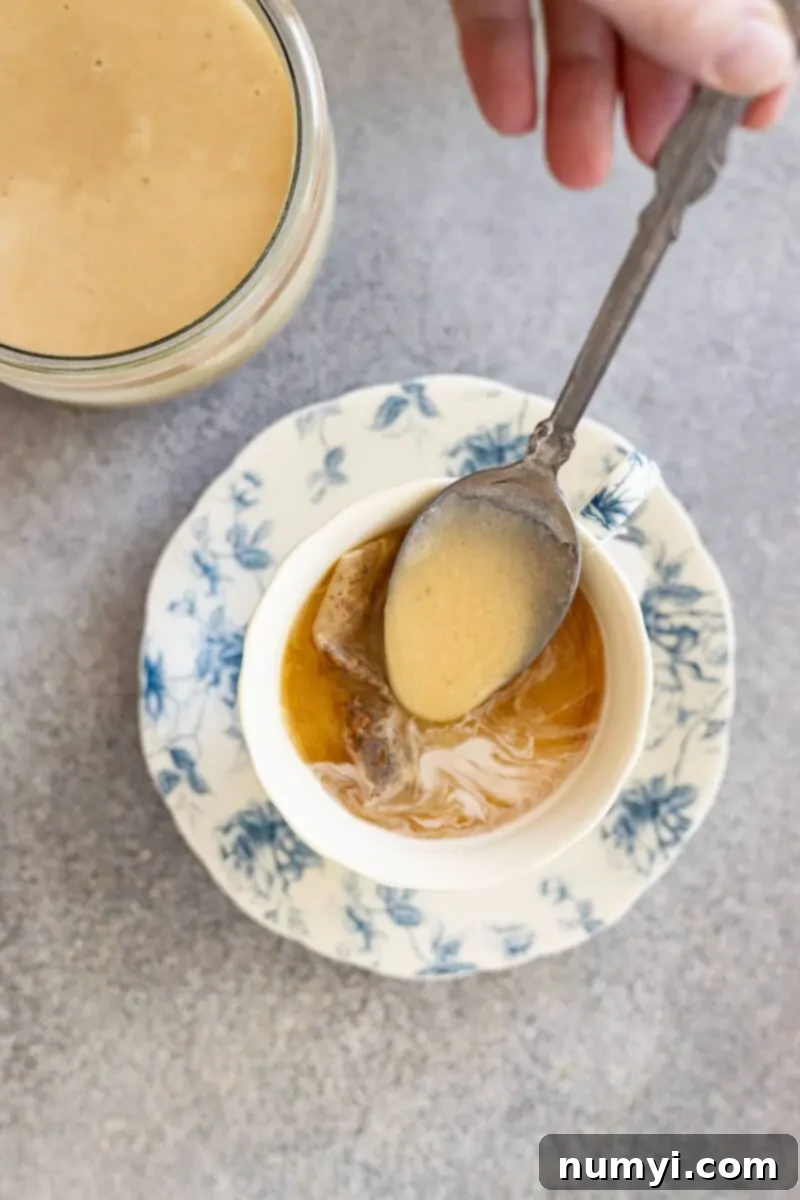
Prepare to revolutionize your perception of honey! Making your own **whipped honey** at home is not only incredibly straightforward but also a delightful culinary adventure. This simple process converts ordinary liquid or crystallized honey into a luxurious, creamy, and wonderfully spreadable treat. Imagine a velvety texture that melts in your mouth, perfect for generously spreading over warm toast, stirring into your morning coffee or favorite hot tea, or drizzling over a stack of fluffy pancakes. Once you experience the convenience and rich flavor of homemade whipped honey, those sticky, runny jars of liquid honey will feel like a distant memory.
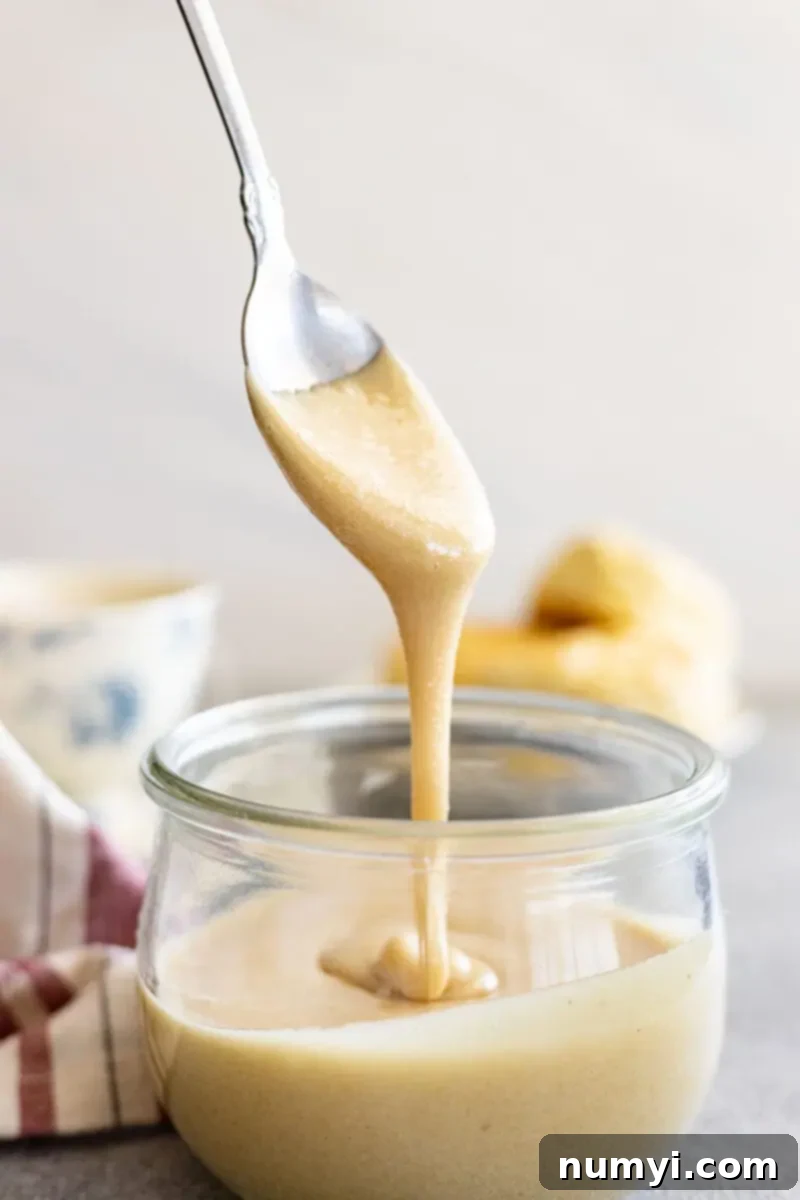
Have you ever encountered a jar of honey that has solidified into a grainy, unyielding block? Many people mistakenly believe this means their honey has spoiled and consider discarding it. However, the crystallization of honey is a completely natural process and a testament to its purity, not a sign of spoilage! Instead of tossing it, embrace this natural transformation as an opportunity to create something even more spectacular. You can easily give that crystallized honey a new lease on life by making this luscious whipped honey.
The beauty of this recipe lies in its adaptability: you can create whipped honey using various states of honey. Whether you have a jar of completely crystallized honey, a mix of liquid honey with some stubborn crystals, or even entirely liquid honey, this method can be adapted. Each approach yields a slightly different final texture, allowing you to customize your whipped honey to achieve your ideal consistency. We’ll guide you through these options to ensure your results are nothing short of perfect.
What Is Whipped Honey? Unveiling the Creamy Secret
Whipped honey, also widely known as “creamed honey,” “spun honey,” or “honey butter” (though it contains no butter!), is honey that has undergone a mechanical process of whipping or controlled crystallization. This process transforms its typically liquid or grainy texture into a smooth, thick, and almost marshmallow-like consistency. It’s truly a marvel how a simple ingredient like honey can be so dramatically re-imagined.
The transformation occurs as air is meticulously incorporated into the honey during the whipping. This aeration process lightens the honey, both in density and color, giving it an opaque appearance that can range from a pale golden hue to an almost pure white. Crucially, the whipping also encourages the formation of extremely fine sugar crystals, preventing the large, gritty crystals that often form when honey crystallizes naturally without intervention. The result is a product that holds its shape, making it effortlessly spreadable on various foods, unlike traditional liquid honey which tends to drip. It’s a game-changer for toast, biscuits, or any application where a neat, controlled spread is desired.
Why Make Homemade Whipped Honey? Benefits Beyond Flavor
While you can find creamed honey in specialty food stores, crafting it at home offers a multitude of benefits that extend beyond just the delicious taste. Opting for the homemade route is an excellent choice for several reasons:
- Rescue Crystallized Honey: The most immediate benefit is saving those “hardened” jars of honey from being overlooked or discarded. This recipe is the perfect solution for giving new life to honey that has naturally crystallized, turning it into a premium product.
- Cost-Effective Luxury: Store-bought creamed honey can be quite expensive. By making it yourself, you leverage your existing honey stock (or a less expensive liquid honey) to create a luxurious spread for a fraction of the price.
- Customizable Texture: When you’re in control, you can whip the honey to your preferred consistency – from a softly yielding, almost pourable cream to a firmer, more spreadable butter-like texture.
- Pure Ingredients: By choosing your own raw honey, you ensure that your whipped honey is free from any unwanted additives, artificial flavors, or unnecessary processing. You know exactly what’s going into your body.
- Endless Flavor Possibilities: As we’ll explore later, homemade whipped honey is a blank canvas for flavor infusions. From classic cinnamon to exotic spices, the only limit is your imagination.
- Perfect for Gifting: Beautifully packaged homemade whipped honey makes a thoughtful and impressive gift for friends, family, or holiday gatherings.
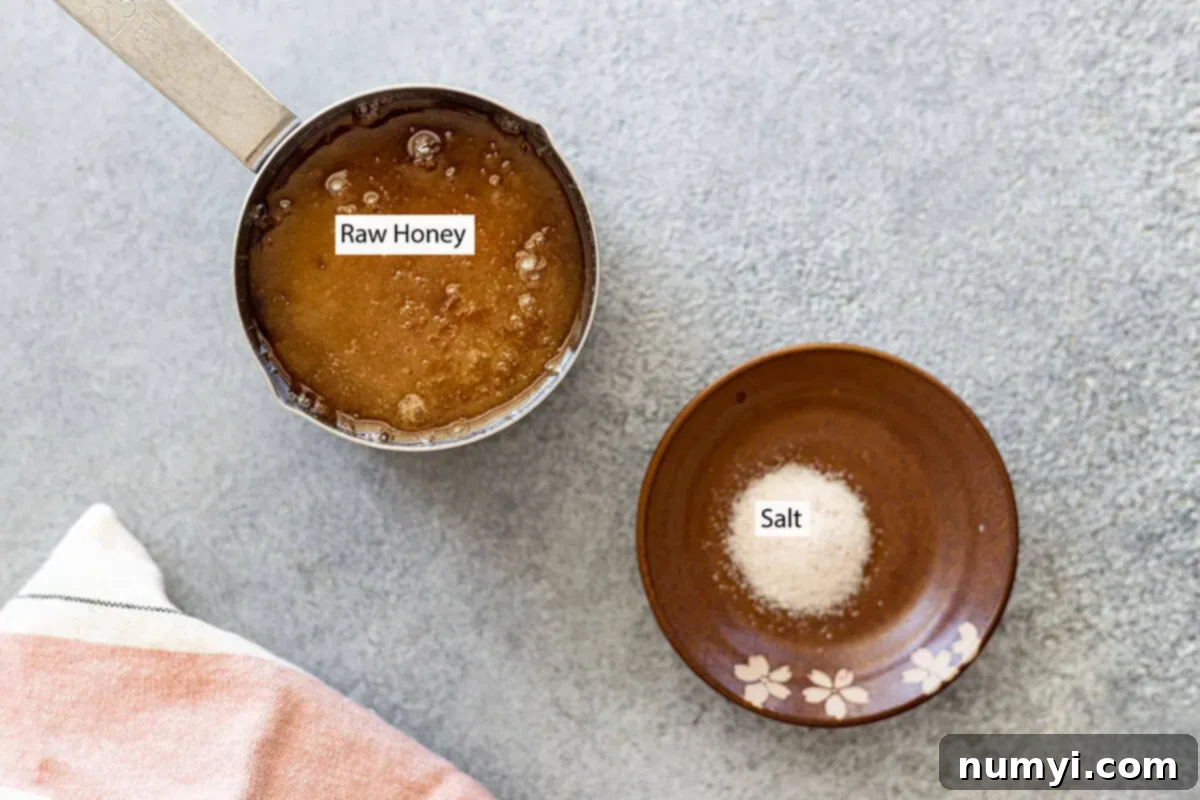
Essential Ingredients for Your Whipped Honey Journey
You’ll be pleasantly surprised by the simplicity of the ingredient list for this delightful treat. You only need one core ingredient, but with a small, optional addition, you can elevate its flavor significantly.
-
Raw Honey (The Star Ingredient):
For the best whipped honey, **raw honey** is absolutely essential. Raw honey is honey in its purest form—unpasteurized, unfiltered, and often locally sourced. This means it retains all its natural pollen, enzymes, antioxidants, and a richer, more complex flavor profile. Crucially for this recipe, raw honey contains the natural sugar crystals and pollen particles that act as nucleation sites, making it ideal for initiating and guiding the controlled crystallization necessary for a smooth, stable whipped texture. Unlike highly processed commercial honeys (often found in bear-shaped bottles), which are typically heated and filtered to prevent crystallization (making them less suitable for this process), raw honey’s inherent tendency to crystallize is our advantage here.
Feel free to experiment with different types of raw honey based on their floral source. Clover honey offers a mild, classic sweetness, while wildflower honey provides a more robust and varied flavor. Buckwheat honey is dark and malty, offering a unique profile, and orange blossom honey contributes a delicate citrusy note. Each will result in a unique and delicious whipped honey!
-
Salt (Optional, but Highly Recommended):
While technically optional, a tiny pinch of fine salt (such as sea salt or kosher salt) works wonders to enhance the overall flavor of your whipped honey. Similar to how salt is used in baking, it doesn’t make the honey taste salty but rather brightens and deepens its natural sweetness, adding a subtle complexity that makes it truly irresistible. For every cup of honey, about 1/2 teaspoon is usually the perfect amount to achieve this magical effect without overpowering the honey’s delicate flavor.
Choosing Your Honey: Understanding Its Consistency
The initial state of your raw honey will influence the whipping process and the final texture. Here’s a guide to using different honey consistencies:
- Primarily Crystallized Honey: This is a fantastic way to utilize honey that has already become solid and grainy. Whipping crystallized honey directly will result in a very thick, fluffy, and generally stable whipped honey. The texture might be slightly grittier than a honey made with a liquid component, but it will still be delightfully spreadable. If your crystallized honey is rock-hard, you might need to gently warm it slightly (not too much!) to a semi-solid state before whipping to help the mixer break it down.
- Liquid Honey with Some Crystallized Honey (or “Seed Honey”): This method is often preferred for achieving the creamiest, silkiest results. By introducing a small amount of already finely crystallized honey (sometimes called “seed honey” or a small amount of commercially creamed honey) into primarily liquid honey, you provide a template for the remaining liquid honey to crystallize around. This encourages the formation of tiny, uniform crystals, leading to an exceptionally smooth, stable, and luxurious whipped product. A ratio of about 3 tablespoons of crystallized or seed honey to 1 cup of liquid honey is an ideal starting point.
- All Liquid Honey: While you can indeed whip entirely liquid raw honey, it’s important to manage expectations regarding its long-term texture. It will initially become light and airy as air is incorporated, but it tends to revert to a more liquid or slightly separated state over time, especially if not consumed quickly. For the most stable and enduring creamy texture, incorporating at least some crystallized honey is highly recommended.
Essential Equipment for Whipping Honey
Before you dive into the whipping process, ensure you have these simple tools readily available:
- Stand Mixer with Whisk Attachment: This is the ideal tool for the job. The whipping process requires sustained agitation, and a stand mixer allows for hands-free operation while ensuring thorough aeration. A hand mixer can also work, but be prepared to hold it for an extended period, which can be tiring.
- Large Mixing Bowl: Choose a bowl that can accommodate the honey as it expands in volume during whipping. If using a stand mixer, its bowl will suffice.
- Rubber Spatula: Indispensable for scraping down the sides and bottom of the bowl frequently during whipping, ensuring all the honey is evenly processed and no unwhipped portions remain.
- Airtight Storage Containers: Glass jars with tight-fitting lids are perfect for storing your finished whipped honey, helping it maintain its freshness and creamy texture for weeks or months.
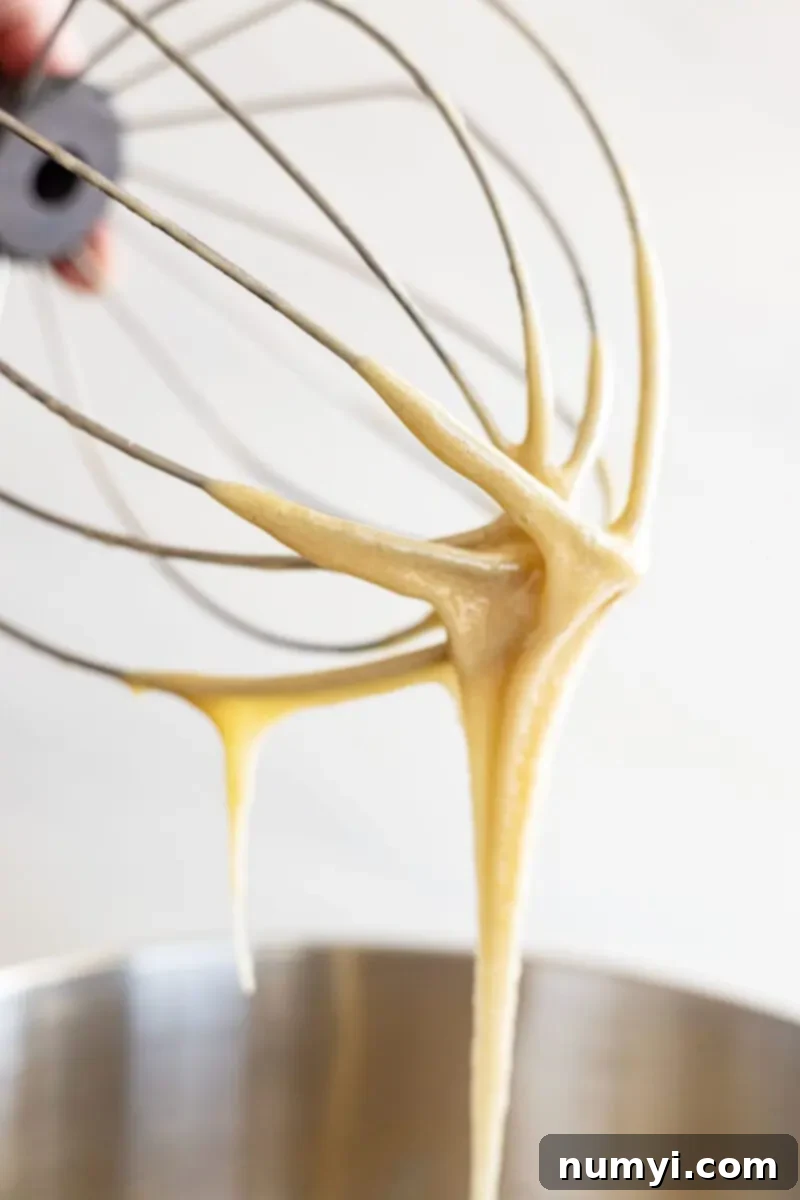
How To Make The Creamiest Whipped Honey: A Step-by-Step Guide
Creating perfectly smooth, fluffy, and spreadable creamed honey is surprisingly simple, though it does require a bit of patience during the whipping phase. Follow these steps for the best results:
-
Prepare Your Honey Mixture:
For the absolute creamiest and most stable whipped honey, start with a blend. A good ratio is approximately **3 tablespoons of finely crystallized honey** (or a small amount of pre-creamed “seed” honey) to **1 cup of liquid raw honey**. The crystallized honey acts as a starter, guiding the liquid honey to form very fine, uniform crystals. If your raw honey is completely liquid, you can still proceed, but the texture might be slightly less stable. If your honey is entirely crystallized, break it into smaller chunks before adding it to the mixer.
-
Combine in Mixer:
Transfer your prepared honey (the blend, all crystallized, or all liquid) to the bowl of your stand mixer. If you’ve decided to add salt for that extra flavor boost, now is the time to sprinkle in about 1/2 teaspoon per cup of honey used. This subtle addition will truly enhance the honey’s natural sweetness.
-
Begin the Whipping Process:
Attach the whisk attachment to your stand mixer. Start whipping the honey at a **medium-high speed**. At first, it might seem like nothing much is happening, but be patient! Over time, you’ll observe the honey gradually changing in appearance. It will start to lighten in color and become more opaque as air is slowly incorporated into its structure.
-
Scrape Down the Bowl:
This is a crucial step for achieving a uniform texture. Every 5-7 minutes, pause your mixer. Use a rubber spatula to thoroughly scrape down the sides and the bottom of the mixing bowl. This ensures that all the honey is consistently agitated and no unwhipped portions remain stuck to the edges, which could lead to an inconsistent final product.
-
Monitor Consistency and Continue Whipping:
The total whipping time can vary significantly, typically ranging from **15 to 30 minutes**, or sometimes even longer. Factors like the type and amount of honey, its initial temperature, and the power of your mixer all play a role. You’ll know your whipped honey is ready when it has:
- **Lightened Considerably in Color:** It should be a pale gold, light beige, or even nearly white.
- **Increased in Volume:** It will appear fluffier due to the incorporated air.
- **Achieved a Thick, Opaque, Creamy Texture:** It should resemble soft-serve ice cream or a very thick frosting.
- **Passed the Finger Test:** To check for smoothness, rub a small amount of the whipped honey between your thumb and forefinger. It should feel smooth with minimal to no grittiness from large sugar crystals.
If you’re using primarily crystallized honey and it still feels a bit gritty, continue mixing for an additional 10 minutes. If it’s still too gritty, you can try thinning it out slightly with a tablespoon or two of liquid honey and continuing to whip, though some grittiness may remain with this method. If your honey isn’t thickening or lightening, ensure it’s at a comfortable room temperature (around 70-75°F or 21-24°C). If your kitchen is very warm, the honey might be too liquid to whip effectively.
-
Final Step:
Once your whipped honey has reached its desired creamy consistency and beautiful pale color, turn off the mixer. Your homemade whipped honey is now ready to be transferred to storage and enjoyed!
The anticipation during the whipping process is the only challenging part. However, the delightful reward of a perfectly smooth, stable, and fluffy whipped honey truly makes every minute of mixing worthwhile.
Proper Storage for Your Homemade Whipped Honey
To preserve the exquisite texture and freshness of your homemade whipped honey, proper storage is crucial. Once you’ve finished whipping, transfer the creamy honey into clean, dry **airtight containers**. Glass jars with tight-fitting lids are an excellent choice. Store these containers in a **cool, dark place**, such as a pantry or cupboard, away from direct sunlight and significant temperature fluctuations. Unlike liquid honey, which can be prone to re-crystallization into large grains if exposed to varying temperatures, the controlled crystallization of whipped honey helps it maintain its smooth texture. Whipped honey stored correctly can last for several months, often even longer, just like regular honey. It is generally not recommended to refrigerate whipped honey, as the cold temperatures can make it too firm and difficult to spread.
Versatile Uses for Creamed Honey: Beyond Breakfast
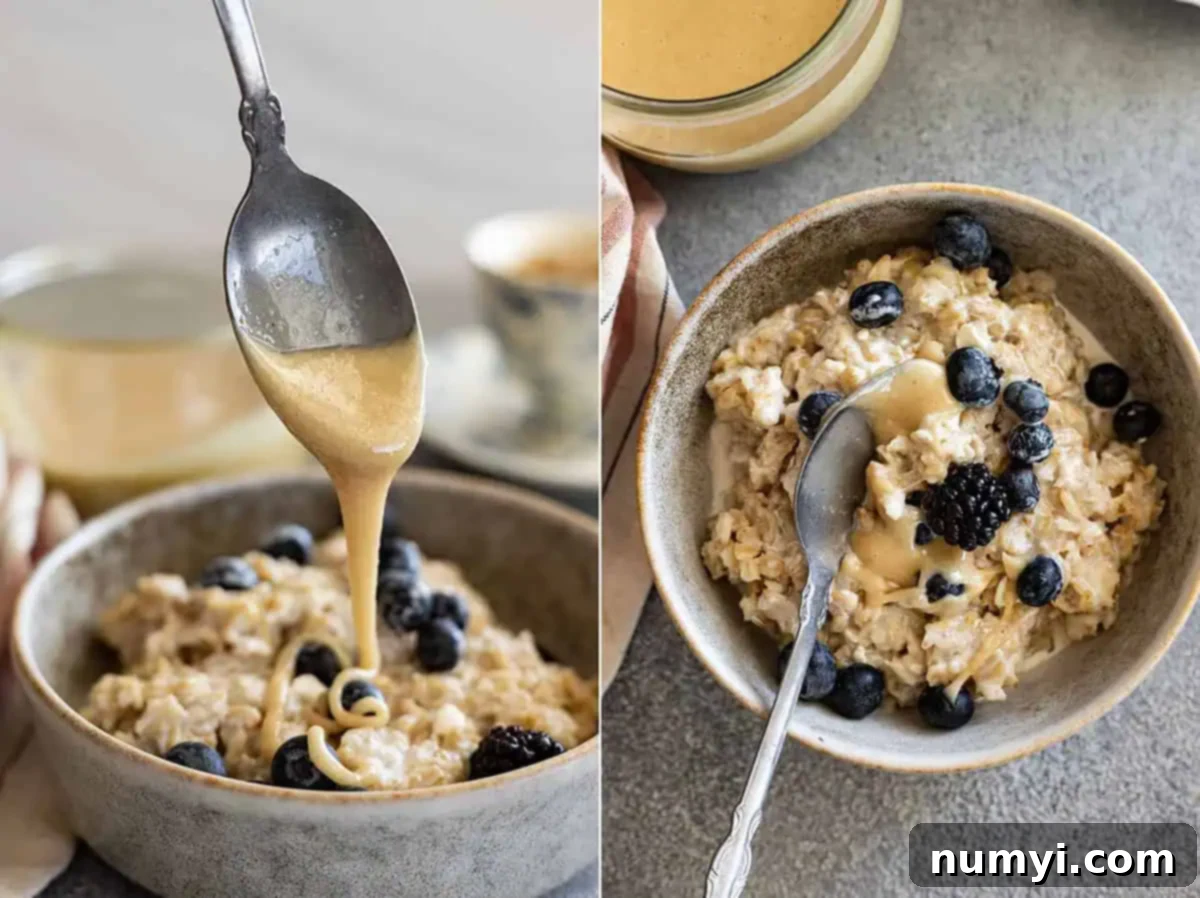
Once you have a jar of this delightful creamed honey on hand, you’ll discover an endless array of ways to incorporate its rich flavor and unique texture into your daily meals and special occasions. Its spreadable nature and delicate sweetness make it far more versatile than traditional liquid honey. Here are just a few fantastic ideas to inspire you:
- Elevate Your Hot Beverages: Swirl a spoonful into your favorite hot tea, coffee, or a warm mug of milk. It dissolves beautifully, imparting a creamy richness and comforting sweetness.
- Breakfast & Brunch Staple: Spread it generously over warm buttered toast, bagels, English muffins, or flaky croissants. It’s also an incredible topping for French toast, waffles, or a simple slice of artisanal bread.
- Southern Charm: It pairs exquisitely with classic Southern comfort foods. Drizzle it over warm Cornbread or these fluffy Cornbread Muffins for a harmonious blend of sweet and savory.
- Morning Power-Up: Stir it into your morning oatmeal, cream of wheat, granola, or a refreshing yogurt bowl. It offers a natural, unprocessed sweetness and a delightful creamy element.
- Sophisticated Cheese Boards: Serve it as a key component on an elegant cheese board. Its creamy texture and natural sweetness complement a wide variety of cheeses, fruits, nuts, and crackers.
- Homemade Honey Butter: For an extra indulgence, whip it together with softened unsalted butter to create an incredibly light and flavorful honey butter, perfect for dinner rolls, biscuits, or a special brunch.
- Thoughtful Edible Gifts: Spoon your homemade whipped honey into small, attractive jars, adorn with a ribbon, and gift it during the holidays, as hostess gifts, or for any special occasion. It’s a truly personal and delicious present.
- Pancake & Waffle Perfection: Skip the traditional syrup and use whipped honey as a thick, non-drip topping for your delicious Pancakes or homemade waffles.
- Fruit Enhancer: A dollop of whipped honey pairs wonderfully with fresh fruit salads, baked apples, or grilled peaches.
- Light Dessert Component: Use it as a topping for vanilla ice cream, a swirl in a panna cotta, or even as a simple, elegant filling for crepes.
Explore Exciting Flavored Whipped Honey Variations
One of the most exciting aspects of making your own whipped honey is the boundless opportunity for flavor customization. Once you have a batch of plain whipped honey, it becomes a perfect canvas for infusing with various delicious additions. Simply incorporate your chosen flavor enhancer during the last few minutes of whipping, or gently fold it in afterward for a marbled effect.
- CINNAMON Honey: Add 1 1/2 teaspoons of ground cinnamon per cup of honey for a warm, comforting, and subtly spicy treat. It’s divine with apple slices, in oatmeal, or stirred into hot cider.
- CHOCOLATE Honey: Whisk in 1 tablespoon of unsweetened cocoa powder per cup of honey for a rich, subtly sweet chocolate spread. This is a delightful topping for fruit, toast, or even as a quick dessert accompaniment.
- VANILLA Honey: Incorporate 1 1/2 teaspoons of pure vanilla extract or vanilla bean paste per cup of honey for an aromatic and deeply comforting flavor. It’s a wonderful all-purpose flavored honey.
- PUMPKIN SPICE Honey: For an autumnal delight, add 1 teaspoon of homemade pumpkin spice (or your favorite store-bought blend) per cup of honey. Perfect for fall baking, drizzling over roasted squash, or in pumpkin-flavored lattes.
- CITRUS ZEST Honey: Finely grate the zest of one lemon, orange, or lime into your whipped honey for a bright, refreshing, and aromatic burst of flavor. It pairs beautifully with yogurt or in tea.
- GINGER Honey: For a zesty and warming kick, mix in 1/2 teaspoon of ground ginger or 1 teaspoon of very finely grated fresh ginger per cup of honey. Excellent for soothing teas or with Asian-inspired dishes.
- COFFEE/ESPRESSO Honey: Incorporate 1 teaspoon of instant espresso powder or very finely ground coffee for a sophisticated, rich, and slightly bitter counterpoint to the sweetness. Ideal for coffee lovers or dessert applications.
- CARDAMOM Honey: Add 1/2 teaspoon of ground cardamom for an exotic, fragrant, and slightly floral flavor. Delicious in Middle Eastern or Indian-inspired recipes, or with simple pastries.
DID YOU KNOW….
rating and sharing recipes is one of the best ways you can support your favorite food bloggers? If you make this recipe, I would love if you clicked the stars when commenting below to leave a rating and/or sharing a photo on Instagram, Facebook, or Pinterest!
Whipped Honey
Ingredients
- 1 cup (235mL) raw honey (preferably with some crystallization)
- ½ teaspoon salt, optional
Instructions
-
In the bowl of your stand mixer, add your crystallized honey (or combination of seed honey and liquid honey). Add salt if using.
-
Using the whisk attachment, whip the honey at medium- high speed for about 15 minutes. Scrape down the sides and rub the creamed honey between your fingers to feel for sugar crystals. If there is still a lot, continue mixing for an additional 10 minutes. (Note: If using all crystallized honey, you may not be able to break down all the crystals. Try thinning it out with extra liquid honey for the smoothest consistency.)
Notes
- STORAGE: Store in an airtight container in a cool, dark place.
- FLAVOR VARIATIONS: See post for ideas.
Nutrition
Frequently Asked Questions About Whipped Honey
- Q: What is the primary difference between “creamed honey” and “whipped honey”?
- A: While often used interchangeably, “creamed honey” usually refers to a method of controlled crystallization where liquid honey is seeded with finely granulated honey and allowed to set, resulting in a smooth, thick product. “Whipped honey,” on the other hand, specifically emphasizes the mechanical process of agitating honey (often with a mixer) to incorporate air and break down larger crystals, achieving that light, fluffy, and spreadable consistency. Both methods aim for the same desirable outcome: a non-drip, creamy honey.
- Q: Can I use any type of honey for this recipe?
- A: For the best and most consistent results, **raw honey** is highly recommended. Many conventional store-bought honeys are pasteurized and ultra-filtered, a process that removes the natural pollen and fine crystal particles crucial for initiating the controlled crystallization needed to make stable whipped honey. If you use highly refined liquid honey, it may whip up initially but struggle to maintain its creamy texture over time.
- Q: My honey isn’t whipping up or staying thick. What might be the issue?
- A: Several factors can affect whipping success.
- Temperature: Ensure your honey is at a comfortable room temperature (around 70-75°F or 21-24°C). Honey that is too cold will be too stiff to whip effectively, while honey that is too warm will remain too liquid to properly incorporate air and hold its shape.
- Honey Type: If you’re using completely liquid and highly refined honey, it lacks the natural components to form a stable whipped texture. Incorporating at least some raw or crystallized honey is vital for long-lasting creaminess.
- Whipping Time: Be patient! The process can take 15-30 minutes, or sometimes longer. Don’t stop whipping too early.
- Scraping: Regularly scrape down the sides of the bowl to ensure even whipping.
- Q: How long does homemade whipped honey typically last?
- A: When stored correctly in an airtight container in a cool, dark place (like a pantry), homemade whipped honey can last for several months, and often even longer. Honey is a natural preservative, and the whipping process helps to stabilize its texture, preventing the formation of large, hard crystals. Avoid refrigeration, as this can make the honey too firm and difficult to spread.
- Q: What if my whipped honey hardens or separates over time? Can I fix it?
- A: Yes, absolutely! If your whipped honey begins to harden or shows signs of separation after a long period, you can easily revive it. Simply bring it back to a soft room temperature, transfer it back to your stand mixer, and re-whip it for 5-10 minutes until it regains its desired smooth and creamy consistency. It will be as good as new!
Conclusion: Embrace the Creamy Goodness of Whipped Honey
Transforming ordinary honey into a luxurious, spreadable delight is one of the simplest yet most rewarding kitchen projects. This comprehensive guide has equipped you with all the knowledge you need, from understanding the fascinating science behind whipped honey to mastering the whipping technique and exploring an array of exciting flavor possibilities. No longer will a jar of crystallized honey be a source of frustration; instead, it will be an invitation to create something truly special and delicious. So, gather your ingredients, grab your mixer, and embark on this incredibly sweet and satisfying culinary adventure. Your pancakes, toast, and tea will undoubtedly thank you for this creamy upgrade!
