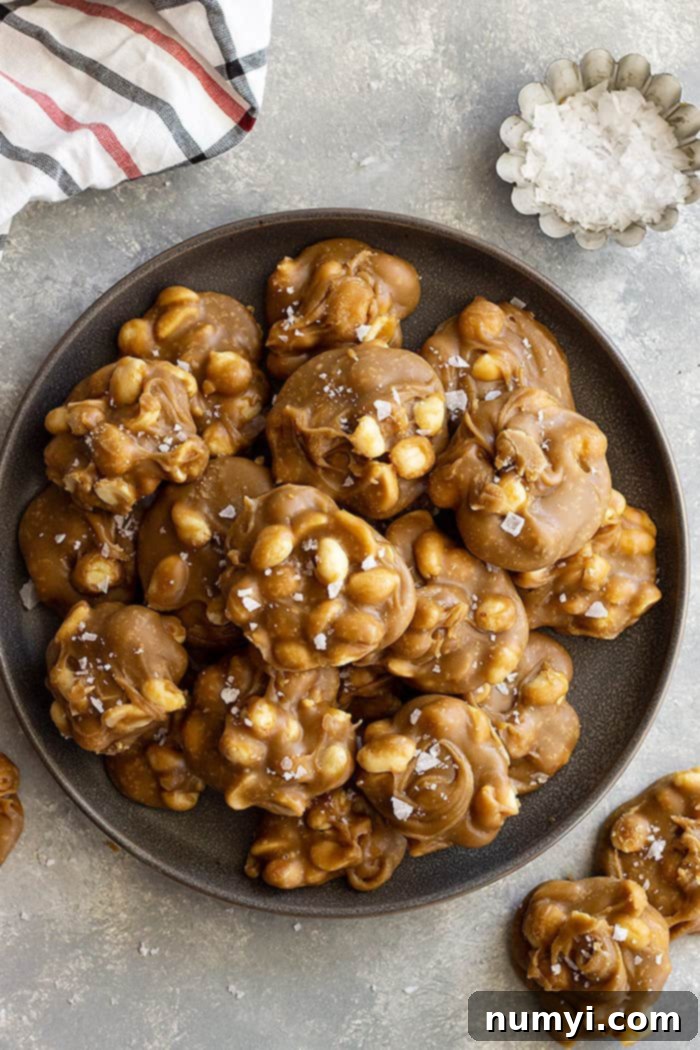
Irresistibly Easy Peanut Pralines: A No-Thermometer Recipe for Addictive Homemade Candy
These Easy Peanut Pralines require no candy thermometer and just 10 simple ingredients to make the most addictive, melt-in-your-mouth candy you’ll ever experience!
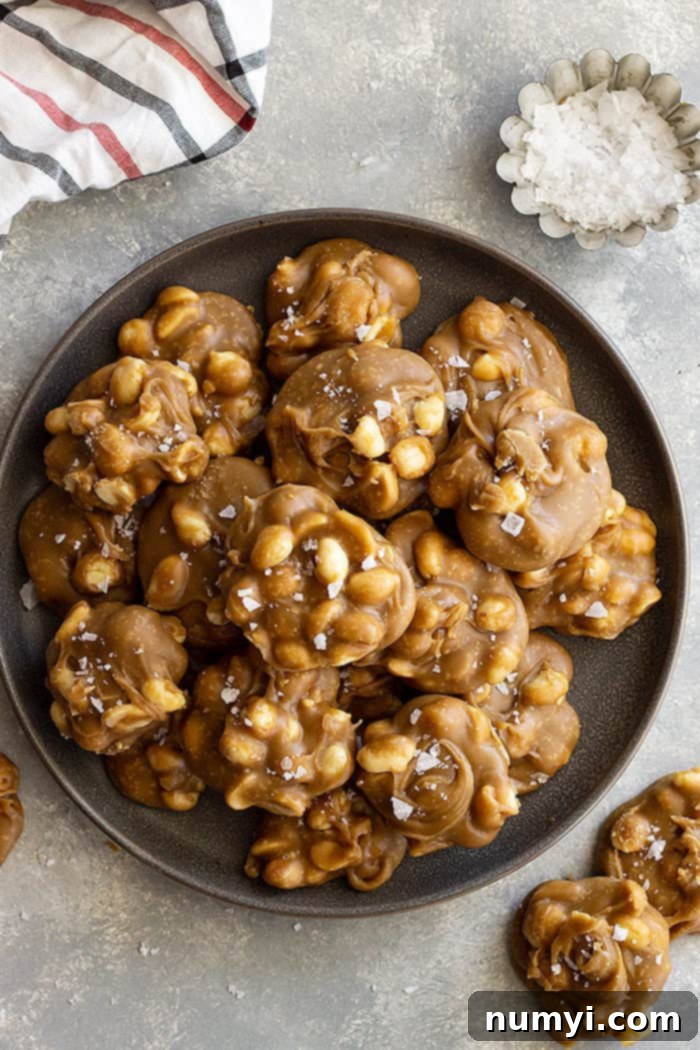
Welcome to the Sweet Season: Embrace Easy Peanut Pralines!
As November rolls in and the first dusting of snow graces the landscape, a cozy feeling settles, stirring up thoughts of holiday baking and festive treats. There’s something truly magical about the aroma of homemade sweets wafting through the air, transforming your kitchen into a hub of warmth and deliciousness. This year, I’m thrilled to share a recipe that perfectly captures that spirit, yet remarkably simplifies the often-intimidating world of candy making: our Easy Peanut Pralines.
While I haven’t ventured deep into candy-making in the past, discovering this praline recipe was a game-changer. It’s so surprisingly simple, eliminating the need for a candy thermometer, which often deters many home bakers. The result? A batch of incredibly rich, sweet, and perfectly salty pralines that taste like they came straight from a gourmet confectionery.
If you’re looking to fill your Christmas cookie tray with a variety of delights, these pralines are an absolute must-try. They pair wonderfully with other festive treats. For more delightful holiday baking ideas, don’t forget to explore these fantastic recipes:
- Homemade Chocolate Truffles: Rich, decadent, and oh-so-elegant.
- Cinnamon Roll Cookies: All the flavor of a cinnamon roll in a convenient cookie form.
- Peppermint Meringue Cookies: Light, airy, and bursting with holiday cheer.
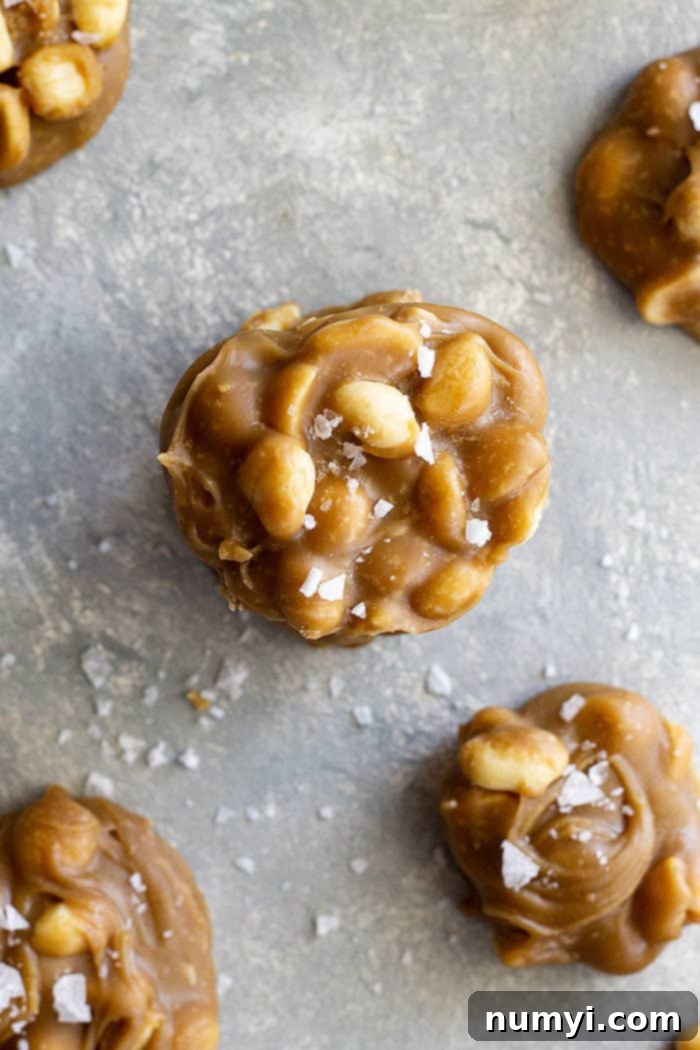
Why This Easy Peanut Praline Recipe Will Become Your New Favorite
This recipe isn’t just “easy” in name; it genuinely lives up to the promise. It’s designed to take the stress out of candy making, making it accessible even for absolute beginners. Here’s why these peanut pralines will quickly earn a permanent spot in your recipe collection:
- **No Oven Involved:** That’s right! You won’t need to turn on your oven, saving energy and keeping your kitchen cool – perfect if you’re already baking up a storm with other treats.
- **Minimal Cleanup:** With a single saucepan for cooking and parchment paper for setting, cleanup is a breeze. Less time scrubbing, more time enjoying your delicious creation.
- **Common Pantry Ingredients:** Forget searching for obscure items! This recipe uses readily available ingredients you likely already have in your pantry or can easily find at any grocery store.
- **No Candy Thermometer Needed:** This is perhaps the biggest selling point! Many candy recipes are daunting because they demand precise temperature control. This recipe expertly bypasses that need, relying on visual cues and timing instead.
- **Perfect Sweet and Salty Combination:** The delightful balance of rich sweetness from brown sugar and the savory crunch of salted peanuts, enhanced by a sprinkle of flaky sea salt, creates an irresistible flavor profile that keeps you coming back for more.
- **Ideal for Candy Making Beginners:** If you’ve always wanted to try making candy but felt intimidated, this is the perfect entry point. The straightforward steps and forgiving nature of the recipe ensure success, boosting your confidence in the kitchen.
Consider this your friendly warning: these pralines are incredibly addictive! Their smooth, rich texture melts in your mouth, and the delightful combination of sweet and salty notes ensures they’ll be the first to vanish from any dessert platter. You might want to make a double batch!
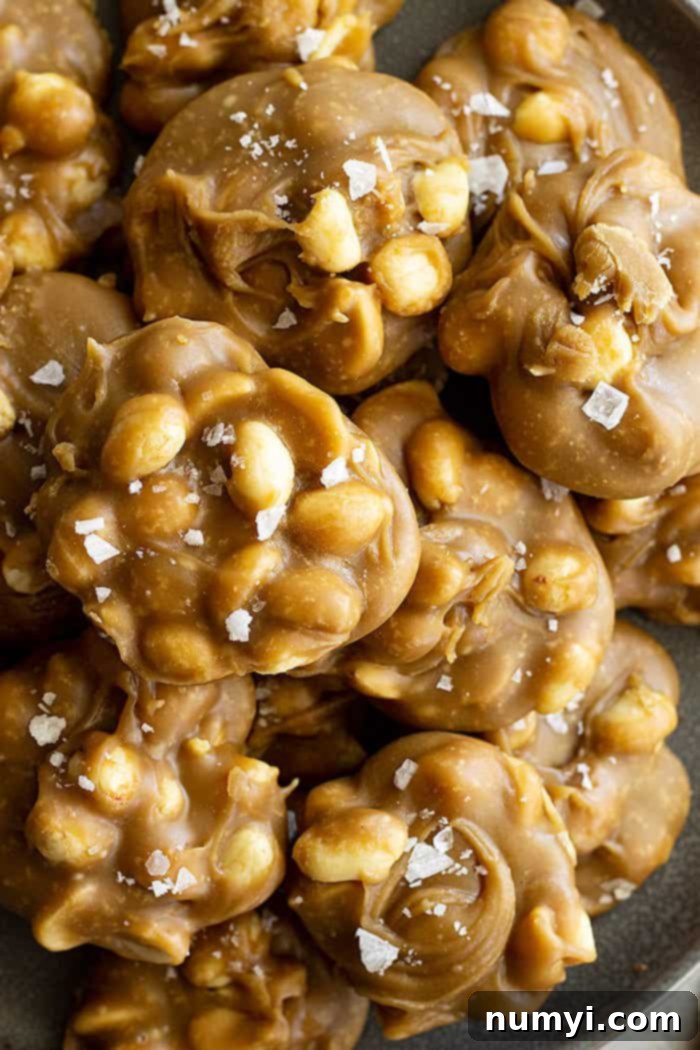
Essential Ingredients for Your Easy Peanut Pralines
Crafting these delectable peanut pralines requires a select few ingredients, each playing a crucial role in achieving that perfect texture and flavor. Here’s a closer look at what you’ll need and why:
- Butter: This is the foundation of richness and creaminess. Using a good quality unsalted butter will elevate the flavor profile, giving your pralines a truly luxurious feel.
- Peanut Butter: A secret weapon for enhancing that irresistible peanut flavor! I highly recommend using smooth peanut butter for the best consistency. If you prefer to omit it, you can substitute it with an additional 2 tablespoons of butter, though you’ll miss that extra peanut punch.
- Brown Sugar: The star ingredient that imparts the signature deep, caramel-like flavor to pralines. You can use either light or dark brown sugar, but I personally prefer dark brown sugar for its richer molasses notes, which add more complexity and depth of flavor. Make sure it’s packed when measuring for accuracy.
- Heavy Whipping Cream: Essential for the creamy, tender texture. Look for labels that say “heavy whipping cream” or “heavy cream” – they are essentially the same and will provide the necessary fat content for a luscious consistency.
- Light Corn Syrup: This acts as a deterrent against crystallization, ensuring your pralines remain smooth and not grainy. I’ve only tested this recipe with light corn syrup, so I recommend sticking to it for guaranteed results.
- Salt: A small amount of salt in the candy mixture helps balance the sweetness and brings out all the other flavors.
- Powdered Sugar (Confectioners’ Sugar): Added at the end, powdered sugar helps achieve the perfect firm-yet-creamy praline texture and adds to the melt-in-your-mouth quality.
- Vanilla Extract: A splash of vanilla enhances the overall sweetness and adds a warm, aromatic note that complements the peanut and caramel flavors beautifully. Use pure vanilla extract for the best taste.
- Salted Cocktail Peanuts: These are crucial for the classic praline crunch and salty contrast. I haven’t experimented with dry roasted or honey roasted peanuts, so for optimal results and flavor balance, stick with salted cocktail peanuts. Their oil content also contributes to the praline’s texture.
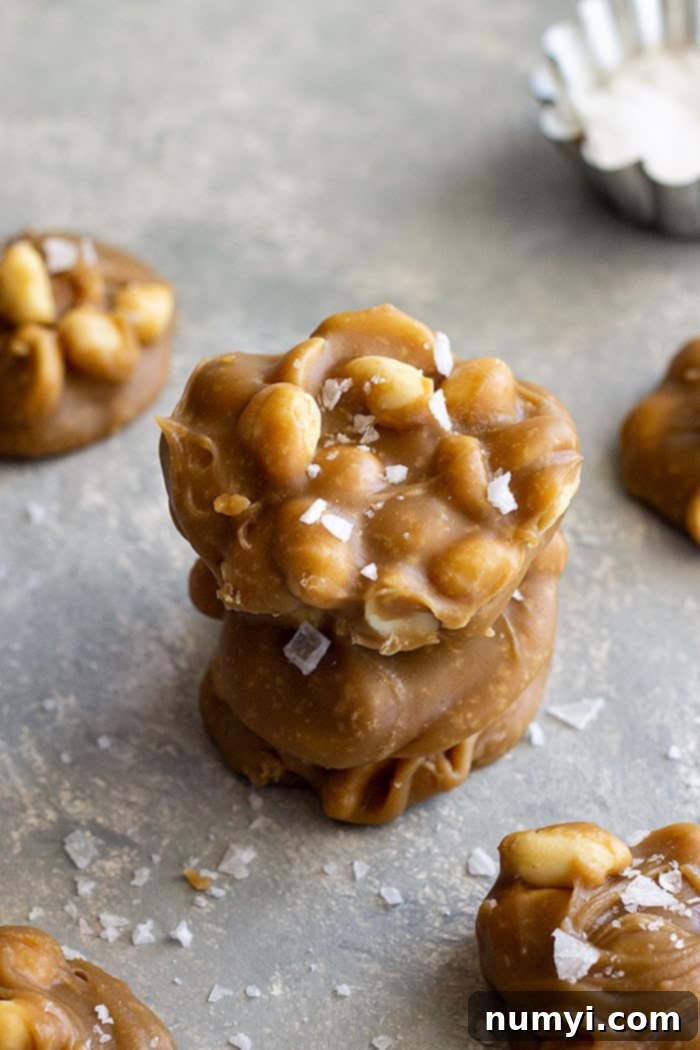
- Flaky Sea Salt: (Optional, but highly recommended!) A sprinkle of flaky sea salt on top just after dropping the pralines adds a final touch of gourmet elegance and intensifies the sweet and salty dynamic. It’s that little “something extra” that makes these pralines truly special.
Simple Steps: How to Make These Addictive Peanut Candies
Don’t let the idea of making candy intimidate you. This recipe is designed to be straightforward and rewarding. Follow these steps for perfect Easy Peanut Pralines every time:
- Preparation is Key: Start by lining a large baking sheet (or two, if needed) with parchment paper or wax paper. This ensures your pralines won’t stick and will be easy to remove once cooled. Have all your ingredients measured and ready – this is critical in candy making where things can move quickly.
- Melt the Base: In a medium-sized, heavy-bottomed saucepan, combine the butter and peanut butter. Place the saucepan over medium-low heat and allow the butter and peanut butter to melt together, stirring occasionally until smooth and fully combined. A heavy-bottomed pan helps distribute heat evenly and prevents scorching.
- Boil and Stir: Add the brown sugar, heavy whipping cream, light corn syrup, and the initial ¼ teaspoon of salt to the melted butter mixture. Increase the heat to medium. Bring the mixture to a full rolling boil, stirring frequently to prevent it from sticking to the bottom of the pan and ensure the sugar dissolves. Once it reaches a boil, continue to cook for exactly 1 minute, maintaining a frequent stir. This short boil time is key to setting the candy without needing a thermometer.
- Off the Heat & Mix: Immediately remove the saucepan from the heat. Carefully add the powdered sugar and vanilla extract. Using a hand mixer on low speed, beat the mixture until the powdered sugar is completely incorporated and the mixture is smooth. While you *could* stir by hand, a hand mixer makes sure there are no lumps and creates a smoother consistency.
- Add Peanuts & Cool Slightly: Stir in the salted cocktail peanuts until they are evenly distributed throughout the mixture. Now comes the crucial cooling step: let the mixture stand for 5-10 minutes. During this time, it will cool and thicken, becoming firm enough to drop with a spoon and hold its shape. Stir the mixture occasionally during this cooling period to ensure even cooling and prevent a skin from forming.
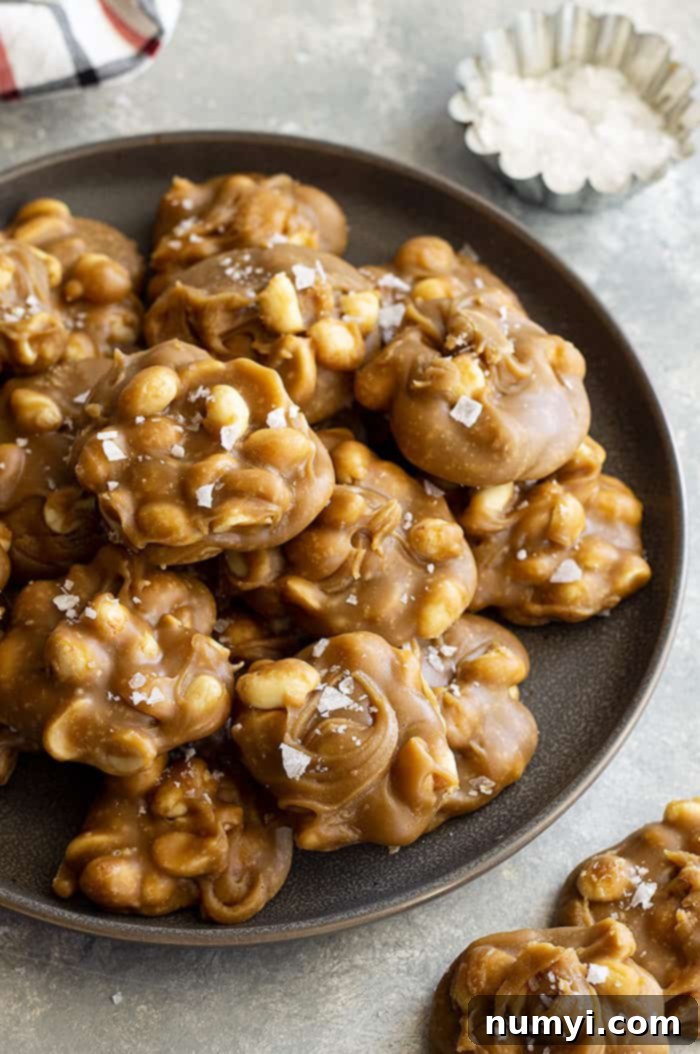
- Drop & Garnish: Once the mixture has thickened to a workable consistency, use a small cookie scoop or a tablespoon to drop individual portions onto your prepared parchment-lined baking sheet. Work quickly! Drop 1-2 pralines at a time and immediately sprinkle them with flaky sea salt (if using). If you drop too many at once, they will set up too quickly, and the salt won’t adhere properly.
- Cool Completely: Allow the pralines to cool completely until firm. This can take about 2+ hours at room temperature on your counter. For faster setting, you can place them in the refrigerator, but ensure they are fully set before handling.
Expert Tips for Perfect Peanut Pralines Every Time
While this recipe is incredibly forgiving, a few expert tips can ensure your Easy Peanut Pralines turn out absolutely perfect, just like they came from a professional candy shop:
- Mise en Place is Your Friend: “Mise en place” is a culinary term for having all your ingredients measured, chopped, and ready before you start cooking. This is particularly important for candy making, as many steps are time-sensitive. Having everything prepped ensures a smooth process and prevents frantic searching while your candy cooks.
- Adhere to the Recipe’s Instructions: It might sound obvious, but precise measurements and timing are crucial in candy making. Deviating from the recipe, such as cooking the mixture for too long, on too high a heat, or altering ingredient ratios, can significantly change the outcome. Trust the process, especially for this no-thermometer method!
- Choosing Your Dropping Tool: For consistently neat and uniform pralines, a small cookie scoop (about 1 tablespoon capacity) is ideal. It helps create perfectly rounded shapes. If you don’t have one, a regular tablespoon will work just fine, though the shapes might be a little less uniform. Ultimately, it comes down to personal preference for presentation. Aim for roughly 1 tablespoon of candy mixture per praline.
- Proper Storage for Freshness: To maintain their optimal texture and prevent them from becoming sticky or hardening too much, store your cooled pralines in an airtight container. Keep them in a cool, dry place at room temperature. If your kitchen is particularly warm, or if the pralines soften, a brief stint in the refrigerator can help them firm up again.
- Embrace the Freshness of Ingredients: Using fresh, high-quality ingredients can make a noticeable difference in the final taste and texture of your pralines. Fresh butter, good quality brown sugar, and rich cream all contribute to a superior candy.
- Don’t Overcook: Since we’re not using a thermometer, pay close attention to the 1-minute boiling time. Overcooking can lead to pralines that are too hard or crumbly. The rapid boil for a short period is sufficient to bring the sugar to the right stage for setting.
Frequently Asked Questions About Easy Peanut Pralines
Here are some common questions and answers to help you master this delicious recipe:
- Can I use a different type of peanut?
- I highly recommend sticking to salted cocktail peanuts as specified. Their saltiness and texture are perfectly balanced for this recipe. Dry roasted peanuts might not provide the same flavor or oil content, and honey roasted could make them overly sweet. If you experiment, be prepared for a slightly different outcome.
- My pralines didn’t set. What went wrong?
- The most common reasons for pralines not setting are not boiling the mixture long enough (even by a few seconds) or not allowing it to cool and thicken sufficiently before dropping. Ensure you bring the mixture to a full, rolling boil for the entire 1 minute. Also, the 5-10 minute cooling period where it thickens is crucial before dropping.
- Can I make these ahead of time?
- Absolutely! Pralines are excellent for making in advance. Store them in an airtight container at room temperature for up to 1-2 weeks. They make fantastic edible gifts!
- Can I double the recipe?
- While it’s tempting, doubling candy recipes can sometimes be tricky due to differences in heat distribution and cooking times in a larger batch. For best results, I recommend making two separate batches if you need a larger quantity. This ensures each batch cooks evenly and sets correctly.
- Why is my mixture grainy?
- Graininess often occurs when sugar crystallizes. Using light corn syrup helps prevent this. Also, ensure the brown sugar is fully dissolved before boiling and avoid scraping down the sides of the pan too much after the boil, as this can introduce sugar crystals back into the mixture.
Serving and Gifting Your Homemade Peanut Pralines
These Easy Peanut Pralines are versatile and delightful. Serve them as an after-dinner treat, a delightful addition to your holiday dessert spread, or simply as a special snack with your afternoon coffee. They are also incredibly popular for gifting! Arrange them in decorative boxes, tie them with a festive ribbon, and share them with friends, family, and neighbors. They make a thoughtful, homemade present that everyone will adore, especially during the Christmas season.
HUNGRY FOR MORE? Subscribe to my newsletter and follow along on Pinterest, Facebook, and Instagram for all my latest updates!
Easy Peanut Pralines
Ingredients
- 4 tablespoons unsalted butter, cubed
- 2 tablespoons creamy peanut butter
- 1½ cups (275g) packed brown sugar
- ½ cup (120ml) heavy whipping cream
- 1½ teaspoons light corn syrup
- ¼ teaspoon salt
- 1⅔ cups (165g) powdered sugar (confectioners sugar)
- 1½ teaspoons vanilla
- 1½ cups (225g) salted cocktail peanuts
- flaked sea salt for garnish, optional
Instructions
-
Line a large baking sheet with wax or parchment paper; set aside.
-
In a medium heavy-bottomed saucepan, melt the butter and peanut butter over medium-low heat.
-
Stir in brown sugar, cream, corn syrup, and salt. Turn heat up to medium and bring to a boil. Boil for 1 minute stirring frequently. Remove from heat and stir in the powdered sugar and vanilla with a hand mixer at low speed until smooth. Stir in peanuts.
-
Let mixture stand for 5-10 minutes or until thick enough to drop with a spoon and hold its shape. Stir occasionally while cooling.
-
Using a small cookie scoop or tablespoon drop mixture on prepared pan and immediately sprinkle with sea salt if desired. Let stand until firm (2+hours). Store in an airtight container.
Notes
- Have all your ingredients measured and ready to go. When making candy it is important to have all your ingredients ready to go. Many recipes go very quickly and you don’t have time to measure things as you go. This recipe is a little more forgiving but I still like to have everything ready.
- Please follow the recipe. I know it sounds silly but it is important when making candy. If you cook it too long or on a higher heat the candy could turn out differently.
- Use a small cookie scoop or tablespoon. For neat looking pralines use a cookie scoop. I used a tablespoon but I prefer the look of a cookie scoop. Really it comes down to personal preference. Either way, you are looking for about 1 Tablespoon of candy mixture per candy.
- Store in an airtight container. Keep these candies cool and in an airtight container for best results. If they get too warm, pop them into the fridge to harden if necessary.
- Nutrition Facts: Since different brands of ingredients have different nutritional information, the information shown is just an estimate.
Nutrition
Recipe adapted from Taste of the South
