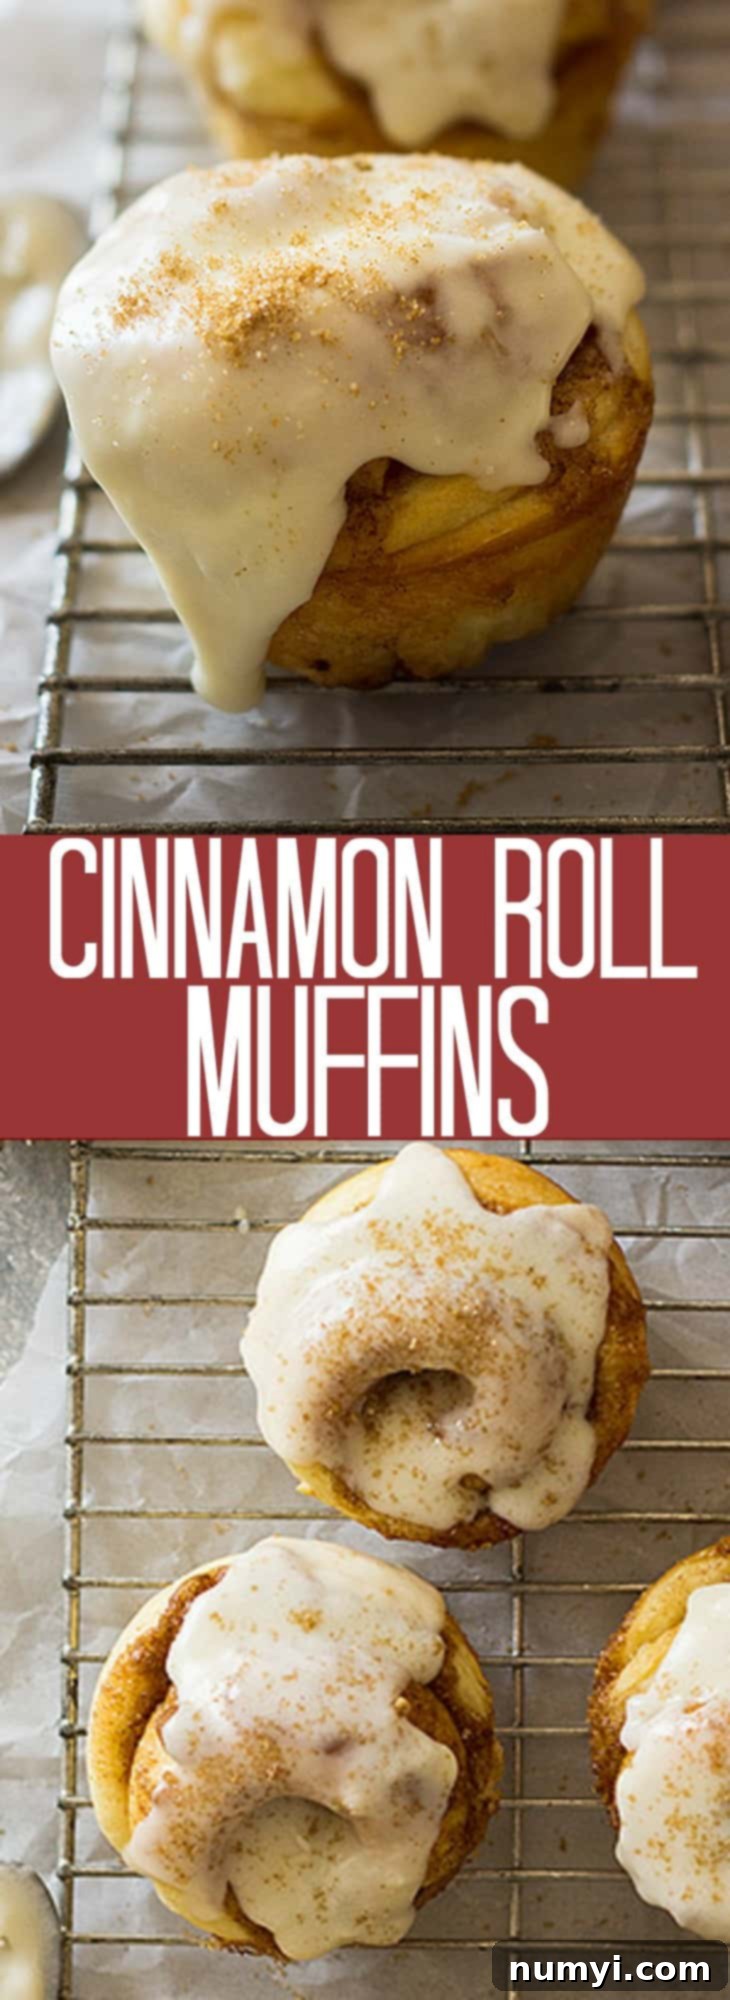
Irresistible Homemade Cinnamon Roll Muffins: Your New Favorite Breakfast Treat
Save it for later and PIN IT
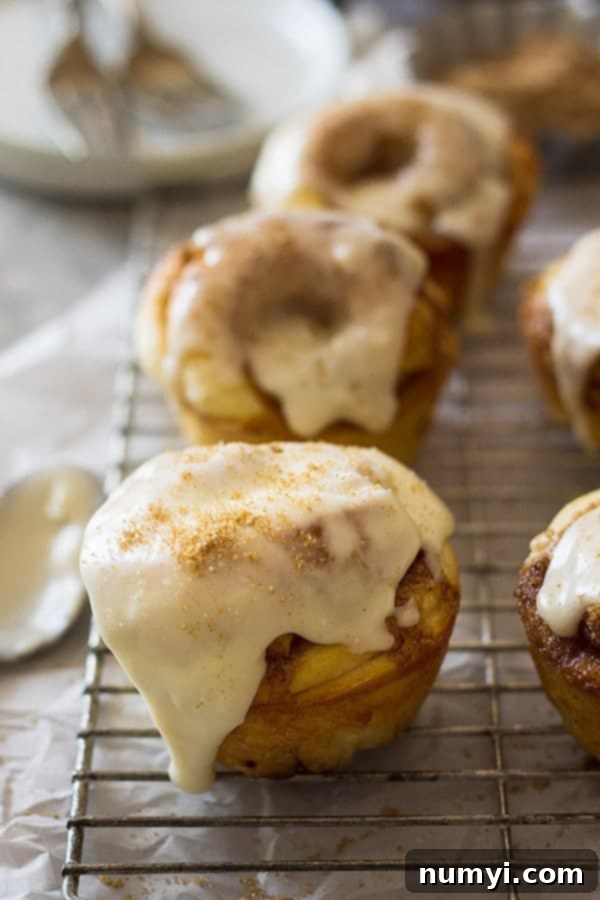
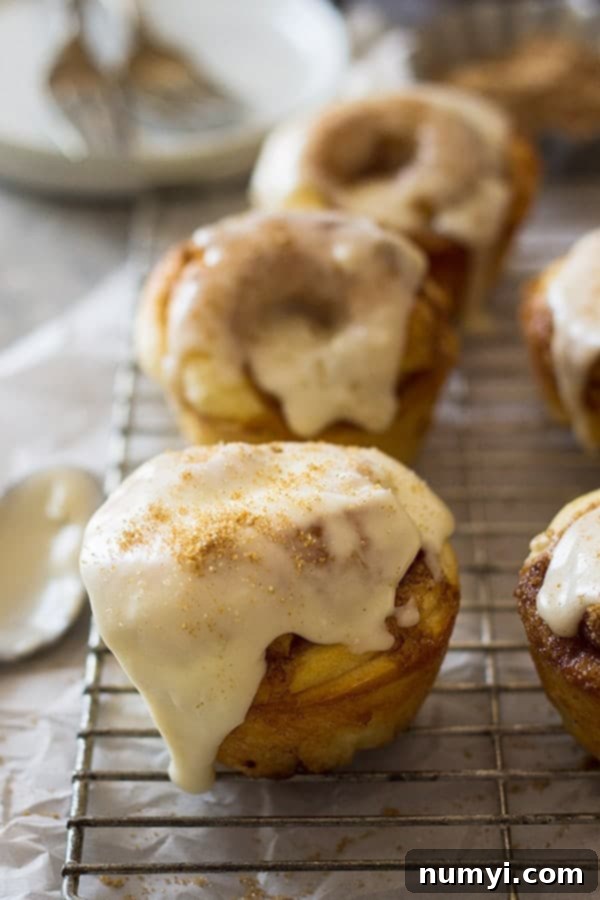
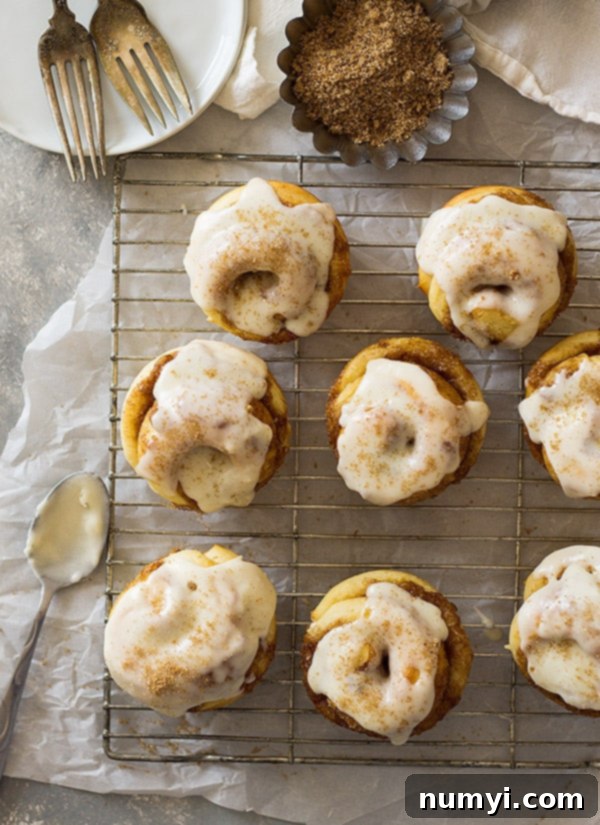
Prepare to fall in love with a delightful twist on a classic favorite: Cinnamon Roll Muffins! Imagine the tender, yeasty goodness of a traditional homemade cinnamon roll, perfectly baked in the convenient form of a muffin. These individual portions are not only incredibly cute but also an absolute joy to eat, making them an ideal choice for any breakfast or brunch occasion.
This recipe takes my trusted, go-to cinnamon roll dough, scales it down, and transforms it into these adorable, perfectly sized treats. The result is a soft, fluffy yeast roll, generously swirled with a sweet cinnamon filling, and crowned with a luscious vanilla icing that simply melts in your mouth. It’s the ultimate comfort food, redesigned for ease and pure enjoyment.
Why Cinnamon Roll Muffins Are a Game-Changer
While traditional cinnamon rolls hold a special place in our hearts, baking them as muffins offers several fantastic advantages. First, the individual portions mean effortless serving – no messy cutting required! Everyone gets their own perfectly shaped, frosted delight. Secondly, the muffin tin encourages faster and more even baking, often reducing the overall time spent in the kitchen without compromising on that coveted tender texture. They’re also perfect for grab-and-go mornings or for sharing a beautifully presented platter at a gathering. These homemade cinnamon roll muffins bring all the flavor of a classic, with added convenience and charm.
My Never-Ending Love Affair with Breakfast (and Carbs!)
If you know me, you know breakfast is my absolute favorite meal of the day. And no, that’s not an exaggeration! I wholeheartedly embrace everything breakfast has to offer, from sweet indulgences to savory delights. Just take a peek at my breakfast archives if you need convincing! Recipes like my Breakfast Enchiladas, hearty Ham and Cheddar Biscuit Rolls, and decadent Double Chocolate Strawberry Muffins are just a few examples of the culinary adventures I embark on before noon. I confess, I can get a little carried away, but when it comes to starting the day right, I believe in going all out!
Right now, my biggest culinary obsession revolves around carbs. As someone who was 29 weeks pregnant when this recipe came to life, carbohydrates were truly my lifeblood! I had hoped the intense cravings would subside, but they stubbornly remained in full force. The upside? My family certainly didn’t complain, enjoying a steady stream of delicious, carb-laden treats like these wonderful cinnamon roll muffins. And honestly, who can resist a warm, fluffy cinnamon roll, especially when it’s homemade and baked with love? It’s the kind of food that brings smiles and comfort to everyone at the table.
Demystifying Yeast: Your Guide to Fluffy Dough
Now, let’s talk a little about the star of these cinnamon roll muffins: the yeast. Don’t let the word “yeast” intimidate you! Many home bakers shy away from yeast-based recipes, thinking they’re overly complicated, but I promise you, they’re not. While working with yeast does require a little patience and attention to detail, it’s a straightforward process that yields incredibly rewarding results. The key to success lies in understanding a few simple principles.
Activating Your Yeast: The Golden Rule
My number one tip for any yeast recipe is to ensure your yeast is active and alive, especially if it’s been sitting in your pantry for a while. Inactive yeast is the most common reason for a dough not rising. Here’s a quick and easy test:
- Dissolve 1 teaspoon of sugar in 1/2 cup of very warm water. The water temperature is crucial here – it should be around 110-115°F (43-46°C). Too cold, and the yeast won’t activate; too hot, and you’ll kill it. Think of it as warm bathwater for your yeast.
- Sprinkle one 1/4 oz. package (about 2 1/4 teaspoons) of active dry yeast over the top of the sugary water. Gently stir it in.
- Let the mixture stand undisturbed for about 5-10 minutes.
What you’re looking for is a foamy, bubbly layer to form on the surface. This indicates that your yeast is alive and well, actively feeding on the sugar and producing carbon dioxide – exactly what you want for a light and airy dough. If after 10 minutes there’s no foam, your yeast is likely expired or inactive, and it’s best to discard it and get a fresh batch. If you perform this test and plan to use the activated yeast mixture in your recipe, be sure to deduct that 1/2 cup of liquid from the total liquid amount called for in the recipe to maintain proper dough consistency. However, for this specific cinnamon roll muffin recipe, I recommend using very warm milk (around 115°F) directly as instructed, as the milk adds richness to the dough.
Patience is a Virtue (Especially with Yeast)
Beyond activation, patience is your best friend when baking with yeast. The rising times mentioned in recipes are estimates; factors like kitchen temperature and humidity can influence how quickly your dough doubles in size. Find a warm, draft-free spot for your dough to rise – a slightly warmed oven (turned off!), a sunny windowsill, or even near a warm appliance works wonderfully. Don’t rush the process; a proper rise is essential for that tender, fluffy crumb that makes these cinnamon roll muffins so irresistible.
Crafting the Perfect Cinnamon Swirl
Once your beautiful yeast dough is ready, the magic of the cinnamon swirl begins. Rolling the dough into a 12×10-inch rectangle provides the perfect canvas for your filling. Generously spreading softened butter ensures the cinnamon-sugar mixture adheres beautifully and adds another layer of richness. The combination of granulated sugar, rich brown sugar, and fragrant ground cinnamon creates that quintessential cinnamon roll flavor we all adore. When rolling the dough, start from the longest side and roll it up tightly but gently, making sure to seal the edge securely. This technique creates those lovely concentric swirls that are so characteristic of cinnamon rolls, and now, your homemade cinnamon roll muffins!
The Irresistible Vanilla Icing
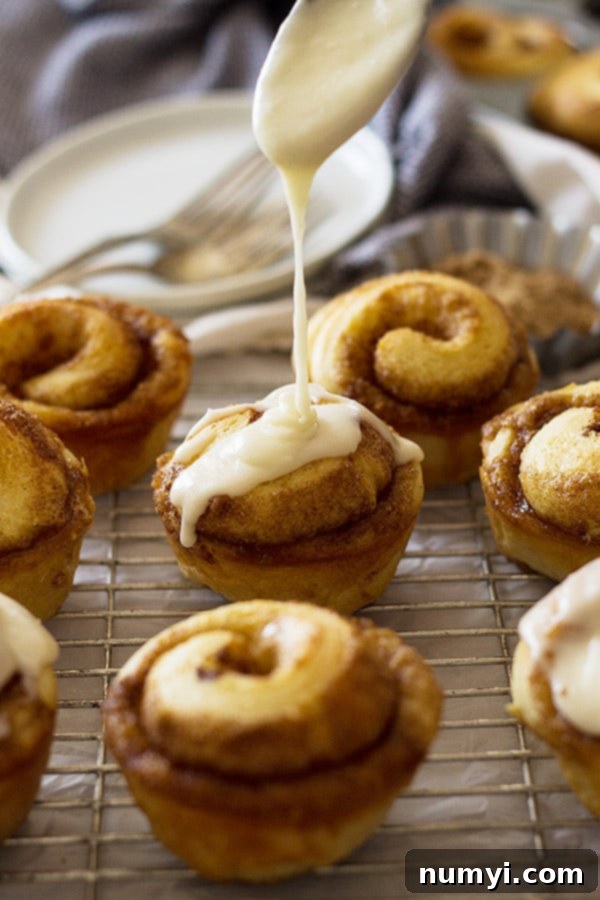
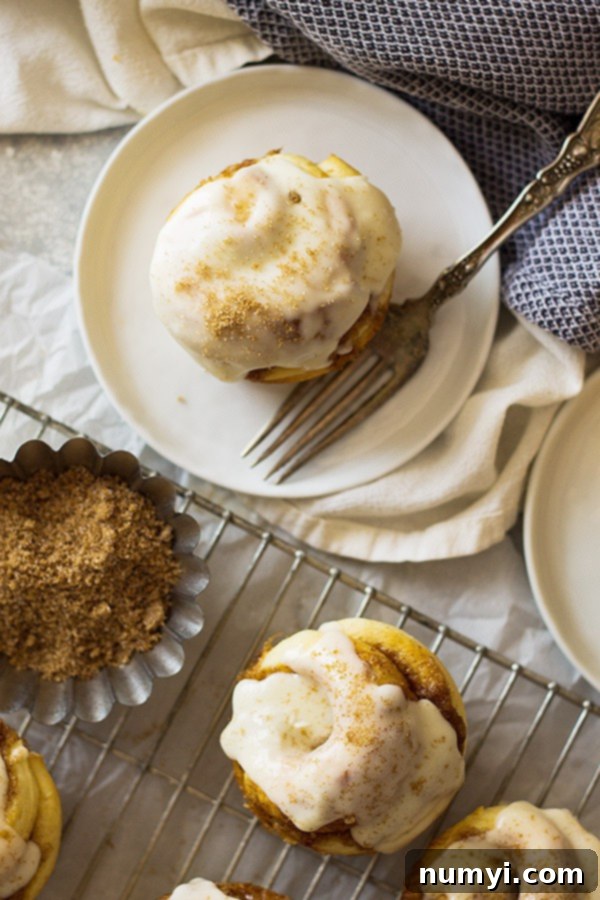
No cinnamon roll, whether in traditional form or as a muffin, is complete without a generous drizzle of sweet, creamy icing. This simple vanilla icing is the perfect complement to the warm, spiced muffins. Made with powdered sugar, milk, soft butter, and a touch of vanilla extract, it comes together in minutes. The key is to achieve a consistency that’s thick enough to cling to the muffins but thin enough to drizzle beautifully. Adjust the milk gradually until you reach your desired consistency. The icing adds a beautiful glaze and a burst of vanilla sweetness that truly elevates these easy cinnamon roll muffins from delicious to utterly divine.
Sharing (or Not Sharing) Your Delicious Bounty
Truth be told, I could have easily devoured the entire pan of these delicious cinnamon roll muffins myself (and hey, I was eating for two at the time!). But in a rare moment of extreme generosity, I decided to share with the kiddos and my husband. And what a hit they were! The pan was empty in mere seconds, a testament to just how irresistible these homemade treats truly are. The unanimous verdict from my family was clear: these cinnamon roll muffins are an instant classic.
Now, if you find yourself in the same delightful predicament—having made a dozen of these beauties and considering keeping them all to yourself—I wouldn’t blame you! However, if you do decide to practice a little self-control (or have leftovers), they store remarkably well. Simply cover the muffins tightly and store them at room temperature for up to two days. While they won’t be as fresh as straight from the oven, a quick zap in the microwave for a few seconds will instantly revive their warmth and tenderness, making them almost as good as new.
Storage and Freezing for Future Enjoyment
For longer storage, these homemade cinnamon roll muffins are fantastic for freezing. The trick is to freeze them *before* adding the icing. Allow the baked muffins to cool completely to prevent ice crystals from forming. Once cooled, place them in a freezer-safe bag or airtight container, and they can be kept in the freezer for up to two months. When you’re ready to enjoy them, simply thaw them at room temperature, then warm them slightly in the microwave if desired, and finally, whip up a fresh batch of that delicious vanilla icing to drizzle over the top. This way, you can enjoy the taste of freshly baked cinnamon roll muffins anytime a craving strikes!
I truly hope you enjoy making and devouring these incredible Cinnamon Roll Muffins as much as we do. They are the perfect blend of comfort, convenience, and absolute deliciousness!
Cinnamon Roll Muffins

Ingredients
- DOUGH:
- 2 cups all purpose flour
- 2 tablespoons sugar
- 1 1/4 teaspoons instant yeast
- 1/2 teaspoon salt
- 2/3 cup very warm milk 115 degrees F
- 1 egg beaten
- 1 tablespoon butter melted
- FILLING:
- 3 tablespoons butter softened
- 1/4 cup sugar
- 1/4 cup packed brown sugar
- 1 tablespoon ground cinnamon
- ICING:
- 1 cup powdered sugar
- 3 -4 tablespoons milk
- 1 tablespoon very soft butter
- 1/2 teaspoon vanilla
Instructions
-
In the bowl of your stand mixer combine the flour, sugar, salt and yeast. Add the milk, egg and butter and stir just until it starts to combine then switch to the dough hook. Mix on a low speed for about 5 minutes and if the dough is extremely sticky to the touch (not manageable to handle) then add in a little more flour. Knead the dough for 5 minutes on a low speed. Lightly brush dough with a very small amount of oil then cover and let rise in a warm place until doubled in size (about 20-30 min).
-
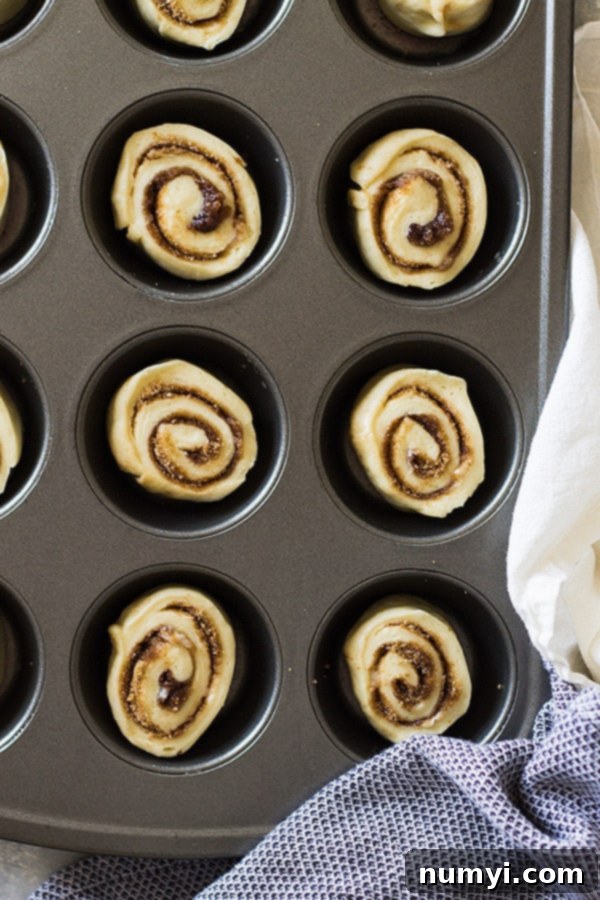
Grease a muffin pan really well and set aside. In a small bowl combine the sugar, brown sugar and cinnamon for the filling and set aside. Place dough on a work surface and roll out to a 12″x10″ rectangle. Spread with softened butter then sprinkle with reserved sugar mixture. Starting with the longest side facing you roll up the dough and seal the edge. Cut dough into 12 one inch rounds and place one round in each muffin well. Cover and let rise in a warm place until doubled in size (about 20-30 minutes).
-
Bake at 350 degrees F for 13-15 minutes or until lightly golden on top. Let cool in pan for 5 minutes before removing to cool completely.
-
When ready to frost combine all icing ingredients in a small bowl. Then drizzle over the top of each muffin.
Notes
If you would like to freeze them don’t frost them. Let them cool completely then place in a freezer bag and freeze for up to 2 months. Thaw completely before frosting. Warm for a few seconds in the microwave to freshen if needed.
See this recipe on Julie’s Eats & Treats, where I am a contributor!
