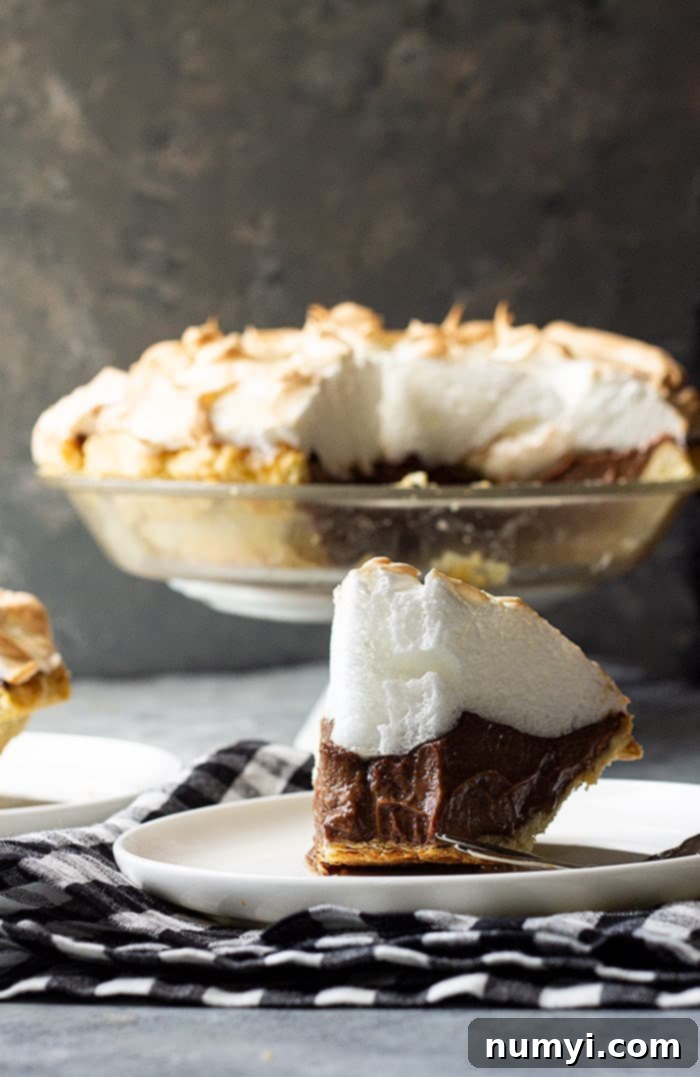
The Best Classic Homemade Chocolate Meringue Pie Recipe
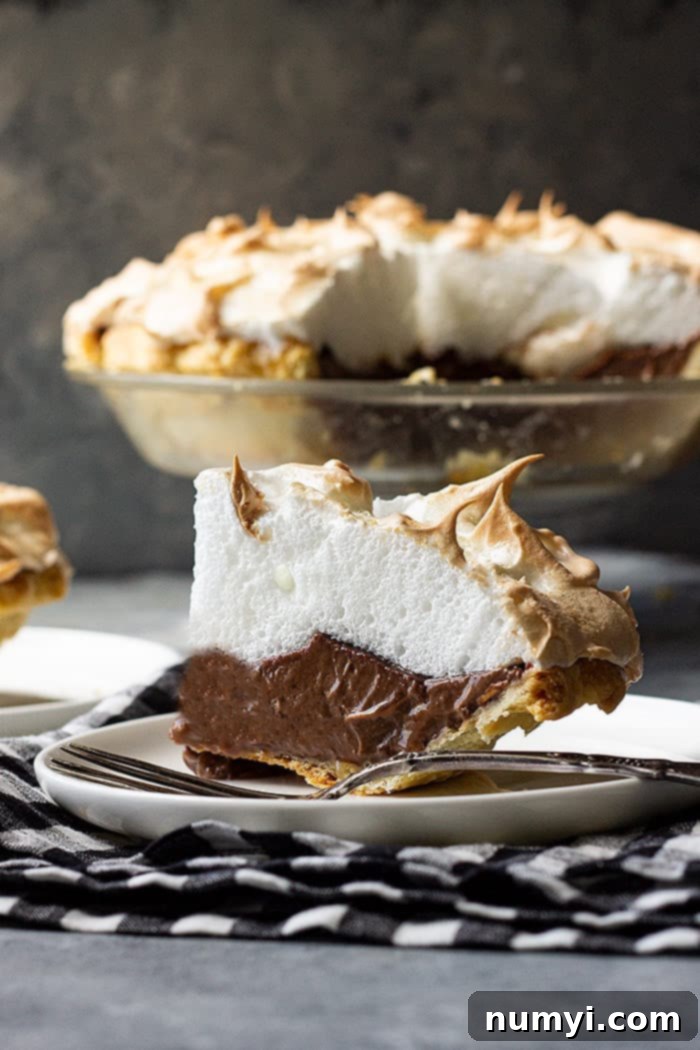
Indulge in an old-fashioned Chocolate Meringue Pie featuring a luxuriously rich chocolate filling crowned with a soft, pillowy, and perfectly golden meringue. This timeless dessert is a true showstopper for any occasion.
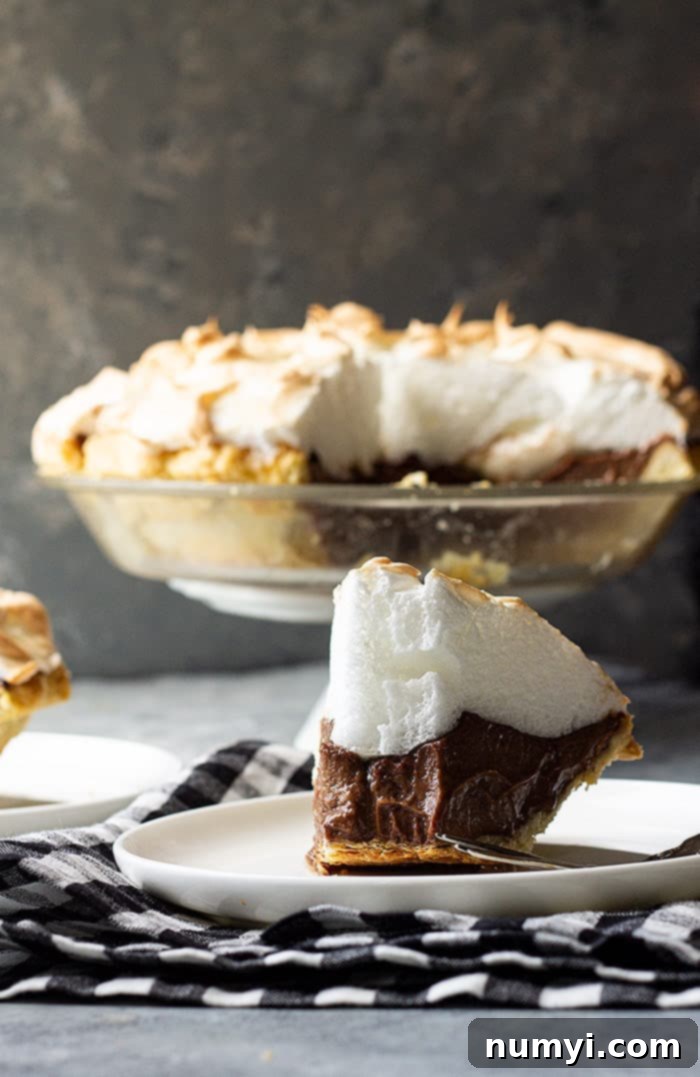
*Important Update! This recipe has been carefully refined and updated to address and prevent the common “chocolate soup” problem some bakers have experienced, ensuring a perfectly set filling every time.*
Prepare yourself for an extra indulgent sweet treat! This homemade chocolate meringue pie is a celebration of rich, deep chocolate flavor, topped with a heavenly, cloud-like meringue. It’s guaranteed to satisfy your deepest chocolate cravings and will undoubtedly evoke fond memories of the classic chocolate pie your grandma used to bake. There’s something truly special about a dessert that transports you back to simpler times with every bite.
For many, the idea of tackling a chocolate pie with meringue can feel a bit daunting, and I admit, it initially intimidated me too. Meringue, in particular, has a reputation for being temperamental, causing some heartbreak in the kitchen. And to be completely honest, it certainly gave me a few challenges along the way!
Achieving that perfect, stable, and glossy meringue, free from weeping or shrinking, took several attempts. But through each trial, I gained invaluable insights. I’m thrilled to share every lesson learned and all the essential tips and tricks I’ve discovered during my journey to master the ultimate homemade chocolate meringue pie. My goal is to equip you with the knowledge to bake this stunning dessert successfully and confidently, right from your first try.
Why You’ll Absolutely Love This Chocolate Meringue Pie Recipe
This isn’t just another pie recipe; it’s an experience waiting to happen. Here’s why this classic chocolate meringue pie will become a staple in your dessert repertoire:
- A Cherished Homemade Classic: Nothing beats the nostalgic taste of a homemade chocolate pie. This recipe captures that timeless appeal, bringing comfort and joy with its rich, familiar flavors. It’s the kind of dessert that feels like a warm hug, perfect for creating new cherished memories with family and friends.
- Easy-to-Follow, Step-by-Step Instructions: Despite its impressive appearance, this recipe is designed for success. We’ve broken down each stage into simple, clear steps, making the process enjoyable and manageable for bakers of all skill levels. You’ll be guided through every crucial detail, from preparing the perfect crust to achieving that sky-high meringue.
- Light, Airy, Yet Decadently Rich: This pie offers a delightful paradox – a filling so intensely chocolatey and smooth it melts in your mouth, perfectly contrasted by a light, airy, and delicately sweet meringue topping. The combination of textures and flavors creates a truly unforgettable dessert that is both substantial and ethereal.
- Perfect for Holidays, Parties, and Any Occasion: Whether you’re hosting a grand holiday feast, a casual family gathering, or simply craving something extraordinary for dessert, this chocolate meringue pie fits every bill. Its elegant presentation makes it a showstopper, while its comforting taste ensures everyone will ask for a second slice.
- Troubleshooting for Meringue Success: We address common meringue challenges head-on. With detailed tips on preventing weeping, beading, and shrinking, you’ll gain the confidence to create a picture-perfect meringue every time. Say goodbye to meringue mishaps and hello to flawless, glossy peaks!
How to Master Your Homemade Chocolate Meringue Pie: A Step-by-Step Guide
Creating this magnificent chocolate meringue pie is a rewarding process, and breaking it down into manageable steps makes it surprisingly straightforward. Follow these key stages for a perfect result:
- Prepare and Blind Bake Your Pie Crust: A strong foundation is crucial for any great pie. You can opt for a high-quality store-bought crust for convenience, or elevate your pie with a homemade version. I highly recommend using this All Butter Pie Crust recipe for an incredibly flaky and flavorful base. For detailed guidance on preparing your crust, refer to my comprehensive post on how to blind bake pie crust. Blind baking ensures your crust is perfectly crisp and prevents it from becoming soggy once the filling is added.
- Craft the Rich Chocolate Pie Filling: The heart of this pie is its decadent chocolate filling. It’s essential that this filling is prepared and poured into the crust while it’s still piping hot. This high temperature is absolutely critical as it helps to gently cook the bottom layer of the meringue, creating a protective barrier that seals it to the filling and prevents the dreaded “weeping” effect. Stir constantly to achieve a silky-smooth, lump-free consistency.
- Whip Up the Cloud-Like Meringue Topping: This is where the magic happens! While the filling is still hot, it’s time to prepare your meringue. A pro tip for success: separating cold eggs is much easier, as the yolks are firmer and less likely to break. However, for maximum volume and the fluffiest meringue, allow your egg whites to come to room temperature before whipping. This ensures they incorporate more air, resulting in a taller, more stable meringue.
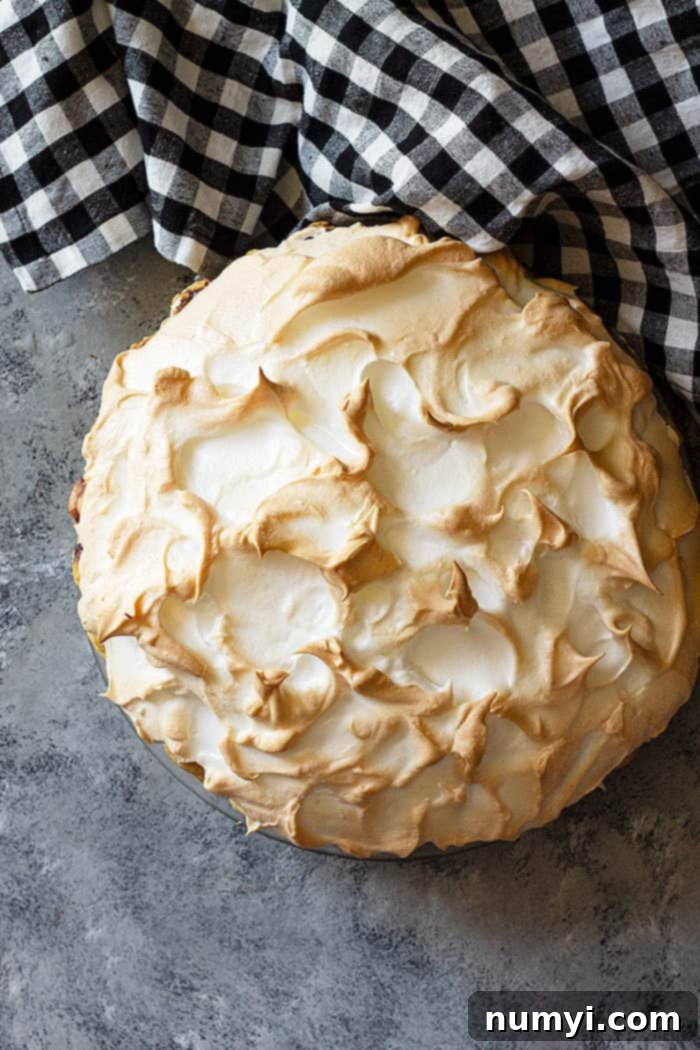
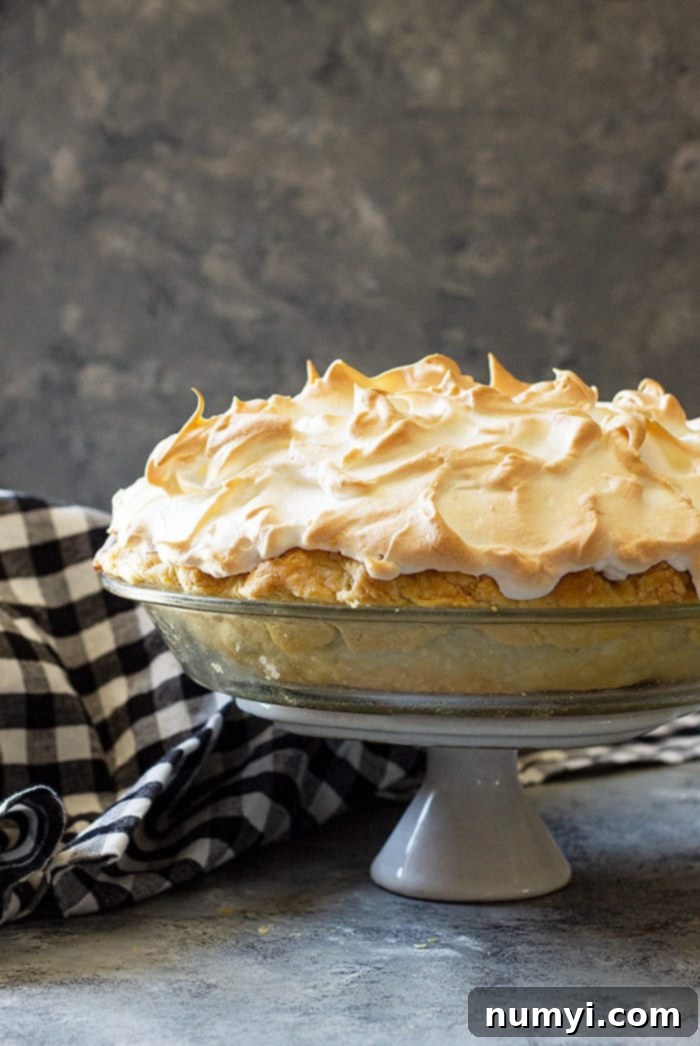
- Carefully Spread the Meringue Over the Hot Filling: Timing is key here. As soon as your hot chocolate filling is in the crust, immediately add the freshly whipped meringue. Begin by carefully spreading the meringue around the outer edge of the pie, making sure it firmly touches and anchors to the pie crust all the way around. This critical step acts as a seal, preventing the meringue from shrinking back from the edges during baking and cooling. Once the edges are secured, pile the remaining meringue into the center and create beautiful swirls and peaks using the back of a spoon for an elegant finish.
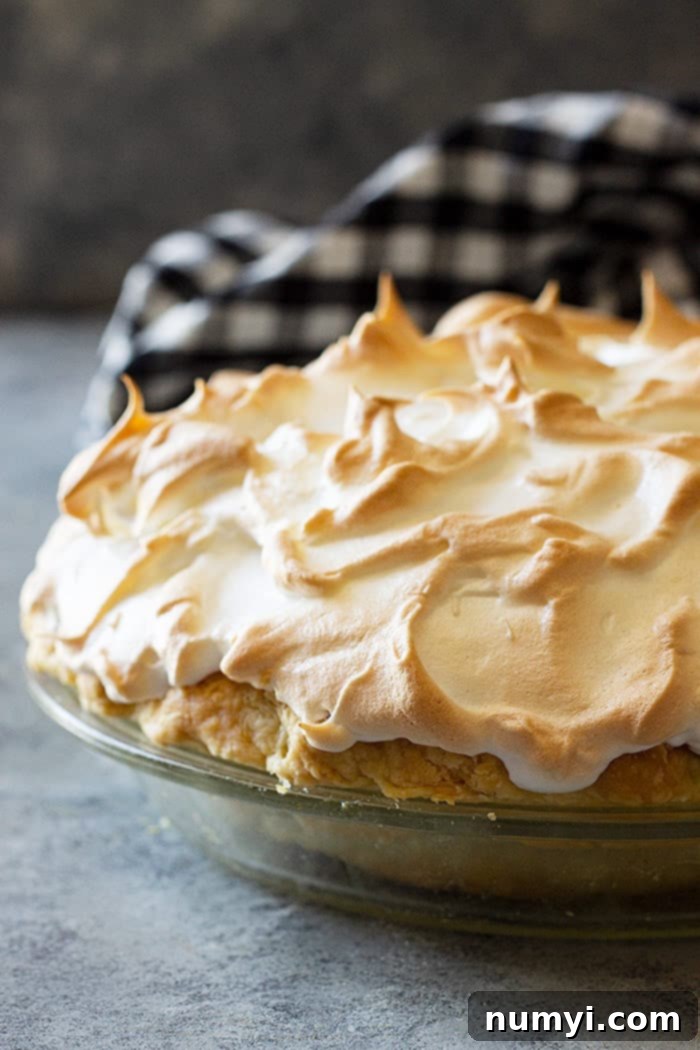
- Bake to Golden Perfection: The final step is a short bake in the oven. This brief period of heat will transform your meringue, giving it that characteristic golden-brown top and slightly crisp exterior, while keeping the inside soft and marshmallow-like. Watch it closely, as overbaking can lead to beading. Once baked, the pie needs ample time to cool and set, allowing the flavors to meld and the filling to firm up to its ideal consistency.
Essential Tips for Achieving the Best Meringue for Your Chocolate Pie
Meringue can be notoriously finicky, but with the right techniques and a few crucial tips, you can achieve a stable, fluffy, and beautiful topping every time. Here’s what you need to know to prevent common meringue woes and ensure success:
- Cleanliness is Paramount: When making any type of meringue, absolute cleanliness is not just a suggestion – it’s a requirement. Any trace of oil, grease, or fat can prevent your egg whites from whipping up properly. Ensure your mixing bowl and whisk attachments are immaculately clean and completely dry. Avoid using plastic bowls, as they tend to retain grease more easily, even after washing. Glass or metal bowls are ideal.
- Egg Temperature and Separation: The state of your eggs plays a significant role.
- Separating Eggs: Cold eggs are easier to separate because the yolks are firmer and less likely to break into the whites. Separate them when chilled.
- Whipping Whites: For the highest volume and fluffiest meringue, allow the separated egg whites to come to room temperature (about 20-30 minutes) before whipping. Room temperature whites have lower surface tension, allowing them to incorporate more air and whip up taller.
- No Yolk Allowed: Be meticulously careful when separating eggs. Even the tiniest speck of egg yolk (which contains fat) in your egg whites will prevent them from whipping to their full potential. If a drop of yolk falls in, it’s best to start over with fresh whites.
- The Right Sugar for Stability: While regular granulated sugar can be used successfully (as I do in this recipe!), many “professionals” strongly recommend using superfine (caster) sugar. Superfine sugar dissolves more quickly and thoroughly into the egg whites, reducing the risk of a grainy texture and preventing beading on the finished meringue. If using regular granulated sugar, ensure you add it slowly and beat until no grittiness remains.
- Stabilizers for Sturdier Meringue: To help your meringue hold its shape, maintain its volume, and resist weeping, incorporating a stabilizer is key.
- Cream of Tartar: This is the most common and effective acid stabilizer. Just a small amount helps the egg whites achieve maximum volume and creates a more stable foam.
- Other Acids: Lemon juice or white vinegar can also be used as substitutes, providing a similar stabilizing effect.
- Copper Bowls: Interestingly, whipping egg whites in an unlined copper bowl also provides natural stabilization. The copper ions react with the egg whites, creating a stronger meringue. If you use a copper bowl, you do not need to add cream of tartar or other acids.
- Humidity is Your Arch Enemy: Meringue and high humidity simply do not mix well. Egg whites absorb moisture from the air, and on a humid day, this can lead to a soft, sticky, and weeping meringue that struggles to hold its shape. If the weather forecast calls for high humidity, it might be best to postpone your meringue pie making until a drier day. Even seasoned bakers like Ina Garten would likely find it challenging to achieve a perfect meringue on a very humid day!
Detailed Guide: How to Make the Perfect Meringue Topping
Creating a beautiful, stable meringue topping is easier than you think when you follow these precise steps. Remember, attention to detail is your best friend here:
Separate the Eggs with Care: Begin by carefully separating your egg whites from the yolks. As mentioned, cold eggs are much easier to separate without breaking the yolk. Once separated, transfer the whites to a clean mixing bowl and let them sit at room temperature for about 20-30 minutes. This is crucial for maximizing their volume when whipped.
Prepare for Whipping: Add the room-temperature egg whites to a large, impeccably clean, and dry mixing bowl. If you’re using an electric mixer or stand mixer, ensure your whisk attachment is also spotless. Now, add your chosen acid stabilizer, such as ¼ teaspoon of cream of tartar. Remember, if you are fortunate enough to be using an unlined copper bowl, you can omit the cream of tartar, as the copper naturally provides the necessary stabilization.
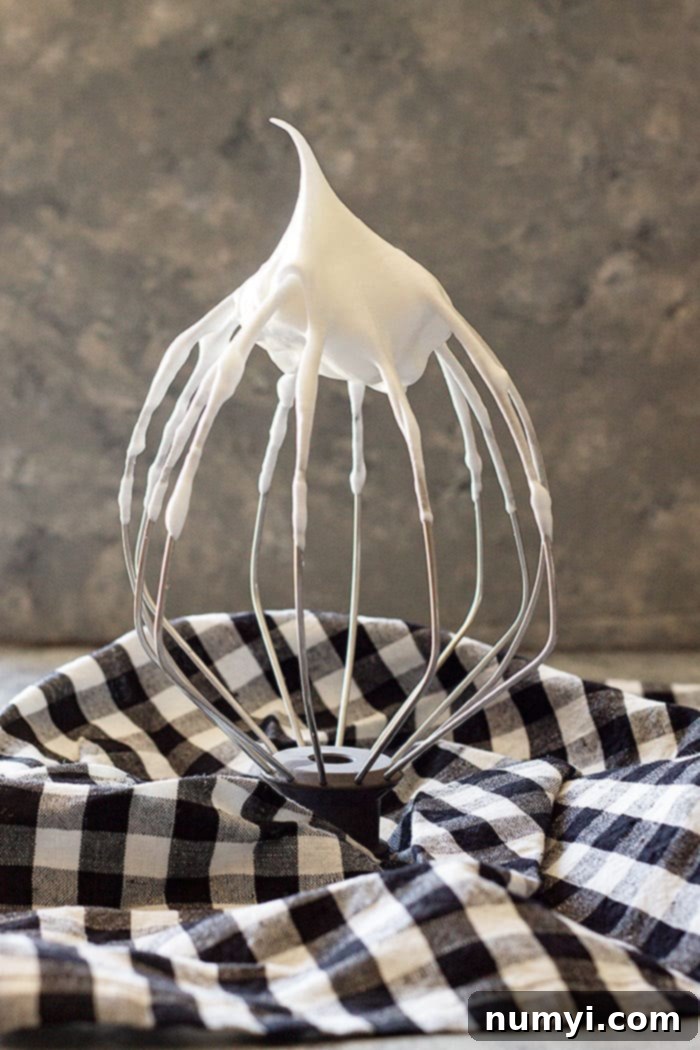
Whip to Soft Peaks: Begin beating the egg whites on medium speed. Continue mixing until soft peaks just begin to form. At this stage, when you lift the beater from the whites, the peaks will be very soft and will barely hold their shape, gently flopping over. This is your cue to start adding sugar.
Gradually Incorporate Sugar for Stiff Peaks: Increase the mixer speed to high. Now, slowly, gradually add the granulated sugar, 1 tablespoon at a time, allowing each addition to dissolve slightly before adding the next. This slow addition is absolutely vital; if you add the sugar too quickly, it can weigh down the egg whites and prevent them from whipping up correctly, resulting in a less stable meringue. Continue beating until stiff, glossy peaks form.
Check for Dissolved Sugar: To ensure the sugar has completely dissolved, take a small amount of the meringue between your thumb and forefinger and rub it gently. If you feel any grittiness, continue to beat the meringue on high speed for another minute or two, then test again. If the sugar hasn’t fully dissolved, your meringue may “weep” or form sugary beads on the surface after baking and cooling.
Spread Meringue Quickly Over Hot Filling: This step requires speed and precision. Pour your hot chocolate filling into the pre-baked pie crust. Immediately, using a spoon or spatula, spread the prepared meringue over the hot filling. Start by spreading the meringue all around the edge of the pie, making absolutely sure it touches the crust evenly along the entire circumference. This creates a seal that helps anchor the meringue and prevents it from shrinking away from the crust as it bakes. Once the edges are sealed, add the remaining meringue to the center and use the back of a spoon to create beautiful swirls and peaks – make it as decorative as you like!
Bake Until Lightly Golden: Transfer the pie to your preheated oven and bake until the meringue topping is lightly golden brown. This usually takes around 10 minutes. It’s crucial not to overbake, as excessive heat can cause the meringue to dry out and lead to the formation of sugary beads on its surface. Keep a close eye on it! Once baked, remove from the oven and allow it to cool completely before chilling.
Troubleshooting Common Meringue Problems for Pie Perfection
Don’t be discouraged by common meringue challenges; understanding their causes and prevention methods will empower you to create a flawless pie. Here’s how to troubleshoot the most frequent issues:
- Beading: These are tiny, sugary, watery droplets that form on the surface of your meringue after baking and cooling, making it look like it’s “sweating.”
- Cause: Beading is typically caused by two main issues: either the sugar in the meringue did not dissolve completely during the whipping process (leading to sugar syrup separation), or the meringue was overbaked at too high a temperature, causing the sugar to caramelize and release moisture.
- Prevention: Ensure you add sugar very slowly, one tablespoon at a time, beating thoroughly after each addition until no grittiness is felt between your fingers. Also, bake the meringue at the correct temperature for the recommended time, just until the peaks are lightly golden, avoiding overbaking.
- Weeping: This refers to a watery liquid that collects between the meringue and the chocolate filling, often pooling at the bottom of the pie. It’s a common and frustrating issue for many bakers.
- Cause: Weeping occurs when the egg whites at the bottom of the meringue are not sufficiently cooked or sealed by the heat of the filling. The uncooked protein in the egg whites then releases moisture, which separates from the meringue and forms a watery layer.
- Prevention: The key to preventing weeping is to ensure your chocolate filling is extremely hot when the meringue is spread over it. This hot filling partially cooks the bottom layer of the meringue, creating a barrier. Additionally, spread the meringue quickly and ensure it touches the pie crust all around the edges to seal the pie effectively.
- Shrinking: This happens when the meringue pulls away from the sides of the pie crust or loses significant volume, creating gaps.
- Cause: Meringue shrinking can be due to not properly sealing the meringue to the pie crust, changes in temperature during cooling, or sometimes the meringue simply losing its stability.
- Prevention: The most important step is to firmly attach the meringue to the crust around the entire perimeter of the pie when spreading it. This creates an anchor. Some recipes also suggest adding a small amount of cornstarch (about 1 teaspoon per 3-4 egg whites) to the sugar before whipping, as cornstarch acts as a stabilizer and helps maintain the meringue’s volume and structure. Cooling the pie gradually can also help.
Yes, you can absolutely prepare this delicious chocolate meringue pie up to one day in advance. After it has completely cooled on the counter, it will need to be covered loosely with plastic wrap or foil and refrigerated. However, it’s important to note that because refrigerators contain a fair amount of humidity, some small water beads (beading) may develop on the surface of the meringue the longer it sits in the fridge. This is a common and almost unavoidable occurrence due to moisture absorption, but it won’t affect the taste or overall quality of the pie significantly. I do not recommend freezing the meringue pie, as the delicate structure of the meringue simply won’t hold up well after thawing, often becoming watery and deflated.
To achieve the optimal results and the perfect slice, it is absolutely essential to allow your homemade chocolate pie ample time to set up and chill in the refrigerator. Chilling for at least 4 hours, and ideally longer (up to 6-8 hours or overnight), is the key to a beautifully firm and sliceable filling. During this chilling period, the starches and proteins in the filling fully set, creating that wonderfully smooth, creamy, and sliceable consistency you expect from a classic chocolate pie. Trust me on this one: the wait is incredibly worth it for a truly perfect homemade chocolate pie experience!
For this particular homemade chocolate meringue pie recipe, I highly recommend using a standard 9-inch pie plate. This size is optimal for achieving the ideal thickness of both the chocolate filling and the meringue topping, ensuring a balanced and satisfying bite. While it’s certainly fine to use a larger pie plate (such as a 10-inch), please be aware that the chocolate filling and meringue layers will be thinner, potentially altering the overall presentation and texture. A 9-inch plate truly is the sweet spot for this recipe.
When using an electric hand mixer or a stand mixer with a whisk attachment, egg whites typically take about 4 to 5 minutes to form stiff peaks, depending on the power of your mixer and the freshness of your eggs. You’ll know they’ve reached stiff peak stage when the meringue appears beautifully glossy and, when you lift the beater, the peaks stand straight up without collapsing. Additionally, a quick test by rubbing a small amount between your fingers should confirm that it feels perfectly smooth with no grittiness, indicating that all the sugar has fully dissolved.
Looking for More Great Recipes to Try?
If you loved this classic chocolate meringue pie, you’re in for a treat with more of our tried-and-true recipes. From decadent desserts to comforting mains, we have something for every craving:
- Devil’s Food Cake: An intensely rich and moist chocolate cake that’s pure bliss.
- Brownie Ice Cream Cake: The ultimate frozen dessert, combining fudgy brownies with creamy ice cream.
- Homemade Chewy Brownies: Perfect your brownie game with these incredibly chewy and chocolatey squares.
- Slow Cooker Pot Roast: A comforting and tender pot roast that practically cooks itself.
- Homemade Oven Roasted Rotisserie Chicken: Achieve a perfectly juicy and flavorful whole roasted chicken at home.
HUNGRY FOR MORE? Don’t miss out on new recipes and baking tips! Subscribe to my newsletter and follow along on Pinterest, Facebook, and Instagram for all my latest culinary updates and inspirations!
Chocolate Meringue Pie
Ingredients
- 1 (9″) fully baked pie shell
CHOCOLATE FILLING
- 4 large eggs, separated
- ½ cup (110g) granulated sugar
- ¼ cup (25g) cocoa powder
- ⅓ cup (45g) all purpose flour
- pinch of salt
- 2⅔ cups (630ml) half and half or milk
- ¼ cup (50g) semi-sweet chocolate chips
- 1 teaspoon vanilla
MERINGUE
- 4 large egg whites
- ¼ teaspoon cream of tartar
- ⅓ cup (70g) granulated sugar
Instructions
CHOCOLATE FILLING
-
Separate the egg whites from the yolks and slightly beat the yolks; set both aside. Take great care not to get any yolk with the whites!
-
In a 2 quart saucepan mix together the sugar, cocoa powder, flour, and salt. Stir in the half and half OR milk. Cook over medium to medium low heat stirring constantly until mixture begins to boil.
-
Very slowly add half of the hot chocolate mixture in a thin stream into the egg yolks while whisking. Return everything to the pan and boil for 1 minute stirring constantly. Remove from heat and stir in the chocolate chips and vanilla; set aside.
MERINGUE
-
Preheat oven to 375°F.
-
In the bowl of a stand mixer add the egg whites and cream of tartar. Mix with the wire whisk attachment on medium speed just until soft peaks begin to form.
-
Mixing at high speed slowly add the sugar 1 tablespoon at a time. Mix until whites have stiff peaks and glossy. Take a small amount of mixture and rub between your fingers. If it is gritty mix at high speed until the gritty feel is gone.
-
Pour hot chocolate filling into baked pie crust. Spread meringue around the edges of the pie making sure to touch the crust the entire way around. Add remaining meringue to the center. With the back of a spoon make pretty swirls.
-
Bake for 10 minutes or just until the top starts to brown.
-
Cool on a wire rack for 1 hour. Chill for 4 hours before serving. Cover any leftovers and store in the refrigerator.
Notes
- Read my post on How to Blind Bake Pie Crust for comprehensive instructions and tips.
- For guaranteed meringue success, make sure to thoroughly read the dedicated section in this post covering all the essential meringue tips and troubleshooting advice.
- To ensure the chocolate filling stays as hot as possible (crucial for preventing weeping!), have all your ingredients pre-measured and ready to go before you begin. Work quickly and efficiently when spreading the meringue onto the hot chocolate filling.
- MAKE AHEAD: This pie can be prepared successfully up to one day in advance. However, please be aware that after refrigeration, the meringue may develop small water beads on its surface (a phenomenon known as “beading”). This is a very common occurrence that is difficult to completely avoid due to the humidity present in a refrigerator, but it will not impact the pie’s delicious flavor or overall enjoyment.
Nutrition
