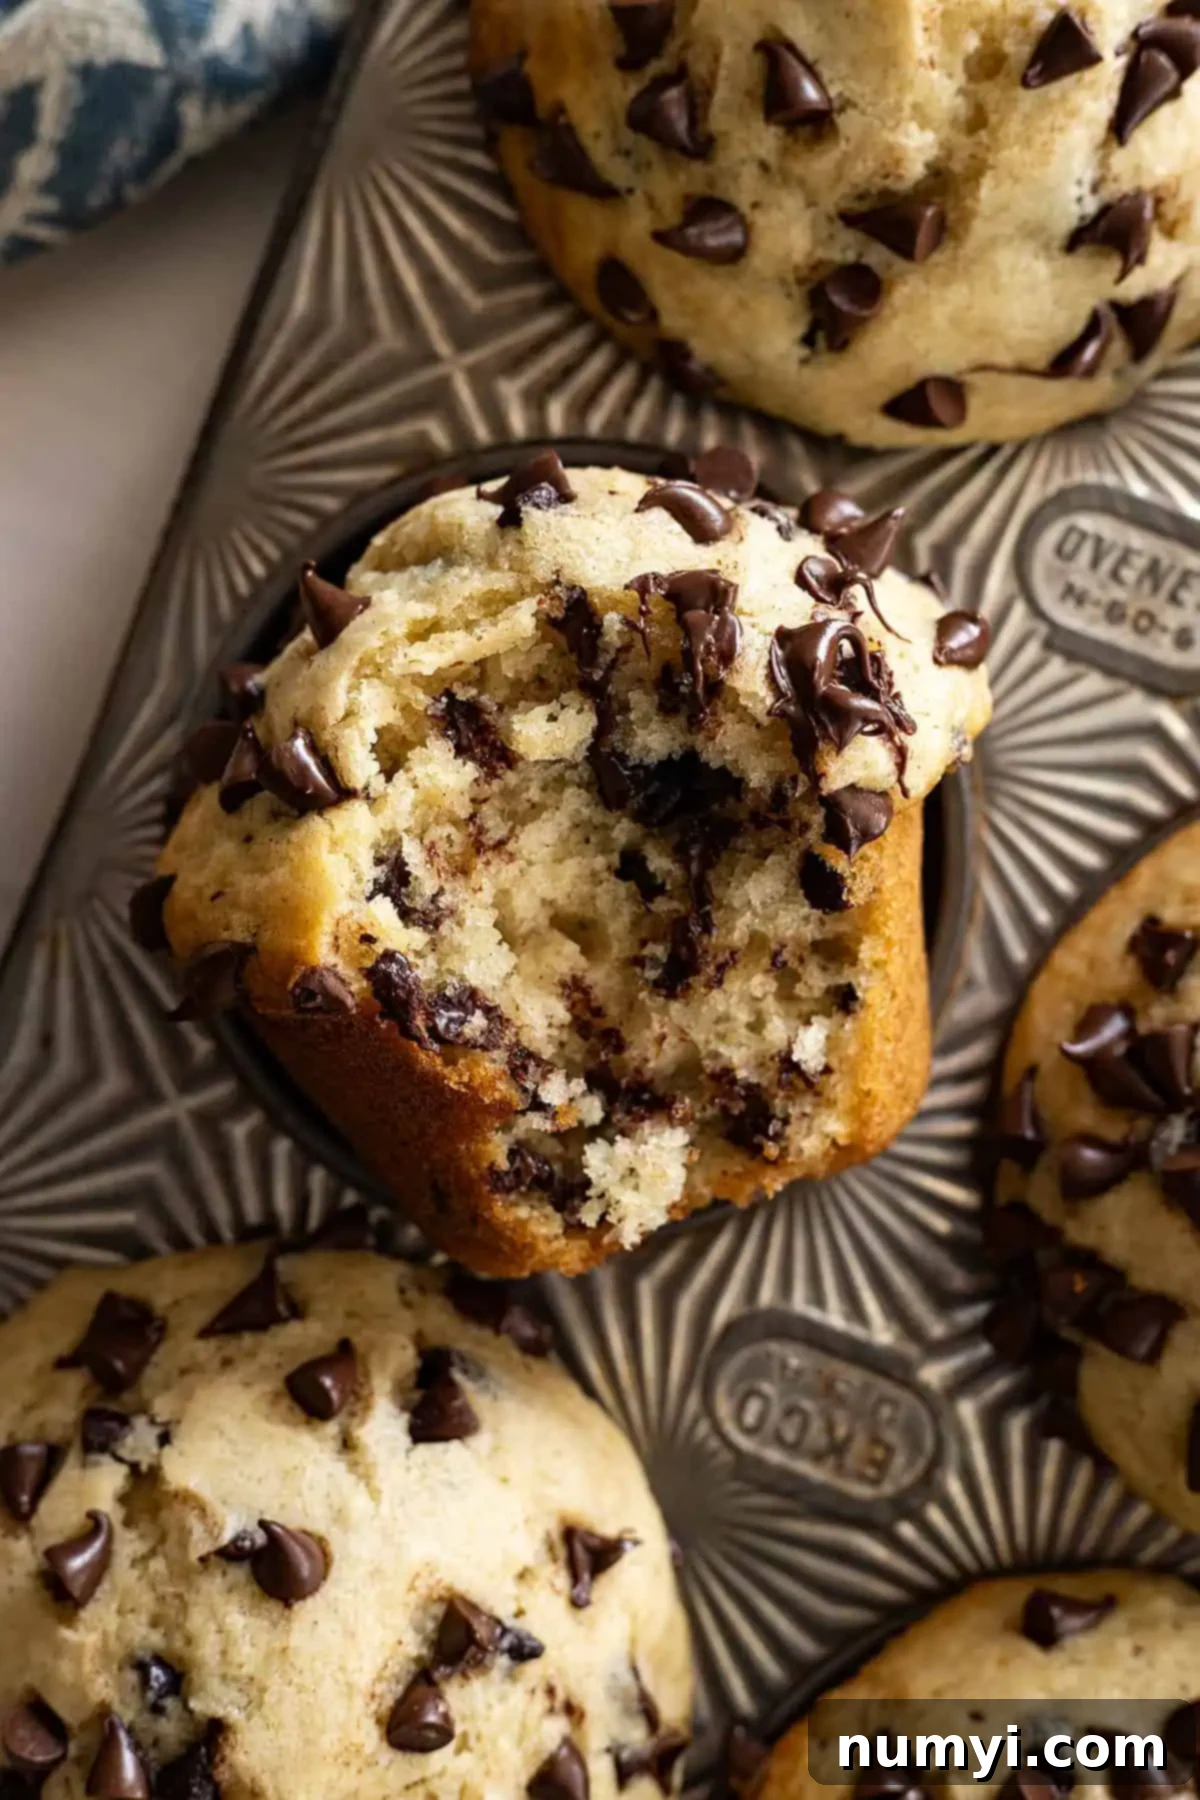
The Best One-Bowl Chocolate Chip Muffins: Fluffy, Moist, and Incredibly Easy!
Indulge in the ultimate homemade treat with these delightful Chocolate Chip Muffins. Designed for ease and maximum flavor, this recipe requires just one bowl, minimal effort, and delivers a light, incredibly fluffy, and perfectly moist texture. Each bite is generously studded with an abundance of delicious chocolate chips, making it an irresistible choice for breakfast, a snack, or dessert. Prepare to make this your new go-to recipe for indulgent, bakery-quality muffins at home!
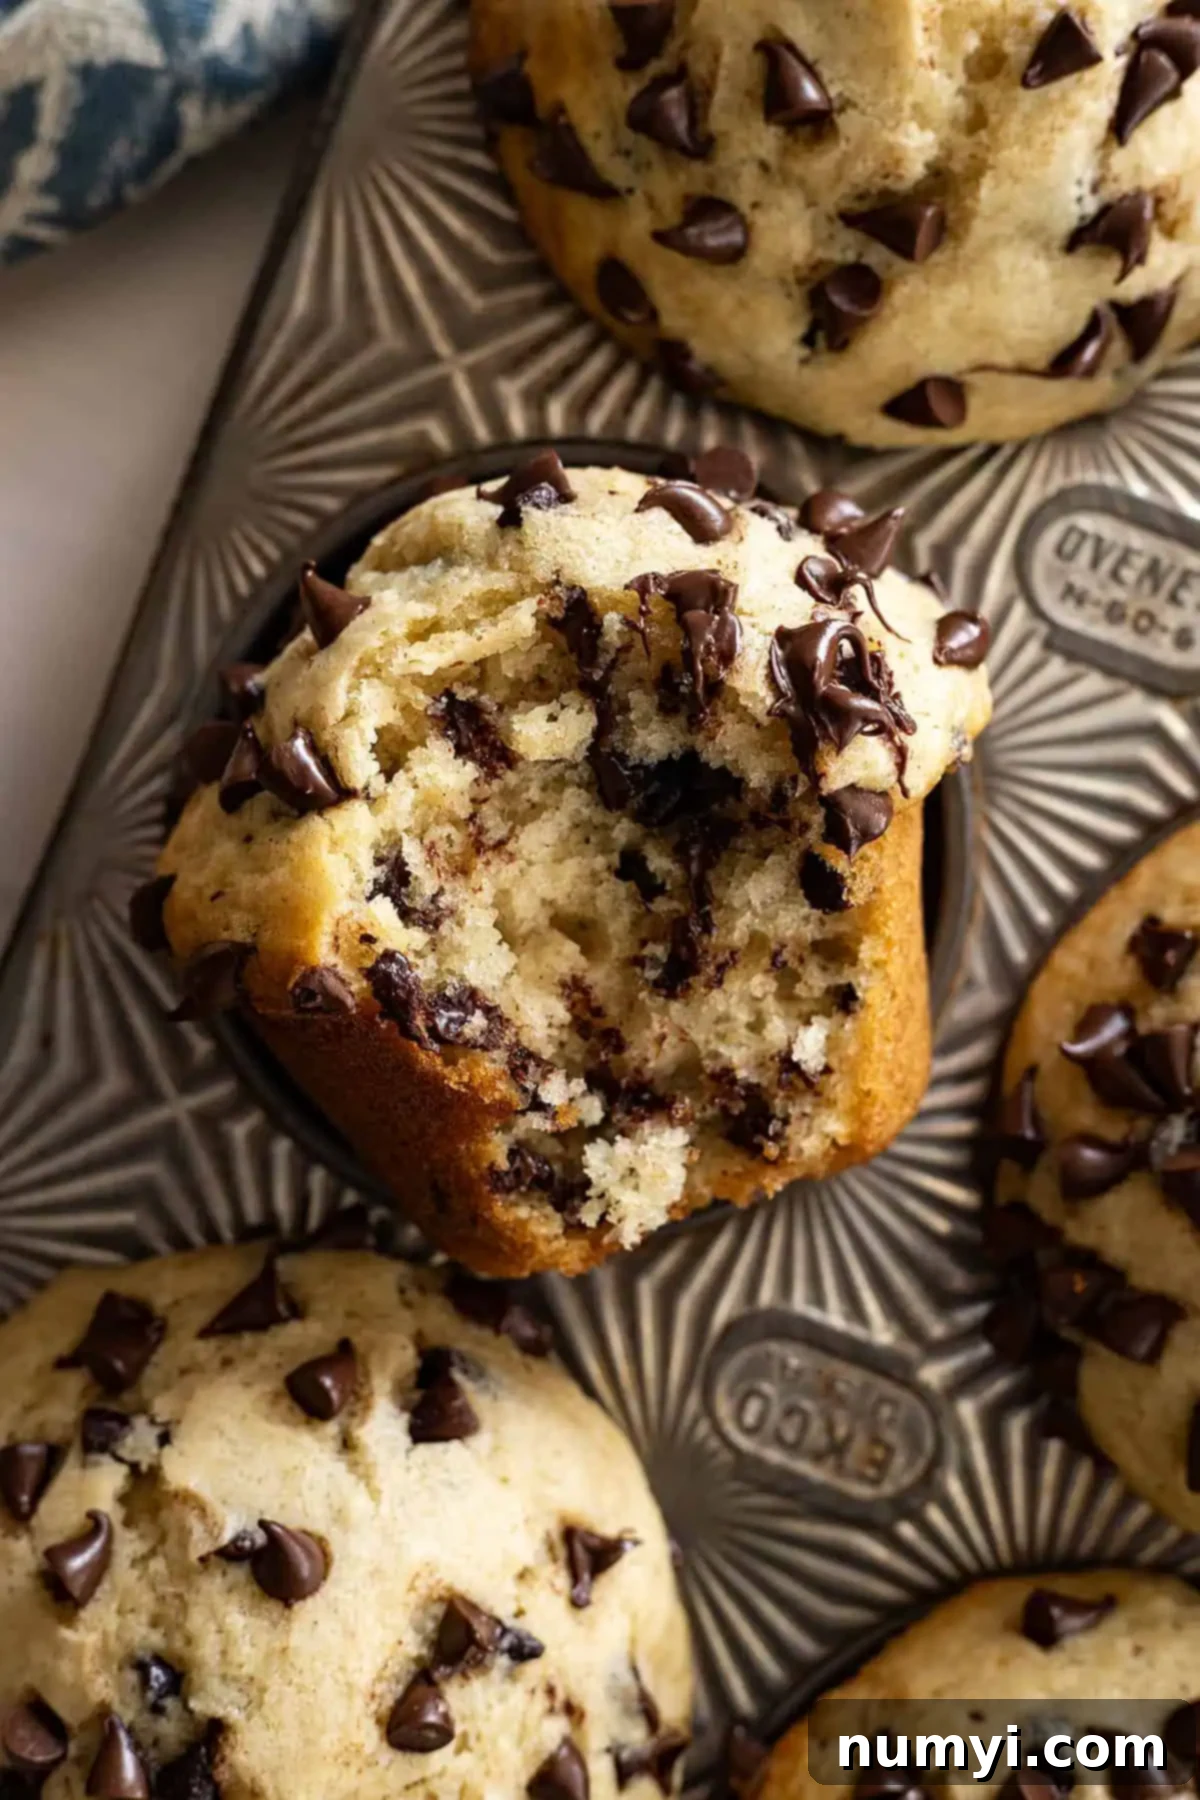
Creating the perfect chocolate chip muffin recipe was a journey of passion and persistence, involving quite a bit of trial and error until I achieved exactly what I envisioned. But I can confidently say, the effort was well worth it! These aren’t just any muffins; they are everything a truly great muffin should be. They boast a wonderfully light, airy, and moist texture that completely banishes any fear of dry, crumbly baked goods. And let’s be honest, what’s a chocolate chip muffin without an ample supply of chocolate? This recipe delivers on that front too, with plenty of luscious chocolate chips generously dispersed throughout, ready to satisfy those sudden, undeniable chocolate cravings at a moment’s notice.
Muffins are a staple in my household, especially as a delightful accompaniment to our morning breakfast. My kids absolutely adore these blueberry banana muffins, which are bursting with juicy blueberries that transform into sweet, jammy pockets during baking. And for a seasonal treat, these pumpkin muffins are simply phenomenal – not only do they taste incredible, but they also cleverly use an entire can of pumpkin, making them a fantastic way to enjoy a comforting fall flavor.
Here’s Why You Will Love These Chocolate Chip Muffins:
- Only 1 Bowl Needed: Say goodbye to stacks of dirty dishes! This recipe is designed for ultimate convenience, requiring just a single bowl for mixing. Less cleanup means more time to enjoy your delicious homemade muffins. It’s truly a game-changer for busy mornings or when you just want a quick baking project without the hassle.
- No Mixer Involved: Forget about dragging out heavy kitchen equipment. These muffins come together beautifully with just a whisk and a sturdy spatula. It’s good old-fashioned stirring power, making this recipe incredibly accessible for everyone, regardless of their baking experience or equipment availability. And trust me, it doesn’t require much muscle at all!
- Easy-to-Find Ingredients: We all love recipes that use ingredients we already have on hand, and this one fits the bill perfectly. Most items you’ll need are common pantry staples, meaning a spontaneous baking session is always within reach. No special trips to the grocery store required – always a win in my book!
- Freezer-Friendly: Planning ahead has never been easier or more delicious. These chocolate chip muffins are perfect for making an extra batch to store in the freezer. Simply pop them out when a craving strikes, or for a quick grab-and-go breakfast or snack. They thaw beautifully, maintaining their moist texture and fresh-baked taste, so you can enjoy homemade goodness anytime.
- Perfectly Moist & Fluffy: This isn’t an exaggeration – these muffins achieve that elusive perfect balance of being incredibly moist without being dense, and delightfully fluffy without being dry. The combination of ingredients and technique ensures a tender crumb that melts in your mouth.
- Crowd-Pleaser: Who doesn’t love a classic chocolate chip muffin? This recipe is guaranteed to be a hit with family and friends, making it ideal for bake sales, potlucks, or simply a weekend treat. The generous amount of chocolate chips ensures a smile with every bite.
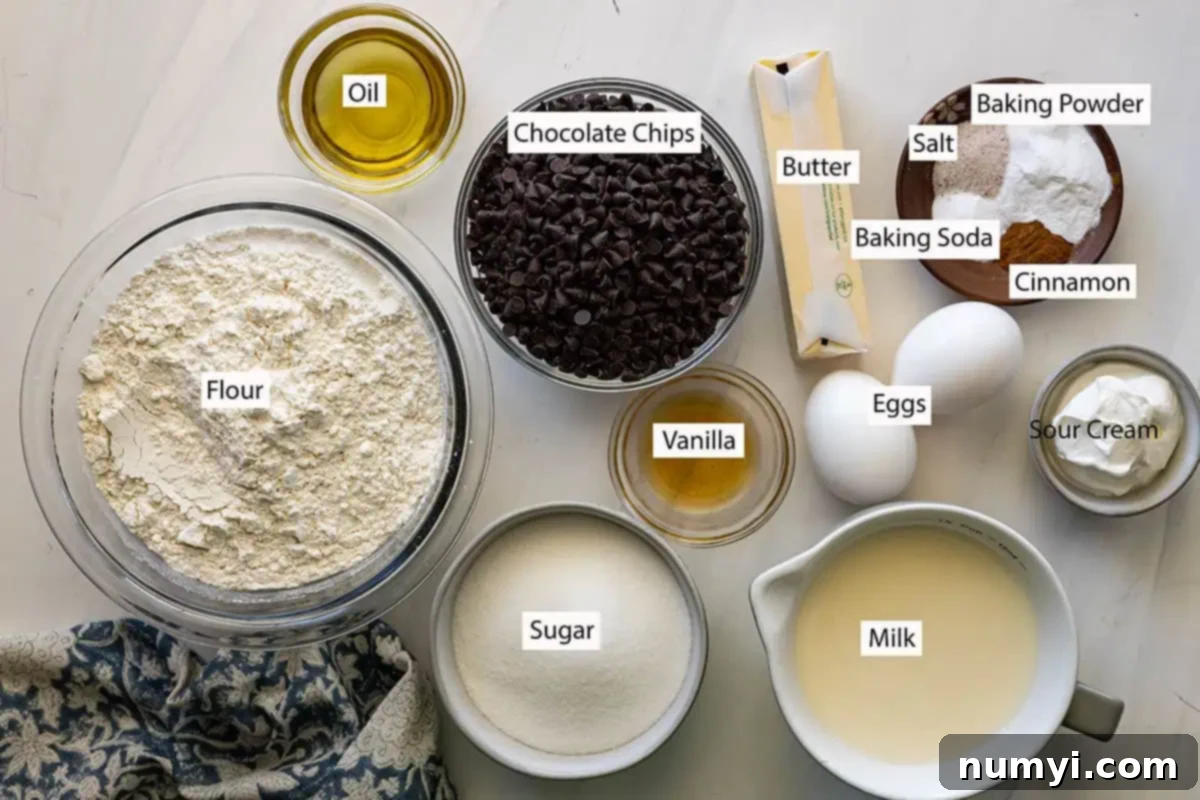
Ingredient Notes & Substitutions:
Understanding the role of each ingredient can help you achieve the best results and confidently make adjustments if needed.
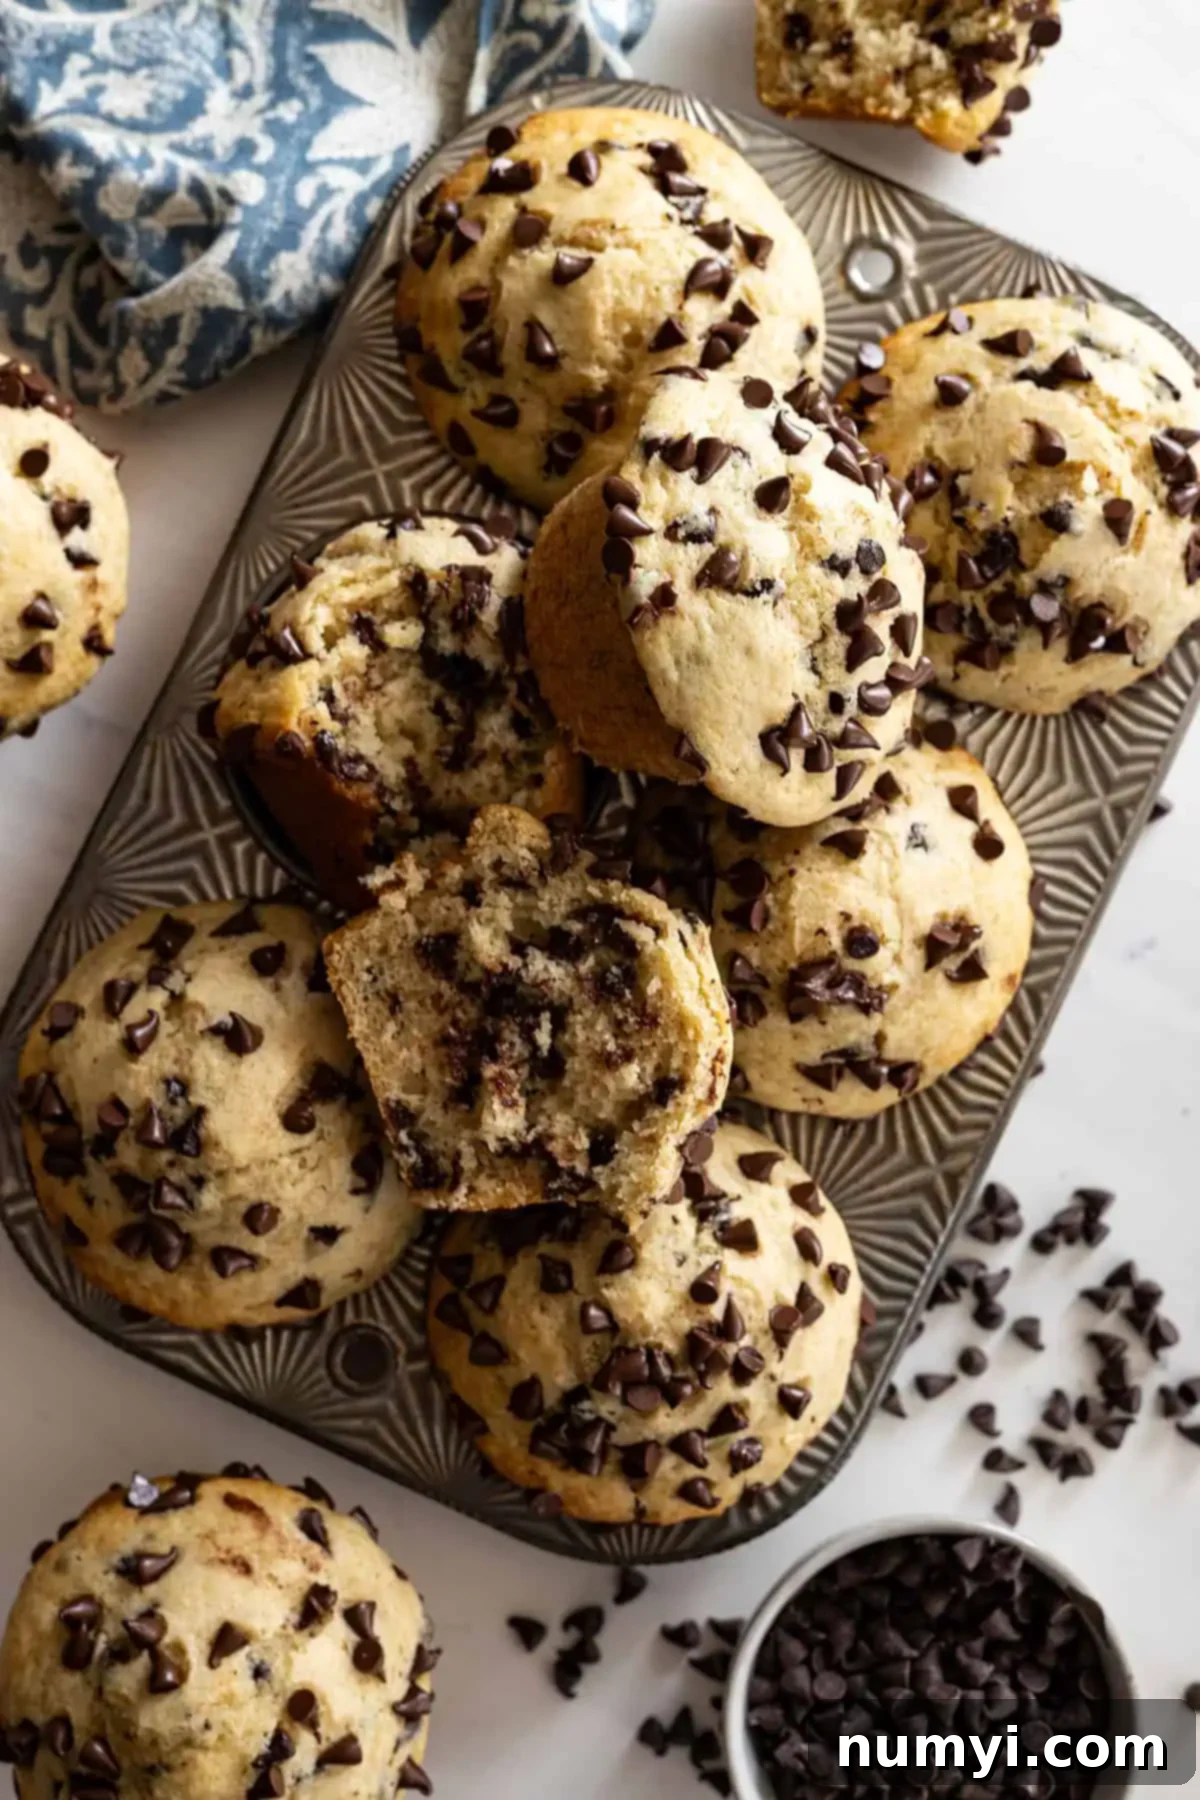
- CHOCOLATE CHIPS: While regular chocolate chips certainly work and are delicious, I have a strong preference for mini chocolate chips in this recipe. Their smaller size allows for more even dispersal throughout the muffin batter, ensuring that almost every single bite delivers a burst of rich, melty chocolate. You can use semi-sweet, milk, or dark chocolate chips based on your preference. For an extra touch, consider mixing in a combination of different chocolate chip types or even chopped chocolate bars for varied texture and flavor. Don’t forget to reserve a handful to sprinkle on top before baking for that classic bakery look!
- OIL AND BUTTER: This recipe wisely combines both oil and butter to achieve the ultimate muffin texture and flavor. The oil is key for keeping the muffins wonderfully moist and tender, contributing to a softer crumb that stays fresh longer. Butter, on the other hand, brings an irreplaceable depth of rich, creamy flavor that simply can’t be replicated by oil alone. This dynamic duo truly gives you the best of both worlds. If you prefer to use just one, you can use 1/2 cup of either, but be aware of the impact: using all oil will result in a slightly heavier, though still moist, muffin, while all butter might make them a touch less moist over time. Neutral-tasting oils like canola, vegetable, or melted coconut oil are recommended.
- SOUR CREAM: Sour cream is a secret weapon in many baking recipes, and for good reason. In these muffins, it adds incredible flavor, richness, and an extra layer of moisture, contributing to that desirable fluffy and tender crumb. I rigorously tested this recipe with and without sour cream, and the version with it consistently stood out as superior – it was missing that special something without it. If you don’t have sour cream, full-fat Greek yogurt or buttermilk can serve as excellent substitutes, providing similar acidity and richness that react beautifully with the leavening agents.
- CINNAMON: A subtle hint of cinnamon might seem unconventional for chocolate chip muffins, but it truly elevates the flavor profile. This warm spice adds a delightful “something extra” that beautifully complements and enhances the sweetness and richness of the chocolate. It’s a nuanced addition that makes these muffins truly stand out. If you’re not a fan of cinnamon, or prefer a purer chocolate flavor, you can certainly leave it out without compromising the overall quality of the muffin. For those feeling adventurous, a tiny pinch of nutmeg or even a dash of espresso powder could also enhance the chocolate notes.
- EGGS: Use large eggs, preferably at room temperature, as they emulsify better with other ingredients, creating a more uniform batter and a lighter texture.
- MILK: Any type of milk (dairy or non-dairy like almond or oat milk) works well. Room temperature milk also helps create a smoother batter.
- FLOUR: All-purpose flour is ideal for this recipe. Ensure you measure it correctly, either by weight (recommended) or by spooning it into the measuring cup and leveling it off, rather than scooping directly from the bag, which can lead to too much flour and dry muffins.
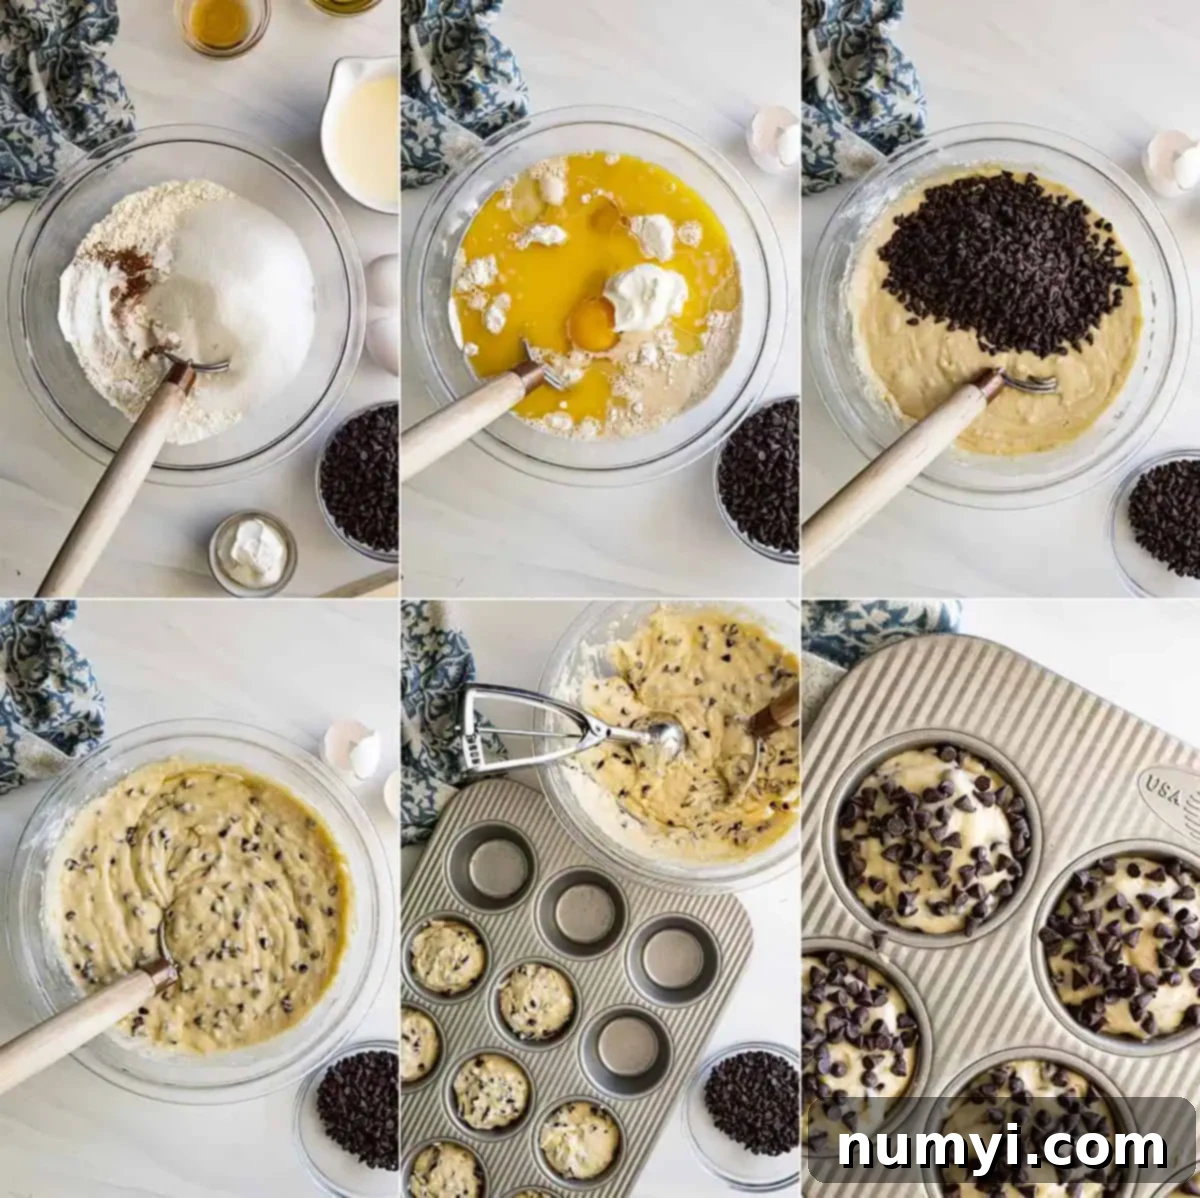
How To Make Chocolate Chip Muffins: A Simple Guide
Making these chocolate chip muffins is incredibly straightforward, perfect for bakers of all skill levels. Here’s a quick overview of the method to help you visualize the process. Remember, specific measurements and detailed, step-by-step instructions are always included in the printable recipe box found at the very bottom of this post.
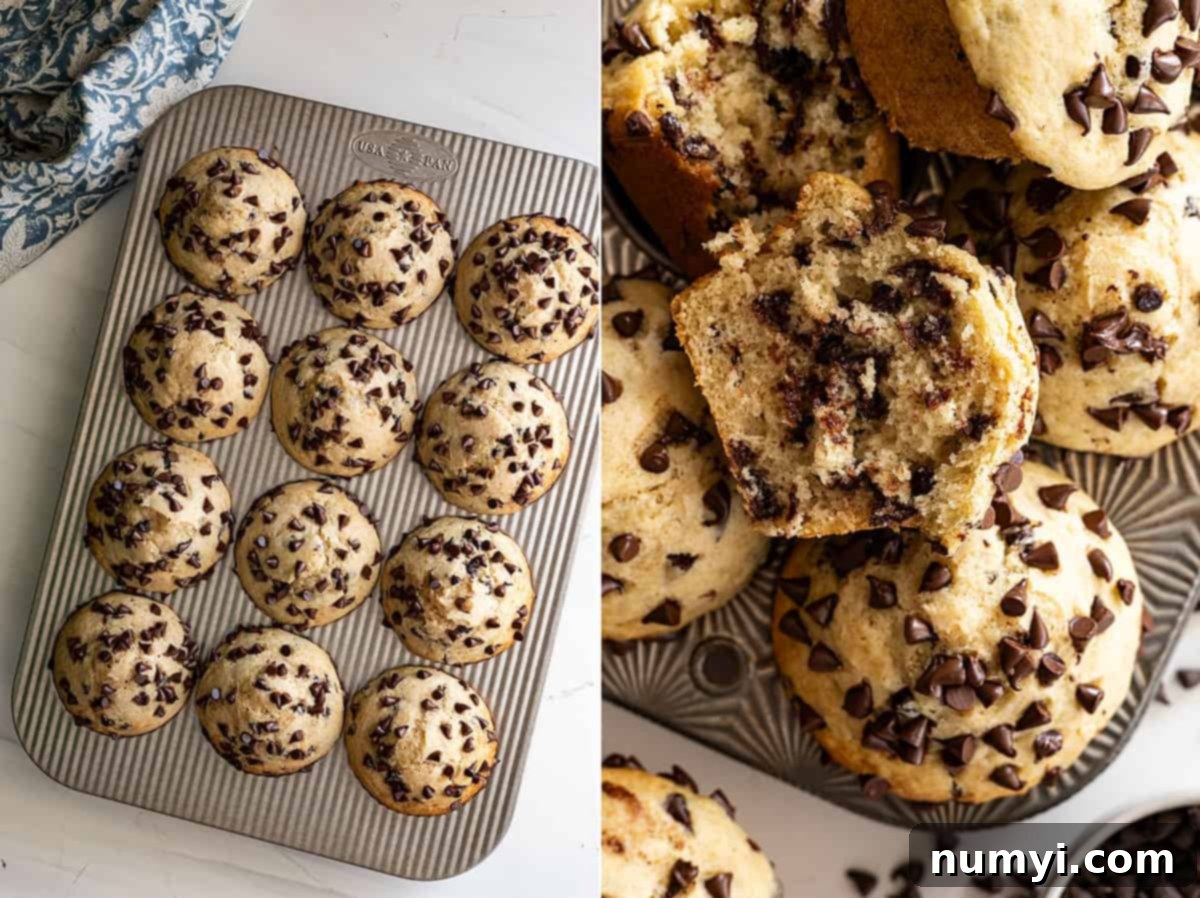
- PREP: Begin by preheating your oven to 425°F (220°C). This initial high temperature is crucial for achieving those coveted tall, domed muffin tops. Lightly grease only the bottoms of a standard 12-cup muffin tin, or for easier cleanup and removal, line the tin with paper liners. Set your prepared muffin pan aside.
- COMBINE DRY INGREDIENTS: In a large mixing bowl (the ‘one bowl’ we promised!), thoroughly whisk together all the dry ingredients: all-purpose flour, granulated sugar, baking powder, baking soda, salt, and the optional cinnamon. Whisking ensures they are well combined and evenly distributed, which is important for uniform rising.
- ADD WET INGREDIENTS: Create a well in the center of your dry ingredients. Pour in the wet ingredients: eggs, milk, neutral-tasting oil, melted butter, sour cream, and vanilla extract. Using a spatula or large spoon, gently stir the mixture until the wet and dry ingredients are *almost* combined. You’ll still see some streaks of flour, and that’s exactly what you want – do not overmix at this stage!
- FOLD IN CHOCOLATE CHIPS: Add the chocolate chips to the almost-combined batter. Continue to gently fold until just combined. The key here is to mix minimally. Overmixing develops the gluten in the flour, leading to tough, chewy muffins instead of light and fluffy ones. A few small lumps in the batter are perfectly fine and often preferred.
- FILL MUFFIN CUPS: Evenly divide the muffin batter among the 12 prepared muffin cups. For consistent sizing and a cleaner process, I highly recommend using a large spring-handled ice cream scoop. If desired, sprinkle a generous amount of extra chocolate chips and a dash of coarse sugar (like turbinado) on top of each muffin cup before baking. This adds a beautiful golden sparkle and extra chocolatey goodness.
- BAKE: Place the muffin tin into your preheated 425°F (220°C) oven and bake for 5 minutes. This high heat provides an initial burst of steam and rapid rise, helping to create those desirable tall, domed tops. After 5 minutes, *without opening the oven door*, reduce the oven temperature to 350°F (175°C) and continue to bake for another 15-20 minutes, or until the muffin tops are lightly golden brown and set. To check for doneness, a toothpick inserted into the center of a muffin should come out clean or with a few moist crumbs attached, but no wet batter.
- COOL: As soon as they are baked, carefully remove the muffins from the oven. Let them cool in the muffin pan for just 5 minutes before transferring them to a wire rack to cool completely. Promptly removing them prevents them from becoming soggy on the bottoms.
FAQs About Chocolate Chip Muffins:
Once your delicious muffins have completely cooled, store them in an airtight container at room temperature for up to 4 days. If you prefer to extend their shelf life, they can be kept in the refrigerator for up to 7 days. For longer storage, see the freezer-friendly tip below!
Yes, absolutely! While I personally prefer mini chocolate chips because they disperse so beautifully throughout the batter, giving you maximum chocolate in every single bite, regular-sized chocolate chips will work just as well. If you have larger chocolate bars, you can even chop them into chunks for a more rustic, varied chocolate experience.
I haven’t personally tested a gluten-free version of this specific recipe, but generally, you can replace the all-purpose flour with a good quality cup-for-cup gluten-free flour blend. I highly recommend using a brand like King Arthur Measure for Measure Gluten-Free Flour, as these blends are specifically formulated to mimic the properties of wheat flour. Please note that the texture might be slightly different, but the flavor should still be fantastic.
The two most common culprits for dry or tough muffins are overmixing the batter and overbaking. Overmixing develops the gluten in the flour too much, leading to a dense, chewy texture. Overbaking removes too much moisture, resulting in dryness. Always mix just until the ingredients are combined (a few lumps are fine) and bake only until a toothpick comes out clean.
Absolutely! This is a fantastic base recipe for creativity. Feel free to add ingredients like chopped nuts (walnuts, pecans), shredded coconut, a handful of fresh berries (blueberries, raspberries), or even a swirl of jam. Just be mindful not to add too many wet ingredients, which could alter the batter consistency.
Tips For The Best Chocolate Chip Muffins:
Achieving bakery-quality muffins at home is easier than you think with these simple yet effective tips:
- TALL, DOMED MUFFIN TOPS: The secret to those beautifully domed muffin tops lies in a clever temperature trick. Start baking your muffins at a high temperature, specifically 425°F (220°C), for the first 5 minutes. This initial burst of high heat creates what bakers call “oven spring,” causing the muffins to rise rapidly and set quickly. After this initial period, reduce the oven temperature to 350°F (175°C) to allow the muffins to finish baking through evenly without drying out the centers. Remember to reduce the temperature *without* opening the oven door, to retain that crucial initial heat.
- DON’T OVERMIX THE BATTER: This is arguably the most critical rule for tender muffins. You want to mix the batter just until the dry and wet ingredients are combined and no dry streaks of flour remain. A few small lumps are perfectly acceptable and even desirable. Overmixing develops the gluten in the flour, which leads to tough, chewy muffins with pointed tops instead of light, fluffy ones with rounded crowns. Mix with a gentle hand!
- GREASE ONLY THE BOTTOMS (OR USE LINERS): For perfectly shaped muffins with lovely rounded tops and no unsightly overhanging edges, lightly grease only the bottoms of your muffin tin cups. The batter needs something to cling to on the sides as it rises, which helps it climb upwards rather than spreading outwards. Alternatively, using paper muffin liners makes cleanup a breeze and ensures easy removal.
- TAKE OUT THE GUESSWORK WITH AN ICE CREAM SCOOP: For consistently sized muffins that bake evenly and look professional, use a large spring-handled ice cream scoop to fill each muffin cup. This not only ensures uniform portions but also makes the filling process much cleaner and quicker, preventing drips and spills around the muffin pan.
- USE ROOM TEMPERATURE INGREDIENTS: Whenever possible, ensure your eggs, milk, and sour cream are at room temperature. Room temperature ingredients emulsify more easily, creating a smoother, more uniform batter. This leads to a better rise and a more tender crumb in your final muffins.
- DO NOT OVERBAKE: Keep a close eye on your muffins as they bake. Overbaking is a common cause of dry muffins. Start checking for doneness at the lower end of the suggested baking time. A toothpick inserted into the center should come out clean or with a few moist crumbs, but no wet batter.
- COOL PROPERLY: Once baked, let the muffins cool in the pan for about 5 minutes before transferring them to a wire rack to cool completely. This prevents them from getting soggy bottoms from trapped steam and allows them to firm up slightly.
More Delicious Muffin Recipes You’ll Love:
If you enjoyed these chocolate chip muffins, be sure to explore some of my other favorite muffin recipes perfect for any occasion:
- Sweet & Savory Cornbread Muffins
- Classic Easy Banana Muffins
- Comforting Special Pumpkin Muffins
- Juicy Blueberry Banana Muffins
- Bright & Zesty Lemon Muffins
HUNGRY FOR MORE? Don’t miss out on my latest recipes and baking tips! Subscribe to my newsletter and follow along on Pinterest, Facebook, and Instagram for all my latest updates and culinary inspiration!
Chocolate Chip Muffins

Ingredients
- 2½ cups (320g) all-purpose flour
- ¾ cup (160g) granulated sugar
- 2½ teaspoons baking powder
- ¼ teaspoon baking soda
- ½ teaspoon salt
- ½ teaspoon cinnamon, optional
- 2 large eggs
- 1 cup (235ml) milk
- ¼ cup (60ml) neutral tasting oil
- ¼ cup (56g) butter, melted
- ¼ cup (55g) sour cream
- 2 teaspoons vanilla
- 1½ cups or 1 (10oz) (283g) bag mini semi-sweet chocolate chips
Instructions
-
Preheat oven to 425℉ (220°C). Lightly grease the bottoms of a 12-cup muffin tin or line with paper liners. Set aside.
-
In a large bowl, combine the flour, sugar, baking powder, baking soda, salt, and cinnamon (if using). Create a well in the center. Add the eggs, milk, oil, melted butter, sour cream, and vanilla. Stir gently until the ingredients are almost combined, with a few dry streaks remaining. Then, gently fold in the chocolate chips just until everything is combined. Be careful not to overmix the batter.
-
Evenly divide the batter into the prepared muffin cups. Sprinkle with plenty of extra chocolate chips and coarse sugar (if desired) on top. Bake for 5 minutes at 425℉ (220°C). After 5 minutes, reduce the oven temperature to 350℉ (175°C) and continue to bake for another 15-20 minutes, or until muffin tops are lightly browned and set, and a toothpick inserted in the center comes out clean or with moist crumbs attached. Remove from muffin pan promptly and transfer to a wire rack to cool.
Notes
- STORAGE: Store cooled muffins in an airtight container at room temperature for up to 4 days or in the refrigerator for up to 7 days for extended freshness.
- FREEZER-FRIENDLY: For longer storage, place fully cooled muffins in a freezer-safe bag or container and freeze for up to 2 months. Thaw overnight at room temperature before enjoying.
- NUTRITION: Since different brands of ingredients have varying nutritional information, the details shown are merely an estimate. This website does not offer nutritional advice, nor is it a diet or health plan. Readers are ultimately responsible for all decisions pertaining to their health and dietary needs.
