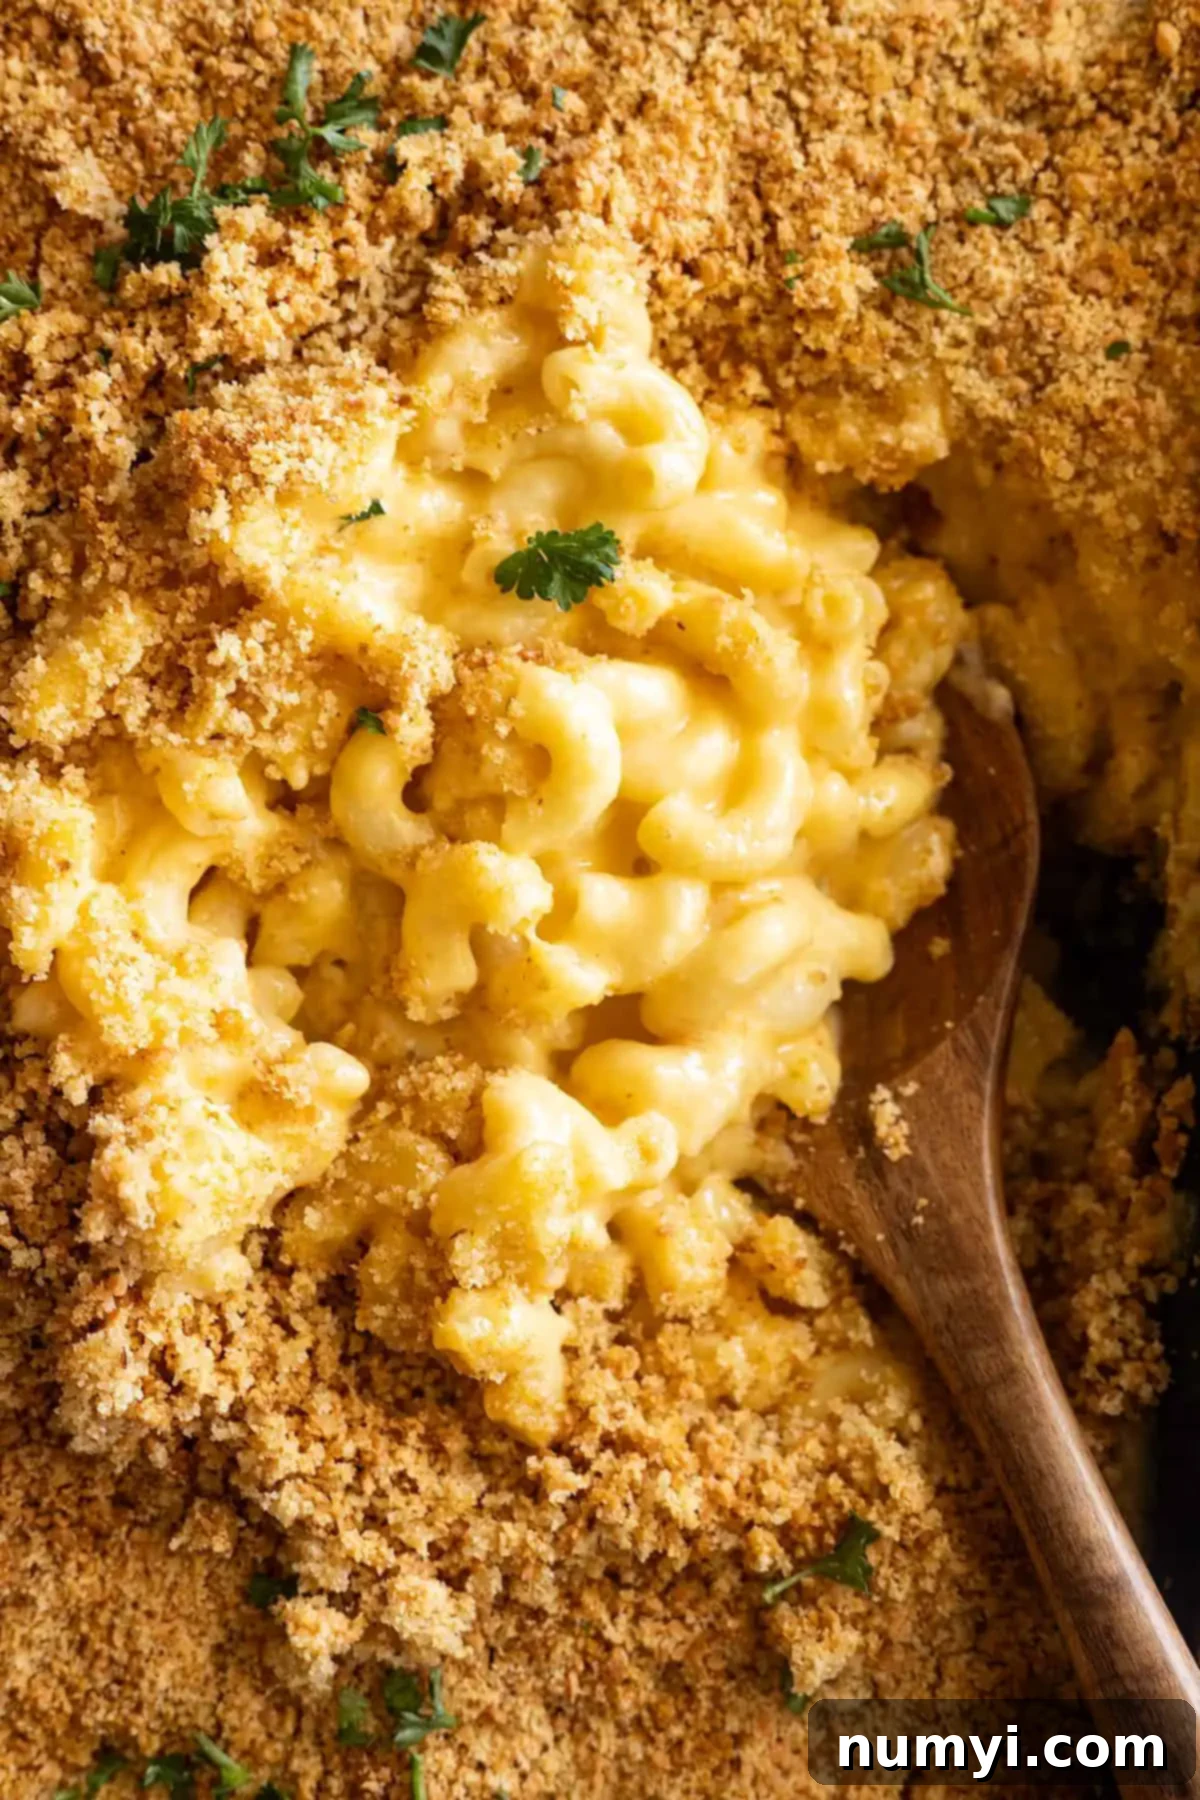
The Ultimate Guide to Creamy, Cheesy Homemade Baked Mac and Cheese
Indulge in the timeless comfort of our classic Homemade Baked Mac and Cheese. This foolproof recipe is a must-have in your culinary repertoire, effortlessly creating a rich, creamy, and undeniably cheesy pasta dish using simple, readily available ingredients. Perfect for a cozy family dinner or a crowd-plepleasing potluck!
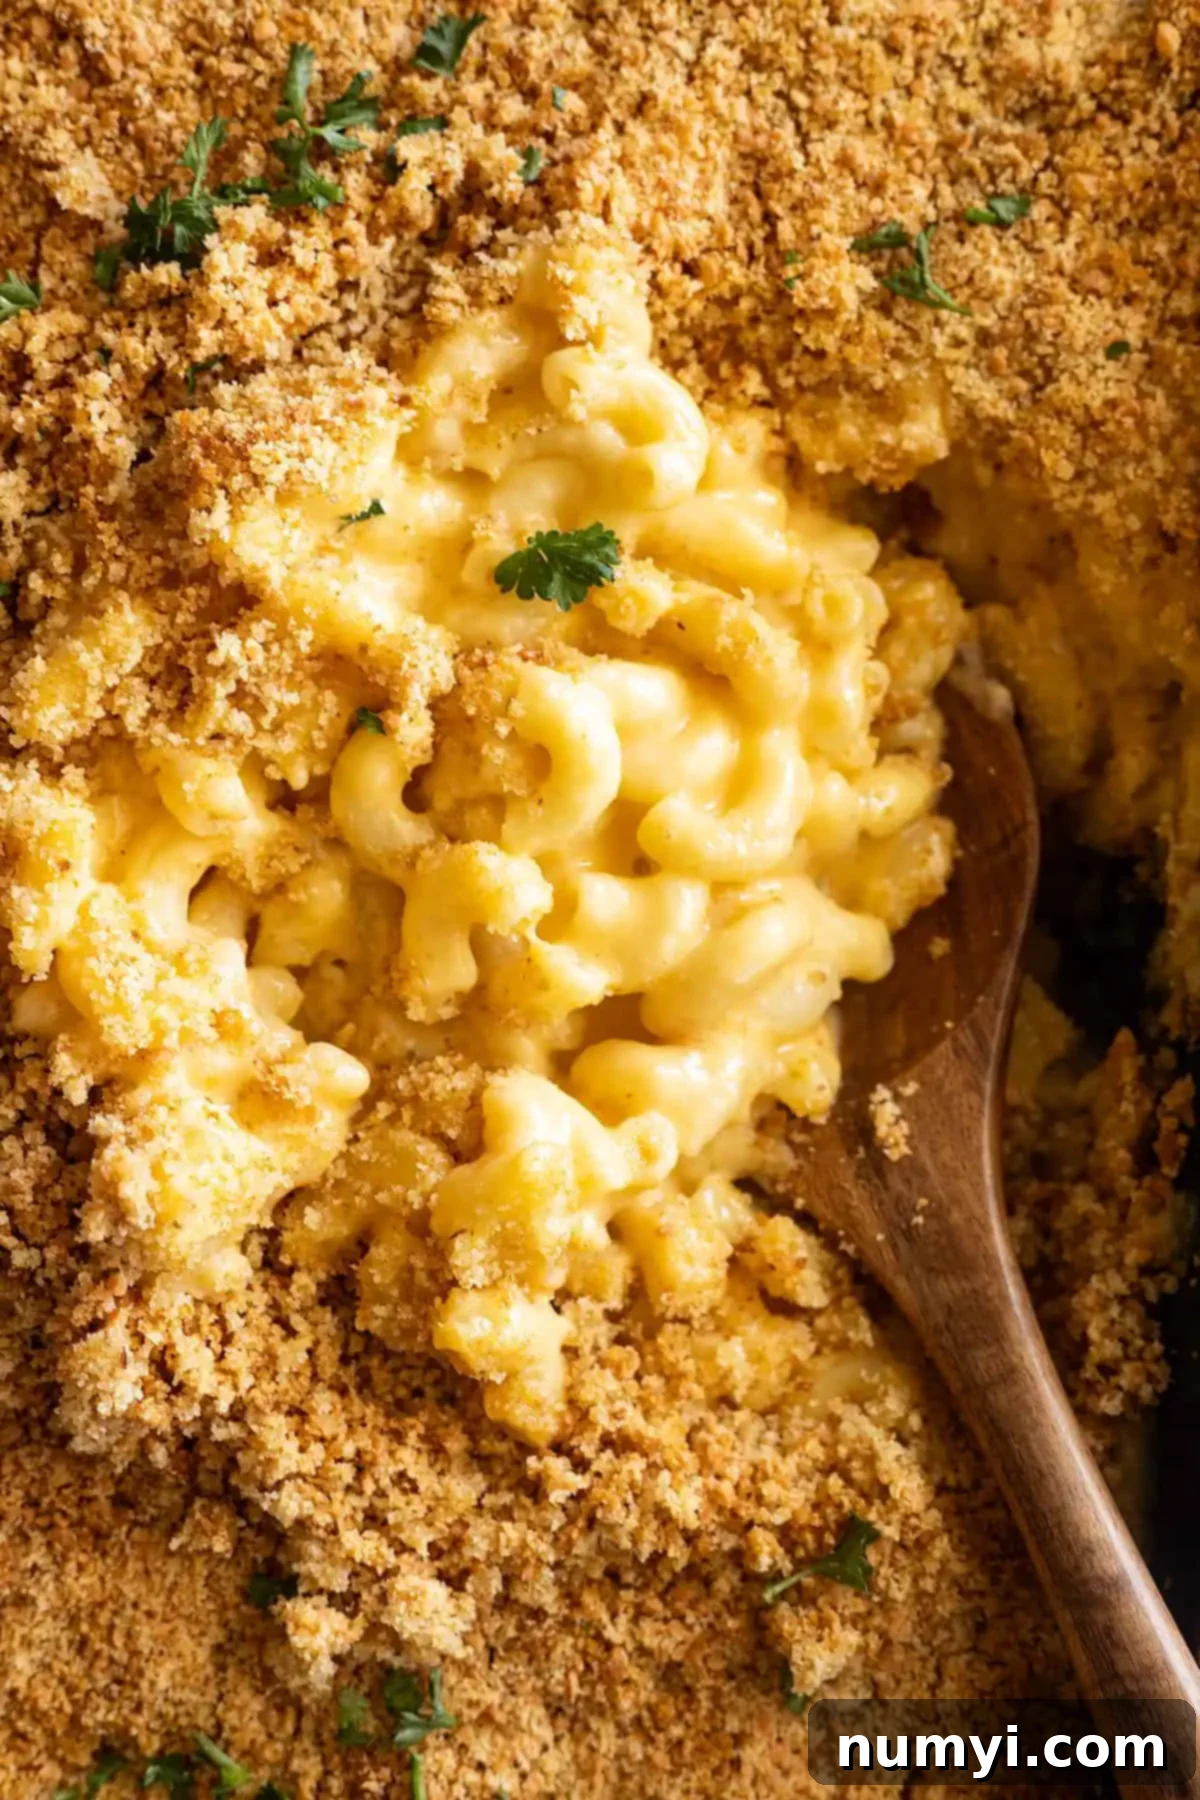
There are few dishes as universally beloved and comforting as a good plate of macaroni and cheese. And when it comes to the ultimate comfort food experience, nothing beats a homemade baked mac and cheese. This recipe isn’t just a meal; it’s a warm hug in a casserole dish, a nostalgic trip back to simpler times, and a guaranteed crowd-pleaser. Whether you’re feeding a hungry family or preparing for a special gathering, this creamy, cheesy masterpiece is sure to satisfy.
While we absolutely adore this baked version, we understand that sometimes time is of the essence. If you’re in a rush and need your mac and cheese fix without the oven time, be sure to check out our Stovetop Mac and Cheese recipe. It’s a fantastic one-pot wonder that delivers incredible flavor without the need for an extra pot to boil your pasta!
Why You Will Love This Homemade Baked Mac and Cheese Recipe
This isn’t just another mac and cheese recipe; it’s *the* mac and cheese recipe you’ll come back to again and again. Here’s why it will quickly become a favorite in your kitchen:
- Effortless & Accessible: It utilizes simple, everyday ingredients that you likely already have stocked in your pantry and refrigerator. No specialty store trips required!
- Universal Appeal: A true classic, this dish transcends age, bringing smiles to both the youngest and oldest at your table. It’s the ultimate family-friendly meal.
- Perfectly Creamy Texture: Say goodbye to dry, crumbly mac and cheese! This recipe achieves the ideal balance of creamy sauce and tender pasta, ensuring every bite is moist, rich, and bursting with cheesy goodness. If you’re looking for an even more indulgent, over-the-top creamy experience, explore our Creamy Baked Mac and Cheese recipe.
- Incredibly Versatile: Enjoy it as a hearty main course, a decadent side dish, or customize it with your favorite add-ins like bacon, vegetables, or a dash of hot sauce for an extra kick.
- Freezer-Friendly & Make-Ahead Perfection: Planning ahead has never been easier! This recipe is designed to be prepared in advance and can be frozen for later, making it ideal for meal prepping or busy weeknights.
Key Ingredients for the Best Baked Mac and Cheese
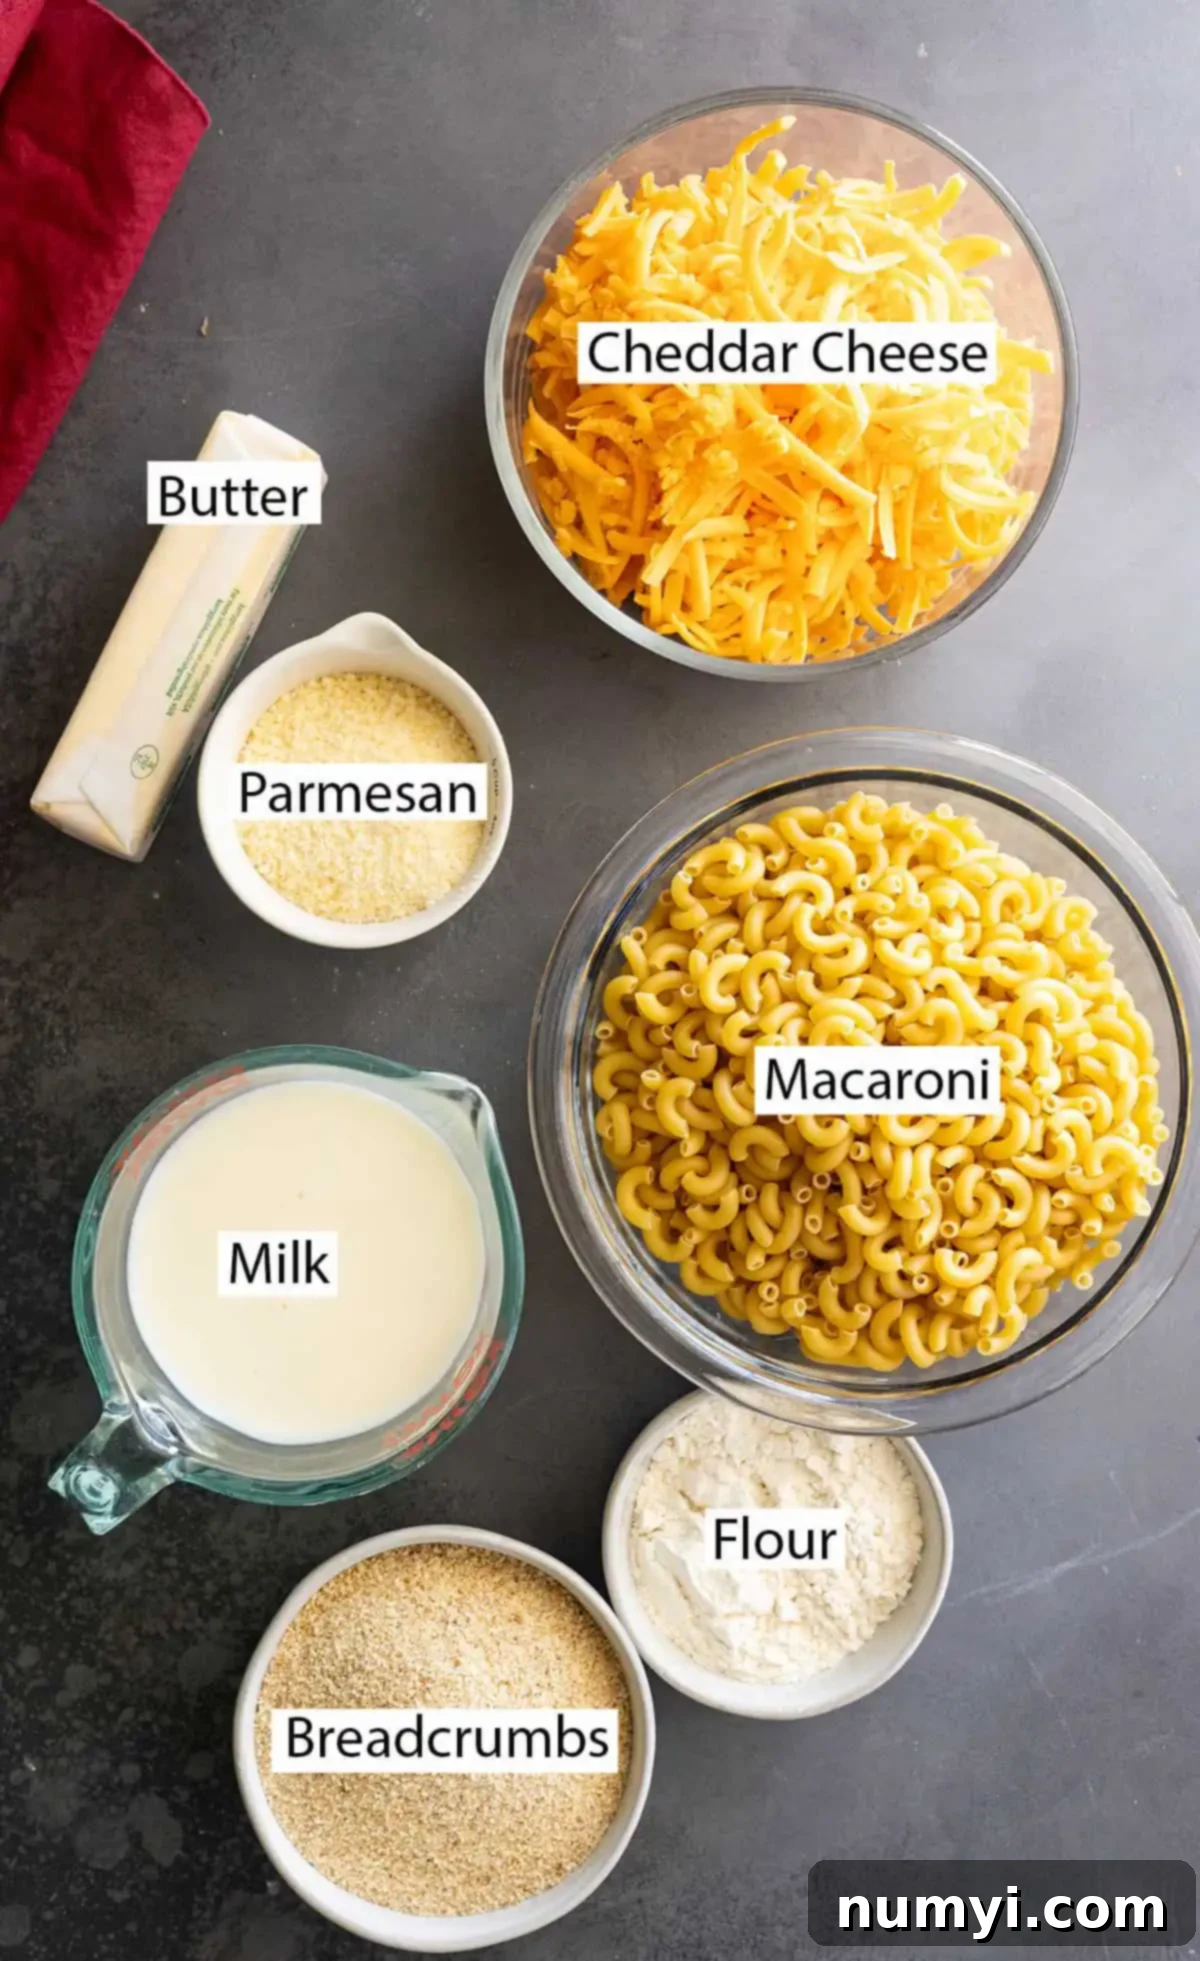
The secret to an exceptional mac and cheese lies in the quality and preparation of its core ingredients. Here’s a closer look at what you’ll need and why each component matters:
- CHEESE: This is arguably the most important element! For the absolute best results, always grate your own cheese from a block. Pre-shredded cheeses often contain anti-caking agents (like cellulose) that can prevent them from melting smoothly, leading to a grainy or clumpy sauce. A better quality cheese not only melts more smoothly but also provides a much richer and more complex flavor. We recommend a mix of medium or sharp cheddar for its classic tang and excellent melt, but feel free to experiment with other melting cheeses like Gruyere, Colby Jack, Monterey Jack, or even a touch of smoked gouda for added depth.
- PASTA: While classic elbow macaroni is our go-to for this dish due to its perfect size and ability to hold the creamy sauce, don’t hesitate to use other small, sturdy pasta shapes. Shells, rotini, cavatappi, or penne are all excellent choices that will capture plenty of that delicious cheese sauce. The key is to slightly undercook your pasta, ensuring it finishes cooking to a perfect al dente texture in the oven without becoming mushy.
- FLOUR: All-purpose flour is essential for creating a roux, which acts as the thickening agent for our luxurious cheese sauce. Combined with butter, it forms the base that gives our mac and cheese its incredible creaminess and body.
- MILK: For the ultimate creamy, rich sauce, whole milk is highly recommended. Its higher fat content contributes significantly to the sauce’s luscious texture and flavor. While low-fat or dairy-free alternatives can be used, be aware that the final sauce may not be as thick or as creamy. If you want an extra rich sauce, consider using a mix of whole milk and half-and-half or even a splash of heavy cream.
- BUTTER: Butter is crucial for building the roux and adding a foundational richness to the sauce. It also plays a key role in the breadcrumb topping, helping them crisp up to a golden perfection.
- PARMESAN CHEESE: Grated Parmesan isn’t just for topping; it adds another layer of savory, salty flavor to the breadcrumb crust, contributing to that irresistible golden-brown finish.
- BREADCRUMBS: A crispy, golden-brown topping is a hallmark of baked mac and cheese. Whether you use store-bought breadcrumbs (Panko for extra crispiness!) or make your own from stale bread, combining them with melted butter ensures a wonderfully crunchy texture that contrasts beautifully with the creamy interior.
- OPTIONAL SEASONINGS: While salt is essential, a touch of garlic powder, onion powder, or even a teaspoon of prepared mustard can elevate the flavor profile. Mustard doesn’t make the mac and cheese taste like mustard; instead, it subtly enhances the cheesiness, making the flavors pop even more. Feel free to add a pinch of black pepper or a dash of cayenne for a little warmth.
How to Make the Perfect Homemade Baked Mac and Cheese: Step-by-Step
Creating this delightful dish is simpler than you might think. Follow these easy steps for a truly memorable meal:
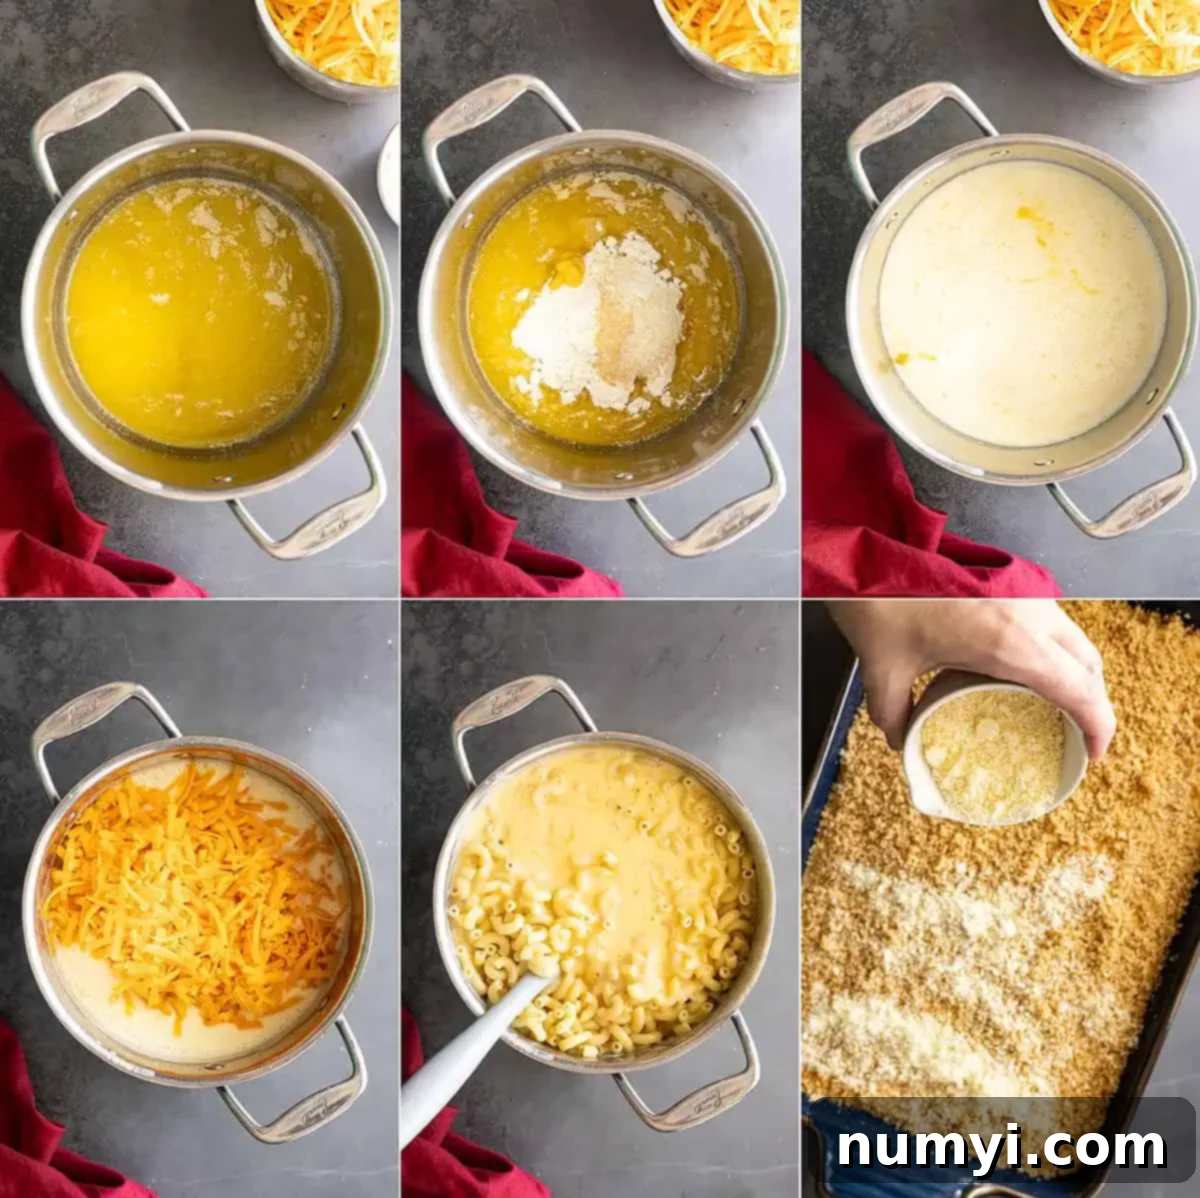
- STEP 1: Prepare the Pasta. Begin by preheating your oven to 350°F (175°C) and lightly greasing a 9×13 inch baking dish. Next, bring a large pot of salted water to a rolling boil. Add the elbow macaroni (or your chosen pasta) and cook it for about 2 minutes less than the package directions. This crucial step ensures the pasta is slightly al dente, preventing it from becoming overcooked and mushy during the baking process. Drain the pasta thoroughly and set it aside.
- STEP 2: Create the Roux and Milk Base. While your pasta is cooking, melt 6 tablespoons of butter in a large saucepan or a 12-inch oven-safe skillet over medium heat. Once the butter is melted and slightly foamy, whisk in the flour and any optional seasonings (like garlic powder, onion powder, and salt). Cook this mixture, stirring constantly, for about 1 minute. This cooks out the raw flour taste and creates a golden roux. Gradually whisk in the milk, ensuring there are no lumps. Continue to cook, stirring frequently, until the sauce begins to thicken to a light gravy consistency. It should coat the back of a spoon.
- STEP 3: Assemble the Mac and Cheese. Remove the thickened milk mixture from the heat. This is important to prevent the cheese from separating or becoming oily. Stir in the shredded cheddar cheese until it’s completely melted and smooth, forming a rich, creamy sauce. Then, add the drained, undercooked pasta to the cheese sauce and stir well to ensure every piece of pasta is thoroughly coated. Pour this glorious mixture into your prepared baking dish.
- STEP 4: Add the Crunchy Topping. In a small separate bowl, combine the breadcrumbs (or panko) with 4 tablespoons of melted butter. Stir until the breadcrumbs are evenly coated. Sprinkle this buttered breadcrumb mixture evenly over the top of the pasta in the baking dish. Finally, sprinkle the grated Parmesan cheese over the breadcrumbs.
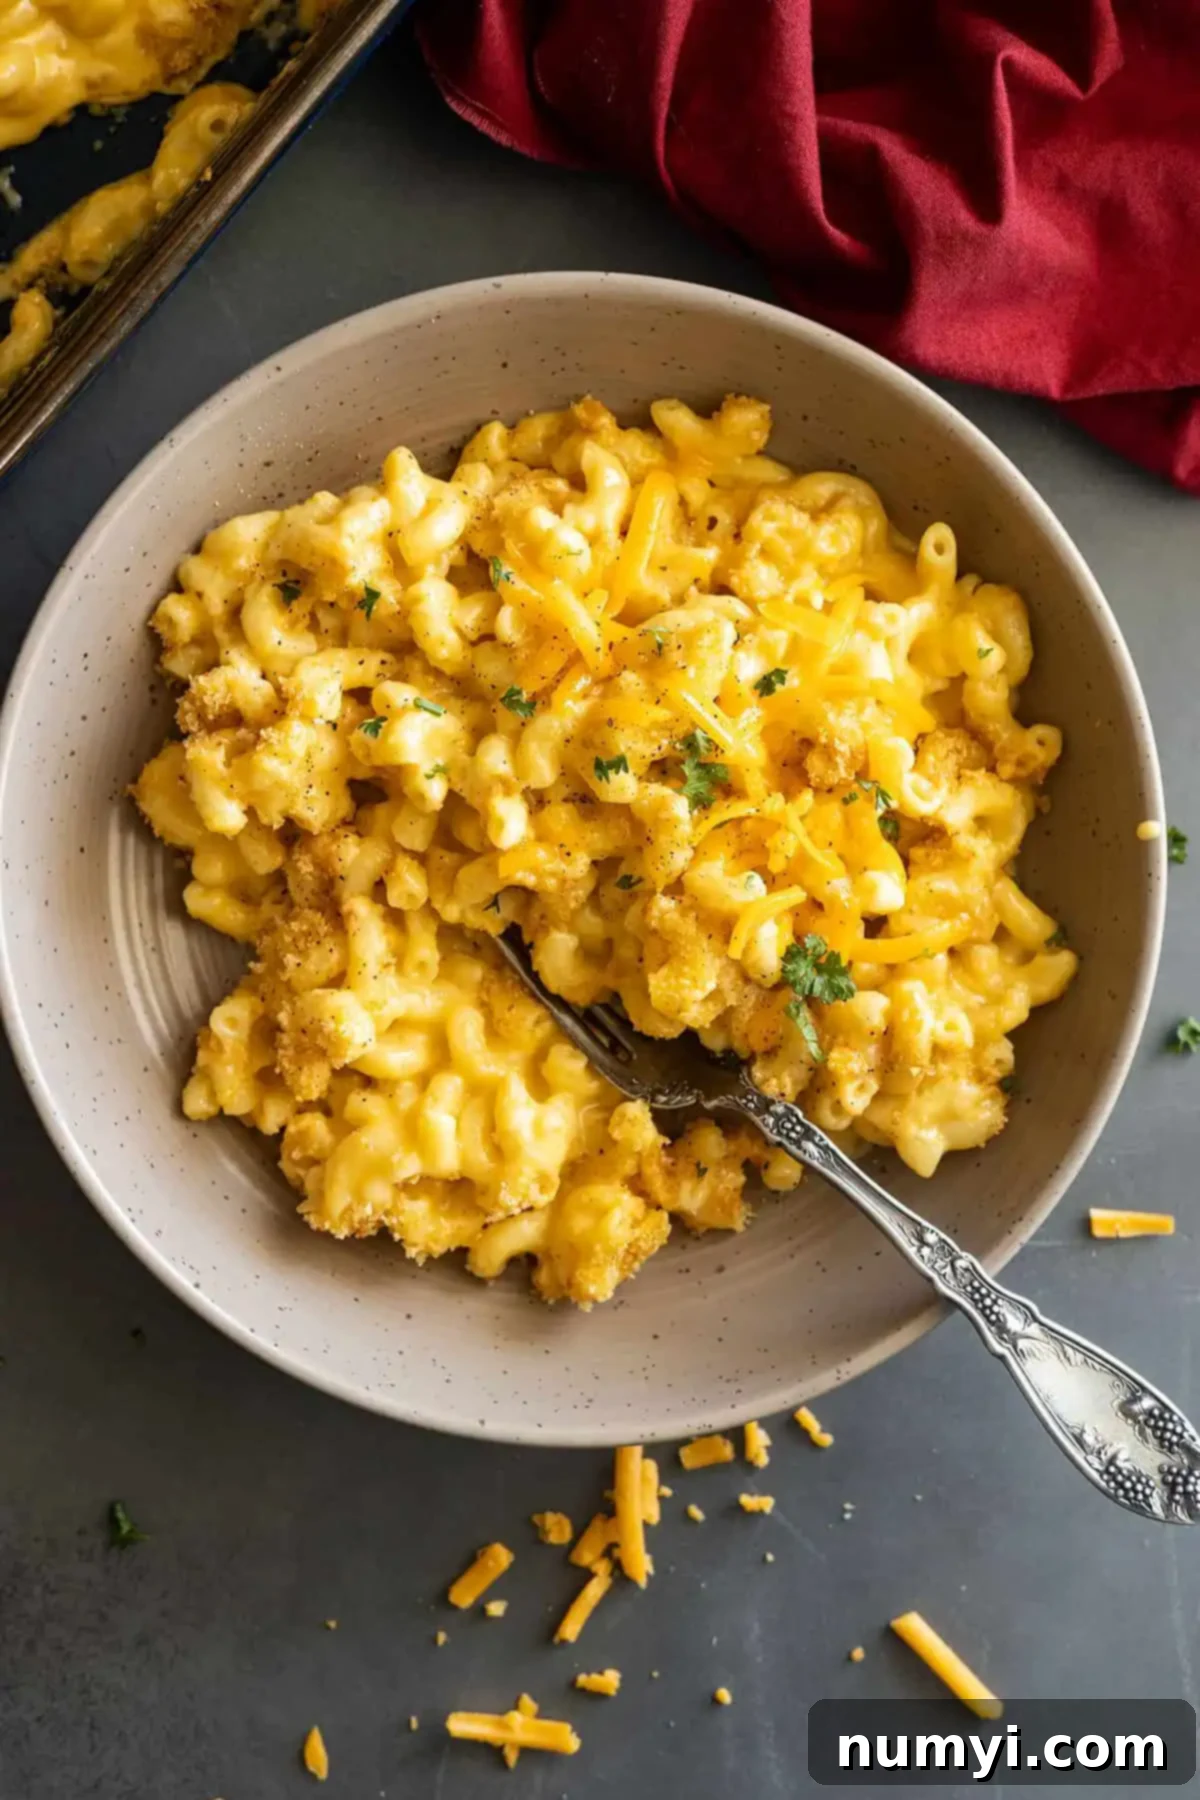
- STEP 5: Bake and Enjoy! Place the baking dish in the preheated oven and bake for 20-30 minutes, or until the mac and cheese is hot and bubbly around the edges, and the breadcrumb topping is golden brown and crispy. Let it rest for a few minutes before serving to allow the sauce to set slightly. Then, scoop out generous portions and savor every creamy, cheesy bite!
Tips for the Best Baked Mac and Cheese Every Time
Achieving mac and cheese perfection is easy with a few expert tips:
- Grate Your Own Cheese: We can’t stress this enough! Pre-shredded cheese contains anti-caking agents that can make your sauce grainy and prevent smooth melting. Take the extra five minutes to grate your own for a truly luxurious sauce.
- Don’t Overcook Your Pasta: Remember to cook your pasta 2 minutes shy of al dente. It will continue to cook in the oven, ensuring a perfect texture rather than a mushy one.
- Use Room Temperature Milk: While not strictly necessary, using milk that’s closer to room temperature can help prevent the sauce from seizing or becoming lumpy when added to the roux.
- Cook Your Roux Properly: Ensure you cook the flour and butter for at least a minute to eliminate the raw flour taste, but don’t let it brown too much unless you want a nutty flavor.
- Season Generously: Don’t forget to season the pasta water and the cheese sauce itself. Salt is a flavor enhancer, and a pinch of black pepper, garlic powder, or onion powder can really make the flavors sing. The optional prepared mustard is a fantastic secret ingredient to boost cheesiness.
- Don’t Overbake: Once the top is golden brown and the edges are bubbling, your mac and cheese is ready. Overbaking can dry out the sauce.
- Rest Before Serving: Letting the dish sit for 5-10 minutes after baking allows the sauce to thicken slightly and makes for easier, cleaner serving.
- Customize to Your Liking: Feel free to add cooked crumbled bacon, sautéed mushrooms, roasted vegetables, or a sprinkle of paprika for color and flavor.
Frequently Asked Questions (FAQs) About Baked Mac and Cheese
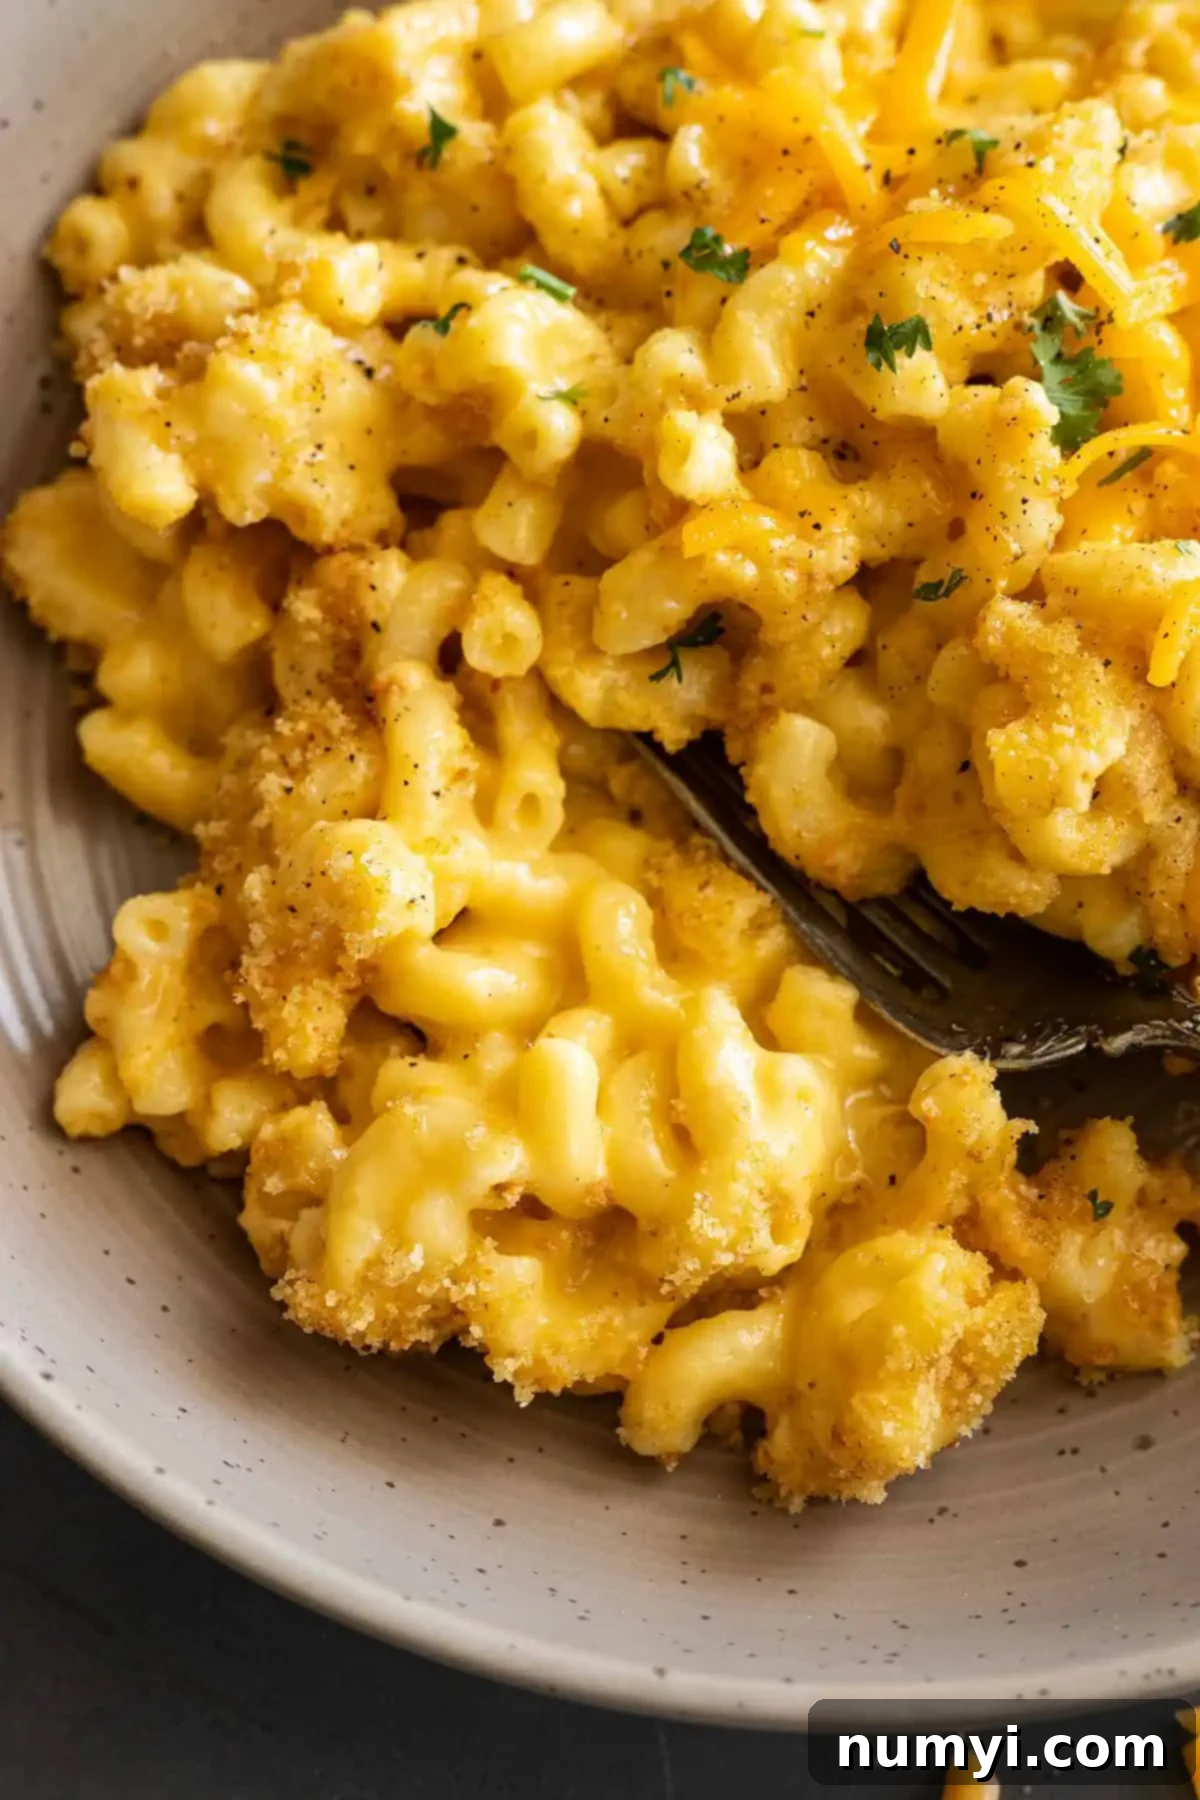
For this recipe, it is generally recommended to bake the mac and cheese uncovered. Baking it uncovered allows the breadcrumb and Parmesan topping to become wonderfully crispy and golden brown, adding a delightful textural contrast to the creamy interior. If you were to bake it covered, the steam would prevent the topping from crisping up. However, if your topping starts to brown too quickly, you can loosely tent it with foil for the last few minutes of baking.
The best cheeses for baked mac and cheese are those that melt smoothly and offer a good flavor profile. Sharp or medium cheddar is a classic choice, providing a robust, tangy flavor. For complexity, consider blending cheddar with other excellent melting cheeses such as Gruyere (nutty, earthy), Monterey Jack (mild, creamy), Colby (mild, good melt), or even a touch of cream cheese for extra richness. It is crucial to grate your own cheese from a block, as pre-shredded cheeses often contain anti-caking agents like cellulose that can lead to a grainy or oily sauce and prevent smooth melting. Higher quality cheeses always result in better flavor and a superior, velvety texture.
Yes, baked mac and cheese is surprisingly freezer-friendly! To freeze, prepare the recipe through Step 5 (assembling in the baking dish with the topping), but do NOT bake it. Allow the assembled dish to cool completely if any components were warm. Cover the baking dish tightly with a layer of plastic wrap, followed by a layer of heavy-duty aluminum foil. Freeze for up to 3 months. When you’re ready to bake, thaw the mac and cheese overnight in the refrigerator. Before baking, remove it from the refrigerator about 30 minutes to an hour to come closer to room temperature. Then, remove the foil and plastic wrap and bake as directed (Step 6) until it’s hot and bubbly and the topping is golden brown.
To reheat individual servings, you can use the microwave on medium power, stirring occasionally, until heated through. For larger portions or to retain some crispiness, cover the dish with foil and reheat in a preheated oven at 300-325°F (150-160°C) until warmed through, then uncover for the last few minutes to re-crisp the topping if desired. You might want to add a splash of milk to prevent it from drying out, especially if reheating on the stovetop or microwave.
What to Serve With Homemade Baked Mac and Cheese?
Our homemade baked mac and cheese is so rich and satisfying, it can certainly hold its own as a standalone meal – perfect for those evenings when you crave nothing but a big bowl of pure comfort. However, it also pairs wonderfully with a variety of other dishes, elevating any meal.
If serving as a main course, consider balancing its richness with something fresh and light. A simple, crisp green salad with a vinaigrette dressing, steamed green beans, roasted broccoli, or garlic bread make excellent accompaniments for a complete and satisfying meal.
When serving this glorious dish as a side, its versatility shines. It complements almost any protein, especially classic American comfort foods and barbecue. Imagine it alongside tender Pulled Pork, a juicy Classic Hamburger, a hearty Old Fashioned Meatloaf, or even savory Homemade Sloppy Joes. Its creamy texture and cheesy flavor provide a perfect counterpoint to savory, smoky, or tangy main dishes.
And let’s not forget its rightful place at holiday gatherings! Baked mac and cheese is a staple at Thanksgiving, Christmas, and Easter tables. It’s an irresistible side dish that pairs beautifully with traditional holiday mains like a glazed Mustard Herb Ham, an elegant Bacon Wrapped Pork Loin, or a perfectly roasted Herb Roasted Turkey. It’s truly a dish for all seasons and all occasions!
We sincerely hope you and your loved ones enjoy this ultimate homemade baked mac and cheese recipe as much as we do! We’d love to hear how you serve this dish – tell us by commenting below or tagging us on Instagram!
HUNGRY FOR MORE? Subscribe to our newsletter and follow along on Pinterest, Facebook, and Instagram for all our latest updates, recipes, and culinary inspiration!
Homemade Baked Mac and Cheese
Ingredients
- 1 pound (453g) elbow macaroni
- 6 tablespoons butter
- ⅓ cup (45g) all-purpose flour
- 1 teaspoon salt
- 5 cups (1182ml) milk
- 20 ounces (565g) shredded medium or sharp cheddar cheese
- 1 cup (115g) breadcrumbs or panko
- 4 tablespoons butter, melted
- ¾ cup (70g) grated parmesan cheese
OPTIONAL SEASONINGS:
- 1 teaspoon garlic powder
- 1 teaspoon onion powder
- 1 teapoon prepared mustard
Instructions
-
Pre-heat oven to 350. Lightly grease a 9×13 baking dish; set aside.
-
Cook macaroni 2 minutes less than the cooking time on package; drain and set aside.
-
While macaroni is cooking, melt 4 TBSP butter in a large saucepan or 12 inch oven safe skillet. Whisk in the flour and optional seasonings if using. Cook for 1 minute. Whisk in the milk and cook just until it starts to thicken.
-
Remove from heat and stir in the cheese. Add pasta and stir well to combine. Pour into prepared baking dish.
-
In a small bowl, combine the breadcrumbs and melted butter. Sprinkle over pasta. Sprinkle parmesan over pasta.
-
Bake for 20-30 minutes or until hot and bubbly and browned.
Notes
- STORAGE: Store cooled leftovers covered in the refrigerator for up to 4 days.
- FREEZER-FRIENDLY: Prepare recipe through step 5. Cover tightly with heavy-duty foil and freeze for up to 3 months. Allow to thaw overnight in the refrigerator and remove from refrigerator 30 minutes before baking.
- MAKE-AHEAD: Prepare recipe through step 5. Cover tightly and store in the refrigerator up to 2 days. Remove from the refrigerator 30 minutes before baking.
Nutrition
