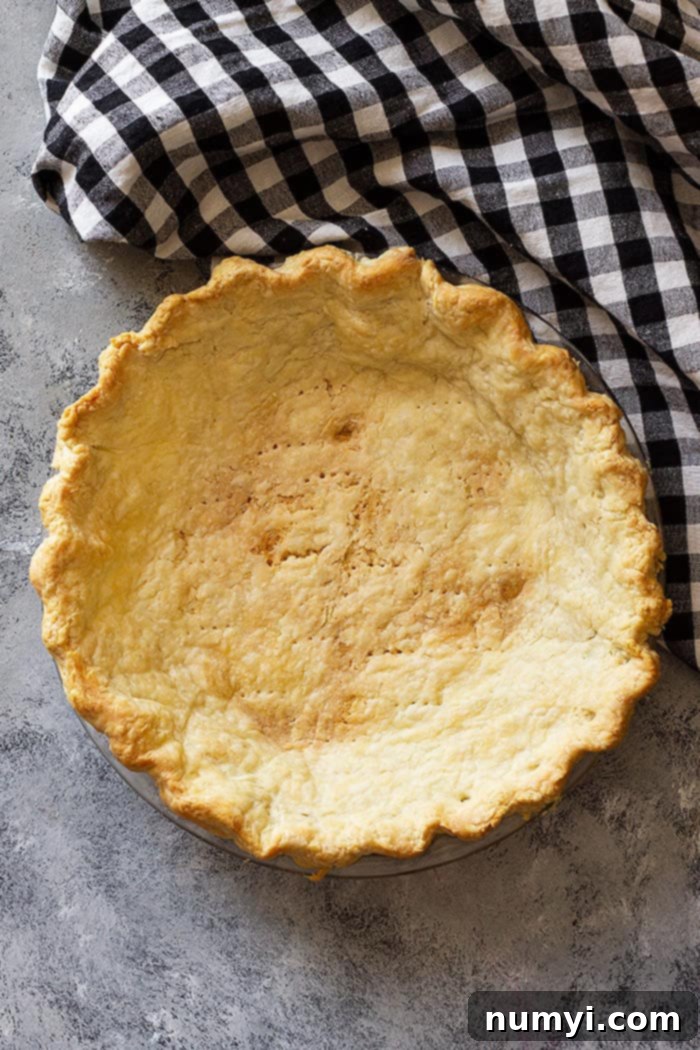
How to Blind Bake Pie Crust: The Ultimate Guide to Perfect, Flaky Pie Bases Every Time
Are you tired of serving pies with a disappointing soggy bottom? This comprehensive tutorial will teach you the essential technique of blind baking pie crust, a crucial step for achieving a perfectly crisp, golden base that holds up to any filling. Whether your recipe calls for a partially baked or fully baked crust, we’ll guide you through every step to ensure your pies are a resounding success!
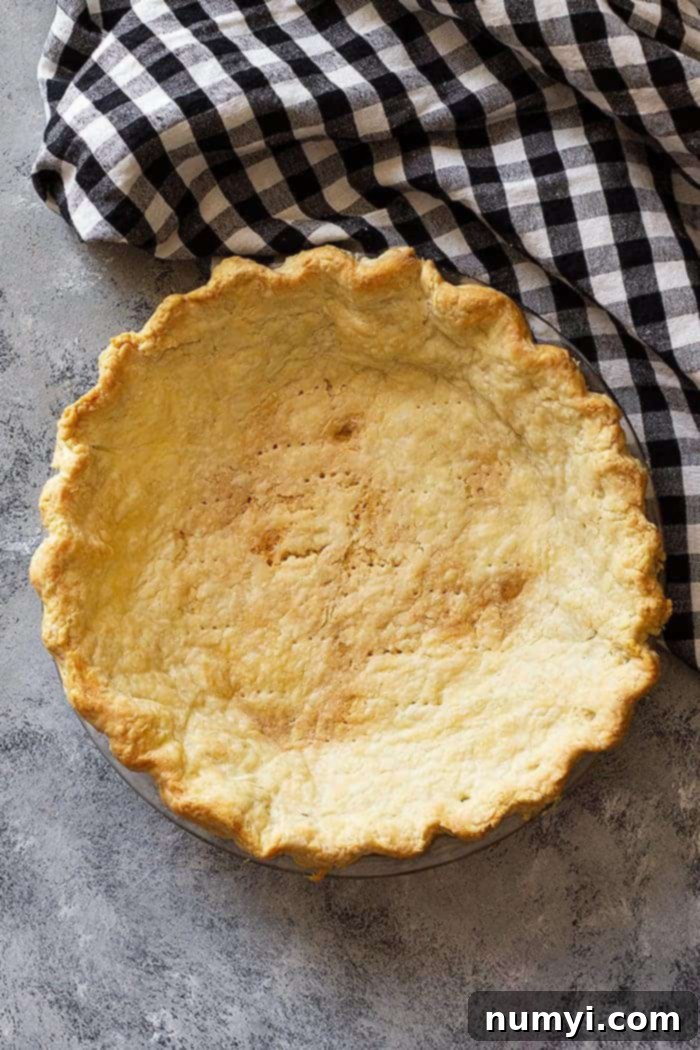
What is Blind Baking Pie Crust?
Blind baking, also known as pre-baking or par-baking, is the process of baking your pie crust before adding the filling. This crucial step ensures that the crust cooks thoroughly and develops a desirable crispness, preventing it from becoming soggy once the filling is added. Depending on your recipe, you might need to either partially bake the crust (bake it part-way) or fully bake it (cook it completely until golden brown).
Why is Blind Baking So Important?
The primary reason to blind bake a pie crust is to prevent the dreaded “soggy bottom.” Many pie fillings, especially those that are liquid-heavy or require no further baking, can turn an uncooked crust into a soft, unappetizing mess. Blind baking creates a protective barrier, ensuring your crust remains firm and flaky.
Blind baking is essential for several types of pies and tarts:
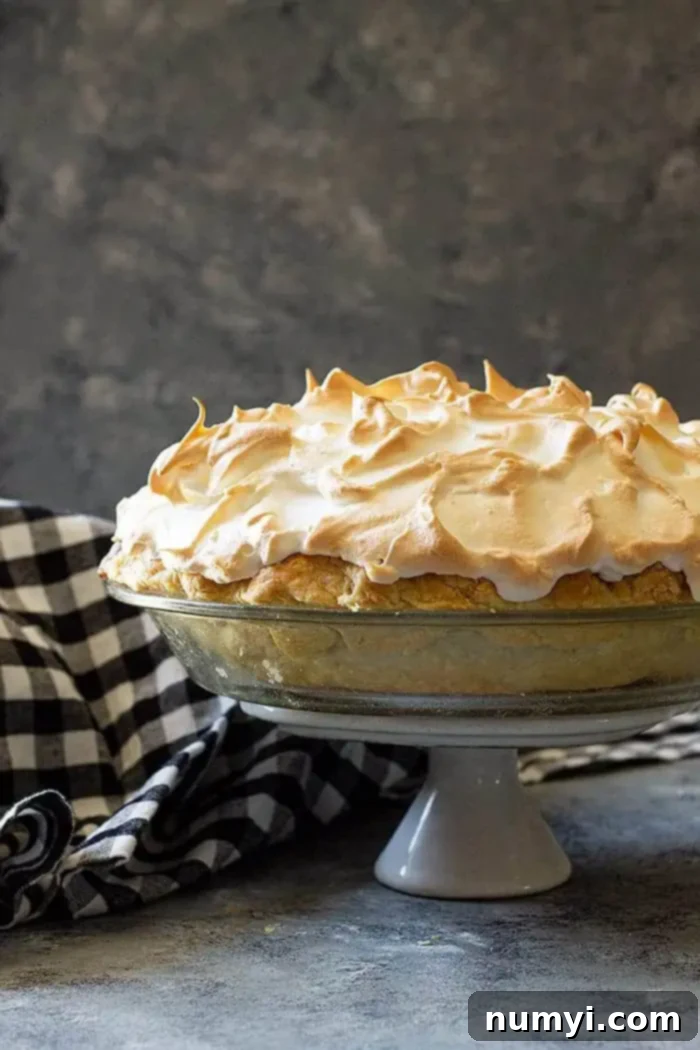
- For Pies with No-Bake Fillings: Recipes like lemon meringue pie, chocolate cream pie, banana cream pie, or any pie filled with puddings, fresh fruit, or chilled custards require a fully baked crust. Since the filling isn’t baked in the oven, the crust must be entirely cooked and cooled beforehand to achieve that perfect texture.
- For Pies with Wet or Liquid Fillings (Partial Bake): Dishes such as quiches, pumpkin pie, or certain fruit pies often have fillings that contain a lot of moisture. If you were to bake the pie with an uncooked crust, the filling would cook much faster than the crust, leading to an overcooked filling and an underbaked, soggy crust. Partially blind baking the crust gives it a head start, allowing it to firm up and cook through before the wet filling is added. This ensures both your crust and filling reach perfection simultaneously.
Understanding when and how to blind bake will elevate your pie-making skills and guarantee delicious results every time!
Why You’ll Love This Blind Baking Tutorial
Learning how to properly blind bake a pie crust is a game-changer for any home baker. Here’s why you’ll be glad you mastered this technique:
- Say Goodbye to Soggy Crusts: This is the ultimate solution to ensure your pie crusts are always crisp and flaky, never wet or undercooked, no matter the filling.
- Achieve Perfect Texture: Blind baking helps develop a beautiful golden-brown color and a satisfying crunch that complements any pie.
- Boost Your Confidence: Once you understand this simple technique, you’ll feel more confident tackling any pie or tart recipe, knowing your foundation will be solid.
- It’s Easier Than You Think: While it might seem like an extra step, the process is straightforward and incredibly rewarding.
- Minimal Special Equipment: All you really need is your pie dough, a pie plate, and some form of pie weights.
- Versatility: This method works for both homemade and store-bought pie dough, making it accessible for everyone.
Key Ingredients and Tools Needed for Blind Baking Pie Crust
Gathering the right equipment and ingredients is the first step towards a perfectly blind-baked pie crust. Here’s what you’ll need:
- PIE CRUST: The star of the show! You can use your favorite homemade pie crust recipe (all-butter, shortening-based, or a combination) or a good quality store-bought refrigerated pie dough. Both work beautifully with this method.
- PIE PLATE: A standard 9-inch pie plate is ideal. Glass, ceramic, or metal pie plates all work well. Glass and ceramic plates retain heat effectively, helping the bottom crust crisp up, while metal plates conduct heat quickly for even baking.
- BLIND BAKING WEIGHTS: These are crucial for preventing the pie dough from puffing up or shrinking during baking.
- Dry Beans: My personal favorite! They are inexpensive, readily available, and can be reused many times specifically for blind baking.
- Pie Weights: Ceramic or metal pie weights are specifically designed for this purpose and are highly effective.
- Dry Rice: Another excellent household alternative. Like dry beans, it’s economical and works wonders.
- Granulated White Sugar: A lesser-known but effective option. Sugar conducts heat well and can help brown the crust evenly. The sugar will caramelize slightly but can often be reused for blind baking.
Note on Reusing Weights: If you use dry beans, rice, or sugar as weights, they will become extremely dry and hard during baking. Do not attempt to cook or consume them afterwards. Store them in a labeled container specifically for future blind baking use.
- PARCHMENT PAPER OR ALUMINUM FOIL: Essential for creating a barrier between your pie dough and the weights. This prevents the weights from sticking to or damaging the delicate crust and makes for easy removal.
How to Blind Bake Pie Crust: Step-by-Step Instructions
Follow these detailed steps to achieve a beautifully blind-baked pie crust every time:
1. Prepare and Fit the Dough into the Pie Plate
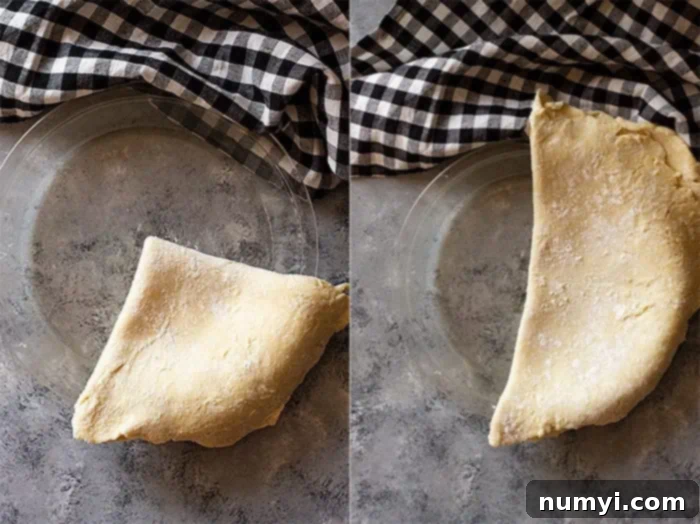
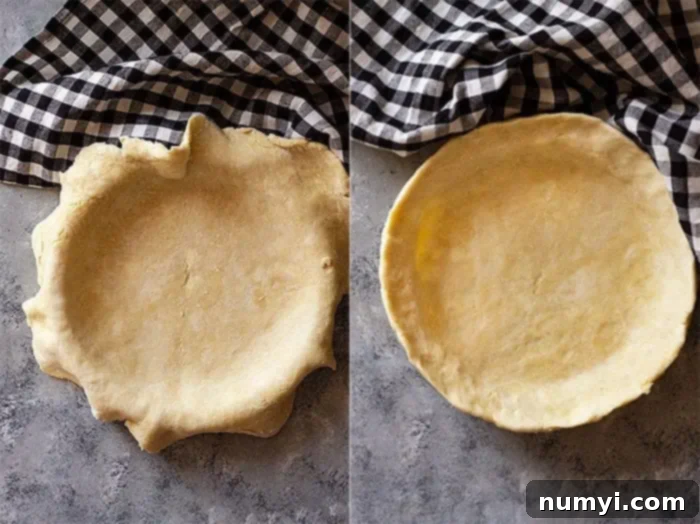
Begin by preparing your pie dough according to your chosen recipe’s directions. Once ready, roll out the dough into an even circle, typically about 12-13 inches in diameter for a 9-inch pie plate. Carefully transfer the rolled dough into your pie plate. This step is crucial: do not stretch the dough to fit the pan. Instead, gently lift and ease the dough into the plate, using your fingers to press it snugly against the bottom and sides, ensuring there are no trapped air pockets. Stretching the dough can cause it to shrink significantly during baking. Trim any excess dough, leaving about a 1/2-inch overhang, and crimp the edges as desired for a decorative finish.
2. Chill the Prepared Crust
Chilling is a non-negotiable step that prevents your pie crust from shrinking excessively in the oven. Place the pie plate with the fitted, crimped dough into the refrigerator for at least 30 minutes. If you’re using an all-butter pie crust, this chilling time allows the butter to firm up, creating steam during baking that results in a flaky crust. For shortening-based crusts, you might need a bit longer in the refrigerator or even 20 minutes in the freezer, as shortening doesn’t firm up as quickly as butter. A well-chilled crust holds its shape better and resists shrinkage.
3. Line the Crust with Parchment Paper or Foil
Once chilled, carefully line the inside of the raw pie crust with a sheet of parchment paper or aluminum foil. Make sure the paper or foil is large enough to extend up the sides and over the crimped edges of the pie plate. This protective layer prevents the pie weights from directly touching and potentially sticking to or marring your delicate crust, and also helps to shield the edges from burning prematurely.
4. Fill the Crust with Pie Weights
Now, fill the lined crust evenly with your chosen pie weights (dry beans, rice, dedicated pie weights, or sugar). It’s crucial to fill the crust to the very top, not just the bottom. This ensures that the weights distribute pressure uniformly across the bottom and, importantly, up the sides of the crust. This pressure prevents the crust from puffing up in the center and, more critically, supports the sides, stopping them from “slumping” down during baking and maintaining their beautiful crimped shape.
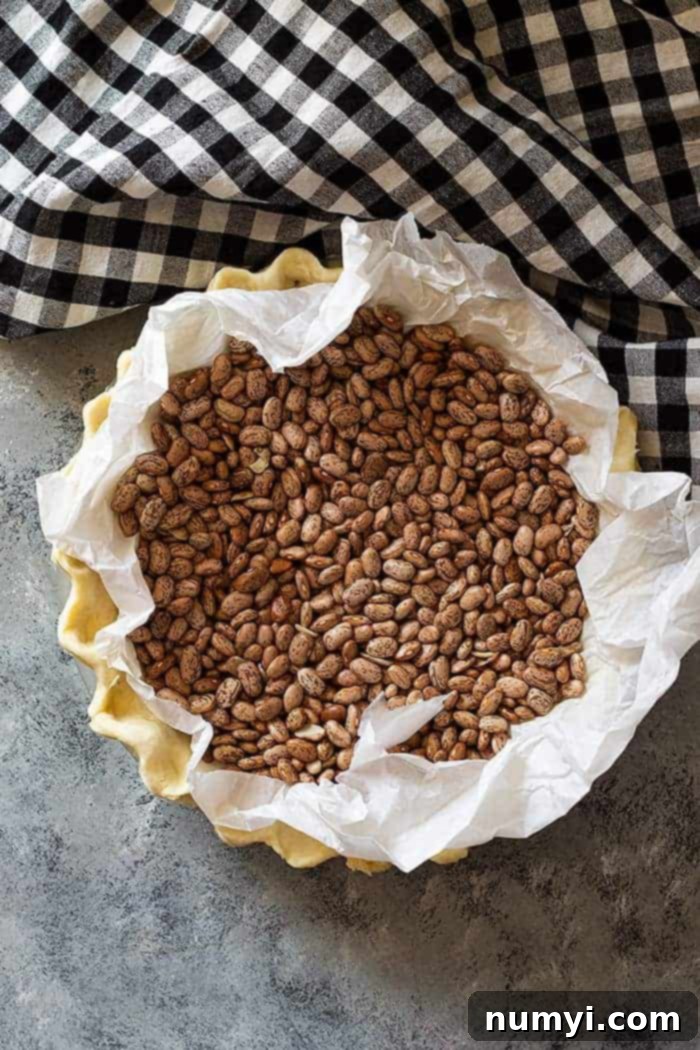
5. Initial Bake with Weights
Preheat your oven to 375°F (190°C). Place the pie plate, still filled with weights, onto a rimmed baking sheet. The baking sheet provides stability and catches any potential spills. Bake for 20 minutes. This initial bake helps to set the crust and begin the cooking process while holding its shape.
6. Remove Weights and Prick the Crust
Carefully remove the pie from the oven. Using the parchment paper or foil as a sling, gently lift out the weights and set them aside. Carefully peel away the parchment paper or foil. Now, take a fork and prick the bottom and sides of the pie crust all over. These small holes allow any steam trapped beneath the crust to escape during the final baking stage, preventing unsightly air pockets or bubbles from forming.
7. Final Bake (Partial or Full)
Return the pie crust, now without weights, to the preheated oven for the final bake. The duration will depend on whether you need a partially or fully baked crust:
- For a Partially Baked Crust (Par-Baked): Bake for an additional 7-10 minutes, or just until the crust begins to turn a very light golden color and looks dry and set. It should still be pale, but no longer raw. This is ideal for pies with fillings that will undergo further baking, like quiches or pumpkin pie.
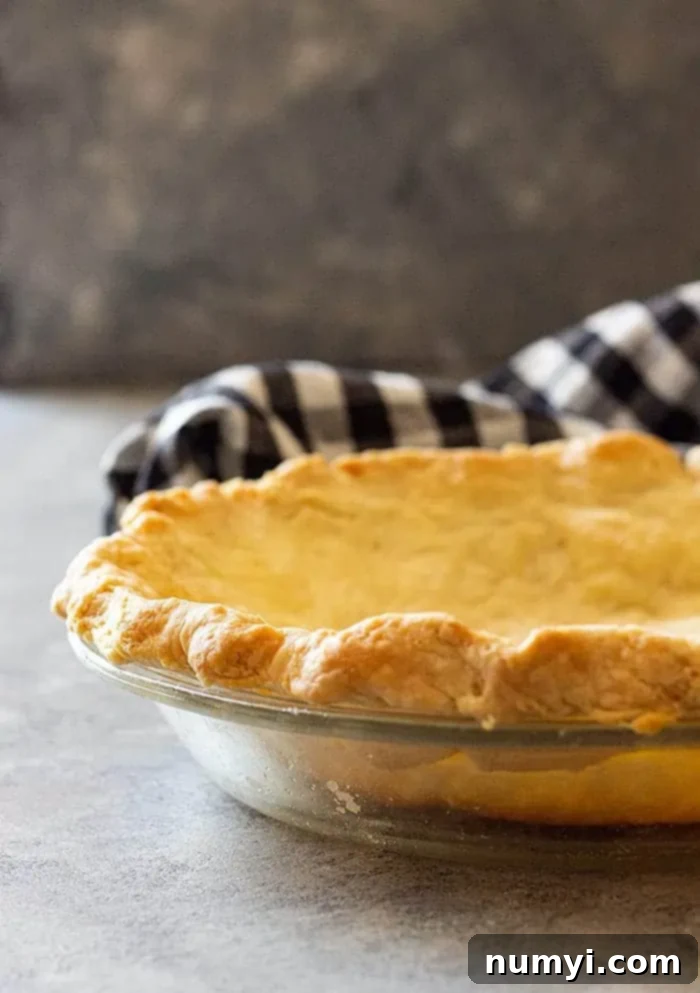
- For a Fully Baked Crust: Continue baking for 15-20 minutes, or until the crust is a beautiful deep golden brown all over, including the edges. This is necessary for pies with no-bake fillings, such as cream pies or fresh fruit tarts.
Once baked to your desired level, remove the pie crust from the oven and let it cool completely on a wire rack before adding your filling. This step is important; adding a cold filling to a warm crust can still lead to a soggy bottom!
Expert Tips to Prevent Pie Crust from Shrinking
Shrinking pie crusts can be frustrating, but with these tips, you can keep your crusts perfectly shaped:
- Chill the Dough Thoroughly: This is the most critical step. Cold fat (butter or shortening) in your dough is essential. When the dough is chilled, the fat is firm and melts slower in the oven, creating steam that puffs up layers and prevents shrinkage.
- For All-Butter Crusts: A minimum of 30 minutes in the refrigerator is usually sufficient. Some bakers even recommend an hour or freezing for 15-20 minutes for extra insurance.
- For Shortening or Combination Crusts: Shortening has a higher melting point than butter, but it’s also softer at room temperature. Allow for longer chilling times, often 45-60 minutes in the refrigerator, or a good 20-30 minutes in the freezer, to ensure it’s very firm.
- Don’t Stretch the Dough: When transferring and fitting the rolled-out dough into the pie plate, lift it carefully and ease it in. Stretching the dough to make it fit will cause it to snap back and shrink as it bakes.
- Fill with Enough Pie Weights: As mentioned in the steps, you must fill the crust almost to the top with pie weights. The weight from the beans, rice, or pie weights provides crucial support, preventing the sides from slumping down and the bottom from puffing up. For added insurance, you can even fill them to the very top edge.
- Crimp Firmly: When crimping your pie edges, ensure they are pressed firmly against the rim of the pie plate. This also helps to anchor the dough and reduce shrinkage.
- Dock the Crust (After Initial Bake): Pricking the bottom and sides with a fork after the initial bake (when weights are removed) helps release steam and prevents bubbles that can distort the crust’s shape.
Frequently Asked Questions About Blind Baking Pie Crust
Absolutely! While you don’t have to use beans specifically, you MUST use some kind of weight when you pre-bake pie crust. The purpose of these weights is twofold: first, they prevent the crust from puffing up excessively in the center due to steam, and second, they provide essential support to the sides, stopping them from slumping or shrinking down the pie plate. If you skip the weights, your crust is likely to bubble up unevenly, warp, and shrink into a messy shape – something no baker wants!
Keeping pie crust edges from burning is a common concern. The easiest and most effective method is to create a shield with aluminum foil. Once the edges begin to brown to your liking (typically during the last 10-15 minutes of baking, or if you notice them browning too quickly during the initial blind bake), simply loosely cover the crimped edges with a ring of aluminum foil. This will shield them from direct heat while allowing the rest of the crust to continue baking and achieve its perfect golden color. You can buy pre-made pie crust shields, or easily make your own from foil. Follow the recipe instructions carefully, and burning issues should be minimal, but a foil shield is a great backup!
Generally, no, it’s not necessary or recommended to egg wash your pie crust before blind baking. Blind baking is done with a plain, unfilled crust. Applying an egg wash at this stage can interfere with the crust’s ability to crisp up properly and might even make it less flaky. Save the egg wash for recipes where it’s applied to a filled pie for a beautiful golden sheen and extra crispness on top, or for the very end of a fully blind-baked crust if you desire an extra glossy finish just before filling.
Yes, absolutely! Dry beans, rice, or even granulated sugar used as pie weights can be reused many times. However, once they’ve been baked, their texture will be changed (very dry and hard), making them unsuitable for cooking or consumption. After baking, allow them to cool completely, then store them in an airtight container or a Ziploc bag clearly labeled “Pie Weights” so they are ready for your next blind baking project. This makes them an economical and sustainable choice.
For a partially baked crust, it should look dry, set, and lightly golden (or just beginning to brown). It will still be pale but should feel firm to the touch. For a fully baked crust, look for a uniform deep golden-brown color across the entire surface, including the edges and the very bottom. It should look crisp, smell toasty, and feel solid when gently tapped. If there are any pale, uncooked spots, especially on the bottom, it needs more time in the oven. Remember to cool it completely before adding any filling, especially if it’s a no-bake recipe.
More Delicious Pie Recipes To Try
Now that you’ve mastered the art of blind baking, it’s time to put your skills to good use! Explore these delightful pie recipes, many of which will benefit from a perfectly pre-baked crust:
- Fresh Strawberry Pie (often requires a fully baked crust)
- Traditional Pumpkin Pie (benefits from a partially baked crust)
- Peach Pie (a partially baked crust can prevent a soggy bottom with juicy fruit fillings)
- Peanut Butter Pie (typically needs a fully baked crust for its no-bake filling)
Thanks so much for reading this guide! I hope you feel empowered to create beautifully baked pies with perfect, flaky crusts every single time. Learning how to blind bake pie crust truly is a fundamental skill for any baker.
HUNGRY FOR MORE? Don’t miss out on new recipes and baking tips! Subscribe to my newsletter and follow along on Pinterest, Facebook, and Instagram for all my latest updates and delicious inspiration!
How to Blind Bake Pie Crust
Ingredients
- 1 homemade pie crust
Instructions
-
Prepare pie dough according to your recipe’s directions. Roll out and place in a pie plate. It is very important to make sure the pie dough is touching all sides of the pie plate and there are no air pockets. Be sure not to stretch the dough to fit the pan but rather lift the dough and use your hand to gently push into place. Crimp edges if desired.
-
Chill your pie crust for at least 30 minutes before baking. This step is very important as it helps the pie not shrink when baking, especially if you are using an all-butter pie crust recipe.
-
Line the crust with either parchment paper or aluminum foil. Make sure the paper or foil is large enough that it extends up the sides of the pie.
-
Fill the pie with pie weights, dry beans, rice, or even white sugar. Make sure the weights are distributed evenly across the bottom and up the sides. This ensures the crust holds its shape and doesn’t “slump” while baking.
-
Place the pie plate on a rimmed baking sheet. Place in a 375°F (190°C) pre-heated oven and bake for 20 minutes.
-
Remove from oven and lift the paper and the weights out of the pie and set aside. Prick the bottom and sides of the pie with a fork. This helps to prevent air pockets from forming.
-
Return to oven and bake for 7-10 minutes, or just until the crust begins to brown for a partially baked crust. For a fully baked crust, bake for 15-20 minutes or until golden brown.
Notes
- I recommend using my All Butter Pie Crust for the best results!
- You will not be able to use the rice or beans for other recipes after they’ve been baked. Just save them and label them specifically as “pie weights” for future blind baking.
Nutrition
