Easy Homemade Lemon Curd Recipe: Sweet, Tangy, and Velvety Smooth Perfection
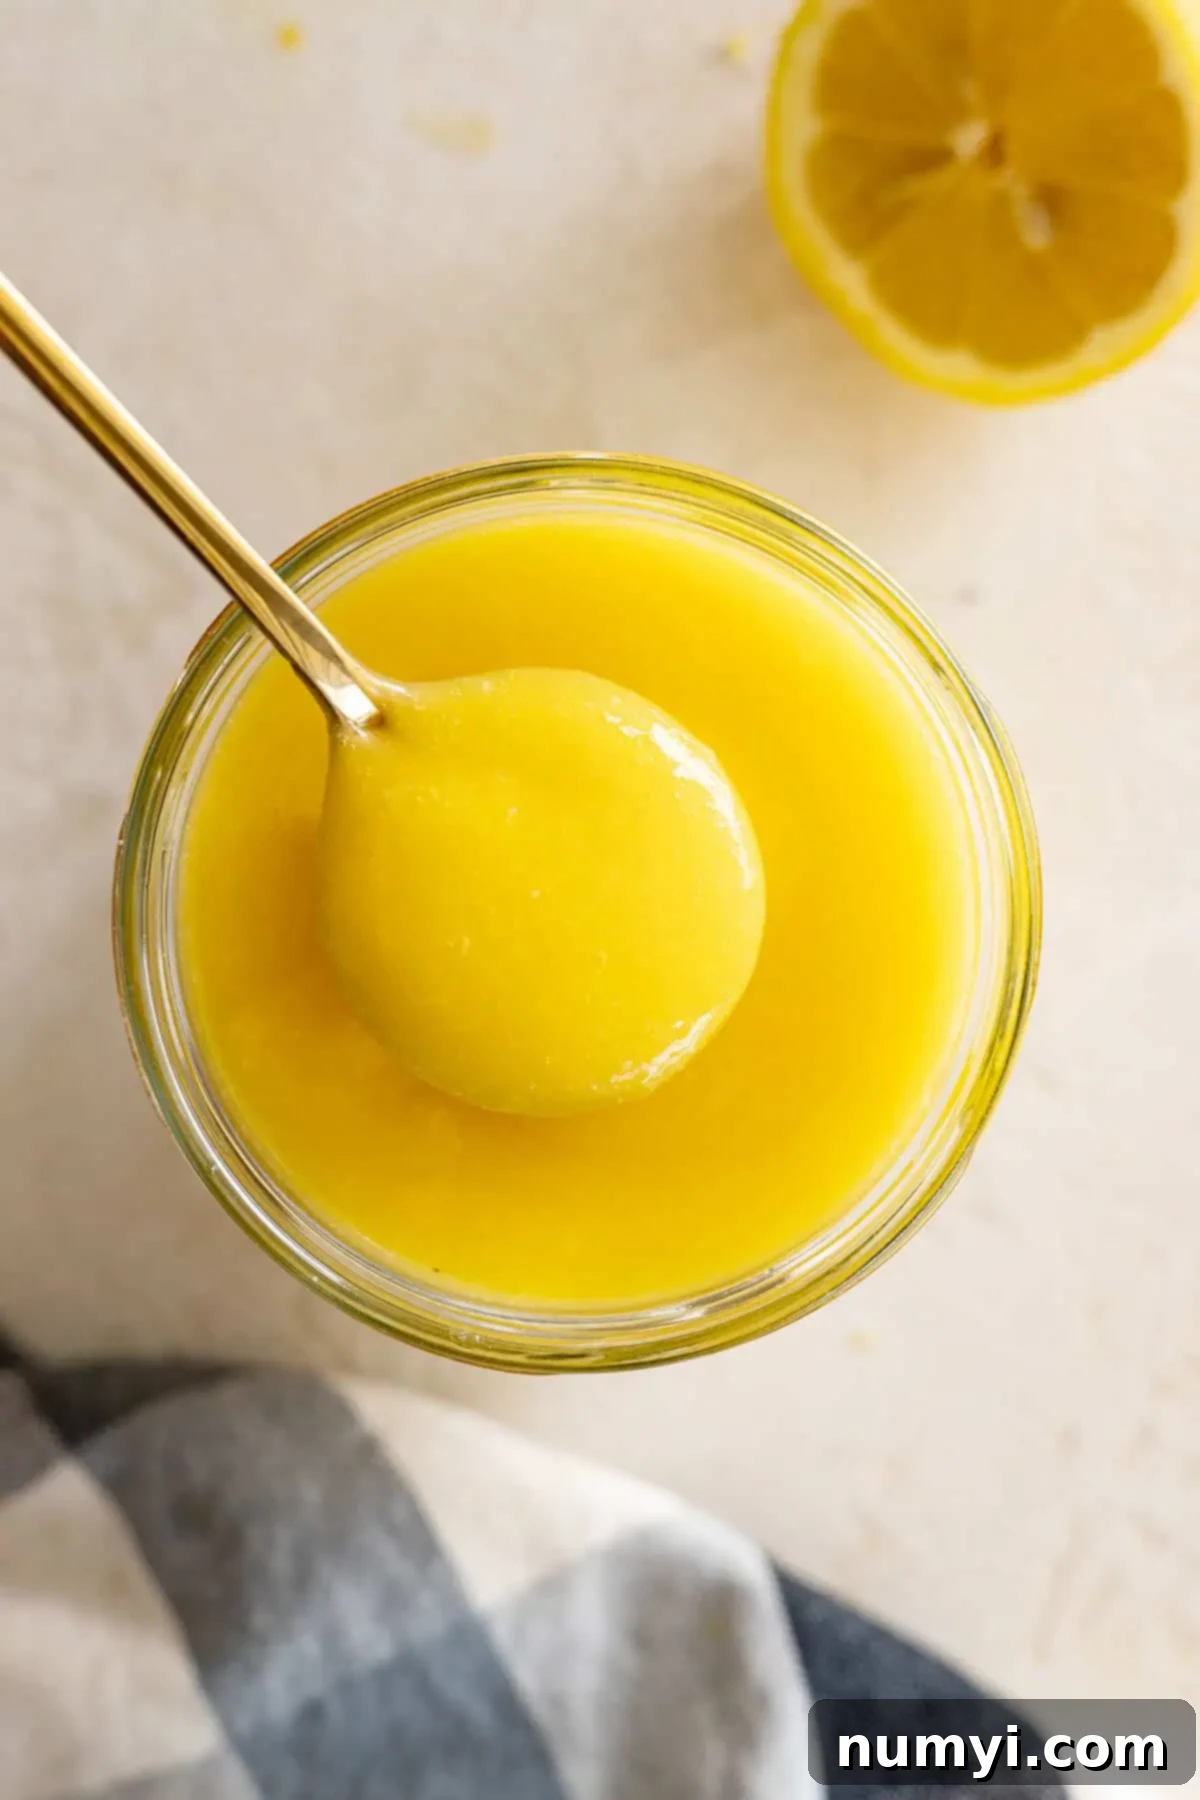
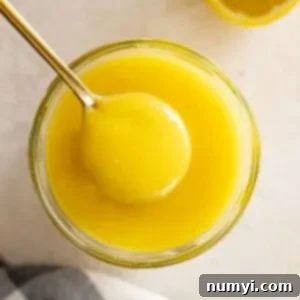
There’s nothing quite like the bright, zesty flavor of a truly perfect homemade lemon curd. It’s a delightful concoction that strikes an ideal balance between sweet and tangy, with a consistency that is incredibly velvety smooth. This lemon curd recipe is not only surprisingly simple and quick to make, but it’s also wonderfully versatile, ready to elevate everything from your morning toast to elegant cakes and pastries.
Originally published in 2016, this beloved recipe has been refreshed with new photos, a helpful video tutorial, updated success tips, and ideas for additional flavor variations to ensure you achieve the best possible results every time.
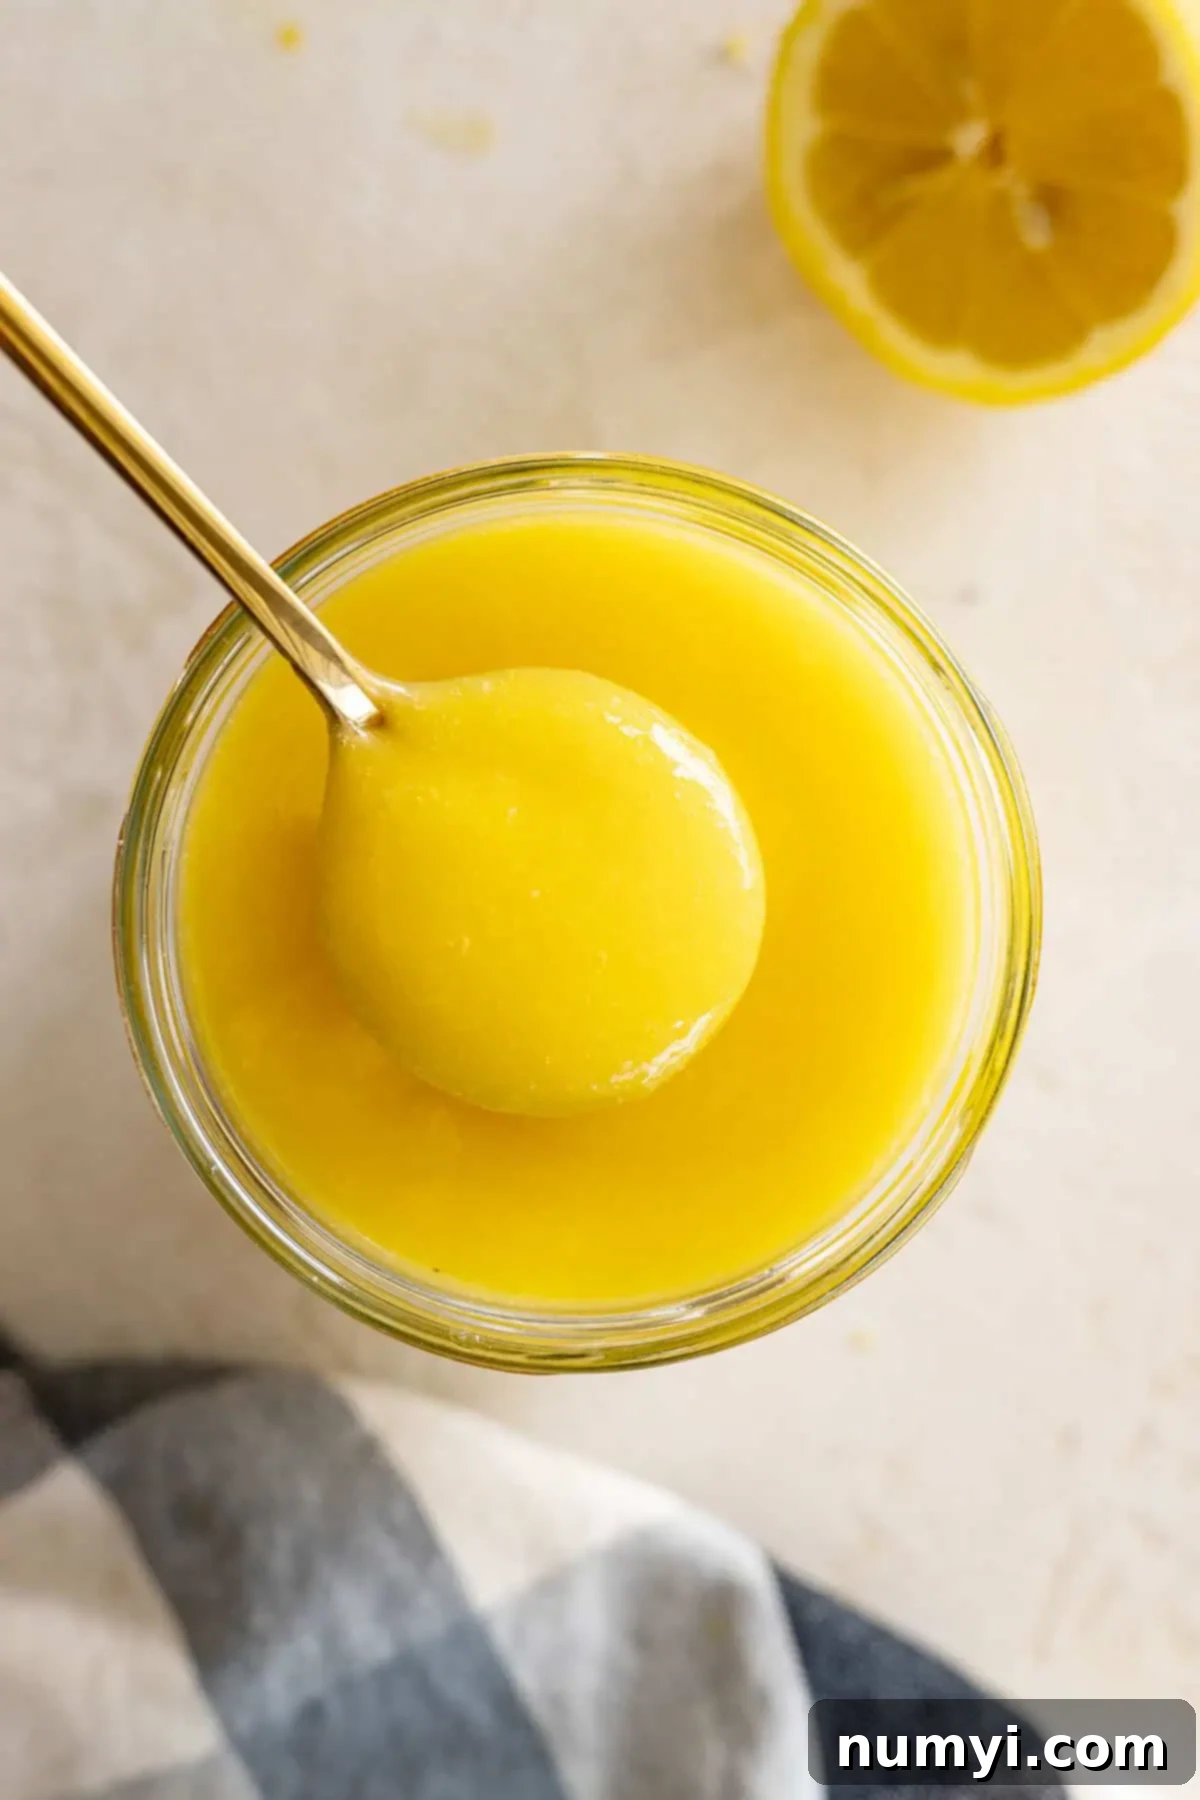
Why Homemade Lemon Curd is a Must-Try
While store-bought lemon curd can be convenient, making it from scratch offers an unparalleled experience. The vibrant flavor of fresh lemons, the rich texture from quality butter and eggs, and the ability to control the sweetness to your exact preference are just a few reasons to choose homemade. Plus, there are no artificial flavors or preservatives, just pure, wholesome goodness!
Essential Baking Tips for Perfect Lemon Curd
Achieving that luscious, silky smooth lemon curd is easier than you think, especially when you follow these crucial tips:
- Low and Slow is Key: Always cook your lemon curd over low heat. This gentle approach is vital to help prevent the eggs from curdling, ensuring a smooth texture.
- Whisk Continuously: Once all ingredients are in the saucepan, do not stop whisking. Consistent stirring prevents the eggs from settling and cooking too quickly at the bottom of the pan, which can lead to lumps.
- Use Fresh Lemons: For the most vibrant and authentic flavor, always use fresh lemons for both the juice and zest. Bottled lemon juice simply doesn’t compare.
- Cold Butter for Finishing: Adding cold butter at the end not only enriches the curd but also rapidly cools it down, stopping the cooking process and preventing over-thickening or further egg coagulation.
- Don’t Skip the Strainer: While optional, pushing the cooked curd through a fine-mesh strainer or sieve guarantees an incredibly satiny smooth finish, removing any tiny bits of zest or cooked egg particles.
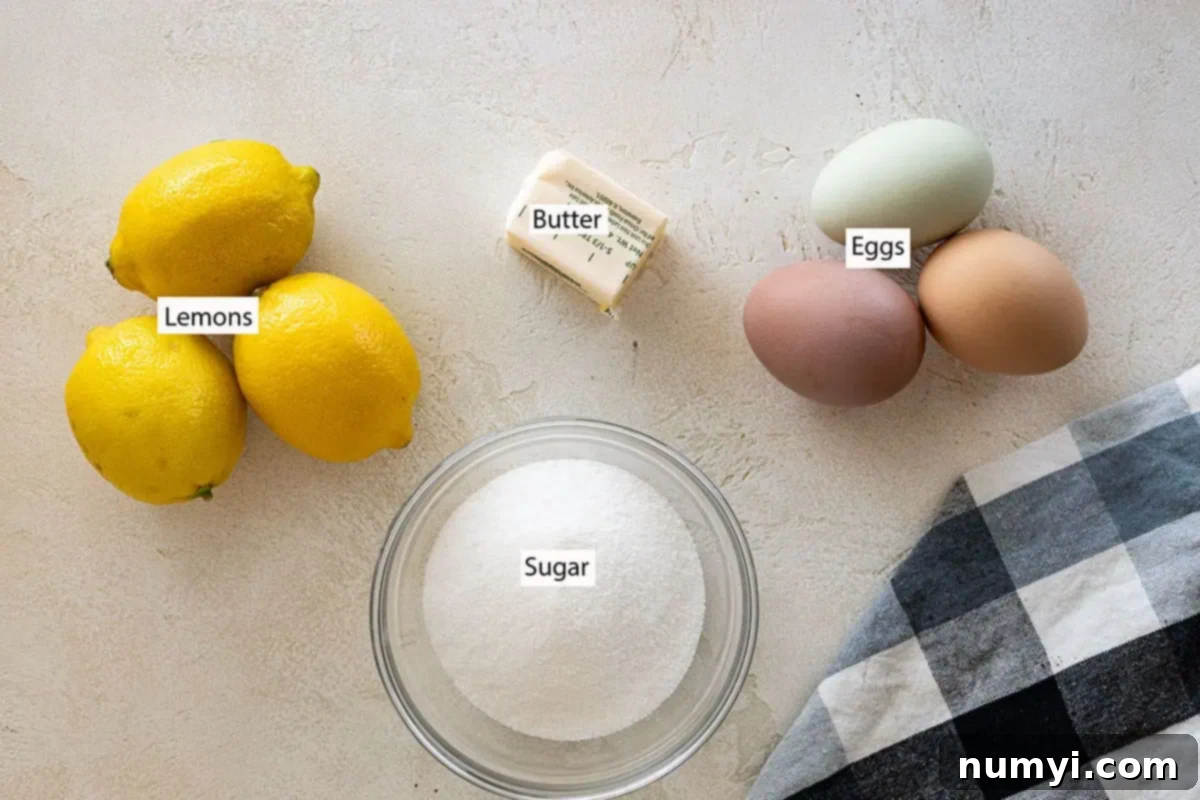
How to Make Simple Lemon Curd: A Step-by-Step Guide
You’ll be delighted by how quickly this incredible lemon curd comes together! The process is incredibly straightforward, requiring just a few common kitchen ingredients and minimal effort. Here’s how to make it:
Preparing Your Ingredients
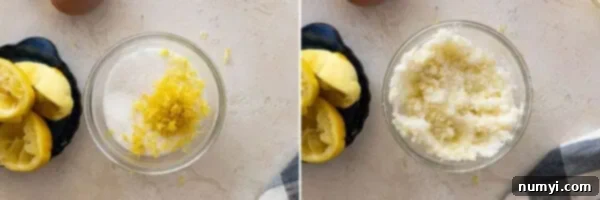
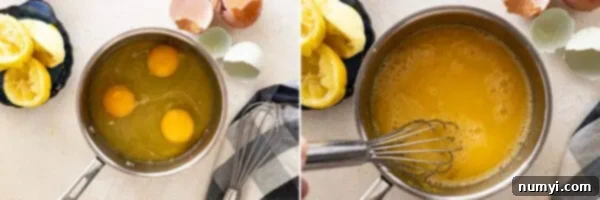
Start by zesting one lemon. This is a crucial step for infusing maximum lemon flavor. Place the zest in your saucepan with the sugar. Take a moment to gently rub the lemon zest into the sugar with your fingers. This simple technique releases the essential oils from the zest, deepening the lemon aroma and taste of your finished curd. Then, add the fresh lemon juice, whole eggs, and the extra egg yolk to the pan. The additional yolk contributes to a richer color and a creamier, more luxurious texture.
Cooking the Curd
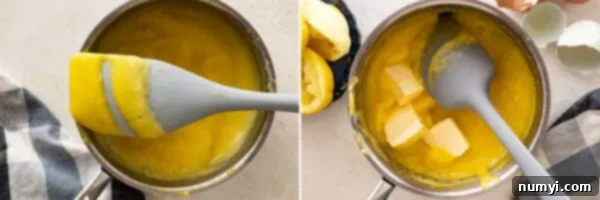
Place your saucepan over low heat. It’s tempting to rush, but patience here will reward you with a perfect curd. Begin whisking all the ingredients together continuously. This constant motion prevents lumps and ensures even cooking. You’ll notice the mixture gradually thickening. Continue whisking until the curd coats the back of a spoon and you can draw a clear line with your finger. It should be thick enough to hold its shape but still pourable. Be careful not to boil it, as this can cause the eggs to scramble.
Finishing and Perfecting the Texture
As soon as the curd reaches the desired thickness, immediately remove it from the heat. Add the cold butter and continue whisking until it’s fully melted and incorporated. The cold butter helps to cool the curd quickly, stopping the cooking process and preventing it from becoming too thick or grainy. For an exceptionally smooth and satiny finish, pour the warm lemon curd through a fine-mesh strainer or sieve into an airtight container. This step removes any tiny bits of zest or small cooked egg particles, leaving you with a perfectly silken curd.
Your homemade lemon curd will continue to thicken as it cools. Once cooled, seal the container and refrigerate it. Now, for the best part – ENJOY!
Troubleshooting Common Lemon Curd Issues
Even with the simplest recipes, sometimes things don’t go exactly as planned. Here are solutions to common lemon curd dilemmas:
- Curdled Eggs: If you notice small lumps of cooked egg, don’t despair! This usually happens if the heat was too high or you stopped whisking. Immediately remove the pan from heat and push the curd through a fine-mesh strainer. For more severe curdling, you can try blending it with an immersion blender or a regular blender until smooth, then strain.
- Curd is Too Thin: If your curd isn’t thickening, it likely hasn’t cooked long enough. Return it to low heat and continue whisking constantly. It will thicken as it heats. Remember, it will also thicken further as it cools in the refrigerator.
- Curd is Too Thick: If your curd becomes too thick after cooling, you can gently warm it in a double boiler over low heat and whisk in a tablespoon or two of milk or cream until it reaches your desired consistency.
Storage and Shelf Life
Proper storage is essential to keep your homemade lemon curd fresh and delicious. Once cooled, transfer the curd to an airtight container, such as a glass jar with a tight-fitting lid. It will keep beautifully in the refrigerator for up to two weeks. For longer storage, lemon curd is also freezer-friendly! Pour it into a freezer-safe container, leaving a little headspace, and freeze for up to four months. Thaw in the refrigerator before using.
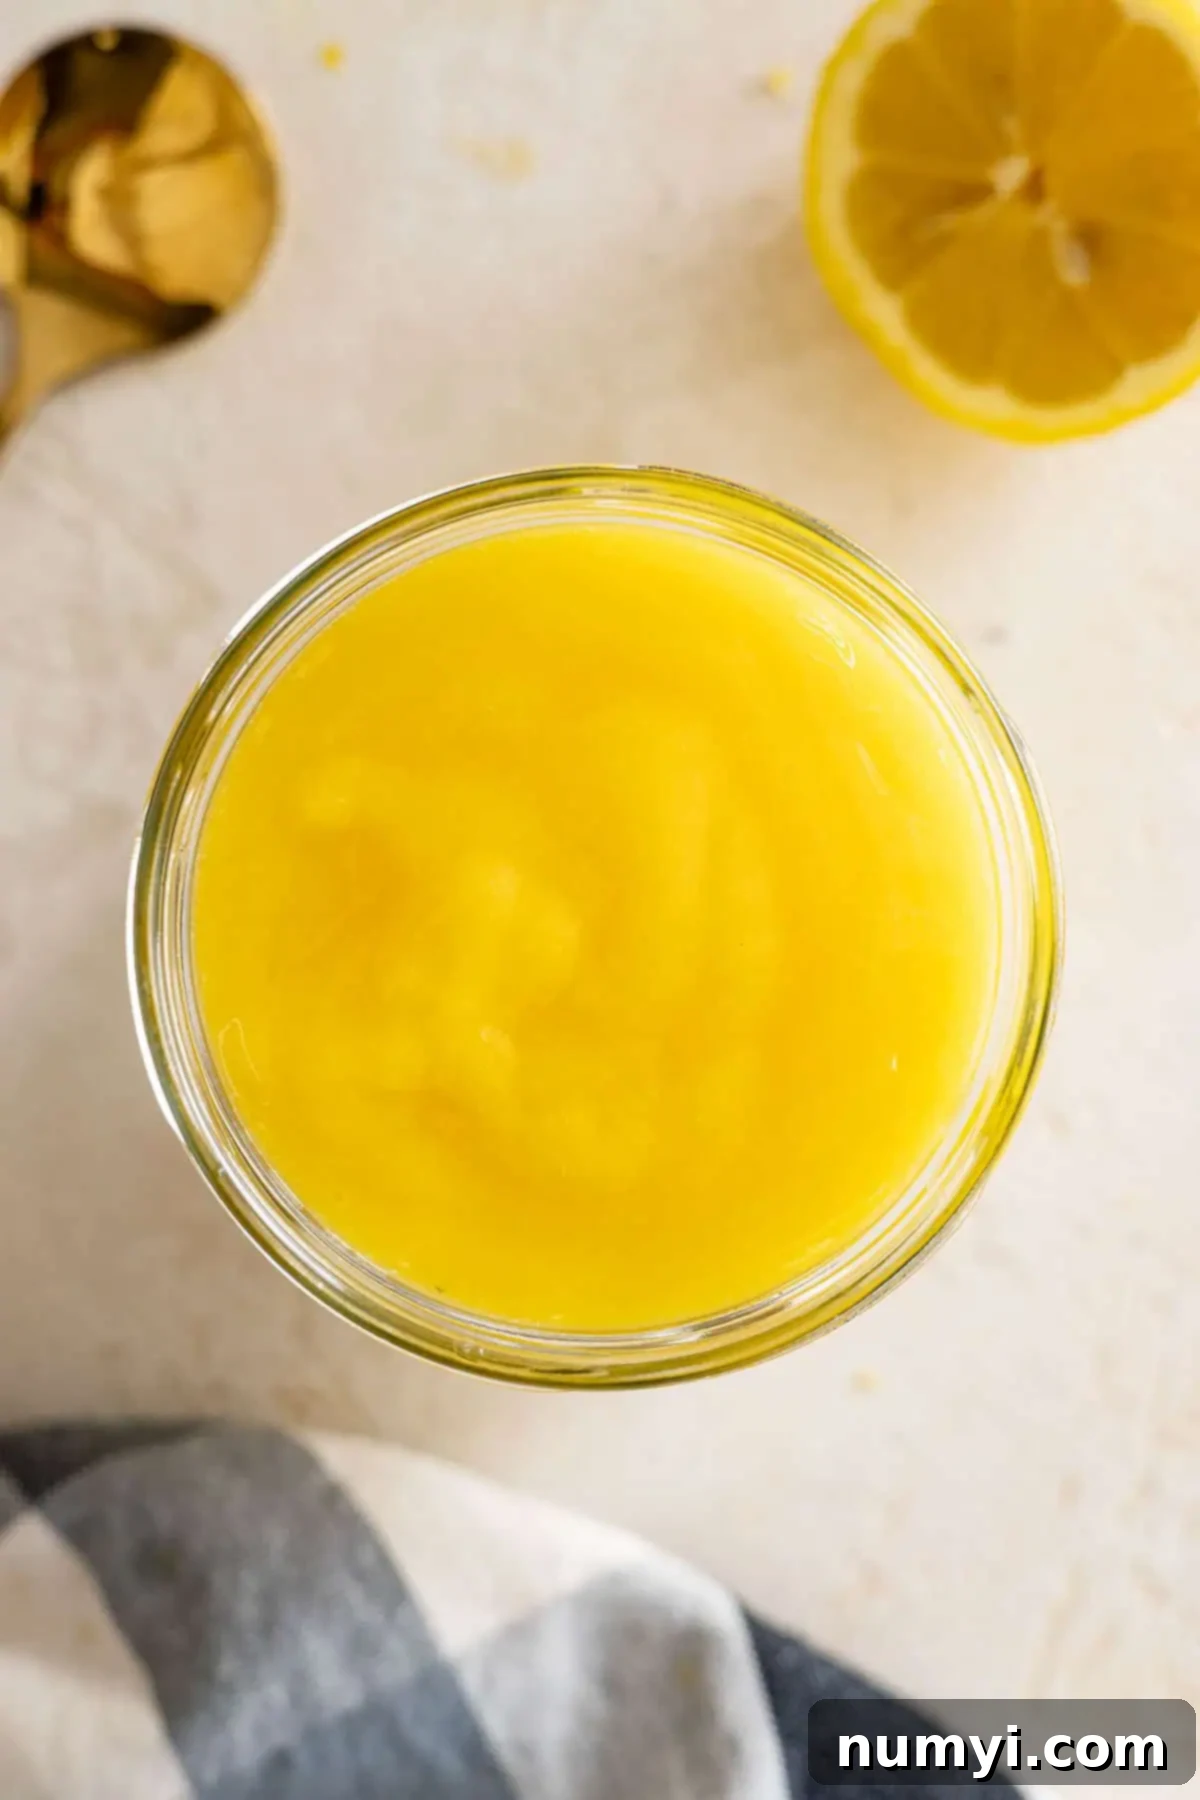
Incredible Uses for Your Homemade Lemon Curd
The versatility of homemade lemon curd is truly one of its greatest assets. There are simply SO many delightful ways to enjoy this bright and luscious treat. You can opt for something as effortlessly simple as spreading it on a piece of hot toast, or go as involved as incorporating it as a vibrant layer in a magnificent three-tier cake. Personally, I confess to enjoying it straight from the jar with a spoon – it’s just that good!
Breakfast and Brunch Delights
Elevate your morning meals with a dollop of this sunny curd. If you’re looking to incorporate it into a breakfast or brunch spread, consider serving it alongside a fluffy Blueberry Dutch Baby, which is always a guaranteed hit with family and friends. For a truly lemon-infused experience, pair your curd with lemon ricotta pancakes – the combination is absolutely divine!
- Scones: A classic pairing, perfect for afternoon tea.
- Toast or English Muffins: Simple, yet utterly satisfying.
- Waffles or French Toast: A vibrant alternative to syrup.
- Yogurt or Oatmeal: Stir a spoonful into your morning bowl for a zesty twist.
Divine Dessert Applications
Lemon curd shines brightest in desserts, adding a burst of fresh flavor and luxurious texture.
- Cake Filling: Use it as a layer between sponge cakes, like this lemon blueberry cheesecake crescent roll recipe, or in a classic lemon layer cake. (And yes, they are as incredible as they sound!)
- Tart or Pie Filling: It makes an exquisite filling for mini tarts or a larger lemon meringue pie.
- Cupcake Topping or Filling: Swirl it into frosting or pipe it directly into the center of cupcakes.
- Cookie Sandwiches: Spread it between shortbread or sugar cookies. You could even double up on lemon by putting your curd on lemon cheesecake bars.
- Ice Cream or Pavlova: A generous spoon of curd over vanilla ice cream or a crisp pavlova is pure bliss.
- Parfaits or Trifles: Layer it with whipped cream, berries, and cake or cookie pieces for an elegant dessert.
Don’t want an additional recipe in the mix? Go ahead and slather it on a scone, toast, English muffin, or ice cream. You could even top your oatmeal with it along with a selection of berries (blueberries go wonderfully with lemon if you couldn’t tell). It doesn’t have to be complicated to be yummy.
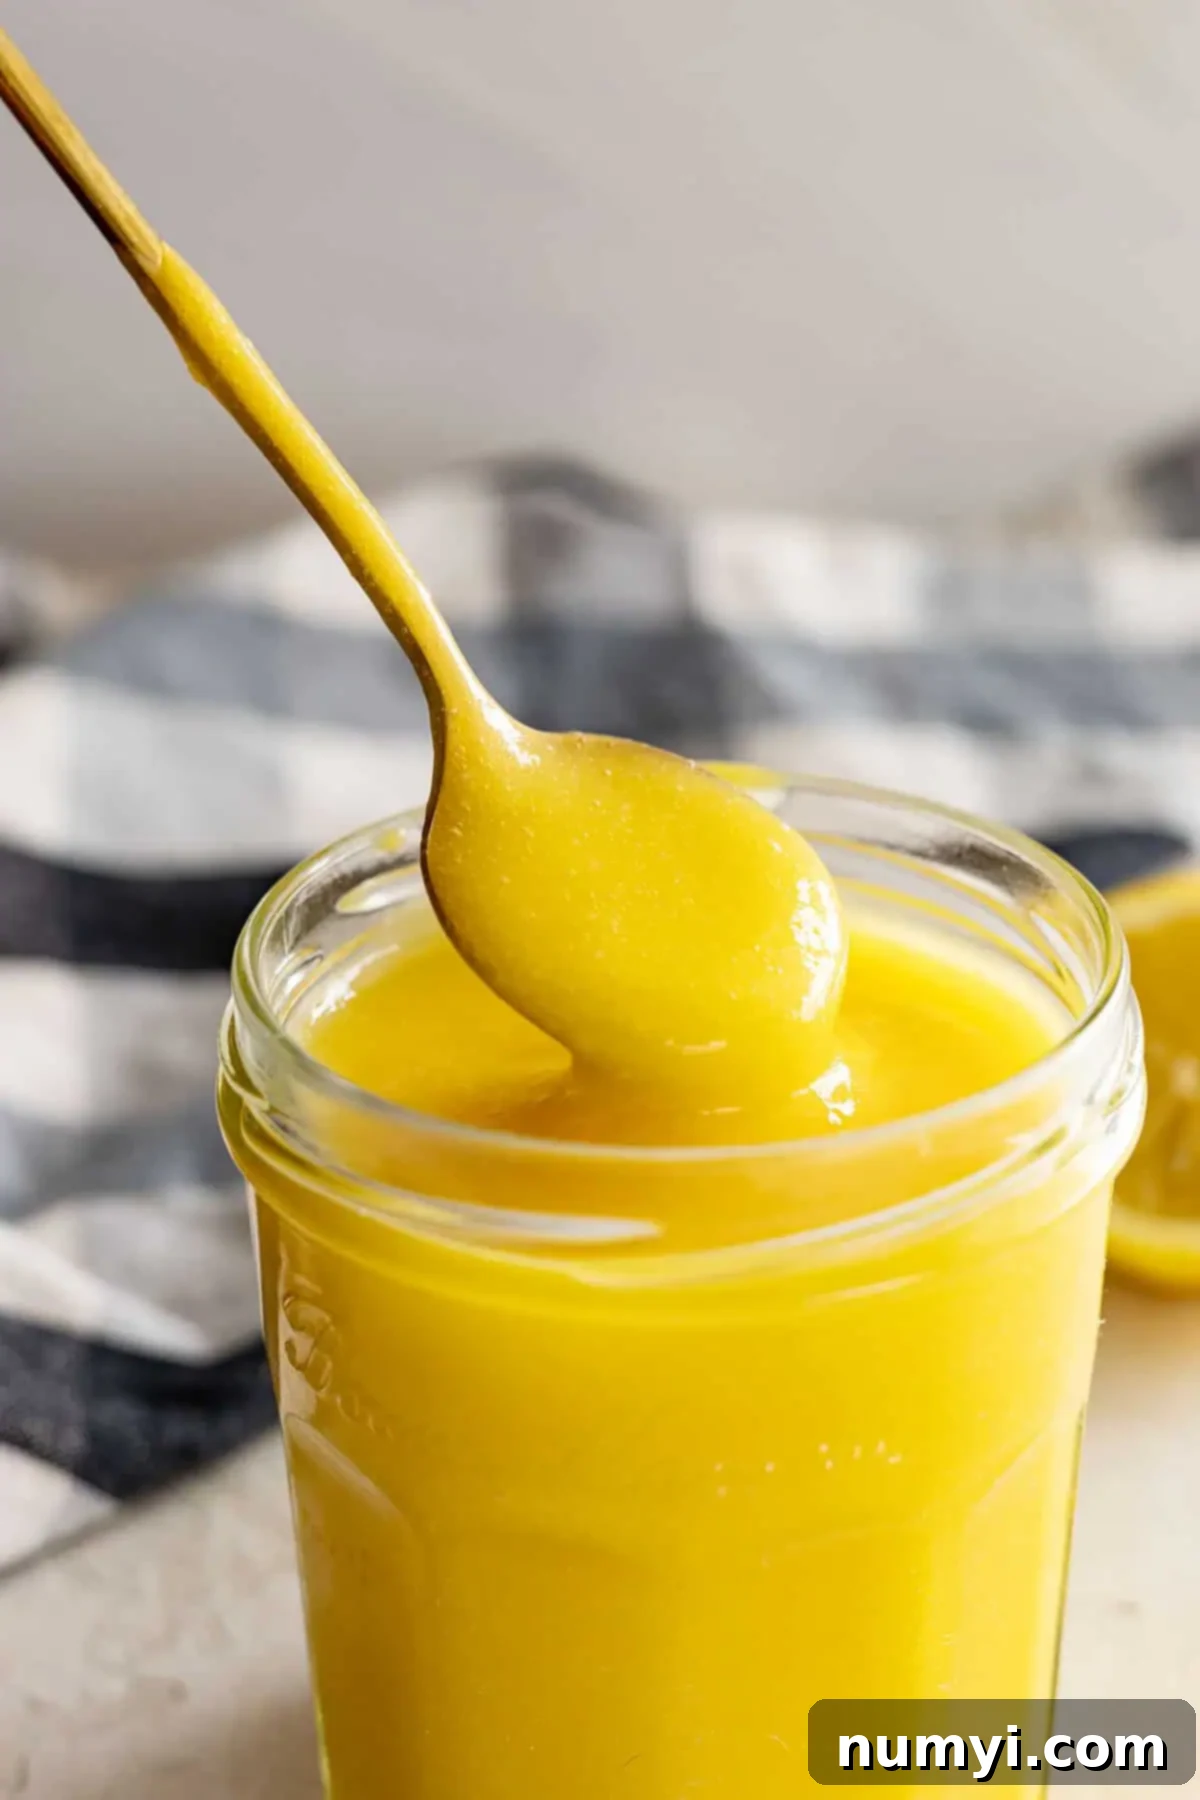
Craving More Lemon? Explore These Recipes!
If you’re as big a fan of lemon as we are, here are some other fantastic lemon-flavored treats to try:
- Classic Lemon Bars: A timeless favorite with a bright, tart filling.
- A Lemon Blueberry Poke Cake: Combining the refreshing flavors of lemon and sweet blueberries in a moist cake.
- Decadent Lemon Cheesecake Cookies: A delightful blend of tangy lemon and creamy cheesecake.
The Perfect Homemade Lemon Curd Recipe
Ready to make your own? Here’s the full recipe, designed for ease and delicious results.
The Perfect Homemade Lemon Curd
Ingredients
- Zest of 1 lemon
- ½ cup (105g) sugar
- ½ cup (120ml) fresh lemon juice
- 2 large eggs
- 1 egg yolk
- 3 tablespoons butter
Instructions
-
Zest one lemon and add to the sugar. Rub the zest with the sugar to release the oils. This step will add a lot of lemon flavor to the curd.Zest of 1 lemon, ½ cup (105g) sugar

-
Add the zest and sugar mixture to a medium saucepan along with the lemon juice, eggs, and egg yolk. Whisk together until combined.½ cup (120ml) fresh lemon juice, 2 large eggs, 1 egg yolk

-
Cook over low heat, whisking constantly just until the mixture starts to thicken. Immediately remove from the heat and stir in the butter until melted. Pour through a mesh strainer or sieve. This step will remove the zest along with any little chunks that may have formed while cooking, ensuring a smooth curd.3 tablespoons butter

-
Pour into an airtight container and store in the refrigerator for up to 2 weeks.
Notes
- FREEZER-FRIENDLY: Freeze in a freezer-safe container for up to 4 months.
- Do not use bottled lemon juice.
- Use salted butter if desired. Adds a nice touch!
- NUTRITION: Since different brands of ingredients have different nutritional information, the information shown is just an estimate. This website is not intended as nutritional advice, or a diet or health plan. Readers of this website are ultimately responsible for all decisions pertaining to their health.
Nutrition
Calories: 49kcal |
Carbohydrates: 6g |
Protein: 1g |
Fat: 2g |
Saturated Fat: 1g |
Polyunsaturated Fat: 0.2g |
Monounsaturated Fat: 1g |
Trans Fat: 0.1g |
Cholesterol: 33mg |
Sodium: 8mg |
Potassium: 15mg |
Fiber: 0.02g |
Sugar: 6g |
Vitamin A: 93IU |
Vitamin C: 2mg |
Calcium: 5mg |
Iron: 0.1mg
