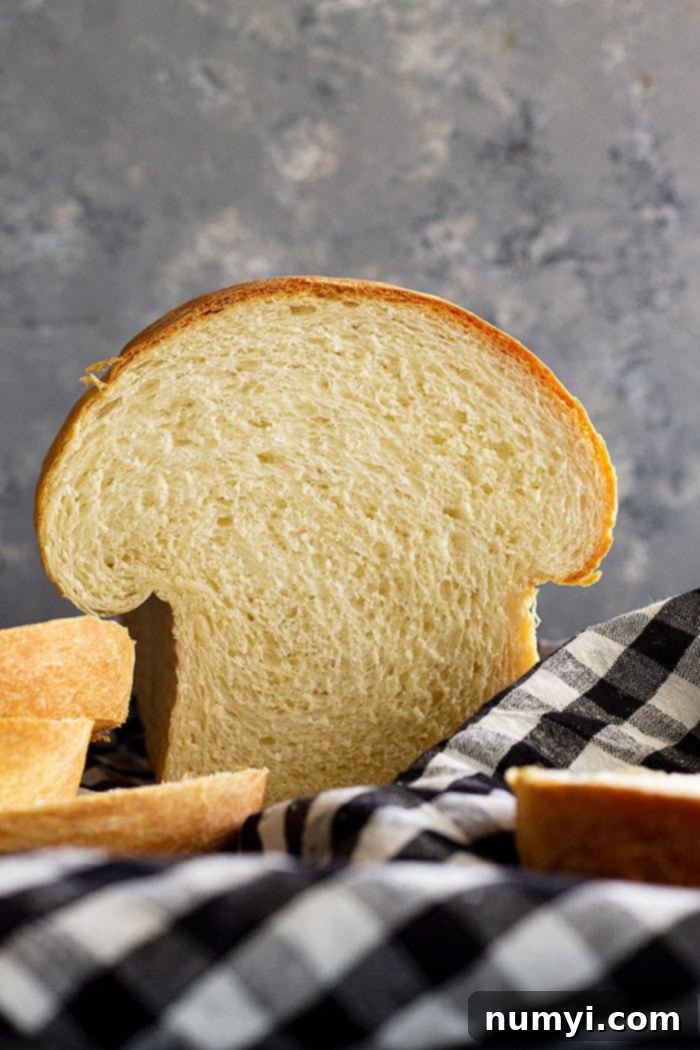
Homemade Soft White Sandwich Bread: Your Easy Recipe for Fluffy Loaves
Imagine the aroma of freshly baked bread filling your kitchen, the soft, fluffy texture, and the incredible taste that only homemade can deliver. This incredibly easy soft white sandwich bread recipe is a staple you’ll want to keep on hand! It’s absolutely perfect for everything from daily toast and hearty sandwiches to decadent French toast.
There’s nothing quite like the warmth and comfort of homemade bread. It’s a simple pleasure that elevates any meal, and my family agrees – a fresh loaf rarely lasts more than a day in our house! While we love adventurous bakes like this Easy Banana Bread (a kid favorite!) or the savory notes of Rosemary Parmesan Bread for Italian night, and this Cinnamon Swirl Bread for amazing French toast, sometimes you just crave the classic.
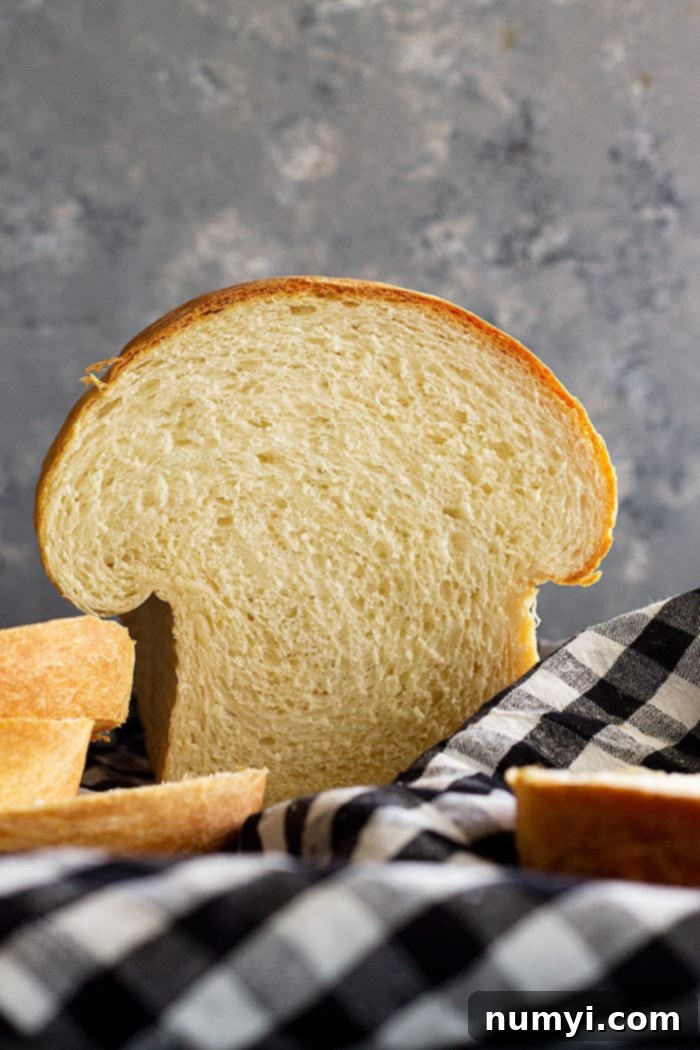
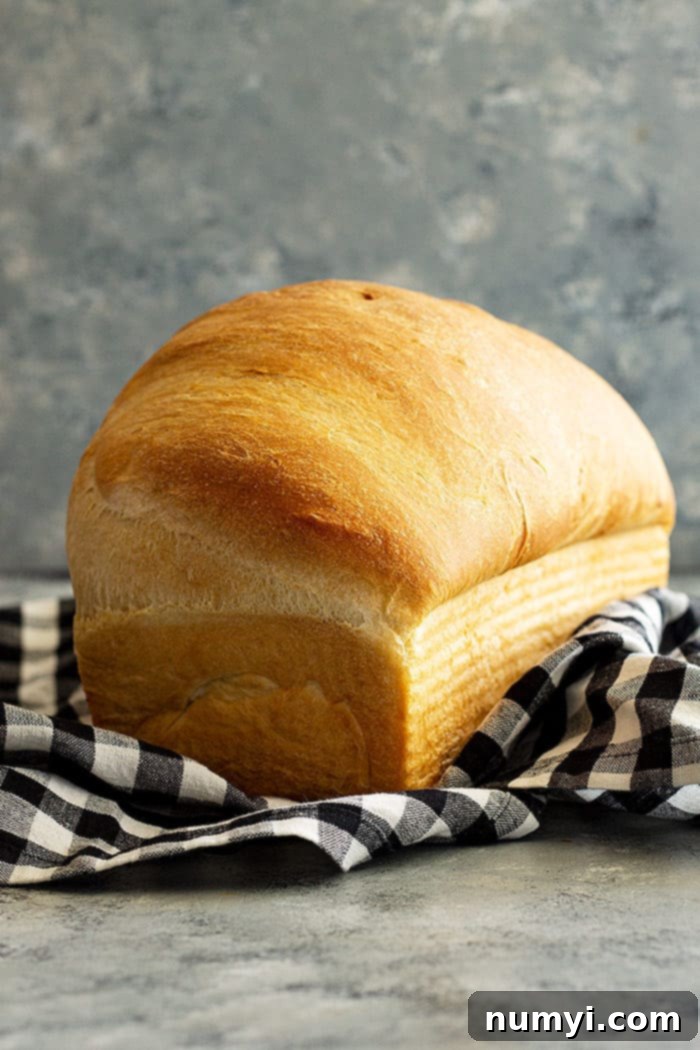
If you’ve been searching for a reliable, no-fuss white bread recipe that produces consistently delicious results, your search ends here. This recipe uses basic pantry staples – no obscure or hard-to-find ingredients needed. It’s truly a beginner-friendly bread that yields a soft, tall, and perfectly golden loaf every time.
Having this recipe in your culinary toolkit is incredibly practical. Whether you’ve run out of store-bought bread or simply want to impress your family and friends with a warm, homemade treat, this recipe delivers. It’s ideal for those moments when you need a loaf of bread and a quick trip to the grocery store isn’t an option. The satisfaction of pulling a golden-brown loaf from your own oven is unparalleled, and the taste is far superior to anything you’ll find on supermarket shelves. This soft white sandwich bread isn’t just a recipe; it’s a comforting household essential.
Key Steps to Making Homemade White Sandwich Bread
Making delicious homemade bread might seem daunting, but this recipe breaks it down into simple, manageable steps. Here’s a quick overview of the process to guide you:
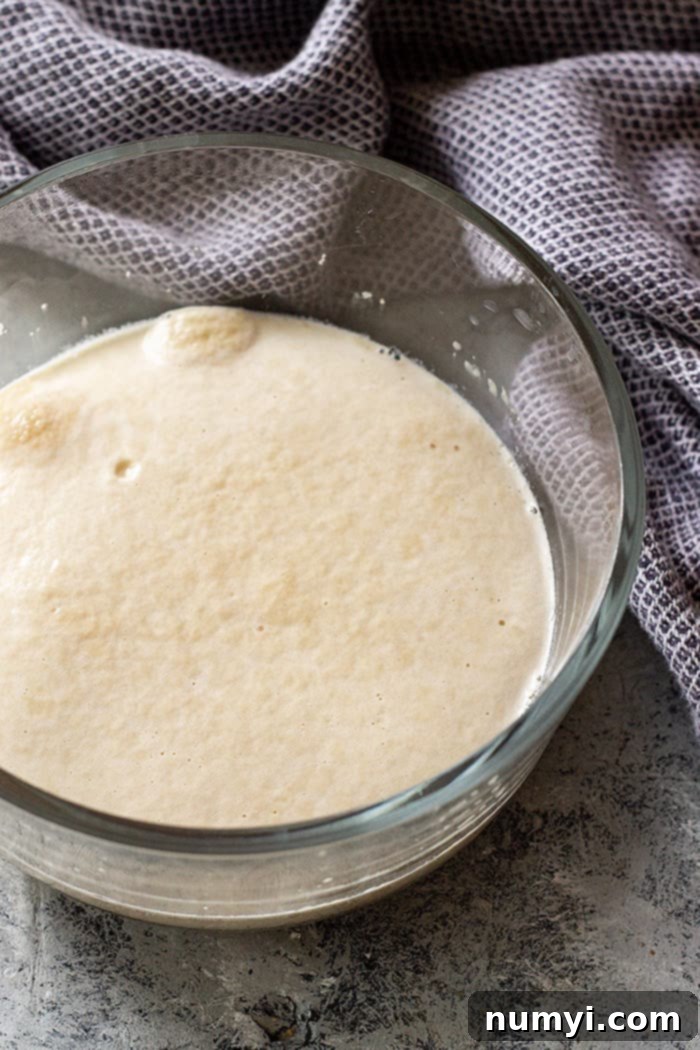
- Activate the Yeast. This initial step is vital. It acts as a litmus test for your yeast, ensuring it’s alive and ready to make your bread rise. Combine warm milk, yeast, and a touch of sugar. Within 5-10 minutes, the mixture should become visibly foamy and bubbly, indicating active yeast. If it doesn’t foam, your yeast is likely expired, and you’ll need to start with a fresh batch. (Refer to the image above to see what properly activated yeast looks like!)
- Prepare the Dough. Once your yeast is active, you’ll add the remaining ingredients. This dough can be mixed using a stand mixer with a dough hook, which makes the process incredibly easy, or by hand for a more hands-on experience. The goal is to combine everything until a cohesive dough forms.
- Knead for Gluten Development. Kneading is where the magic happens! It develops the gluten in the flour, which is essential for giving the bread its structure, elasticity, and that signature soft, chewy texture. With a stand mixer on low speed, this typically takes about 10 minutes. If you’re kneading dough by hand, it will take a bit longer – usually 15-20 minutes – until the dough is smooth, elastic, and passes the “windowpane test.” (This means you can stretch a small piece of dough thin enough to see light through it without it tearing).
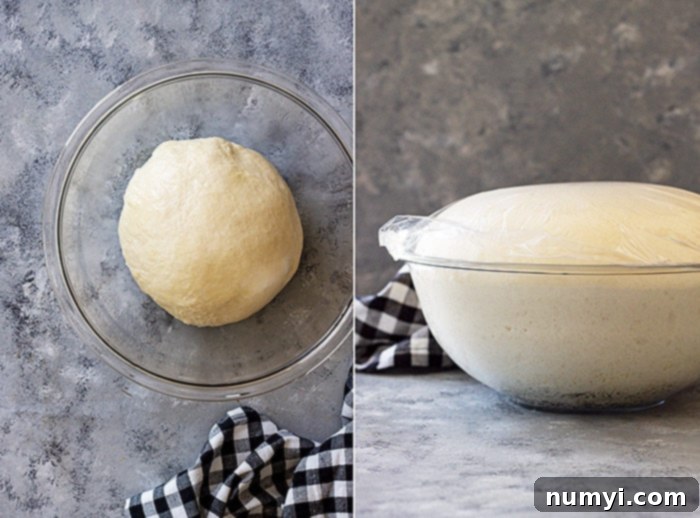
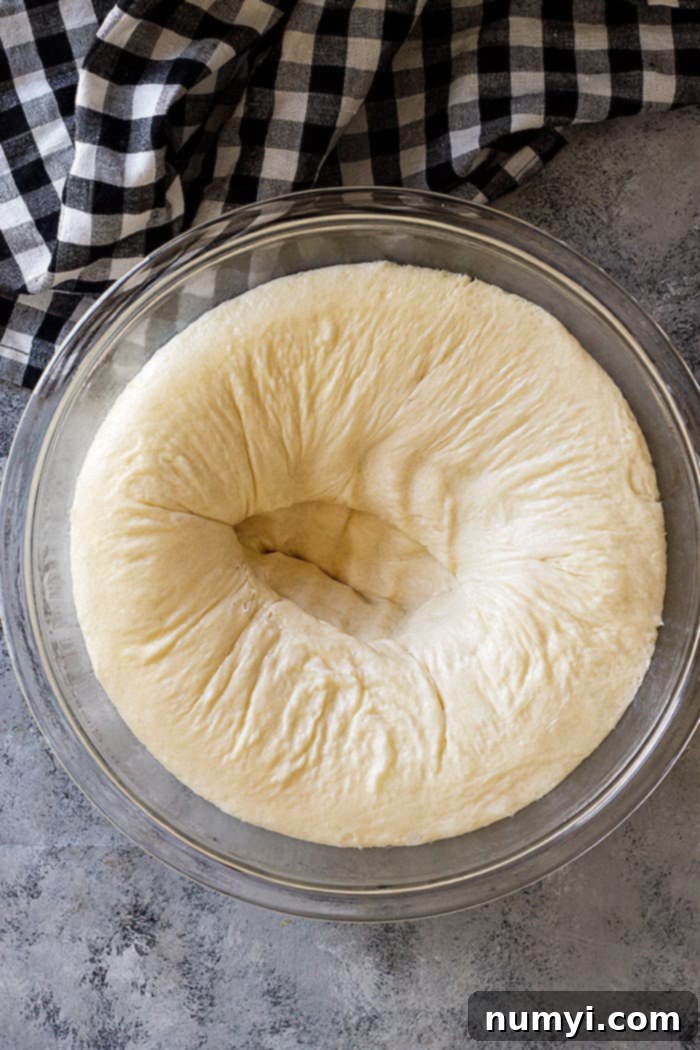
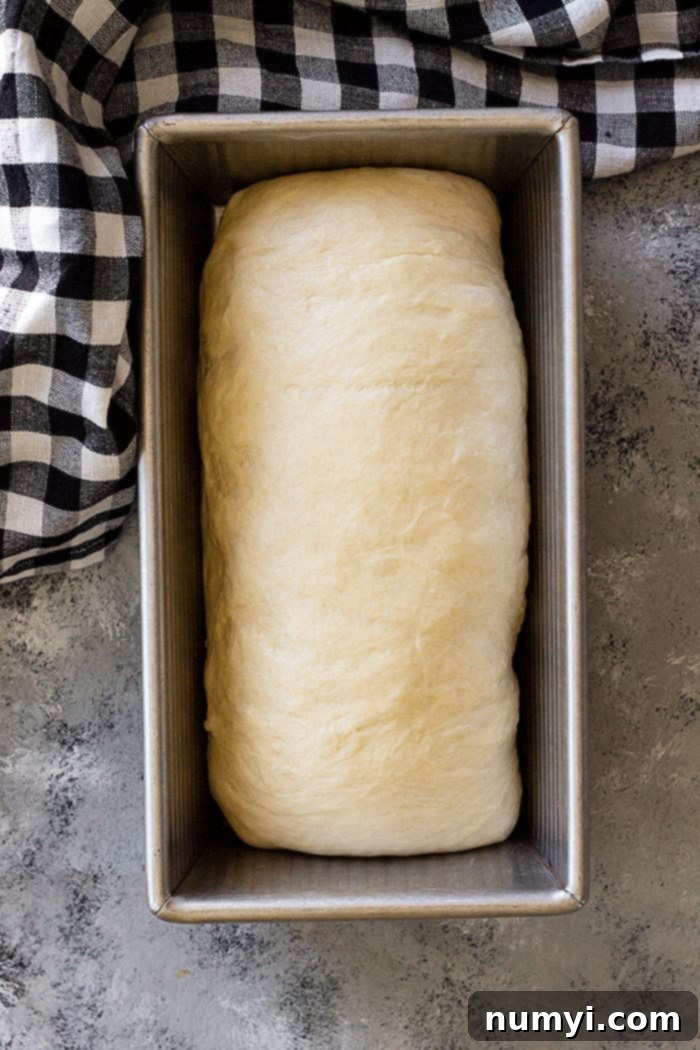
- Allow for Two Rises. This recipe involves two proofing stages. The first rise, also known as bulk fermentation, happens after kneading. The dough rests in a warm place until it doubles in size, allowing flavors to develop and the yeast to do its primary work. The second rise occurs after you’ve shaped the dough into a loaf and placed it in the baking pan, preparing it for its final expansion in the oven.
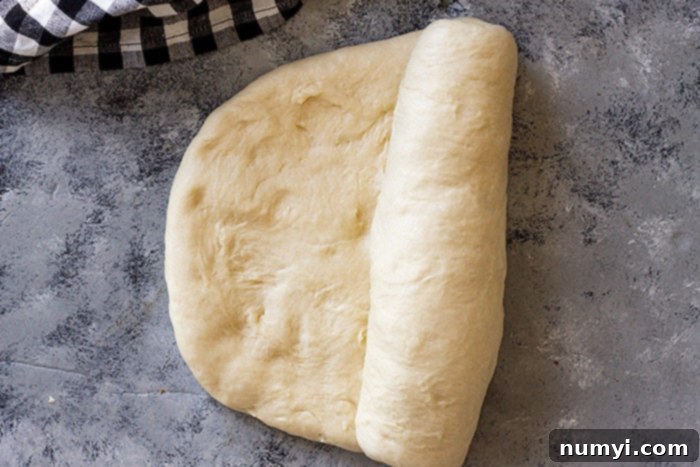
- Punch Down and Shape. After the first rise, gently “punch down” the dough to release the accumulated gases. This step helps create an even texture and prepares the dough for shaping. Then, expertly shape the dough into a neat loaf, ready for its pan.
- Bake to Golden Perfection! The final step is baking your beautiful loaf. The oven’s heat will cause a final “oven spring” (a rapid rise) and transform your dough into a golden, aromatic loaf of bread.
Understanding the Ingredients for Soft White Sandwich Bread
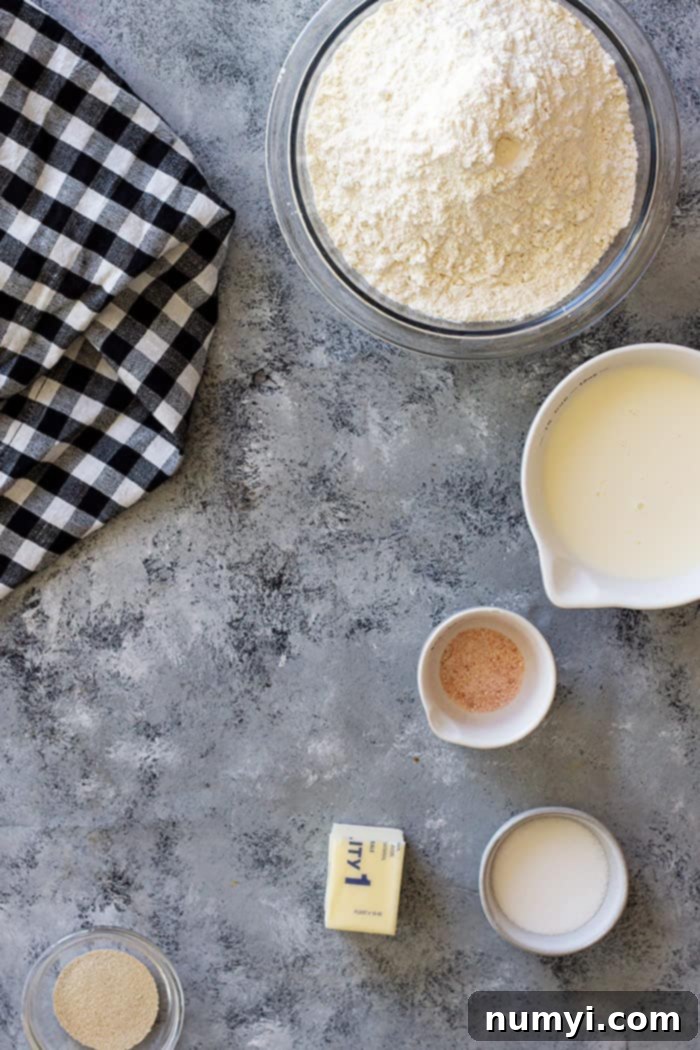
Every ingredient in this recipe plays a crucial role in achieving that perfect soft, fluffy texture and delicious flavor. Here’s a deeper look:
- Milk: Warm liquid is essential to hydrate and dissolve the yeast, allowing it to become active. I specifically use milk in this recipe because the fats and sugars present in milk contribute significantly to the bread’s incredible softness and a slightly richer flavor. It also helps achieve a beautifully golden crust. While water can be substituted, milk will undeniably yield a more tender crumb.
- Yeast: The star of the show! Yeast is a living microorganism that ferments sugars in the dough, producing carbon dioxide gas which causes the bread to rise. This recipe is adaptable for both active dry yeast and instant or rapid-rise yeast. If using active dry, it typically requires a bit more time to proof (or rise) compared to instant yeast, but both will result in a fantastic loaf. Always ensure your yeast is fresh and active for successful baking.
- Sugar: More than just a sweetener, sugar is the primary food source for the yeast, accelerating its growth and activity. Beyond feeding the yeast, sugar enhances the flavor profile of the bread, contributes to the beautiful golden-brown color of the crust during baking, and significantly improves the crumb’s texture, making it more tender. While you can reduce or omit sugar if preferred, expect a longer rise time and a slightly different crust color. Honey can also be used as a delicious alternative.
- Salt: Often underestimated, salt is a critical ingredient in yeast baking. While sugar feeds the yeast, salt acts as a regulator, controlling the yeast’s activity and preventing it from over-fermenting. This steady, controlled rise is what helps develop the distinct, complex flavors of homemade bread and strengthens the gluten structure. Without salt, bread can taste bland and have an uncontrolled, overly airy texture.
- Butter: This ingredient is key to achieving that rich flavor and incredibly tender crumb. Butter adds a luscious richness to the dough and helps to keep the bread soft and moist for longer. Using softened butter ensures it incorporates smoothly into the dough.
- Flour: The foundation of our bread. I highly recommend using bread flour for this recipe. Its higher protein content (compared to all-purpose flour) leads to stronger gluten development, which results in a more structured, chewier, and taller loaf. However, if you don’t have bread flour on hand, all-purpose flour can be used as a substitute. Just be aware that the final loaf might be slightly less chewy and rise a little less dramatically.
Frequently Asked Questions About Baking Homemade White Bread
Can I use a bread machine for this recipe?
Absolutely! This recipe adapts beautifully to a bread machine. Simply add the ingredients in the order recommended by your bread machine’s manufacturer, typically liquids first, then dry ingredients, with the yeast on top. Select the “Basic” or “White Bread” cycle, and let your machine do the hard work!
Can bread dough be made ahead?
Yes, making the dough ahead is a fantastic time-saving trick and can even enhance the flavor of your bread! After you have kneaded the dough until it’s smooth and elastic, lightly grease a bowl and place the dough inside. Cover it tightly with plastic wrap to prevent a skin from forming, and then place it in the refrigerator for up to 15 hours. The cold temperature will significantly slow down the yeast activity, allowing for a long, slow fermentation that develops more complex flavors. When you’re ready to bake, remove the dough from the refrigerator and let it come to room temperature (this usually takes about 2 hours, depending on your kitchen’s warmth) before proceeding with the shaping, second rise, and baking steps as directed in the recipe.

Can I freeze bread dough?
Freezing bread dough is a brilliant way to have homemade bread whenever a craving strikes! There are a couple of ways to do this:
Freezing Unbaked Dough: Let the dough complete its first rise. After it has doubled in size, punch the dough down and shape it into a loaf. You can then freeze it in a disposable bread pan or wrap it tightly in a freezer-safe ziploc bag, ensuring all air is removed. It can be frozen for up to 3 months. To use, remove the dough from the freezer and thaw it completely at room temperature (this typically takes about 4-5 hours). Once thawed, allow it to complete its second rise in the pan as directed in the recipe, then bake.
Freezing Baked Loaves: For even quicker access to fresh bread, you can bake the loaf completely, allow it to cool entirely, and then wrap it very tightly in plastic wrap (and optionally foil) before freezing for up to 3 months. To enjoy, simply thaw at room temperature, or warm gently in the oven for that “freshly baked” experience!
Tips for Baking the Perfect Loaf
- Measure Accurately: Especially with flour, precise measurements make a big difference. Use a kitchen scale for the most accurate results, or the “spoon and level” method if using measuring cups (spoon flour into the cup, then level off with a straight edge).
- Don’t Rush the Rise: Give your dough the time it needs to double in size. A warm, draft-free spot is ideal for proofing. In cooler environments, you can place the covered bowl in a slightly warm (but turned off) oven or microwave.
- Check for Doneness: Beyond the golden-brown color, a perfectly baked loaf will sound hollow when tapped on the bottom. An instant-read thermometer inserted into the center of the loaf should read between 190-200°F (88-93°C).
- Cool Completely: Resist the urge to slice into your warm bread immediately! Allowing the loaf to cool completely on a wire rack is crucial. This lets the internal structure set, preventing a gummy texture and ensuring clean slices.
Serving Suggestions for Your Homemade White Bread
This soft white sandwich bread is incredibly versatile. Here are a few ideas to enjoy your freshly baked loaf:
- Classic Sandwiches: From simple ham and cheese to elaborate deli creations, this bread is the perfect foundation.
- Perfect Toast: Top with butter, jam, avocado, or a fried egg for a comforting breakfast.
- Grilled Cheese: The tender crumb and slight sweetness make for an unbelievably gooey and delicious grilled cheese.
- French Toast: Slice thickly, dip in an egg custard, and fry until golden. A true breakfast indulgence!
- Homemade Croutons: Cube stale bread, toss with olive oil and seasonings, then bake until crispy for salads and soups.
- Bread Pudding: Transform leftover bread into a delicious dessert with a rich custard.
- Savory Bread Puddings or Stuffing: Excellent for holiday meals or comforting side dishes.

This recipe is more than just a list of ingredients; it’s an invitation to bring the comforting aroma and unparalleled taste of homemade bread into your home. With simple steps and readily available ingredients, you’ll be baking soft, fluffy white sandwich bread that will become a cherished family favorite. Happy baking!
HUNGRY FOR MORE? Subscribe to my newsletter and follow along on Pinterest, Facebook, and Instagram for all my latest updates!
Soft White Sandwich Bread

Ingredients
- 1¼ cup (295ml) warm milk (about 110°F)
- 1½ teaspoons active dry yeast (or instant or rapid rise)
- 2 tablespoons sugar
- 3 tablespoons butter, softened
- 1 teaspoon salt
- 3 cups (420g) bread flour
Instructions
-
Whisk together the milk, yeast, and sugar in the bowl of your stand mixer and let stand for 5 minutes or until mixture is foamy.
-
Add remaining ingredients and stir to combine then switch to the dough hook. Knead on low speed (speed 1 or 2) for about 10 minutes or until the dough is smooth and elastic. Lightly grease a bowl and place dough in the bowl to rise. Cover loosely with plastic wrap. Let rise in a warm area until doubled in size.
-
Grease a 9×5 loaf pan and set aside.
-
Punch the dough down and turn out onto a work surface. Don’t add flour at this point. Knead the dough a few times to remove any trapped air bubbles and roll into a small rectangle. Roll the dough and pinch the seam to seal. Place in prepared pan.
-
Cover loosely with plastic wrap and let rise in a warm area until almost doubled in size. Bake in a 350°F oven for 30 minutes or until golden brown and sounds hollow when you tap on it. Allow bread several minutes before slicing.
Notes
- Storage: Store completely cooled bread tightly wrapped in plastic wrap at room tempurature for up to 5 days or in the refrigerator for up to 10 days.
- Make-Ahead: After you have kneaded the dough place in a lightly greased bowl and cover tightly with plastic wrap. Place in the refrigerator for up to 15 hours. Remove from the refrigerator and allow the dough to come to room temperature (about 2 hours) before continuing with the recipe.
- Freezer Friendly: Let the dough rise 1 time then punch the dough down and shape into a loaf. Freeze in a disposable bread pan or in a ziploc bag. Freeze for up to 3 months. To use remove from freezer and thaw completely at room temperature (about 4-5 hours) then bake as directed. Or freeze completely cooled loaves by wrapping tightly in plastic wrap and freeze for up to 3 months.
- Nutrition facts: Since different brands of ingredients have different nutritional information, the information shown is just an estimate.
Nutrition
