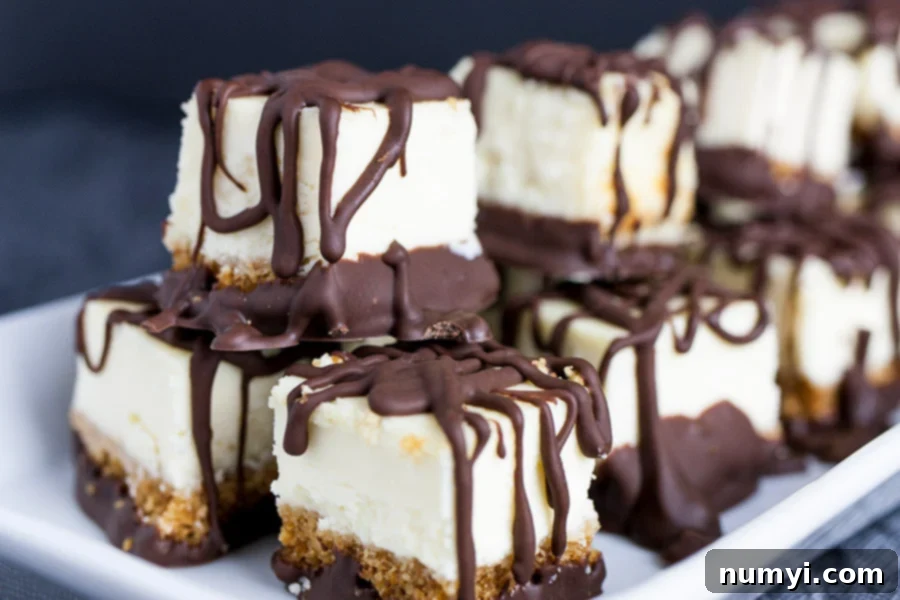
Irresistible Chocolate Covered Cheesecake Bites: The Ultimate Make-Ahead Party Dessert
Prepare to delight your guests with the most captivating dessert bites they’ve ever tasted! These Chocolate Covered Cheesecake Bites are the epitome of simple elegance and pure indulgence, making them the ultimate party finger food. Imagine a cool, creamy, and rich mini cheesecake, perfectly portioned, and generously drizzled with decadent chocolate. Each bite is a little piece of heaven, promising a luxurious experience without the fuss of a full-sized cheesecake.
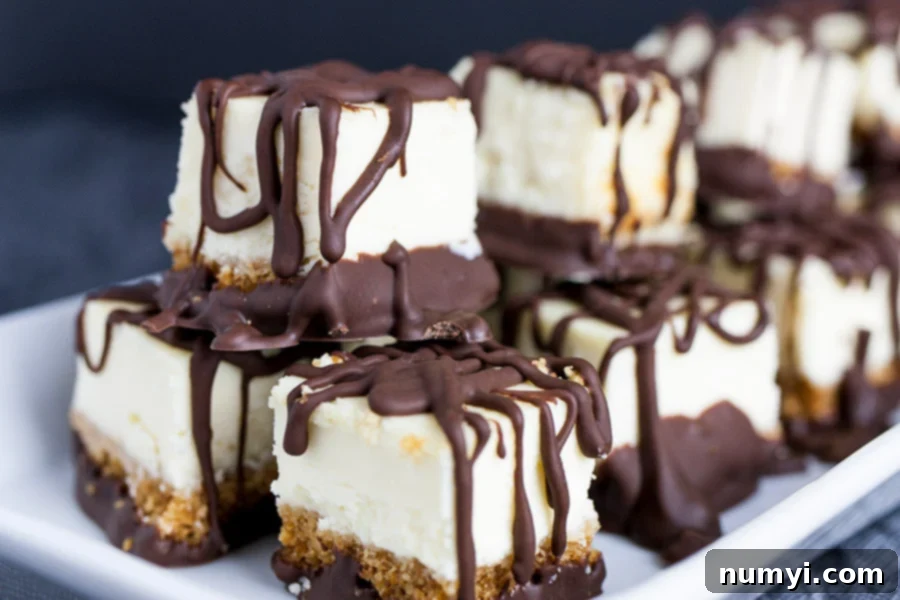
Whether you’re planning a casual barbecue, a festive holiday gathering, or an elegant dinner party, these cheesecake bites are always a hit. Their versatile appeal makes them suitable for any occasion, and the best part? They are incredibly budget-friendly and simple to prepare right in your own kitchen. Forget store-bought desserts; these homemade treats are not only superior in taste but also serve as a fantastic make-ahead option, saving you precious time and stress on the day of your event. With their impressive presentation and delightful flavor, these mini cheesecakes are guaranteed to be the star of your dessert table.
Looking for more amazing dessert ideas? Don’t forget to
try our Bread Pudding!
Why You’ll Love These Mini Cheesecake Delights
There’s a special magic to bite-sized desserts, and these chocolate-covered cheesecake squares are no exception. They offer the rich, creamy goodness of a classic cheesecake in a perfectly manageable portion, making them ideal for mingling and easy enjoyment. No plates or forks required! This recipe transforms a beloved dessert into a convenient, freezer-friendly treat that’s perfect for entertaining. The combination of a crunchy graham cracker crust, a velvety smooth cream cheese filling, and a luscious chocolate coating creates a symphony of textures and flavors that will leave everyone craving more.
- **Effortless Elegance:** These mini cheesecakes look sophisticated but are surprisingly easy to make.
- **Perfect Portions:** Each bite is a satisfying treat, preventing overindulgence and offering easy portion control.
- **Make-Ahead Marvel:** Prepare them days or even weeks in advance and store them in the freezer, ready to pull out whenever guests arrive.
- **Crowd-Pleasing Flavor:** The classic cheesecake taste paired with chocolate is universally loved.
- **Versatile:** Customize with different chocolate types, drizzles, or toppings to match any theme or personal preference.
The Secret to Perfect Chocolate Covered Cheesecake Bites
Crafting these delectable cheesecake bites involves a few simple steps, each designed to ensure a flawless and delicious outcome. The key to their success lies in careful preparation and patience, especially during the chilling and freezing stages. Let’s walk through how to achieve these irresistible treats.
How to Make These Heavenly Cheesecake Bites
Step 1: Preparing the Crust and Baking the Cheesecake
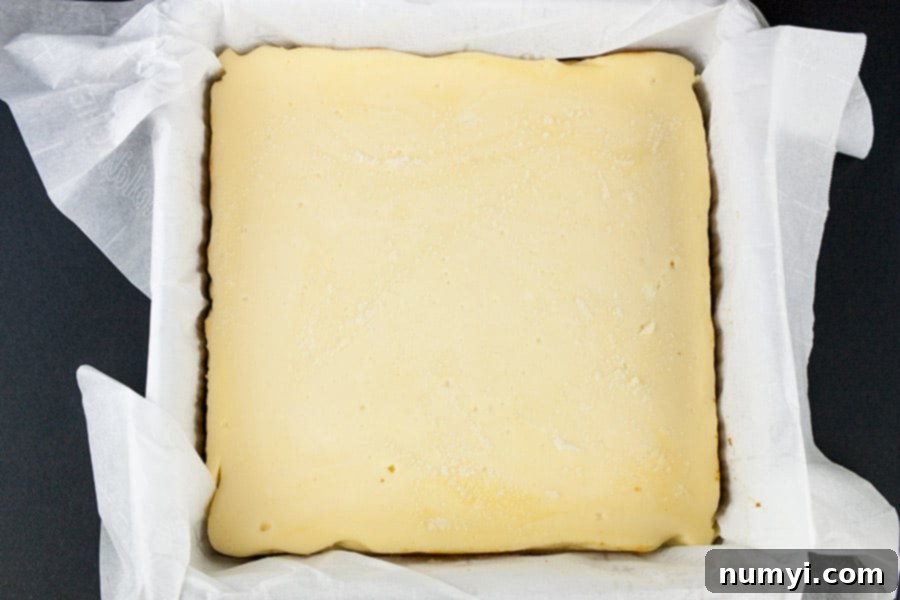
Start by preheating your oven to 350ºF (175ºC). Line an 8×8 square baking pan with parchment paper, ensuring you leave a generous overhang on all sides. These paper “handles” will be your best friend later when it’s time to lift the cooled cheesecake out of the pan for cutting.
In a small bowl, combine the finely crushed graham cracker crumbs with the melted unsalted butter. Mix thoroughly until the crumbs are evenly moistened. Press this mixture firmly and evenly into the bottom of your prepared pan. A flat-bottomed glass or the back of a spoon can help you create a compact, uniform crust. Bake this crust for 10 minutes to set it, then reduce the oven temperature to 325ºF (160ºC) for the cheesecake filling.
Step 2: Crafting the Silky Cheesecake Filling
Using an electric mixer, beat the softened cream cheese and granulated sugar together in a medium bowl until the mixture is light, fluffy, and completely smooth. This usually takes about 3-4 minutes. Ensure your cream cheese is at room temperature to prevent lumps and achieve that signature creamy texture. Next, add the sour cream, eggs, vanilla extract, all-purpose flour, and salt. Continue to beat on low speed just until all ingredients are combined and the batter is smooth. Be very careful not to overmix the batter at this stage, as overmixing can incorporate too much air, leading to cracks in your cheesecake as it cools.
Gently pour the cream cheese mixture over the pre-baked graham cracker crust. Bake for 35-40 minutes, or until the edges are set and the center of the cheesecake is still slightly jiggly when the pan is gently shaken. This slight jiggle indicates that it’s cooked through but still wonderfully moist. Once baked, remove the cheesecake from the oven and transfer it to a wire rack to cool completely at room temperature. After it’s completely cooled, the crucial next step is to freeze it for at least 3 hours, or ideally, overnight. Freezing is essential for achieving clean, sharp cuts.
Step 3: Cutting and Coating with Chocolate
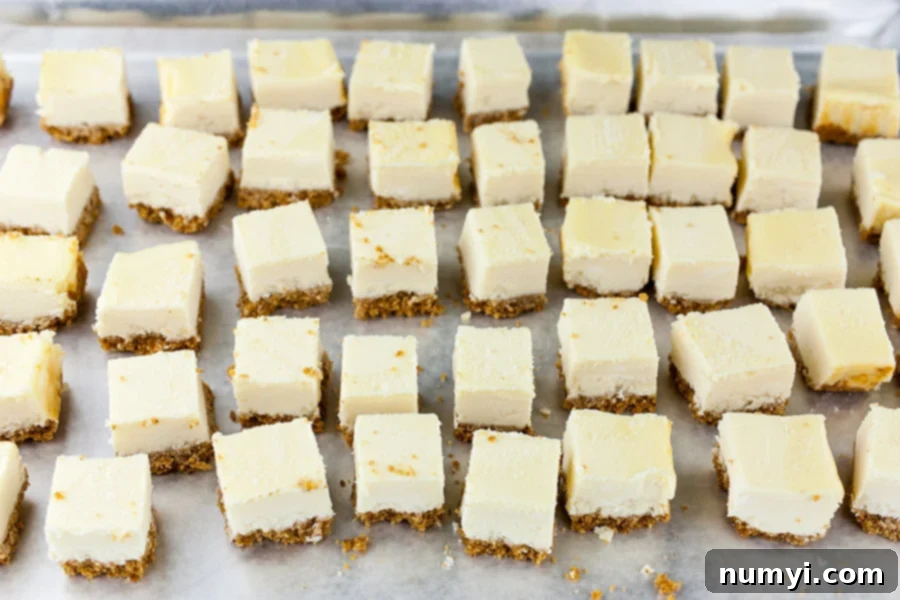
Once your cheesecake is thoroughly frozen, use the parchment paper overhang to lift it out of the pan and transfer it to a cutting board. With a sharp knife, cut the cheesecake into approximately 1-inch to 1.5-inch bite-sized squares. For reference, 1-inch pieces typically yield about 45 delicious bites. If the cheesecake starts to soften during cutting, simply pop it back into the freezer for a short while until it’s firm again.
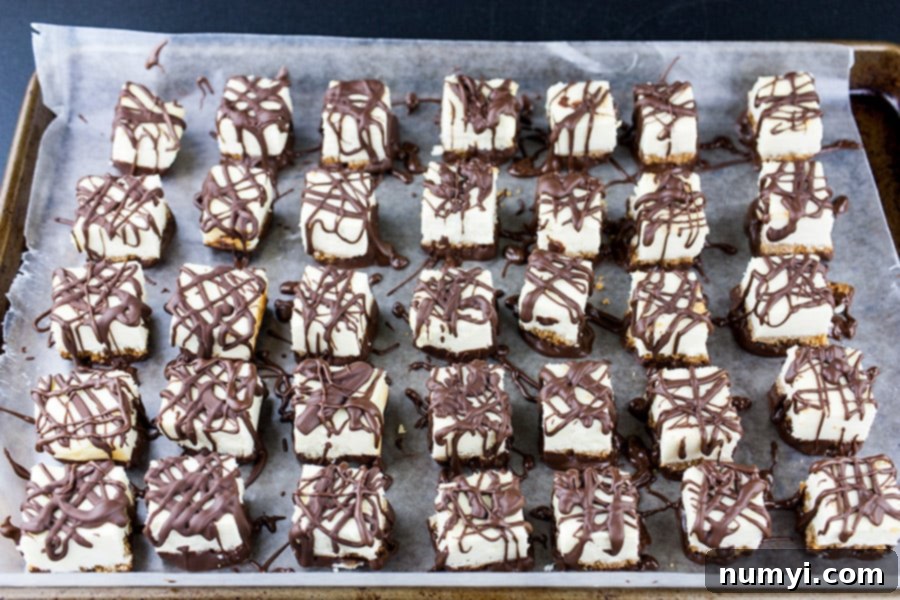
For the decadent chocolate coating, combine the semisweet chocolate chips and coconut oil in a microwave-safe bowl. Heat in the microwave for 1 to 2 minutes, stirring well after every 30-second interval, until the chocolate is completely melted and smooth. The coconut oil helps to create a glossy, smooth chocolate coating that hardens beautifully.
Line a baking sheet with fresh parchment paper. Carefully dip the bottom of each frozen cheesecake bite into the melted chocolate, allowing any excess to drip off. Place the dipped bites onto the prepared baking sheet. Then, using a spoon or a piping bag with a small tip, drizzle the remaining melted chocolate artistically over the tops of each cheesecake square. This creates an elegant finish and adds another layer of chocolatey goodness.
Alternatively, if you prefer a fully enrobed cheesecake bite, you can dip and cover the entire square in chocolate. Keep in mind that for full coverage, you will need approximately 16 ounces of chocolate chips instead of 12 ounces to ensure you have enough.
Step 4: Setting and Storing Your Treats
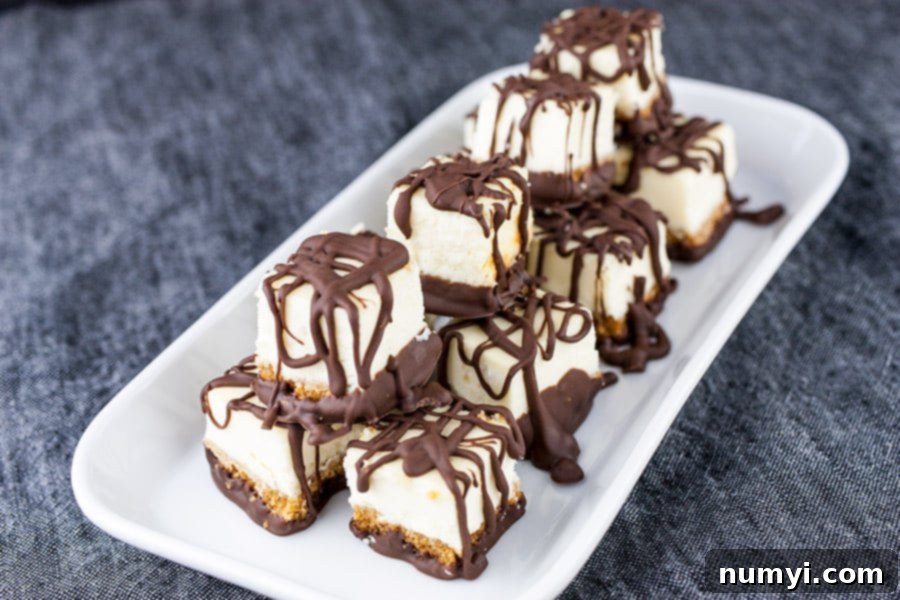
Once all the cheesecake bites are coated, refrigerate them until the chocolate has completely set and hardened. This usually takes about 15-30 minutes. For storage, transfer the chocolate-covered cheesecake bites to an airtight container. They can be stored in the refrigerator for up to 5-7 days or in the freezer for up to 1-2 months. When ready to serve, simply take them out a few minutes before to allow them to thaw slightly, if frozen, or come to a perfect chilled temperature if refrigerated.
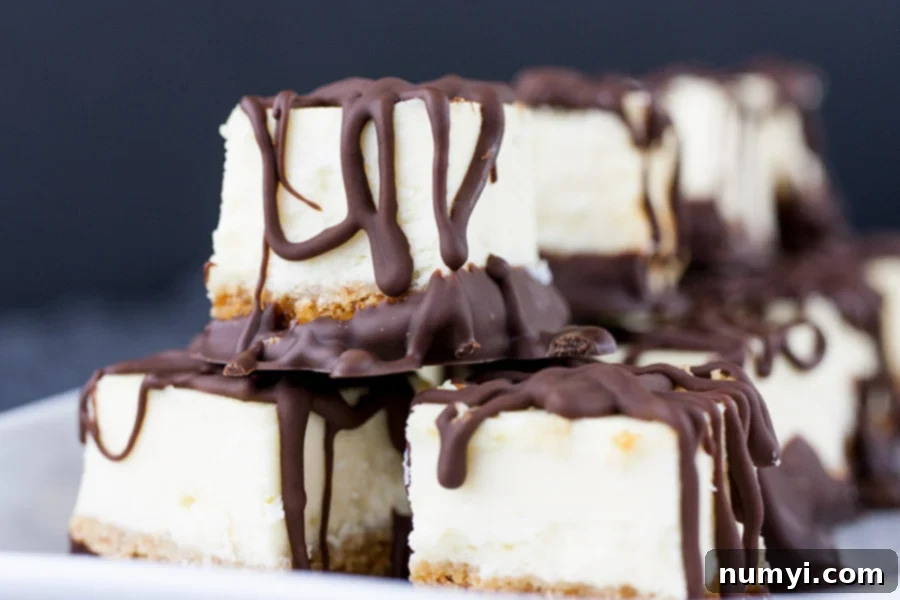
Serve and enjoy these mini Chocolate Covered Cheesecake Bites! There’s less guilt when it’s only a one-bite dessert, right? These small indulgences are perfect for satisfying a sweet craving without committing to a large slice.
And while you’re here, check out our amazing Peanut Butter Balls!
Tips for Cheesecake Bite Perfection
- **Room Temperature Ingredients:** Ensure your cream cheese and eggs are at room temperature. This is crucial for a smooth, lump-free batter and prevents overmixing.
- **Do Not Overmix:** Once the wet ingredients are added, mix just until combined. Overmixing can incorporate too much air, leading to a cracked cheesecake and a tougher texture.
- **Freeze Thoroughly:** Don’t rush the freezing step! A well-frozen cheesecake will yield clean, precise cuts, making your bites look professional and preventing crumbling.
- **Quality Chocolate:** Use good quality chocolate chips or melting wafers for the coating. This makes a significant difference in flavor and how smoothly the chocolate melts and sets.
- **Parchment Paper is Key:** Always use parchment paper in the baking pan for easy removal. Also, line your baking sheet for the chocolate dipping stage to prevent sticking.
- **Sharp Knife for Cutting:** For the cleanest cuts, use a sharp, thin knife. Wiping the knife clean between cuts can also help.
- **Adjusting Chocolate Amount:** If you plan to fully dip each cheesecake bite, ensure you have enough chocolate. An extra 4 ounces (totaling 16 ounces) is a good estimate.
Delicious Variations to Try
While the classic chocolate-covered cheesecake bite is phenomenal, feel free to experiment with these variations:
- **Different Chocolates:** Use dark chocolate for a more intense flavor, milk chocolate for extra sweetness, or even white chocolate for a different aesthetic. You can also use colored candy melts for a festive touch.
- **Toppings Galore:** Before the chocolate sets, sprinkle with anything from colorful sprinkles, finely chopped nuts (like pecans or walnuts), shredded coconut, mini chocolate chips, or even a dusting of cocoa powder.
- **Flavor Enhancements:** Add a touch of lemon zest to the cheesecake batter for a bright citrus note, or experiment with other extracts like almond or peppermint for unique flavors.
- **Alternative Crusts:** Instead of graham crackers, try an Oreo crust for a rich chocolate base or a shortbread cookie crust for a buttery flavor.
- **Ganache Dip:** For an even richer and softer chocolate coating, consider using a chocolate ganache instead of melted chips with coconut oil.
Serving Suggestions & Presentation
These mini cheesecake bites are incredibly versatile for serving. Arrange them artfully on a platter for a stunning dessert display. They are perfect for dessert buffets, potlucks, and holiday gatherings. Pair them with a fresh berry compote on the side for a burst of fruitiness, or serve alongside coffee or tea. Their small size makes them ideal for individual servings, ensuring everyone gets a perfect bite of deliciousness.
Frequently Asked Questions (FAQs)
Q: Can I make these chocolate-covered cheesecake bites ahead of time?
A: Absolutely! This is one of their best features. You can prepare them several days in advance and store them in an airtight container in the refrigerator for up to 5-7 days, or freeze them for up to 1-2 months. This makes them perfect for stress-free entertaining.
Q: How long do they need to freeze before cutting?
A: For the cleanest cuts, freeze the baked cheesecake for at least 3 hours, but ideally overnight. The firmer it is, the easier it will be to cut into neat squares.
Q: What if my cheesecake cracks while baking?
A: Cracks usually occur from overmixing the batter, baking at too high a temperature, or cooling too quickly. While unsightly in a full cheesecake, for these bites, it’s not a major issue as they will be cut into squares and covered in chocolate anyway!
Q: Can I use a different size baking pan?
A: Yes, you can. An 8×8 inch pan yields about 45 1-inch squares. If you use a different size, you may need to adjust baking times slightly and the number of bites produced will vary. A larger pan might result in thinner cheesecake; a smaller one, thicker. Always ensure the center is slightly jiggly for proper doneness.
Q: Do I have to use coconut oil with the chocolate?
A: Coconut oil helps thin the chocolate slightly, making it smoother for dipping and drizzling, and helps it set with a nice snap and shine. While you can omit it, the chocolate might be thicker and less fluid, and may not set as cleanly. Shortening can be used as an alternative.
With these comprehensive instructions, tips, and variations, you’re all set to create a batch of the most delightful Chocolate Covered Cheesecake Bites that will impress everyone! Enjoy the process and savor every sweet bite!
Chocolate Covered Cheesecake Bites Recipe
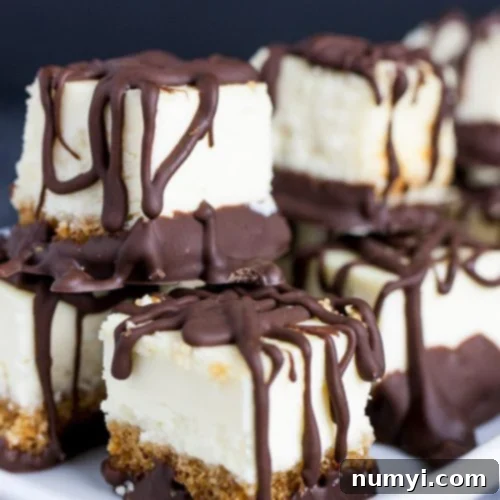
Chocolate Covered Cheesecake Bites Recipe
Print
Pin
Rate
Ingredients
The Crust
- 1 1/4 cups graham cracker crumbs
- 5 tablespoons unsalted butter melted
Cheesecake Filling
- 2 8 ounce packages cream cheese at room temperature
- 1/2 cup granulated sugar
- 1/4 cup sour cream
- 2 large eggs
- 1 teaspoon vanilla extract
- 1 tablespoon all-purpose flour
- 1/2 teaspoon salt
Chocolate Coating
- 12 ounces semisweet chocolate chips (you may need 16 ounces if dipping the entire bite)
- 2 tablespoons coconut oil
Instructions
Crust
-
Preheat oven to 350 degrees F. Line an 8 x 8-inch square baking dish with parchment paper leaving an overhang on the sides.
-
In a small bowl combine graham cracker crumbs and melted butter. Press mixture evenly into prepared pan. Bake for 10 minutes. Reduce heat to 325°F.
Cheesecake filling
-
Using an electric mixer, beat the cream cheese and sugar until smooth and fluffy, about 3-4 minutes. Add the sour cream, eggs, vanilla, flour, and salt and beat until just combined. Do not to overmiy.
-
Pour the batter over the crust and bake for 35 to 40 minutes, or until the cheesecake center is slightly jiggly.
-
Remove to a wire rack to cool completely. Freeze for 3 hours, until very cold and firm, or overnight.
Chocolate coating
-
Once frozen, lift cheesecake out of the pan onto a cutting board. Cut the cheesecake into 1-inch bite-size squares. If squares become too soft, freeze until chilled again.
-
Place the chocolate and coconut oil in a microwave-safe bowl and heat for 1 to 2 minutes, stirring every 30 seconds, until melted and smooth.
-
Line a baking sheet with parchment paper. Dip the bottom of the cheesecake squares, one at a time, in the melted chocolate. Let the excess drip off and place on the prepared sheet. Drizzle the chocolate over the tops of each cheesecake bite. Repeat for all the squares then refrigerate until the chocolate is set. Store the squares in an airtight container in the fridge or freezer until ready to serve.
