Irresistible Homemade Reese’s Peanut Butter Cup Cookies: The Ultimate Sweet Treat Recipe
Prepare to be enchanted by these delightful homemade peanut butter cup cookies, a true testament to the perfect marriage of two beloved classics: a rich, chewy peanut butter cookie and the iconic Reese’s Mini Peanut Butter Cups. Crafted from scratch, each cookie cup is a celebration of peanut butter flavor, elevated by the creamy chocolate and peanut butter filling tucked inside. This recipe isn’t just for a casual treat; it’s a peanut butter lover’s dream come true, promising to become a cherished addition to your holiday baking traditions or a standout dessert for any special occasion throughout the year.

Why You’ll Adore These Peanut Butter Cup Cookies
These peanut butter cup cookies are more than just a dessert; they are a delightful experience that brings joy with every bite. Here’s why they are guaranteed to become a new favorite in your baking repertoire:
- Unforgettable Taste and Texture: Imagine a soft, moist, and delightfully chewy peanut butter cookie base, perfectly baked to achieve that ideal melt-in-your-mouth texture. Now, picture that cookie cradling a warm, gooey Reese’s Mini Peanut Butter Cup. The contrast of the cookie’s rich peanut butter flavor with the distinct chocolate and peanut butter filling creates an unparalleled taste sensation that will have everyone reaching for more.
- Truly Homemade Goodness: While there are many ways to enjoy peanut butter treats, nothing quite compares to a cookie made from scratch. Our recipe guides you through creating a homemade peanut butter cookie dough that’s rich in flavor and superior in texture to anything store-bought. It’s the kind of authentic, comforting taste that only homemade can deliver.
- A Match Made in Dessert Heaven: This recipe brings together two iconic treats – the classic peanut butter cookie and the beloved Reese’s Peanut Butter Cup – into one harmonious, bite-sized delight. It’s a combination that’s universally loved and always a hit.
- Bite-Sized Perfection for Any Gathering: Forget the larger, messier desserts. These Reese’s peanut butter cup cookies are perfectly portioned as mini treats, making them ideal for parties, potlucks, and gatherings of all sizes. Their convenient size means less guilt and more enjoyment for everyone.
- A Step Above Peanut Butter Blossoms: While peanut butter blossoms are a classic, these cookies offer an enhanced peanut butter experience. By stuffing a whole Reese’s Mini Peanut Butter Cup inside, you get an explosion of both chocolate and peanut butter flavor in every single bite, surpassing the simpler kiss on top.
- Generous Yield for Sharing: This recipe yields approximately 60 delicious peanut butter cup cookies, making it perfect for gifting to friends, sharing with neighbors, or preparing for a large family celebration. You’ll have plenty to spread happiness around!
- Versatile for All Occasions: While they shine brightly as Christmas cookies, these treats are truly perfect for any occasion. Birthdays, holidays, school events, or just a weekend treat – they fit right in and are always appreciated. Their festive appearance, especially when topped with seasonal sprinkles, makes them incredibly adaptable.
- Excellent for Transport and Storage: These cookies are not only delicious but also practical. They pack and travel exceptionally well, maintaining their freshness and structural integrity. This makes them a fantastic option for bake sales, care packages, or taking to a friend’s house. They stay fresh for a good while when stored properly, ensuring you can enjoy them over several days.
Looking to expand your baking skills further? Explore our other fantastic cookie recipes! Don’t miss our chocolate peppermint cookies, old fashioned molasses cookies, Italian ricotta cookies, and Almond Joy cookies for more delightful ideas.
Don’t Sweat The Recipe is supported by its readers. We may earn a commission if you purchase through a link on our site. Learn more.
Essential Ingredients for Perfect Peanut Butter Cup Cookies
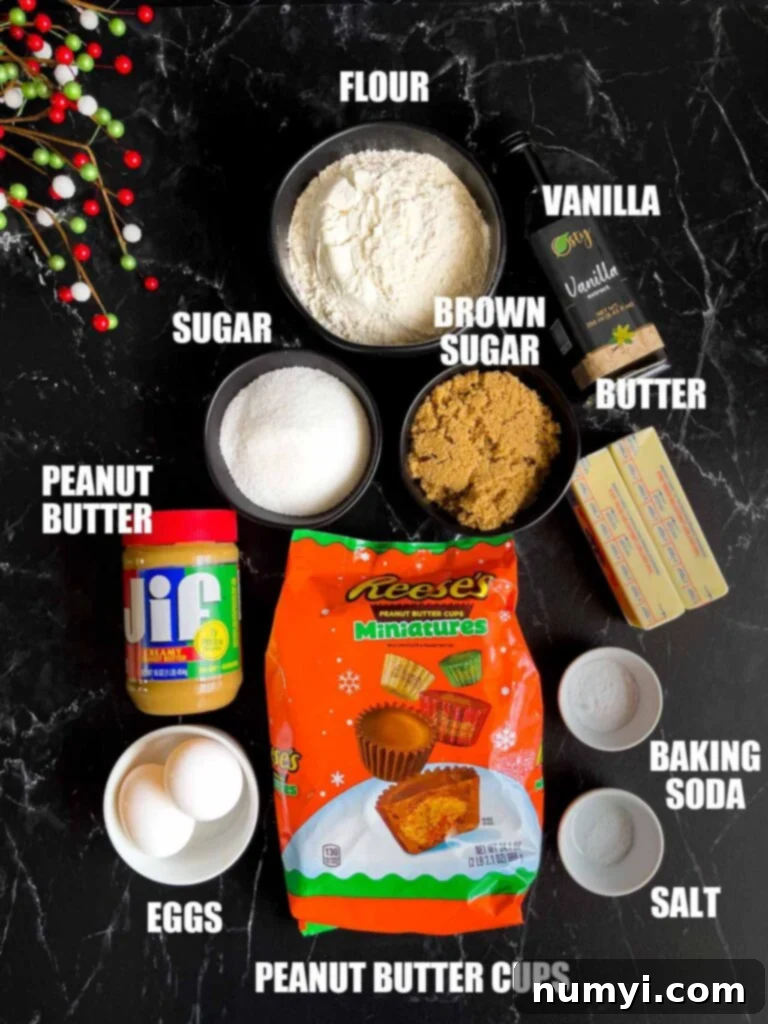
Crafting these delectable peanut butter cup cookies requires a handful of common baking staples, plus our star ingredient: Reese’s Peanut Butter Cups. Quality ingredients make a noticeable difference, so pay attention to the details:
- Peanut Butter Cookie Dough Base
- Unsalted Butter: Using unsalted butter gives you control over the overall saltiness of your cookies. Ensure it’s softened to room temperature for optimal creaming with the sugars, creating a light and fluffy base.
- Creamy Peanut Butter: Opt for a classic “no-stir” creamy peanut butter brand like Jif or Skippy. Natural peanut butters, which often separate oil, can alter the cookie’s texture and consistency, making them more crumbly or oily. The consistent emulsification of regular creamy peanut butter is key for these chewy cookies.
- Granulated Sugar & Dark Brown Sugar: This combination is crucial for both flavor and texture. Granulated sugar contributes to a slight crispness on the exterior, while dark brown sugar adds a deep molasses flavor, rich moisture, and a wonderful chewiness that keeps the cookies soft for days. You can use light brown sugar if dark is unavailable, but you might lose a touch of that deep caramel note.
- Eggs: Large eggs act as a binder, adding richness, structure, and moisture to the dough. Using room temperature eggs helps them incorporate more smoothly into the creamed butter and sugar mixture, resulting in a more uniform dough.
- Vanilla Extract: A touch of pure vanilla extract enhances all the other flavors, especially the peanut butter, adding a warm, aromatic depth to the cookies.
- All-Purpose Flour: The foundation of our cookie structure. Proper measurement is essential (see tips below for the “spoon and swoop” method) to avoid dense or dry cookies.
- Baking Soda: This leavening agent reacts with the acidic brown sugar to help the cookies rise slightly and spread, contributing to their soft and chewy texture.
- Kosher Salt: Essential for balancing the sweetness and intensifying the overall flavor profile of the peanut butter and chocolate. Don’t skip it!
- Reese’s Peanut Butter Cups – The Star Attraction
- You will need to purchase miniature Reese’s Peanut Butter Cups that are individually wrapped in foil. It’s vital to differentiate these from “Reese’s minis” which are typically unwrapped and come in a resealable bag. The individually wrapped miniature cups hold their shape better during baking and pressing, ensuring a perfect, melty center without dissolving entirely into the cookie. Make sure to have them unwrapped and ready before you start baking!
Mastering the Art of Peanut Butter Cup Cookies: A Step-by-Step Guide
Creating these delightful cookies is a straightforward process, but a few key steps and tools will ensure your success. Gather your ingredients and let’s get baking!
Equipment You’ll Need:
A mini muffin pan is absolutely essential for achieving the perfect cup shape for these cookies. For efficiency, we highly recommend having 2 or 3 mini muffin pans. This allows you to bake multiple batches consecutively without waiting for a single pan to cool completely, significantly speeding up the process. Remember, the pan should be cool between batches to ensure even baking and prevent the dough from spreading too quickly. Other useful tools include an electric mixer (stand or hand-held), a set of mixing bowls, a rubber spatula, a cookie scoop, and a cooling rack.
Step-by-Step Baking Instructions:
- Prepare the Reese’s: Your very first step is crucial for smooth baking: unwrap at least 60 miniature Reese’s Peanut Butter Cups and set them aside. This might seem tedious, but it saves precious time when the cookies come out of the oven hot and ready for their candy centers.
- Preheat and Prepare the Pan: Preheat your oven to 350 degrees F (175 degrees C). Generously grease your mini muffin tin with baking spray or cooking spray. Thorough greasing is vital to prevent the cookies from sticking, especially with their delicate centers.
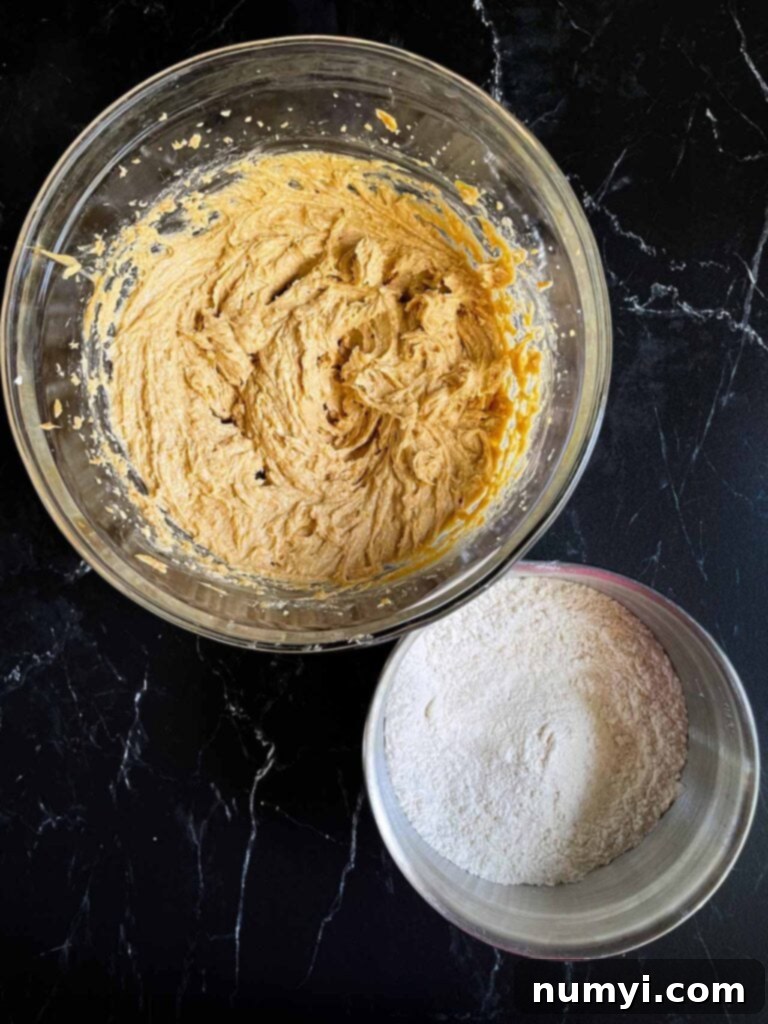
- Combine Dry Ingredients: In a medium bowl, whisk together the all-purpose flour, baking soda, and kosher salt. Whisking ensures these ingredients are evenly distributed, leading to consistent leavening and flavor throughout your cookies.
- Cream Wet Ingredients: In a large bowl, using an electric mixer (either a stand mixer with a paddle attachment or a hand-held mixer), cream together the softened unsalted butter, creamy peanut butter, granulated sugar, and dark brown sugar. Beat on medium speed for 3-4 minutes, or until the mixture becomes light, fluffy, and noticeably paler in color. This step incorporates air, contributing to the cookie’s tender texture.
- Incorporate Eggs and Vanilla: Add the room temperature eggs one at a time, mixing well after each addition until fully combined. Then, stir in the vanilla extract until just incorporated. Avoid overmixing at this stage.
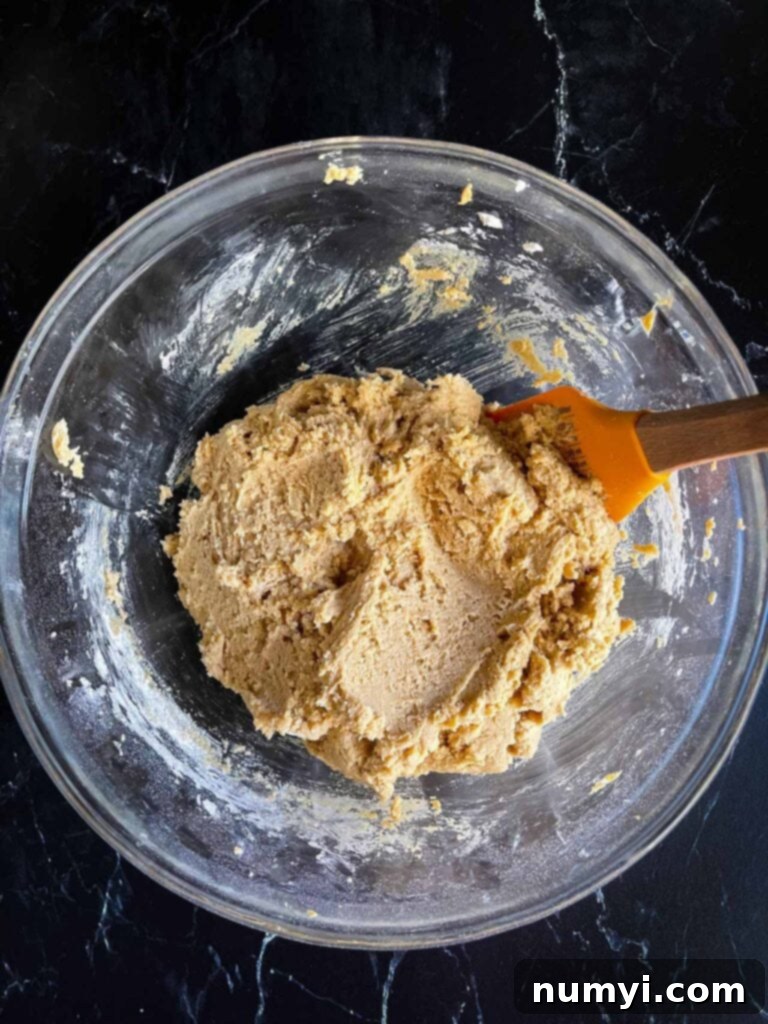
- Add Dry to Wet: Gradually add the flour mixture to the wet ingredients, mixing on low speed until just combined. Stop mixing as soon as no dry streaks of flour remain. Overmixing the flour can develop the gluten too much, resulting in tough, dry cookies.
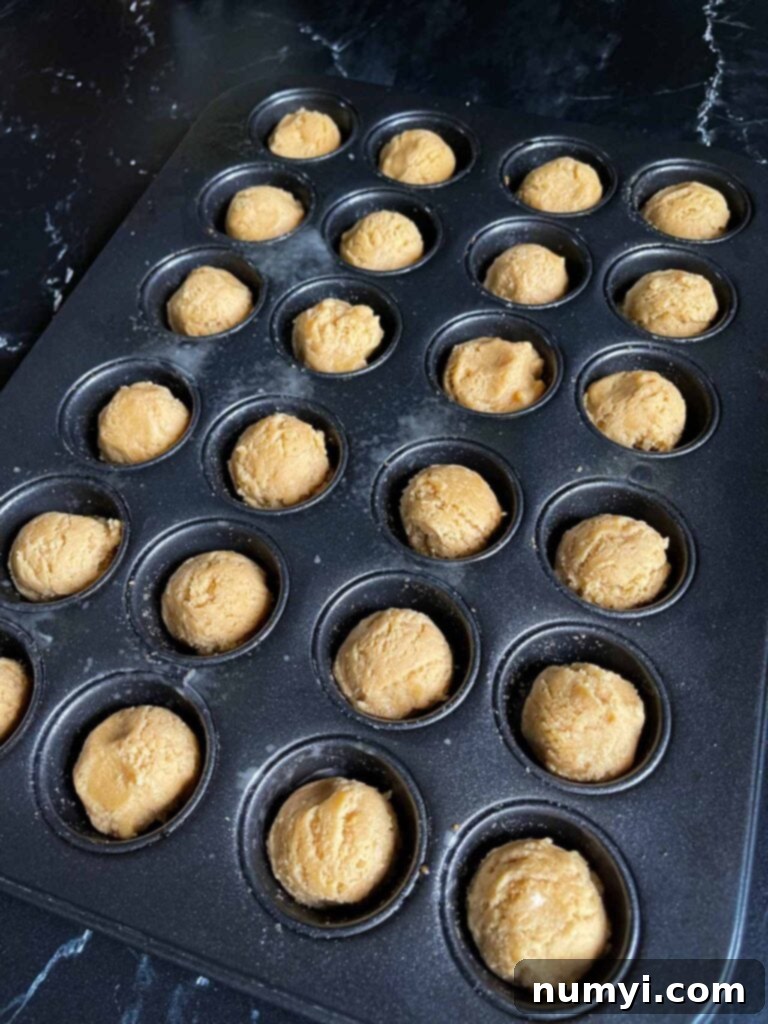
- Portion and Place Dough: Using a tablespoon-sized cookie scoop (or about 1-inch round balls), roll the cookie dough into uniform balls. Place each ball into a greased cavity of the mini muffin tin. The scoop ensures consistent sizing, which is key for even baking.
- Bake and Add Reese’s: Bake the cookies for exactly 8 minutes. They may look slightly underdone in the center, but trust the process – they will continue to cook and set as they cool. Immediately remove the pan from the oven. While the cookies are still hot and soft, gently but firmly press one unwrapped mini peanut butter cup into the center of each cookie. The residual heat will slightly melt the chocolate, allowing it to conform perfectly to the cookie cup.
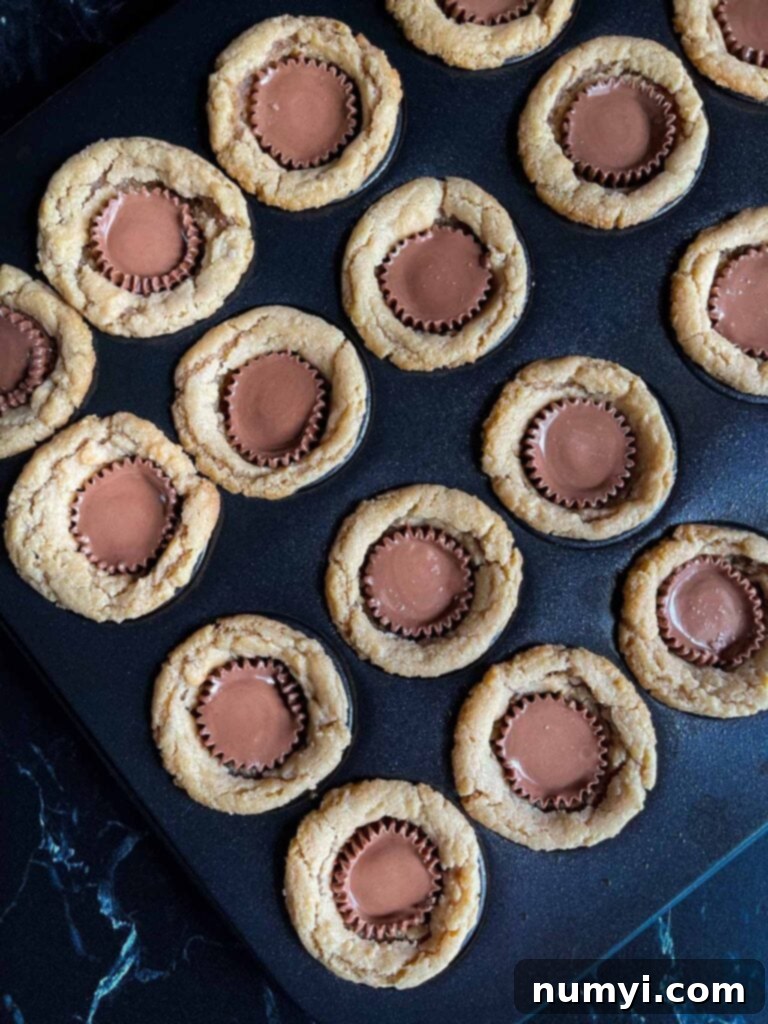
- Cooling Process: Once the Reese’s are pressed in, place the entire muffin pan on a wire cooling rack. Allow the cookies to cool in the pan for at least 10-15 minutes. This initial cooling period allows them to firm up slightly before handling. Then, carefully remove the cookies from the pan and transfer them to the cooling rack to cool completely. This final cooling step is essential for the chocolate to fully set and for the cookies to achieve their desired texture.
- Speedy Cooling Trick: If you’re in a hurry, you can place the muffin pan in the refrigerator (or even the freezer for a few minutes) to cool the cookies faster. Just be sure to place a towel or oven mitt under the pan to protect your fridge shelves from the heat.
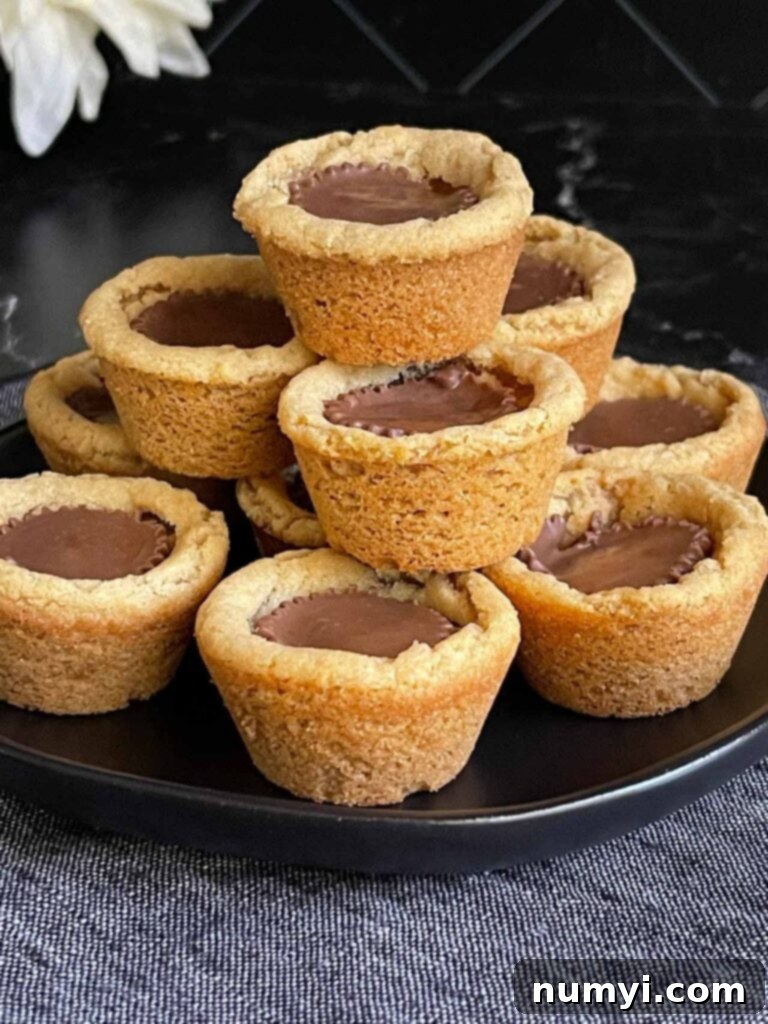
- Gentle Removal: To prevent damaging the cookie cups, use a butter knife or a thin offset spatula to carefully loosen and remove the cookies from the pan. Work gently around the edges.
Expert Tips for Baking the Best Peanut Butter Cup Cookies
Achieving bakery-quality peanut butter cup cookies is simple with these expert tips:
- Proper Flour Measurement is Key: Accurately measuring your flour is paramount. Instead of scooping flour directly from the bag with your measuring cup (which can compact it and lead to too much flour), first aerate the flour by fluffing it with a spoon. Then, spoon the flour lightly into your measuring cup until it overflows, and finally, level it off with the straight edge of a knife. This “spoon and swoop” method prevents dense, dry cookies.
- Room Temperature Ingredients for Best Results: Ensure your eggs and butter are at room temperature. Softened butter creams more effectively with sugar, creating a light, airy base, and room temperature eggs emulsify better into the mixture, resulting in a smoother, more uniform dough. If your butter isn’t soft, cut it into small pieces and let it sit for about 30 minutes, or gently warm it in the microwave for a few seconds (be careful not to melt it). For eggs, place them in a bowl of warm water for 5-10 minutes.
- Pre-unwrap Those Reese’s: This is a critical time-saver. Before you even start mixing the dough, unwrap all 60 miniature Reese’s Peanut Butter Cups and have them ready. The cookies need the candy pressed into them immediately after coming out of the oven, and you don’t want to be fumbling with wrappers while your cookies cool and harden.
- Choose the Right Peanut Butter: For this recipe, stick to regular, “no-stir” creamy peanut butter brands like Jif or Skippy. Natural peanut butter (the kind that separates oil) has a different fat and sugar content and can lead to a greasier, more crumbly cookie that doesn’t hold its shape as well in the muffin tin.
- Consider Crunchy Peanut Butter for Texture: If you love a bit of extra crunch, you can absolutely substitute creamy peanut butter with crunchy peanut butter. This will add delightful textural contrast to your soft cookies.
- Utilize a Cookie Scoop for Uniformity: A tablespoon-sized cookie scoop is your best friend for this recipe. It ensures that each cookie ball is the same size, which promotes even baking across the entire batch. Consistent sizing also makes for a more professional and appealing presentation.
- Generously Grease the Mini Muffin Tin: Do not skip this step! These cookies are designed to be removed from the tin, so a good layer of baking or cooking spray is essential to prevent sticking. If you’re using only one pan, wipe it clean and re-grease it thoroughly between batches. Allowing the pan to cool slightly before adding new dough also helps prevent sticking.
- DO NOT Overbake: This is perhaps the most important tip. Bake the cookies for exactly 8 minutes. They will look slightly underdone and very soft when you pull them out of the oven, but they will continue to cook and set as they cool. Overbaking will result in dry, crumbly cookies rather than the desired soft and chewy texture. A lightly browned edge is all you’re looking for.
- Alternative Baking Method (Flat Cookies): If you don’t have a mini muffin pan or prefer a traditional round cookie, you can bake this peanut butter cup cookie recipe on a parchment-lined baking sheet. They will come out as round cookies with a Reese’s pressed into the center, rather than cookie cups. Adjust baking time slightly, possibly a minute or two less, and watch for those lightly browned edges.
- Don’t Overcrowd the Pan: While it might be tempting to fill every cavity, give the cookie dough a little space to breathe and expand. This allows for better air circulation and more even baking.
- Patience During Cooling: Resist the urge to remove the cookies from the pan too soon. The initial 10-15 minutes in the hot pan is crucial for them to set their structure around the melted Reese’s. Rushing this step can cause them to break apart.
Exciting Variations for Your Peanut Butter Cup Cookies
While the classic Reese’s Peanut Butter Cup Cookie is undeniably perfect, feel free to get creative and experiment with different candies and toppings to make them uniquely yours or to suit various occasions:
- White Chocolate Peanut Butter Cups: Swap out the milk chocolate Reese’s for their white chocolate counterparts. This offers a different flavor profile that is equally delicious and can be a fun twist, especially for those who prefer white chocolate.
- Chocolate Covered Caramel (like Rolos): For a gooey, chewy center, press a Rolo candy into the warm cookie instead of a Reese’s. The melting caramel within the warm cookie is an irresistible combination.
- Chocolate Kisses or Chocolate Chunks: If you’re craving pure chocolate, substitute the Reese’s with a Hershey’s Kiss or a generous chunk of your favorite chocolate bar. Dark chocolate chunks would provide a sophisticated contrast to the sweet peanut butter cookie.
- Mini Candy Bar Extravaganza: Turn these into a mini candy bar assortment! Press in mini Snickers, mini Milky Ways, mini Butterfingers, or any of your favorite bite-sized candy bars. This is a fantastic way to cater to diverse tastes and add an element of surprise.
- Seasonal Sprinkles: While the chocolate center is still soft and warm, immediately top your cookies with holiday sprinkles for Christmas, Halloween-themed sprinkles for October, or festive sprinkles for birthdays. This adds a beautiful visual appeal and a fun crunch.
- Add Chocolate Chips to the Dough: For an extra layer of chocolatey goodness, fold about half a cup of mini chocolate chips into the cookie dough before scooping. This creates a double chocolate and peanut butter delight.
- A Pinch of Sea Salt: A tiny sprinkle of flaky sea salt on top of the warm, just-pressed Reese’s can enhance the flavors and provide a lovely gourmet touch. The saltiness beautifully cuts through the sweetness.
- Extract Experiments: Consider adding a different extract to your cookie dough, such as almond extract for a subtle nutty twist, or even a hint of espresso powder to deepen the chocolate flavor.
Frequently Asked Questions About Peanut Butter Cup Cookies
Absolutely! You can prepare the cookie dough ahead of time. Form the dough into balls as instructed, then place them on a parchment paper-lined baking sheet. Flash freeze them until they are firm (about 1 hour), then transfer the frozen dough balls to a freezer-safe bag. They can be stored in the freezer for up to 2 months. When you’re ready to bake, you can thaw them in the refrigerator overnight or bake them directly from frozen, adding a few extra minutes (2-4 minutes) to the baking time as needed.
Once the peanut butter cup cookies are completely cooled and the chocolate centers have fully set, place them in an airtight container. They will stay fresh and delicious at room temperature for up to 1 week. For best results, you can place a piece of parchment paper between layers of cookies if stacking them to prevent sticking.
Yes, these cookies freeze beautifully! Ensure the cookies are completely cooled and the chocolate centers are firm. Place them in a freezer-safe container, layering them between sheets of wax paper or parchment paper to prevent them from sticking together. Freeze for up to 2 months for optimal quality. To enjoy, thaw them overnight in the refrigerator or for a few hours at room temperature. They taste just as good as freshly baked!
This can happen if you press the Reese’s in too early when the cookies are extremely hot, or if the cookies are overbaked and retain too much heat. Ensure you wait the recommended 10-15 minutes for the cookies to cool slightly in the pan before pressing the candies. The cookies should still be warm and pliable, but not scorching hot. Also, make sure you are using the individually wrapped miniature Reese’s, as the unwrapped “minis” tend to melt much faster and lose their shape.
Sticking is usually a sign that the pan wasn’t sufficiently greased. Ensure you generously spray each cavity with baking or cooking spray. If they do stick, try running a thin butter knife or offset spatula gently around the edges of each cookie while they are still warm but firm, then lift them out. For stubborn cases, you can briefly return the pan to a very low oven (around 200°F or 95°C) for a minute or two to warm the pan slightly, which can help loosen them. Always re-grease and cool the pan between batches.
Best Chewy Snickerdoodle Cookies
Easy Classic Shortbread Cookies Recipe
Old Fashioned Peanut Butter Cookies

Peanut Butter Cup Cookies
Print
Pin
Rate
Ingredients
- 1 cup Creamy peanut butter
- 3/4 cup Unsalted butter softened
- 1 cup Dark brown sugar or light brown
- 1 cup Granulated sugar
- 2 large Eggs room temperature
- 1 tsp Vanilla extract
- 2 1/2 cups All-purpose flour
- 1 1/2 tsp Baking soda
- 1/2 tsp Kosher salt
- 60 miniature Reese’s Peanut Butter Cups (not the “minis” that come unwrapped
Instructions
-
Unwrap at least 60 peanut butter cups, and set them aside.60 miniature Reese’s Peanut Butter Cups
-
Preheat the oven to 350 degrees F. Grease the mini muffin tin with baking spray or cooking spray.
-
In a medium bowl whisk together the flour, baking soda, and salt.2 1/2 cups All-purpose flour, 1 1/2 tsp Baking soda, 1/2 tsp Kosher salt
-
In a large bowl, cream the softened butter, peanut butter, and the sugars together until light and fluffy about 3-4 minutes.1 cup Creamy peanut butter, 3/4 cup Unsalted butter, 1 cup Dark brown sugar, 1 cup Granulated sugar
-
Add in the eggs and vanilla, and mix until combined. Add the flour mixture and mix until just combined.2 large Eggs, 1 tsp Vanilla extract
-
Using a tablespoon size cookie scoop, roll the dough into a 1-inch ball and place each ball into the mini muffin pan.
-
Bake for 8 minutes, remove the pan from the oven, and immediately press one mini peanut butter cup into the center of each cookie.
-
Place the pan on a cooling rack and let them cool for at least 10-15 minutes then carefully remove the cookies from the pan to the cooling rack to cool completely and let the chocolate set up. Or place the pan in the fridge to cool quicker.
-
Use a butter knife to carefully remove the cookies from the pan.
Notes
— DO NOT overbake the cookies. Trust me they may look underdone after 8 minutes but they are not.
Make Ahead – See the page under FAQs.
Storing – Place the completely cooled cookies in an airtight container, and keep them at room temperature for up to 1 week.
Freezing – Place them in a freezer safe container layered between wax paper or parchment paper, and freeze for up to 2 months for the best quality. Thaw in the refrigerator overnight.
