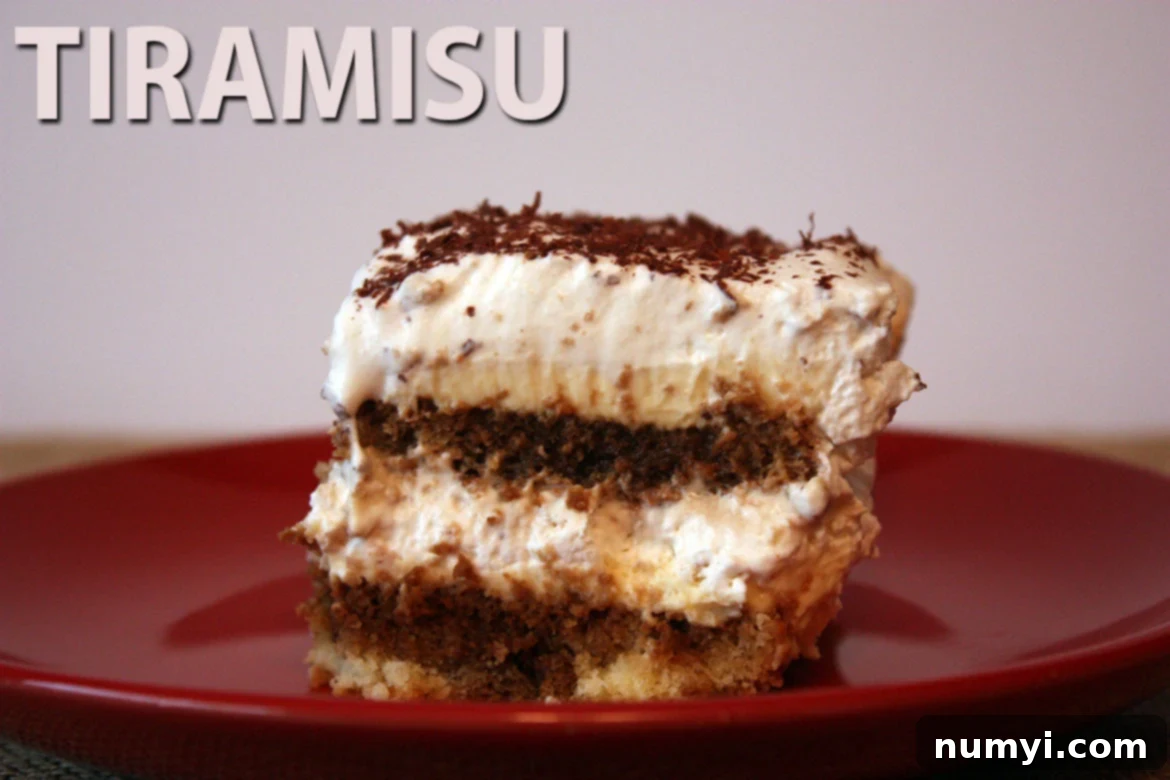
Experience Authentic Italian Tiramisu: A Step-by-Step Guide to Our Best Homemade Recipe with Genoise Cake
Tiramisu, meaning “pick me up” or “cheer me up” in Italian, is more than just a dessert; it’s a culinary experience. This classic Italian delight is renowned for its irresistible layers of deep, dark roasted espresso flavor, luxurious creamy mascarpone cheese, and a light, delicately sweet whipped cream topping. Every spoonful offers a harmonious blend of textures and tastes, making it a beloved indulgence worldwide. For over a decade, this particular recipe has been our tried-and-true favorite, consistently delivering the most authentic and satisfying tiramisu experience. It’s truly our best go-to tiramisu recipe, perfected over countless batches.
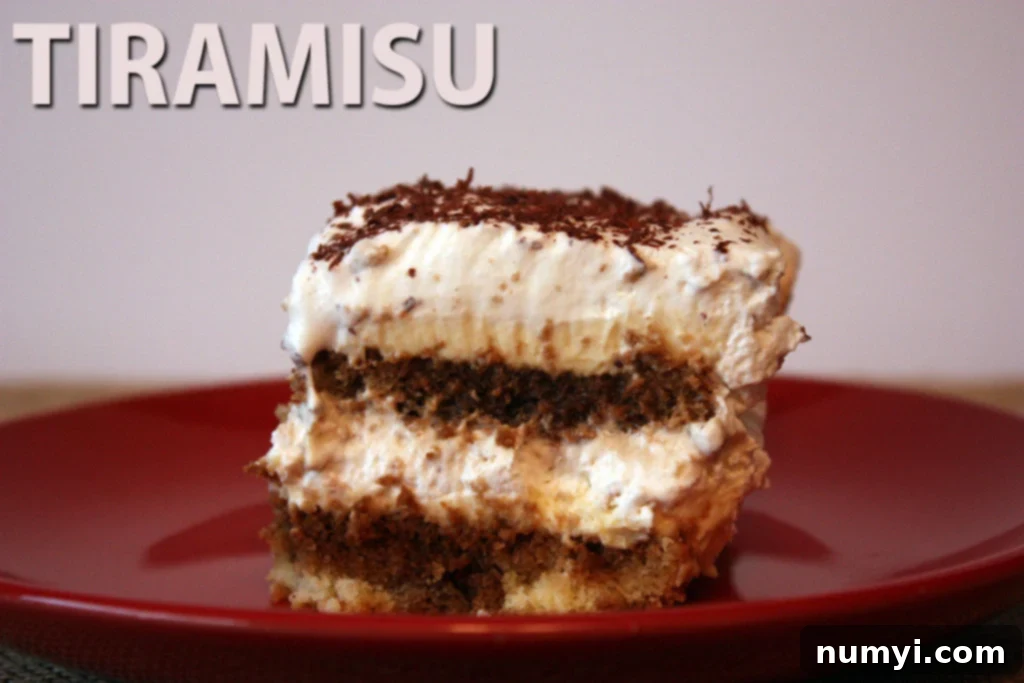
While making tiramisu might initially seem daunting due to its multiple layers and components, we promise that the process is surprisingly simple and incredibly rewarding. Many traditional tiramisu recipes rely on store-bought ladyfingers (Savoiardi biscuits) for their structure and ability to absorb the coffee syrup. However, our recipe takes a different, superior approach: we guide you through making your very own genoise cake from scratch. This small deviation elevates the dessert significantly. Finding quality ladyfingers can often be a challenge in certain areas, and honestly, the homemade genoise cake yields a far more delicate texture and a richer flavor that truly makes all the effort worthwhile. Once you try it, you’ll understand why we insist on this homemade sponge base.
Crafting the Perfect Genoise Cake Base for Your Tiramisu
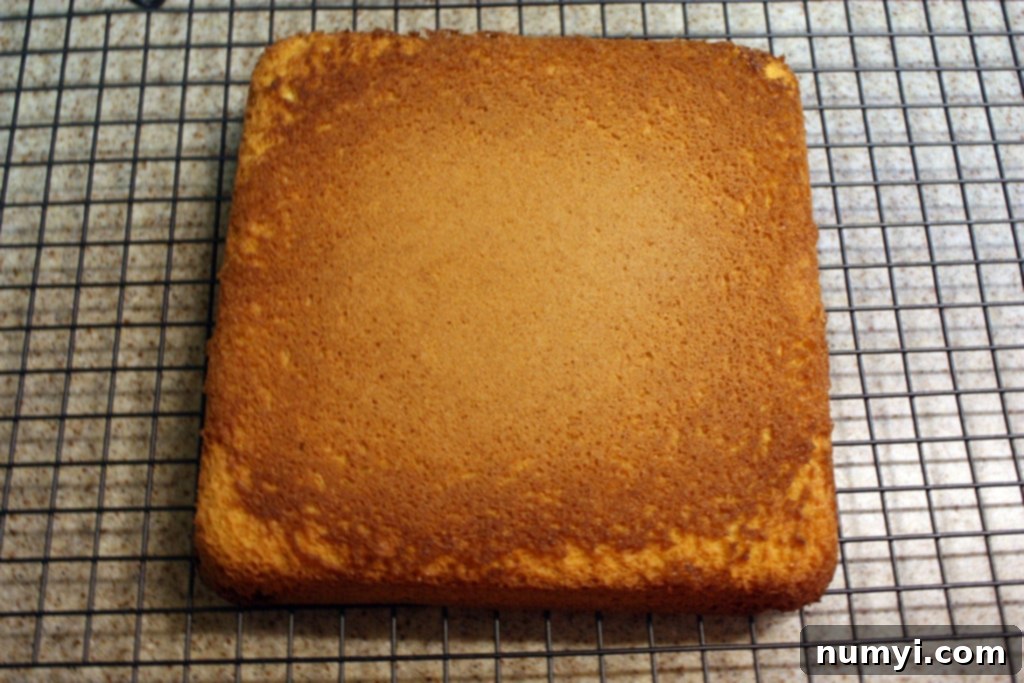
The genoise cake is the heart of our tiramisu, providing a wonderfully light and airy foundation that perfectly absorbs the espresso while retaining its delicate structure. Unlike denser sponge cakes, genoise is made without chemical leaveners, relying instead on the air incorporated into the eggs during whipping for its rise. This method results in an incredibly tender crumb, ideal for soaking up flavor without becoming soggy. While it might seem like an extra step, the superior texture and taste of homemade genoise make all the difference in achieving a truly exceptional tiramisu.
To begin, preheat your oven to 350° F (175° C). Prepare either a 9-inch diameter round cake pan or an 8×8 inch rectangular baking pan by generously coating it with baking spray. You can also line the bottom with parchment paper for easier removal. This preparation ensures your delicate genoise cake won’t stick, allowing it to cool properly.
In a double boiler set over very hot water (just shy of boiling), combine the eggs and 1/3 cup of granulated sugar. A double boiler creates gentle, even heat, preventing the eggs from scrambling while they warm. Whisk this mixture at medium speed until it becomes wonderfully silky smooth and warm to the touch. This step gently heats the eggs, allowing them to whip up to a greater volume and create a more stable foam, which is crucial for the genoise’s airy texture.
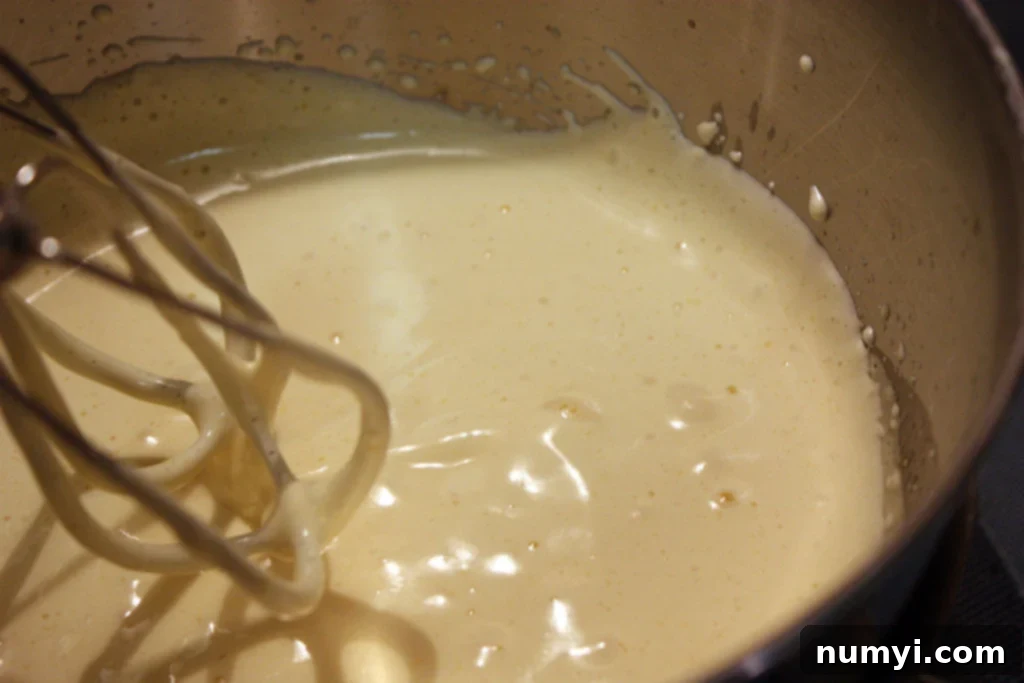
Next, remove the bowl from the double boiler and add the remaining 3 tablespoons of sugar. Increase your mixer speed to high and beat the mixture vigorously. Continue beating until the mixture triples in volume, becomes pale yellow, and achieves a consistency that forms thick ribbons when lifted with the whisk and poured back into the bowl. These “ribbons” should hold their shape for a few seconds before dissolving. This is the stage where maximum air has been incorporated, giving your genoise its characteristic lightness.
Once the ribbon stage is reached, carefully stir in the vanilla extract. Then, gently fold in the sifted cake flour. Sifting the flour ensures there are no lumps and helps it incorporate more smoothly. Use a spatula and a gentle hand, folding from the bottom up to avoid deflating the airy egg mixture. Finish by folding in the melted butter, again with extreme care to preserve the air. The melted butter adds richness and moisture to the cake, but it must be folded in gently to prevent the batter from losing its volume.
Pour the prepared batter into your baking pan and bake at 350° F for 30 to 40 minutes, or until the cake is golden brown and a wooden skewer inserted into the center comes out clean. The cake should spring back lightly when touched. Remove the cake from the oven and immediately invert it onto a wire rack to cool completely. This prevents the cake from shrinking or collapsing as it cools. While some recipes suggest using soaked ladyfingers, we wholeheartedly recommend giving this homemade genoise cake a try – the difference in taste and texture is truly incomparable and well worth the effort for an authentic tiramisu.
Essential Ingredients for Tiramisu Perfection
The magic of tiramisu lies in the quality and combination of its key ingredients. Each component plays a vital role in creating the rich, complex flavors and luxurious texture that define this classic Italian dessert. Here’s a closer look at the stars of our tiramisu recipe:
- Mascarpone Cheese: This is non-negotiable for true tiramisu. Mascarpone is a rich, creamy Italian cheese with a high butterfat content and a slightly sweet, buttery flavor. Its unparalleled richness and smooth texture are essential for the iconic tiramisu cream. I implore you, do not use cream cheese as a substitute; its tangy flavor and firmer texture will fundamentally alter the authentic taste and mouthfeel of the dessert.
- Espresso: The backbone of tiramisu’s signature flavor. Authentic tiramisu demands freshly brewed, strong espresso. The intense, bittersweet notes of espresso are crucial for balancing the sweetness of the cream layers and soaking into the genoise cake. If you don’t have an espresso machine, a very strong brewed coffee can be used as an alternative, but ensure it’s robust enough to stand up to the other rich flavors.
- Superfine Sugar: Also known as caster sugar, superfine sugar dissolves more quickly and thoroughly than regular granulated sugar, ensuring a smooth, grit-free cream and syrup. If you can’t find superfine sugar, regular granulated sugar can be used, but you might need to whisk a little longer to ensure it’s fully incorporated.
- Cognac (or other liqueurs): This adds a layer of sophisticated depth and warmth to the coffee syrup and mascarpone cream. The cognac provides a beautiful aromatic complexity that enhances the overall flavor profile. If you prefer to omit alcohol, the tiramisu will still be delicious, but you’ll miss out on that traditional nuanced note. For variations, consider dark rum, brandy, Marsala wine, or Kahlua (a coffee-flavored liqueur) for different delightful twists.
- Heavy Cream, Powdered Sugar, and Vanilla Extract: These three ingredients come together to create the light, airy whipped topping that crowns the tiramisu. Heavy cream, with its high-fat content, whips up beautifully to stiff peaks, adding an ethereal contrast to the dense mascarpone. Powdered sugar (confectioners’ sugar) sweetens the cream and helps stabilize it, while vanilla extract contributes a classic, comforting aroma and flavor.
- Large Eggs & Egg Yolks: Eggs are critical for both the genoise cake and the mascarpone cream. In the genoise, whole eggs are whipped to create the cake’s structure and lightness. For the mascarpone cream, egg yolks add immense richness, a beautiful golden hue, and a silky texture, contributing to the dessert’s luxurious indulgence.
- Cake Flour: This low-protein flour is essential for the genoise cake, resulting in an exceptionally tender and fine crumb.
- Unsalted Butter: Adds richness to the genoise cake and contributes to a moist texture.
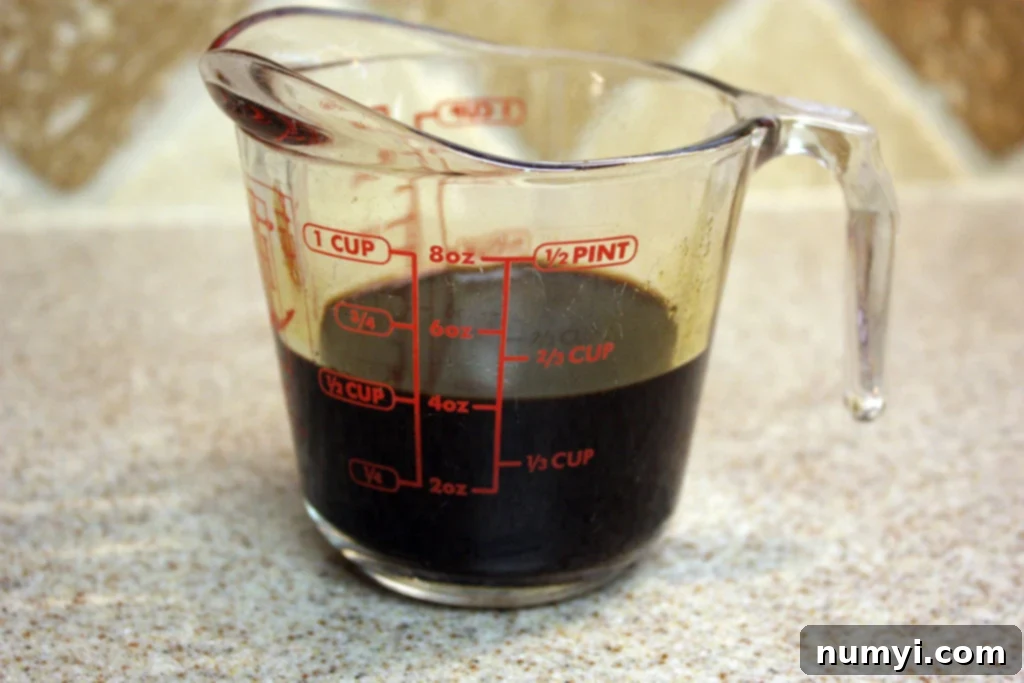
While the genoise cake is baking, it’s the perfect time to prepare your coffee syrup. Brew double shots of espresso or prepare double-strength coffee to ensure a potent coffee base. For the most authentic flavor, we strongly recommend using freshly brewed espresso.
Assembling Your Masterpiece: A Detailed Guide to Making Tiramisu
With your genoise cake cooled and your ingredients prepped, it’s time to bring all the delicious components together to create your spectacular homemade tiramisu. The process is one of careful layering, building a symphony of flavors and textures.
Preparing the Aromatic Coffee Syrup
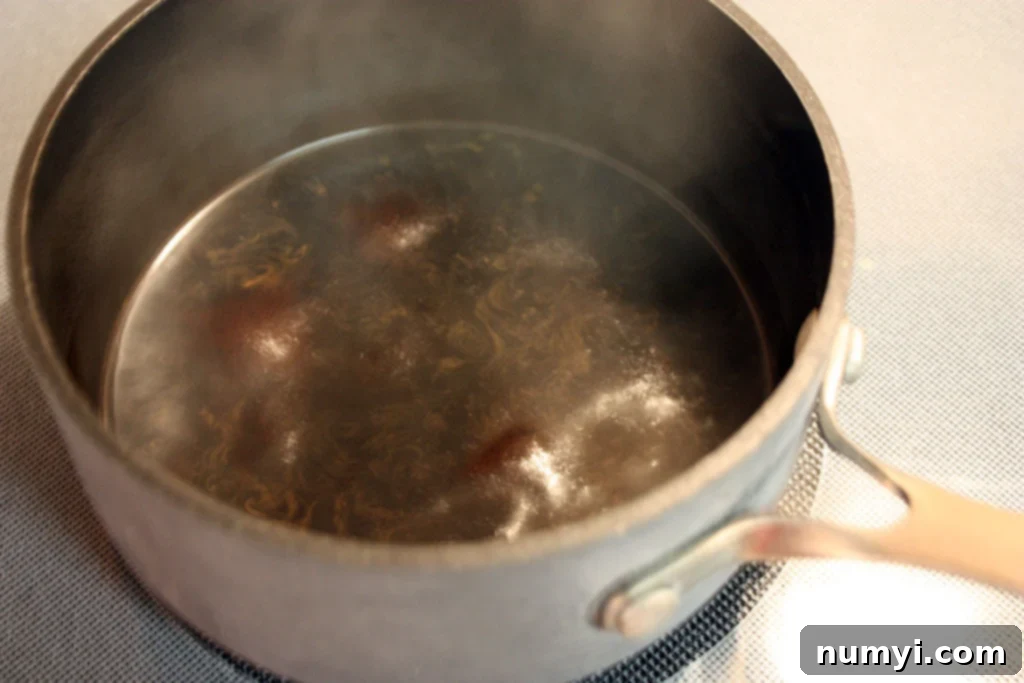
First, combine the freshly brewed espresso (or strong coffee) with the granulated sugar in a small saucepan. Heat this mixture over medium heat, stirring occasionally, and bring it to a gentle boil. Allow it to simmer and reduce until the liquid measures approximately 1/3 cup. This reduction process concentrates the coffee flavor, creating an intense, aromatic syrup that will infuse your genoise cake with its signature taste. Once reduced, remove the pan from the heat and stir in the cognac (or your chosen liqueur). The alcohol adds depth and a subtle warmth that enhances the coffee’s flavor beautifully. Let this syrup cool to room temperature before using.
Crafting the Luxurious Mascarpone Cream
The mascarpone cream is the soul of tiramisu, providing a rich, velvety texture and a subtly sweet, tangy counterpoint to the coffee. To ensure the smoothest, most luxurious cream, it’s crucial that your mascarpone cheese is at room temperature. This allows it to blend seamlessly without lumps.
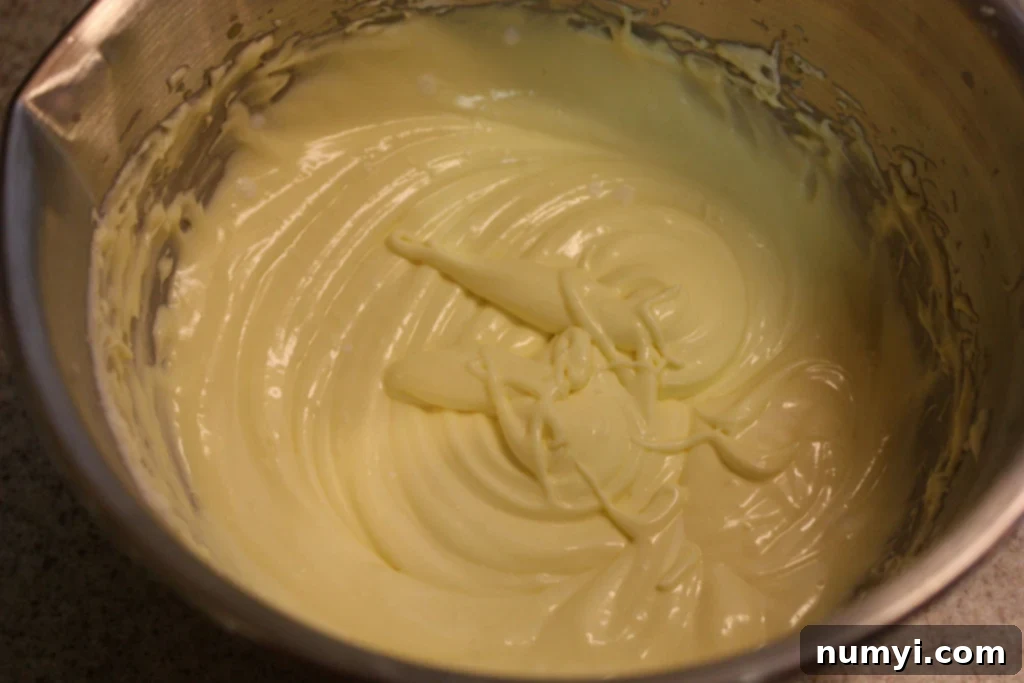
In a large mixing bowl, thoroughly beat the superfine sugar into the room temperature mascarpone cheese until light and fluffy. This step ensures the sugar is completely dissolved and evenly distributed. Next, add the two large egg yolks and the remaining cognac (or other liqueur). Continue to beat the mixture on medium speed until it is perfectly smooth, creamy, and well combined. The egg yolks enrich the cream, adding color and an incredibly silken texture that is characteristic of authentic tiramisu. Scrape down the sides of the bowl as needed to ensure everything is fully incorporated.
Creating the Cloud-Like Whipped Cream Topping
The final creamy component is the ethereal whipped cream topping, which adds a delightful lightness to contrast the rich mascarpone layers. For best results, ensure your heavy whipping cream, bowl, and beaters are all very cold. This helps the cream whip up faster and hold its volume better.
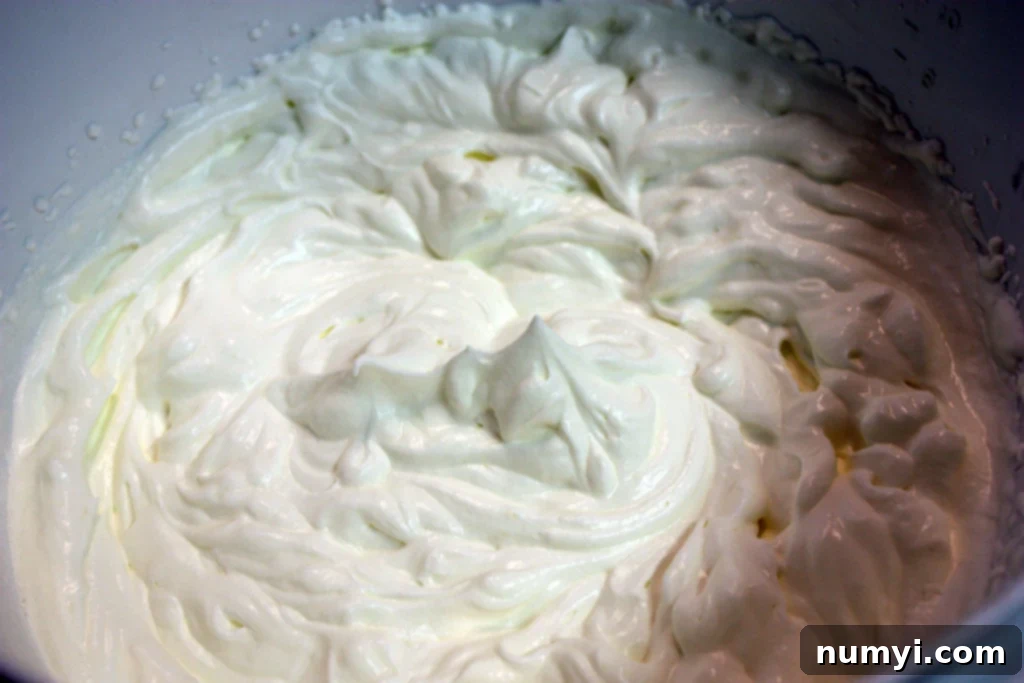
In a large, chilled bowl, dissolve the powdered sugar and vanilla extract into the heavy whipping cream. Begin beating the mixture with a hand mixer on low speed, gradually increasing to high. Continue beating until the cream becomes glossy and forms stiff peaks. Stiff peaks mean that when you lift the beaters, the cream stands up straight and holds its shape without drooping. Be careful not to over-beat, as this can turn the cream grainy. Once stiff peaks are achieved, set the whipped cream aside, ready for assembly.
Layering Perfection: Assembling Your Tiramisu
Now for the exciting part – bringing all these wonderful components together into a show-stopping dessert. Choose your serving dish; an 8×8 inch pan works perfectly if you used an 8×8 inch baking pan for your genoise cake.
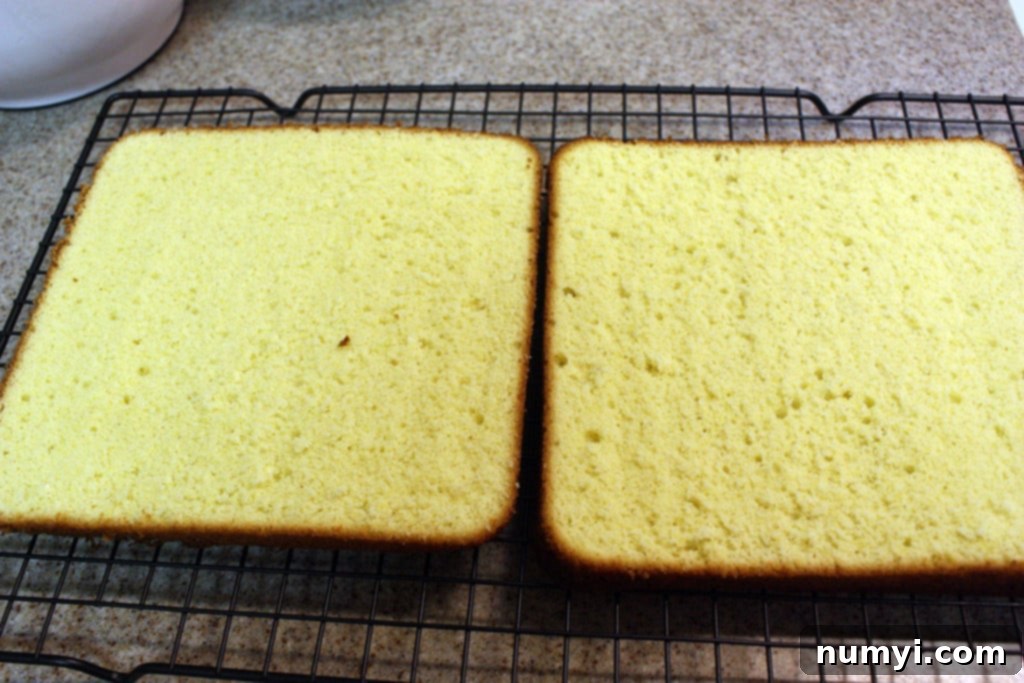
Begin by carefully slicing your cooled genoise cake horizontally into two even layers. Place one half of the genoise cake at the bottom of your chosen serving dish. This forms your first cake layer. Evenly sprinkle or brush half of the prepared coffee syrup over this cake layer. Ensure the cake is adequately moistened but not completely saturated or soggy. The goal is to infuse it with coffee flavor and a moist texture.
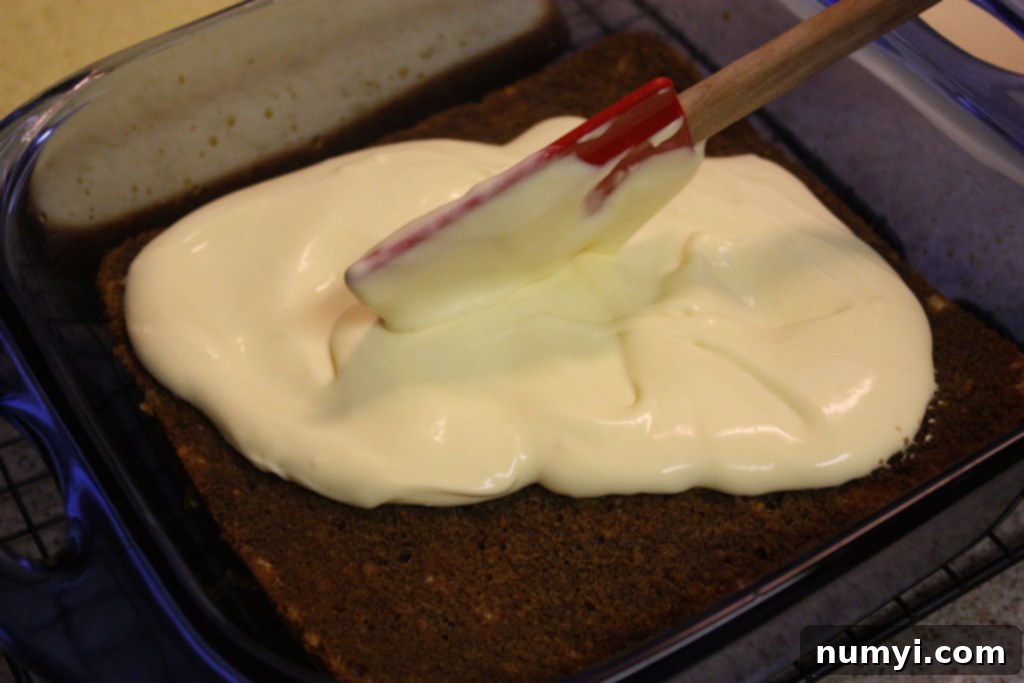
Next, spread half of the luxurious mascarpone cream mixture evenly over the coffee-soaked genoise layer. Use an offset spatula to create a smooth, consistent layer. This rich, velvety cream provides a wonderful contrast to the light cake.
Follow with half of the fluffy whipped cream, spreading it gently over the mascarpone layer. For an added touch of decadence and visual appeal, sprinkle a generous amount of finely grated chocolate shavings over this whipped cream layer. These provide a subtle crunch and burst of intense chocolate flavor that complements the coffee and cream perfectly.
Carefully place the second genoise cake layer on top of the first stack. Repeat the layering process: brush the remaining coffee syrup over the cake, spread the remaining mascarpone mixture, and then top with the rest of the whipped cream. For the final flourish, garnish the top of your tiramisu with more chocolate shavings or a generous dusting of cocoa powder. This not only makes it look beautiful but also adds another layer of flavor and aroma.
Once assembled, cover the serving dish tightly with plastic wrap and refrigerate for at least 6 hours. While it’s tempting to dive in sooner, the chilling time is absolutely crucial. It allows the flavors to meld beautifully, the genoise cake to fully absorb the coffee syrup, and the layers to set, resulting in a firm, sliceable, and utterly delicious dessert. For the best possible flavor and texture, I highly recommend an overnight chill. Believe me, waiting is the hardest part, and while it might not be received well by eager family members, the incredible taste of a perfectly chilled tiramisu makes it worth every moment of anticipation!
A helpful tip for seamless assembly: using an 8×8 inch pan for baking your genoise cake ensures it fits perfectly into an 8×8 inch serving dish for layering, making the process smooth and hassle-free.
Tips for Tiramisu Success & Variations
To ensure your tiramisu turns out perfect every time, here are a few extra tips: always use high-quality ingredients, especially the mascarpone and espresso. Don’t rush the process, especially the chilling time. Patience is key for flavors to fully develop. For those looking to experiment, consider a chocolate tiramisu by adding cocoa powder to the genoise batter or mascarpone cream. Fruit-infused tiramisu with berries or citrus zest can offer a lighter, brighter twist. Experiment with different liqueurs like amaretto for a nutty flavor, or rum for a warmer note.
Storage and Freezing Guidelines
Once prepared, store your homemade tiramisu in the refrigerator, tightly wrapped with plastic wrap, for up to 3 days. This helps maintain its freshness and prevents it from absorbing odors from other foods in your fridge. While it might be tempting to make a large batch and freeze it, I strongly advise against freezing tiramisu. The high dairy content in the mascarpone cream and whipped cream is prone to separating and weeping once thawed, resulting in a watery and unappetizing texture. This dessert is best enjoyed fresh from the refrigerator, showcasing its creamy, delicate layers as intended.
Enjoy every delightful bite! This recipe is a guaranteed crowd-pleaser and we are confident you’ll find yourself making this exquisite tiramisu time and time again. It’s truly a labor of love that pays off in extraordinary flavor.
Are you on Pinterest? Click the button below to add this recipe to one of your boards!
For the best results, we recommend making your own genoise cake from scratch as detailed in this recipe. Alternatively, you can use shortbread cookies, biscotti, pound cake, or even a simple sponge cake as a base, but the genoise offers the most authentic and delicate texture.
Store the tiramisu in the refrigerator, wrapped tightly with plastic wrap to prevent it from drying out or absorbing other odors. It will stay fresh and delicious for about 3 days.
I truly do not recommend freezing tiramisu. The dairy components, particularly the mascarpone and whipped cream, tend to separate and become watery (“weep”) upon thawing, compromising the dessert’s creamy texture and overall quality.
Explore More Delicious Dessert Recipes
- Chocolate Tiramisu
- Italian Fig Cookies (Cucidati)
- Italian Ricotta Cookies Recipe
- Italian Sesame Seed Cookies (Biscotti Regina)
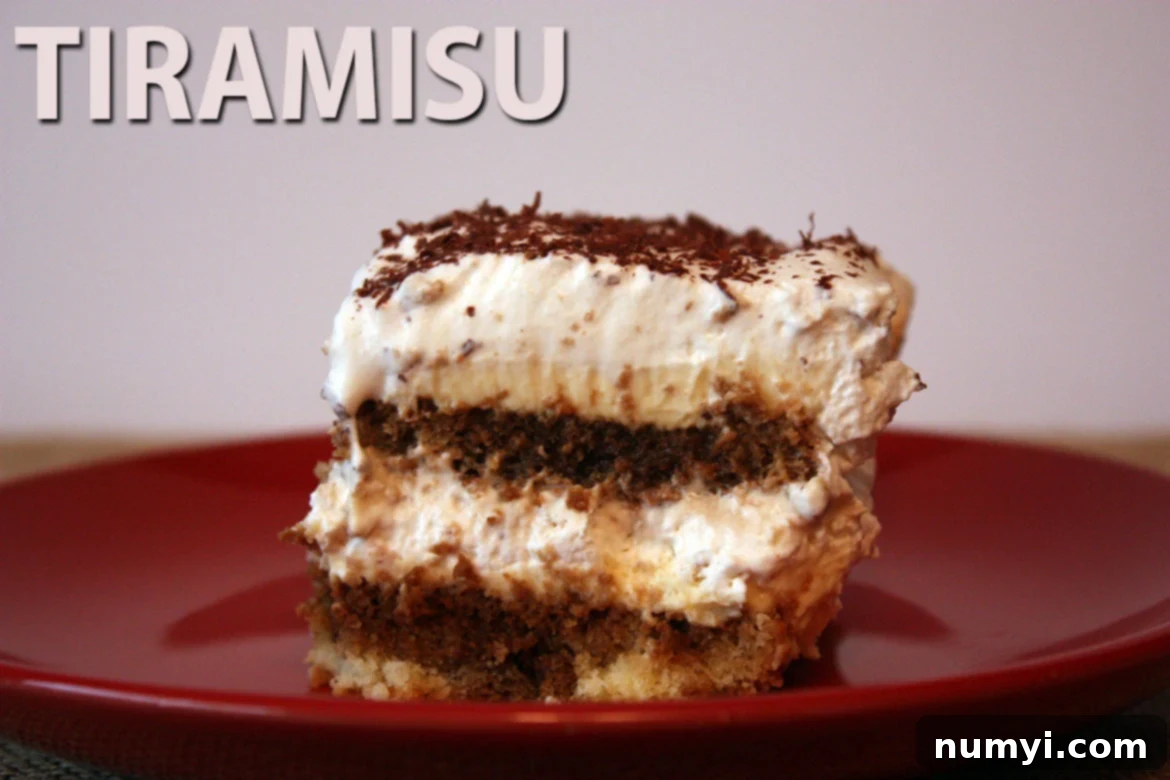
Easy Tiramisu Recipe (without ladyfingers)
Print
Pin
Rate
Ingredients
The Genoise Cake:
- 3 large eggs
- 1/3 cup plus 3 Tablespoons granulated sugar
- 1 teaspoon Vanilla extract
- 1/2 cup cake flour sifted
- 2 Tablespoons butter melted
Coffee Syrup:
- 2/3 cup espresso or double strength coffee
- 1 Tablespoon granulated sugar
- 1/4 cup Cognac
Mascarpone Cream:
- 1/2 lb Mascarpone cheese room temperature
- 1/2 cup Superfine sugar*
- 2 large egg yolks
- 3 Tablespoons cognac
Whipped Cream:
- 1 pint Heavy whipping cream
- 1 Tablespoon powdered sugar
- 1/4 teaspoon Vanilla extract
Instructions
Genoise cake:
-
Preheat oven to 350° F.
-
Spray a 9-inch diameter round cake pan or 8×8 inch rectangular cake pan with baking spray.
-
Beat the eggs and 1/3 cup of sugar at medium speed in a double boiler over very hot water (just shy of boiling) until silky smooth.
-
Add the remaining 3 tablespoons of sugar and beat at high speed until the mixture reaches a consistency that forms ribbons when poured.
-
Remove from heat, stir in the vanilla, and carefully fold in the cake flour.
-
Fold in the melted butter.
-
Pour the mixture into the prepared pan and bake at 350° F for 30 to 40 minutes.
-
Remove from oven and immediately turn the cake out of the pan onto a wire rack to cool.
Coffee Syrup:
-
Mix the sugar into the coffee in a small sauce pan.
-
Reduce (by boiling) the coffee-sugar mixture until only 1/3 cup remains.
-
Remove from heat, add the Cognac and stir.
Mascarpone Cream:
-
Thoroughly beat the sugar into the mascarpone cheese.
-
Add the 2 egg yolks, cognac and beat until the mixture is smooth.
Whipped Cream:
-
Dissolve the sugar and vanilla extract into the whipping cream.
-
Beat the mixture with a hand mixer until glossy and stiff.
Chocolate Shavings:
-
SEMI-SWEET CHOCOLATE, good quality, 1 square (1 ounce) well-chilled but not frozen
-
Grate into fine shavings and set aside.
To Assemble:
-
Slice the Genoise cake in half latitudinal to make two layers.
-
Put one layer of the genoise cake at the bottom of the serving bowl or pan and brush half of the coffee syrup over it.
-
Spread half of the Mascarpone Cream over the cake layer.
-
Spread half of the Whipped Cream over the layer of Mascarpone Cream.
-
Sprinkle the Chocolate Gratings over the Whipped Cream layer.
-
Put the second layer of Genoise cake on top of the stack, sprinkle it with the remaining coffee syrup, and repeat layers.
-
Cover with plastic wrap and refrigerate for at least 6 hours or overnight.
*Note – I find the superfine sugar in a small plastic bottle by Domino. It will say Superfine on the label.
Nutrition
Recipe from heavenlytiramisu
