Ultimate Homemade Red Velvet Cupcakes with Cream Cheese Frosting: A Bakery-Quality Recipe
Prepare to be absolutely amazed by these incredible red velvet cupcakes! My husband, a tough critic when it comes to baked goods, declared these to be even better than those from our beloved local bakery. Coming from him, that’s truly the highest compliment a home baker can receive. If you’re searching for a dessert that delivers on both stunning aesthetics and unforgettable flavor, your quest ends here.
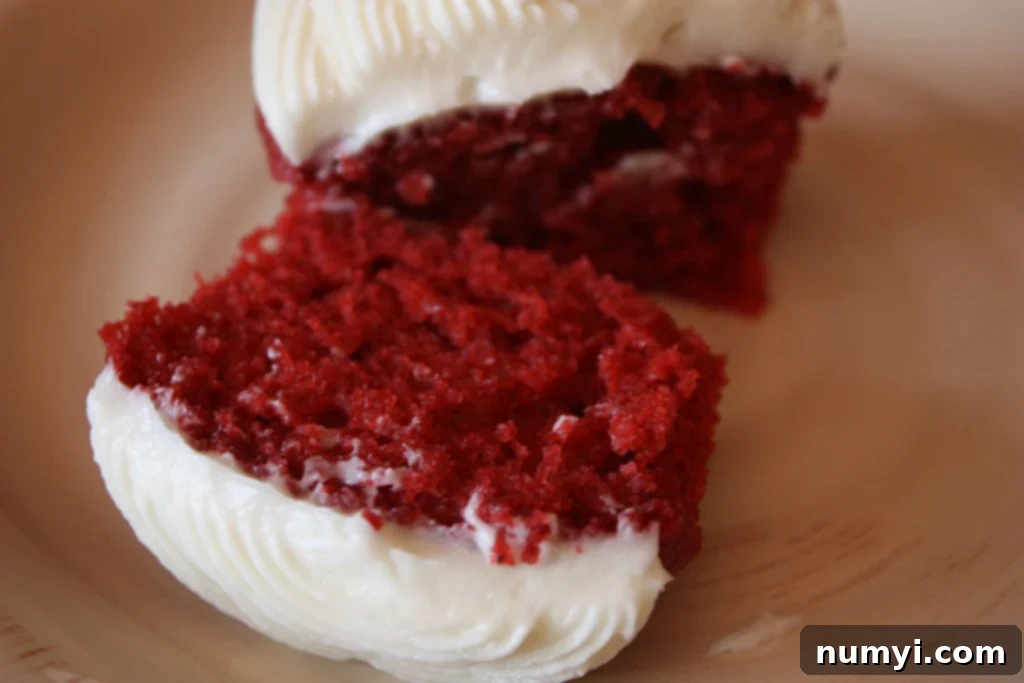
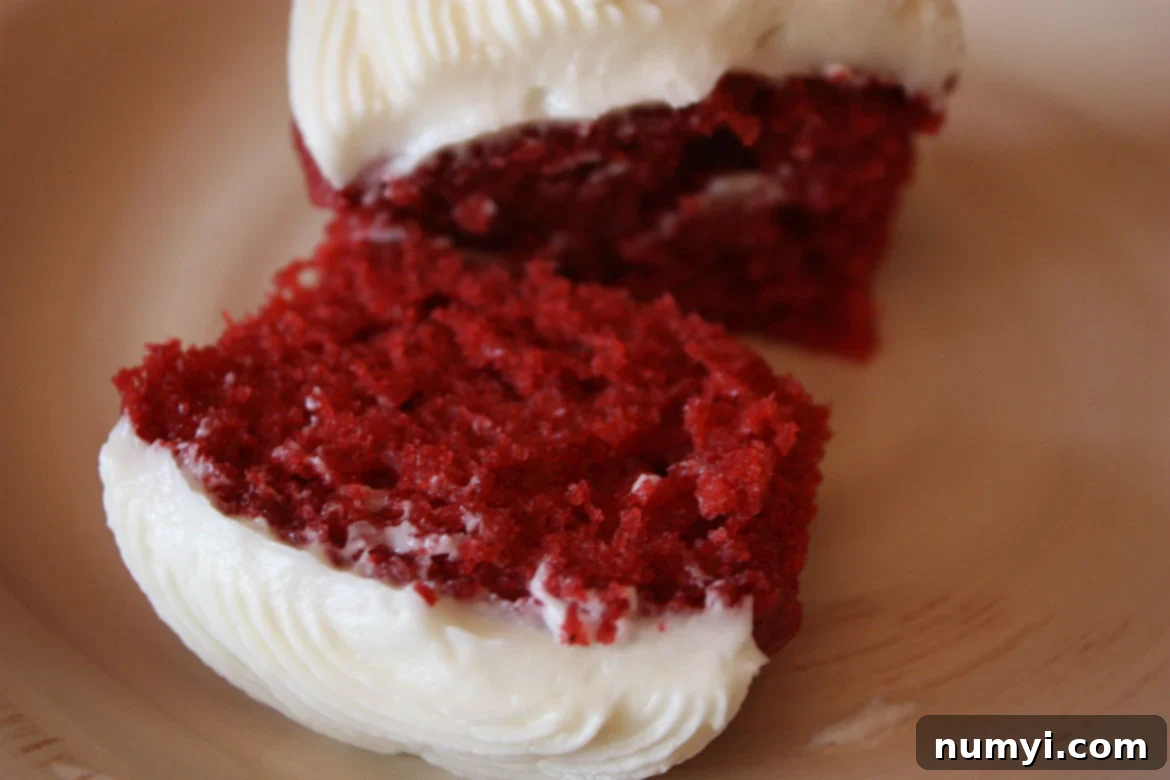
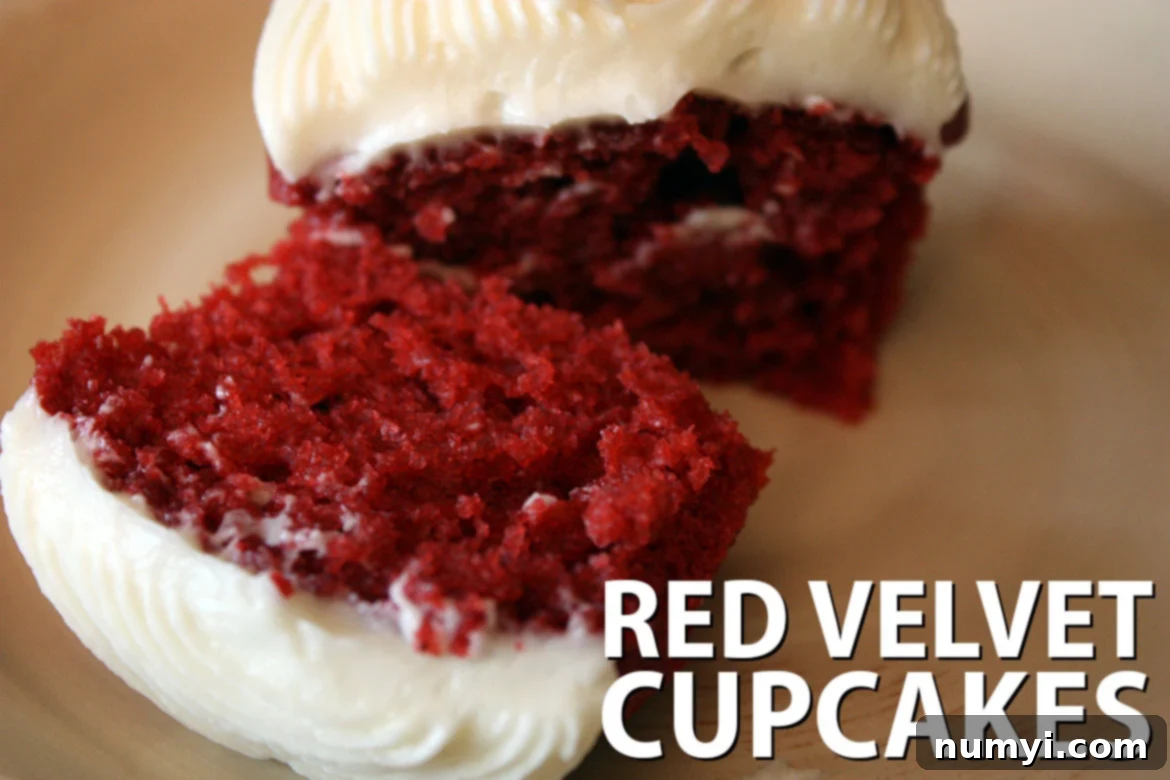
This recipe promises a delightful sensory experience: a striking deep red hue that is characteristic of classic red velvet, a wonderfully moist and tender crumb that practically melts in your mouth, and a perfectly balanced, fluffy texture that speaks of baking perfection. Each cupcake is generously slathered with a luscious, tangy cream cheese frosting – the quintessential topping that elevates red velvet from simply delicious to absolutely divine. This isn’t just a recipe; it’s a journey to creating bakery-quality treats right in your own kitchen.

Why You Will Love This Easy Red Velvet Cupcake Recipe
There are countless reasons why this particular red velvet cupcake recipe stands out and will quickly become your go-to. It’s designed for success, delivering consistently spectacular results that will impress everyone who tries them.
- Unbelievably Delicious: These aren’t just any cupcakes; they are sinfully delicious. Each bite offers a harmonious blend of a subtle cocoa flavor with a slight tang from the buttermilk, all enveloped in a soft, moist, and wonderfully tender crumb. The experience is completed by a generous swirl of rich, creamy, and perfectly sweet-tangy cream cheese frosting that truly makes these cupcakes irresistible. It’s a classic flavor profile executed flawlessly.
- Effortless Perfection: Despite their sophisticated appearance and gourmet taste, these red velvet cupcakes are surprisingly easy to make. The recipe is straightforward, designed to guide even novice bakers to perfect results every single time. With clear steps and common ingredients, you won’t encounter any complicated techniques. Simply follow along and watch as you create a batch of stunning cupcakes that look and taste like they came from a high-end patisserie.
- A Crowd-Pleaser for Any Occasion: Whether it’s a birthday party, a holiday gathering, a potluck, or just a treat for your family, these red velvet cupcakes are always a hit. Their vibrant color and decadent flavor make them a festive and beloved dessert that disappears quickly. You’ll love the compliments you receive!
- Better Than Store-Bought: Forget dry, bland store-bought versions. This homemade recipe ensures a fresh, flavorful, and incredibly moist cupcake that truly surpasses anything you can buy. The homemade cream cheese frosting, in particular, sets these apart, offering a richness and tang that commercial frostings often lack.
Essential Tips for Perfect Red Velvet Cupcakes
Achieving bakery-quality red velvet cupcakes at home is easier than you think, especially when armed with a few key tips. These simple guidelines will help you avoid common pitfalls and ensure your cupcakes are moist, fluffy, and perfectly baked every time.
- Proper Flour Measurement is Crucial: This might be the most overlooked step in baking! Do not scoop your flour directly from the bag with your measuring cup. Instead, first aerate the flour by fluffing it with a spoon. Then, gently spoon the flour into your measuring cup until it’s overflowing. Finally, use the flat side of a knife or a straight edge to level off the top. Adding too much flour is a common mistake that leads to dense, dry, and crumbly cupcakes – the opposite of what we want for red velvet.
- Avoid Overmixing the Batter: The secret to light and fluffy cupcakes lies in gentle mixing. Once you’ve combined the wet and dry ingredients, mix just until they are incorporated and no streaks of dry flour remain. Overmixing develops the gluten in the flour, leading to a tough, chewy texture. A handheld electric mixer is perfect for this, but be mindful of the speed and duration.
- Room Temperature Ingredients are a Must: While not explicitly listed in the original steps for all ingredients, ensuring your buttermilk, eggs, and cream cheese (for the frosting) are at room temperature is fundamental. When ingredients are at room temperature, they form a better emulsion. This means they blend together more smoothly and uniformly. Cold ingredients, on the other hand, don’t mix as well, leading to a lumpy batter or frosting. A proper emulsion allows for better air incorporation during mixing. This trapped air is what expands in the oven, creating that light, fluffy, and tender texture we all crave in baked goods. It also helps in dissolving sugar evenly and distributing fats more effectively throughout the batter, leading to a consistently delicious and perfectly textured product. Plan ahead and take them out of the fridge at least 30 minutes to an hour before you start baking.
- Buttermilk Magic (DIY if Needed): Buttermilk is essential for red velvet, contributing to its signature tang, moisture, and helping activate the baking soda for a perfect rise. If you don’t have buttermilk on hand, don’t fret – you can easily make your own. For 1 1/2 cups of buttermilk, place 1 1/2 Tablespoons of white vinegar (or lemon juice) in a liquid measuring cup. Then, pour regular milk (any kind, but whole milk works best) into the cup until it reaches the 1 1/2 cup mark. Give it a gentle stir and let it sit for about 5 minutes. The milk will curdle slightly, indicating it’s ready to use as a substitute.
- Quality Red Food Coloring: For that iconic deep red color, use a high-quality gel food coloring. Gel colors are more concentrated than liquid food colorings, meaning you’ll need less to achieve a vibrant hue without thinning your batter. While 3 tablespoons are suggested in the recipe card, you can adjust this amount to your preference or the strength of your coloring.
Step-by-Step Guide: How to Make Moist Red Velvet Cupcakes
Follow these detailed steps to create your own batch of irresistible red velvet cupcakes. Precision and patience are your best friends in the kitchen!
- Prepare Your Workspace: Begin by preheating your oven to 350 degrees F (175 degrees C). This ensures the oven is at the correct temperature when your batter is ready, which is vital for even baking. Line two standard 12-cup muffin tins with paper cupcake liners. These liners not only prevent sticking but also make for easy handling and a professional look.
- Combine Dry Ingredients: In a medium-sized mixing bowl, whisk together the all-purpose flour, granulated sugar, baking soda, salt, and unsweetened cocoa powder. Whisking ensures these dry ingredients are thoroughly combined and evenly distributed, preventing pockets of baking soda or salt in your finished cupcakes.
- Mix Wet Ingredients: In a separate, larger bowl, gently beat together the vegetable oil, room temperature buttermilk, room temperature large eggs, red food coloring, distilled white vinegar, and vanilla extract. I find a handheld electric mixer works perfectly for this, allowing you to achieve a smooth, well-emulsified mixture. The oil provides exceptional moisture, while the buttermilk and vinegar react with the baking soda to give the cupcakes their signature lift and tender texture.
- Combine Wet and Dry: Gradually add the dry ingredients mixture to the wet ingredients. Mix on low speed, or by hand with a spatula, just until the ingredients are incorporated and no streaks of dry flour remain. Remember our earlier tip: DO NOT overmix! Overmixing will develop the gluten, leading to tough cupcakes. Scrape down the sides of the bowl as needed with your spatula to ensure everything is incorporated.
- Fill Cupcake Liners: Divide the vibrant red batter evenly among the prepared cupcake papers. A good rule of thumb is to fill each liner about 2/3 full. This allows enough space for the cupcakes to rise beautifully without overflowing, creating that perfect dome top.
- Bake to Perfection: Place the muffin tins in the preheated oven and bake for 20 to 22 minutes. Baking times can vary depending on your oven, so keep an eye on them. You’ll know they’re done when a toothpick inserted into the center of a cupcake comes out clean, with no wet batter attached. Be careful not to overbake, as this can lead to dry cupcakes.
- Cool Completely: Once baked, remove the cupcakes from the oven and let them cool in the muffin tins for a few minutes before transferring them to a wire rack. It is absolutely crucial to let them cool completely to room temperature before applying the frosting. If you try to frost warm cupcakes, the cream cheese frosting will melt and slide right off, creating a messy rather than magnificent result.
- Prepare the Cream Cheese Frosting: While the cupcakes are cooling, prepare the classic cream cheese frosting. In a large mixing bowl, cream together the softened unsalted butter and softened cream cheese until the mixture is light, fluffy, and smooth. Gradually add the powdered sugar, one cup at a time, mixing well after each addition until fully incorporated. Finally, beat in the vanilla extract. Adjust the amount of powdered sugar to achieve your desired consistency and sweetness. You can use a piping bag with your favorite tip for an elegant look, or simply spread it generously with an offset spatula.
Frequently Asked Questions About Red Velvet Cupcakes
Curious about red velvet? Here are answers to some of the most common questions to help you master this delightful dessert.
Southern red velvet cupcakes are a unique and delicious hybrid. They are fundamentally a vanilla cake with a hint of cocoa, often described as a mild chocolate flavor rather than an intense cocoa experience. The “velvet” in the name refers to their famously soft and smooth texture. The distinct flavor profile comes from the combination of a small amount of cocoa powder, along with the acidity from buttermilk and vinegar, which creates a slight tang. This tanginess is crucial as it perfectly balances the sweetness of the cake and the rich, creamy, and sweet-tangy cream cheese frosting. It’s a wonderfully complex and satisfying taste that keeps people coming back for more.
Using room temperature ingredients, especially eggs, butter, and dairy products like buttermilk and cream cheese (for frosting), is one of the most vital steps for successful baking. When ingredients are at room temperature, they form a better emulsion. This means they blend together more smoothly and uniformly. Cold ingredients, on the other hand, don’t mix as well, leading to a lumpy batter or frosting. A proper emulsion allows for better air incorporation during mixing. This trapped air is what expands in the oven, creating that light, fluffy, and tender texture we all crave in baked goods. It also helps in dissolving sugar evenly and distributing fats more effectively throughout the batter, leading to a consistently delicious and perfectly textured product.
Red velvet cupcakes, especially with their cream cheese frosting, are best enjoyed fresh. However, if stored properly, they can maintain their deliciousness for a few days. Always store frosted red velvet cupcakes covered in an airtight container in the refrigerator. This will keep them fresh for up to 3 days. The refrigeration is crucial due to the cream cheese in the frosting. For optimal flavor and texture, it’s highly recommended to bring the cupcakes to room temperature for about 30 minutes before serving. This allows the frosting to soften slightly and the cake to regain its moist tenderness.
Yes, you can absolutely freeze red velvet cupcakes, which is a great way to prepare them in advance or save leftovers for later! However, there’s a crucial caveat: they must be unfrosted. Cream cheese frosting does not freeze well; its texture can become grainy or separate when thawed, ruining the smooth consistency. To freeze unfrosted cupcakes, ensure they are completely cooled. Then, wrap each individual cupcake tightly in plastic wrap, followed by a layer of aluminum foil. Place them in an airtight freezer-safe bag or container. They can be frozen for up to 2 months. When you’re ready to enjoy them, thaw them at room temperature, then prepare fresh cream cheese frosting and decorate. This method ensures you get the best possible taste and texture when you decide to indulge.
The iconic deep red color of red velvet cake traditionally came from a chemical reaction between acidic ingredients (like buttermilk and vinegar) and natural cocoa powder, which at the time was often non-Dutched (non-alkalized). This reaction would bring out reddish-brown anthocyanin pigments in the cocoa. However, with modern Dutch-processed cocoa and advancements in food coloring, achieving that vibrant red now almost always requires the addition of red food coloring. High-quality gel food coloring is recommended for the most intense and consistent hue.
Cupcakes sinking in the middle can be a common baking frustration, and for red velvet, it’s often due to a few factors. The most frequent culprits are opening the oven door too early during baking (especially in the first 10-15 minutes), overmixing the batter, or not baking them long enough. When the oven door is opened, a sudden drop in temperature can cause the delicate structure to collapse. Overmixing develops too much gluten, which can lead to a dense center that eventually falls. Underbaking means the center hasn’t set properly, and it will inevitably sink as it cools. Always ensure your oven is preheated, avoid opening the door, and check for doneness with a toothpick that comes out clean.
Explore More Delicious Cupcake Recipes
If you’ve enjoyed these Red Velvet Cupcakes, you’ll love exploring other delightful cupcake creations. Expand your baking repertoire with these fantastic recipes:
- Irresistible Coconut Cupcakes
- Classic Chocolate Cupcake Recipe
- Bright & Zesty Lemon Cupcakes
- Sweet Fresh Strawberry Cupcakes

Red Velvet Cupcakes with Cream Cheese Frosting Recipe
Print
Pin
Rate
Ingredients
- 2 1/2 cups all-purpose flour
- 1 1/2 cups granulated sugar
- 1 tsp baking soda
- 1 tsp salt
- 3 tsp unsweetened cocoa powder
- 1 cup vegetable oil
- 1 1/2 cups buttermilk, room temperature
- 2 large eggs, room temperature
- 3 Tbs red food coloring (I only used 2 Tbs, that was all I had, adjust to desired vibrancy)
- 1 tsp distilled white vinegar
- 2 tsp vanilla extract
Cream Cheese Frosting
- 4 Tbs unsalted butter, softened
- 8 oz cream cheese, softened
- 3 3/4-4 1/2 cups powdered sugar (this will depend on how thick and sweet you like the frosting)
- 1 tsp vanilla extract
Instructions
Cupcakes
-
Preheat your oven to 350°F (175°C). Line two standard 12-cup muffin tins with paper cupcake liners, ensuring they are ready for the batter.
-
In a medium-sized mixing bowl, whisk together the all-purpose flour, granulated sugar, baking soda, salt, and unsweetened cocoa powder until thoroughly combined and lump-free.
-
In a large bowl, beat the vegetable oil, room temperature buttermilk, room temperature eggs, red food coloring, distilled white vinegar, and vanilla extract together until the mixture is smooth and well-emulsified.
-
Gradually add the dry ingredients to the wet ingredients. Mix on low speed or by hand with a spatula just until smooth and thoroughly combined. Be careful not to overmix the batter. Scrape down the sides of the bowl as needed.
-
Divide the vibrant red batter evenly among the prepared cupcake papers, filling each one about 2/3 full to allow for proper rising.
-
Bake for 20 to 22 minutes, or until a wooden toothpick inserted into the center of a cupcake comes out clean. Avoid overbaking.
-
Allow the cupcakes to cool completely in the muffin tins for a few minutes before transferring them to a wire rack to finish cooling to room temperature. This is essential before frosting.
Cream Cheese Frosting:
-
In a large mixing bowl, beat the softened unsalted butter and softened cream cheese together until light and fluffy. Gradually add the powdered sugar, one cup at a time, mixing well after each addition. Finally, beat in the vanilla extract until the frosting is smooth and creamy. Frost the completely cooled cupcakes as desired.
Nutrition
Recipe adapted from GirlsinAprons, perfected for your home kitchen.
