The Ultimate Easy Key Lime Pie Recipe: A Zesty, Creamy Delight for Any Occasion
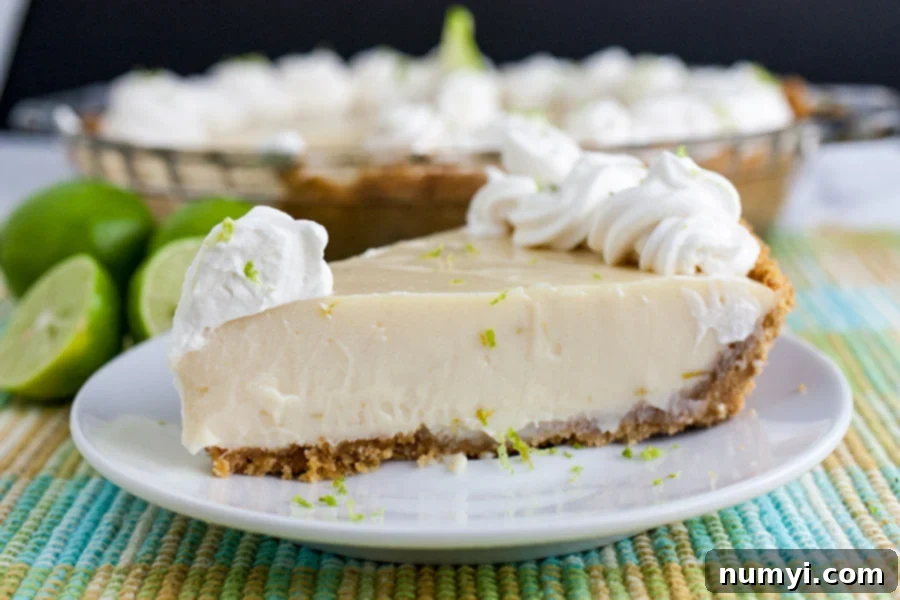
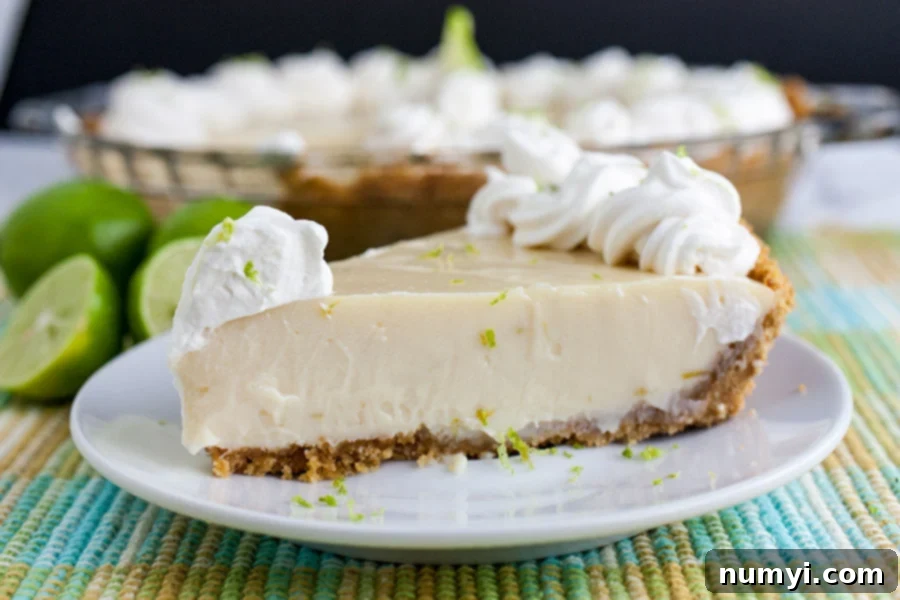
There are few desserts that capture the essence of sunshine and refreshing flavors quite like a classic Key Lime Pie. This recipe delivers a pie that is perfectly cool, incredibly creamy, wonderfully refreshing, and boasts an exquisite balance – not too tart, and certainly not too sweet. It’s the quintessential dessert, ideal for brightening any spring gathering, serving at a festive summer barbecue, or simply indulging in a taste of the tropics right in your own kitchen. Prepare yourself for a dessert experience that will transport your taste buds straight to the Florida Keys.
Why This Easy Key Lime Pie Will Be Your New Favorite
This isn’t just another Key Lime Pie recipe; it’s *the* Key Lime Pie recipe you’ll come back to again and again. Here’s why it’s destined to become a beloved staple in your dessert repertoire:
- Uncomplicated Perfection: Seriously, pie-making doesn’t get much simpler than this! With just a few basic ingredients and minimal hands-on time, you’ll create a dessert that tastes like it came from a gourmet bakery. The filling comes together with a quick whisk, and the baking time is incredibly short – usually around 10 to 15 minutes.
- Crowd-Pleasing Flavor Profile: Every time I serve this Key Lime Pie, it receives universal rave reviews from guests. Its unique blend of tangy lime and sweet cream is universally appealing, making it perfect for family dinners, holiday celebrations like Mother’s Day or Easter, or any special occasion where you want to impress without the stress.
- Perfectly Balanced Taste: Many Key Lime Pies can be overwhelmingly tart or sickly sweet. This recipe strikes the ideal chord, offering a vibrant citrus zing that is beautifully mellowed by the rich, creamy texture, ensuring a harmonious and utterly satisfying bite every time.
- No Eggs Required: One of the brilliant aspects of this recipe is that the filling sets perfectly without the need for eggs, thanks to the magic of sweetened condensed milk. This simplifies the process and eliminates any concerns about tempering eggs.
- Versatile for Any Season: While often associated with warm weather, the refreshing quality of Key Lime Pie makes it a welcome treat year-round. It’s especially delightful during spring and summer, offering a light and cooling finish to any meal.
If you’re a fan of delicious homemade pies, you might also enjoy some of our other cherished pie recipes, such as Coconut Cream Pie, Blueberry Pie, Butterfinger Pie, and Strawberry Pie.
Essential Key Lime Pie Ingredients
Crafting the perfect Key Lime Pie requires a few high-quality, simple ingredients. Each component plays a crucial role in achieving that signature flavor and texture. For a complete list of measurements and detailed instructions, please refer to the recipe card below.
- Fresh Key Lime Juice: This is the absolute star of the show. Key limes are smaller, yellower, and significantly tarter than regular Persian limes. Their distinct, floral, and aromatic flavor is what gives Key Lime Pie its authentic and unmistakable taste. While bottled Key lime juice is available, using fresh-squeezed juice makes an incomparable difference. The most “labor-intensive” part of this recipe will likely be squeezing these tiny gems – I typically find that about 17-18 Key limes yield the necessary 3/4 cup of juice.
- Sweetened Condensed Milk: This sweet, thick, and creamy ingredient is paramount. It provides the necessary sweetness and, crucially, allows the pie filling to set into a luscious, custard-like texture without the addition of eggs. You’ll need two standard 14-ounce cans for this recipe to achieve the perfect consistency and sweetness.
- Sour Cream: Adding sour cream to the filling introduces a wonderful richness and a slightly tangy complexity that complements the lime beautifully. It contributes to the pie’s smooth, thick, and luxurious texture, balancing the sweetness of the condensed milk and enhancing the overall depth of flavor.
- Graham Cracker Crust: A golden, buttery graham cracker crust is the traditional and perfect base for Key Lime Pie. It offers a delightful crunch and a subtle sweetness that pairs exquisitely with the tangy filling. While making a homemade graham cracker crust is incredibly simple and highly recommended, a good quality store-bought crust can also be used for convenience.
- Whipped Cream (for garnish): A generous dollop of fluffy whipped cream is the ideal topping for Key Lime Pie. Its light, airy sweetness provides a lovely contrast to the dense, tangy filling. Whether you opt for homemade whipped cream for an extra touch of decadence or a convenient store-bought version, it’s an essential finishing touch.
Making Your Easy Key Lime Pie: A Step-by-Step Guide
Get ready to create a masterpiece with minimal effort! Follow these straightforward steps to assemble your incredible Key Lime Pie.
Crafting the Perfect Graham Cracker Crust
First things first, let’s prepare that delicious crust. If you’re using a store-bought crust, you can skip to the filling instructions. Otherwise, here’s the drill:
- Preheat your oven: Set your oven to 350°F (175°C). This ensures your crust bakes evenly and becomes perfectly golden.
- Combine ingredients: In a medium-sized bowl, mix together the graham cracker crumbs, granulated sugar, and melted unsalted butter. Stir until all the crumbs are uniformly moist and thoroughly combined. The mixture should resemble wet sand.
- Press into the pan: Transfer the crumb mixture into a 9-inch pie pan. Using the bottom of a glass or your fingers, firmly press the mixture into an even layer across the bottom and up the sides of the pie pan. A well-compacted crust is key to preventing crumbling.
- Bake the crust: Bake the pressed crust for approximately 8-10 minutes. This quick bake helps to set the crust, making it sturdy and preventing it from becoming soggy once the filling is added. Keep an eye on it to prevent over-browning.
- Cool: Remove the baked crust from the oven and let it cool completely on a wire rack while you prepare the Key lime filling. Cooling is important to prevent the warm crust from prematurely heating the filling.
Preparing the Creamy Key Lime Filling
Now for the magical filling that brings this pie to life:
- Combine the filling ingredients: In a large mixing bowl, combine the two cans of sweetened condensed milk, the sour cream, the fresh Key lime zest, and the freshly squeezed Key lime juice.
- Whisk until smooth: Using a whisk or an electric mixer on low speed, gently stir all the ingredients together until the mixture is perfectly smooth and uniformly combined. Avoid over-mixing; you just want it well incorporated.
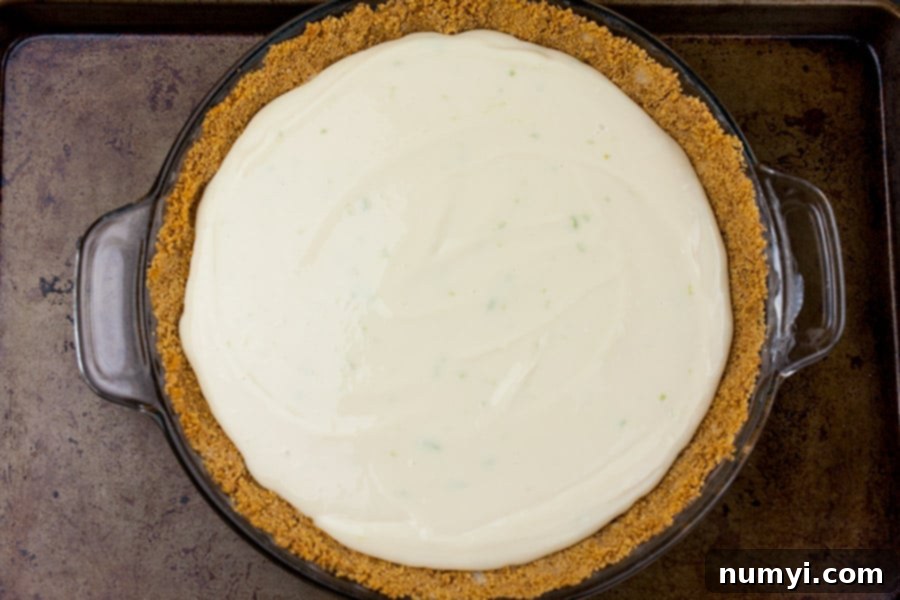
- Pour into the crust: Carefully pour the luscious Key lime pie filling into your prepared and cooled graham cracker crust. Spread it evenly with a spatula if needed.
- Bake the pie: Place the pie back into the preheated oven and bake for 10-15 minutes. You’ll know it’s ready when tiny bubbles begin to form around the edges of the pie’s surface. The center should still have a slight jiggle, as it will continue to set as it cools. Be careful not to overbake, which can lead to a rubbery texture.
- Cool and chill: Remove the pie from the oven and allow it to cool completely to room temperature on a wire rack. This step is crucial. Once cooled, transfer the pie to the refrigerator to chill for at least 3 hours. For the absolute best texture and flavor, chilling it overnight is highly recommended. The longer it chills, the firmer and more refreshing it will become.
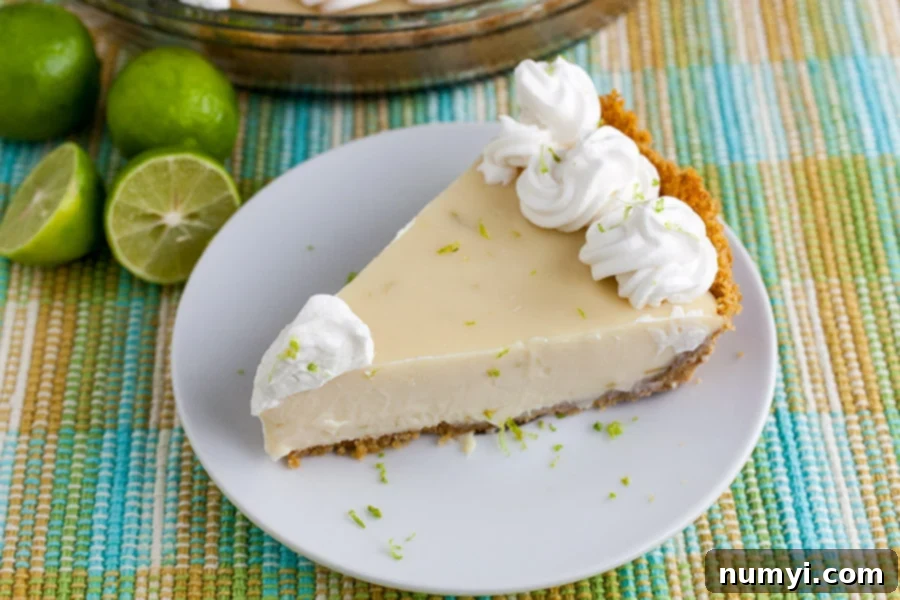
The Grand Finale: Whipped Cream Topping
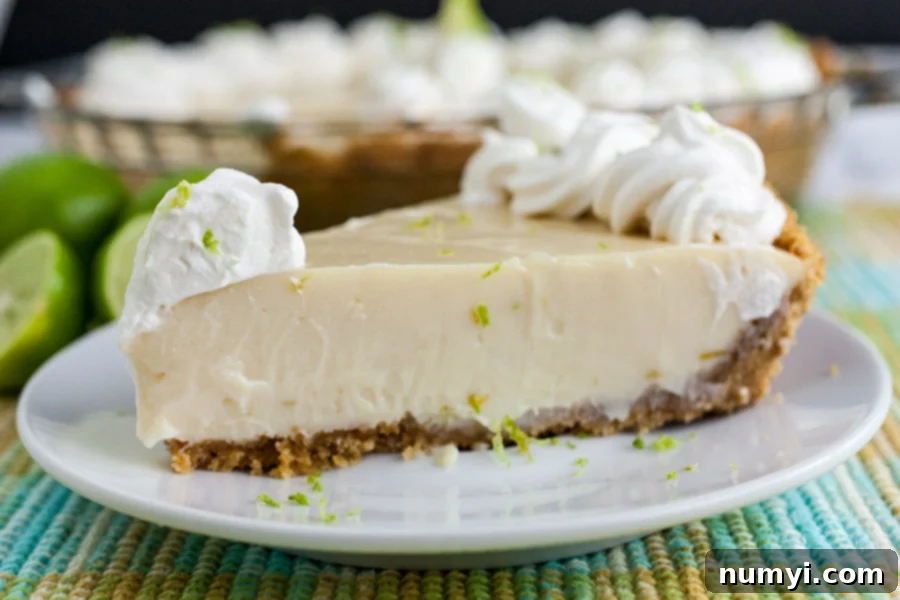
When you’re ready to serve your perfectly chilled Key Lime Pie, it’s time for the crowning glory – the whipped cream:
- Prepare homemade whipped cream: In a cold bowl (preferably chilled in the freezer for 10-15 minutes prior) with cold beaters or a whisk attachment for a stand mixer, combine the heavy cream, powdered sugar, and vanilla extract.
- Whip to stiff peaks: Beat the mixture on medium-high speed until it forms stiff peaks. Be careful not to over-whip, which can turn it grainy. A stand mixer makes this step incredibly easy and efficient.
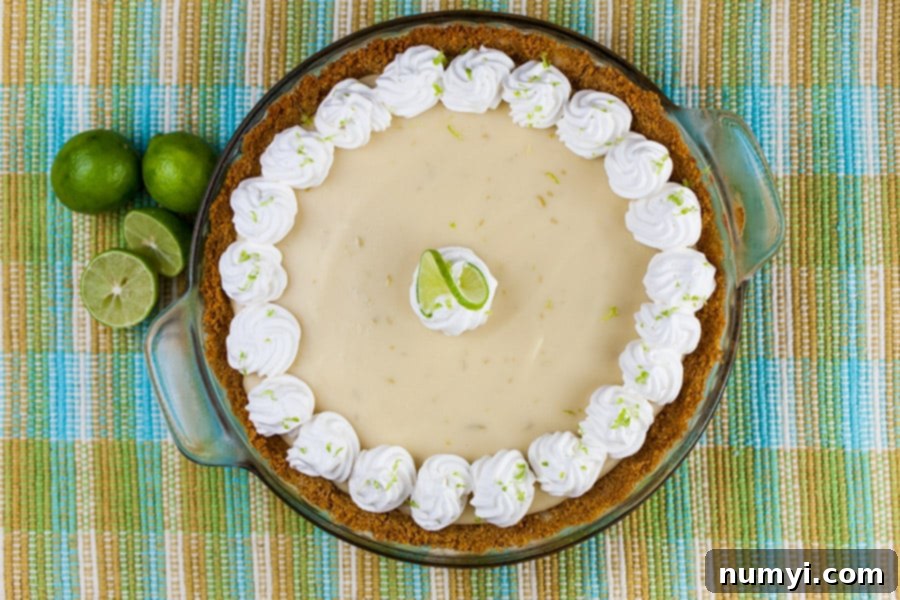
- Garnish and serve: Transfer the whipped cream to a piping bag fitted with a large star tip (or simply spread it with a spoon). Decorate the top of your chilled Key Lime Pie as desired. For an extra pop of flavor and visual appeal, sprinkle a little additional grated Key lime zest over the top.
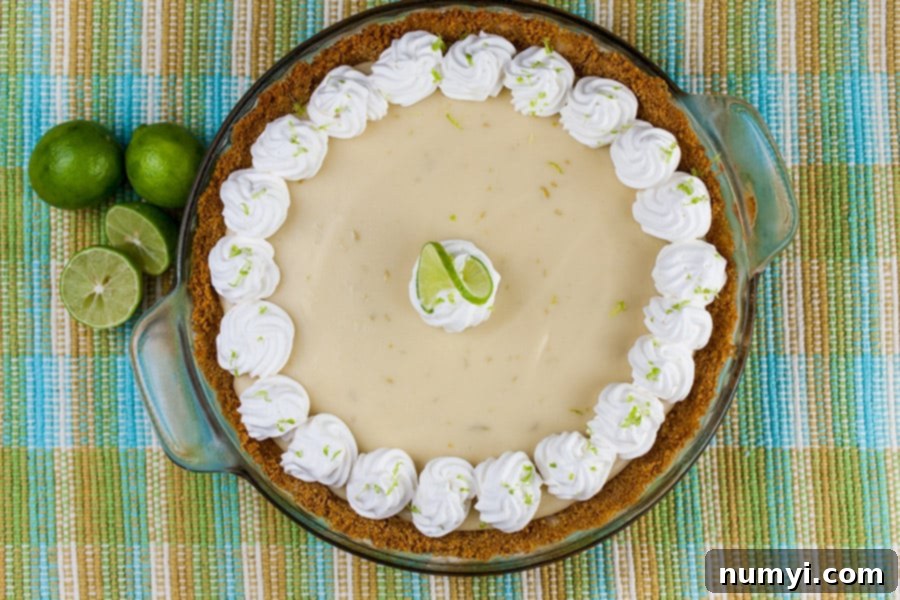
Serve immediately and delight in this truly effortless, incredibly delicious, and naturally eggless Key Lime Pie!
Expert Tips for the Best Key Lime Pie
Even though this recipe is incredibly easy, a few insider tips can elevate your Key Lime Pie from great to absolutely extraordinary:
- The Golden Rule: Use Fresh Key Lime Juice: I cannot stress this enough – please, I beg of you, use fresh Key lime juice! It truly makes *all* the difference in this pie. The unique flavor of fresh Key limes is unmatched by any bottled version. Most well-stocked grocery stores carry fresh Key limes, especially during spring and summer.
- Select the Right Limes: When choosing Key limes, look for ones that are plump, feel heavy for their size, and give a little when gently squeezed. These will yield the most juice. Avoid hard, dry, or discolored limes.
- Zest Before Juicing: Always zest your limes before you cut and juice them. It’s much easier to get the vibrant zest from a whole, firm lime. Use a microplane or fine grater, making sure to only get the green part, not the bitter white pith underneath.
- Crust Convenience: While a homemade graham cracker crust is simple and adds a lovely touch, don’t hesitate to use a store-bought graham cracker pie crust if you’re short on time. It’s a perfectly acceptable shortcut that won’t compromise the deliciousness of your filling.
- Alternative Crusts: You can certainly experiment with a traditional pastry pie crust for a different texture, but the sweet, crumbly graham cracker crust is the classic pairing for a reason and incredibly easy to prepare.
- Chill Factor is Key: Be absolutely sure to chill the pie for a minimum of 3 hours before serving. Overnight chilling is even better. This allows the pie to fully set, ensuring clean slices and a refreshingly firm texture.
- Perfect Whipped Cream: For homemade whipped cream, ensure your heavy cream, bowl, and whisk are all very cold. This helps the cream whip up faster and achieve stiffer peaks.
Exciting Variations to Try
While the classic Key Lime Pie is perfection, don’t be afraid to get creative and customize your dessert:
- Yogurt Swap: For a slightly lighter but still rich filling, you can substitute full-fat Greek yogurt for the sour cream. It will add a similar tang and creaminess.
- Lime Juice Alternatives: If fresh Key limes are truly unavailable, you *can* use regular Persian lime juice or even bottled Key lime juice. However, be aware that the flavor profile will be slightly different – Persian limes are less aromatic and a bit less tart, while bottled juice often lacks the vibrancy of fresh. Adjust sweetness to taste if needed.
- Store-Bought Whipped Cream: Save time by using store-bought whipped cream or even a whipped topping like Cool Whip. Just be sure to add it right before serving.
- Homemade Cracker Crumbs: If you’re starting with whole graham crackers, simply pulse them in a food processor until fine crumbs are formed. This is an easy way to ensure fresh crumbs for your crust.
- Coconut Infusion: Add 1/2 teaspoon of coconut extract to your whipped cream or a tablespoon of toasted coconut flakes to your crust mixture for a delightful tropical twist.
- Individual Servings: Instead of a large pie, you can make mini Key Lime Pies in tartlet pans or even small mason jars for individual portions, perfect for parties.
Frequently Asked Questions About Key Lime Pie
Absolutely! This Key Lime Pie holds up beautifully and can be prepared up to 48 hours in advance. For the best presentation, I highly recommend not garnishing it with whipped cream until you are ready to serve. Whipped cream can sometimes “weep” or lose its structure and become watery if it sits on the pie for too long.
To store, ensure the cooled pie is tightly covered with plastic wrap to prevent it from absorbing refrigerator odors and to maintain its freshness. Refrigerate for up to 3 days. If you’ve already added whipped cream, store it loosely covered to prevent the cream from getting squashed.
Yes, Key Lime Pie freezes quite well! If you plan to freeze it, do not garnish the pie with whipped cream beforehand. Once the pie is completely cooled and set, wrap it very tightly first with plastic wrap, then with a layer of aluminum foil. Freeze for 1 to 2 months for optimal quality. When you’re ready to enjoy, thaw the pie in the refrigerator overnight. Add fresh whipped cream and garnish just before serving.
Key limes are typically ripe when their skin turns from green to a yellowish hue. They will also feel slightly softer when squeezed gently. Green Key limes are still usable but tend to be even more tart.
This recipe is designed for a standard 9-inch pie pan. If you use a larger pan (e.g., 10-inch), the pie will be thinner and may require a slightly shorter bake time. For a smaller pan (e.g., 8-inch), the pie will be thicker and may need a bit more baking time. Always keep an eye on the pie for those tell-tale tiny bubbles around the edges.
More Zesty Citrus Dessert Recipes to Love
If you’re a fan of the bright and tangy flavors of citrus, you’re in for a treat! Explore some of our other delightful citrus-inspired desserts that are perfect for any time of year.
Lemon-Orange Pound Cake
Lemon Sandwich Cookies
Lemon Cheesecake Shortbread Bars
Are you on Pinterest? Click the button below to add this recipe to one of your boards!
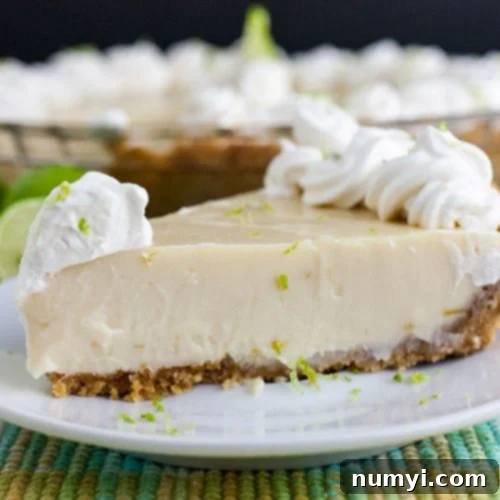
Easy Key Lime Pie Recipe
Print
Pin
Rate
Ingredients
Crust
- 1 1/2 cups graham cracker crumbs
- 1/4 cup sugar
- 6 tablespoons unsalted butter, melted
Pie
- 2- 14 oz. cans sweetened condensed milk
- 1/2 cup sour cream
- 3/4 cup fresh key lime juice (about 15-20 key limes)
- zest from 2 key limes
Whipped Cream Topping
- 1 cup heavy whipping cream
- 1/2 cup powdered sugar
- 1/2 teaspoon vanilla extract
Instructions
Crust
-
Preheat oven to 350F degrees (175°C).
-
In a small bowl, combine graham cracker crumbs, sugar, and melted butter. Mix until thoroughly combined and moist. Press the crumb mixture firmly into the bottom and up the sides of a 9-inch pie pan. Bake the crust for 8-10 minutes. Remove and cool completely on a wire rack while you prepare the filling.1 1/2 cups graham cracker crumbs, 1/4 cup sugar, 6 tablespoons unsalted butter, melted
Pie Filling & Baking
-
In a large bowl, whisk together the sweetened condensed milk (both cans), sour cream, fresh Key lime juice, and zest from 2 Key limes until the mixture is completely smooth.2- 14 oz. cans sweetened condensed milk, 1/2 cup sour cream, 3/4 cup fresh key lime juice, zest from 2 key limes
-
Pour the filling into the prepared and cooled graham cracker crust. Bake for 10-15 minutes, or until small bubbles begin to form around the edges of the surface. The center should still be slightly jiggly.
-
Remove the pie from the oven and place it on a wire rack to cool completely to room temperature. Once cool, transfer to the refrigerator and chill for at least 3 hours, or ideally overnight, before serving.
Whipped Cream Topping & Garnish
-
In a chilled bowl with cold beaters (or using a stand mixer with a whisk attachment), beat the heavy cream, powdered sugar, and vanilla extract until stiff peaks form. Pipe or spread the whipped cream on top of the chilled pie as desired. Garnish with a sprinkle of additional Key lime zest before serving.1 cup heavy whipping cream, 1/2 cup powdered sugar, 1/2 teaspoon vanilla extract
Notes
Make Ahead – This delightful pie can be prepared up to 48 hours in advance. For the best visual appeal and texture, cover it tightly with plastic wrap and only add the whipped cream garnish just before you are ready to serve.
Storing and Freezing – For comprehensive instructions on how to properly store and freeze your Key Lime Pie, please scroll up and refer to the detailed FAQ section of this post.
