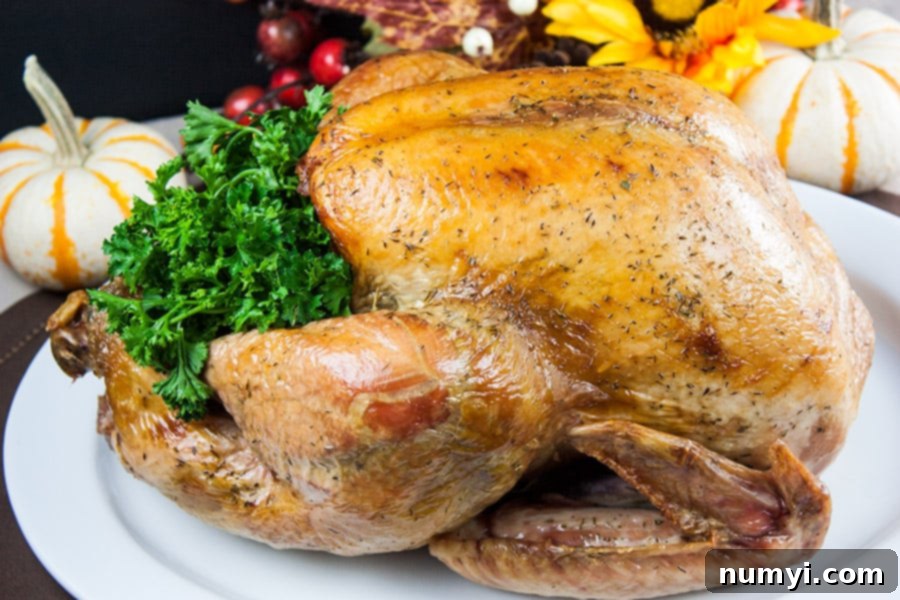
Ultimate Dry Brined Roast Turkey: Achieve Unmatched Moisture & Flavor for Any Feast
Say goodbye to dry, lackluster holiday turkeys forever! This guide to a simple, succulent dry-brined roast turkey will revolutionize your approach to the most important dish on your Thanksgiving or Christmas table. For years, the traditional method of wet brining, while effective, presented numerous challenges – from finding a large enough vessel for the brining solution to wrestling a massive bird into an already crowded refrigerator, not to mention the constant worry of keeping it fully submerged. Those days are over.
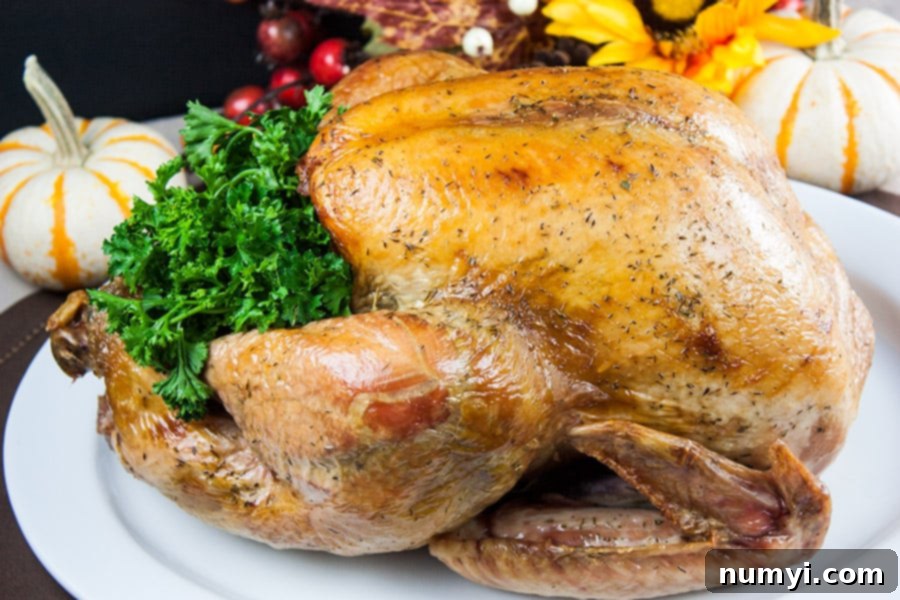
Dry brining is not just a cooking method; it’s a revelation. This technique consistently delivers an incredibly moist, exceptionally tender, and deeply flavorful turkey, permeated with delicious herbs all the way through to the bone. It’s the secret to a roast turkey so good, it tastes like it came straight from a gourmet kitchen. This isn’t just a recipe; it’s your new and permanent method for cooking the perfect turkey.
Enhance your holiday spread with our homemade Cranberry Sauce! It pairs beautifully with a flavorful turkey.
Embracing the Brilliance of Dry Brining
After years of experimenting with various turkey preparation methods, including conventional wet brining, I stumbled upon dry brining. It was a game-changer. The simplicity and superior results of this technique immediately convinced me that I would never return to wet brining again. While I may have previously shared tips on how to wet brine and praised its benefits, trust me when I say that dry brining offers an even better, more effortless path to turkey perfection. It even works with a partially frozen turkey, offering greater flexibility and less stress during the busy holiday season. While it requires a bit of planning, the minimal effort yields monumental rewards.
I’ve even used this method for our Homemade Cajun Turkey Deli Meat, proving its versatility beyond just holiday roasts.
What Exactly is Dry Brining?
Dry brining is a sophisticated yet incredibly simple technique that uses salt, often combined with aromatic herbs and spices, to season and tenderize meat. Unlike wet brining, which involves submerging the turkey in a liquid solution, dry brining applies salt directly to the surface of the bird. The magic happens in several stages:
- **Moisture Extraction:** Initially, the salt on the turkey’s surface draws out moisture from the meat through osmosis.
- **Brine Formation:** This extracted moisture mixes with the salt, creating a concentrated, natural brine.
- **Reabsorption & Flavor Penetration:** Over time, this newly formed, highly seasoned liquid is reabsorbed back into the turkey’s muscle fibers. This process allows the salt and any accompanying herb flavors to penetrate deeply and evenly throughout the meat, rather than just seasoning the surface.
In essence, you’re brining the turkey in its own flavorful juices. This results in a turkey that is not only incredibly moist and tender but also deeply seasoned from within. And no, despite the amount of salt used, the final product is not overly salty. The meat absorbs just the right amount, leaving you with a perfectly seasoned, full turkey flavor that is truly unforgettable.
How to Dry Brine a Turkey: A Step-by-Step Guide
The process of dry brining is straightforward, but attention to a few key details will ensure spectacular results. Remember, the goal is a perfectly seasoned, juicy turkey with irresistibly crispy skin.
1. Choosing Your Turkey Wisely
The first crucial step is selecting the right turkey. **DO NOT USE a self-basting turkey.** These turkeys have already been injected with a saline solution and often other flavorings, meaning they are essentially pre-brined. Adding more salt through dry brining will likely result in an excessively salty bird. Opt for a natural, un-brined turkey for the best control over flavor and seasoning.
2. Preparing Your Dry Brine Mixture
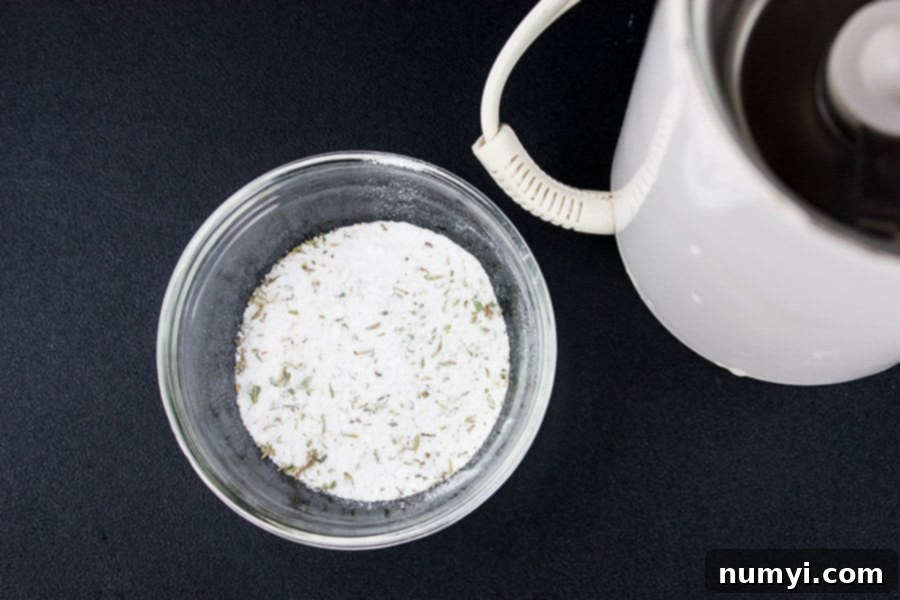
The basic ratio is simple: **1 tablespoon of kosher salt for every 5 pounds of turkey.** For example, a 15-pound turkey would require 3 tablespoons of kosher salt. While you can use salt alone, infusing it with herbs elevates the flavor profile significantly. Our personal favorite combination for a classic holiday taste includes bay leaves and dried thyme – a duo that truly “screams Thanksgiving.”
For optimal flavor distribution, we highly recommend using a spice grinder or a small food processor to grind the herbs with the salt. This breaks down the herbs, allowing their essential oils to mingle with the salt and penetrate the meat more effectively. We typically use Morton Kosher salt for its ideal crystal size and purity.
3. Applying the Dry Brine
Once your brine mixture is ready, it’s time to apply it to the turkey. Start by removing the turkey from its packaging and patting it thoroughly dry with paper towels. This ensures the salt adheres properly to the skin.
- **Inside Seasoning:** Lightly season the cavity of the turkey with a pinch of the salt mixture.
- **Breast & Thighs:** Place the turkey on its back. Take about 1 tablespoon of the salt mixture and rub it generously onto the skin of the breasts, focusing on the thickest parts of the meat.
- **Sides:** Turn the turkey onto one side. Sprinkle and rub a generous amount of salt mixture over the entire side, paying special attention to the thigh and drumstick areas. Flip the turkey to the other side and repeat the process. Ensure good coverage across all surfaces.
4. The Brining Period: Refrigeration is Key
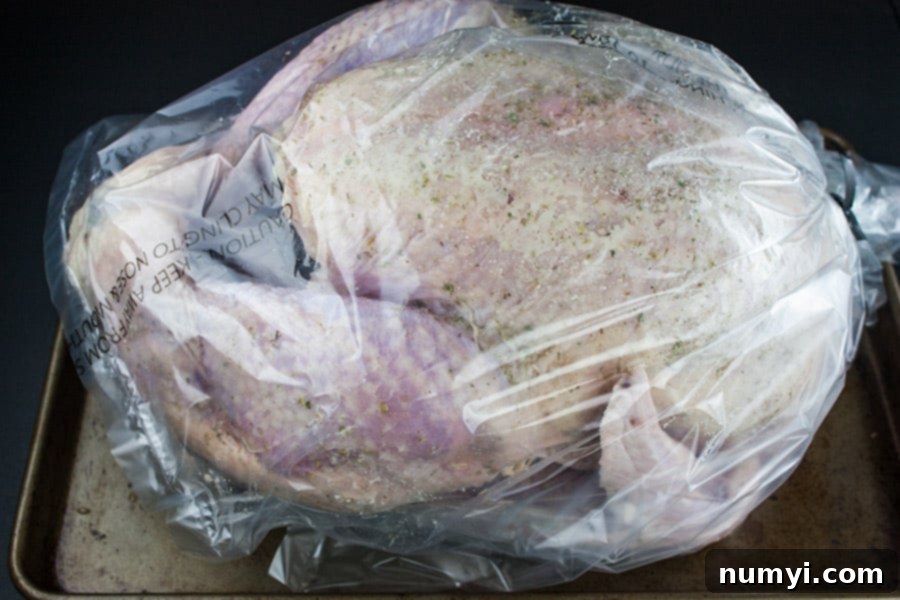
After seasoning, place the turkey in an oven bag, pressing out as much air as possible before sealing it tightly. Alternatively, wrap the bird meticulously with several layers of plastic wrap. This containment is essential to prevent cross-contamination and to keep the moisture within. Place the wrapped turkey on a rimmed baking tray (to catch any potential leaks) and refrigerate it for at least 24 hours, and up to 3 days. During this refrigeration period, try to rub the salt mixture around the bird once a day. You will notice liquid accumulating in the bag or wrap; this is a normal and desirable part of the process, indicating the salt is drawing out moisture to form the brining solution.
Don’t forget to try our popular Pumpkin Muffins for a sweet treat this season!
5. Pre-Roasting Preparation for Crispy Skin
On the day you plan to cook your turkey, remove it from the bag or plastic wrap. At this point, the salt should have completely dissolved and been reabsorbed by the meat. It’s crucial to **DO NOT RINSE** the turkey. Rinsing will remove surface seasoning and, more importantly, will prevent the skin from achieving that coveted crispiness. Instead, pat the turkey thoroughly dry one last time with paper towels.
For exceptionally crispy skin, a common recommendation is to remove the turkey from its wrapping the night before roasting and refrigerate it uncovered, breast-side up, overnight. This allows the skin to dry out significantly, leading to a crackling, golden finish. While I sometimes skip this step due to time constraints, I can attest that the skin is still wonderfully crispy and golden with just a thorough pat dry.
Place the turkey on a roasting rack in a large roasting pan. Allow the turkey to sit at room temperature for at least 1 hour before cooking. This helps the turkey cook more evenly. An old trick often suggests placing the turkey breast-side down for the initial 30 minutes of cooking to promote juicier breast meat. I’ve tried this, but found it cumbersome and ultimately unnecessary for the incredible moisture achieved with dry brining, so I typically skip it.
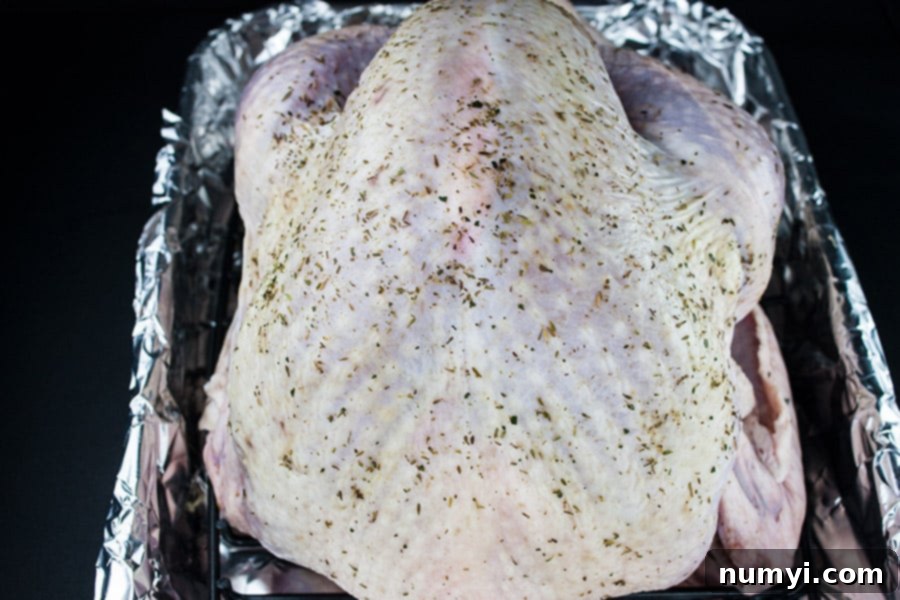
Roasting Your Dry Brined Turkey to Perfection
Now for the final and most exciting phase: roasting your beautifully brined turkey!
1. High Heat Start, Then Low and Slow
Preheat your oven to a robust **425° F (220° C)**. Place the turkey in the preheated oven and let it roast at this high temperature for 30 minutes. This initial burst of high heat helps to achieve that desirable crispy, golden-brown skin. After 30 minutes, reduce the oven temperature to **325° F (160° C)** and continue cooking for another 2 1/2 to 2 hours 45 minutes, or until done.
2. Monitoring Internal Temperature
Dry-brined turkeys tend to cook faster than un-brined or wet-brined birds, so it’s essential to start checking the internal temperature earlier than you might expect. Insert a reliable meat thermometer into the thickest part of the thigh, making sure it doesn’t touch the bone. The turkey is done when the thermometer registers **165° F (74° C)**.
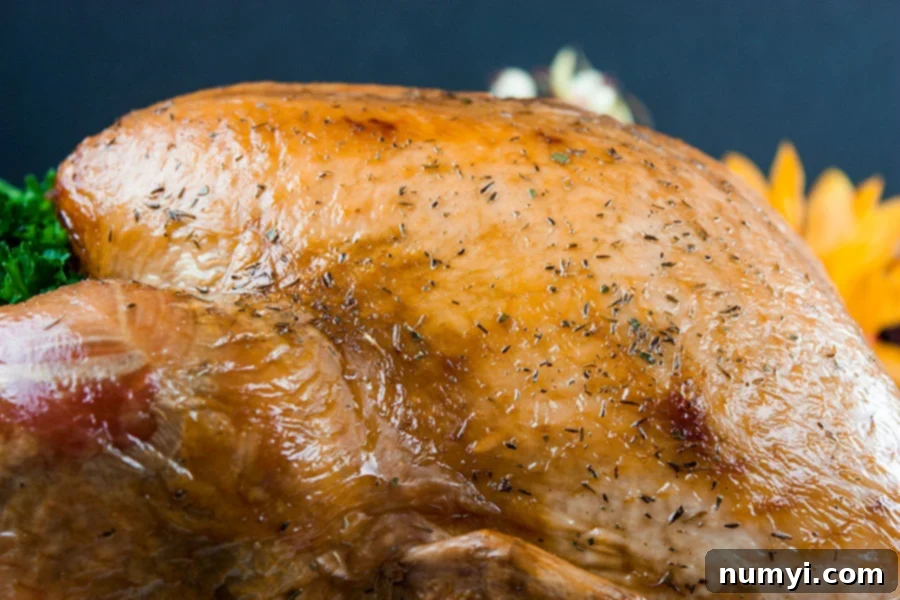
3. The Crucial Resting Period
Once your turkey reaches the target internal temperature, remove it from the oven and transfer it to a warm platter or carving board. Loosely tent the turkey with aluminum foil and let it rest for at least 30 minutes. This resting period is incredibly important; it allows the juices within the meat to redistribute throughout the turkey, resulting in an even more succulent and flavorful final product. Skipping this step can lead to dry meat, even after all your careful brining and roasting.
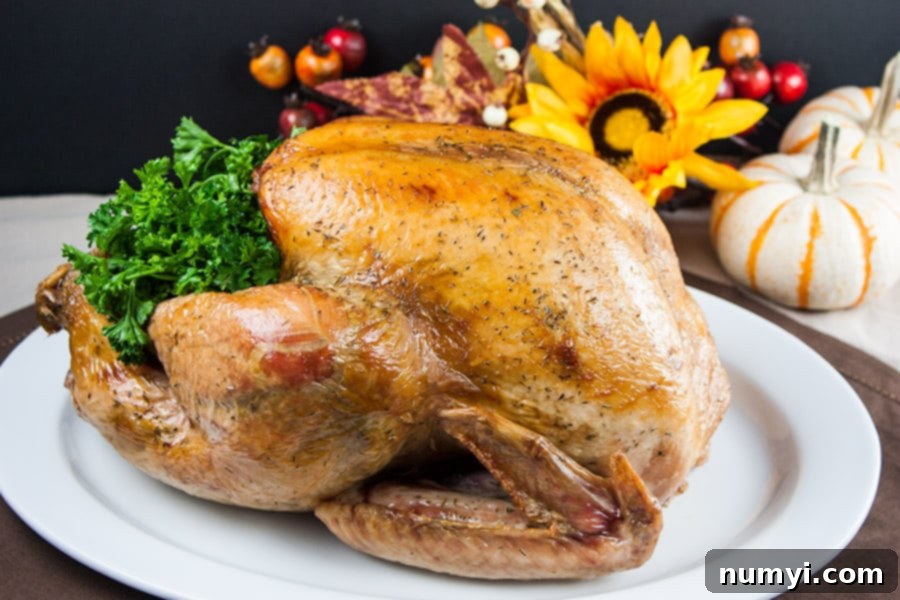
4. Carve and Serve!
After the turkey has rested, it’s time to carve and present your masterpiece. Your hungry guests, who have undoubtedly been enticed by the scrumptious aromas wafting through your home, will be eager to taste this phenomenally moist and flavorful bird.
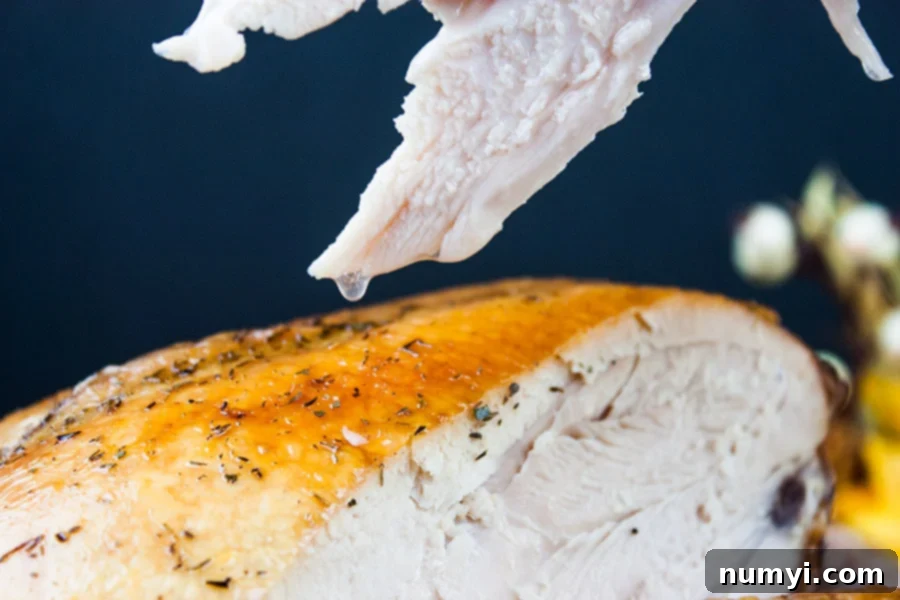
I dedicated a Sunday in September to perfecting and documenting this simple, succulent dry-brined roast turkey recipe, all so you could effortlessly enjoy the most delicious turkey for your Thanksgiving, Christmas, or any special occasion. My husband will readily confirm it was no sacrifice at all!
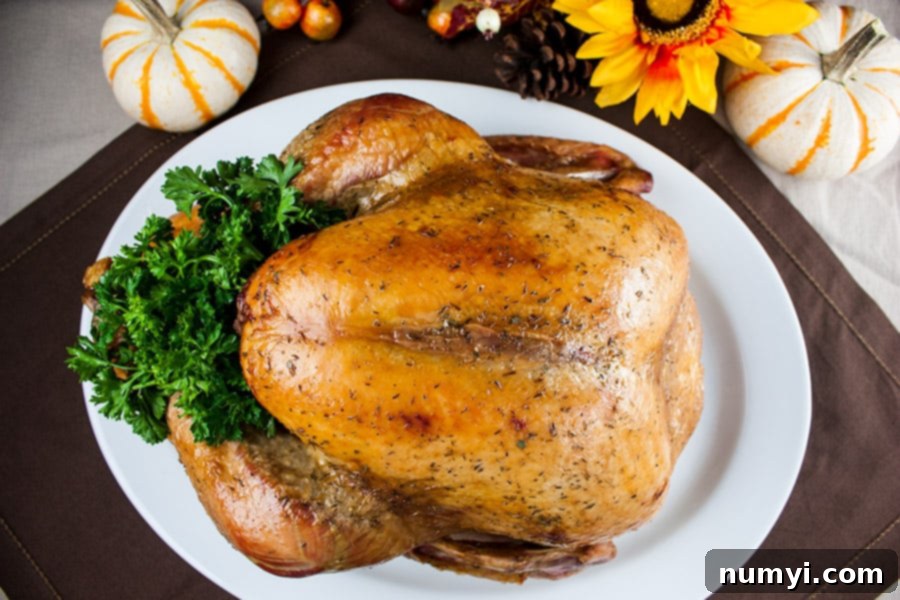
Dry Brine Turkey Recipe
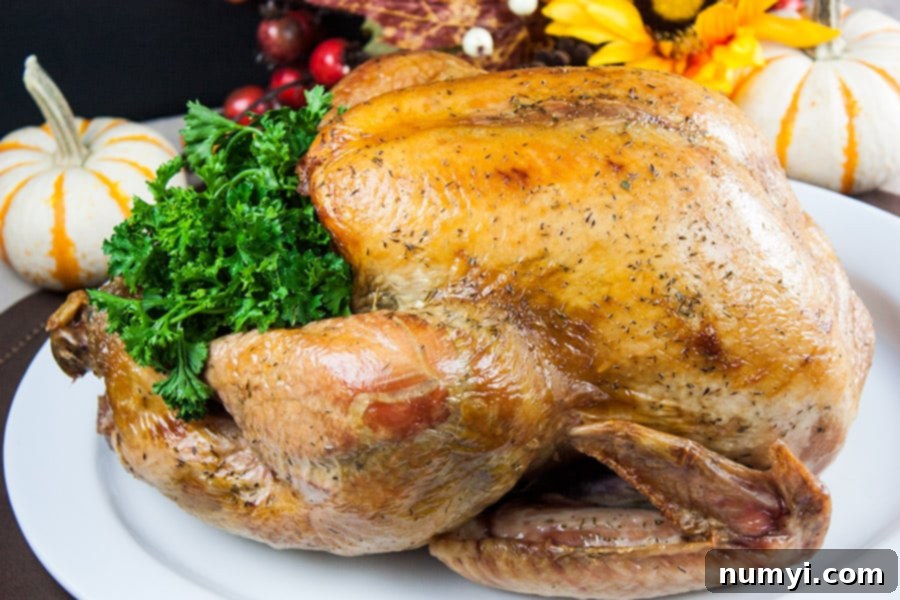
Simple Succulent Dry Brined Roast Turkey
Print
Pin
Rate
Ingredients
- 1 12 to 16- pound turkey not self-basting – partially frozen will work
- Kosher salt (1 tbsp per 5 lbs of turkey)
- 1 large bay leaf
- 1 teaspoon dried thyme
- 1 Tablespoon butter melted (optional, for the last 30 minutes of roasting)
Instructions
-
Remove the turkey from its packaging, making sure to remove any giblets or neck from the cavity. Pat the entire turkey thoroughly dry with paper towels, inside and out.1 12 to 16- pound turkey
-
In a small bowl, measure your kosher salt using the ratio of 1 tablespoon of salt for every 5 pounds of turkey (e.g., 3 tablespoons for a 15-pound turkey). Add the large bay leaf and dried thyme to the salt. Grind these together using a spice grinder or a small food processor until the herbs are finely mixed with the salt.Kosher salt, 1 large bay leaf, 1 teaspoon dried thyme
-
Lightly sprinkle the inside cavity of the turkey with the salt mixture. Place the turkey on its back on a clean surface. Generously rub about 1 tablespoon of the salt mixture onto the skin of the breasts, focusing the majority of the salt where the meat is thickest. Turn the turkey onto one side and sprinkle/rub the entire side with salt, ensuring good coverage, especially on the thigh and leg (use slightly less than a tablespoon for each side). Flip the turkey over and repeat the process on the opposite side, making sure all exterior surfaces are well-coated.
-
Carefully place the seasoned turkey into a large oven bag, squeezing out any excess air before sealing it tightly. Alternatively, wrap the entire bird securely with several layers of plastic wrap. Place the turkey breast-side up on a rimmed baking tray (this will catch any liquid that may leak) and transfer it to the refrigerator. Chill for a minimum of 24 hours, and ideally for 3 days for maximum flavor penetration. During this brining period, it’s beneficial to rub the salt around the turkey once a day through the bag or wrap. (Note: Liquid collecting in the bag is completely normal and part of the brining process.)
-
For the crispiest possible skin, consider this optional step: the night before you plan to roast the turkey (after 2-3 days of brining), remove it from the bag or plastic wrap. At this point, no visible salt should remain on the surface, and the skin should appear moist but not wet. Place the turkey breast-side up on a clean plate or roasting rack and refrigerate it uncovered for at least 8 hours or overnight. This exposure to air will dry out the skin even further, promoting incredible crispiness during roasting.
-
On the day of cooking, remove the turkey from the refrigerator. Allow it to sit at room temperature for at least 1 hour (do not rinse the turkey—rinsing will remove seasoning and hinder crispy skin development). During this time, preheat your oven to 425° F (220° C).
-
Before placing it in the oven, pat the turkey dry one last time with fresh paper towels. Position the turkey on a roasting rack set inside a large roasting pan. Place the pan in the preheated oven. Roast at 425° F for 30 minutes to crisp the skin. After this initial 30 minutes, reduce the oven temperature to 325° F (160° C). Continue roasting until a meat thermometer inserted into the deepest part of the thigh (without touching the bone) reads 165° F (74° C). Total roasting time will be approximately 2 hours 45 minutes to 3 hours 15 minutes, depending on the turkey’s size and your oven. During the final 30 minutes of roasting, you may brush the turkey with 1 tablespoon of melted butter, if desired, for extra richness and browning.1 Tablespoon butter
-
It’s important to remember that dry-brined turkeys generally cook more quickly than un-brined or wet-brined turkeys. To avoid overcooking, begin checking the internal temperature earlier than you might typically. Your turkey may be done faster than anticipated, so vigilance is key.
-
Once the turkey reaches 165° F, remove it from the oven. Carefully transfer it to a warm platter or a sturdy carving board. Tent the turkey loosely with aluminum foil. Let it rest for a minimum of 30 minutes (and up to 45 minutes for larger birds). This crucial resting period allows the internal juices to redistribute, ensuring a uniformly moist and tender bird when carved.
-
After resting, carve the turkey and serve it immediately to your eagerly awaiting guests. Enjoy the most succulent and flavorful roast turkey you’ve ever tasted!
Notes
No Spice Grinder? No Problem! If you don’t have a spice grinder or small food processor, you can still dry brine effectively. Simply finely chop your herbs and mix them thoroughly with the kosher salt. The method works just as well; the grinder just helps release more volatile oils.
Customize Your Herbs: Feel free to experiment with different herb and spice combinations. Garlic powder, onion powder, paprika, black pepper, rosemary, sage, and lemon zest are all excellent additions to the salt mixture. Adjust to your taste preferences!
Stuffing the Turkey: If you plan to cook stuffing inside the turkey, consider reducing the salt content slightly in your stuffing mix, as the turkey will already be well-seasoned. Ensure the stuffing also reaches a safe internal temperature of 165°F (74°C).
Critical Reminder: DO NOT RINSE! Rinsing the turkey after brining will remove the crucial surface salt and moisture, which are essential for developing that desirable crispy skin during roasting. Just pat it dry.
The Importance of Resting: After cooking, always loosely tent the turkey with aluminum foil and allow it to rest for 20-30 minutes (or longer for larger birds). This step is vital to allow the juices to redistribute throughout the meat, ensuring every slice is as succulent as possible.
Temperature Monitoring: For precise cooking and peace of mind, I highly recommend using a high-quality digital meat thermometer, ideally one with a leave-in probe and remote monitor. This allows you to track the turkey’s internal temperature without repeatedly opening the oven, which helps maintain a consistent cooking environment.
Storing Leftovers: Allow any leftover turkey to cool completely to room temperature (within 2 hours of cooking). Carve it off the bone, then place it in an airtight container or freezer-safe bag. Refrigerate for up to 3-4 days.
Freezing Leftovers: For longer storage, cool the turkey completely and portion it into freezer-safe containers or bags. Remove as much air as possible to prevent freezer burn. Freeze for up to 3 months. Thaw in the refrigerator overnight before reheating.
