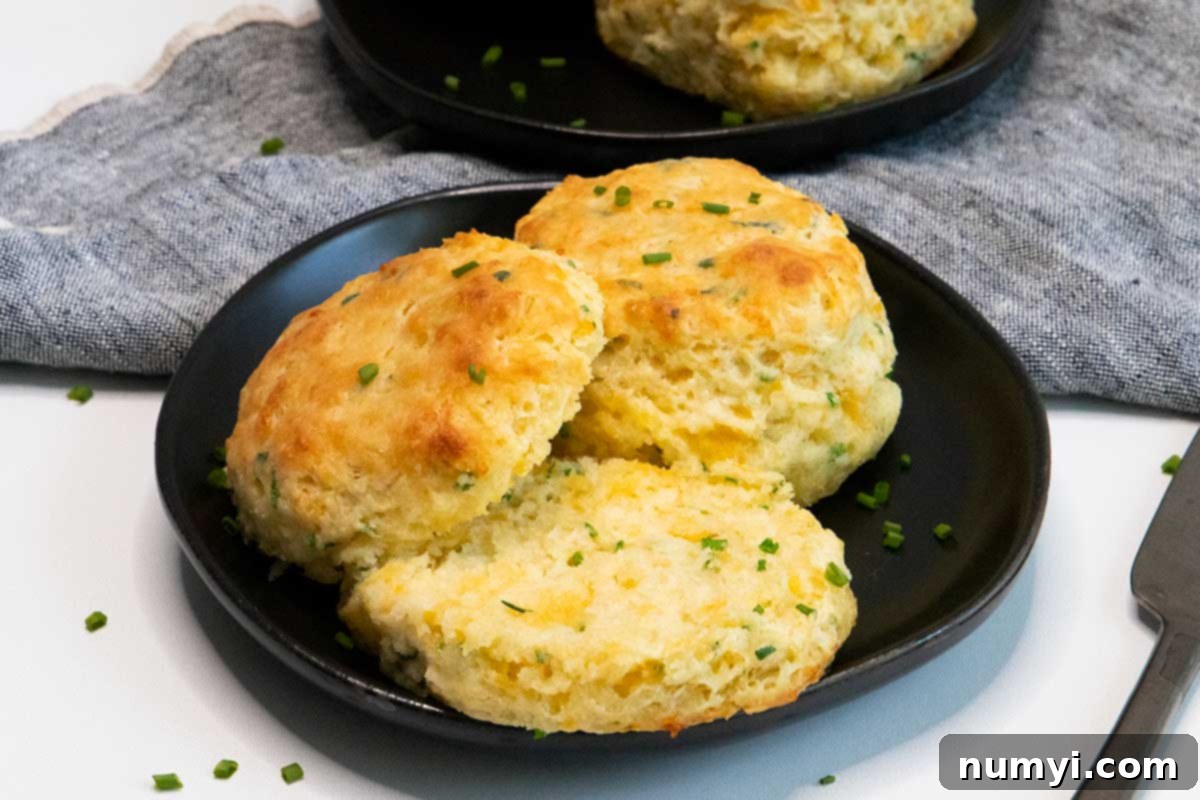
Homemade Flaky Cheddar Chive Biscuits: The Ultimate Comfort Food Recipe
Prepare to elevate your breakfast, brunch, or dinner table with these incredibly tender, irresistibly flaky buttermilk biscuits. Infused with the sharp, savory tang of cheddar cheese and the subtle, fresh oniony notes of finely chopped chives, these biscuits are a true culinary delight. They aren’t just a side dish; they’re a centerpiece, promising a burst of flavor and a comforting warmth with every bite. Whether served alongside a hearty breakfast, a savory stew, or simply enjoyed on their own, these cheddar chive biscuits are guaranteed to be a hit and become a cherished recipe in your kitchen.
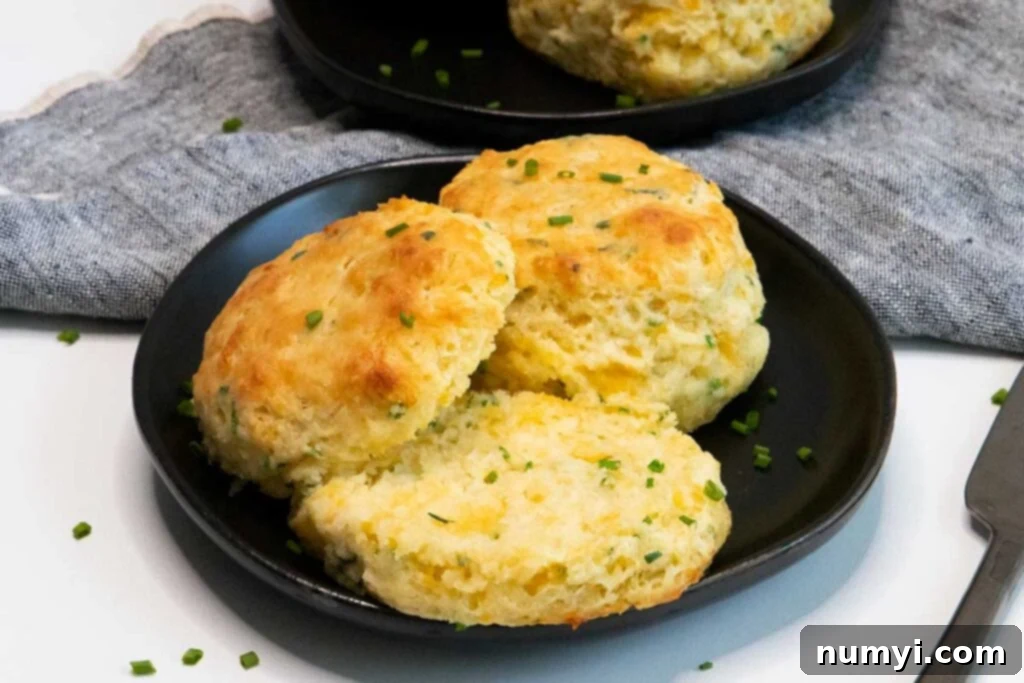
This exceptional recipe takes the beloved classic buttermilk biscuit and infuses it with a vibrant new character. While traditionally a breakfast staple, these versatile biscuits transcend mealtime boundaries. Imagine them warm from the oven, complementing a savory brunch spread, acting as the perfect accompaniment to a comforting lunch, or serving as an unexpected hero at your dinner table. Their rich flavor and comforting texture make them suitable for any occasion, anytime of day. They offer a delightful savory twist that differentiates them from plain biscuits, making them a more exciting addition to your culinary repertoire.
Beyond main meals, consider cutting these delectable biscuits into smaller, bite-sized pieces for a delightful appetizer. They’re a fantastic addition to parties, holiday gatherings, or casual get-togethers, offering a sophisticated yet approachable snack that guests will adore. The vibrant green of the chives and the golden hue of the cheese make them visually appealing as well. Remember, when baking smaller biscuits, the cooking time will naturally be reduced by a few minutes, so keep a close eye on them to ensure they achieve that perfect golden-brown finish without drying out. A batch of mini cheddar chive biscuits can disappear surprisingly quickly!
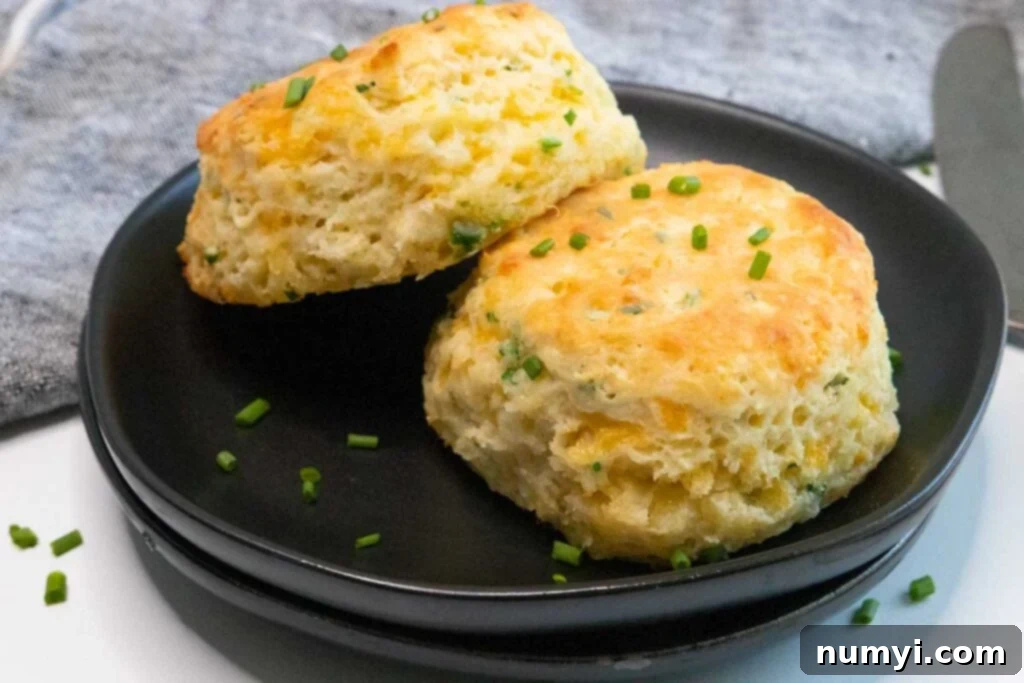
The Irresistible Allure of Cheddar Chive Biscuits
The thought of baking homemade biscuits might seem daunting to some, but fear not! This recipe for cheddar chive biscuits is designed to be incredibly straightforward and foolproof. With just a few simple techniques and readily available ingredients, you’ll be baking up a batch of these fluffy, flavorful delights in no time. They are consistently a crowd-pleaser, delivering a satisfying taste and texture that makes them a hit every single time they emerge from the oven. The combination of savory cheddar and fresh chives adds a gourmet touch to the humble biscuit, making them feel extra special and worth the minimal effort. Their rustic charm and wholesome ingredients speak to the heart of comfort food, making them an instant favorite.
Key Ingredients for Perfect Cheddar Chive Biscuits
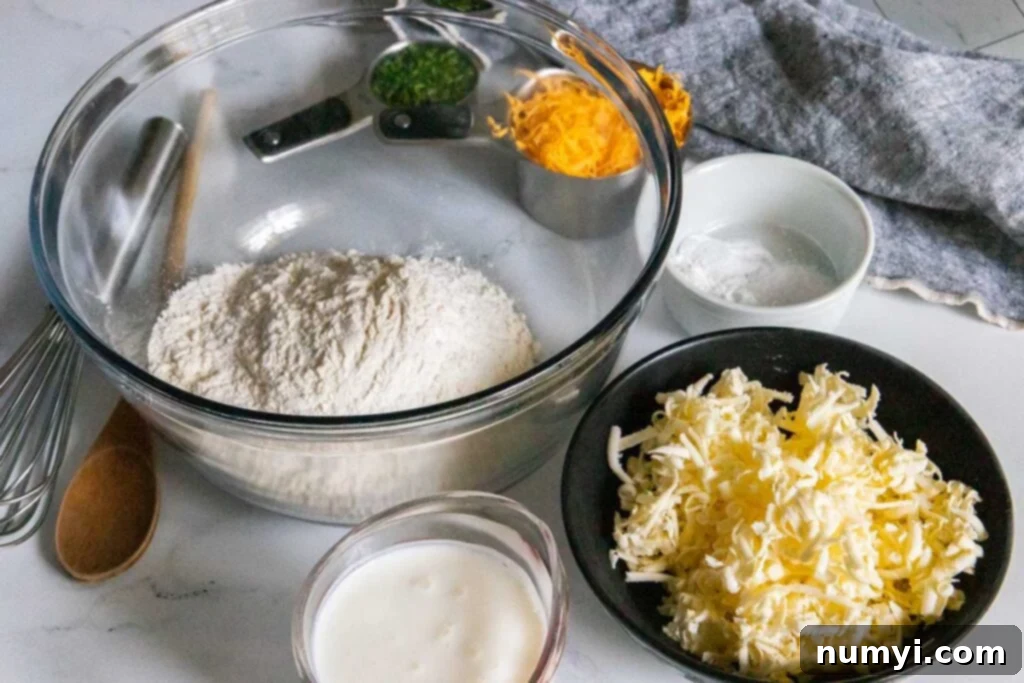
Crafting these exceptional cheddar chive biscuits requires a thoughtful selection of ingredients, each playing a crucial role in achieving that perfect texture and flavor profile. Here’s what you’ll need, along with a brief explanation of why each component is important:
- All-purpose flour: This provides the primary structure for our biscuits. Using a standard all-purpose flour ensures a good balance of protein for chewiness and tenderness.
- Baking powder: A vital leavening agent that creates carbon dioxide bubbles when heated, helping the biscuits rise tall and light. Without it, your biscuits would be dense and flat.
- Baking soda: This works synergistically with the acidic buttermilk. The reaction between baking soda and buttermilk produces additional lift, contributing to an airy, tender crumb.
- Kosher salt: Essential for seasoning the dough and enhancing the natural flavors of the cheese and chives. It balances the richness and prevents the biscuits from tasting bland.
- Unsalted butter – very cold: This is arguably the most critical ingredient for achieving flaky biscuits. Using unsalted butter gives you control over the salt content. Keeping it extremely cold is paramount because as the small pieces of butter melt in the hot oven, they release steam, creating distinct layers and pockets of air within the dough. This is the secret to that desirable flaky texture.
- Sharp cheddar cheese – finely shredded: The star of the savory flavor, sharp cheddar delivers a robust, tangy, and slightly pungent note that complements the fresh chives beautifully. The instruction to use *finely shredded* cheese is key; larger shreds melt more slowly and can puddle at the bottom of the biscuit, leading to a greasy texture or even burning. Finely shredded cheese integrates more evenly, ensuring pockets of flavor throughout without compromising the biscuit’s structure.
- Fresh chives: These delicate herbs provide a mild, fresh oniony flavor and a beautiful visual appeal with their vibrant green specks. While dried chives can be used in a pinch, fresh chives offer superior aroma and taste that truly elevates the biscuit.
- Buttermilk – very cold: Another non-negotiable for tender, moist, and high-rising biscuits. The acidity in buttermilk reacts with the baking soda, creating much-needed lift. Its thick consistency also contributes to a rich, soft dough. Just like the butter, keeping the buttermilk very cold helps to ensure the butter remains solid until it reaches the oven, preserving flakiness. Plus, a little extra for brushing the tops helps achieve a beautiful golden crust.
Essential Tips for Achieving Tall, Flaky Biscuits Every Time
The secret to truly spectacular, sky-high, and flaky biscuits lies in a few simple but often overlooked techniques. Master these, and you’ll consistently bake biscuits that are the envy of every baker, boasting perfect layers and a tender crumb:
- Grating and freezing cold butter: This technique is a game-changer and a personal favorite since perfecting our Buttermilk Biscuits. Instead of attempting to cut cold butter into small pieces, which can be inconsistent and time-consuming, grate a stick of very cold unsalted butter using the large holes of a box grater. Immediately after grating, place these fine butter shreds into the freezer for 10-15 minutes while you gather and prepare your other dry ingredients. This method ensures that the butter is distributed into tiny, distinct pieces throughout the dough. When these minuscule, super-cold butter pieces hit the hot oven, they melt rapidly, creating steam that pushes apart the layers of dough, resulting in an incredibly flaky and airy texture. This yields superior flakiness with less effort than traditional cutting-in methods.
- Maintain cold temperatures: This cannot be stressed enough. From your butter and buttermilk to your mixing bowl and even your hands, keeping everything as cold as possible is vital for biscuit success. Warm ingredients can cause the butter to melt prematurely into the flour, which would lead to a dense, cake-like biscuit instead of a light and flaky one. If your kitchen is warm, you might even chill your mixing bowl.
- Do not overwork the dough: This is perhaps the most crucial rule for tender biscuits. Flour contains gluten, and extensive handling or kneading develops this gluten, leading to a tough, chewy biscuit. Work quickly and gently, mixing just until the ingredients are barely combined. A shaggy, somewhat sticky dough with visible bits of butter is exactly what you want – it indicates you haven’t overmixed it and those precious butter pockets are intact.
- Work quickly: Time is of the essence when making biscuits. The longer the dough sits at room temperature, the more the butter softens. Move with purpose when combining ingredients, bringing the dough together, and cutting the biscuits. Your goal is to get those cold ingredients into the hot oven as efficiently as possible.
- Proper placement on the baking sheet: This simple trick significantly aids in achieving taller biscuits. Arrange your cut biscuits close together on the baking sheet, almost touching but not quite. Leave just a tiny sliver of space between them. As they bake and expand, the biscuits will lean against and support one another. This mutual support encourages them to rise upwards rather than spreading outwards, resulting in significantly taller, more uniform, and beautifully presented biscuits.
Step-by-Step Guide: How to Make Tender and Flaky Cheddar Chive Biscuits
Follow these detailed steps to create your own batch of delightful cheddar chive biscuits. Precision and speed are your allies here!
Step 1: Prepare Your Oven and Baking Surface. Begin by preheating your oven to a blazing 450 degrees Fahrenheit (232°C). This high temperature is absolutely essential for a quick, dramatic rise and a beautifully golden-brown, crispy crust on your biscuits. Line a sturdy baking sheet with parchment paper to prevent sticking and ensure easy cleanup. Alternatively, for an extra-crispy bottom and a charming rustic appeal, you can opt to bake them in a well-seasoned cast-iron skillet.
Step 2: Combine Dry Ingredients. In a large mixing bowl, whisk together the all-purpose flour, baking powder, baking soda, and kosher salt. Whisking vigorously for about 30 seconds ensures these dry ingredients are thoroughly combined and evenly distributed throughout the mixture. This even distribution is vital for consistent leavening and flavor in every biscuit.
Step 3: Incorporate the Cold Butter. Add the frozen grated butter directly into the bowl with your dry ingredients. Using your hands or a pastry blender, gently toss and stir the flour mixture, working quickly to ensure every flake of cold butter is coated in flour. This coating helps maintain the butter’s distinct pieces, which, as discussed, are critical for creating those desirable flaky layers. Avoid mashing the butter at this stage.
Step 4: Add Cheese and Chives. Now, carefully stir in the finely shredded sharp cheddar cheese and the fresh, finely chopped chives. Toss them lightly to combine them evenly with the flour-butter mixture. Again, be gentle; the goal is to distribute them without compacting or mashing the butter flakes.
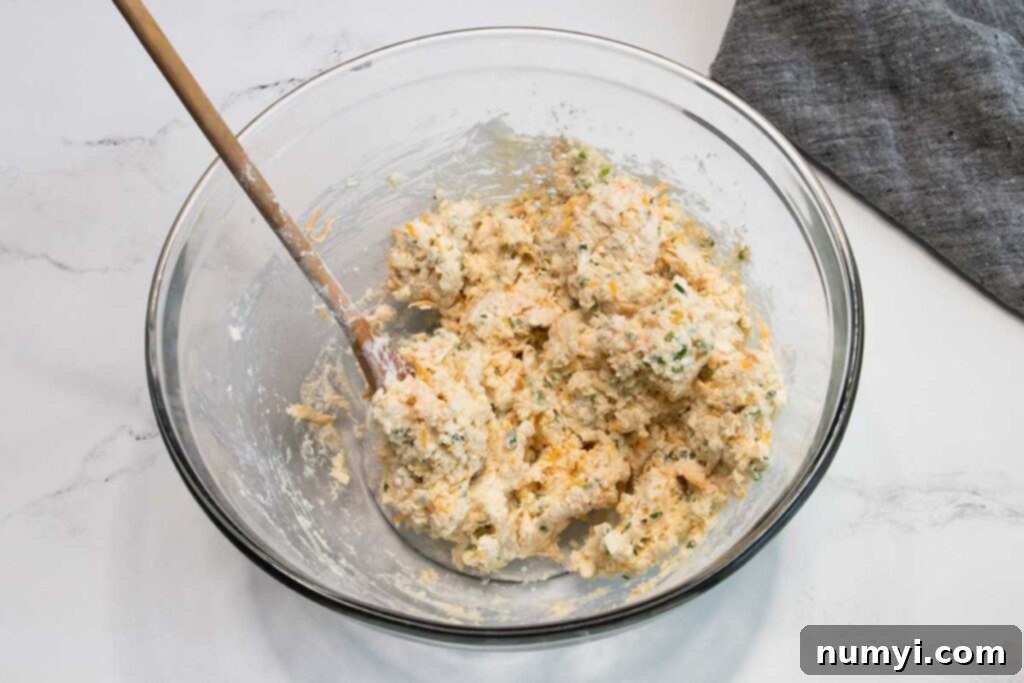
Step 5: Introduce the Buttermilk. Create a small well in the center of your dry mixture. Pour the very cold buttermilk into this well. Using a fork or a sturdy spatula, stir just until the ingredients are barely combined and the dough comes together in a shaggy mass. It should look somewhat messy and sticky, with a few dry spots – this is perfectly normal and desired! Do not overmix, as this will develop gluten and lead to tough biscuits. Stop stirring as soon as most of the flour is moistened.
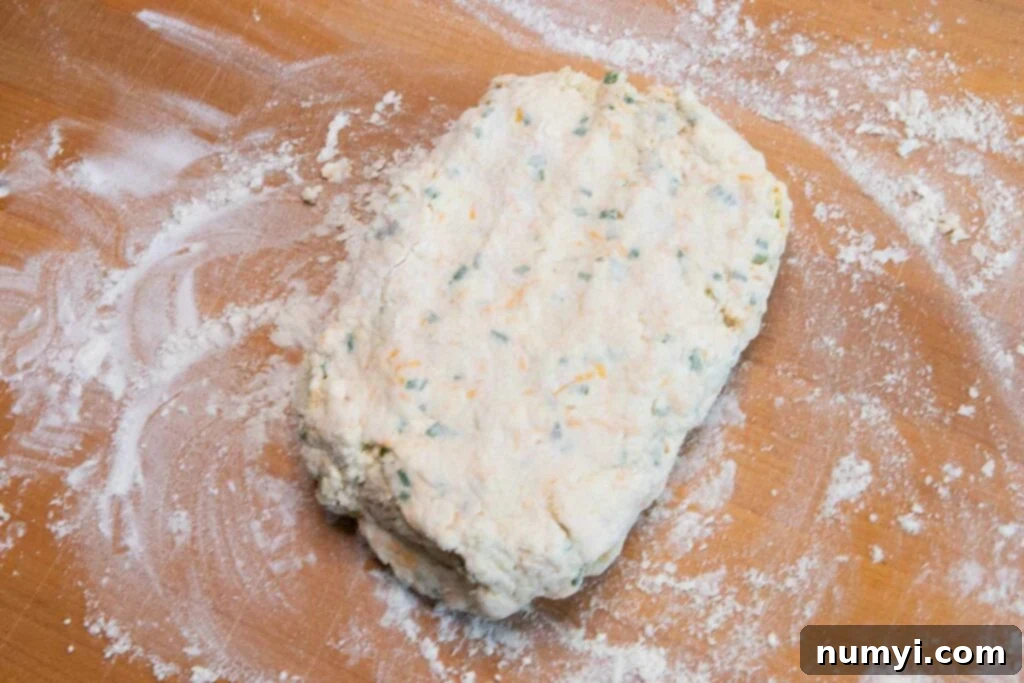
Step 6: Lightly Work the Dough. Turn the shaggy dough out onto a generously floured surface (a wooden cutting board or clean countertop works well). Keep a small pile of extra flour nearby, as you may need to lightly dust your surface or hands as you work to prevent sticking. Flour your hands lightly and bring the dough together into a loose ball. Instead of traditional kneading, which develops too much gluten, you’ll perform a gentle folding motion: lightly fold the dough in half, then gently pat it down to about 1-inch thick. Rotate the dough and repeat this process about 5-6 times. This technique helps to create more layers without developing too much gluten, ensuring a supremely flaky and tender final product. Once the dough feels like it’s just coming together and starting to smooth out slightly, pat it into an even disc or rectangle approximately 1 1/2 inches thick.
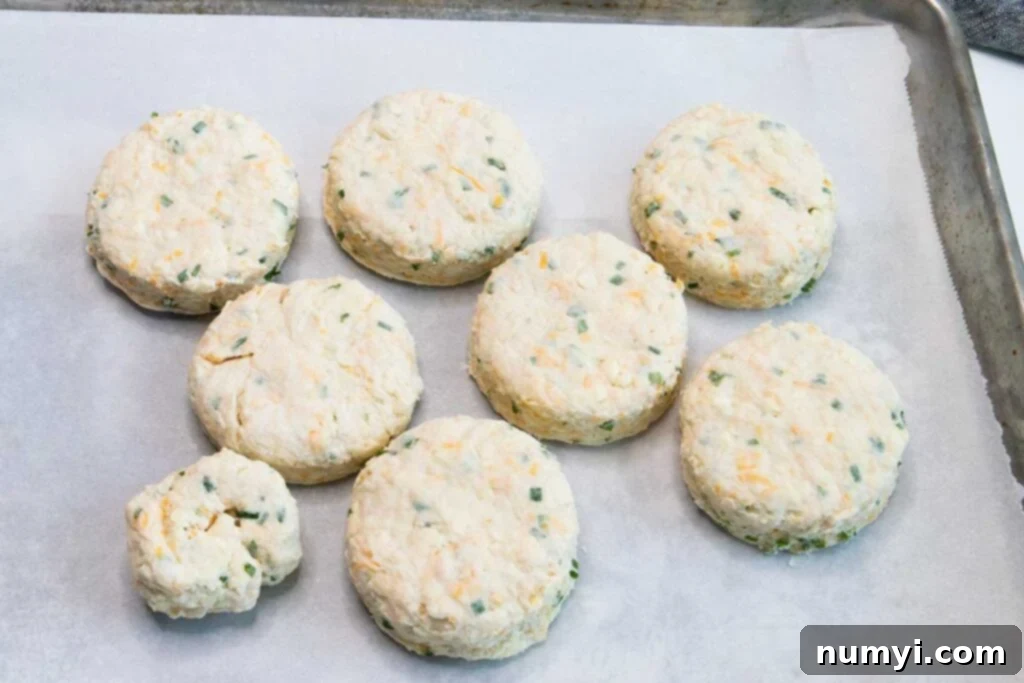
Step 7: Cut the Biscuits. Using a floured biscuit cutter (a 3-inch round cutter typically yields about 7-8 biscuits, depending on how thickly you pat out the dough and how efficiently you cut), press straight down to cut the dough into your desired sizes. It is absolutely crucial NOT to twist the cutter as you press down and lift it up. Twisting seals the edges of the biscuits, which prevents them from rising as high and forming those beautiful layers. Press straight down firmly and pull straight up. Place the cut biscuits onto your prepared baking sheet. Position them close together, almost touching but not quite. This strategic arrangement, as mentioned in our tips, provides mutual support, encouraging them to rise tall and evenly rather than spreading outwards, resulting in significantly taller, more uniform, and impressively flaky biscuits.
Any leftover dough scraps should not be re-kneaded and cut repeatedly, as this will overwork the gluten and result in tough, inferior biscuits. Instead, gently press the scraps together without kneading, pat them down to the desired thickness, and cut one or two more biscuits. That small, often oddly shaped nubbin of a biscuit from the last scraps? In our house, that’s usually enthusiastically claimed by our daughter as the “chef’s treat,” ensuring no delicious dough goes to waste!
Step 8: Prepare for Baking. For an extra golden-brown top and a subtle hint of tangy richness, lightly brush the tops of the unbaked biscuits with a little extra buttermilk. Alternatively, for a richer, more buttery finish and a beautiful sheen, you can brush them generously with melted unsalted butter immediately after they come out of the oven.
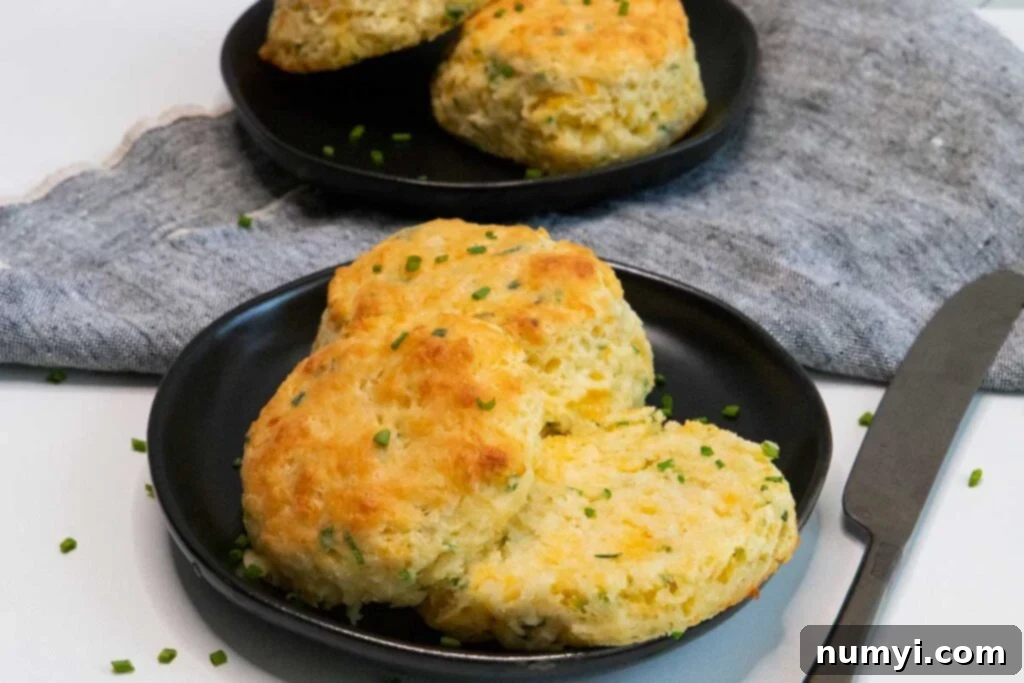
Step 9: Bake to Golden Perfection. Bake the biscuits in your preheated oven for approximately 12-15 minutes. The exact baking time may vary slightly depending on your specific oven, the size of your biscuits, and your desired level of goldenness. Keep a watchful eye on them; they are ready when they have risen beautifully tall, boast a lovely golden-brown crust on top and bottom, and feel firm to the touch. Remove them from the oven and serve warm, allowing their irresistible aroma to fill your kitchen and entice everyone to the table. These are best enjoyed fresh out of the oven, when they are at their peak flakiness and warmth.
Can You Freeze Cheddar Chive Biscuits? Yes, Absolutely!
One of the best things about these homemade cheddar chive biscuits is their freezer-friendliness, allowing you to enjoy fresh-baked goodness anytime, even on busy mornings. You have two main options for freezing: either before or after baking. To freeze unbaked biscuits: once you’ve cut the biscuits using your floured cutter, arrange them in a single layer on a parchment-lined baking sheet and freeze for a few hours until they are solid. This step prevents them from sticking together. Once completely frozen, transfer them to a freezer-safe zip-top bag or an airtight container, removing as much air as possible, and store them for up to 2-3 months. When ready to bake, simply place the frozen biscuits (no need to thaw!) on a baking sheet and bake at the same temperature, 450 degrees F (232°C). They will take a few minutes longer to bake than fresh biscuits (typically 18-22 minutes), so keep a close eye on them until they are magnificently risen, golden brown, and cooked through. This method is perfect for having a warm, homemade treat on demand without all the prep work! You can also freeze baked biscuits, cooled completely, in an airtight container for up to 1 month. Reheat in a warm oven until heated through.
Explore More Delicious Bread Recipes
If you’ve enjoyed making these cheddar chive biscuits and are eager to expand your baking repertoire, we have a variety of other fantastic bread recipes that are sure to impress. From classic comforting staples to unique artisan loaves, there’s something for every bread lover looking to bring the joy of homemade bread to their table:
- The Best Homemade Buttermilk Biscuits: Master the foundational recipe for light, fluffy, and tender buttermilk biscuits, the essential classic that forms the base of many variations, perfect for any meal or topping for savory dishes.
- No Knead Skillet Bread: Discover the incredible ease of baking artisan-quality bread with minimal effort, utilizing a cast-iron skillet to achieve a wonderfully crusty exterior and a soft, airy interior. This recipe is perfect for busy bakers.
- Sourdough Bread Recipe: Dive into the rewarding world of sourdough baking with our comprehensive guide to creating a tangy, airy loaf with a beautiful, crackly crust. It’s a journey of flavor and fermentation.
- Quick And Easy White Bread Recipe: Perfect for beginners or anyone seeking a fast and reliable loaf, this recipe delivers a soft, classic white bread that’s ideal for everyday sandwiches, toast, or accompanying family dinners, all without the fuss.
- Cinnamon Raisin Bread: A delightful sweet bread, packed with warm, aromatic cinnamon and plump, juicy raisins. This makes for a perfect breakfast toast, a comforting snack, or a wonderful base for French toast.
- Easy And Moist Banana Bread Recipe: Transform ripe bananas into a remarkably moist, flavorful quick bread that’s a perennial favorite. This recipe is simple to make and irresistibly delicious, a fantastic way to use up overripe fruit.

Cheddar Chive Biscuits Recipe
Print
Pin
Rate
Ingredients
- 2 cups All-purpose flour
- 2 tsp Baking powder
- 1/2 tsp Baking soda
- 3/4 tsp Kosher salt
- 1/2 cup Cold unsalted butter grated then frozen
- 1 cup Sharp cheddar cheese finely shredded
- 1/4 cup Fresh chives finely chopped
- 1 cup Buttermilk cold – plus a little more for brushing the tops
Instructions
-
Preheat oven to 450 degrees F (232°C). Line a baking sheet with parchment paper or prepare a cast-iron skillet.
-
In a large mixing bowl, whisk together the flour, baking powder, baking soda, and salt until well combined.
-
Stir in the frozen grated butter, ensuring all butter flakes are coated in the flour mixture.
-
Add the finely shredded sharp cheddar cheese and chopped fresh chives, tossing gently to distribute evenly.
-
Make a well in the center of the dry ingredients. Pour in the very cold buttermilk and stir just until combined into a shaggy dough. Avoid overmixing.
-
Turn the dough out onto a lightly floured surface. Keep extra flour on hand for dusting as needed.
-
Flour your hands, gently bring the dough together, and lightly fold it in half. Repeat this gentle folding motion about 5-6 times until the dough just comes together and starts to feel smooth. Pat the dough out to about 1 1/2 inches thick.
-
Using a floured biscuit cutter (e.g., a 3-inch cutter), press straight down to cut out biscuits. DO NOT twist the cutter. Place the cut biscuits onto the prepared baking sheet, positioned close together but not quite touching.
-
Brush the tops of the biscuits with a little extra buttermilk for a golden finish. Alternatively, brush with melted butter after baking for a rich flavor.
-
Bake for approximately 12-15 minutes, or until the biscuits have risen tall and are golden brown on top. Serve warm.
Nutrition
Carbohydrates: 26g |
Protein: 8g |
Fat: 6g |
Saturated Fat: 4g |
Polyunsaturated Fat: 1g |
Monounsaturated Fat: 2g |
Cholesterol: 18mg |
Sodium: 407mg |
Potassium: 193mg |
Fiber: 1g |
Sugar: 2g |
Vitamin A: 245IU |
Vitamin C: 1mg |
Calcium: 186mg |
Iron: 2mg
