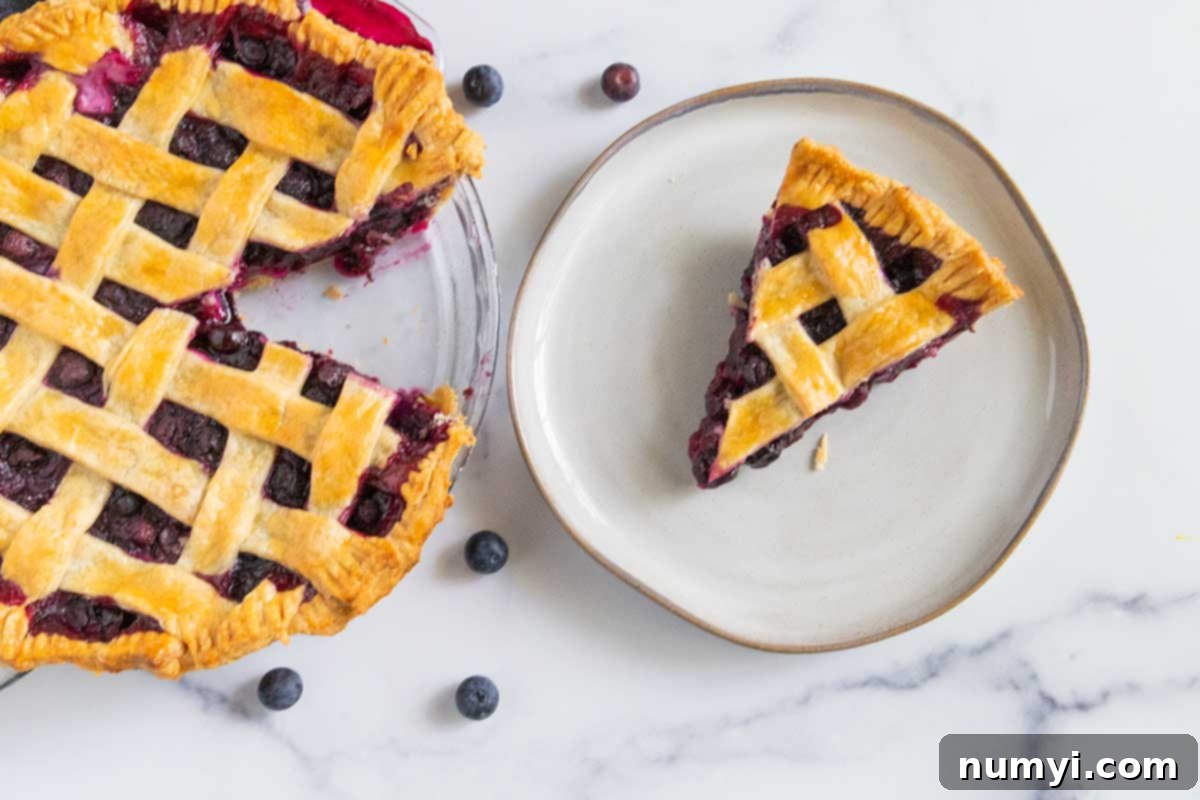
The Best Homemade Blueberry Pie Recipe: Thick, Juicy, & Flaky Perfection
There’s nothing quite like a slice of classic homemade blueberry pie, especially when it’s perfectly thick, bursting with vibrant blueberry flavor, and encased in a flaky, buttery crust. This recipe delivers just that – a truly irresistible summer dessert that’s sweet, juicy, and never runny. Forget the intimidation of homemade baking; this guide simplifies the process, ensuring a magnificent result every time.
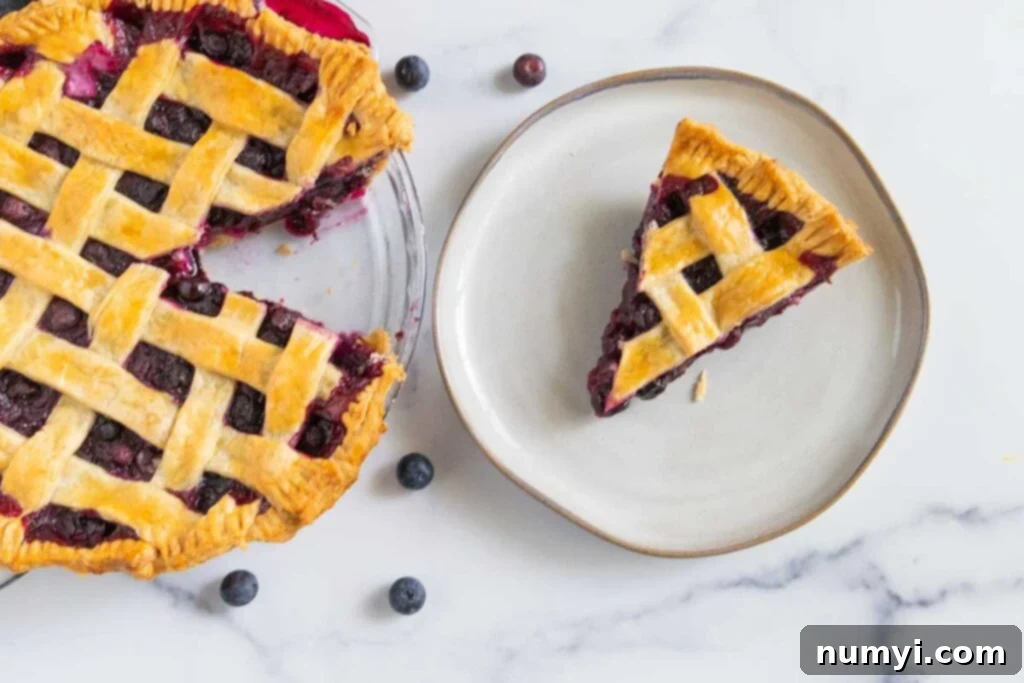
The Allure of Homemade Blueberry Pie
As blueberry season arrives, our kitchens buzz with anticipation for fresh, vibrant berries. While store shelves offer plenty of options, there’s an undeniable magic in a pie made from scratch. For many, the thought of preparing a homemade pie crust can seem daunting. I used to feel the same way! However, through careful testing and practice, I’ve discovered techniques that make the process not just achievable, but enjoyable. This recipe will guide you through crafting a beautiful, delicious pie that will impress everyone who tries it.
While this recipe features an easy-to-follow homemade crust, I completely understand the convenience of a store-bought, refrigerated pie crust. If time is short or you prefer a simpler approach, feel free to use a good quality pre-made crust. However, I’ve found that the extra effort for a homemade crust truly pays off in terms of flavor and texture, offering an unparalleled flakiness and rich buttery taste that elevates the entire pie experience. Ultimately, the choice is yours, and either option will still result in a fantastic blueberry pie with this delicious filling.
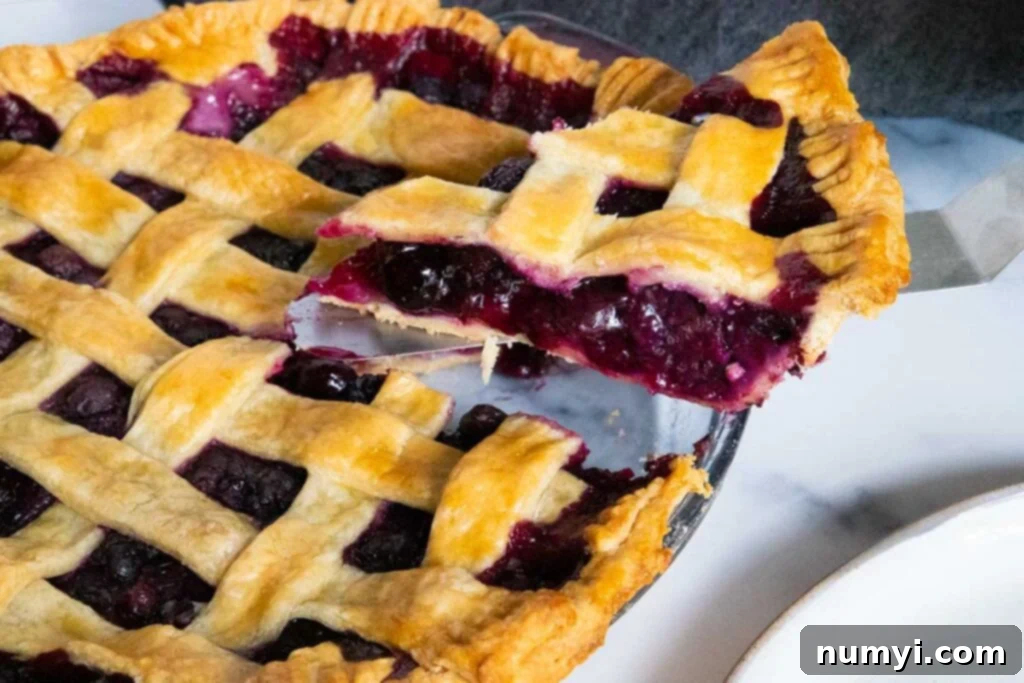
Essential Ingredients for a Perfect Pie Crust
A truly exceptional blueberry pie starts with an incredible crust. Here are the simple ingredients you’ll need to create a tender, flaky foundation that perfectly complements the sweet-tart filling:
- All-purpose flour: The structural backbone of your crust. Use a good quality flour for best results.
- Granulated sugar: A touch of sweetness that enhances the flavor and helps with browning.
- Salt: Crucial for balancing flavors and making the crust taste savory, not bland. Don’t skip it!
- Unsalted butter, cold: The secret to flakiness! Cold butter creates pockets of steam during baking, separating the layers of dough. Ensure your butter is very cold, preferably cut into small cubes and even frozen for a few minutes before use.
- Ice water: This is vital. Like cold butter, ice water keeps the dough cool and prevents the butter from melting too early, which would lead to a tough crust instead of a flaky one. Have more on hand than you think you’ll need, but add it gradually.
Crafting Your Flaky Pie Dough
Making pie dough in a food processor is remarkably quick and easy, minimizing handling to keep the butter cold. Here’s how to do it:
- Combine Dry Ingredients: In the bowl of your food processor, combine the all-purpose flour, granulated sugar, and salt. Pulse a few times to ensure they are well mixed. This distributes the seasoning evenly.
- Incorporate Cold Butter: Add the cold, cubed unsalted butter pieces to the flour mixture. Pulse the food processor in short bursts until the mixture resembles a coarse meal, with some pea-sized butter pieces still visible. It’s important not to over-process at this stage; those small butter chunks are what contribute to the flaky texture.
- Add Ice Water Gradually: With the food processor running, gradually add ice-cold water, one tablespoon at a time, through the feed tube. Process just until the dough begins to come together and forms a shaggy ball. Stop as soon as it clumps; too much water or over-processing will make the dough tough. You might not need all 5-6 tablespoons, or you might need a tiny bit more, depending on your flour and humidity.
- Form and Chill: Turn the dough out onto a lightly floured surface. Gently knead it a few times, just enough to bring it completely together. Avoid overworking the dough. Divide the dough in half. Shape each piece into a flat disk – this makes rolling much easier later. Wrap each disk tightly in plastic wrap and refrigerate for at least one hour, or ideally up to 2 days. Chilling the dough is critical; it allows the gluten to relax, preventing shrinkage during baking, and solidifies the butter, ensuring a truly flaky crust.
Irresistible Homemade Blueberry Pie Filling Ingredients
The heart of this pie is its luscious, thick blueberry filling. Each ingredient plays a vital role in achieving that perfect balance of sweetness, tartness, and aromatic depth. Here’s what you’ll need:
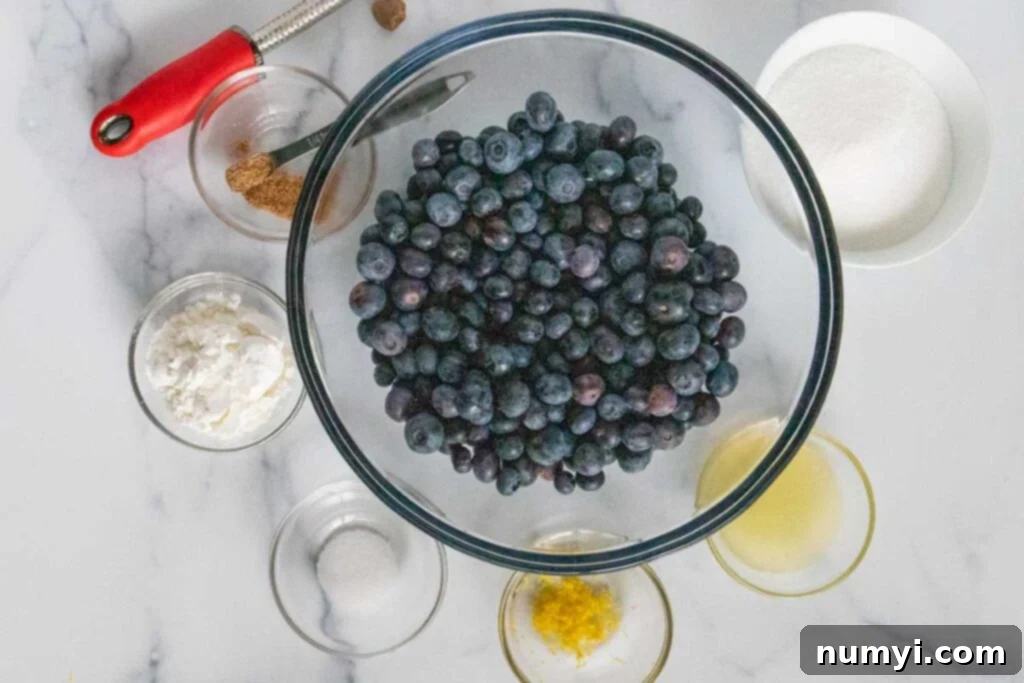
- Fresh blueberries (or frozen): We highly recommend using fresh, ripe blueberries when they are in season for the best flavor and texture. However, you can absolutely use frozen blueberries. If using frozen, do not thaw them; add them directly to the filling mixture. Plan to bake the pie for an extra 10-15 minutes or more if using frozen berries, as they will release more liquid and cool down the filling.
- Granulated sugar: To sweeten the berries. Blueberries vary in sweetness, so it’s a good idea to taste your berries first. You might want to slightly adjust the amount of sugar, adding a little more if they are very tart, or cutting back if they are exceptionally sweet.
- Salt: A small amount of salt is a necessity for all baked goods. It enhances all the other flavors, making them pop and preventing the pie from tasting flat or overly sweet.
- Cornstarch: This is your key to a perfectly thick, shiny, and glossy filling that is definitely not runny! Cornstarch acts as a thickening agent, binding with the berry juices to create that ideal consistency.
- Fresh ground nutmeg: A little bit of freshly ground nutmeg makes this blueberry pie absolutely amazing. It adds a warm, subtly spiced aroma that beautifully complements the fruit.
- Lemon zest: Don’t underestimate the power of citrus! Lemon zest adds a bright, aromatic punch that enhances the natural sweetness of the blueberries without making the pie taste lemony.
- Lemon juice: A tablespoon of fresh lemon juice not only adds another layer of citrus brightness but also helps balance the sweetness of the berries and activates the cornstarch for optimal thickening.
- Beaten egg and water (for the egg wash): This mixture creates a beautiful golden, shiny crust and helps seal the edges of the pie.
The Secret to a Perfectly Thick Blueberry Filling (No More Runny Pie!)
One of the most common complaints about fruit pies is a runny, soupy filling. The good news is, it’s entirely preventable! The key lies in understanding how cornstarch works and ensuring proper baking. Your pie must be baked until the juice at the very center of the pie is actively bubbling. You’re not just looking for a shiny, melted center; the filling needs to be vigorously boiling in the middle. This intense heat is what fully activates the cornstarch, allowing it to thicken the juices to a luscious, spoonable consistency. If the center isn’t bubbling, the cornstarch hasn’t done its job, and you’ll end up with a runny pie. Patience is a virtue when baking fruit pies!
Assembling and Baking Your Masterpiece Blueberry Pie
Once your dough is chilled and your ingredients are prepped, it’s time to bring your blueberry pie to life!
- Preheat and Prepare: Preheat your oven to a robust 425 degrees F (220 degrees C). This initial high heat helps set the crust quickly and ensures a beautiful browning. Line a baking sheet with aluminum foil and place it on a lower rack in your oven. This foil-lined sheet will catch any potential spillage, saving you from a messy oven cleanup.
- Prepare the Bottom Crust: If your pie dough has been refrigerated overnight, let one disk stand at room temperature for about 15-20 minutes to make it more pliable for rolling. Lightly flour your work surface and rolling pin. Roll out one dough disk into a 12-inch circle, approximately 1/8 inch thick. Carefully transfer the rolled-out dough to a 9-inch pie pan, gently easing it down into the pan without stretching. Trim any excess dough, leaving about a 1/2 inch overhang, then fold this overhang under and crimp the edges decoratively. Brush some of the prepared egg wash (one beaten egg whisked with one tablespoon of water) over the bottom crust. This step helps create a barrier, preventing a soggy bottom crust, and refrigerate it while you prepare the top crust.
- Mix the Blueberry Filling: In a large mixing bowl, combine the fresh or frozen blueberries, granulated sugar, salt, cornstarch, fresh ground nutmeg, lemon zest, and lemon juice. Gently toss the mixture with a spoon or your hands until the blueberries are evenly coated with the sugar and spices. Be careful not to mash the berries. Set this aside.
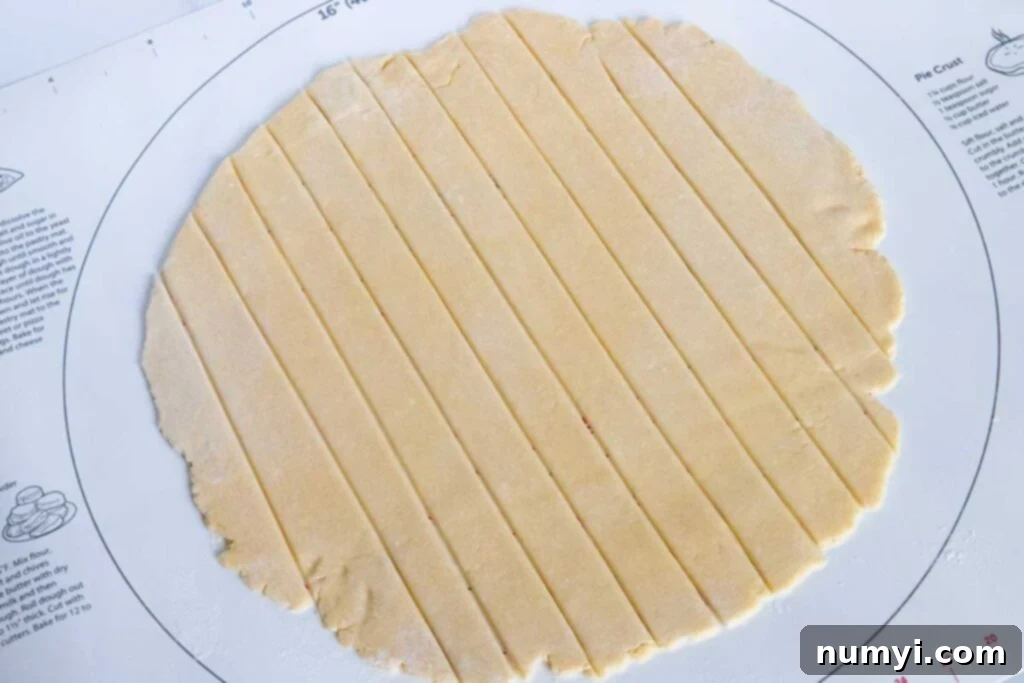
- Create the Lattice Top: On your lightly floured surface, roll out the second dough disk to another 12-inch circle, 1/8 inch thick. Using a pizza cutter or a sharp knife, cut the dough into 1/2-inch wide strips.
- Fill and Weave: Retrieve your chilled pie crust from the refrigerator. Pour the prepared blueberry mixture into the crust, spreading it evenly. Now, arrange half of the dough strips vertically over the filling, spacing them about 1/2 to 3/4 inch apart. Fold down every other vertical strip about halfway. Place one horizontal strip across the top, perpendicular to the folded strips. Unfold the vertical strips back over the horizontal strip. Now, fold up the *remaining* vertical strips (the ones that were not folded down initially). Lay another horizontal strip across, parallel to the first. Unfold the vertical strips. Continue this weaving pattern, alternating which vertical strips you fold up, and placing horizontal strips, until you have formed a beautiful lattice top.
- Finish the Crust: Trim any excess dough from the edges of the pie plate. Crimp the edges of the pie, pressing the top and bottom crusts together to seal them. Brush the entire lattice top with the remaining egg wash. If desired, sprinkle the top crust generously with turbinado sugar for extra sparkle and crunch.
- Bake to Perfection: Place the pie on the foil-lined baking sheet in the preheated 425 degrees F oven. Bake for 20 minutes. After 20 minutes, decrease the oven temperature to 375 degrees F (190 degrees C) and continue to bake for an additional 60 minutes to 1 hour and 15 minutes. The crust should be beautifully golden brown, and most importantly, the filling at the very center of the pie should be vigorously bubbling, not just at the outer edges. This bubbling is your visual cue that the cornstarch has fully activated. If the crust starts browning too quickly before the filling is ready, loosely cover the edges with a pie crust shield or aluminum foil.
- Cool Completely: This step is critical! Once baked, remove the pie from the oven and transfer it to a wire rack to cool completely. This means at least 3 to 4 hours, or even longer. Resisting the urge to slice into a warm fruit pie is tough, but it’s essential for the filling to properly set. Slicing too early will result in a runny mess. I always make my fruit pies one day ahead of serving for this very reason, allowing them to cool and set overnight.
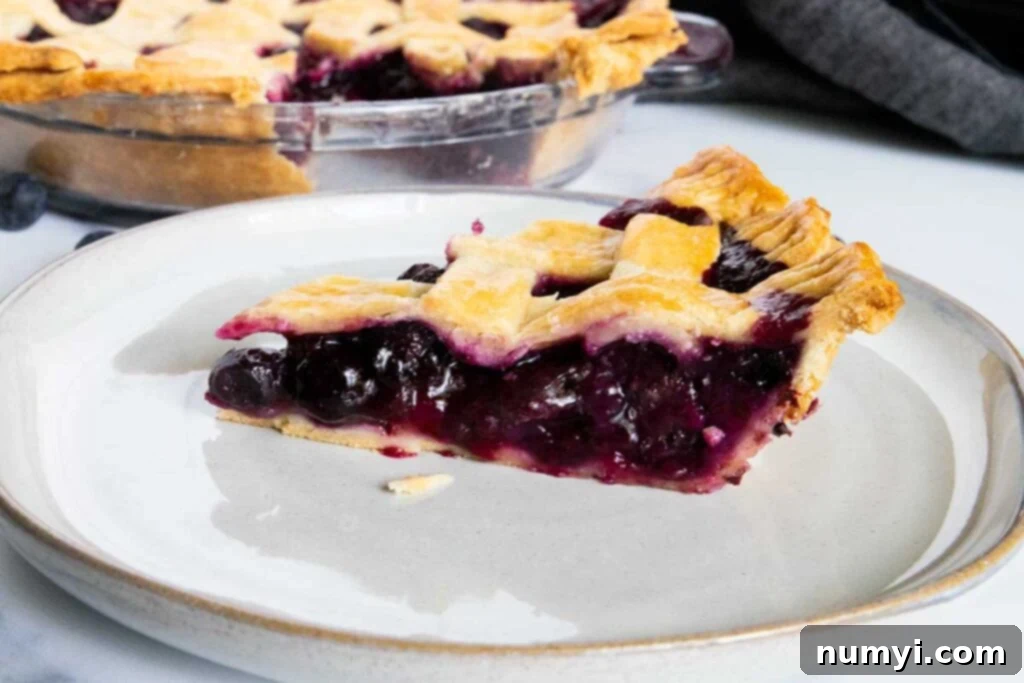
A Note on Baking Time: Every oven is different, so watch your pie closely. My oven typically bakes this pie for about 1 hour and 25 minutes total. The lattice crust is not only beautiful but also functional, allowing some of the liquid to vent out and, more importantly, letting you visibly confirm when the center filling is fully bubbling and cooked through.
Serve your perfectly baked blueberry pie warm with a scoop of vanilla ice cream, a dollop of fresh whipped cream, or simply on its own. It’s a taste of summer in every bite!
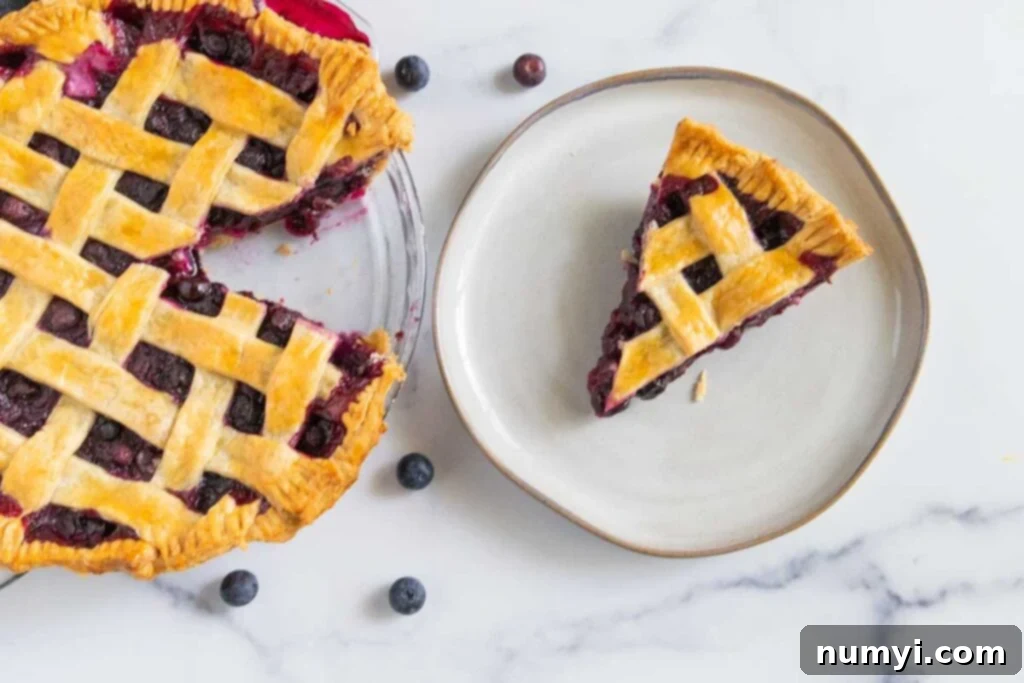
Can You Freeze Blueberry Pie? Storing Your Delicious Creation
Yes, absolutely! Blueberry pie freezes beautifully, making it an excellent dessert to prepare ahead of time or to save for a special occasion. For optimal results, ensure the pie has completely cooled and set after baking. Once cool, wrap the entire pie tightly in several layers of freezer-safe plastic wrap, followed by a layer of aluminum foil. For extra protection against freezer burn, you can then wrap it in freezer paper or place it inside a 2-gallon freezer bag. Properly wrapped, the pie can be stored in the freezer for up to 3-4 months.
When you’re ready to enjoy it, thaw the frozen pie in the refrigerator overnight. If you prefer warm slices, you can reheat individual pieces in a 375 degrees F (190 degrees C) oven for about 10-15 minutes, or until warmed through. For a whole pie, you might need 20-30 minutes at 350 degrees F (175 degrees C) to warm it through, covering with foil if the crust starts to brown too much. Leftover pie can also be stored at room temperature for up to 2 days, or in the refrigerator for up to 5 days, covered loosely.
Craving More Blueberry Goodness?
If you love blueberries as much as we do, you’ll definitely want to try these other delightful recipes:
- Blueberry Scones: Perfect for breakfast or an afternoon tea, these tender scones are packed with juicy blueberries.
- Lemon Streusel Blueberry Muffins: A vibrant combination of tart lemon and sweet blueberries, topped with a crunchy streusel.
- Blueberry Streusel Coffee Cake: A moist cake swirled with blueberries and a generous streusel topping, ideal for brunch.
Blueberry Pie Recipe
Print
Pin
Rate
Ingredients
Pie Crust
- 2 1/2 cups All-purpose flour
- 1 tablespoons Granulated sugar
- 1/2 teaspoon Salt
- 1 cup Unsalted butter, cold 16 tablespoons
- 5-6 tablespoons Ice water
Blueberry Filling
- 6 cups Fresh blueberries (or frozen)
- 3/4 cup Granulated sugar
- 1/4 teaspoon Salt
- 1/4 teaspoon Fresh ground nutmeg
- 5 tablespoons Cornstarch
- 1 teaspoon Lemon zest
- 1 tablespoon Lemon juice
- 1 large egg
- 1 tablespoon Water
Instructions
To Make The Pie Crust
-
In the bowl of a food processor combine flour, sugar, and salt. Pulse a few times to mix. Add the cold butter pieces and pulse until the mixture looks like coarse meal. With the processor on, gradually ice cold water one tablespoon at a time and process until the dough begins to come together.
-
Turn the dough out onto a lightly floured surface and knead a few times until it comes together. Divide the dough in half. Shape each piece into a ball then flatten each ball into a disk. Wrap each disk tightly in plastic wrap and refrigerate at least one hour or up to 2 days.
To Make the Blueberry Pie
-
Preheat the oven to 425 degrees F. Prepare a baking sheet with aluminum foil to catch any spillage.
-
Using a 9-inch pie pan. Let the dough stand at room temperature for at least 15 minutes if it was refrigerated overnight.
Roll out 1 dough disk to a 12-inch circle, 1/8 inch thick. Transfer to the pie pan and gently ease it down into the pan. Brush some of the egg wash over the bottom pie crust and refrigerate while you roll out the top dough.
-
In a large mixing bowl combine the fresh blueberries, sugar, salt, cornstarch, nutmeg, lemon zest, and lemon juice. Gently toss to coat the blueberries evenly. Set aside while you roll out the second dough disk.
-
Roll out the second dough disk to a 12-inch circle. Using a pizza cutter or sharp knife cut out 1/2″ strips of the dough. Pour the blueberry mixture into the prepared pie crust.
-
Arrange half of the strips vertically over the filling. Fold down every other strip and place one strip horizontally across the top. Unfold the folded strips, and fold up the remaining strips. Lay another strip horizontally. Continue weaving the remaining strips to form a lattice top. Trim excess dough from the pie plate and crimp the edges of the pie. Brush the top crust with egg wash and sprinkle with turbinado sugar over the top if desired.
-
Bake for 20 minutes, then decrease the oven temp to 375 degrees F and continue to bake for another hour to one hour and 15 minutes until the crust is golden brown and the very center of the filling is bubbling not just the outer edges. You may need to use a crust guard before the filling is bubbling.
-
Remove from the oven to a wire rack to cool completely, at least 3 to 4 hours.
