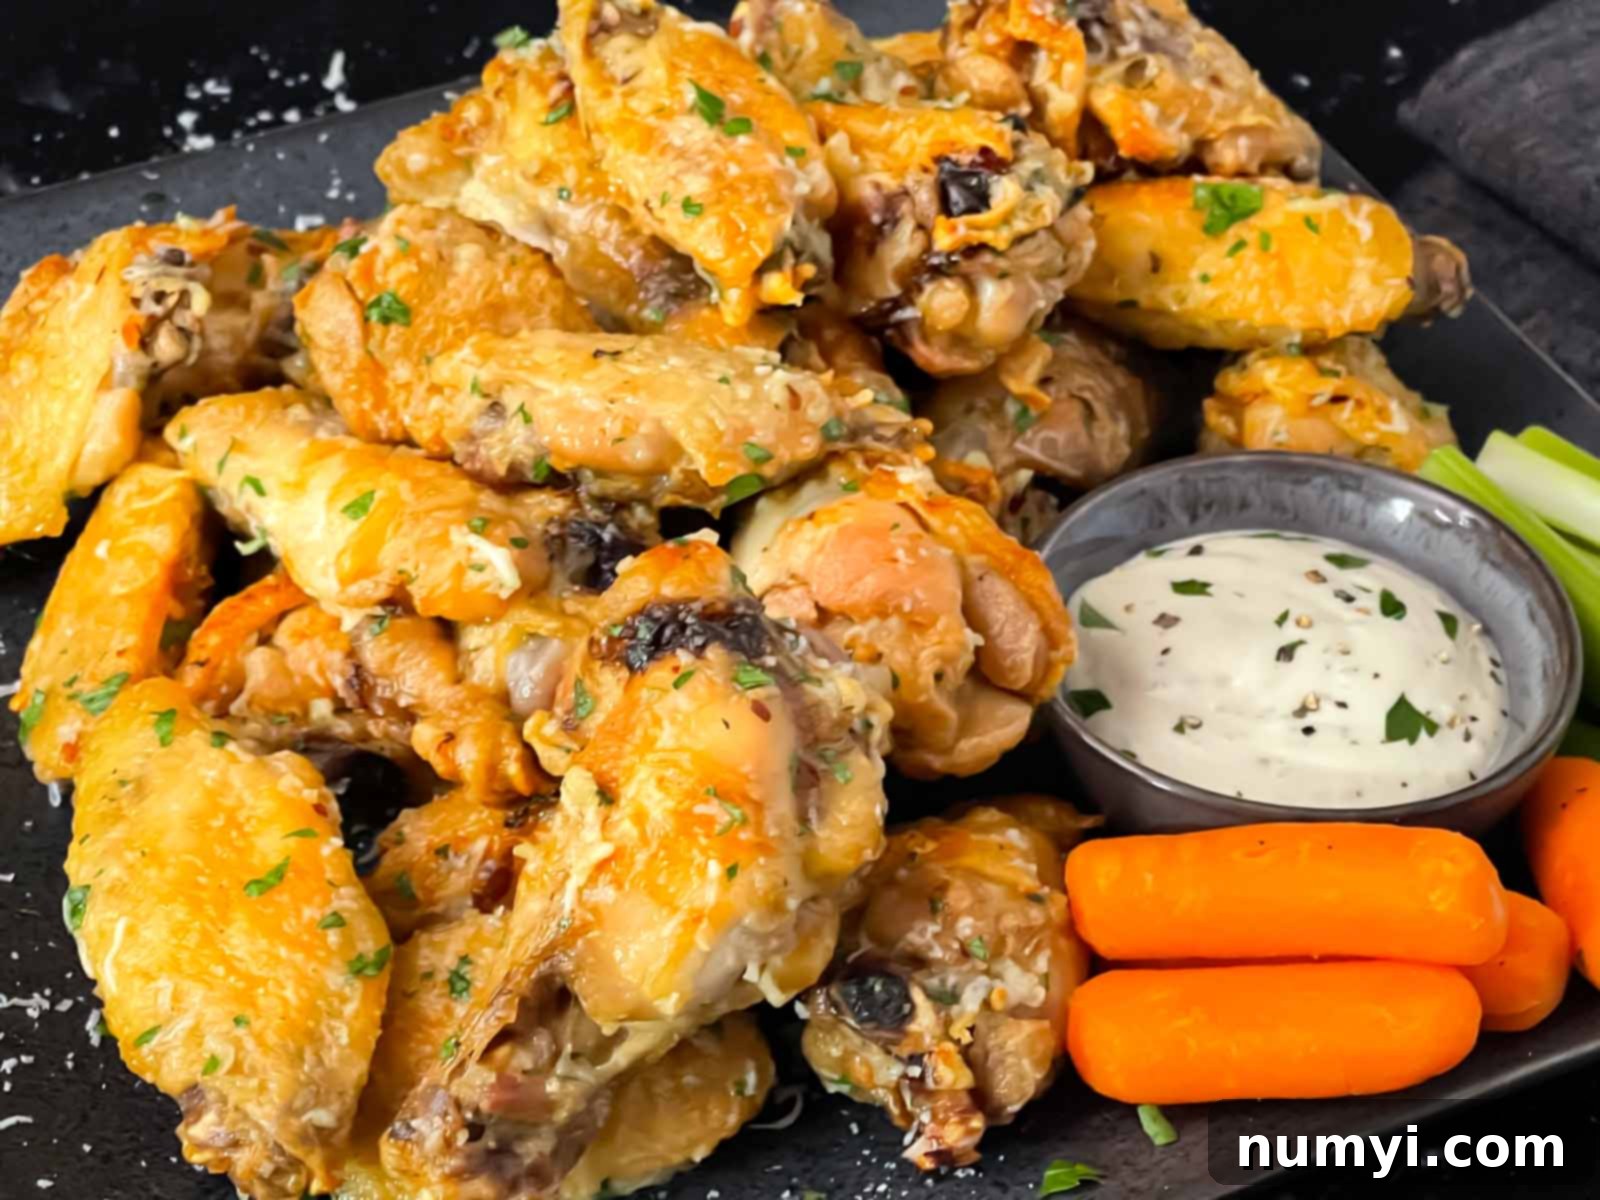
Crispy Baked Garlic Parmesan Chicken Wings: The Ultimate Flavorful Recipe
Tired of the same old chicken wing routine? Prepare to elevate your appetizer game with these incredible baked garlic parmesan chicken wings. Forget messy deep-frying; this recipe delivers perfectly crispy wings straight from the oven, drenched in a rich, buttery garlic sauce and generously coated with savory Parmesan cheese. They are an absolute showstopper, guaranteed to impress at any gathering, from casual weeknight dinners to the biggest game day parties. These wings offer a sophisticated, yet utterly comforting flavor profile that’s a refreshing change from traditional buffalo wings, making them a new household favorite.
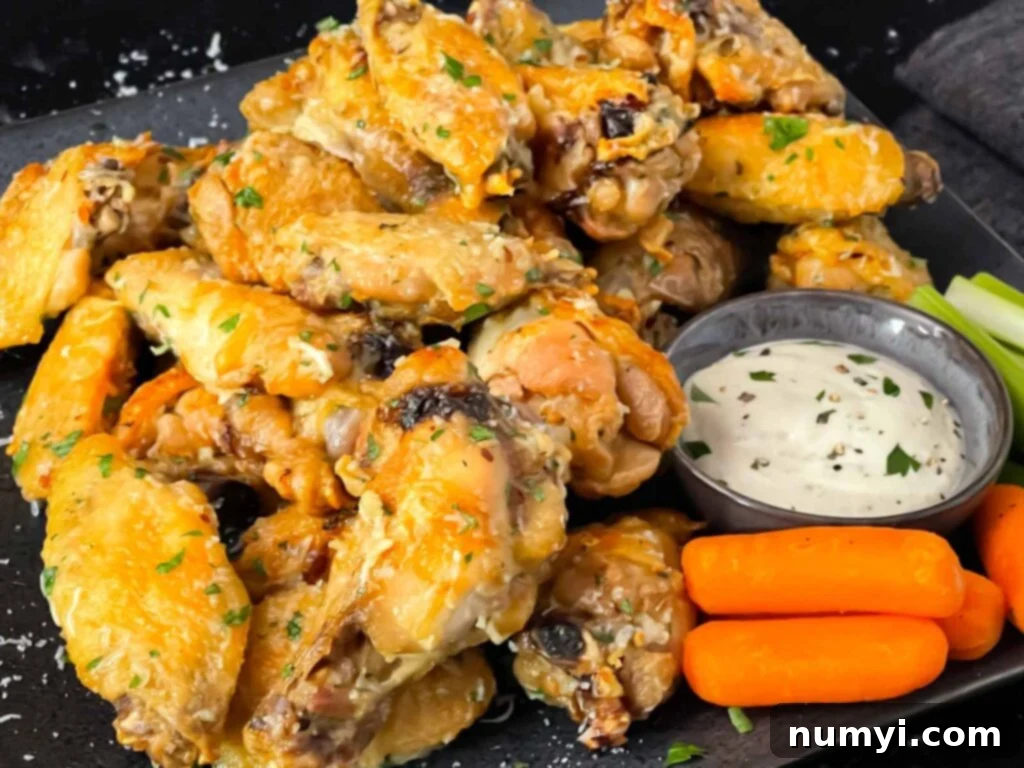
Why You Will Love These Baked Garlic Parmesan Chicken Wings
Chicken wings hold a special place in our hearts, and we’ve explored numerous wing recipes on this site, each one a beloved favorite. However, these garlic parmesan wings truly stand out from the crowd, offering an experience that is both familiar and excitingly new. If you’re searching for crispy chicken wings that don’t involve deep-frying, this baked garlic parmesan wing recipe is your answer.
The secret to their irresistible crispiness lies in a simple yet effective technique: the use of baking powder combined with a good long chill in the refrigerator. This method draws out moisture from the chicken skin, creating a surface that, when baked at a high temperature, crisps up beautifully without the need for excessive oil. But the real magic, the element that transforms these already delicious wings into something truly extraordinary, is the rich, aromatic garlic parmesan sauce. Each golden-brown wing is lovingly tossed in this decadent blend of melted butter, fragrant minced garlic, and the sharp, salty goodness of Parmesan cheese. A touch of red pepper flakes adds a subtle hint of warmth, perfectly balancing the savory, garlicky, and cheesy notes without overwhelming the palate. It’s a flavor combination that will have everyone reaching for more.
Beyond their incredible taste and texture, these baked wings offer practical advantages. Since they are baked rather than fried, cleanup is significantly easier, allowing you to enjoy your meal without dreading the aftermath. The entire process, from initial preparation to the final cook time, typically takes about an hour, not including the crucial chilling period. This makes them a feasible option even on busier days, especially if you can get the prep done ahead of time. The result is a plate of crispy, flavorful wings that are a delightful departure from the common buffalo style, proving that baked chicken wings can be just as satisfying, if not more so, than their fried counterparts.
This recipe is also incredibly versatile, making it easy to adapt to your personal preferences. You can effortlessly swap Parmesan cheese for the sharper, nuttier flavor of Pecorino Romano, or use a blend of both for added complexity. Craving more heat? Feel free to increase the amount of red pepper flakes or even add a dash of cayenne pepper to the sauce. Prefer a milder experience? Simply omit the red pepper flakes entirely. These wings are perfect for virtually any occasion, whether it’s a casual snack, a festive appetizer for holidays, the star of your game day spread, or just a fantastic weekend treat. Once you try them, you’ll find yourself making them again and again!
How To Make Baked Garlic Parmesan Chicken Wings
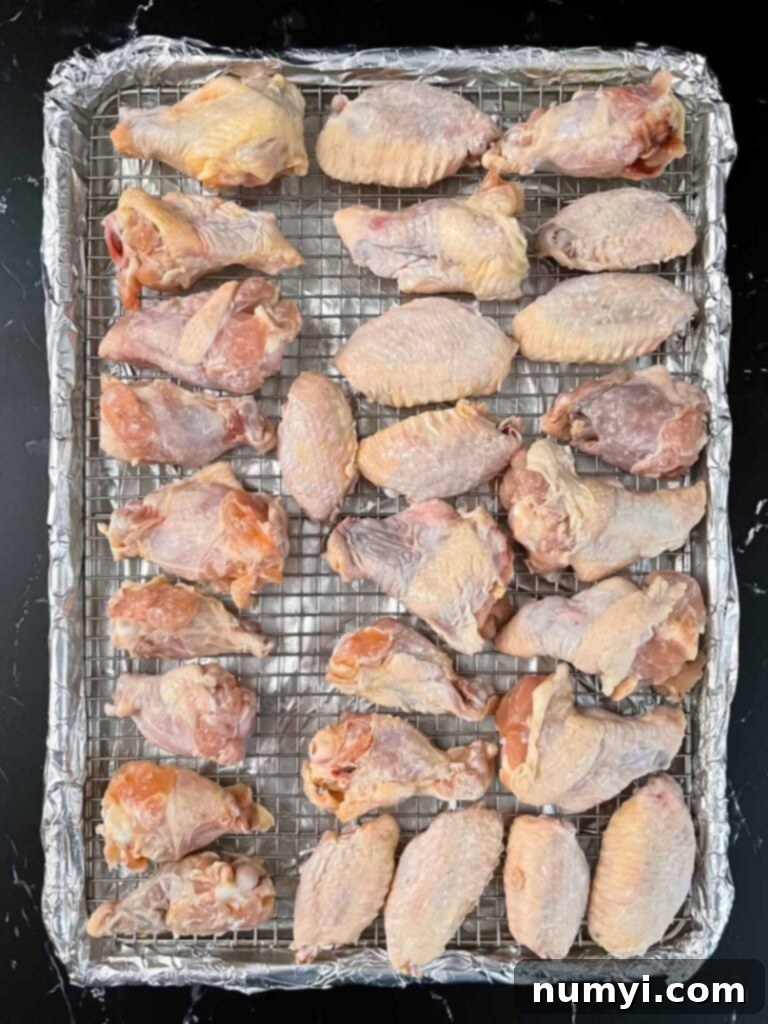
- The key to ultra-crispy wings starts with proper preparation. Begin by thoroughly patting the chicken wings dry with paper towels. This step is critical, as removing excess moisture from the skin allows it to crisp up beautifully in the oven. Once dry, place the wings in a large bowl. In a separate small bowl, combine the kosher salt and baking powder, then sprinkle this mixture evenly over the wings. Toss diligently until every wing is coated. The baking powder helps to raise the skin’s pH level, creating tiny air bubbles that expand and contribute to an incredibly crunchy texture. Next, arrange the coated wings on a wire rack set over a foil-lined baking sheet. Ensure there is ample space between each wing to allow for proper air circulation, which is essential for even crisping. Refrigerate the wings for a minimum of 4 hours; however, for truly exceptional crispiness, leaving them uncovered in the refrigerator overnight (up to 24 hours) is highly recommended. This extended chilling period further dries out the skin, maximizing the crunch factor.
- Once the wings have adequately chilled and you’re ready to cook, preheat your oven to a high temperature of 450°F (230°C). This high heat is crucial for achieving that desired crispy exterior. Before placing the wings back on the rack, lightly oil or spray the wire rack to prevent any sticking, which could tear the crispy skin. Carefully arrange the wings on the prepared rack, ensuring they are still well-spaced. Overcrowding the pan will lead to steaming rather than crisping, so bake in batches if necessary.
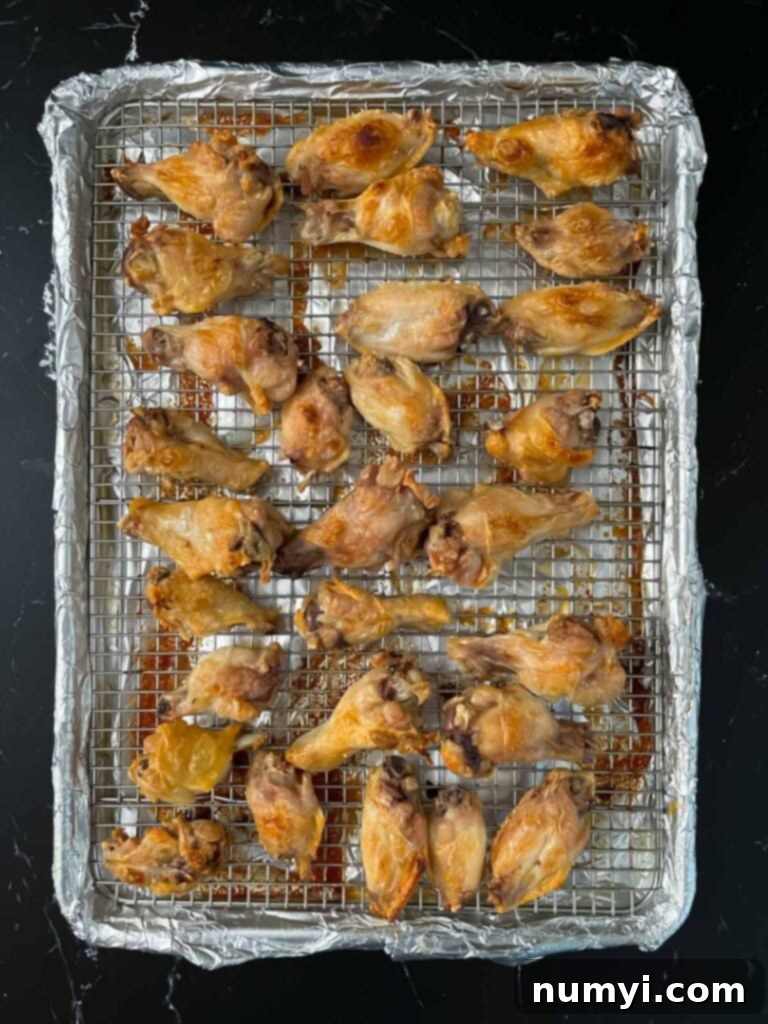
Bake for an initial 20-25 minutes, allowing the wings to start rendering their fat and crisping up. Then, carefully flip each wing to ensure even cooking and browning on all sides. Continue baking for another 20-25 minutes, or until the wings reach a beautiful golden-brown color and are thoroughly cooked through. For those who crave an extra-crispy, almost blistered skin, you can broil them for an additional 1-2 minutes at the very end. Keep a vigilant eye on them during this step, as broiler temperatures can vary, and wings can go from perfectly crisp to burnt in a matter of seconds!
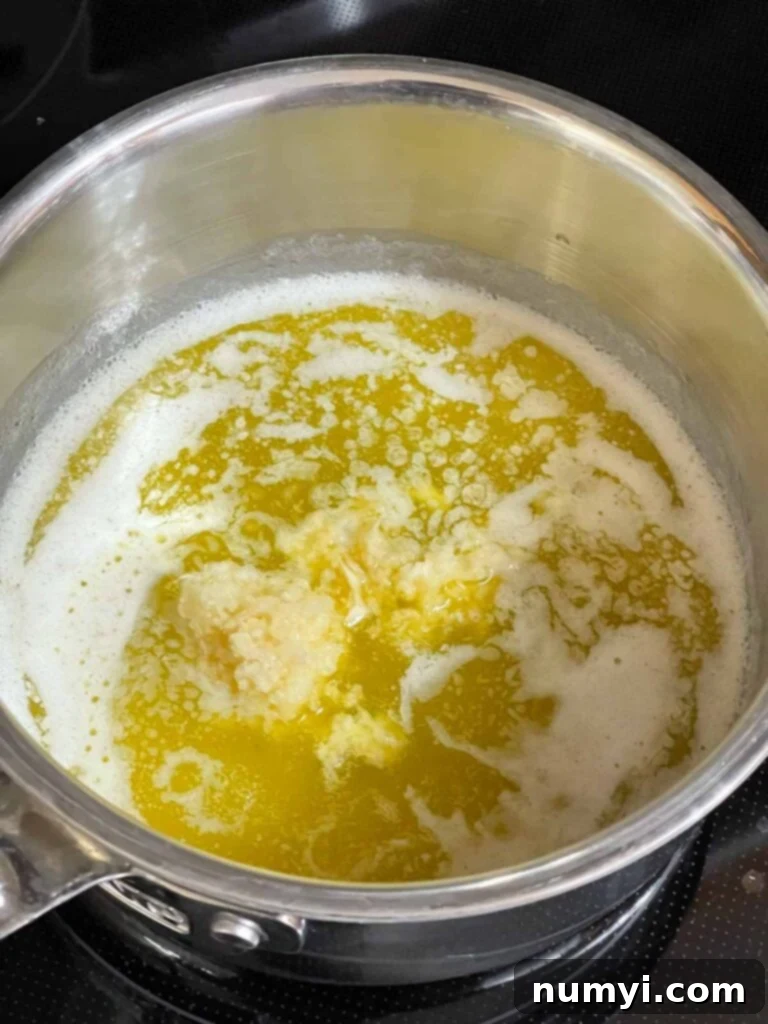
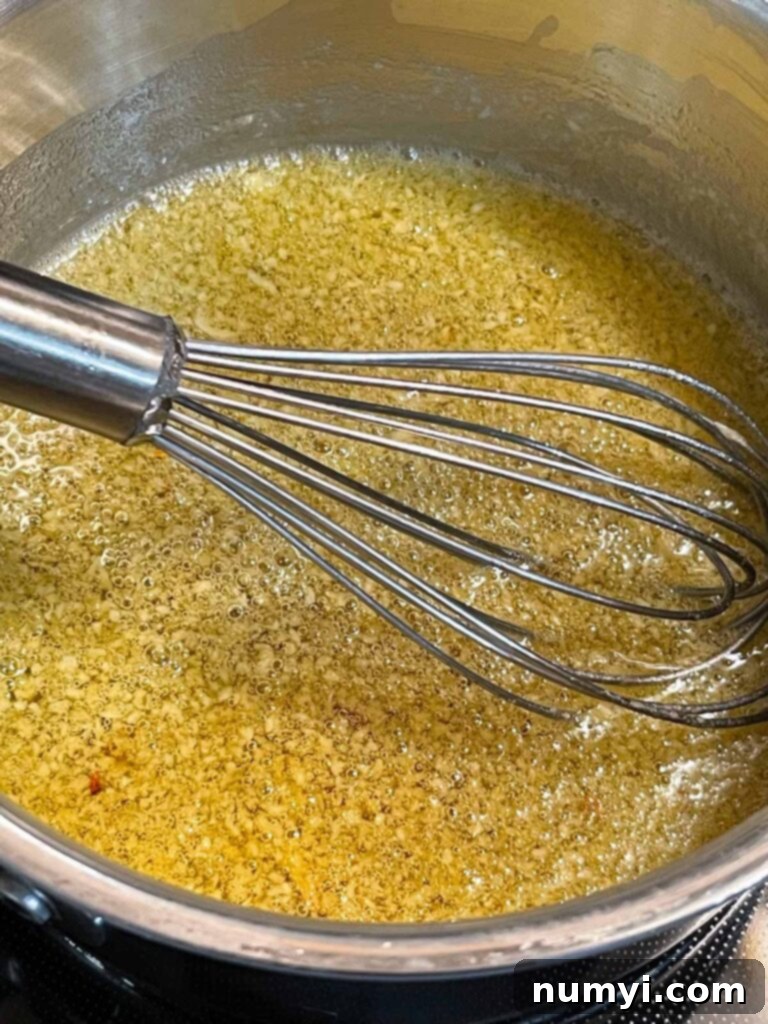
- While your wings are baking to golden perfection, it’s the ideal time to prepare the luscious garlic butter sauce that will coat them. In a small saucepan, melt the unsalted butter over medium-low heat. Once the butter is fully melted, whisk in the olive oil. This combination adds richness and helps prevent the butter from burning too quickly. Add the minced garlic to the saucepan and cook for 2-3 minutes, stirring frequently. Be careful not to burn the garlic, as this can make it bitter; you want it fragrant and slightly golden. Next, whisk in the all-purpose flour. This acts as a thickener, creating a silky smooth sauce that clings beautifully to the wings. Cook for an additional minute, allowing the flour to cook out and absorb the butter and garlic flavors. Finally, stir in the red pepper flakes for a subtle kick of heat. Cook for another minute to allow the flavors to meld, then remove the sauce from the heat, ensuring it stays warm until your wings are ready.
- Once the chicken wings have reached their desired crispiness and are perfectly golden brown, immediately transfer them to a large mixing bowl. Promptly pour about half of the prepared garlic butter sauce over the hot wings. Toss vigorously to ensure every single wing is thoroughly coated in the rich, buttery goodness. Then, add the remaining half of the sauce and toss again. This two-stage coating method ensures maximum flavor distribution and adhesion, so each bite is packed with that irresistible garlic parmesan taste.
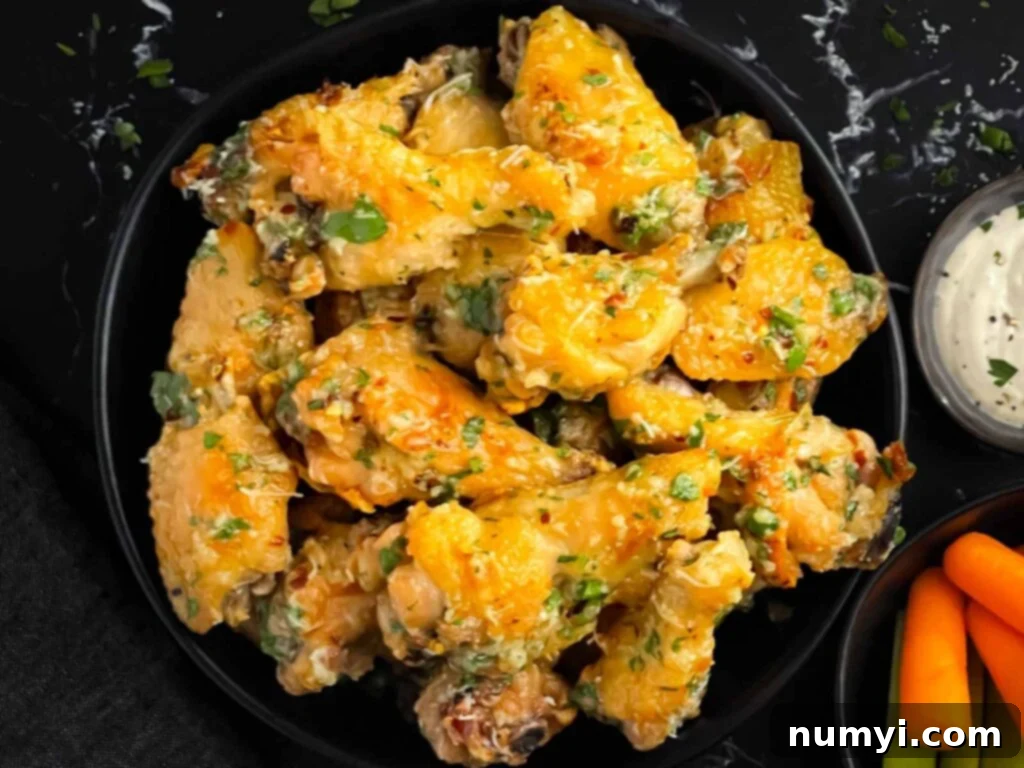
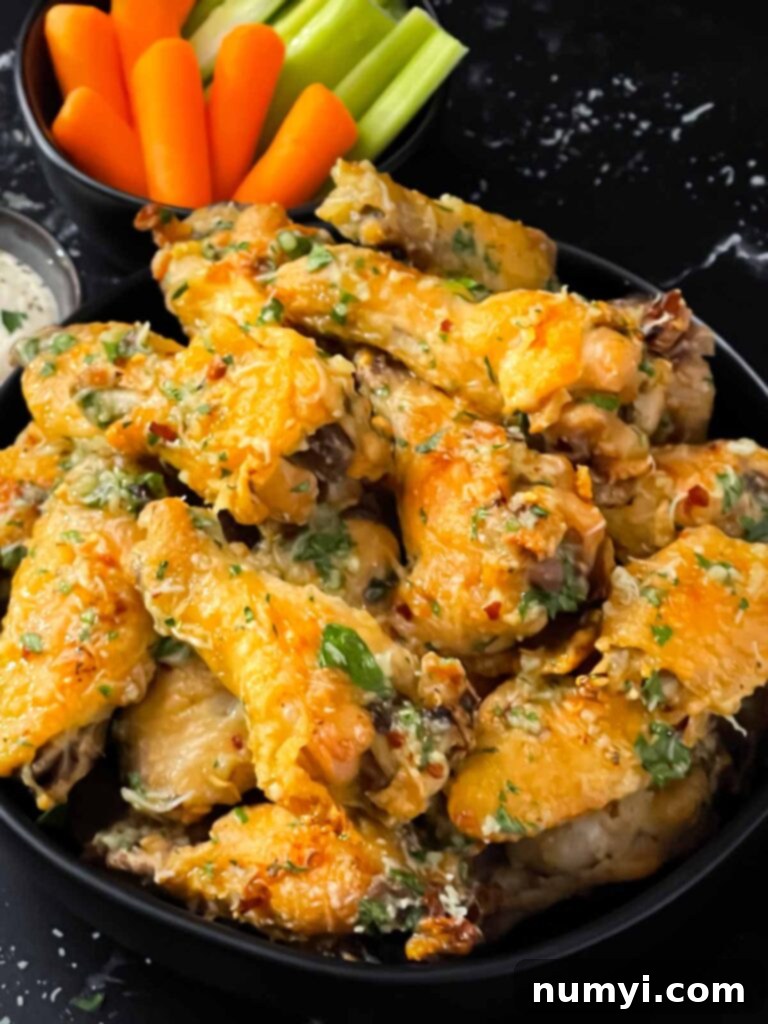
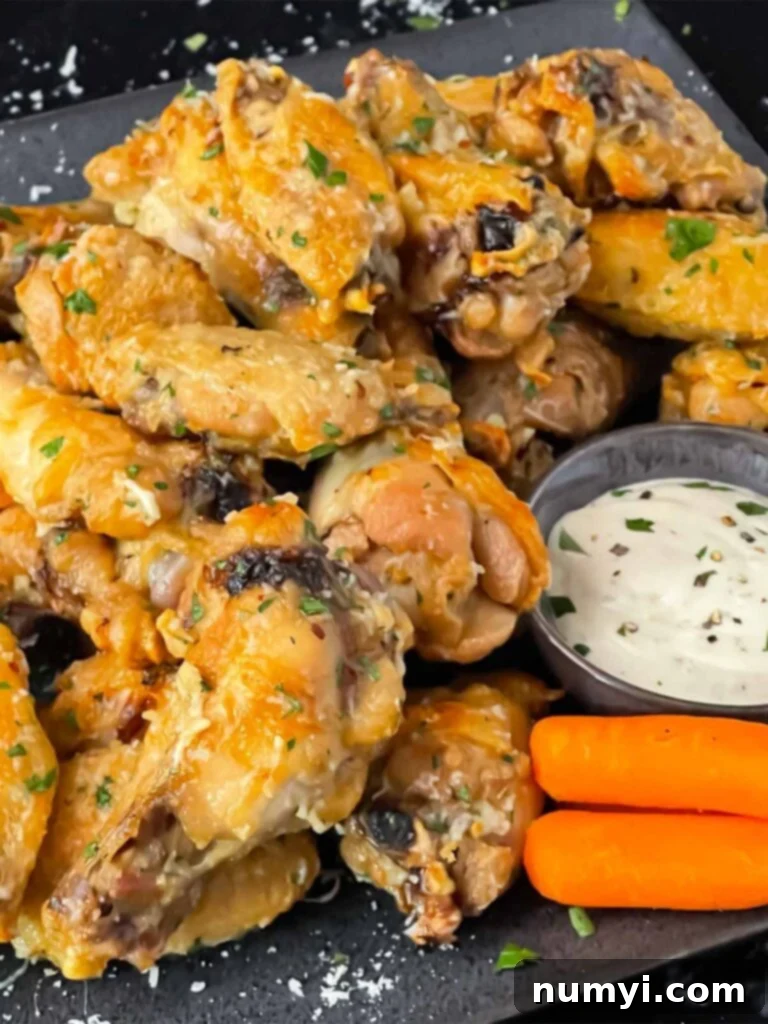
To finish these magnificent wings, generously sprinkle them with freshly grated Parmesan cheese and a scattering of vibrant chopped parsley. Toss gently one last time to evenly distribute the cheese and herbs, allowing the warmth of the wings to slightly melt the Parmesan, creating a beautiful, cohesive coating. Serve these delectable baked garlic parmesan chicken wings immediately while they are hot and at their crispiest. They are fantastic on their own, but also pair wonderfully with classic sides like crisp celery sticks, refreshing carrot sticks, and a side of creamy blue cheese or ranch dressing for dipping. Prepare for an explosion of flavor!
Tips for Perfectly Crispy Baked Garlic Parmesan Wings
Achieving truly crispy baked chicken wings is an art form, but with a few simple techniques, you can master it every time. Here are some essential tips to ensure your garlic parmesan wings are nothing short of spectacular:
- Dry Your Wings Thoroughly: This cannot be stressed enough. Moisture is the enemy of crispiness. After thawing, or if using fresh wings, pat them *aggressively* dry with paper towels. You want the skin to be as dry as possible. Any residual moisture will create steam in the oven, preventing the skin from rendering fat and getting crispy.
- Don’t Skip the Baking Powder (Aluminum-Free): Baking powder is your secret weapon for extra-crispy skin. It works by increasing the surface area of the chicken skin and helping it to dry out, promoting a crispier exterior. Ensure you use aluminum-free baking powder, as standard baking powder can impart a metallic taste.
- Refrigerate Overnight for Best Results: While a minimum of 4 hours is good, letting the seasoned wings sit uncovered on a wire rack in the refrigerator overnight (8-12 hours, or up to 24) is a game-changer. This extended air exposure further dries out the skin, leading to unparalleled crispiness. The cold air circulates around the wings, drawing out surface moisture.
- Use a Wire Rack Over a Baking Sheet: Baking wings directly on a baking sheet can result in soggy bottoms. A wire rack is crucial because it allows hot air to circulate all around each wing, ensuring even cooking and crisping on every surface. Line the baking sheet underneath with foil for easier cleanup of rendered fat. Remember to lightly oil or spray the wire rack to prevent the wings from sticking.
- Don’t Overcrowd the Pan: Give your wings space! If you pack too many wings onto a single rack, they will steam instead of roast, leaving you with less-than-crispy results. Work in batches if necessary, ensuring there’s at least an inch of space between each wing.
- Don’t Skip the Flip: Flipping the wings halfway through the baking process is essential for achieving uniform browning and crispiness on both sides. This ensures that every part of the wing gets direct exposure to the heat, creating that golden-brown crust.
- Check Internal Temperature for Doneness: While appearance is a good indicator, always use a meat thermometer to ensure your chicken wings are safely cooked. The internal temperature should reach 165°F (74°C) in the thickest part of the wing without touching the bone.
- Broil for Extra Crispiness: If your wings aren’t quite as crispy as you’d like after baking, a quick trip under the broiler can work wonders. Place them on the top rack and broil for 1-2 minutes per side. Watch them *very carefully* as they can burn quickly. This intense heat helps achieve that beautiful, blistered skin.
- Serve Immediately: Garlic Parmesan wings are best enjoyed fresh out of the oven, when their skin is at its crispiest and the sauce is perfectly warm and luscious.
Delicious Variations for Your Garlic Parmesan Wings
While the classic baked garlic parmesan chicken wings are phenomenal on their own, don’t hesitate to get creative and customize them to your taste. Here are some exciting variations to try:
- Cheese Swap: Experiment with different hard cheeses. Replace the Parmesan entirely with Pecorino Romano for a sharper, saltier kick, or use a 50/50 blend of both for a more complex and nuanced flavor profile. You could also try a sprinkle of Asiago for a milder, nutty cheese note.
- Add a Citrus Twist: For a bright and zesty counterpoint to the rich garlic butter, stir in a teaspoon of fresh lemon zest or a squeeze of fresh lemon juice into the sauce just before tossing the wings. Lime zest could also offer a delightful tang. This adds a refreshing acidity that cuts through the richness.
- Spice It Up: If you love heat, there are many ways to enhance the spice. Increase the red pepper flakes in the garlic butter sauce, or add a pinch of cayenne pepper for a more intense kick. For a smoky heat, sprinkle smoked paprika on the wings along with the salt and baking powder before baking. You can also drizzle a little hot sauce over the wings after coating them in the garlic butter.
- Herb Enhancements: Beyond parsley, consider adding other fresh herbs to your garlic parmesan wings. Finely chopped fresh rosemary, thyme, or oregano can be mixed into the garlic butter sauce or sprinkled on with the Parmesan and parsley for added aromatic complexity.
- Sweet & Savory Glaze: For a touch of sweetness, whisk in a tablespoon of honey or maple syrup into the garlic butter sauce along with the flour. This creates a slightly sticky, incredibly addictive glaze that balances the savory notes beautifully.
- Smoky Twist: To introduce a smoky depth, add a quarter teaspoon of liquid smoke to the garlic butter sauce. Alternatively, a smoked paprika rub before baking can also achieve this effect.
- Different Dipping Sauces: While blue cheese and ranch are classics, consider other options. A creamy Caesar dressing, a spicy sriracha mayo, or even a simple lemon-garlic aioli can provide a fresh dipping experience.
Frequently Asked Questions About Baked Garlic Parmesan Chicken Wings
Yes, absolutely! However, it is crucial to fully thaw the frozen chicken wings before beginning the recipe. Place them in the refrigerator overnight, or for a quicker thaw, submerge sealed bags of wings in cold water for a few hours, changing the water every 30 minutes. After thawing, pat them extremely dry with paper towels to remove all excess moisture. This thorough drying is key to achieving that desirable crispy skin, as any remaining ice crystals or water will lead to steaming rather than crisping in the oven.
While a wire rack is highly recommended for the best results, as it allows for optimal air circulation around the wings for maximum crispiness, you can still bake the wings directly on a foil-lined baking sheet. If you opt for this method, make sure to flip the wings more frequently during baking (every 10-15 minutes) to ensure even cooking and browning on all sides. Be aware that the side of the wing touching the baking sheet might not get as crispy as it would on a rack.
For the absolute best texture and flavor, these garlic parmesan chicken wings are most delicious when served fresh out of the oven. However, if you need to prepare them in advance, you can bake the wings fully and then store them in an airtight container in the refrigerator for up to 3 days. To reheat and restore crispiness, preheat your oven to 375°F (190°C) and bake for 10-15 minutes, or use an air fryer at 400°F (200°C) for 5-7 minutes. It’s best to add the garlic parmesan sauce *after* reheating to maintain the crispiness, rather than letting them sit in the sauce overnight.
Absolutely! Air fryers are excellent for making crispy chicken wings. After seasoning your wings with salt and baking powder, you can skip the oven step and air fry them instead. Preheat your air fryer to 400°F (200°C). Arrange the wings in a single layer in the air fryer basket, making sure not to overcrowd. Cook for 20-25 minutes, flipping them halfway through, until they are golden brown and cooked through. Once cooked, transfer them to a bowl and toss with the prepared garlic parmesan sauce just as you would with the baked version.
You can use whole chicken wings, or “party wings” which are already separated into flats (wingettes) and drumettes. If using whole wings, you’ll need to separate them yourself by cutting through the joint between the drumette, flat, and wing tip. Discard the wing tips (or save them for chicken stock). Both flats and drumettes work equally well in this recipe.
Store any leftover wings in an airtight container in the refrigerator for up to 3 days. To reheat, arrange them on a baking sheet and warm in a preheated oven at 375°F (190°C) for 10-15 minutes, or in an air fryer at 400°F (200°C) for 5-7 minutes, until heated through and crisp again. You can add a little extra garlic butter sauce or fresh Parmesan after reheating if desired.
Other Delicious Chicken Wing Recipes
Crispy Oven Baked Chicken Wings
Cajun Smoked Chicken Wings That Will Blow You Away
Crispy Baked Asian Chicken Wings
Crispy Baked Garlic Parmesan Chicken Wings
Print
Pin
Rate
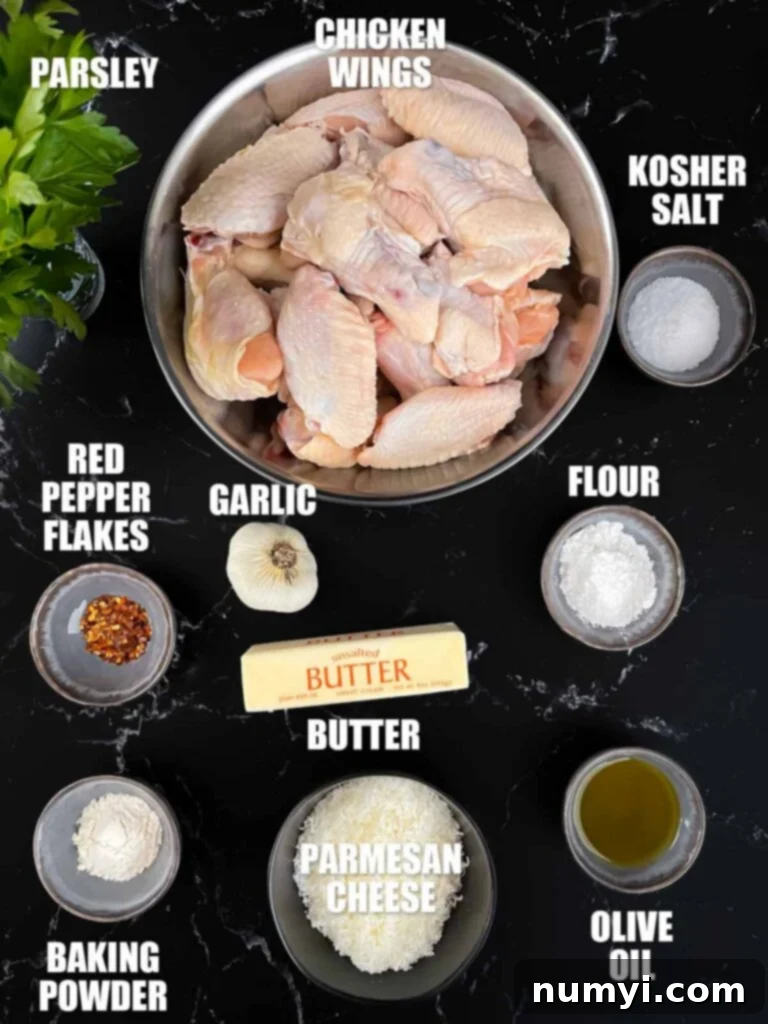
Ingredients
- 4 lbs Chicken wings thawed, separated into flats and drumettes
- 4 tsp Kosher salt
- 4 tsp Baking powder aluminum-free
- 1 stick Unsalted Butter melted
- 2 tbsp Olive oil
- 6 cloves Garlic freshly minced
- 2 tsp All purpose flour
- 1 tsp Red pepper flakes adjust to taste for heat
- 1 tbsp Fresh parsley chopped, for garnish
- 6 tbsp Parmesan cheese freshly grated; or romano, or a mix
- Carrots optional, for serving
- Celery optional, for serving
- Blue Cheese or Ranch Dressing optional, for dipping
Instructions
-
Begin by ensuring your chicken wings are thoroughly thawed and completely dry. Use paper towels to pat them vigorously dry, removing as much surface moisture as possible. This step is crucial for crispy skin. Place the dried wings in a large bowl. In a small separate bowl, combine the kosher salt and aluminum-free baking powder, then sprinkle this mixture evenly over the wings. Toss the wings until each piece is lightly and uniformly coated. Arrange the coated wings on a wire rack that has been placed over a foil-lined baking sheet, ensuring there’s space between each wing for proper air circulation. Refrigerate the wings, uncovered, for at least 4 hours. For the ultimate crispiness, chilling them overnight (8-12 hours) is highly recommended.4 lbs Chicken wings, 4 tsp Kosher salt, 4 tsp Baking powder
-
When ready to bake, preheat your oven to a high temperature of 450°F (230°C). Lightly oil or spray the baking rack to prevent any sticking. Transfer the chilled wings back onto the rack, making sure they are still well-spaced to prevent steaming. Bake the wings for 20-25 minutes. Then, carefully flip each wing to ensure even cooking and browning. Continue baking for another 20-25 minutes, or until the wings are deep golden brown and crispy, and an internal thermometer reads 165°F (74°C). If you desire an extra-crispy finish, you can broil them for an additional 1-2 minutes at the end, but watch closely to prevent burning.
-
While the chicken wings are baking, prepare your rich garlic butter sauce. In a small saucepan, melt the unsalted butter over medium-low heat. Once melted, whisk in the olive oil. Add the freshly minced garlic and cook for 2-3 minutes, stirring constantly to prevent it from burning, until fragrant and slightly golden. Next, whisk in the all-purpose flour and cook for an additional minute, allowing it to thicken the sauce slightly. Finally, stir in the red pepper flakes (adjusting the amount to your preferred level of heat). Cook for another minute, allowing all the flavors to meld beautifully, then remove the saucepan from the heat, keeping the sauce warm.1 stick Unsalted Butter, 2 tbsp Olive oil, 6 cloves Garlic, 2 tsp All purpose flour, 1 tsp Red pepper flakes
-
Once the wings are perfectly cooked and crispy, transfer them immediately to a large mixing bowl. Pour about half of the warm garlic butter sauce over the wings and toss vigorously to coat them evenly. Then, add the remaining half of the sauce and toss again, ensuring every wing is thoroughly enveloped in the flavorful butter mixture. Finish by sprinkling the wings generously with freshly grated Parmesan cheese and chopped fresh parsley, tossing gently to combine. The residual heat from the wings will slightly melt the Parmesan, creating an incredible savory coating.1 tbsp Fresh parsley, 6 tbsp Parmesan cheese
-
Serve these delectable garlic parmesan wings immediately while they are hot and at their peak crispiness. They are fantastic on their own, but can also be served with fresh carrot and celery sticks, and your favorite dipping sauces such as creamy blue cheese or ranch dressing, for a complete and satisfying appetizer experience. Enjoy!Carrots, Celery, Blue Cheese or Ranch Dressing
