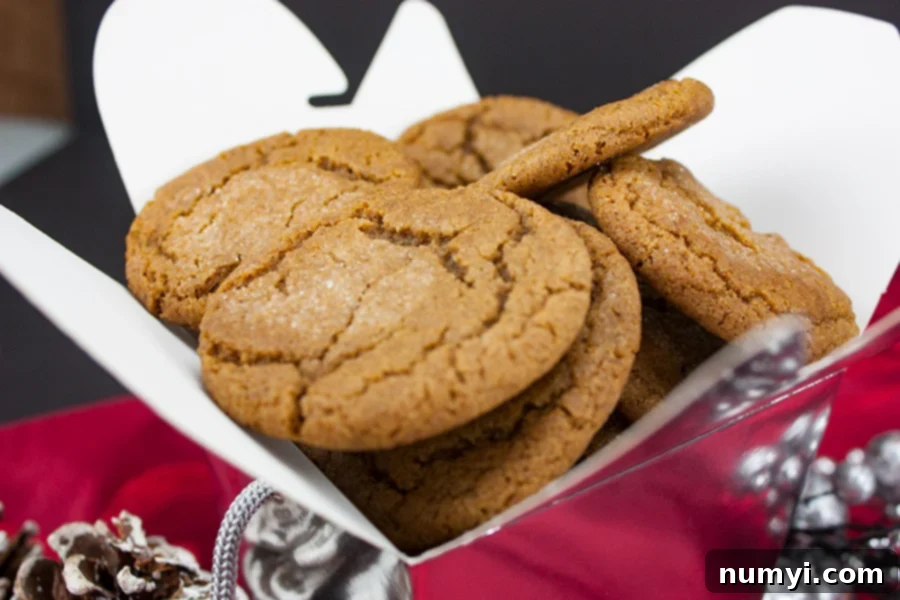
The Ultimate Old-Fashioned Molasses Cookies Recipe: Chewy, Spicy & Perfect for the Holidays
There’s a certain magic that fills the air during the holiday season, and for many, that magic is inextricably linked to the comforting aroma of freshly baked cookies. Among the pantheon of traditional Christmas treats, old-fashioned molasses cookies hold a special place. These delightful morsels are not just cookies; they are a bite of nostalgia, a taste of warmth, and a staple that truly defines the festive spirit. With their signature slightly crispy exterior and tender, delightfully chewy interior, it simply isn’t the holidays without them.
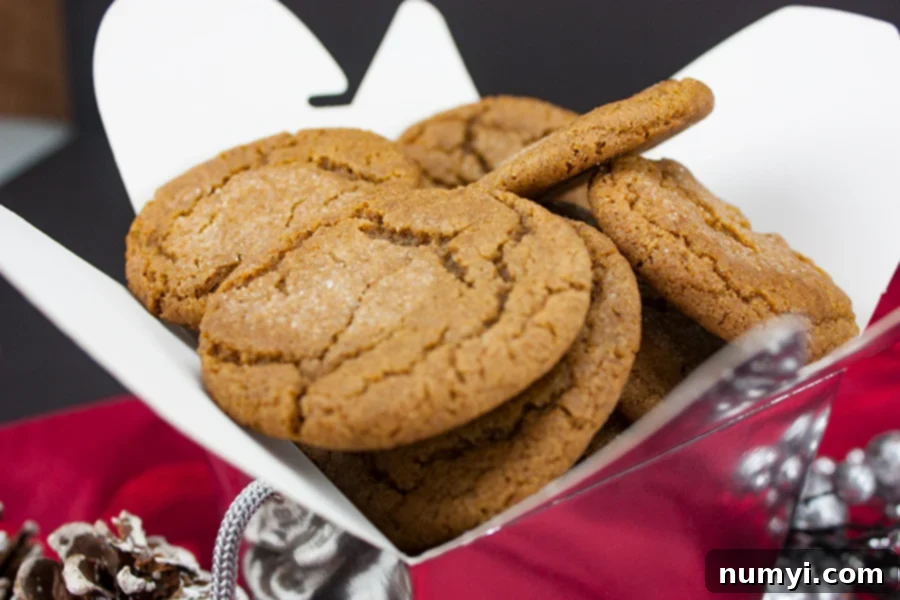
Why You’ll Adore These Molasses Cookies
This recipe isn’t just another cookie recipe; it’s a culinary journey back in time, delivering the authentic taste and texture of cherished family traditions. Here’s why these old-fashioned molasses cookies will become your new holiday favorite:
- Perfectly Soft & Chewy Texture: This vintage molasses cookie recipe consistently produces irresistibly soft and perfectly chewy cookies, complete with those delightful crinkled tops. Each bite offers the ideal balance of warmth and spice that every true molasses cookie fan craves. The delicate crispness on the outside gives way to a melt-in-your-mouth tender center, making them utterly addictive.
- A Taste of Nostalgia: These are truly “grandma’s old-fashioned molasses cookies”—the kind you fondly remember from your childhood, evoking a sense of comfort and tradition with every mouthful. They carry the essence of holiday baking from generations past, bringing cherished memories to life.
- Generous Yield for Gifting & Sharing: Making a batch of 50 cookies means you’ll have plenty to go around! This recipe is ideal for holiday cookie exchanges, gifting to friends, family, and neighbors, or simply ensuring your own cookie jar stays wonderfully stocked throughout the festive season. Spread the joy with these homemade delights!
- Simple & Straightforward: Despite their impressive flavor and texture, these cookies are surprisingly easy to make. The steps are clear, and the ingredients are common, making this a perfect recipe for both experienced bakers and those just starting their holiday baking traditions.
- Festive & Fragrant: The moment these cookies begin to bake, your kitchen will be enveloped in the most enchanting aroma of cinnamon, ginger, and cloves. This scent alone is enough to fill your home with holiday cheer, making the baking process as enjoyable as the eating.
I’ve personally been baking these particular molasses cookies for years, and they are always the most anticipated item on our holiday cookie tray. They are not only easy to prepare but also consistently devoured with enthusiasm by everyone who tries them.
If you’re enchanted by the traditional spices of the holidays, you’ll also love exploring our other festive recipes like gingerbread cookies, the elegant gingerbread biscotti, a cozy spicy gingerbread loaf, and our classic gingerbread. Each one promises to infuse your home with the delightful scents and flavors of the season.
Essential Ingredients for Perfect Molasses Cookies
Crafting the perfect old-fashioned molasses cookie relies on a few key ingredients, each playing a vital role in achieving that signature flavor and texture. Understanding these components will elevate your baking experience.
- Molasses: This is the star of the show! Molasses is a byproduct of refining sugarcane or sugar beets into sugar. Its flavor and intensity can vary significantly depending on the type. For these cookies, we highly recommend using fancy molasses or dark molasses, such as Grandma’s Original Molasses. These varieties offer a rich, sweet, and moderately robust flavor without being overpowering. While I personally enjoy using blackstrap molasses for an extra strong, robust, and slightly bitter kick, it’s not for everyone. If you prefer a milder flavor, stick to fancy or dark molasses. Blackstrap molasses has the lowest sugar content and the most intense, slightly bitter taste, which can dramatically alter the cookie’s profile.
- Shortening: Yes, shortening! This is a genuine old-fashioned recipe, and traditional recipes often called for shortening (or even lard) not only because it was more affordable but also for the unique texture it imparts. While you *can* substitute butter, the resulting cookie will simply not be the same. Shortening contributes to a softer, more tender crumb and helps the cookies maintain their shape better during baking, leading to that desirable slightly crisp exterior and chewy interior. Butter, on the other hand, contains water and has a lower melting point, which can lead to a flatter, crispier cookie with a different structural integrity. For authentic old-fashioned molasses cookies, stick with shortening. Ensure it’s melted and cooled before incorporating it into the wet ingredients to prevent curdling the eggs.
- Spices: The harmonious blend of ground cloves, ginger, and cinnamon is absolutely essential for capturing the quintessential holiday flavor of these cookies. This combination creates a warm, inviting, and aromatic profile that is both comforting and exhilarating. Some individuals find ground cloves to be quite potent, so if you are sensitive to its strong flavor, feel free to adjust the amount to your personal taste. You can also experiment by adding a pinch of nutmeg or allspice for a slightly more complex spice blend, but the classic trio is truly perfect as is. Freshly ground spices will always yield the most vibrant flavor.
- Flour: We use sifted all-purpose flour. Sifting is crucial as it removes lumps and aerates the flour, ensuring a light and uniform texture in your cookies.
- Baking Soda & Salt: Baking soda acts as our leavening agent, reacting with the acidic molasses to give the cookies their characteristic rise and chewy texture. Salt balances the sweetness and enhances all the other flavors, making the spices truly sing.
- Sugar & Eggs: Granulated sugar provides sweetness and helps with the crispy edges when rolled. Eggs bind the ingredients together, add moisture, and contribute to the cookie’s structure and richness.
How to Bake These Irresistible Molasses Cookies
Baking these traditional molasses cookies is a straightforward and rewarding process. Follow these steps for a batch of perfectly spiced, chewy treats.
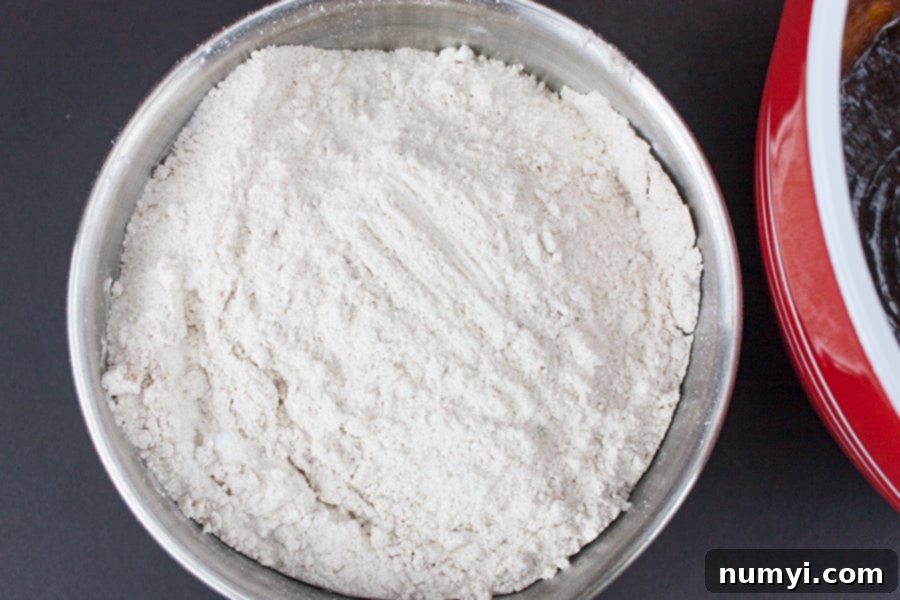
First, in a medium-sized bowl, whisk together all your dry ingredients: the sifted all-purpose flour, ground cloves, ground ginger, cinnamon, baking soda, and salt. Whisking ensures that the spices and leavening agents are evenly distributed throughout the flour, which is key for consistent flavor and texture in every cookie. Once combined, set this bowl aside.
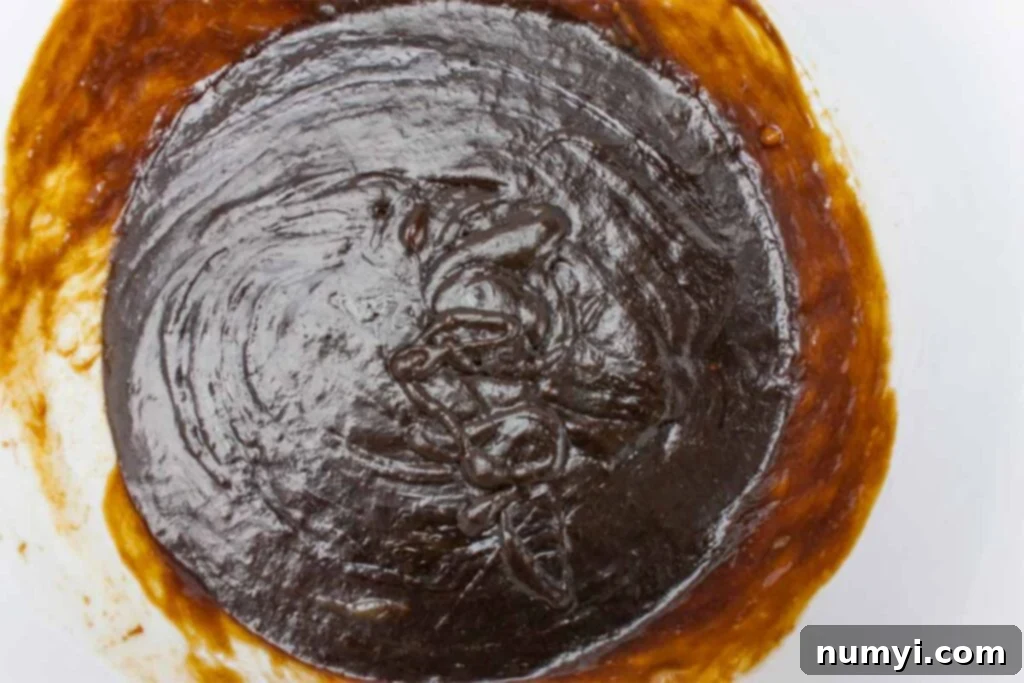
Next, in a separate, large mixing bowl, combine the granulated sugar, dark molasses, eggs, and the melted and cooled shortening. Make sure the shortening is truly cool enough so it doesn’t scramble the eggs! Mix these wet ingredients thoroughly until they are well incorporated and smooth. A wooden spoon or sturdy spatula works well for this, creating a cohesive, dark, and fragrant mixture.
Now, gradually add the dry flour mixture to the wet ingredients. Combine everything with a wooden spoon, mixing until just incorporated. Be careful not to overmix; overmixing can develop the gluten in the flour too much, leading to tougher cookies. Once the dough comes together, cover the bowl tightly with plastic wrap and refrigerate the dough for at least 1 hour, or preferably, overnight. Chilling is a critical step that allows the flavors to meld and the dough to firm up, preventing excessive spreading during baking and ensuring that signature chewy texture.
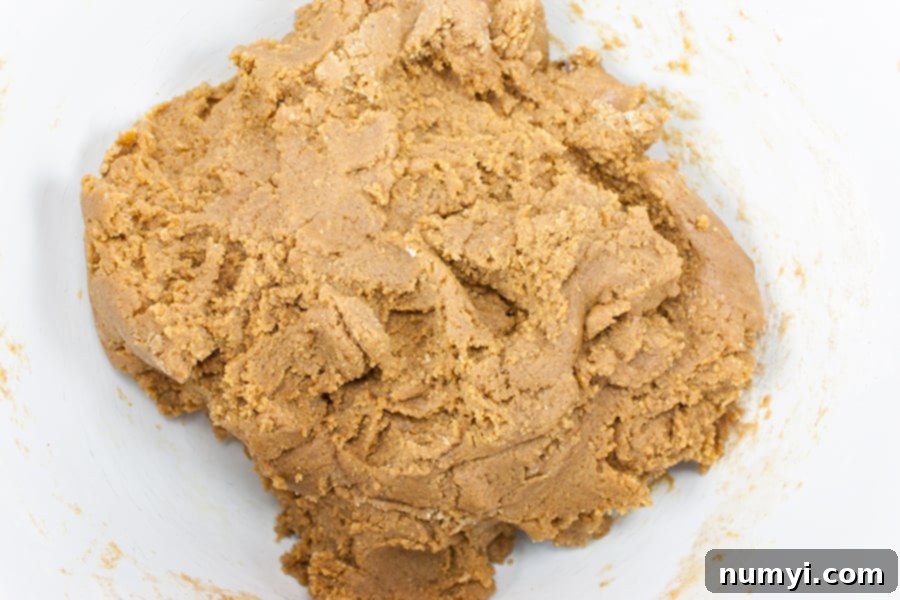
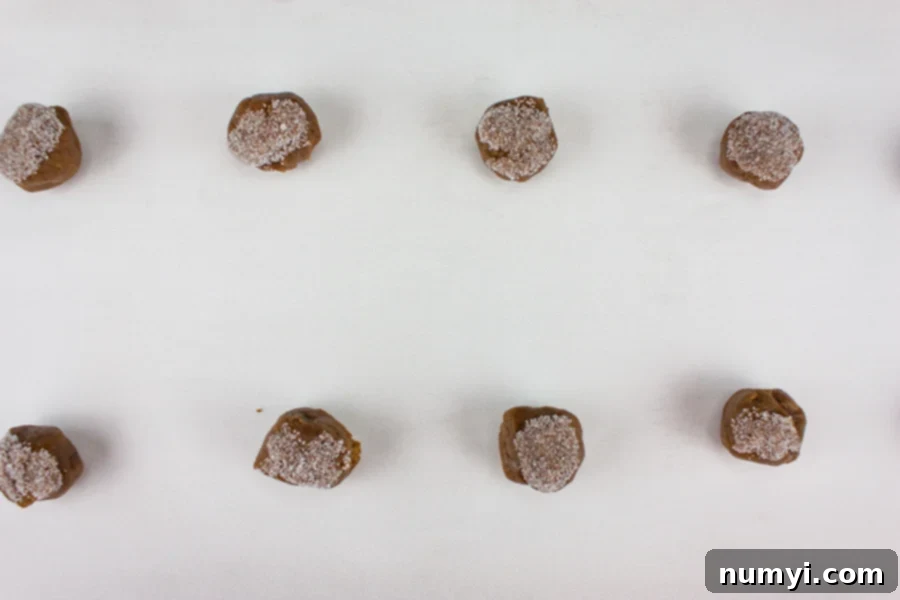
As mentioned, refrigerate the dough for a minimum of 2 hours, though I highly recommend chilling it overnight. This extended chilling period truly allows the warm holiday spices to develop and deepen, resulting in a more flavorful cookie.
Once your dough is thoroughly chilled and ready, preheat your oven to 375°F (190°C). Line your baking sheets with parchment paper; this prevents sticking and ensures even baking.
Using a tablespoon-sized cookie scoop or simply rolling by hand, form the chilled dough into uniform balls. Roll one side of each dough ball generously in granulated sugar. This sugary coating contributes to the cookies’ beautiful crackled appearance and provides that delightful slightly crispy exterior. Place the sugared dough balls about 2 inches apart on your prepared baking sheet to allow for proper spreading.
Bake the cookies for 8 to 10 minutes. During baking, the cookies will puff up in the center and begin to crack on the surface. As soon as you see these cracks forming and the edges appear set (they might still seem a little soft in the middle), it’s time to remove them. If you’re baking multiple sheets at once, remember to rotate the racks halfway through baking to ensure even cooking.
Allow the cookies to cool on the baking pan for 2 minutes. This brief resting period helps them set and firm up without breaking. After 2 minutes, carefully transfer them to a wire rack to cool completely. As they cool, they will deflate slightly and the edges will crisp up beautifully, while the centers remain wonderfully chewy.
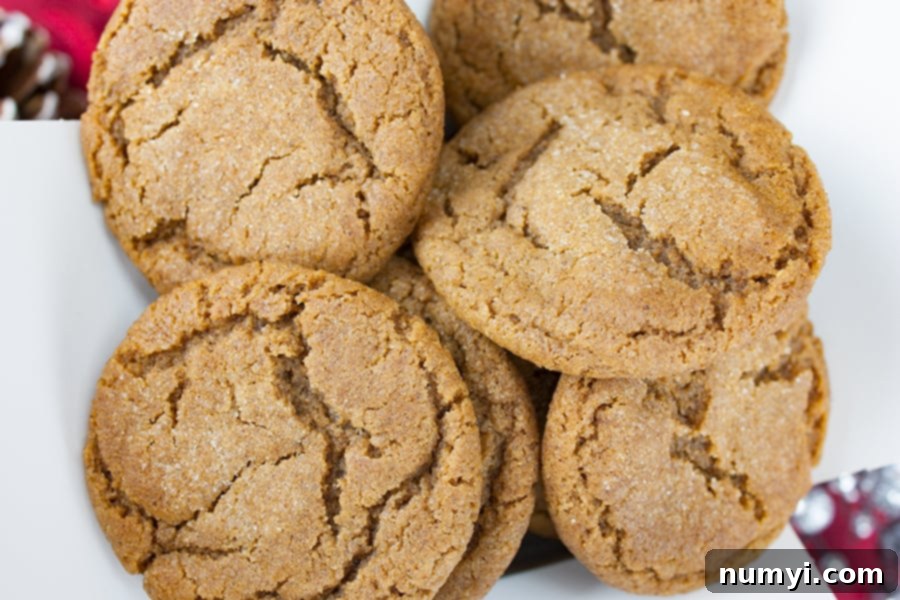
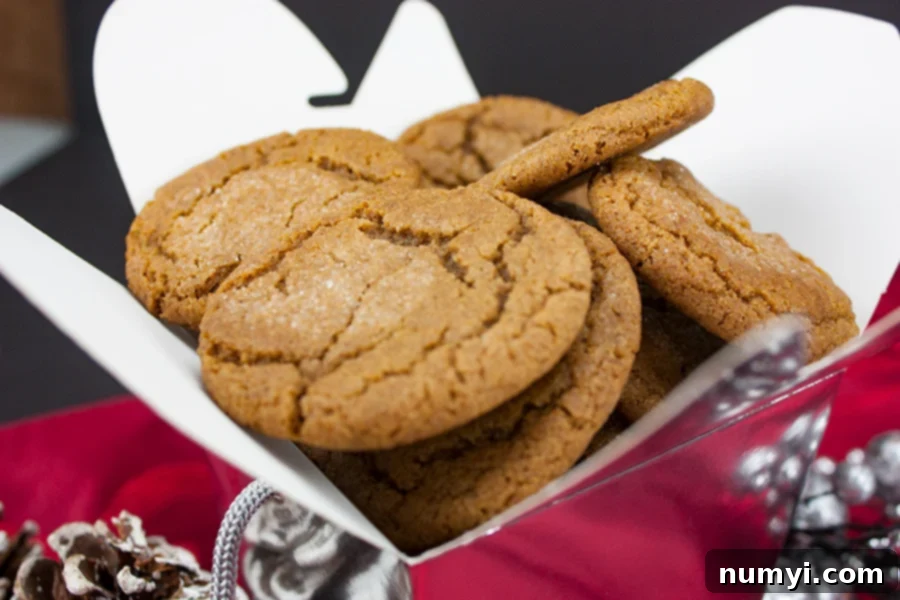
My family often claims these cookies are quite addictive, so consider yourself warned! Once completely cooled, store your delicious old-fashioned molasses cookies in an airtight container at room temperature to maintain their freshness and chewy texture. This recipe is also an absolute winner for any cookie swap during the holiday season – prepare for rave reviews!
Expert Tips for the Best Molasses Cookies
Achieving bakery-quality old-fashioned molasses cookies is simple with a few key techniques. Keep these tips in mind for a batch that’s consistently perfect every time:
- Cool Your Shortening: When melting shortening, ensure it cools sufficiently before you add it to your wet ingredients. If it’s too warm, it can curdle the eggs, leading to an undesirable texture in your dough and ultimately, your cookies. Lukewarm is ideal.
- Effortless Molasses Measuring: Molasses is notoriously sticky. To ensure it pours out of your measuring cup easily and cleanly, spray the inside of the cup with a non-stick cooking spray before measuring. The molasses will slide right out!
- DO NOT Skip Chilling the Dough: This is perhaps the most crucial tip! A minimum of 2 hours of refrigeration is absolutely essential. Chilling the dough firms up the shortening, preventing the cookies from spreading too much during baking. More importantly, it allows the rich flavors of molasses and spices to deepen and meld, resulting in a more complex and delicious cookie. Overnight chilling is highly recommended for the best flavor development.
- Uniform Cookie Size: For even baking and a professional appearance, use a cookie scoop (a tablespoon size is perfect for this recipe). This ensures all your dough balls are the same size, meaning they will bake at the same rate and have a consistent texture.
- Avoid Overbaking: Molasses cookies are best when they are soft and chewy in the center. The cookies will puff up in the center while baking. As soon as you see the edges set and slight cracks begin to form on the surface, remove them from the oven. Even if the centers still look a bit soft, they will continue to cook slightly from the residual heat on the hot baking sheet. Overbaking will result in dry, hard cookies.
- Proper Cooling is Key: After baking, let the cookies cool on the baking pan for at least 2 minutes before transferring them to a wire rack. This initial cooling time allows them to firm up enough to handle without breaking. Moving them too soon can cause them to fall apart. Once on the wire rack, let them cool completely. You want to allow ample time for those beautiful cracks and crevices to settle and for the centers to finish baking and firm up to their ideal chewy consistency.
- Oven Temperature Accuracy: Ensure your oven temperature is accurate by using an oven thermometer. An oven that runs too hot or too cold can significantly impact baking time and cookie spread.
- Fresh Spices: Use fresh, high-quality spices. Old, stale spices lose their potency, and your cookies won’t have that vibrant, warm flavor they’re known for.
Frequently Asked Questions About Molasses Cookies
Here are answers to some common questions about baking these classic molasses cookies:
While you can substitute butter for shortening, it’s important to understand that it will significantly alter the taste and texture of these specific old-fashioned soft molasses cookies. Shortening, being 100% fat, creates a more tender crumb and helps the cookies hold their shape and chewiness. Butter, which contains water, will often result in a crispier, flatter cookie due to its lower melting point and different fat composition. For the authentic, soft, and chewy old-fashioned experience this recipe aims for, shortening is highly recommended.
Flat cookies are usually a result of one or a combination of factors. The most common reason is insufficient chilling of the dough. Warm dough causes the shortening to melt too quickly in the oven, leading to excessive spreading. Other culprits can include using too little flour, too much shortening, an oven that isn’t preheated to the correct temperature, or even using a baking sheet that is too warm. Ensure your oven is accurately calibrated, your ingredients are measured precisely, and most importantly, do not skip the dough chilling step.
While the dough for these molasses cookies can be quite tough to mix by hand – so be prepared to put those biceps to work! – this recipe traditionally shines when hand-mixed. I have made these with both a stand mixer and a hand-held electric mixer several times, and they often don’t seem to come out with the same ideal texture. This is likely due to overmixing the dough with a powerful mixer, which can overdevelop the gluten and result in a less tender cookie. Hand-mixing allows for better control over the dough’s consistency and ensures it’s just combined.
Once your cookies have completely cooled, store them in an airtight container at room temperature. They will retain their freshness and soft, chewy texture for about two weeks. In my experience, they often last even longer, staying delicious and wonderfully spiced.
Absolutely! Molasses cookies freeze beautifully, both baked and unbaked. For baked cookies, allow them to cool completely, then place them in a freezer-safe container or heavy-duty freezer bag. They can be frozen for up to 2 months for the best quality. Thaw at room temperature before serving. If you prefer to freeze the dough, form the unbaked cookie dough balls (without rolling them in sugar first) and place them on a parchment-lined baking sheet until solid. Once frozen, transfer them to an airtight container or freezer bag and freeze for up to 3 months. When you’re ready to bake from frozen, you may need to add 1-2 minutes to the baking time.
For the classic, balanced flavor of old-fashioned molasses cookies, we recommend using fancy molasses or dark molasses. Brands like Grandma’s Original Molasses are excellent choices. While blackstrap molasses can be used for a very strong, robust, and slightly bitter flavor, it’s generally not recommended for those seeking the traditional sweet and warmly spiced profile.
While the traditional blend of cloves, ginger, and cinnamon is perfect, you can certainly experiment! A pinch of nutmeg or allspice can complement the existing flavors. Some people like to add a touch of finely grated orange zest for a bright, citrusy note that pairs wonderfully with molasses. Feel free to customize to your liking, starting with small additions to gauge the impact on flavor.
More Delightful Cookie Recipes for Every Occasion
If you’ve enjoyed baking these classic molasses cookies and are looking to expand your cookie repertoire, we have a wonderful selection of other beloved recipes. From nutty delights to timeless sugar cookies, there’s something here for every cookie lover and every occasion!
Old Fashioned Peanut Butter Cookies
Best Chewy Snickerdoodle Cookies
Cut-Out Sugar Cookies
Best Homemade Old Fashioned Molasses Cookies Recipe
Print
Pin
Rate
Ingredients
- 4 cups sifted all-purpose flour
- 1 teaspoon ground cloves
- 1 teaspoon ground ginger
- 2 teaspoons cinnamon
- 4 teaspoons baking soda
- 1 teaspoon salt
- 2 cups granulated sugar
- 1/2 cup dark molasses
- 2 large eggs
- 1 1/2 cup shortening, melted and cooled
Instructions
-
In a medium-sized bowl, whisk together the sifted all-purpose flour, ground cloves, ground ginger, cinnamon, baking soda, and salt. Ensure all dry ingredients are well combined and set aside.4 cups sifted all-purpose flour, 1 teaspoon ground cloves, 1 teaspoon ground ginger, 2 teaspoons cinnamon, 4 teaspoons baking soda, 1 teaspoon salt
-
In a large bowl, mix the granulated sugar, dark molasses, eggs, and the melted and cooled shortening together until well combined.2 cups granulated sugar, 1/2 cup dark molasses, 2 large eggs, 1 1/2 cup shortening, melted and cooled
-
Add the dry flour mixture to the wet ingredients and combine with a sturdy wooden spoon until just incorporated. Do not overmix. Cover the bowl with plastic wrap and refrigerate the dough for at least 2 hours, or preferably overnight, for best flavor development and to prevent spreading.
-
When ready to bake, preheat your oven to 375°F (190°C). Line your baking sheets with parchment paper.
-
Roll the chilled dough into tablespoon-sized balls. Dip one side of each dough ball into granulated sugar, ensuring it’s generously coated. Place the sugared dough balls about 2 inches apart on the prepared baking sheet.
-
Bake for 8 – 10 minutes. The cookies will puff up in the center and crack on top. Remove from the oven when the edges are set but the centers still look slightly soft. If baking more than one sheet, rotate racks halfway through.
-
Allow the cookies to cool on the baking pan for 2 minutes to firm up. Then, carefully transfer them to a wire rack to cool completely.
-
Once fully cooled, store your delicious old-fashioned molasses cookies in an airtight container at room temperature.
Notes
Storing – Store completely cooled cookies in an air-tight container at room temperature for about 2 weeks. In my experience, they have lasted much longer while retaining their delicious flavor.
Freezing Baked Cookies – Allow the baked cookies to cool completely. Place them in a freezer-safe container or bag, and freeze for up to 2 months for the best quality and flavor.
Freezing Cookie Dough – You can also freeze the unbaked cookie dough balls (do not roll them in sugar before freezing). Place them on a parchment-lined baking sheet until solid. Once frozen, transfer them to an air-tight container or freezer bag, and freeze for up to 3 months. When ready to bake from frozen, you may need to add an additional 1-2 minutes to the baking time.
Molasses Choice – For the most traditional and balanced flavor, use fancy molasses or dark molasses. Blackstrap molasses will yield a much stronger, more robust, and slightly bitter cookie.
