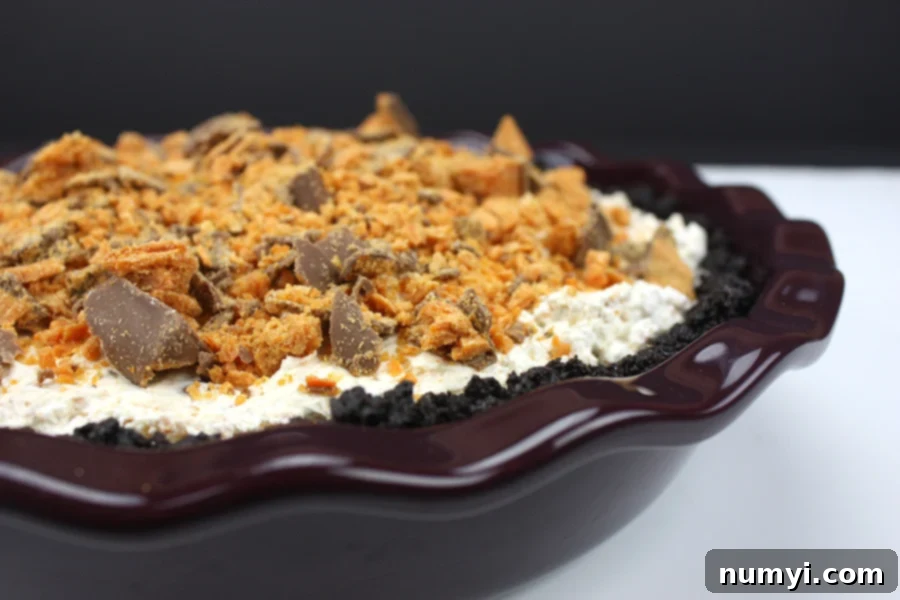
The Ultimate No-Bake Butterfinger Pie: Easy, Creamy, and Irresistibly Delicious
Prepare for a dessert sensation that will have everyone reaching for a second slice: the No-Bake Butterfinger Pie! This incredible treat is not just a crowd-pleaser; it’s often so beloved that you might find yourself needing to hide it to ensure there’s enough for everyone (or just for yourself!). We’ve heard stories of this pie becoming an instant family legend, with calls for it to make an appearance at every gathering. Its rich, cool, and undeniably creamy texture, combined with the delightful crunch of Butterfinger candy, makes it utterly irresistible and truly decadent.
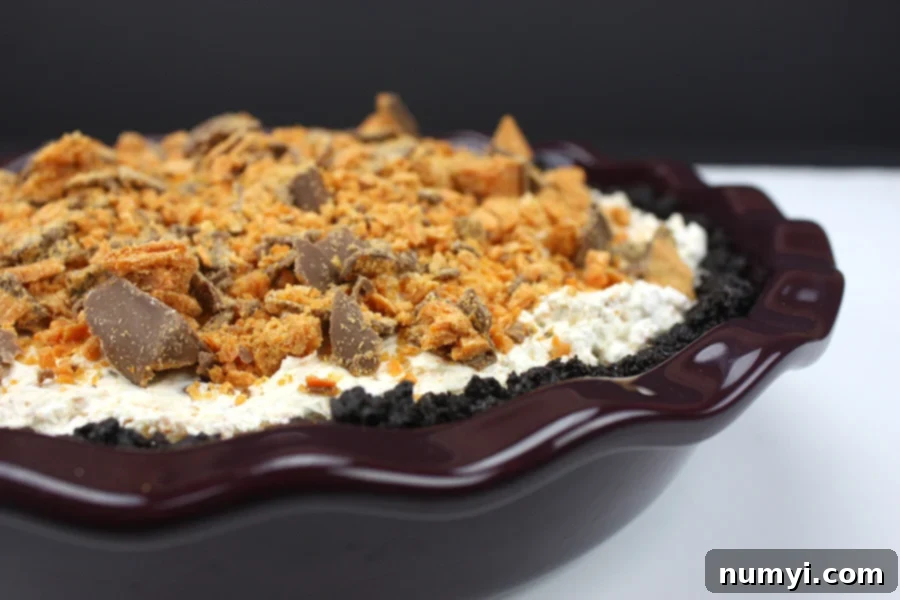
Are you looking for the perfect easy dessert recipe, especially for those sweltering summer months when turning on the oven feels like a monumental task? Look no further! This No-Bake Butterfinger Pie requires no oven time at all, making it an ideal choice for a refreshing sweet ending to any meal. It’s a fantastic way to transform leftover candy bars into something truly spectacular, proving that delicious doesn’t have to mean complicated. Get ready to experience a pie that will quickly become a cherished favorite in your recipe collection.
Why This No-Bake Butterfinger Pie Will Be Your New Favorite Dessert
- Effortlessly Simple: This recipe is designed for ease. With minimal steps and no baking required, it’s perfect for novice bakers and seasoned pros alike who appreciate a straightforward approach to delicious desserts. You’ll be amazed at how quickly you can assemble this impressive pie.
- Perfect for Any Season (Especially Summer!): Forget heating up your kitchen! As a no-bake dessert, this pie is your best friend during hot weather. It delivers a wonderfully cool and refreshing experience, making it an ideal choice for picnics, barbecues, or just a casual weeknight treat when you want something sweet without the fuss.
- Unforgettable Taste and Texture: Prepare for a symphony of flavors and textures. Each bite offers a harmonious blend of rich, smooth, and creamy filling, perfectly complemented by the crunchy, peanut-buttery goodness of Butterfinger candy. It’s a truly decadent dessert that hits all the right notes for an indulgent experience.
- A Creative Way to Use Leftover Candy: Have a stash of Butterfinger candy bars from holidays or special events? This pie is the ultimate solution! It elevates simple candy into a sophisticated and satisfying dessert, ensuring no delicious treat goes to waste.
Expert Tips for Crafting Your Perfect Butterfinger Pie
- Room Temperature Cream Cheese is Key: For an incredibly smooth and lump-free pie filling, ensure your cream cheese is at room temperature. This allows it to blend effortlessly with the powdered sugar and other ingredients, creating a velvety consistency that is essential for a truly decadent pie. Plan ahead and take it out of the refrigerator at least an hour before you begin.
- Any Size Butterfinger Will Do: Whether you have fun-size candy bars, full-size bars, or even larger bags of Butterfinger bits, they will all work wonderfully. Since you’ll be crushing them anyway, the original size doesn’t impact the final outcome. Just make sure to use the recommended total weight of candy for the best flavor balance.
- Crust Options Galore: While our recipe calls for a homemade chocolate sandwich cookie crust (like Oreos), feel free to customize! You can certainly purchase a pre-made chocolate or graham cracker crust from the store to save time – no judgment here! For a different flavor profile, a graham cracker crust offers a lovely sweet and buttery contrast to the Butterfinger filling. You could also experiment with Nilla wafer crumbs for a unique twist.
- Crushing Made Easy: If you don’t own a food processor, don’t worry! Simply place your chocolate sandwich cookies or Butterfinger candy bars into a sturdy, resealable plastic bag. Then, use a rolling pin, the bottom of a heavy pan, or even a meat mallet to crush them into fine crumbs. This method is surprisingly effective and can be quite therapeutic!
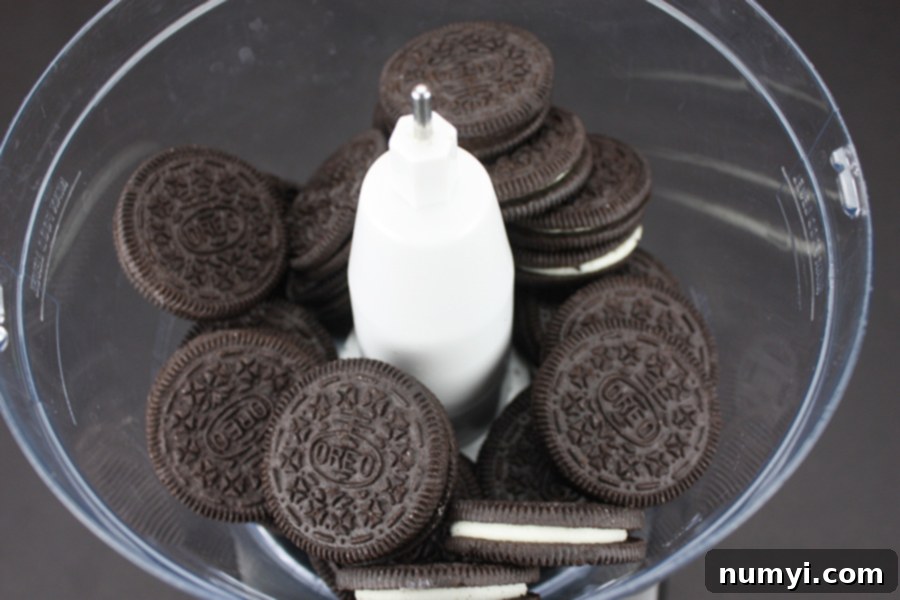
- Embrace the Whole Oreo: When making your chocolate sandwich cookie crust, use the entire cookie – cream filling and all! The cream filling adds moisture, richness, and a subtle sweetness that contributes to the overall deliciousness and helps the crust bind together perfectly when mixed with melted butter.
- Chilling is Crucial for Stability: While the pie is “no-bake,” the chilling time is non-negotiable. A minimum of 5 hours (and preferably overnight) in the refrigerator allows the filling to fully set, firming up to that perfect sliceable consistency. Rushing this step might result in a softer, less defined pie.
- Garnish for a Grand Finale: Don’t forget to reserve some crushed Butterfinger pieces for garnishing just before serving. This not only adds a beautiful visual appeal but also provides an extra layer of crunch and flavor that enhances the overall experience of the pie. A drizzle of chocolate syrup or a dollop of whipped cream can also elevate your presentation.
How to Effortlessly Make This Delicious Butterfinger Pie
Creating this irresistible No-Bake Butterfinger Pie is simpler than you might imagine. Follow these straightforward steps to achieve dessert perfection:
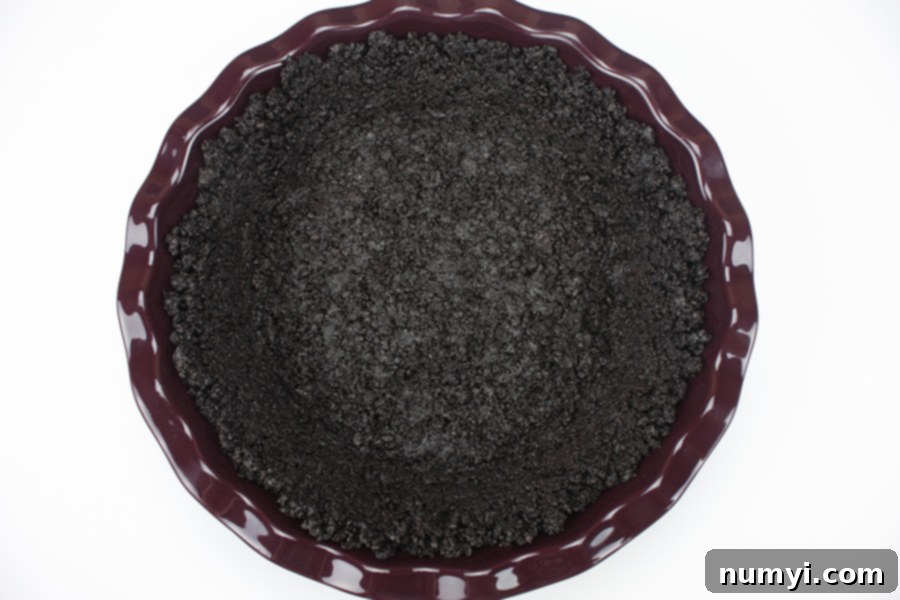
Step 1: Prepare Your Cookie Crust. Begin by finely crushing your chocolate sandwich cookies. A food processor makes this task incredibly quick and easy, turning the cookies into uniform crumbs in a matter of seconds. Once crushed, transfer the crumbs to a bowl and stir in the melted butter until thoroughly combined. This buttery mixture is the foundation of your pie. Press it firmly and evenly into the bottom and up the sides of a 9-inch pie plate. The goal is to create a compact crust that will hold its shape. Once pressed, place the pie plate in the refrigerator to chill while you prepare the decadent filling. This chilling step is vital as it helps the butter solidify, locking the crumbs in place and preventing a crumbly crust.
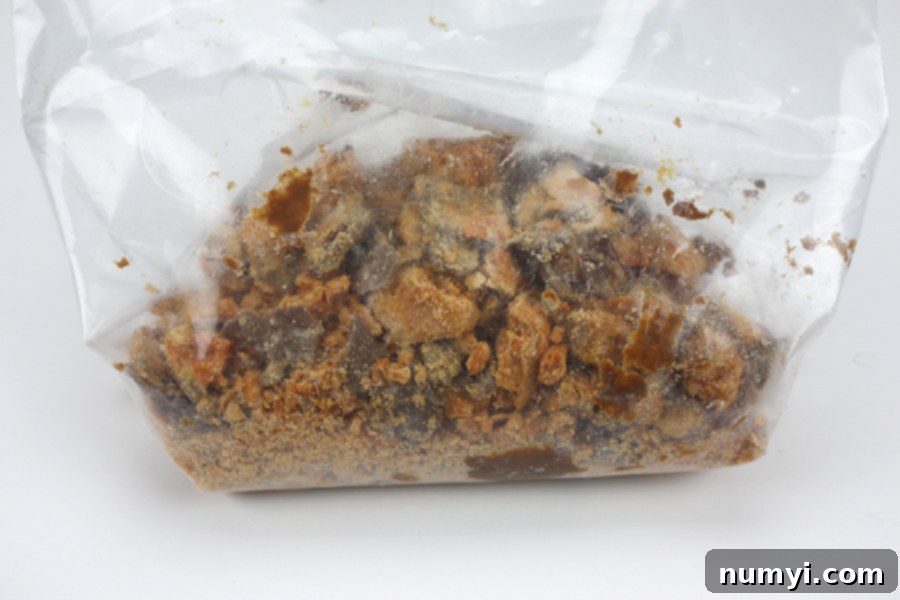
Step 2: Crush the Butterfingers. Now for the star ingredient! Take your Butterfinger candy bars and crush them. Again, a food processor is ideal for achieving a consistent texture, but placing them in a sturdy zip-top bag and crushing them with a rolling pin works just as well, if not better, for a less messy cleanup. Aim for a mix of fine crumbs and small chunks to provide varied texture in the pie. Once crushed, set aside a small amount (about 1/4 cup) for garnish later, and then set the remaining crushed candy aside.
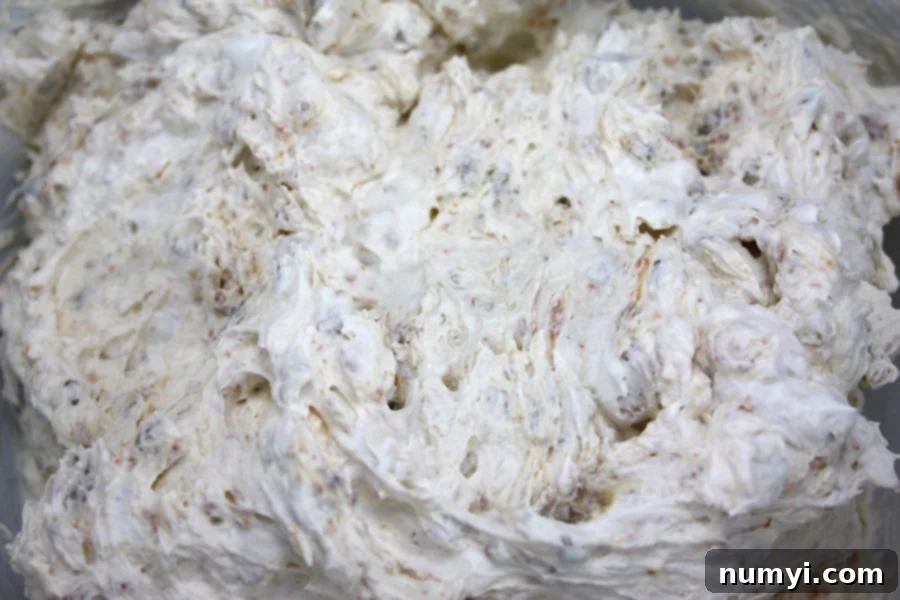
Step 3: Create the Creamy Filling Base. In a large mixing bowl, combine the softened cream cheese, powdered sugar, vanilla extract, and a pinch of salt. Using an electric mixer on medium speed, beat these ingredients together until the mixture is light, fluffy, and completely smooth. Scrape down the sides of the bowl as needed to ensure everything is well incorporated. This forms the rich, tangy-sweet base of your pie filling.
Step 4: Fold in the Butterfinger and Whipped Topping. Gently stir the majority of your crushed Butterfinger candy into the cream cheese mixture. Once the candy is evenly distributed, carefully fold in the thawed whipped topping (like Cool Whip). Folding is important here to maintain the light and airy texture of the whipped topping, which contributes to the pie’s overall creaminess. Be gentle to avoid deflating the mixture.
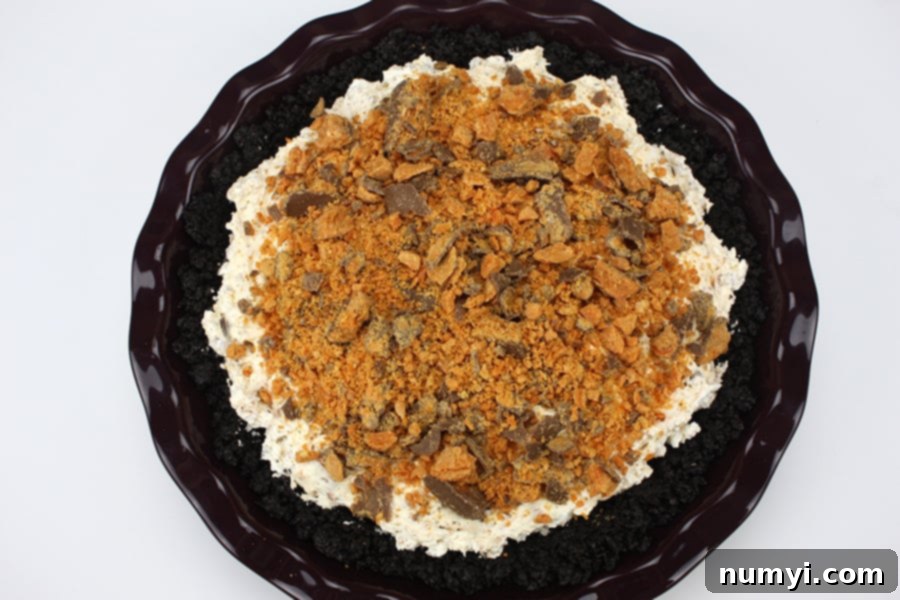
Step 5: Assemble and Chill. Spoon the creamy Butterfinger filling evenly over your chilled cookie crust in the pie plate. Use a spatula to spread it smoothly to the edges. Now comes the hardest part: waiting! Refrigerate the pie for at least 5 hours, or even better, overnight. The longer chilling time allows the pie to firm up properly, ensuring clean and easy slices. This patience will be rewarded with a perfectly set, delicious pie.
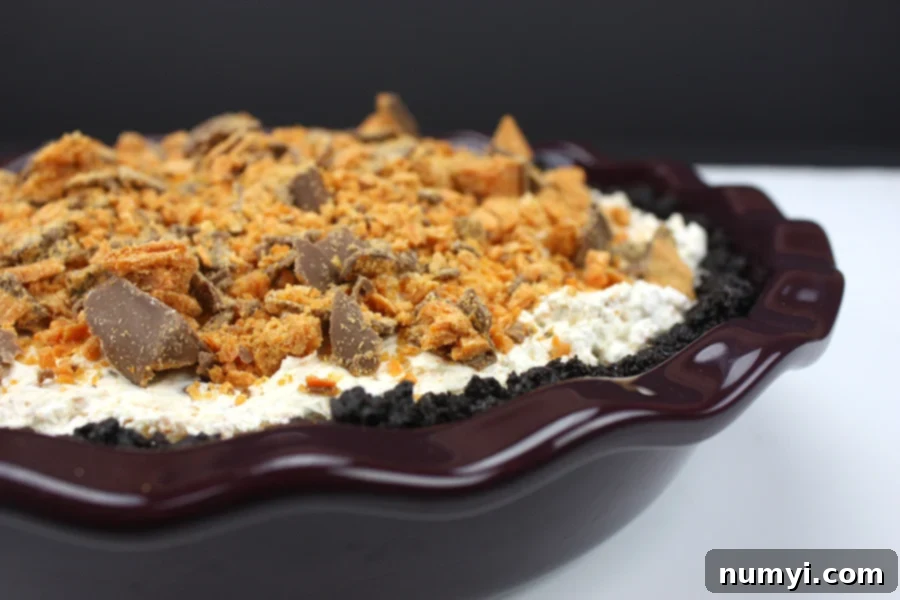
Step 6: Garnish and Serve. When you’re ready to serve, take the pie out of the refrigerator and sprinkle the reserved crushed Butterfinger pieces over the top. This adds a beautiful finish and an extra textural element. Slice and enjoy your homemade, incredibly satisfying No-Bake Butterfinger Pie!
Absolutely! While Butterfinger is a classic choice, this recipe is incredibly versatile. You could try similar crispy, peanut-buttery candy bars like a Clark Bar or a 5th Avenue bar for a comparable flavor profile. Alternatively, feel free to get creative and use your absolute favorite candy bar! Snickers, M&M’s, Reese’s Peanut Butter Cups, or even chopped Twix bars would make fantastic variations. Just ensure the candy is chopped or crushed to a suitable size for mixing into the filling and for garnishing.
To maintain its freshness, creaminess, and firm texture, store the No-Bake Butterfinger Pie covered tightly in the refrigerator. An airtight pie carrier or plastic wrap directly touching the surface of the pie (to prevent a skin from forming) works best. It will keep well for 3-4 days. While tempting, leaving it at room temperature for extended periods will cause the filling to soften and potentially lose its structure.
Yes, this pie freezes beautifully! To freeze, first chill the pie in the refrigerator until it’s very firm. Then, transfer it to the freezer for about an hour or two without wrapping. This initial freeze will help firm up the surface, preventing the plastic wrap from sticking to the delicate filling. Once slightly frozen, wrap the pie tightly with several layers of plastic wrap, followed by a layer of aluminum foil. This double-layer protection helps prevent freezer burn. It can be stored in the freezer for up to one month. When ready to enjoy, thaw the pie in the refrigerator overnight.
The most common reason for a runny pie is not allowing the cream cheese to soften adequately or not chilling the pie long enough. Ensure your cream cheese is at true room temperature so it blends smoothly without lumps. Also, resist the urge to cut into the pie before it has fully chilled for at least 5 hours, or ideally, overnight. The longer it chills, the firmer and more stable the filling will become, making for perfectly clean slices every time.
Absolutely! This No-Bake Butterfinger Pie is an excellent make-ahead dessert, which makes it perfect for entertaining. You can prepare the entire pie, including the filling and chilling, up to 1-2 days in advance. Just remember to keep it tightly covered in the refrigerator. Add the final garnish of crushed Butterfingers just before serving for the best presentation and crunch. This allows you to focus on other aspects of your event without last-minute dessert stress.
More Delicious No-Bake & Easy Dessert Recipes to Try
If you loved the simplicity and deliciousness of this No-Bake Butterfinger Pie, you’ll surely enjoy these other effortless dessert creations:
- No Bake Cookies and Cream Pie: Another creamy, dreamy pie that comes together with minimal effort and maximum flavor, featuring everyone’s favorite sandwich cookies.
- Peanut Butter Pretzel Bars: A perfect combination of sweet and salty, these bars are chewy, crunchy, and require no oven time, making them a fantastic snack or dessert.
- Easy Peanut Butter Balls Recipe: Simple, indulgent, and incredibly addictive, these peanut butter balls are a classic treat that’s super easy to whip up with just a few ingredients.
- No Bake Samoa Cake: Inspired by the beloved Girl Scout cookie, this no-bake cake layers rich chocolate, caramel, and coconut for an unforgettable dessert experience.
No Bake Butterfinger Pie Recipe
Print
Pin
Rate
Ingredients
For the Chocolate Sandwich Cookie Crust:
- 24 chocolate sandwich cookies (e.g., Oreos, about 2 1/2 cups finely crushed crumbs)
- 4 tablespoons unsalted butter, melted
For the Creamy Butterfinger Pie Filling:
- 8 ounces cream cheese (full-fat, softened to room temperature)
- 1/2 cup powdered sugar (confectioners’ sugar)
- 1/2 teaspoon vanilla extract
- 1/4 teaspoon salt
- 1 11.5 oz bag Fun Sized Butterfinger candy bars (crushed or chopped, approximately 1.5 cups; reserve 1/4 cup for garnish)
- 12 oz frozen whipped topping (e.g., Cool Whip, thawed)
Instructions
-
Prepare the Cookie Crust: In a food processor, finely crush the chocolate sandwich cookies until they resemble fine crumbs. Alternatively, place cookies in a resealable plastic bag and crush with a rolling pin. Transfer crumbs to a medium bowl, then stir in the 4 tablespoons of melted butter until all crumbs are moistened. Press this mixture evenly into the bottom and slightly up the sides of a 9-inch pie plate. Place the crust in the refrigerator to chill while you prepare the filling.
-
Crush Butterfinger Candy: Crush or finely chop the Butterfinger candy bars. For best results, aim for a mix of fine crumbs and small, crunchy pieces. Set aside about 1/4 cup of the crushed Butterfinger for garnishing the finished pie, if desired.
-
Make the Cream Cheese Base: In a large mixing bowl, using an electric mixer on medium speed, beat together the softened cream cheese, powdered sugar, vanilla extract, and salt until the mixture is light, fluffy, and completely smooth, with no lumps.
-
Combine Filling Ingredients: Gently stir the majority of the crushed Butterfinger candy (all but the reserved garnish) into the cream cheese mixture until evenly distributed. Then, carefully fold in the thawed whipped topping until just combined. Be gentle to keep the filling light and airy.
-
Assemble and Chill: Spread the prepared pie filling evenly into your chilled cookie crust. Cover the pie loosely with plastic wrap and refrigerate for at least 5 hours, or preferably overnight, to allow the pie to set completely and firm up for easy slicing.
-
Garnish and Serve: Just before serving, remove the pie from the refrigerator and sprinkle the reserved crushed Butterfinger pieces over the top for a beautiful presentation and extra crunch. Slice and serve immediately. Enjoy!
