Perfectly Tender Blueberry Scones: Your Ultimate Guide to Bakery-Style Treats at Home
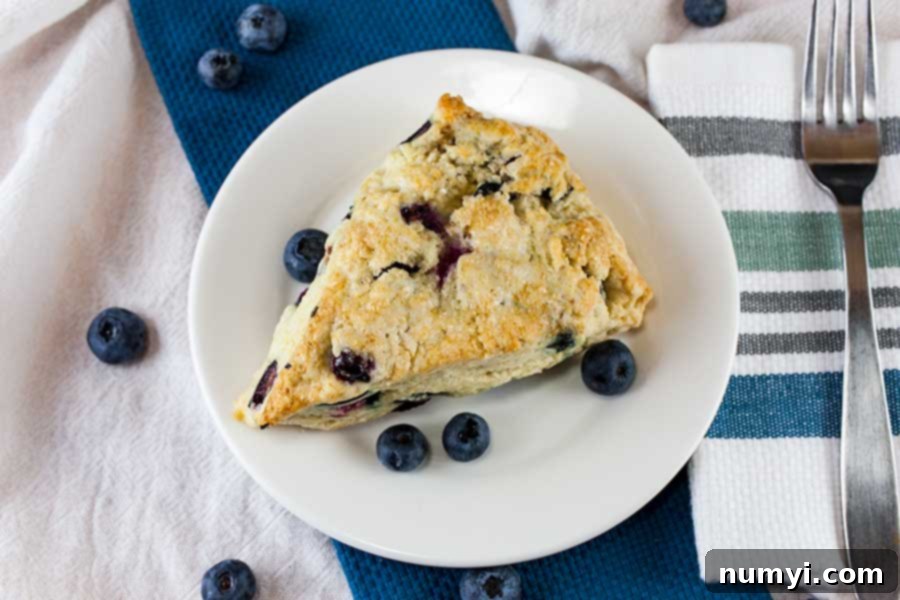
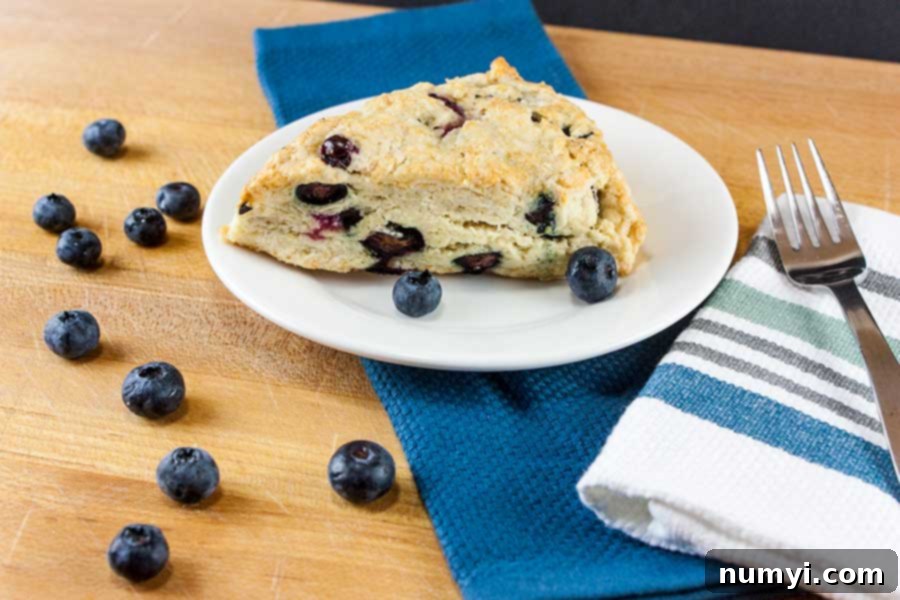
There’s nothing quite like a freshly baked scone, and these homemade blueberry scones are truly exceptional. They are wonderfully light, incredibly tender, subtly sweet, and boast a delightful tangy pop from the fresh blueberries. This recipe promises a result that will rival any bakery scone you’ve ever enjoyed, offering a buttery richness that melts in your mouth, perfectly complemented by bursts of juicy, sweet, and tart blueberries. Whether you’re planning a special breakfast, an elegant brunch, or simply craving a comforting treat with your afternoon tea, these blueberry scones are sure to impress and satisfy.


What Exactly is a Scone?
Often confused with biscuits, scones actually stand in a category of their own, though they share many fundamental ingredients. The primary distinction between scones and biscuits lies in the inclusion of eggs in scones, which are typically absent in traditional biscuit recipes. This difference contributes significantly to their unique textures and characteristics.
While biscuits are celebrated for their airy, light, and distinct flaky layers that are perfect for soaking up gravy or holding generous dollops of jam and jelly, scones offer a different kind of pleasure. Scones tend to have a slightly denser, yet incredibly tender and crumbly texture. When prepared correctly, they are never truly dry; instead, they possess a moist, rich crumb that is wonderfully satisfying. Originating from British and Scottish baking traditions, scones are designed to be enjoyed with clotted cream and preserves, often accompanied by a cup of tea. They are a staple of afternoon tea, offering a more refined, cake-like experience compared to their American biscuit cousins. This recipe aims to achieve that perfect balance of crumbly tenderness and rich flavor that makes a scone truly exceptional.
Essential Tips for Perfect Scones
Achieving bakery-quality scones at home is entirely possible when you follow a few crucial baking principles. These tips are designed to ensure your blueberry scones turn out light, tender, and incredibly delicious every time:
- Keep Your Dough Cold: This is arguably the most vital tip for both scones and biscuits. The secret to a tender, flaky crumb lies in cold butter. When cold butter pieces melt in a hot oven, they release steam, which creates pockets of air and prevents the dough from becoming dense. This is precisely why we grate and then freeze the butter before incorporating it into the dry ingredients. Additionally, make sure your heavy cream is also well-chilled, and try to work with the dough as quickly and efficiently as possible to prevent the butter from warming up too much from the heat of your hands.
- Do Not Overwork the Dough: Just like with pie crusts or biscuits, overworking scone dough is a common pitfall that can lead to tough, dry results. The flour contains gluten, and excessive mixing or kneading develops this gluten, making your scones dense and chewy rather than light and tender. Mix just until the ingredients are combined and the dough barely comes together. A shaggy, somewhat rustic appearance is exactly what you’re looking for, not a smooth, elastic dough.
- Handle the Dough Gently: When it’s time to form the dough, resist the urge to compress or flatten it too forcefully. Instead, gently pat the dough down into your desired shape. A light touch ensures that the butter pieces remain intact and the gluten development is minimized. This careful handling will pay off in the final texture, giving you beautifully risen, tender scones.
How to Craft Your Own Delicious Blueberry Scones
Making these blueberry scones is a rewarding experience, and the key technique for achieving their sublime texture is utilizing frozen grated butter. If you’ve never tried this method for scones or biscuits, prepare to be amazed. This simple step makes an enormous difference, contributing to incredibly light and fluffy scones, or the perfect, airy layers in your favorite biscuit recipe. The tiny shards of frozen butter melt slowly in the oven, creating steam that puffs up the dough and results in an irresistibly tender and slightly flaky texture.
Preparation is Key
Begin by grating a stick of frozen unsalted butter. Immediately return the grated butter to the freezer while you gather and measure your remaining ingredients. This ensures the butter stays as cold as possible, which is crucial for the scone’s texture. Preheat your oven to 375ºF (190ºC) and line a large baking sheet with parchment paper to prevent sticking and ensure easy cleanup.
Mixing the Dry Ingredients
In a large mixing bowl, whisk together the granulated sugar, baking powder, baking soda, salt, and all-purpose flour. This step ensures that all the leavening agents and flavorings are evenly distributed throughout the flour mixture.
Incorporating the Butter and Blueberries
Remove the grated butter from the freezer and gently toss it with the flour mixture until each tiny piece of butter is coated. This coating prevents the butter from clumping and helps distribute it evenly. If you prefer, you can also use a pastry cutter or pastry blender to cut the cold butter into the flour mixture, aiming for a coarse meal consistency with some pea-sized butter chunks.
Next, add about 1 to 1¼ cups of fresh or frozen blueberries to the flour-butter mixture. Gently toss the berries to coat them with flour. This flour coating helps prevent the blueberries from sinking to the bottom of the scones during baking and ensures they are nicely distributed. For an extra layer of bright, zesty flavor, consider adding some lemon zest at this stage; it pairs beautifully with blueberries.
Bringing the Dough Together
Create a well in the center of your dry ingredients. Pour in the beaten egg and the heavy cream. Using a fork or a wooden spoon, gently mix the wet ingredients into the dry, incorporating a little at a time from the edges. Continue mixing until the dough looks “shaggy” – meaning it’s still quite loose and not fully cohesive, with visible dry bits. It might seem a bit dry, but trust the process. The most important rule here is: DO NOT overwork the dough. Lightly knead the dough directly in the bowl, just enough until it barely starts to come together into a unified mass.
Turn the shaggy dough out onto a lightly floured surface. Using your hands, gently pat it down into a uniform 1-inch thick circle. Avoid pressing too hard or rolling it vigorously. Once you have a nice circle, cut the dough into 8 equal wedges, like slicing a pizza. This classic wedge shape is traditional for scones.
Baking Your Scones
Carefully transfer each scone wedge to your prepared baking sheet, ensuring they are spaced about 2 inches apart to allow for even baking and browning. Before baking, brush the tops of each scone dough wedge with a little extra heavy cream. This wash promotes a beautiful golden-brown crust and adds a touch more richness. Then, generously sprinkle the tops with coarse sugar (raw sugar works wonderfully). The coarse sugar adds a delightful sparkle and a pleasant crunch to the finished scones.
Bake the scones for 25-30 minutes, or until they are beautifully golden brown on top and cooked through. The internal temperature should be around 200-205°F (93-96°C). Once baked, remove them from the oven and let them cool slightly on the baking sheet before transferring them to a wire rack. They are best enjoyed warm, ideally fresh from the oven.
Optional Glaze for Extra Sweetness
If you prefer a touch more sweetness and a pretty finish, a simple glaze can be drizzled over the cooled scones. To make it, simply mix a little powdered sugar with a small amount of milk (or lemon juice for added tang) until you reach your desired consistency. Drizzle this glaze over the tops of the warm or cooled scones before serving. This adds an extra layer of sweetness that complements the blueberries beautifully.
Frequently Asked Questions About Blueberry Scones
Absolutely! Making scones ahead of time is a fantastic way to enjoy fresh-baked treats without the morning rush. You have a couple of excellent options. For a longer-term solution, flash freeze the unbaked dough wedges. Arrange them on a parchment-lined baking sheet and freeze for at least 1 hour until solid. Once frozen, transfer the individual wedges to an air-tight freezer container or a resealable freezer bag, ensuring they don’t stick together. When you’re ready to bake, you can bake them directly from frozen, simply adding a few extra minutes to the baking time until golden brown. Alternatively, you can thaw them overnight in the refrigerator and then bake as directed in the recipe. For a shorter overnight prep, prepare the scones up to the point of cutting them into wedges. Place them on your prepared baking sheet, cover tightly with plastic wrap, and refrigerate overnight. The next morning, simply proceed with brushing them with cream and sprinkling with sugar before baking. This makes for a delightful and convenient morning treat.
Yes, these blueberry scones freeze beautifully once baked! Allow them to cool completely after baking. Once cool, transfer them to an air-tight container or a heavy-duty resealable freezer bag. Properly stored, they can last for up to 2-3 months in the freezer. When you’re ready to enjoy them, you can thaw them overnight in the refrigerator or simply leave them out on the counter at room temperature for a few hours. To reheat, place them in a 300-degree F (150°C) oven for about 10-15 minutes, or for a quicker option, microwave them for about 30 seconds to a minute until warmed through. Reheating in the oven helps to restore some of their original crispness.
While it might be tempting to substitute milk for heavy cream, I strongly advise against it for this recipe. The high fat content in heavy cream is fundamental to giving these scones their signature tender, soft, and rich crumb. It contributes to both the flavor and the delicate texture, preventing them from becoming dry or dense. Lighter dairy alternatives like milk, half-and-half, or low-fat cream simply do not have the necessary fat content to achieve the desired results. Using them would likely lead to a tougher, less flavorful scone. Stick with heavy cream for the best possible outcome!
More Delicious Recipes to Explore
If you loved these blueberry scones, you’ll surely enjoy these other delightful recipes perfect for breakfast, brunch, or a sweet treat:
- Easy Homemade Biscuits – Master the art of simple, flaky biscuits.
- Lemon Streusel Blueberry Muffins – A bright and crumbly twist on a classic muffin.
- Blueberry Streusel Coffee Cake – Perfect for a morning indulgence or an afternoon pick-me-up.
- Buttermilk Drop Biscuits Recipe – Effortless biscuits for any meal.
- Blueberry Pie – A timeless dessert showcasing the best of blueberries.

Blueberry Scones Recipe
Print
Pin
Rate
Ingredients
- 1/4 cup granulated sugar
- 2 teaspoons baking powder
- 1/2 teaspoon baking soda
- 1/2 teaspoon kosher salt
- 3 cups all-purpose flour (plus more for work surface)
- 1/2 cup frozen unsalted butter, grated
- 1 cup fresh blueberries (or frozen)
- 1 large egg, beaten
- 1 1/4 cups heavy cream, plus more for brushing the tops
- coarse sugar, for sprinkling
Instructions
-
Grate the 1 stick of frozen butter, place back in the freezer until ready to use. Preheat oven to 375°. Line a large baking sheet with parchment paper.
-
In a large mixing bowl whisk the granulated sugar, baking powder, baking soda, salt, and flour to combine. Add butter and toss to coat. Add the blueberries and gently toss to coat with the flour.
-
Make a well in the center of the flour-butter mixture, add the beaten egg and 1 1/4 cups of heavy cream. Mix with a fork or wooden spoon, incorporating dry ingredients a little bit at a time, until a shaggy dough forms (it’s okay if it looks a little dry; DO NOT overwork). Lightly knead dough in the bowl until it just comes together.
-
Turn out onto a lightly floured surface and pat into a 1″-thick round circle. Cut into 8 wedges.
-
Transfer each wedge to a large parchment-lined baking sheet. Brush the tops of each wedge with additional heavy cream and sprinkle with coarse sugar.
-
Bake 25–30 minutes, until golden brown.
