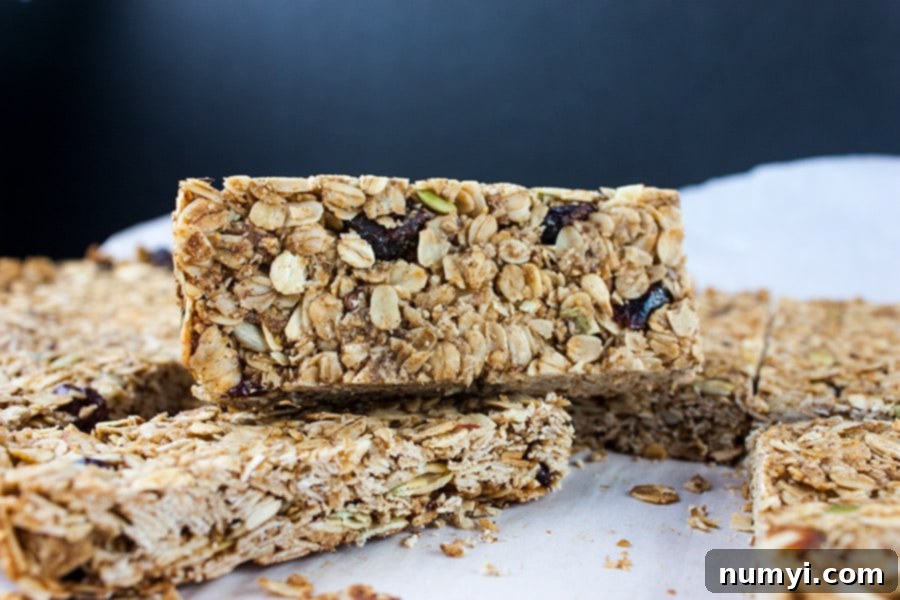
Craving a wholesome, satisfying snack that’s both easy to make and incredibly delicious? Look no further than these homemade granola bars! Perfect as an after-school snack, a convenient lunchbox addition, or even a quick grab-and-go breakfast, these bars are a game-changer for busy individuals and families alike. Unlike many store-bought options that are laden with preservatives and excessive sugar, crafting your own granola bars gives you complete control over the ingredients, ensuring a healthier and more flavorful treat.
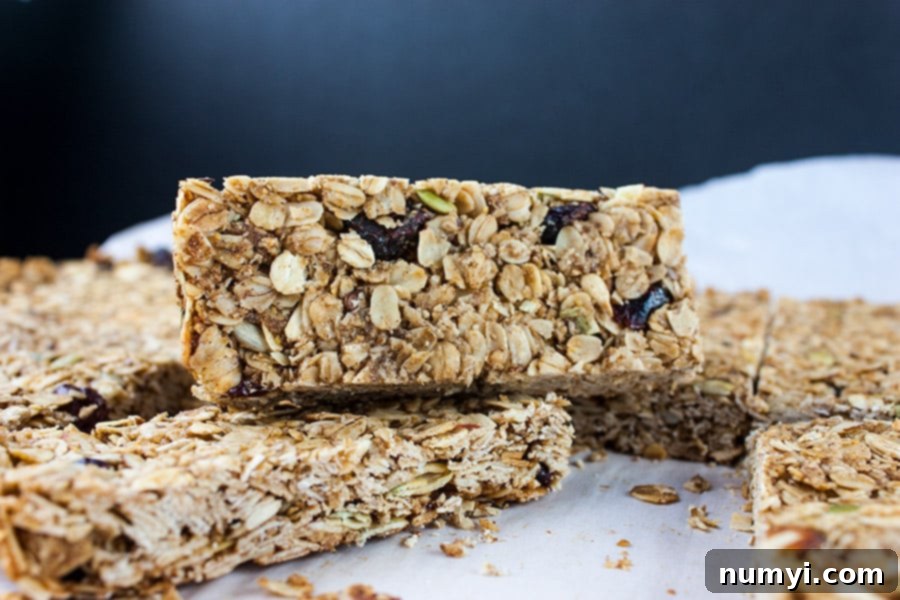
When it comes to granola bars, there’s a common debate between “no-bake” and “baked” recipes. While no-bake versions might seem appealing for their simplicity, they often come with a significant drawback: the need for constant refrigeration. This makes them impractical for packing in lunchboxes or carrying on the go, as they tend to become either too hard directly from the fridge or overly soft and sticky once they reach room temperature. This recipe, however, champions the baked approach, delivering a superior texture and enhanced portability without compromising on ease.
Our recipe yields a granola bar with the ideal balance of crunch and chewiness – a texture that is robust enough to hold its shape at room temperature, yet pleasantly soft to bite into. This delightful combination ensures that whether you’re enjoying it immediately or pulling it out of a lunch bag hours later, your homemade granola bar will maintain its perfect integrity and satisfying taste. It’s the kind of wholesome snack that everyone, from kids to adults, will eagerly reach for.
Watch How to Make These Granola Bars
Why These Homemade Granola Bars Are a Must-Try
There are countless reasons why this particular healthy granola bar recipe will become a staple in your kitchen. First and foremost, it’s a fantastic homemade granola bar recipe that is entirely peanut butter-free, making it an excellent option for those with peanut allergies or school lunch restrictions. Furthermore, it requires absolutely no refrigeration, meaning these bars are perfectly suited for on-the-go consumption, whether you’re heading to work, school, or an outdoor adventure.
Beyond being allergy-friendly and portable, these granola bars offer incredible versatility. You can easily adapt the recipe to suit your dietary preferences or what you have on hand. They are significantly more cost-effective than their store-bought counterparts, allowing you to save money while enjoying a superior product. Plus, making them yourself ensures you avoid any artificial flavors, high-fructose corn syrup, or unpronounceable ingredients often found in commercial granola bars. It’s a truly satisfying and guilt-free snack that supports a healthy lifestyle.
Essential Ingredients for Your Granola Bars
Crafting the perfect batch of granola bars starts with high-quality, wholesome ingredients. Here’s a closer look at the key components that bring these delicious bars to life:
- Oats: The foundation of any great granola bar. This recipe utilizes old-fashioned oats, which provide a hearty texture and excellent binding properties. We also incorporate oat flour, which helps create a cohesive mixture and adds to the soft chewiness. If you don’t have oat flour, simply pulse some old-fashioned oats in your food processor until a fine powder forms. Oats are rich in fiber, promoting digestive health and sustained energy.
- Sweeteners & Seasonings: A blend of flavors that perfectly complements the oats and add-ins. We use dark brown sugar for its rich, molasses-like flavor and moist texture, which aids in binding. A touch of aromatic cinnamon adds warmth and depth, while a pinch of sea salt is crucial for balancing the sweetness and enhancing all the other flavors.
- Binding Liquids: These wet ingredients are vital for holding your granola bars together. Melted unsalted butter provides richness and a delightful mouthfeel, while pure honey acts as a natural sweetener and powerful binder. Pure vanilla extract is added for a boost of classic, comforting flavor that ties everything together beautifully.
- Nutrient-Rich Add-Ins: This is where you can truly customize your bars and pack them with extra nutrition. Our base recipe includes ground flax seed (an optional but highly recommended addition for omega-3s and fiber), sliced almonds for a delightful crunch, nutrient-dense pumpkin seeds, and crunchy sunflower seeds. Finally, vibrant dried cranberries add a wonderful tart-sweet chewiness, contrasting beautifully with the nuts and seeds.
Expert Tips & Creative Variations for Granola Bars
Making granola bars is forgiving, but a few key tips can elevate your results. Plus, the possibilities for customization are endless!
- Master the Press: This is perhaps the most critical step for perfectly formed bars. After pouring the mixture into the pan, be sure to really press it down firmly and evenly. Use a piece of wax paper or parchment paper on top and apply significant pressure across the entire surface. This compaction is essential to ensure the bars don’t crumble and hold their shape beautifully when cut.
- Customize Your Dried Fruits: While dried cranberries are fantastic, feel free to swap them out or add in other favorites. Consider using dried cherries, golden raisins, chopped apricots, or blueberries. For larger dried fruits, a quick chop into smaller pieces (similar in size to your nuts) will ensure even distribution throughout the bars.
- Experiment with Nuts & Seeds: Don’t limit yourself to just almonds, pumpkin, and sunflower seeds! These bars are delicious with peanuts, cashews, pecans, walnuts, or even a mix of your favorite seeds like chia seeds or hemp hearts. You can also lightly toast your nuts before adding them to enhance their flavor and crunch.
- Indulgent Additions: For a touch of sweetness, toss in mini chocolate chips, white chocolate chips, or even colorful mini M&M’s. If adding chocolate, it’s often best to stir them in after the mixture has cooled slightly to prevent them from melting completely before baking. Alternatively, you can sprinkle them on top during the last few minutes of baking.
- Chocolate Drizzle or Dip: Elevate your granola bars with a luxurious chocolate finish. Melt some chocolate chips (milk, dark, or white) with a tiny bit of coconut oil for a smoother consistency. You can then dip one end of each cooled bar into the melted chocolate or simply drizzle it artistically over the tops. Allow the chocolate to set completely before storing.
- Perfect Pan Preparation: Always line your baking pan with parchment paper, leaving an overhang on the sides. This creates “handles” that make it incredibly easy to lift the entire slab of baked granola out of the pan once cooled, simplifying the cutting process.
- Cooling is Key: Patience is a virtue, especially when it comes to granola bars. Do not attempt to cut the bars while they are warm. They need to cool completely to room temperature, and even slightly chilling them in the refrigerator for 15-30 minutes, can help them firm up further for cleaner cuts.
Step-by-Step: Crafting Your Perfect Homemade Granola Bars
Making these healthy granola bars is a surprisingly simple and rewarding process. You’ll love how easily you can mix and match your preferred fruits and nuts, using whatever wholesome ingredients you have readily available in your pantry. Follow these straightforward steps to create your own batch of delightful, homemade granola bars:
- Preheat and Prepare: Begin by preheating your oven to 325 degrees F (160 degrees C). This ensures the oven is at the correct temperature for even baking. Next, prepare a 9×13 inch baking pan by lining it with parchment paper. Make sure to leave a generous overhang on all sides – these parchment “handles” will be invaluable for easily removing the baked granola slab from the pan later.
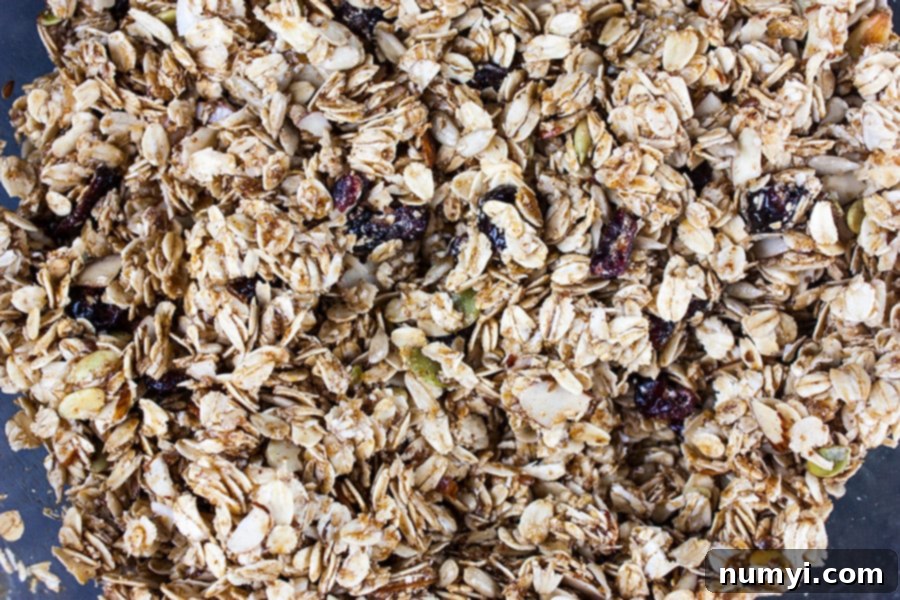
- Combine Dry Ingredients: In a large mixing bowl, combine all your dry ingredients. This includes the old-fashioned oats, oat flour, ground flaxseed (if using), sliced almonds, pumpkin seeds, sunflower seeds, dried cranberries, dark brown sugar, cinnamon, and sea salt. Stir everything together thoroughly with a spoon or spatula until all components are well distributed. This step is crucial for ensuring every bite of your granola bar has a balanced flavor and texture. Feel free to add any other favorite nuts or dried fruits at this stage.
- Incorporate Wet Ingredients: Create a small well in the center of your dry mixture. Pour in the melted unsalted butter, honey, and pure vanilla extract. Using your spoon or spatula, stir diligently until all the dry ingredients are completely moistened and coated with the wet binders. The mixture should be sticky and cohesive.
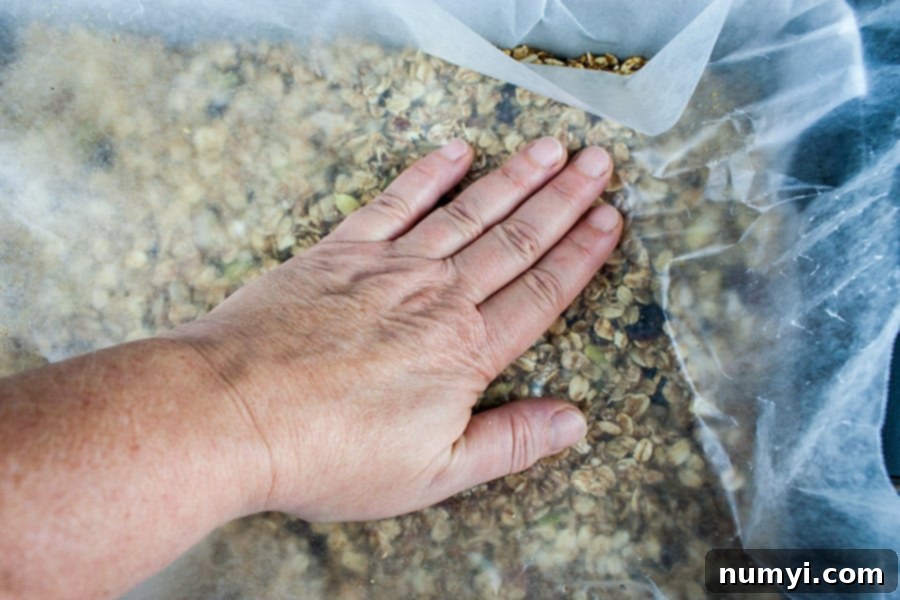
- Press into Pan: Transfer the entire granola mixture into your prepared baking pan. Now comes the most important part for bar integrity: pressing. Place a fresh sheet of wax paper or parchment paper over the granola mixture. Using your hands, a flat bottomed glass, or a sturdy spatula, firmly and evenly press the mixture down into the pan. Aim for a compact, even layer about 1 inch thick across the entire pan. This firm pressing helps bond the ingredients together, preventing crumbly bars. Ensure there are no thin spots, as these can overcook and become brittle.
- Bake to Perfection: Place the pan in your preheated oven and bake for approximately 30 minutes. The bars should appear golden brown around the edges and slightly firm to the touch. Avoid overbaking, as this can lead to overly hard bars.
- Cool Completely: Once baked, remove the pan from the oven and place it on a wire rack to cool completely to room temperature. This step is vital for the bars to set properly and maintain their shape when cut. Resist the urge to cut them while warm! The cooling process allows the sugars to harden and bind the ingredients.
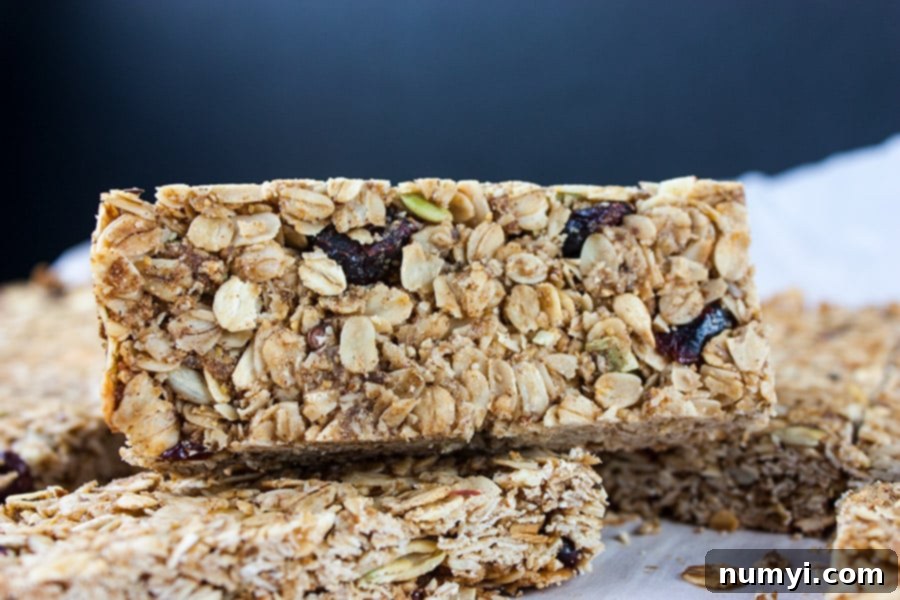
- Cut and Serve: Once completely cooled, lift the granola slab out of the pan using the parchment paper handles. Place it on a cutting board. Using a sharp knife, cut into your desired single-serving bars. Depending on your preferred size, you can yield about 20-24 bars from a 9×13 inch pan.
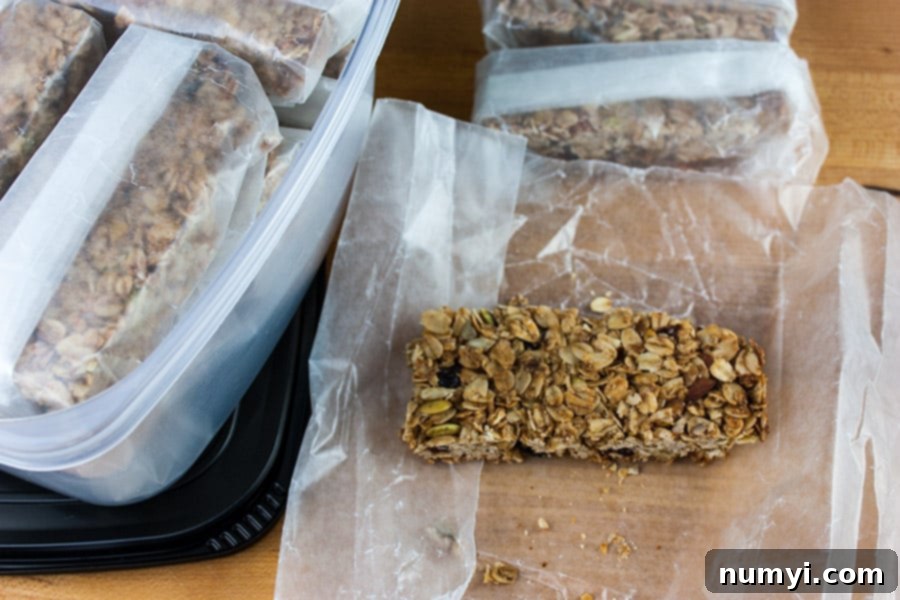
- Wrap and Store: For ultimate grab-and-go convenience, wrap each individual bar in wax paper or parchment paper. This prevents sticking and keeps them fresh. Then, store your wrapped granola bars in an airtight container or a resealable bag at room temperature. They are so easy to grab and enjoy whenever hunger strikes!
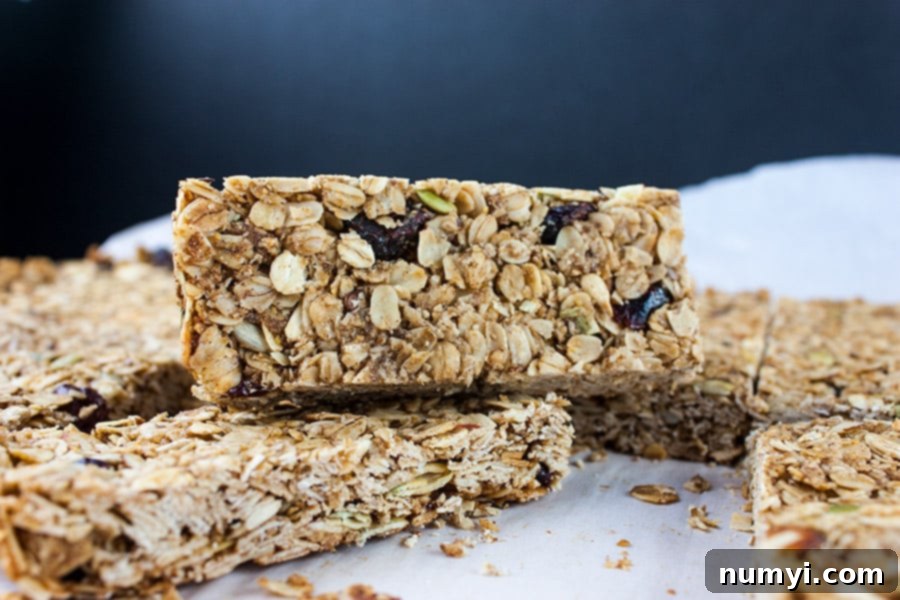
You’ll quickly find that these homemade granola bars disappear fast! My husband just asked if there were any left, which means it’s definitely time to bake another batch. Enjoy the satisfaction of making your own healthy, delicious snacks!
Once cooled and cut, wrap individual granola bars in wax paper or parchment paper to prevent them from sticking together. Store them in an airtight container or a resealable bag at room temperature for up to one week. For longer storage, these bars freeze exceptionally well! Place wrapped bars in a freezer-safe bag or container and freeze for up to 3 months. Thaw at room temperature for a quick and easy snack.
More Wholesome & Delicious Recipes to Try
If you love these homemade granola bars, you’ll surely enjoy these other delightful recipes perfect for breakfast or snacking:
- Oatmeal Chocolate Chip Cookie Bars
- Blueberry Baked Oatmeal Recipe
- Monster Cookies
- Large Cluster Granola
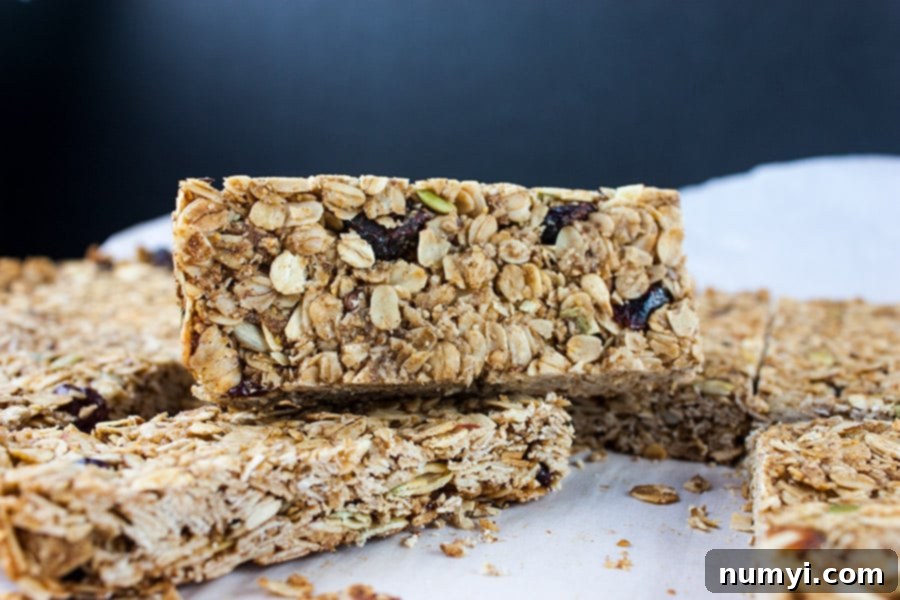
Homemade Granola Bars Recipe
Print
Pin
Rate
Ingredients
- 4 cups old-fashioned oats
- 1/4 cup oat flour*
- 2 tablespoons ground flax seed optional
- 1/2 cup almonds chopped or sliced
- 1/4 cup pumpkin seeds
- 1/4 cup sunflower seeds
- 1/2 cup dried cranberries
- 1/3 cup dark brown sugar
- 1/2 teaspoon sea salt
- 1 teaspoon cinnamon
- 1/2 cup unsalted butter melted
- 1/2 cup honey
- 1 teaspoon pure vanilla extract
Instructions
-
Preheat oven to 325°F (160°C).
-
Prepare a 9×13 baking pan with parchment paper, leaving enough overhang for handles.
-
Place all dry ingredients (oats, oat flour, flaxseed, almonds, pumpkin seeds, sunflower seeds, cranberries, brown sugar, salt, and cinnamon) in a large bowl and mix to combine evenly.
-
Add the wet ingredients (melted butter, honey, and vanilla extract) to the dry mix and stir well until thoroughly combined and moistened.
-
Pour the granola mixture into the prepared baking pan. Using a sheet of wax paper or parchment paper, firmly press the mixture down to form a compact and even layer, about 1 inch thick. Ensure consistent thickness to prevent uneven baking.
-
Bake for 30 minutes, or until the edges are golden brown.
-
Allow to cool completely to room temperature in the pan before cutting into about 24 bars. Once cooled, wrap individually in parchment or wax paper and store in an airtight container for optimal freshness.
Notes
Servings will depend on the size you choose to cut the bars. For school lunches, consider smaller, bite-sized pieces.
Enjoy these versatile and delicious homemade granola bars as a healthy snack or a quick breakfast on busy mornings!
Nutrition
Carbohydrates: 27g |
Protein: 4g |
Fat: 9g |
Saturated Fat: 3g |
Cholesterol: 12mg |
Sodium: 62mg |
Potassium: 122mg |
Fiber: 3g |
Sugar: 13g |
Vitamin A: 142IU |
Vitamin C: 1mg |
Calcium: 28mg |
Iron: 1mg
