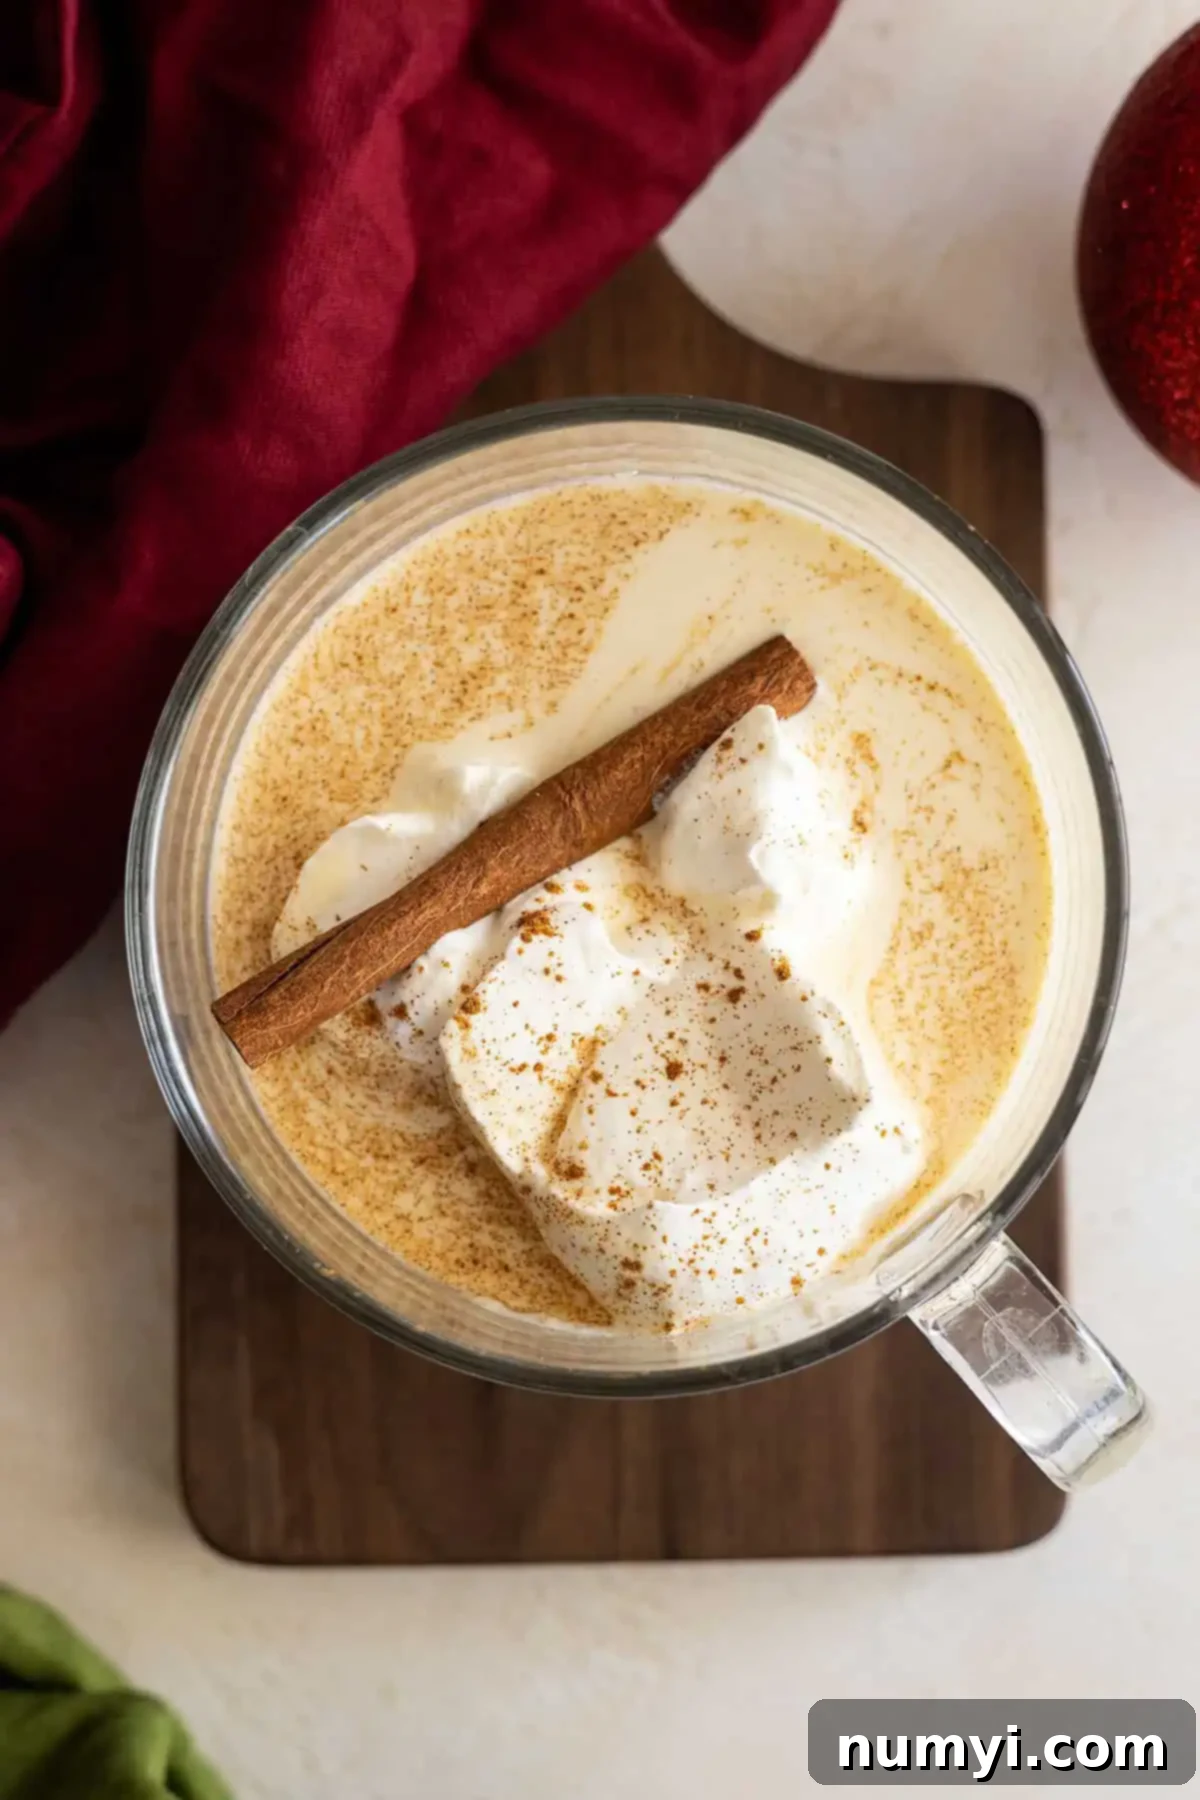
The Best Foolproof Homemade Eggnog Recipe: Your Ultimate Holiday Drink Guide
Our family’s favorite homemade eggnog recipe is a delicious blend of creamy goodness with just the right consistency and a perfect blend of nutmeg, cinnamon, and vanilla. The recipe is so simple to prepare, thanks to my foolproof method, that you will never need that store-bought carton again. Get ready for the ultimate eggnog experience that will leave everyone wanting more!
Welcome to the enchanting world of homemade eggnog, a festive beverage that instantly brings warmth and joy to any holiday gathering. Forget everything you thought you knew about making eggnog from scratch; this recipe is designed to be incredibly easy and utterly foolproof, guaranteeing a perfect batch every time. You’ll be amazed at how a few simple ingredients can transform into a rich, velvety drink that far surpasses any store-bought alternative. This isn’t just a recipe; it’s an invitation to create new holiday traditions and memories with your loved ones.
I originally published this beloved recipe in 2014 and have since updated it with new photos, expanded details, and even more tips to ensure your eggnog-making journey is a resounding success. Over the years, this recipe has become a cornerstone of our family’s holiday celebrations, cherished for its smooth texture, balanced sweetness, and comforting blend of aromatic spices.
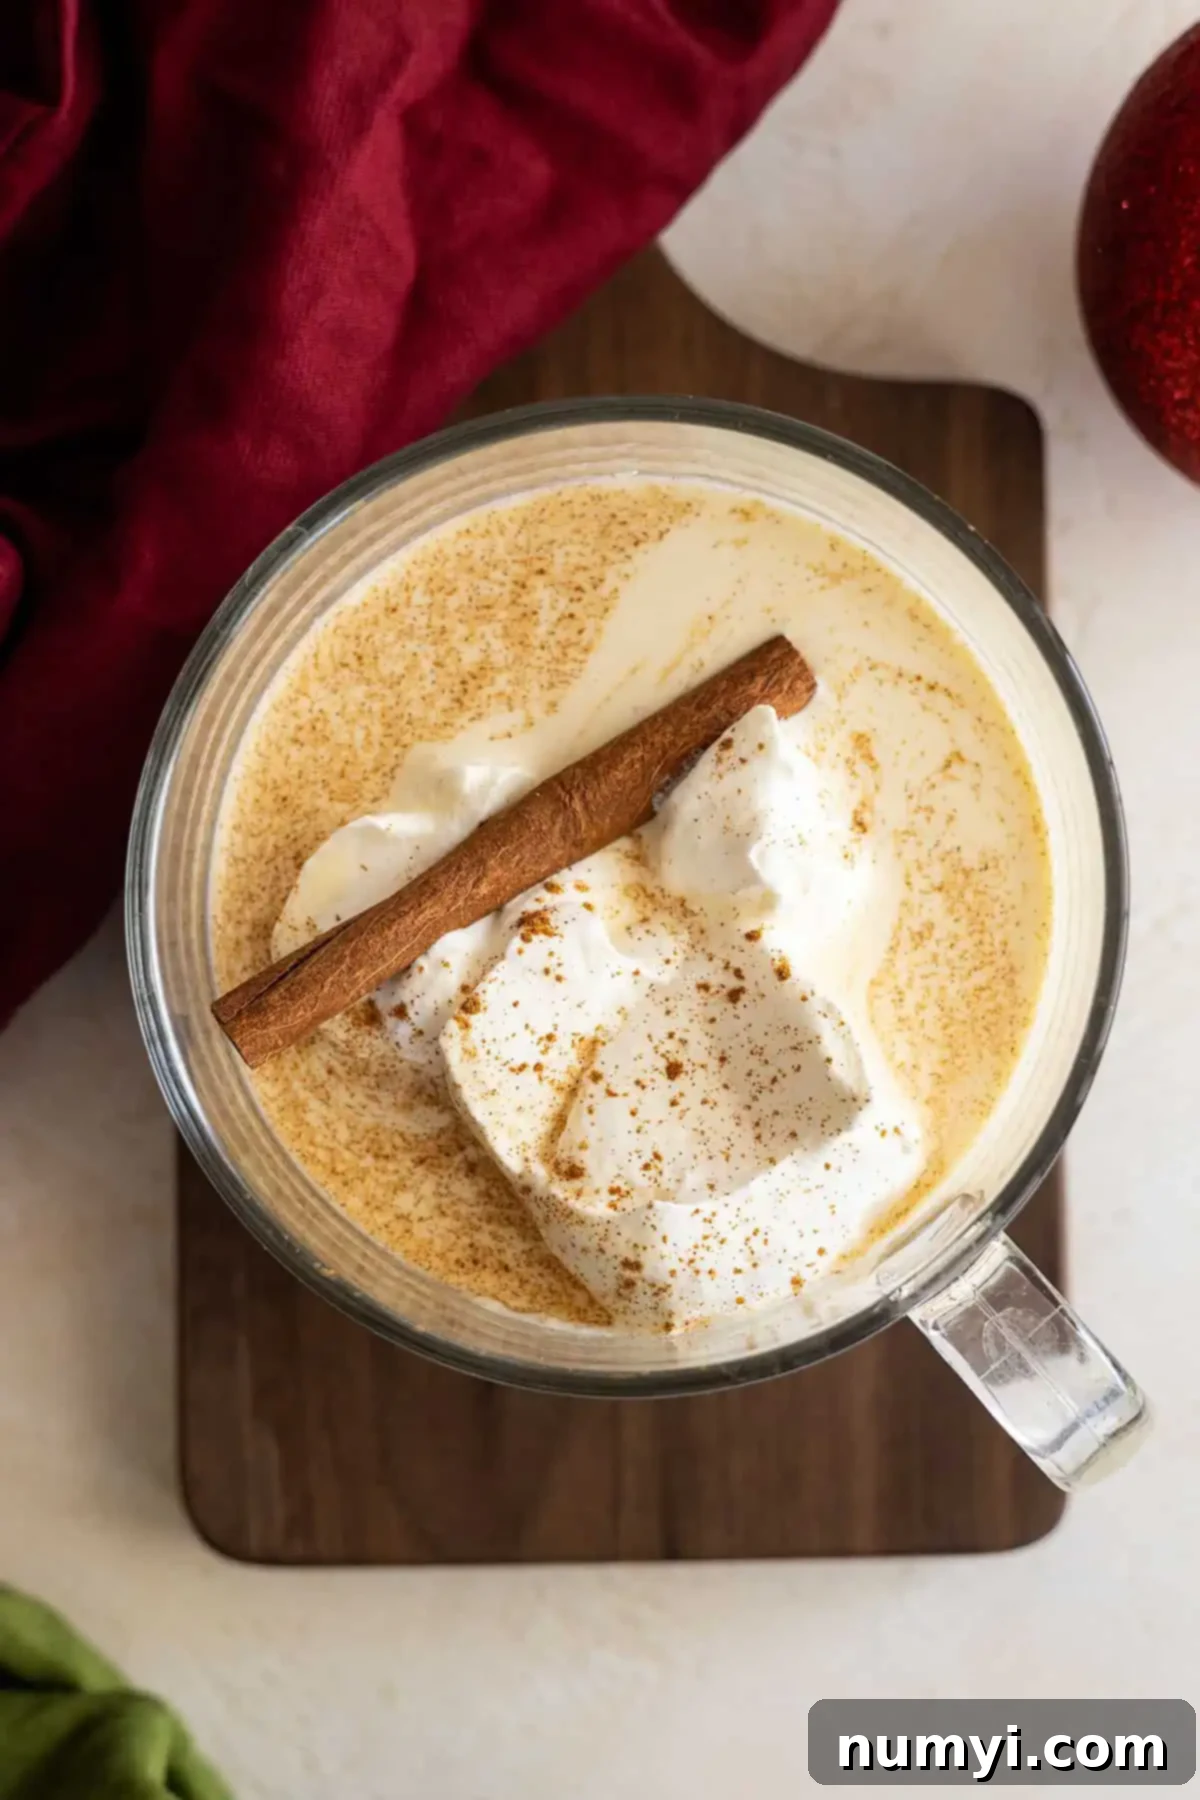
This isn’t just *a* favorite eggnog recipe; it’s *our* absolute favorite to date! I’ve been perfecting this particular method since I was a teenager, tweaking ratios and techniques until it reached this ideal state. What sets it apart is not only its incredible flavor but also its straightforward preparation. I’ve specifically crafted it to be super easy and completely foolproof, eliminating common hurdles like curdling or over-thickening that often intimidate home cooks. This means you can confidently whip up a batch, even if you’re a beginner in the kitchen.
We absolutely adore savoring this delightful homemade eggnog throughout the Christmas season. It’s the perfect companion to a playlist of classic Christmas carols, transforming any moment into a festive occasion. Beyond just drinking it, this eggnog also shines as an ingredient in various holiday treats. Other cherished recipes that grace our holiday table alongside this eggnog include Homemade Cinnamon Rolls, which offer a warm and comforting start to Christmas morning, decadent Dark Chocolate Truffles for a luxurious sweet bite, and refreshing No-Churn Peppermint Cookie Ice Cream, perfect for those who crave a cool treat even in winter. Each of these recipes complements the rich, spiced flavor of the eggnog, making for a truly unforgettable holiday feast.
Why This Homemade Eggnog Recipe Is a Must-Try
There are countless reasons to fall in love with making your own eggnog at home, and this recipe highlights all the best aspects:
- Perfect for use in other recipes: This versatile eggnog isn’t just for drinking! Its creamy texture and balanced flavor make it an excellent base for French toast, bread pudding, lattes, or even a custardy dessert. Imagine the possibilities for elevating your holiday baking with this homemade goodness.
- It has a much better ingredient list than the store-bought stuff: When you make eggnog at home, you control every single ingredient. This means no artificial flavors, excessive preservatives, or high fructose corn syrup. You’ll taste the difference that fresh, high-quality ingredients make, resulting in a cleaner, more vibrant flavor.
- Delicious with or without alcohol: Whether you prefer a family-friendly virgin beverage or a spirited holiday cocktail, this eggnog serves both purposes beautifully. Its robust flavor stands up well to a splash of your favorite liquor, but it’s equally delightful on its own.
- It’s the perfect balance of spices and sweetness: Achieving the ideal flavor profile is key, and this recipe nails it. The precise combination of nutmeg, cinnamon, and a hint of vanilla creates a harmonious blend of warm spices that isn’t overpowering, perfectly complementing the sweetness without being cloying.
- There are no raw eggs in this recipe, and no tempering, so the chance of curdling is significantly reduced! This is a game-changer for many home cooks. By gently cooking the egg yolks with the other ingredients to a safe temperature, we eliminate the concern of raw eggs and the tricky tempering process that often leads to curdled messes. This foolproof method ensures a smooth, creamy finish every single time.
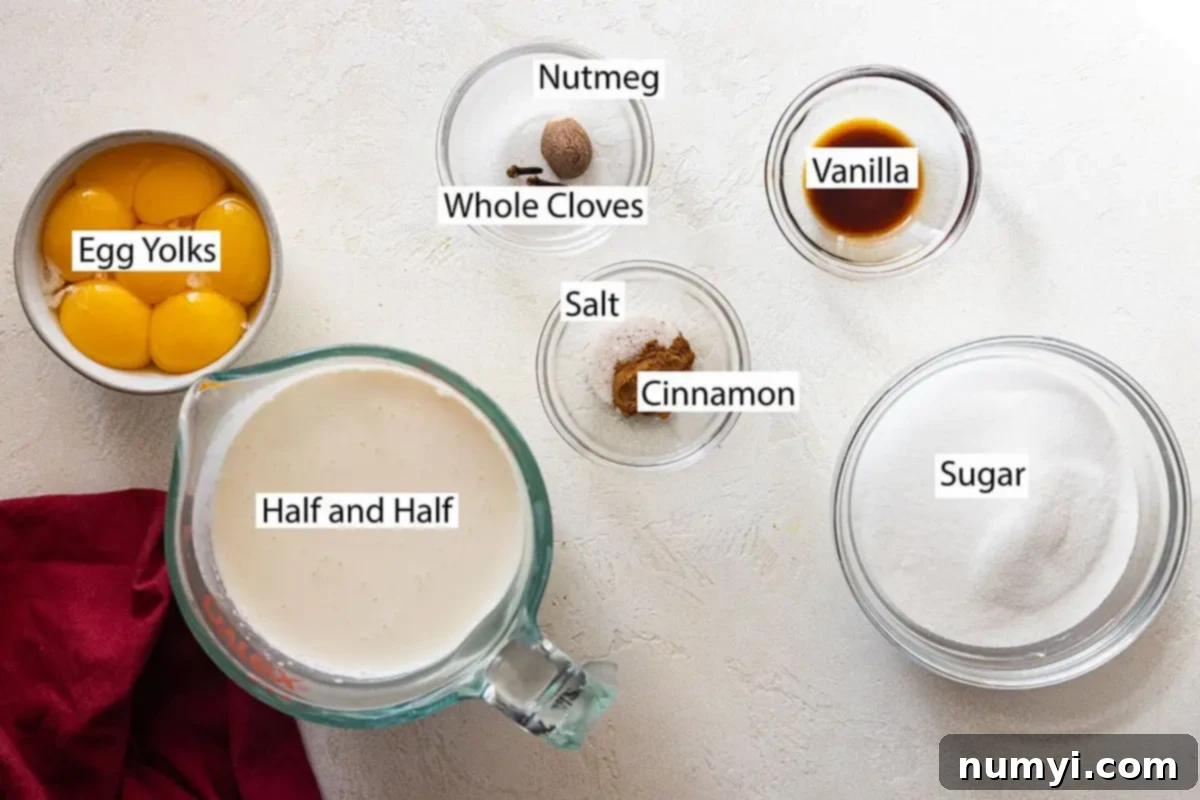
Diving Deeper into Key Ingredients: The Secret to Perfect Eggnog
The magic of this homemade eggnog lies in its carefully selected, simple ingredients. Each component plays a crucial role in creating the rich, creamy, and perfectly spiced flavor profile you’re looking for:
- HALF AND HALF: I find this to be the easiest and most effective base for eggnog, striking the perfect balance between richness and a lighter texture. Instead of fussing with a combination of heavy cream and milk, half and half provides an ideal fat content that contributes to the signature creamy mouthfeel without making the eggnog overly heavy. It also helps prevent the mixture from becoming too thin.
- SPICES: The heart of any great eggnog is its spice blend. I absolutely adore the aromatic combination of nutmeg, whole clove, and cinnamon.
- Nutmeg: Freshly grated nutmeg is an absolute non-negotiable for the BEST flavor. Pre-ground nutmeg loses much of its potency and complex aroma quickly. Grating it fresh just before adding makes an incredible difference, imparting a warm, slightly sweet, and woody note.
- Whole Clove: Just two whole cloves infuse a subtle, warm, and pungent spice that deepens the overall flavor without overpowering it. Remember to remove them before chilling or serving!
- Cinnamon: Ground cinnamon adds a classic, comforting sweetness and warmth that perfectly complements the other spices.
- Optional Spices: While this trio is perfect, you could experiment with a tiny pinch of allspice or cardamom for an extra layer of complexity if you desire.
- VANILLA: High-quality vanilla extract is essential for adding a sweet, creamy, and fragrant depth that ties all the flavors together. Always add it at the end, off the heat, to preserve its delicate aroma.
- SUGAR: Granulated sugar not only provides the necessary sweetness but also contributes to the eggnog’s smooth texture and helps prevent the egg yolks from curdling. The amount used in this recipe is carefully balanced to ensure it’s sweet enough without being saccharine.
- EGG YOLKS: These are the workhorses of homemade eggnog, providing the incredible richness, color, and thickening power. By using only yolks, we achieve a more luxurious, velvety texture compared to using whole eggs, which can sometimes result in a less desirable consistency.
- SALT: Trust me, you need a little salt! Just a tiny pinch acts as a flavor enhancer, much like in baking. It balances the sweetness, brightens the spices, and makes all the other flavors pop, preventing the eggnog from tasting flat.

How to Make Homemade Eggnog: A Simple, Step-by-Step Guide
Making homemade eggnog might sound intimidating, but with this foolproof method, it’s surprisingly simple and incredibly rewarding. This quick overview highlights the key steps. As always, specific measurements and detailed step-by-step instructions are meticulously laid out in the printable recipe box at the very bottom of this post, so you can easily follow along.
STEP 1: Combine and Whisk the Base
In a large, heavy-bottomed saucepan, begin by combining the egg yolks and granulated sugar. Using a sturdy whisk, beat them together thoroughly until the mixture becomes pale yellow and smoothly integrated. This initial whisking helps to dissolve the sugar and breaks down the egg yolks, creating a uniform base. Next, gradually whisk in the half and half, ensuring everything is well combined. Finally, stir in your chosen spices – the freshly grated nutmeg, whole cloves, ground cinnamon, and that crucial pinch of salt. Whisk everything until evenly distributed.
STEP 2: Cook to Perfection and Thicken
Place the saucepan over medium-low heat. This is where patience is key; low and slow heat prevents scorching and ensures a silky smooth texture. Whisk the mixture constantly to prevent the eggs from scrambling and to ensure even cooking. Continue cooking until the eggnog visibly thickens slightly, enough to coat the back of a spoon. More importantly, use a reliable instant-read thermometer to reach a temperature of 160-165 degrees F (71-74 degrees C). This temperature is vital for food safety and guarantees the eggs are properly cooked. Once it reaches the desired temperature and consistency, immediately remove the pan from the heat. Stir in the vanilla extract; adding it off the heat preserves its delicate flavor and aroma.
STEP 3: Chill Thoroughly and Serve
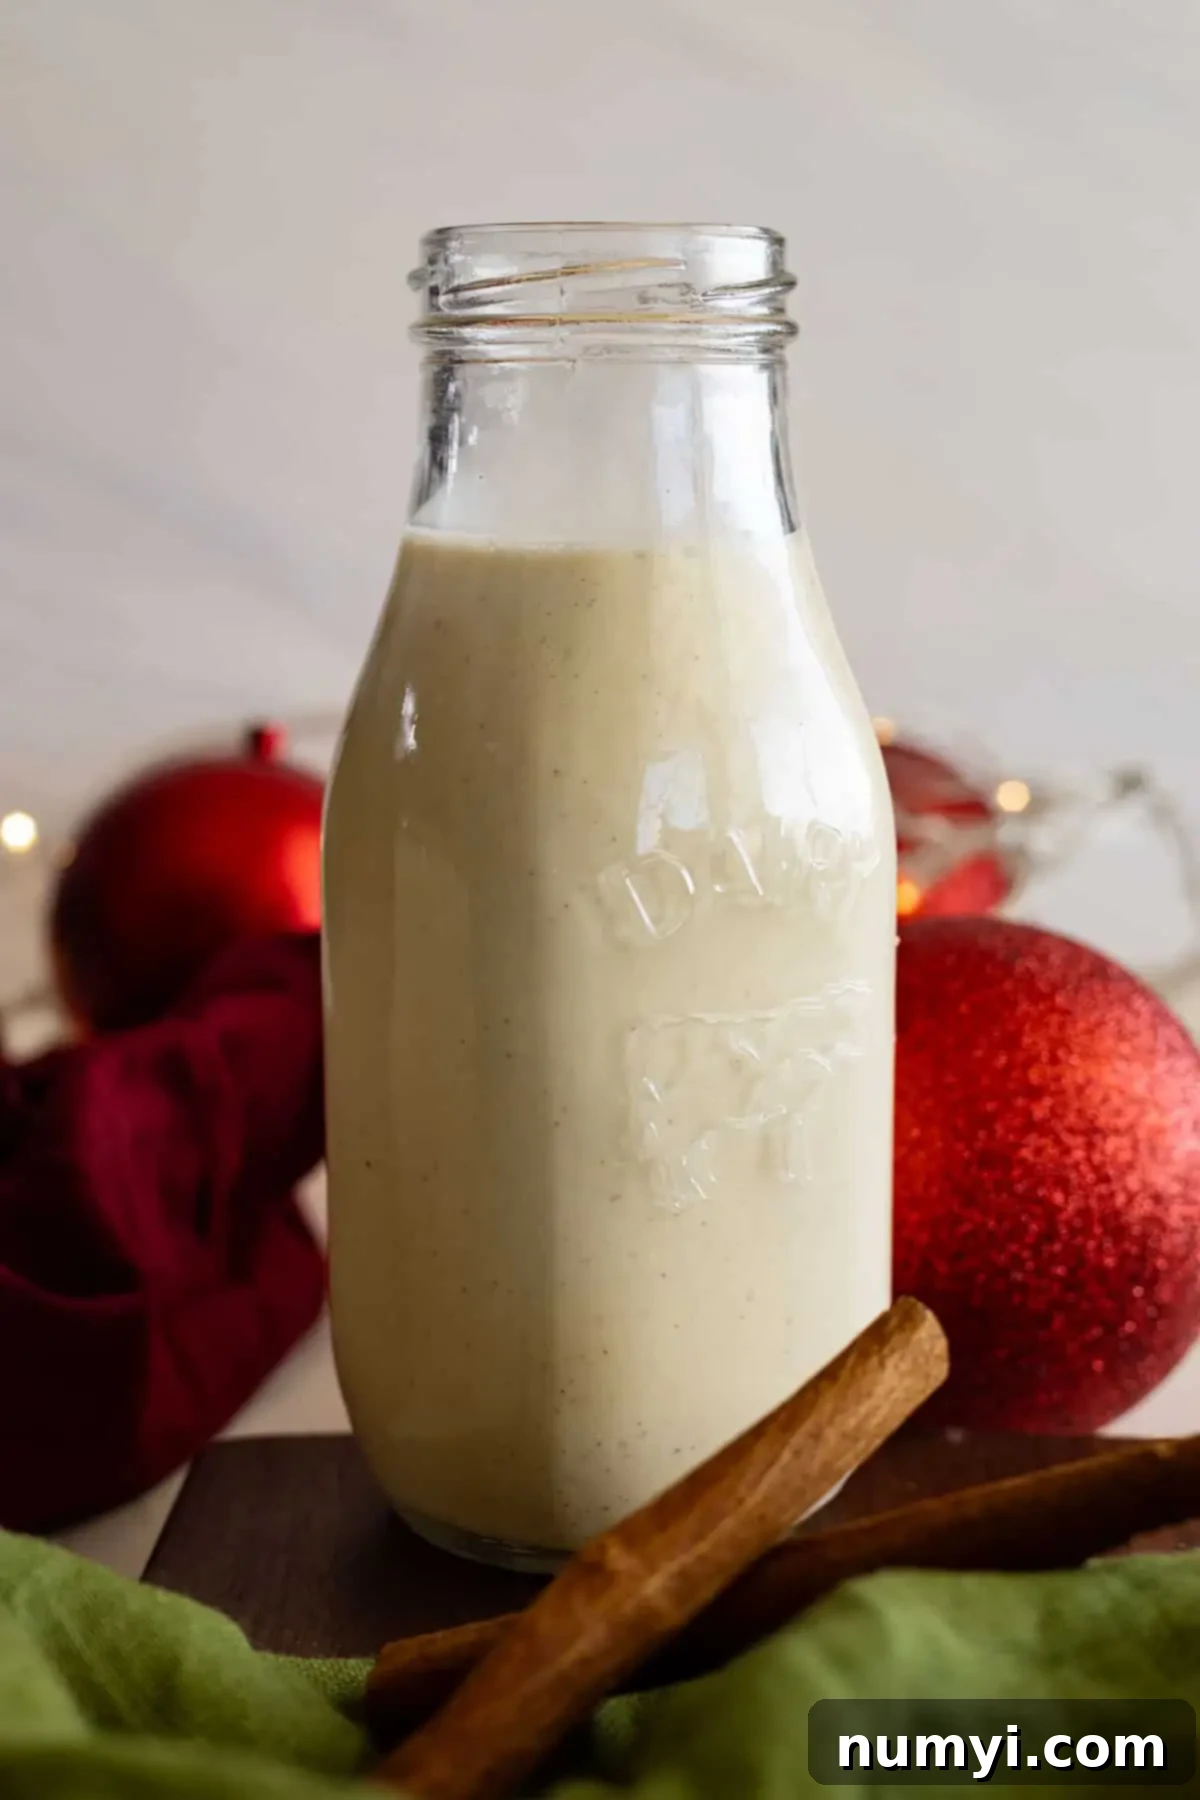
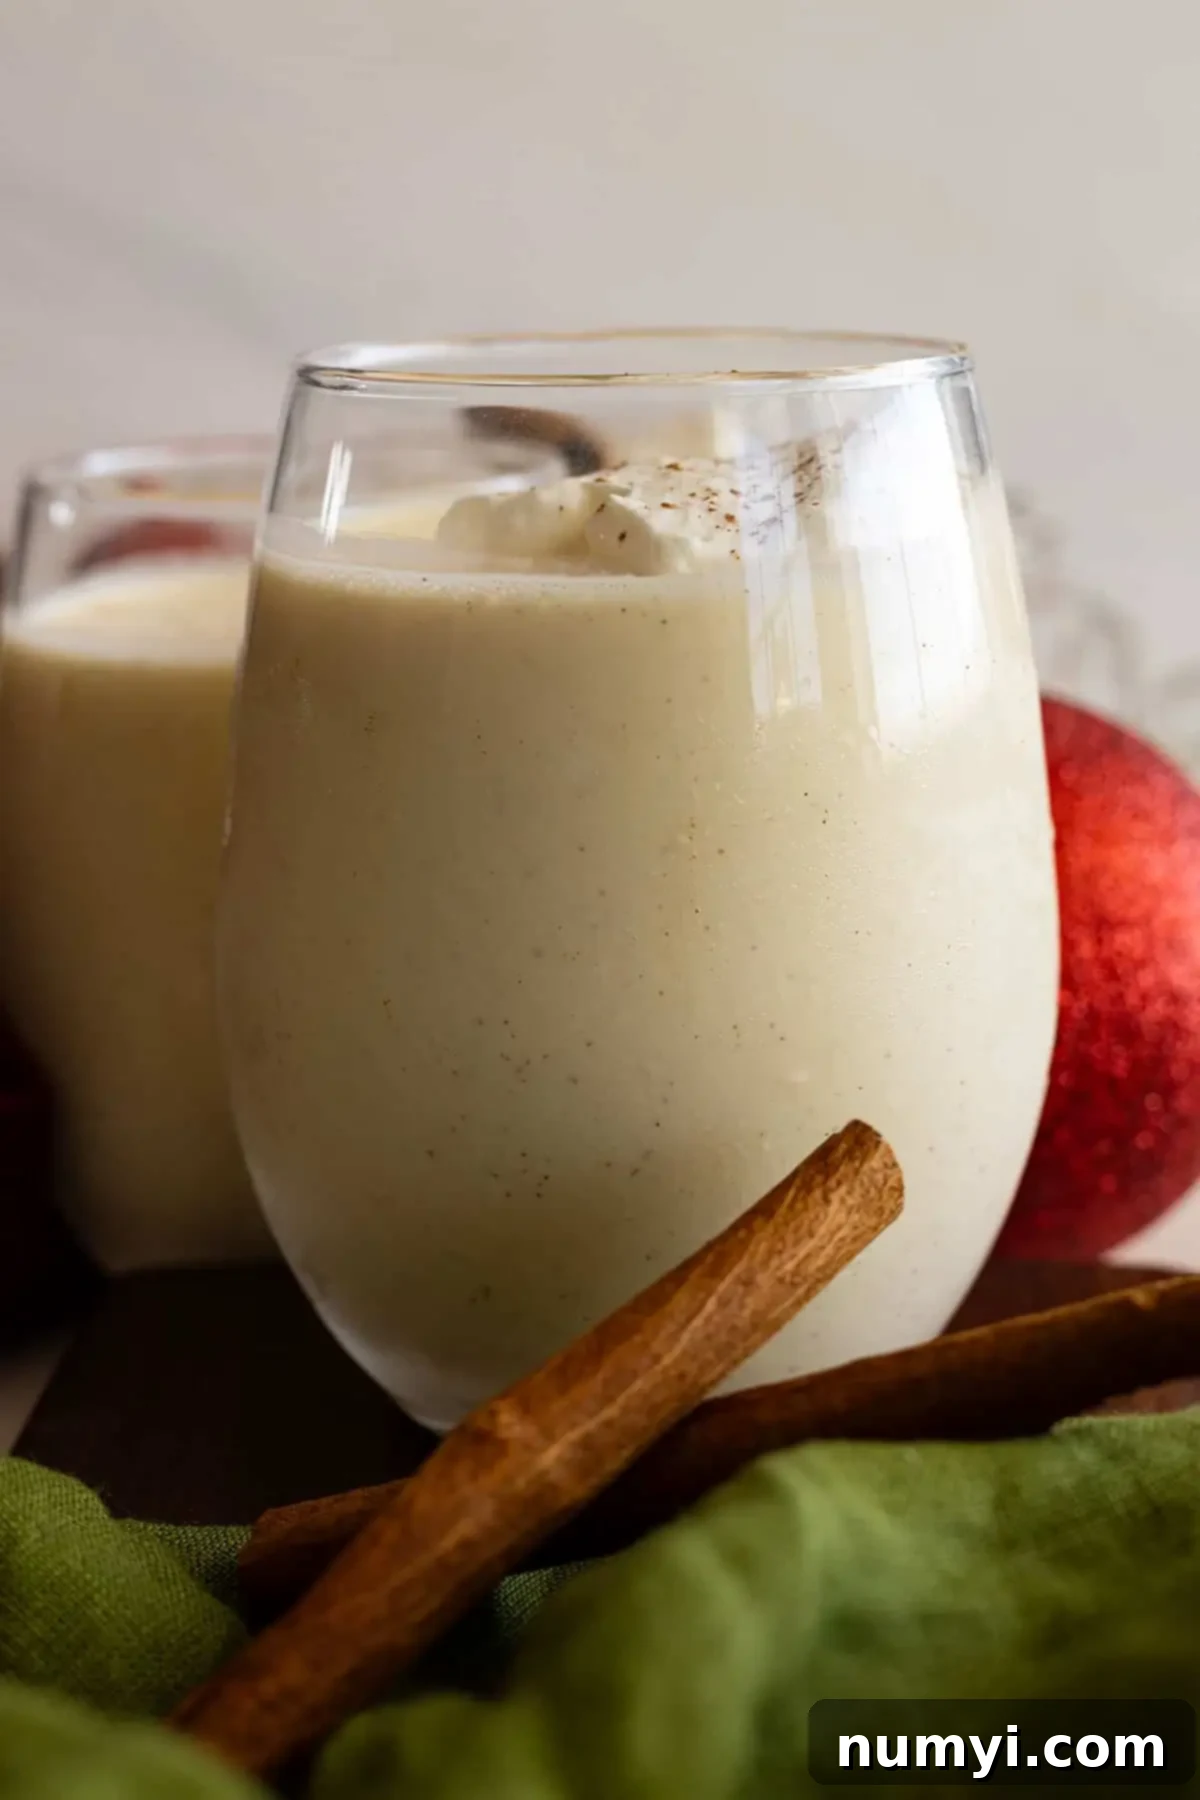
Carefully pour the cooked eggnog into a clean container, such as a pitcher or a large jar. Cover it tightly with plastic wrap, ensuring the wrap directly touches the surface of the eggnog to prevent a skin from forming. Transfer it to the refrigerator and chill for at least 4 hours. For the absolute best flavor and a wonderfully thick consistency, chilling it overnight is highly recommended. The flavors will meld and deepen, resulting in an even more delicious beverage. Once perfectly chilled, give it a good stir, pour into glasses, and serve! Garnish with a sprinkle of fresh nutmeg or a dollop of whipped cream for an extra festive touch.
FAQs About Homemade Eggnog
The best alcohol for spiking eggnog truly comes down to personal preference, but common choices that beautifully complement its creamy, spiced flavor are brandy, rum, bourbon, or whisky. Each adds a unique nuance:
- Brandy: Offers a fruity, slightly sweet, and complex warmth.
- Rum: Particularly dark or spiced rum, lends a molasses-like sweetness and a robust, tropical warmth.
- Bourbon: Contributes a rich, oaky, and vanilla-infused profile with a pleasant kick.
- Whisky: Depending on the type, can add smoky, spicy, or smooth notes.
You can add the alcohol directly into individual servings or mix it into the entire batch just before serving. Start with about 1-2 ounces per cup and adjust to your taste!
This is a somewhat complicated question, but in short, yes, adding alcohol can help extend the shelf life of homemade eggnog, though not indefinitely. The reason is that bacteria cannot thrive as easily in an environment with higher alcohol content. Therefore, a higher alcohol percentage will act as a preservative. However, homemade eggnog is still perishable. While store-bought eggnog is heavily processed and pasteurized for a much longer shelf life, homemade versions, even with alcohol, should be consumed within a reasonable timeframe. It’s generally recommended to store homemade eggnog (with or without alcohol) in the refrigerator for up to 5 days, but with a significant amount of spirits (like a traditional aged eggnog recipe), it might safely last a bit longer, sometimes up to a few weeks, if properly stored and kept very cold. Always use your best judgment regarding smell and appearance.
While some eggnog recipes use whole eggs, this particular recipe specifically calls for egg yolks. Using only yolks results in a richer, creamier, and more luxurious texture that is characteristic of traditional eggnog. Whole eggs can make the eggnog lighter in consistency and flavor. If you choose to use whole eggs, you might need to adjust the cooking time and be extra vigilant with constant whisking to avoid scrambling the egg whites, which can cook faster and lead to a lumpy texture. For the best results and the foolproof method described here, sticking to egg yolks is highly recommended.
If your eggnog isn’t thickening, the most common reason is that it hasn’t been cooked to the correct temperature or for long enough. The egg yolks need to reach at least 160°F (71°C) to properly emulsify and thicken the mixture. If it doesn’t reach this temperature, the proteins won’t set. Another reason could be insufficient chilling time; eggnog thickens considerably as it cools in the refrigerator. Ensure you’ve whisked consistently while cooking to prevent scorching and allow ample time for it to chill, ideally overnight. If it’s still too thin after chilling, you can gently reheat it while whisking, aiming for that 160°F mark again, but be very careful not to overcook and scramble the eggs.
How To Store Homemade Eggnog Safely
Proper storage is crucial for enjoying your delicious homemade eggnog safely. Once prepared, your eggnog should always be stored, tightly covered, in the refrigerator. It will typically last for up to 5 days. For optimal freshness and to prevent any unwanted flavors or bacterial growth, make sure it’s kept in an airtight container, such as a pitcher with a lid or a jar with a tight-fitting seal. As mentioned in the FAQs, if you’ve mixed your eggnog with a significant amount of alcohol (like brandy, rum, or bourbon), it can potentially last a bit longer, sometimes up to a few weeks, due to alcohol’s preservative properties. However, for general homemade eggnog, sticking to the 5-day rule is a safe bet. Always check for any off-smells or unusual textures before consuming, and when in doubt, it’s best to discard it.
Serving Suggestions for Your Festive Eggnog
Once your homemade eggnog is perfectly chilled and ready, the serving possibilities are endless and add to the festive experience:
- Classic Chilled: The most popular way to enjoy eggnog is simply poured into a glass, straight from the refrigerator. Its creamy, cold texture is wonderfully refreshing.
- Warm Delight: For a cozy twist on a cold day, gently warm the eggnog on the stovetop over low heat. Be careful not to boil it. A warm mug of spiced eggnog is incredibly comforting.
- Garnish Galore: Elevate your presentation with simple garnishes. A fresh dusting of grated nutmeg is traditional and enhances the aroma. A dollop of freshly whipped cream makes it extra decadent, and a cinnamon stick serves as both a stirrer and an elegant touch.
- Spiked Perfection: If you’re serving an adult crowd, offer a selection of spirits like brandy, rum, or bourbon for guests to add to their liking. Provide clear instructions for how much to add.
- Holiday Pairings: Eggnog pairs wonderfully with a variety of holiday treats. Think gingerbread cookies, shortbread, fruitcake, or even a slice of apple pie.
- Creative Uses: Don’t limit eggnog to just a drink! Use leftovers in coffee for an eggnog latte, soak bread for a festive French toast, or incorporate it into a quick bread pudding or custard.
This homemade eggnog recipe is more than just a drink; it’s a taste of holiday cheer, a tradition in the making, and a simple pleasure that will delight everyone who tries it. Its foolproof nature means you can enjoy the process as much as the product. Get ready to impress your guests and fill your home with the delightful aroma of homemade goodness this season!
HUNGRY FOR MORE? Subscribe to my newsletter and follow along on Pinterest, Facebook, and Instagram for all my latest updates!
Homemade Eggnog
Ingredients
- 6 large eggs yolks
- ½ cup sugar
- 4 cups (945ml) half and half
- ½ teaspoon freshly ground nutmeg
- 2 whole cloves
- ¼ teaspoon ground cinnamon
- ⅛ teaspoon salt
- 1½ teaspoons vanilla
Instructions
-
In a large heavy saucepan, combine the eggs and sugar. Whisk in the half and half until well combined. Whisk in the nutmeg, cloves, cinnamon, and salt.
-
Cook over medium-low heat, whisking constantly until it reaches a temperature of 160-165℉ or until slightly thickened. It will thicken more as it cools.
-
Remove from heat and stir in the vanilla. Pour into a pitcher and cover with plastic wrap. Chill in the refrigerator for at least 4 hours. Overnight is best.
Notes
- STORAGE: Store leftovers covered in the refrigerator for up to 5 days.
- Freshly ground nutmeg will give the best flavor!
Nutrition
