Homemade Cheddar Cheese and Herb Straws: The Ultimate Crispy & Savory Party Appetizer
Prepare to delight your taste buds with these incredible Cheddar Cheese and Herb Straws! This recipe delivers a crispy, crunchy, and irresistibly savory snack or appetizer that’s an absolute showstopper for any gathering, from casual get-togethers to elegant cocktail parties. Crafted with robust extra-sharp cheddar cheese and a harmonious blend of fresh herbs, these classic cheese straws offer a delightful depth of flavor that’s simply addictive.

Why You’ll Adore These Savory Cheese Straws
There are countless reasons why these homemade cheese straws will quickly become a cherished favorite in your recipe collection. Firstly, this recipe is remarkably simple to execute, making it accessible even for novice bakers. You have full control over the quality and type of ingredients, ensuring a fresher, more flavorful result than anything you could buy in a box. Furthermore, the versatility of this dough allows you to shape them into traditional elegant straws or get creative with cookie cutters for festive, fun designs – perfect for holidays or themed parties!
Beyond their ease of preparation, these cheese straws boast an incredible texture. Each bite offers a satisfying crispiness that gives way to a tender, flaky interior, bursting with rich, savory cheese flavor. They are an ideal snack for children, offering a more wholesome alternative to processed crackers, and make for a sophisticated yet fun appetizer during adult cocktail hours. Their buttery, cheesy, and subtly spiced profile makes them dangerously addictive, and you’ll find guests reaching for seconds, then thirds!
You only need a few staple ingredients to bring these culinary gems to life: all-purpose flour for structure, cold butter for incredible flakiness, your choice of sharp cheddar cheese for that essential savory kick, fresh herbs for aromatic depth, and a touch of heavy cream to bind it all together into a perfect dough. These simple components combine to create something truly extraordinary.
If you’re looking for more fantastic snack and appetizer recipes, be sure to explore some of our other crowd-pleasing favorites like Sweet and Tangy Honey Mustard Pretzels, classic Pigs in a Blanket with Flaky Biscuits, creamy Refreshing Dill Dip, our easy Spinach Dip without Soup Mix, and the flavorful Spicy Seasoned Oyster Crackers. Each offers a unique way to kick off any meal or gather around for a delicious bite.
Essential Ingredients for Perfect Cheese Straws
Crafting these delectable cheese straws requires just a handful of straightforward ingredients. The magic lies in their quality and how they’re combined. For that signature sharp flavor, extra sharp cheddar cheese is non-negotiable. Don’t be tempted by pre-shredded varieties, as grating your own ensures a superior melt and flavor. Fresh herbs, such as thyme, impart a bright, aromatic note that elevates the cheese. A hint of red pepper flakes adds a gentle warmth and subtle spice, which you can easily adjust to your preference. All-purpose flour provides the necessary structure, while cold unsalted butter and heavy cream contribute to the flaky texture and rich mouthfeel that makes these straws so irresistible.
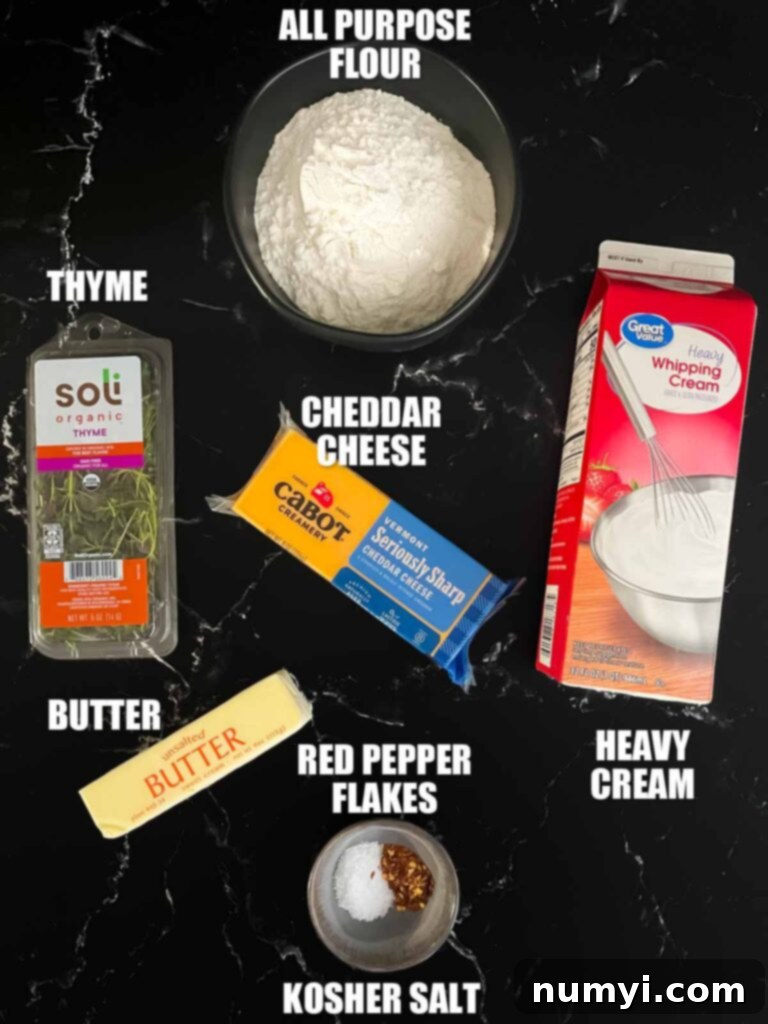
For a complete list of precise ingredient amounts and detailed measurements, please refer to the comprehensive recipe card located at the bottom of this page.
How To Make Irresistible Cheddar Cheese and Herb Straws
Making these savory cheese straws is a delightful process, and with a few simple steps, you’ll have a batch of crispy, flavorful appetizers ready to impress. Follow these instructions carefully for the best results:
Begin by preheating your oven to a precise 400ºF (200ºC). This ensures the oven is at the correct temperature for even baking and proper crisping. Next, line two large baking sheets with parchment paper. Parchment paper is crucial here as it prevents sticking and aids in easy cleanup, ensuring your cheese straws lift off the pan perfectly.
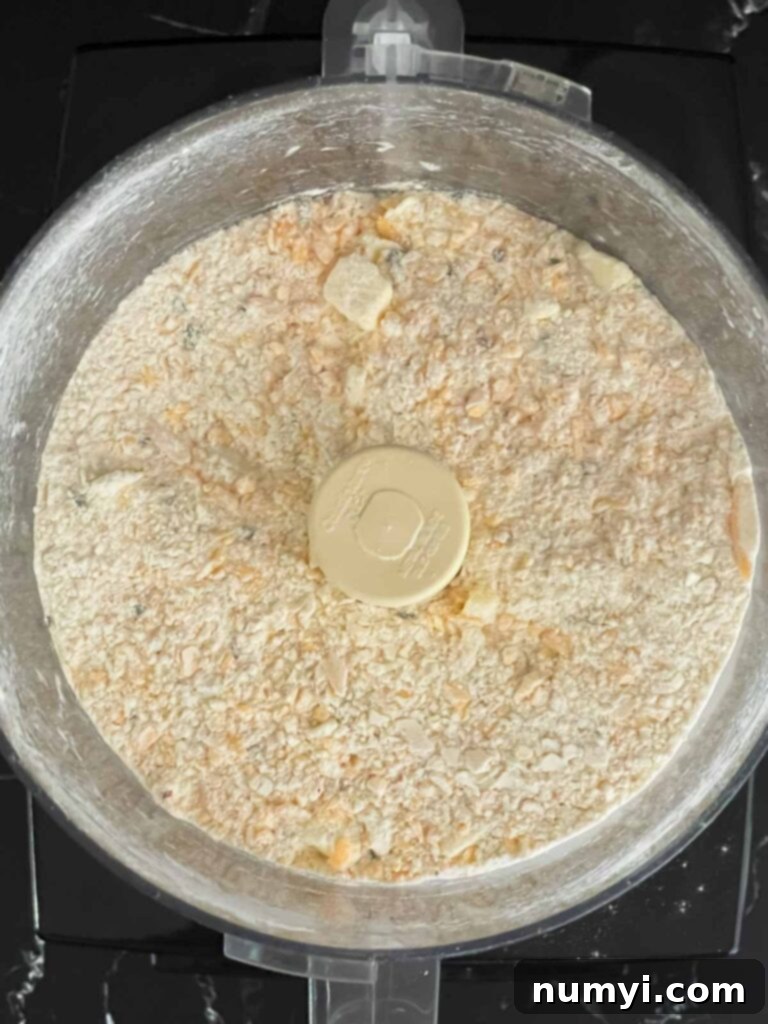
- Begin by shredding the extra-sharp cheddar cheese using the grating attachment of your food processor. Once shredded, transfer the cheese to a separate bowl. Next, replace the grating attachment with the chopping blade in your food processor. Add the all-purpose flour, salt, red pepper flakes, fresh herbs (such as thyme), and the previously shredded cheese back into the food processor bowl. Pulse the mixture several times until all the ingredients are well combined and the mixture has the texture of coarse crumbs. This step ensures an even distribution of flavor and a light, airy dough.
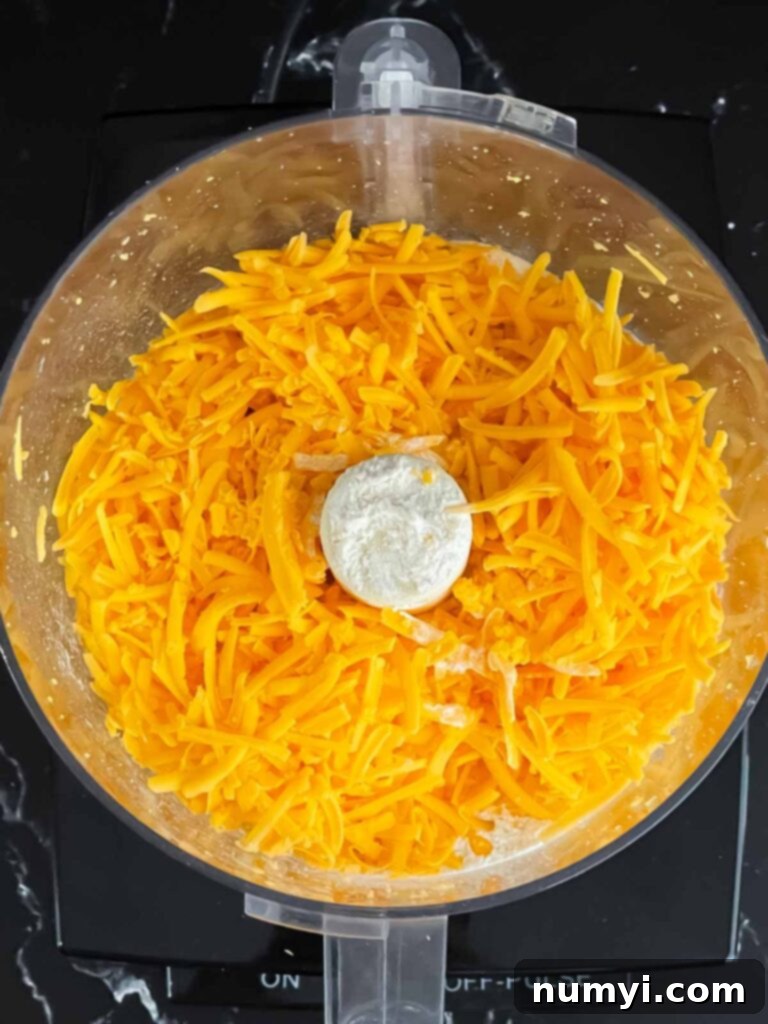
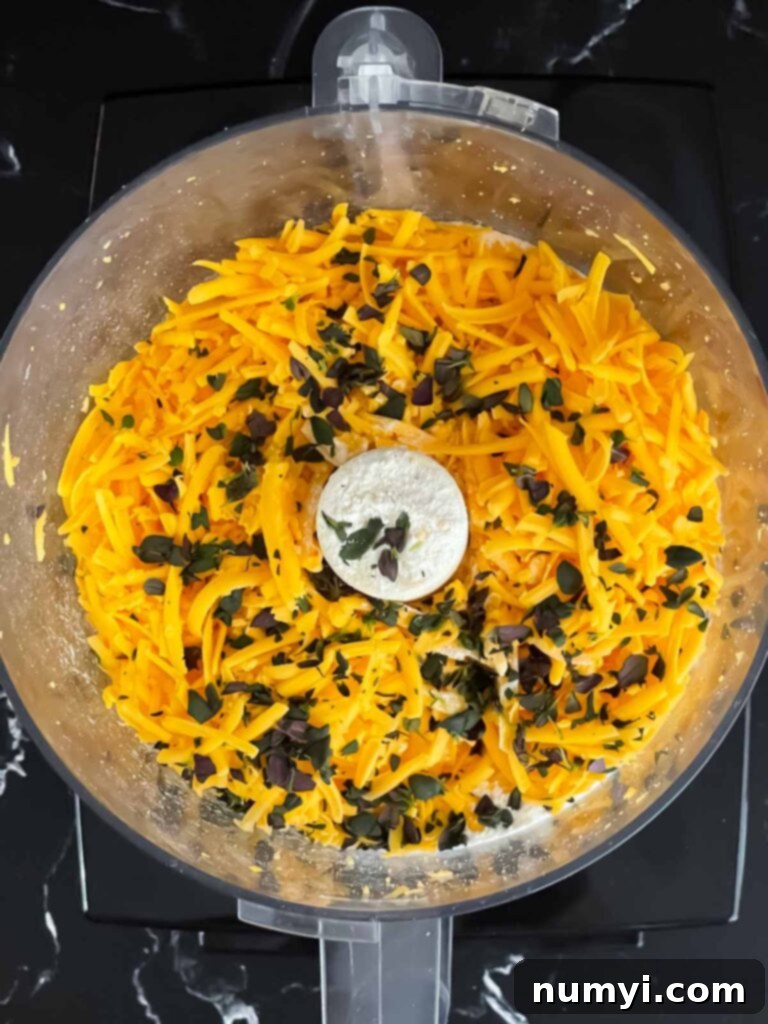
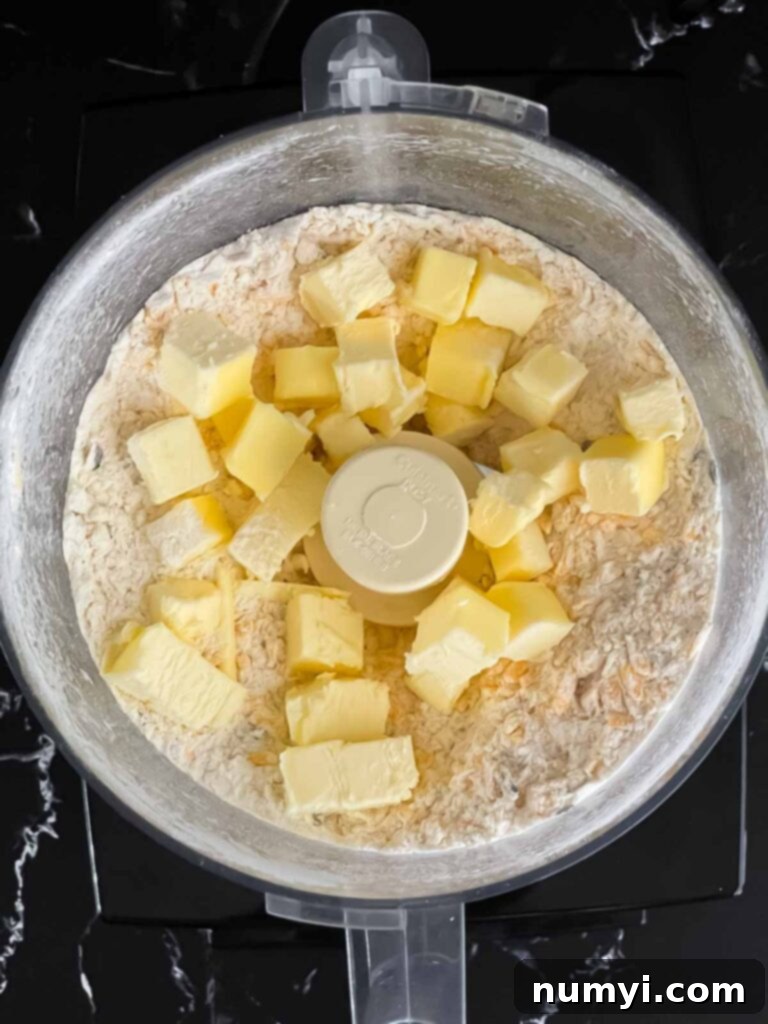
- Now, add the cold, cubed butter to the food processor. Pulse again, using short bursts, until the mixture once more resembles coarse crumbs. The key here is to leave a few larger pieces of butter, roughly pea-sized. These small pockets of butter are essential for creating the incredibly flaky texture when baked. Avoid over-processing, which can melt the butter and result in a tough dough.
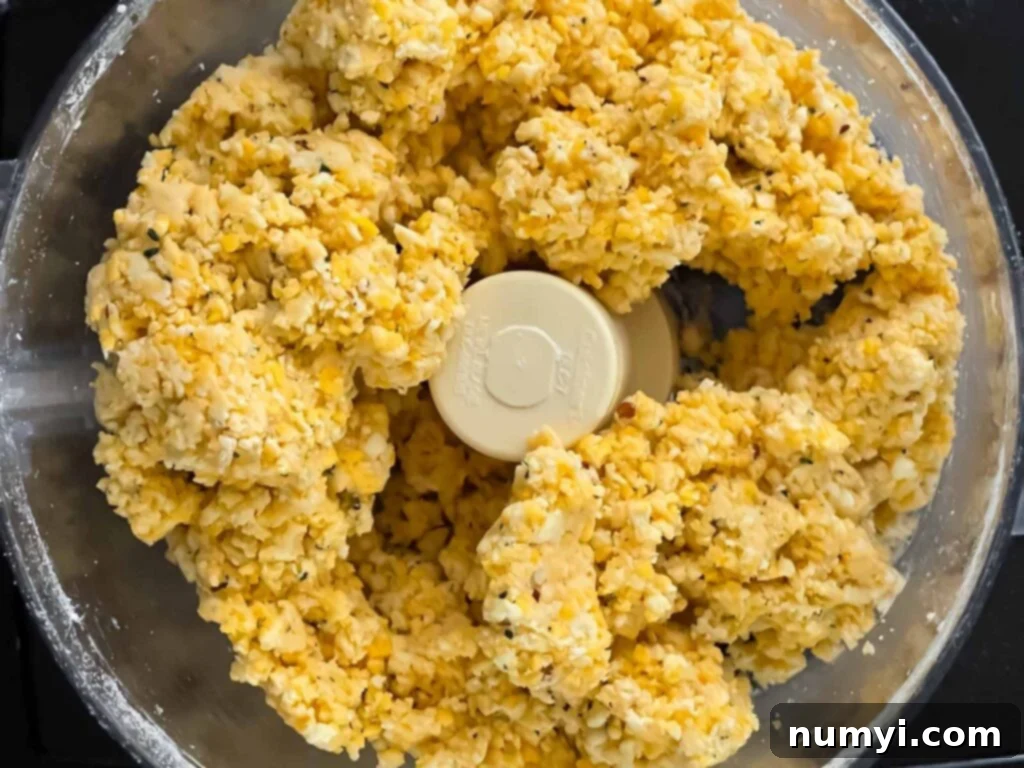
- Pour in the heavy cream. Continue to pulse the mixture in short bursts until the ingredients just begin to come together and form a cohesive dough ball. Be careful not to overmix; the goal is to create a dough that’s just combined, not overworked. Overmixing can develop the gluten too much, leading to tough cheese straws instead of flaky ones.
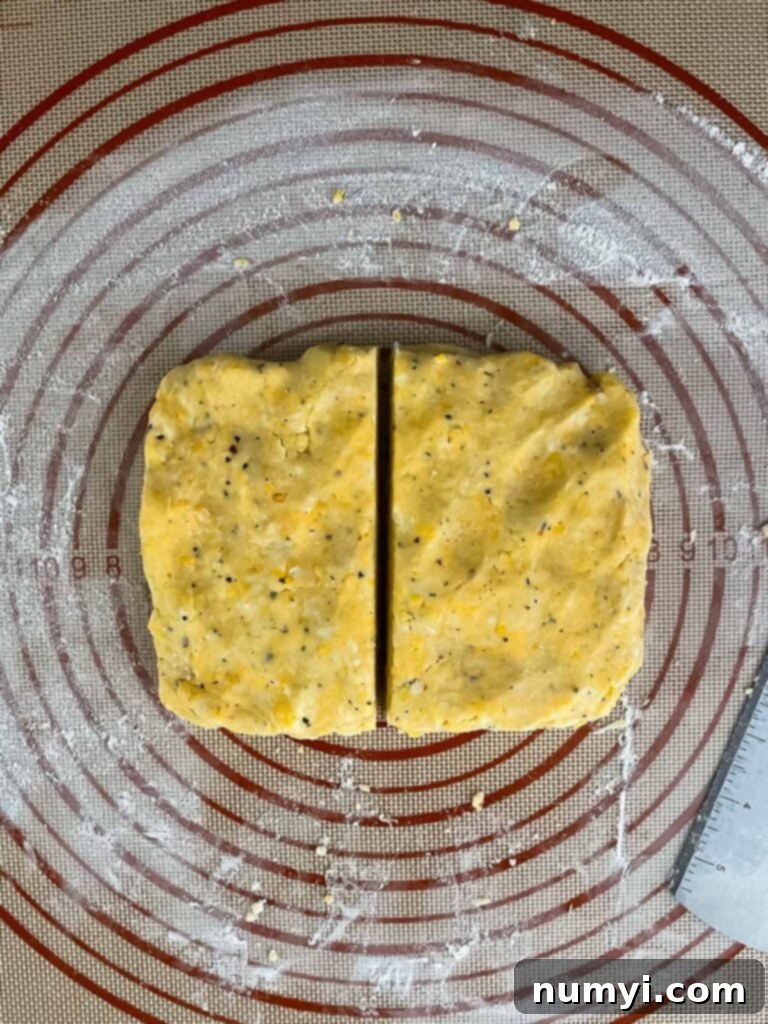
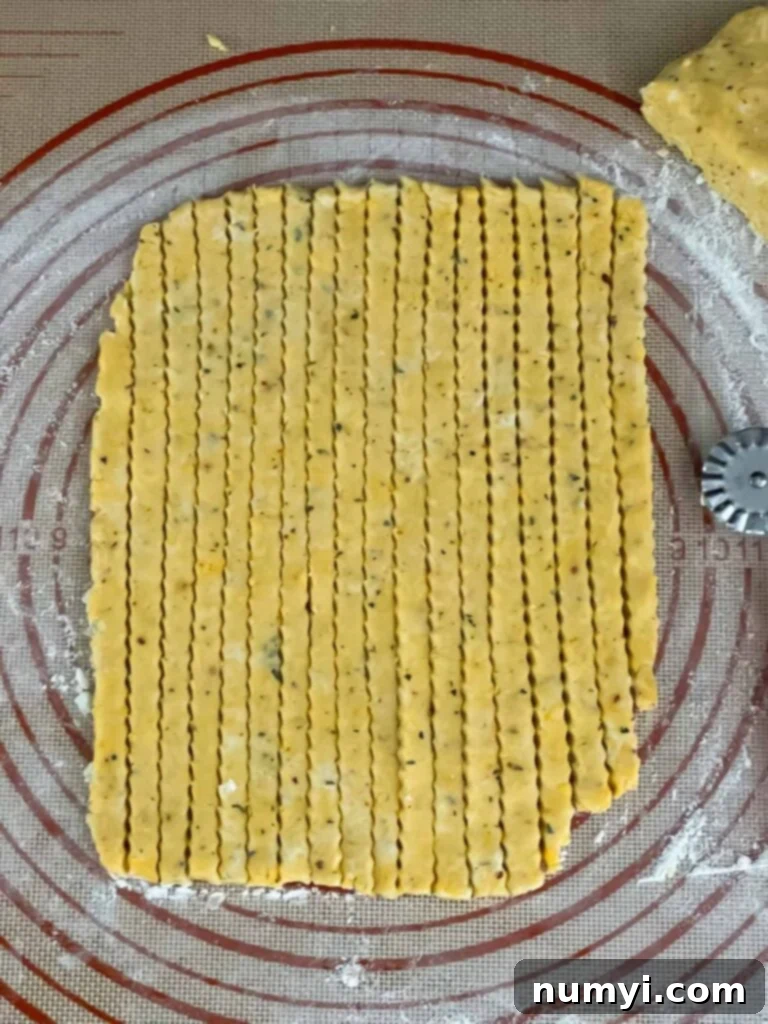
- Lightly flour a clean work surface. Turn the dough out onto the floured surface and gently work it into a rectangular shape, aiming for about 1 inch thick. Divide this rectangle in half. Take one half of the dough and roll it out evenly into an 8×10-inch rectangle using a rolling pin. Strive for consistent thickness across the entire rectangle to ensure even baking.
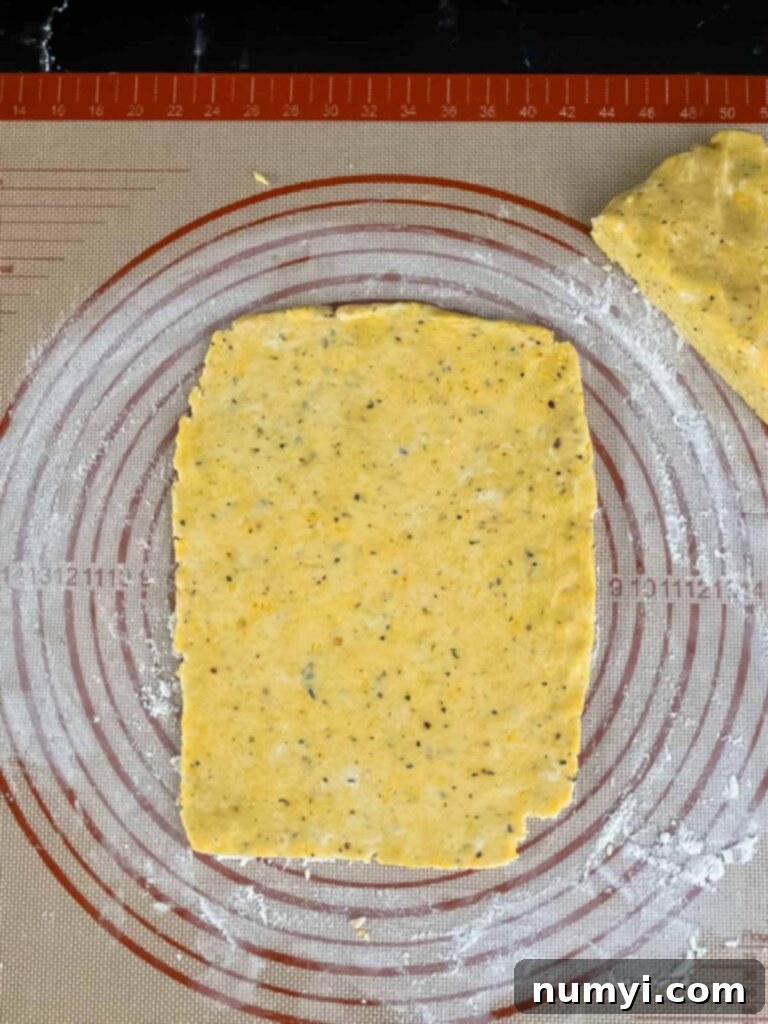
- Using a sharp knife or a pizza cutter, meticulously cut the rolled-out dough into thin strips, approximately 1/4-inch wide. Precision here will result in professional-looking cheese straws. Carefully transfer these delicate strips to your prepared baking sheets, ensuring you leave about 1/4-inch of space between each one. While they don’t spread significantly during baking, this spacing allows for proper air circulation and crisp edges. Repeat the process with the second half of the dough.
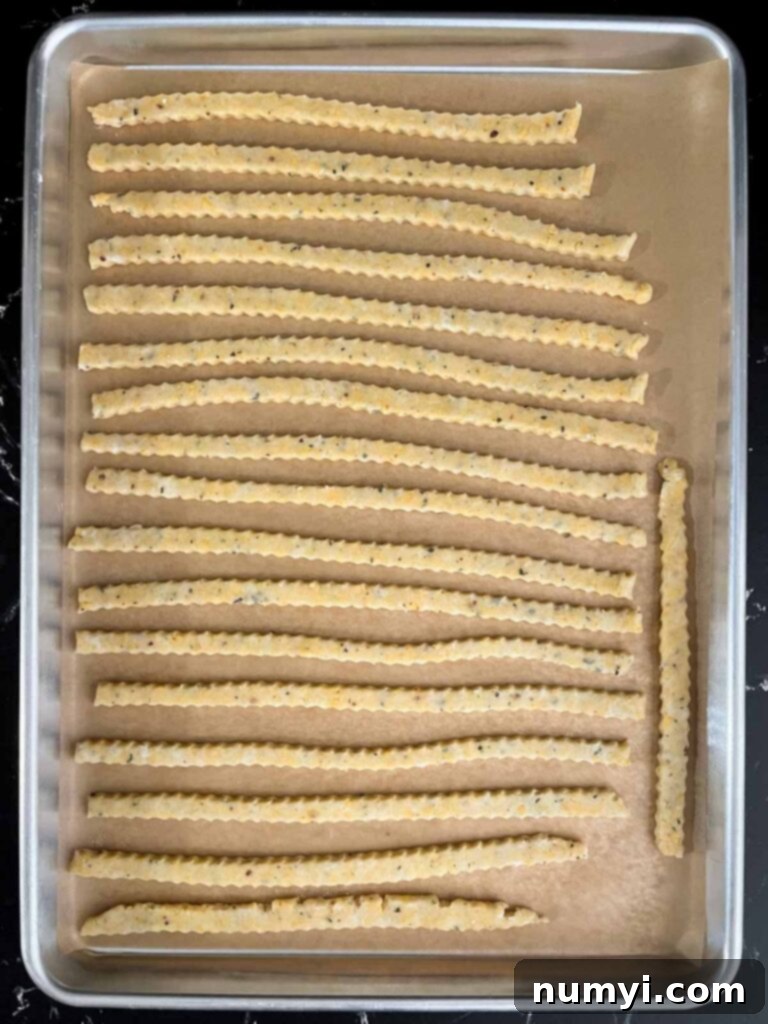
- Place the baking sheets into the preheated oven and bake for approximately 10-12 minutes. Keep a close eye on them; they are ready when they turn a beautiful light golden brown, indicating they are perfectly crisp and cooked through. Once baked, remove the baking sheets from the oven and carefully transfer the cheese straws to a wire rack. Allow them to cool completely on the rack. This cooling step is critical, as it allows the straws to firm up and achieve their maximum crispiness, preventing them from breaking easily.
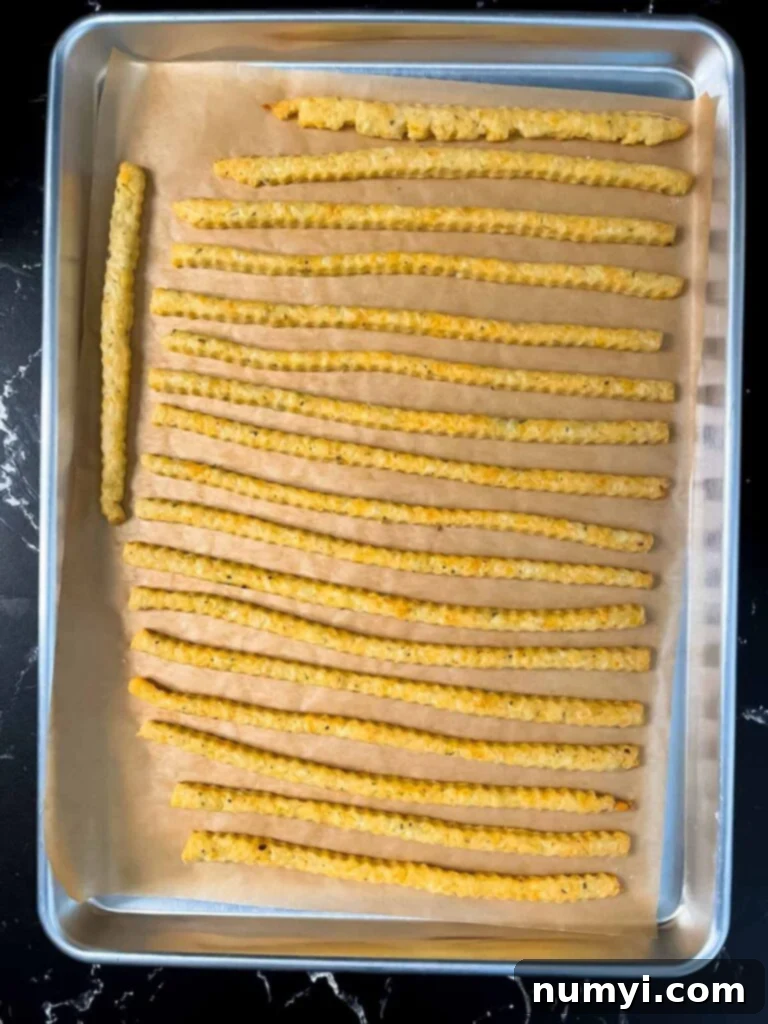
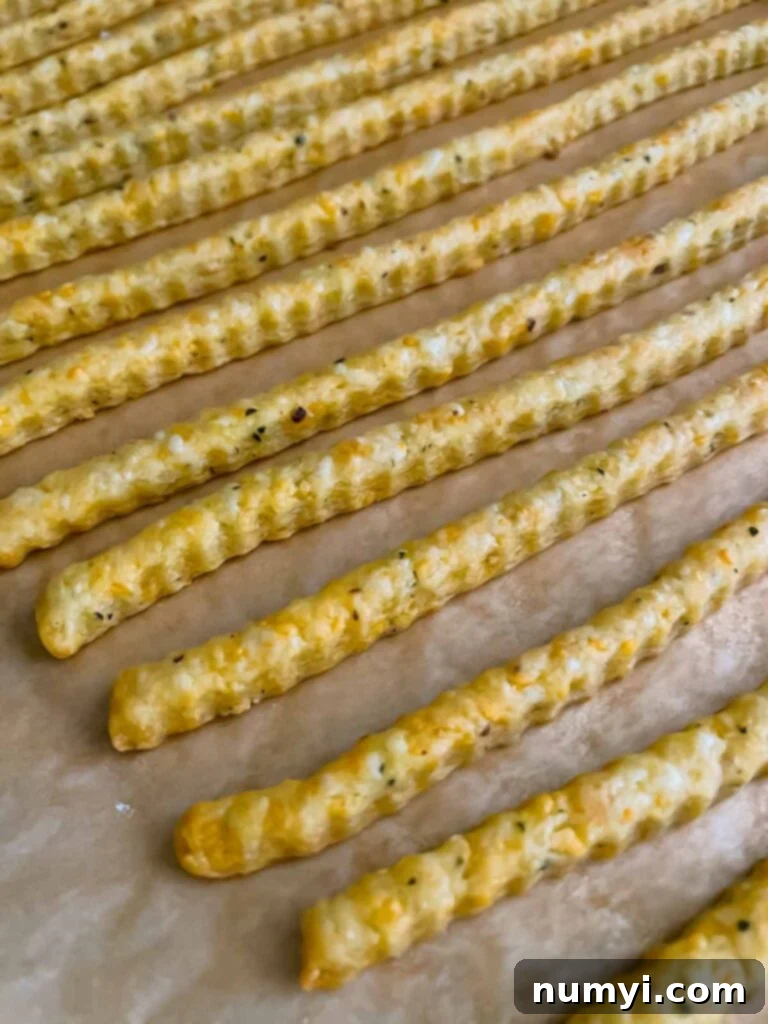
- Once completely cooled, these delightful Cheddar Cheese and Herb Straws are ready to be served and enjoyed! Arrange them elegantly on a platter for guests or keep them in a jar for easy snacking.
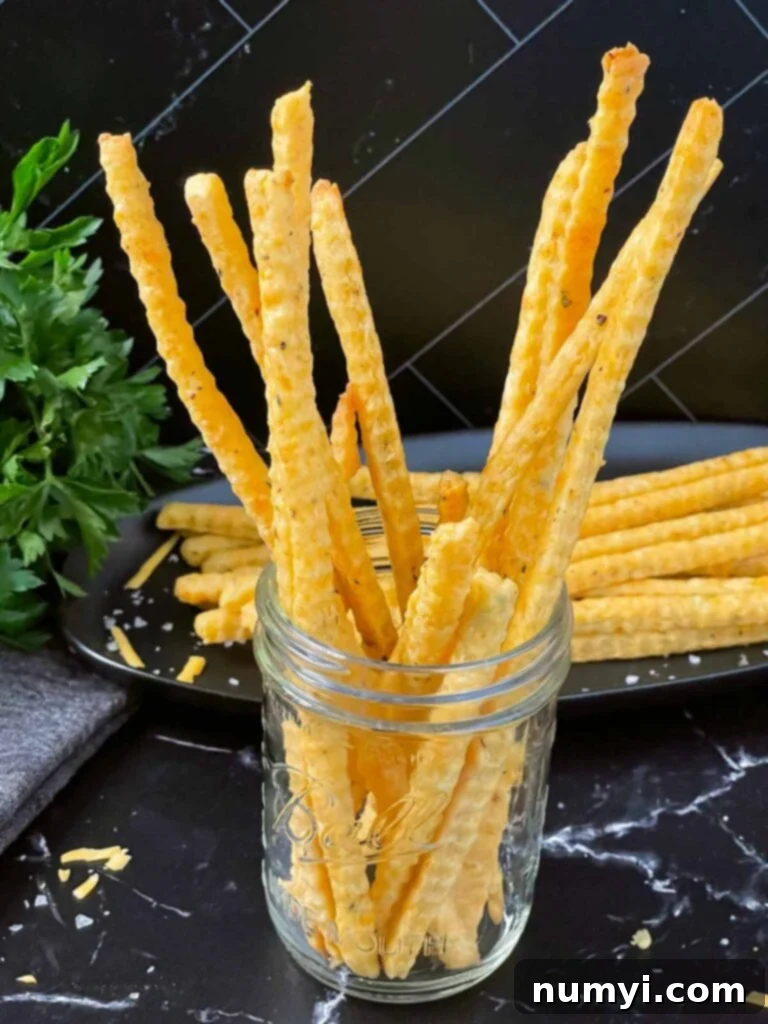

Expert Tips for the Best Cheese Straws
To ensure your Cheddar Cheese and Herb Straws turn out perfectly crisp, flaky, and full of flavor every time, keep these essential tips in mind:
- Efficient Cheese Shredding in a Food Processor: When using a food processor for the cheese, I highly recommend shredding the cheese first and then removing it from the bowl. Switch to the chopping blade (S-blade) before adding the shredded cheese back with the other dry ingredients. This two-step approach prevents the cheese from getting compacted or smeared under the blade, which can happen if you try to process all the ingredients together from the start, ensuring a lighter, more even crumb mixture.
- Alternative Shredding Method: If you don’t have a food processor, don’t worry! You can achieve excellent results by shredding the cheese using a good old-fashioned box grater. Just make sure your cheese is very cold to make grating easier and prevent clumping.
- The Golden Rule of Cooling: Patience is a virtue, especially when it comes to cheese straws. It’s absolutely crucial to let your baked cheese straws cool completely on a wire rack before handling or storing them. While it’s incredibly tempting to snatch a warm, cheesy straw right off the baking sheet, resisting this urge will prevent them from breaking and allow them to firm up to their ideal crispy texture.
- Keep Ingredients Cold: For the flakiest cheese straws, always ensure your butter and heavy cream are thoroughly chilled. Cold fat creates steam pockets during baking, which is what gives these savory bites their signature flaky layers.
- Avoid Overworking the Dough: When pulsing in the food processor and rolling out the dough, work quickly and avoid overmixing or over-kneading. Too much handling can develop the gluten in the flour, resulting in tough cheese straws instead of tender, flaky ones.
- Even Thickness is Key: When rolling out the dough, aim for a consistent thickness. This ensures that all your cheese straws bake evenly, preventing some from being undercooked while others are over-crisped.
Delicious Variations to Customize Your Cheese Straws
While these easy cheddar cheese straws offer a delightful combination of rich, sharp cheese flavor, a hint of aromatic thyme, and a subtle spicy kick from the dried red pepper flakes, their beauty lies in their adaptability. Feel free to experiment with these variations to tailor them to your unique taste preferences or to suit different occasions:
- Explore Different Cheeses: The world of cheese is your oyster! While sharp cheddar is classic, you can definitely use a different kind of hard, aged cheese to change the flavor profile. Consider grating fresh Parmesan, Gruyère, Asiago, or even a robust aged provolone. The key is to stick to hard, grate-your-own cheeses. Avoid soft cheeses like mozzarella or cream cheese, as they contain too much moisture and will melt excessively into the dough, leading to a greasy and less crisp result.
- Spice It Up or Down: Beyond red pepper flakes, a myriad of spices can enhance these savory treats. Add a smoky depth with a pinch of smoked paprika, introduce a subtle warmth with a dash of cayenne pepper, or give them an earthy note with garlic powder or onion powder. If you’re not a fan of spice, simply omit the red pepper flakes. For herb lovers, switch out the thyme for fresh rosemary, finely chopped chives, or a blend of Italian herbs.
- Creative Shapes for Every Occasion: Who says cheese straws have to be long and straight? For a fun twist, cut the dough into charming squares, perfect for a more cracker-like bite. Or, embrace your playful side by using small cookie cutters in various shapes – stars for holidays, hearts for Valentine’s, or even animal shapes for kids’ parties. This makes them visually appealing and adds an element of surprise.
- Adjust the Length for Easy Handling: The standard length of cheese straws can sometimes be fragile, making them prone to breakage if not handled with care. If you’re concerned about this, or simply prefer a more manageable snack, feel free to cut them into shorter lengths. Shorter straws are often more robust and easier for guests (especially little hands) to pick up and enjoy.
Frequently Asked Questions About Cheese Straws
Here are answers to some common questions about making and enjoying these delightful Cheddar Cheese and Herb Straws:
These savory cheese straws are at their absolute best when enjoyed within a few days of baking. To keep them fresh and crisp, place them in an airtight container. They can be stored at room temperature for up to 3 days. If they lose a bit of their crispness, you can revive them with a quick 5-minute warm-up in a 250°F (120°C) oven.
Yes, you can freeze cheese straws, but I generally recommend freezing the unbaked dough rather than the baked straws. Freezing baked straws can sometimes compromise their crispy texture upon thawing.
For best results, freeze the unbaked dough. Once you’ve divided the dough rectangle into two pieces, wrap each piece tightly with plastic wrap, and then place them into a freezer-safe bag or container. They can be frozen for up to 3 months. When you’re ready to bake, thaw the dough in the refrigerator until it’s pliable enough to roll out. Then, proceed with the recipe instructions from the rolling and cutting step (Step 4).
Absolutely! This recipe is fantastic for make-ahead convenience. You can prepare the dough up to the point of forming it into a ball (before rolling and cutting). Wrap the dough ball tightly in plastic wrap and refrigerate it for up to 2-3 days. When you’re ready to bake, let the dough sit at room temperature for about 10-15 minutes to soften slightly, then proceed with rolling, cutting, and baking as instructed.
Several factors could contribute to less-than-crispy cheese straws. The most common reasons include not letting the butter and cream get cold enough, overworking the dough (which develops gluten and makes them tough), not baking them long enough to achieve that golden-brown color, or not allowing them to cool completely on a wire rack after baking. Ensure your oven temperature is accurate and that you adhere to the cooling step for optimal crispness.
Cheddar and herb cheese straws are incredibly versatile! They are delicious on their own as a simple snack or paired with dips like a creamy spinach dip, dill dip, or even a spicy homemade salsa. They also make a fantastic accompaniment to a cheese board, complementing various cheeses and charcuterie. For a sophisticated touch, serve them alongside a crisp white wine or a refreshing cocktail.
More Delicious Appetizer Recipes to Explore
If you loved these savory cheese straws, you’re in for a treat! We have a wide array of other delightful appetizer recipes that are perfect for any occasion. From crispy bites to creamy dips, there’s something for everyone to enjoy. Discover new favorites and elevate your entertaining game with these easy and flavorful ideas.
Crispy Puff Pastry Cheese Straws
Creamy Whipped Feta Dip
Savory Parmesan Rosemary Shortbread

Cheddar Cheese and Herb Straws Recipe
Print
Pin
Rate
Ingredients
- 8 oz Extra sharp cheddar cheese 2 packed cups
- 1 1/2 cups All-purpose flour
- 1 1/2 tbsp Fresh thyme rough chopped
- 1/2 tsp Crushed red pepper flakes or more to taste
- 1 tsp Kosher salt
- 1/2 cup Unsalted butter cubed into 1/2-inch pieces
- 6 tbsps Heavy cream
Instructions
-
Preheat your oven to 400ºF (200ºC) and prepare two baking sheets by lining them with parchment paper. This will prevent sticking and ensure easy removal of your cheese straws.
-
In a food processor, shred the extra-sharp cheddar cheese. Transfer the shredded cheese to a separate bowl and then swap the grating attachment for the chopping blade. Return the shredded cheese to the food processor bowl, along with the all-purpose flour, fresh thyme, crushed red pepper flakes, and kosher salt. Pulse the mixture a few times until all ingredients are well combined and the mixture resembles coarse crumbs.8 oz Extra sharp cheddar cheese, 1 1/2 cups All-purpose flour, 1 1/2 tbsp Fresh thyme, 1/2 tsp Crushed red pepper flakes, 1 tsp Kosher salt
-
Add the cold, cubed unsalted butter to the coarse crumb mixture in the food processor. Pulse again until the mixture forms coarse crumbs, ensuring a few larger, pea-sized pieces of butter remain. This is crucial for flakiness. Finally, add the heavy cream and pulse just until the mixture starts to come together and form a dough ball. Be careful not to overmix the dough.1/2 cup Unsalted butter, 6 tbsps Heavy cream
-
Lightly flour a clean work surface. Turn the dough out and gently work it into a rectangle, approximately 1 inch thick. Cut this rectangle in half. Roll one half of the dough into an 8×10-inch rectangle, aiming for an even thickness. Using a sharp knife or pizza cutter, cut the dough into 1/4-inch wide thin strips. Carefully transfer these strips to your prepared baking sheets, leaving about 1/4-inch space between each one (they won’t spread much during baking). Repeat with the remaining dough.
-
Bake the cheese straws for 10-12 minutes, or until they are lightly golden brown and crisp. Once baked, remove the baking sheets from the oven and immediately transfer the cheese straws to a wire rack to cool completely. Allowing them to cool fully is essential for achieving the perfect crispy texture and preventing breakage.
Notes
Optimal Flakiness: For the best results, ensure your butter and heavy cream are very cold. This is key to creating those desirable flaky layers in your cheese straws.
Don’t Overmix: When pulsing the dough, stop as soon as it comes together. Overmixing can lead to a tough dough.
Cool Completely: Always allow the cheese straws to cool entirely on a wire rack. This step is crucial for them to crisp up properly and become sturdy enough to handle without breaking.
