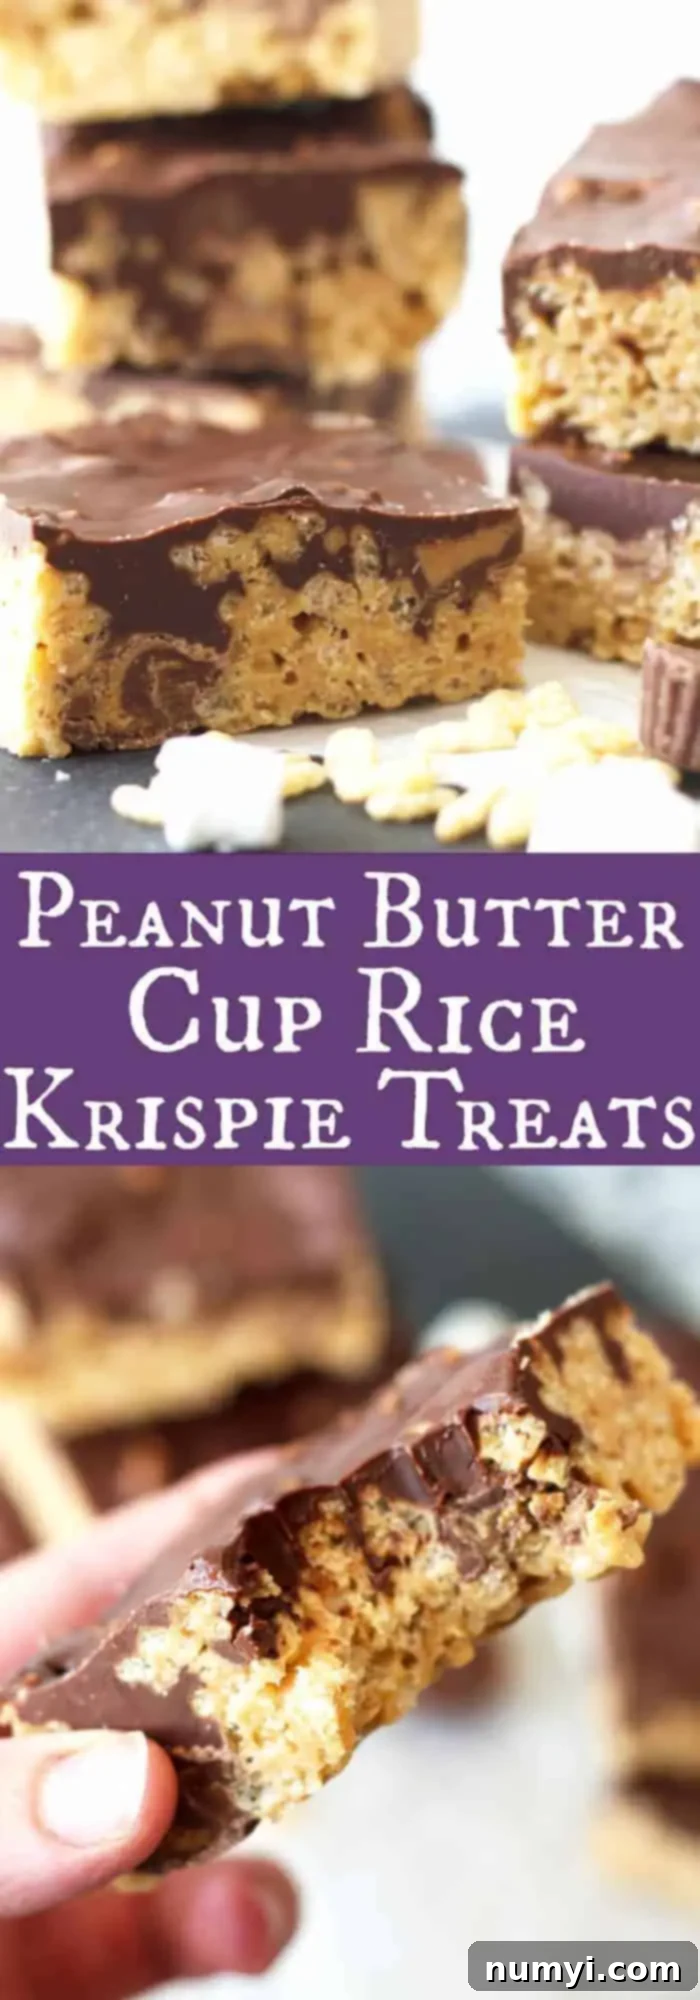
Irresistible Chocolate Peanut Butter Rice Krispie Treats with Mini Reese’s Cups
Prepare to fall in love with these Ultimate Chocolate Peanut Butter Rice Krispie Treats! We’ve taken the beloved classic and infused it with rich peanut butter flavor, generously studded it with delightful mini peanut butter cups, and crowned it with a smooth, decadent peanut butter chocolate topping. This easy, no-bake dessert is a game-changer!
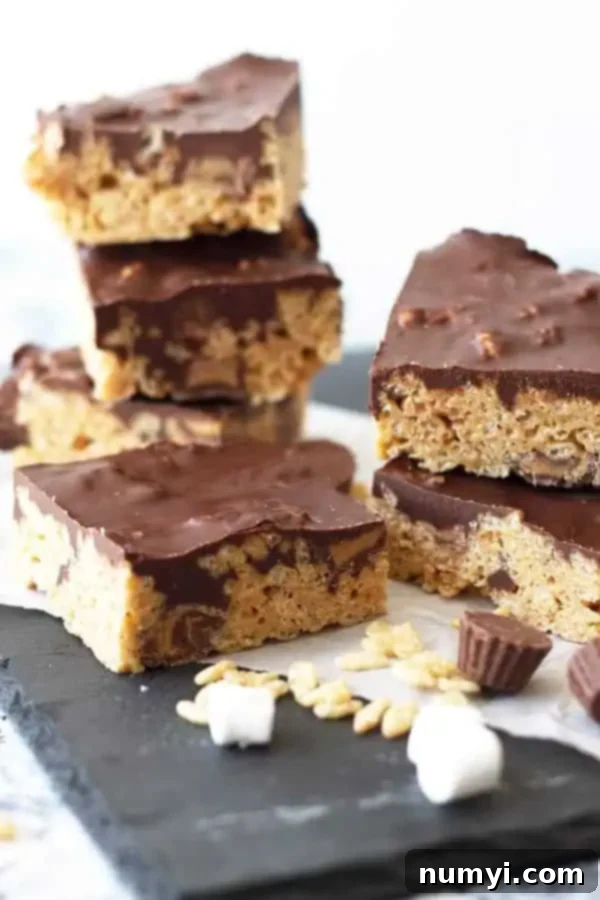
Chocolate Peanut Butter Rice Krispie Treats: A Decadent Twist on a Classic
Rice Krispie treats are a timeless and universally adored dessert or snack, cherished for their simplicity and satisfying chewiness. You might wonder, why mess with perfection? My answer is simple, yet profoundly delicious: Peanut. Butter. Cups. This isn’t just any ordinary upgrade; it’s an elevation to an entirely new level of indulgence.
This particular recipe masterfully combines the light, fluffy, and perfectly gooey marshmallow base of traditional Rice Krispie Treats with the irresistible, life-changing magic of Reese’s Peanut Butter Cups. Imagine that classic crispy texture, now rich with creamy peanut butter flavor, punctuated by delightful pockets of mini peanut butter cups, all crowned with an extra layer of smooth, dreamy peanut butter and chocolate ganache.
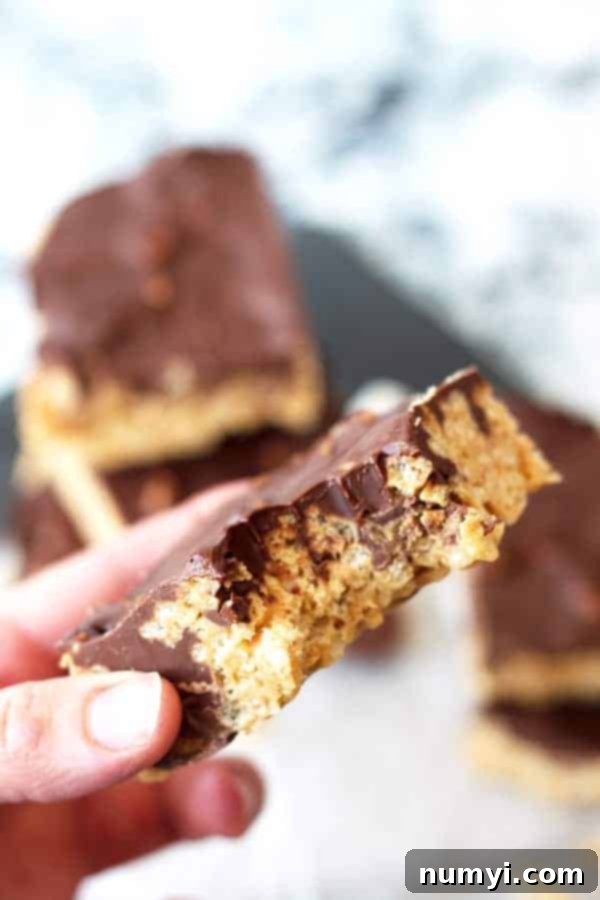
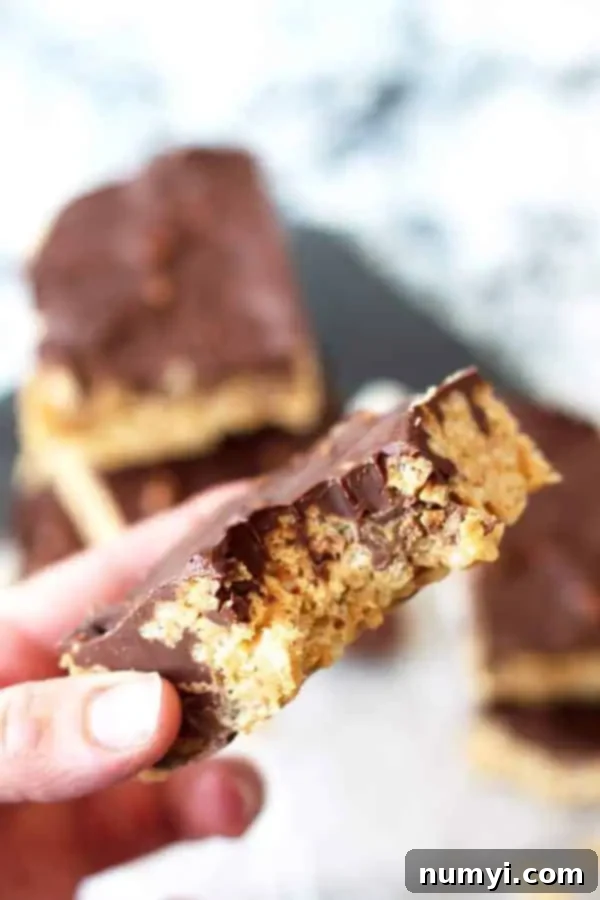
These homemade Chocolate Peanut Butter Rice Krispie Treats are designed to be soft and incredibly chewy, bursting with an intense peanut butter taste from start to finish. Each bite offers a gentle crunch, followed by a sweet, melty chocolate coating and the iconic flavor of Reese’s. It’s a symphony of textures and flavors that will tantalize your taste buds and leave you craving more. Consider this a friendly warning: these are highly addictive! Once you experience the pure bliss of these peanut butter chocolate rice krispie treats, you might find yourself making them on a weekly basis. After you whip up your first batch, please share your thoughts and let me know how much you and your family enjoyed them!
Why You’ll Adore These Peanut Butter Chocolate Rice Krispie Treats
- Unbeatable Flavor Combo: These treats are loaded with the rich, decadent flavors of both chocolate and peanut butter, a match made in dessert heaven.
- A Gourmet Twist on a Classic: Elevate the humble Rice Krispie Treat into a truly special dessert that will impress everyone. It’s familiar yet excitingly new.
- Effortlessly Simple: This no-bake recipe is incredibly easy to follow, requiring minimal cooking skills and straightforward steps. Perfect for even the most novice bakers.
- Quick to Prepare: From start to finish, these delightful treats can be ready in less than 20 minutes, making them ideal for last-minute cravings or spontaneous gatherings.
- Versatile for Any Occasion: Whether you’re contributing to a bake sale, hosting a party, packing school lunches, or simply enjoying a sweet snack at home, these treats are always a hit.
- Crowd-Pleaser Guaranteed: The combination of crispy cereal, gooey marshmallow, creamy peanut butter, and mini chocolate candies ensures these bars disappear fast!
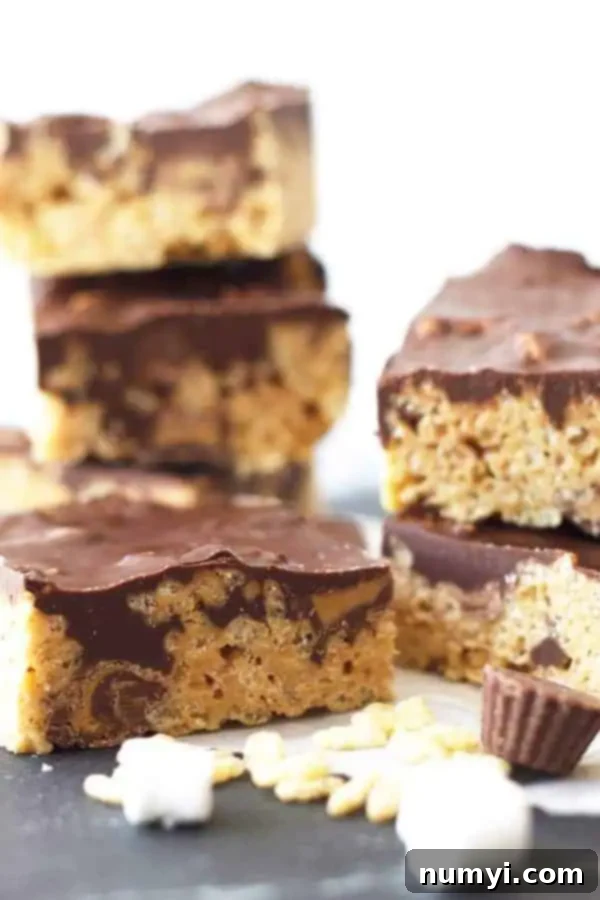
Essential Ingredients for These Chocolate and Peanut Butter Rice Krispies Treats
- MINIATURE MARSHMALLOWS – These are the heart and soul of any great Rice Krispie Treat! Using fresh, soft miniature marshmallows is crucial for achieving that perfectly chewy and gooey texture we all love. Stale marshmallows can lead to hard, tough treats, so always opt for a fresh bag. They melt more evenly and integrate beautifully with the other ingredients.
- RICE KRISPIES CEREAL – The foundation of your crispy treats! While I often reach for the classic name brand for its consistent crispness, a good quality generic puffed rice cereal will work just as well. Ensure it’s fresh to maintain that satisfying crunch.
- BUTTER – Alongside marshmallows, butter is key to creating that rich, sticky binder. It adds a delicious depth of flavor and helps achieve the perfect consistency when melted with the marshmallows. You’ll use a small amount for greasing the pan and the rest for the base mixture.
- CREAMY PEANUT BUTTER – This is where the magic happens for our chocolate *peanut butter* rice krispie treats! You’ll incorporate it directly into the marshmallow mixture, infusing the entire base with its creamy, nutty flavor. It’s also a star ingredient in our luscious peanut butter chocolate topping, ensuring every layer is packed with delightful PB goodness. I recommend creamy peanut butter for the smoothest texture.
- VANILLA EXTRACT – Just a teaspoon of pure vanilla extract enhances all the sweet flavors in the Rice Krispie base, adding a subtle warmth and aromatic complexity that makes a significant difference. Don’t skip this!
- MINI PEANUT BUTTER CUPS (like Reese’s) – The absolute highlight and the reason these treats are so special! Adding mini Reese’s cups directly into the warm marshmallow and cereal mixture ensures they’re evenly distributed throughout. As they slightly melt, they create pockets of irresistible peanut butter and chocolate decadence.
- SEMI-SWEET CHOCOLATE CHIPS – These delicious chips will be melted down with additional peanut butter to form the rich, glossy topping that takes these Rice Krispies Treats with Chocolate and Peanut Butter from great to extraordinary. Semi-sweet offers a balanced sweetness that complements the peanut butter perfectly.
Simple Steps to Craft Your Own Chocolate Peanut Butter Rice Krispy Treats
Get ready to create an unforgettable dessert with these straightforward instructions. Remember, the key to perfect Rice Krispie treats is a gentle touch and fresh ingredients!
STEP 1: PREP YOUR BAKING PAN. Begin by lining either a 9×9 inch baking pan (for extra thick, generously sized treats) or a 9×13 inch pan (for more traditional, thinner bars) with foil or parchment paper. Make sure to leave an overhang of foil on the sides; these “handles” will make it incredibly easy to lift the entire batch out of the pan once cooled. Lightly grease the bottom and sides of the lined pan with about 1 tablespoon of butter. This prevents sticking and ensures a clean release. Set this prepared pan aside.
STEP 2: CREATE THE PEANUT BUTTER RICE KRISPIE BASE. In a large, heavy-bottomed pot, melt the remaining butter over medium-low heat. This gentle heat is important to prevent scorching. Once the butter is mostly melted, add all the miniature marshmallows. Stir continuously with a rubber spatula or wooden spoon until the marshmallows are about 90% melted and smooth. Remove the pot from the heat immediately. Stir in the creamy peanut butter and vanilla extract until fully combined and smooth. Quickly, but gently, fold in the Rice Krispies cereal until it’s evenly coated with the marshmallow mixture. Finally, add the mini peanut butter cups, stirring just enough to distribute them throughout the cereal mixture without over-mixing, which could cause them to completely melt.
STEP 3: SPOON INTO THE PREPARED PAN. Transfer the warm chocolate peanut butter Rice Krispy Treat mixture into your greased and lined baking pan. Here’s a crucial tip for soft, chewy treats: do NOT press the mixture down too hard. Use a light, even touch with a buttered spatula or your lightly buttered hands to gently spread it into an even layer across the pan. Over-compacting will result in hard, dense bars that are difficult to chew.
STEP 4: WHIP UP THE PEANUT BUTTER CHOCOLATE TOPPING. In a medium microwave-safe bowl, combine the semi-sweet chocolate chips and the specified amount of creamy peanut butter. Microwave in short bursts of 15-30 seconds, stirring thoroughly after each interval. Continue this process until the mixture is completely melted and smooth. Be careful not to overheat the chocolate, as it can seize.
STEP 5: ASSEMBLE AND COOL. Pour the warm peanut butter chocolate topping evenly over the Rice Krispie base in the pan. Use a spatula to gently spread it into a smooth, even layer. Now comes the hardest part: patience! Allow the entire pan of treats to cool completely at room temperature before attempting to cut them into bars. This cooling time ensures the topping sets properly and the bars hold their shape. Once fully set, lift the treats out of the pan using the foil handles, place them on a cutting board, and slice them into your desired bar size. Enjoy your homemade masterpieces!
Frequently Asked Questions About Chocolate Peanut Butter Rice Krispie Treats
For optimal freshness and chewiness, store your treats covered tightly with plastic wrap or in an airtight container at room temperature for up to 2-3 days. Beyond that, they may start to harden slightly. If you wish to extend their shelf life, you can store them in the refrigerator for an additional few days. For long-term storage, cut the treats into individual bars, place them in an airtight container, and freeze them for up to 1 month. Make sure they are cut *before* freezing; otherwise, slicing them when frozen will be a difficult task!
Absolutely! This recipe is a fantastic base for experimentation. If you’re keen on exploring different flavor combinations, feel free to get creative. For instance, a drizzle of warm salted caramel over these chewy Rice Krispie treats would be an incredible addition – imagine the sweet and salty contrast! You could also try adding pretzels for an extra salty crunch, different types of chocolate candies (like M&Ms), or even a sprinkle of sea salt on top of the chocolate layer to enhance the flavors.
The most common culprit for hard Rice Krispie Treats is overheating the marshmallows. If you melt the marshmallows too quickly, overcook them, or let them get too hot, the sugar can crystallize, resulting in a tough, brittle texture. To avoid this, always melt your butter and marshmallows over medium-low to low heat, stirring constantly. Remove them from the heat as soon as they are mostly melted and just combined, leaving a few small lumps is perfectly fine – they will melt as you stir in the cereal. Also, avoid over-pressing the mixture into the pan.
If your treats are crumbling or falling apart, it typically indicates an incorrect ratio of marshmallow to Rice Krispies cereal, or not enough binding agent. This usually happens if you’ve added too much cereal relative to the marshmallow mixture. The marshmallow acts as the glue that holds everything together. Ensure you’re carefully measuring your ingredients and following the recipe instructions below closely. Using fresh marshmallows also helps, as they have better binding properties when melted.
While you technically can, I strongly recommend sticking to creamy, processed peanut butter (like Jif or Skippy) for this recipe. Natural peanut butter tends to be oilier and thinner, which can affect the texture and binding capabilities of the treats, potentially making them greasier or causing them to fall apart. For the best, most consistent results, go with the classic creamy varieties.
To ensure these Chocolate Peanut Butter Rice Krispie Treats are gluten-free, you need to use a certified gluten-free puffed rice cereal. While Rice Krispies cereal is often made from rice, some varieties might contain malt flavoring derived from barley, which contains gluten. Always check the label for a “gluten-free” certification. Most marshmallows and peanut butter cups are naturally gluten-free, but it’s always wise to double-check packaging for any hidden gluten-containing ingredients.
Top Tips for Crafting Perfect Peanut Butter Chocolate Rice Krispie Treats
- Always Opt for Fresh Marshmallows: This is arguably the most crucial tip! Soft, fresh miniature marshmallows are essential for achieving that delightful, chewy, and gooey consistency. If your marshmallows are hard or stale, they will make your treats tough and less enjoyable to eat. A fresh bag makes a world of difference in the final texture.
- Exercise Caution When Melting: The golden rule for marshmallow treats is *do not over-melt* your marshmallows and butter. High heat or prolonged melting can cause the sugar in the marshmallows to crystallize, resulting in hard, brittle bars. Heat them gently over low to medium-low heat until they are just combined and smooth, then promptly remove from the stovetop. Some small lumps are perfectly acceptable and will melt as you stir.
- Slight Cooling for the Base: After removing the marshmallow, butter, and peanut butter mixture from the heat, allow it to cool for just a minute or two before incorporating the rice cereal. This brief cooling period prevents the cereal from getting soggy and helps maintain its crisp texture, ensuring your chocolate peanut butter rice krispy treats have that satisfying crunch.
- Gentle Pressing is Key: When transferring the mixture into your baking pan, resist the urge to press down firmly. Use a very light touch with a buttered spatula or your hands (lightly greased with butter or cooking spray). Over-pressing will compact the treats, making them dense and unpleasantly hard to chew. A gentle, even spread is all you need.
- Customize Your Chocolate: While semi-sweet chocolate chips are a fantastic choice for the peanut butter chocolate rice krispie treats topping, don’t hesitate to switch things up! For a richer, more intense chocolate flavor, try using dark chocolate chips. You could also use a blend of dark and semi-sweet, or even milk chocolate for a sweeter profile.
- Grease Your Hands: To prevent the sticky mixture from clinging to your hands when pressing it into the pan, lightly butter or spray your hands with cooking oil. This makes the process much cleaner and easier.
- Let Them Set Completely: Patience is a virtue, especially when making no-bake treats! Allow your Rice Krispie treats to cool and set completely before cutting into bars. This usually takes about 1-2 hours at room temperature, or you can speed it up slightly by refrigerating them for 30 minutes. A fully set topping and base ensure clean, neat slices.
More Decadent Chocolate and Peanut Butter Recipes To Try
- Homemade Chewy Brownies
- S’more Cookie Bars
- No Bake Chocolate Peanut Butter Bars
- Chocolate Peanut Butter Poke Cake
- Dark Chocolate Peanut Butter No Bake Cheesecake
Thank you so much for exploring this recipe! I genuinely hope you enjoy creating and devouring these spectacular Chocolate Peanut Butter Rice Krispie Treats with Mini Reese’s Cups. They are truly a special indulgence that brings joy to every bite. Let me know what you think!
HUNGRY FOR MORE? Subscribe to my newsletter and follow along on Pinterest, Facebook, and Instagram for all my latest delicious updates!
Chocolate Peanut Butter Rice Krispie Treats
Ingredients
Rice Krispie Treat Base
- 6 tablespoons butter divided
- 10 cups miniature marshmallows
- 6 cups rice krispies
- 2/3 cup creamy peanut butter
- 1 teaspoon vanilla
- 1 8 oz package mini peanut butter cups
Peanut Butter Chocolate Topping
- 1 1/2 cups semi sweet chocolate chips
- 3/4 cup creamy peanut butter
Instructions
RICE KRISPIE TREAT BASE
-
Line a 9×9 (for super thick treats) or 9×13 (for thinner, more normal-sized treats) baking pan with foil or parchment paper, ensuring extra material overhangs the sides to create handles. This will greatly simplify removing the treats from the pan later. Grease the bottom and sides of the lined pan with 1 tablespoon of butter or cooking spray. Set the prepared pan aside.
-
In a large, sturdy pot, melt the remaining butter over medium-low to low heat. Add the miniature marshmallows and stir continuously until almost all the marshmallows are melted and smooth. Immediately remove the pot from the heat. Stir in the creamy peanut butter and vanilla extract until well combined. Gently fold in the Rice Krispies cereal until it is evenly coated. Finally, fold in the mini peanut butter cups, mixing just enough to distribute them without causing them to fully melt.
-
Spoon the warm mixture into your prepared baking pan. Using a buttered spatula or lightly greased hands, gently and evenly press the mixture into the pan. Avoid pressing down too firmly, as this will compact the treats too much and result in a harder, chewier texture.
PEANUT BUTTER CHOCOLATE TOPPING
-
In a medium microwave-safe bowl, combine the semi-sweet chocolate chips and the specified amount of creamy peanut butter. Microwave in short bursts of 15-30 seconds, stirring thoroughly after each interval, until the mixture is completely melted and smooth. Pour this decadent topping evenly over the Rice Krispie base in the pan and spread it into a smooth, even layer using a spatula. Allow everything to cool and set completely at room temperature (or in the refrigerator for quicker setting) before carefully cutting into bars. Enjoy your homemade chocolate peanut butter bliss!
