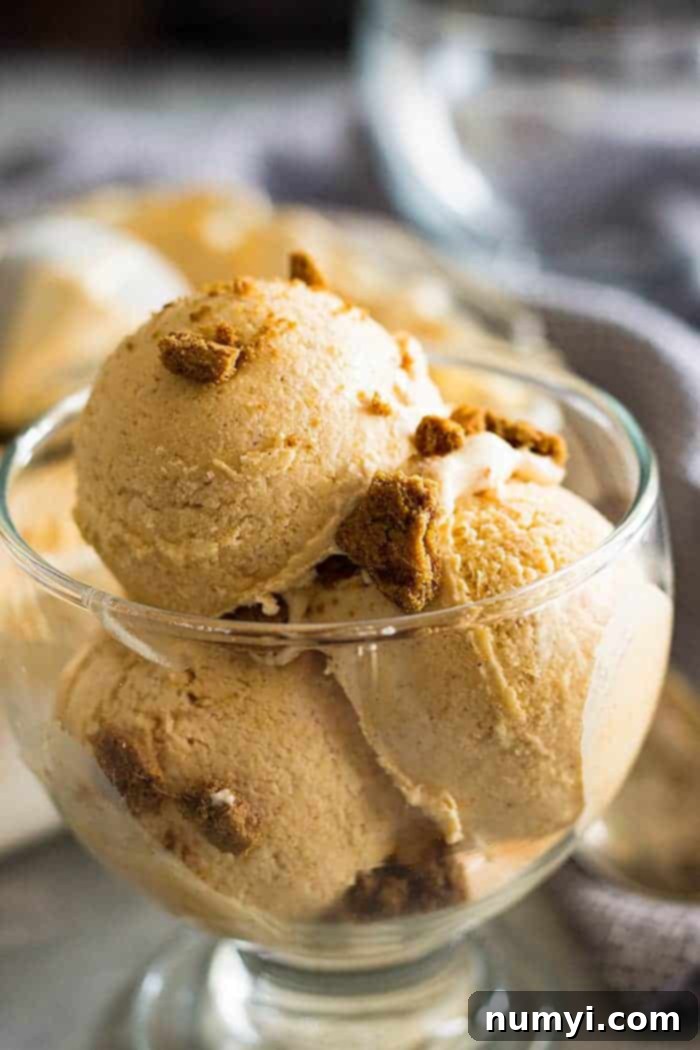
Easy No-Churn Pumpkin Ice Cream: Your Perfect Fall Dessert Recipe
As the leaves begin to turn vibrant shades of red and gold, and a crisp coolness fills the air, there’s a certain warmth and comfort we seek in our kitchens. And what embodies the spirit of autumn more perfectly than pumpkin? While pumpkin pie reigns supreme on many fall tables, we’re here to introduce you to a truly exceptional, effortlessly creamy dessert that captures all those beloved flavors in a chilled, dreamy scoop: No-Churn Pumpkin Ice Cream.
Imagine the rich, spiced essence of your favorite pumpkin pie, but transformed into a smooth, frozen delight. What makes this recipe truly revolutionary? It’s astonishingly simple to make, requiring no fussy custard base to cook and no specialized ice cream maker to churn. Yes, you read that right – you can achieve perfectly creamy, scoopable pumpkin ice cream with just a few ingredients and a freezer. It’s the ultimate fall treat that feels gourmet but is incredibly approachable for any home cook.
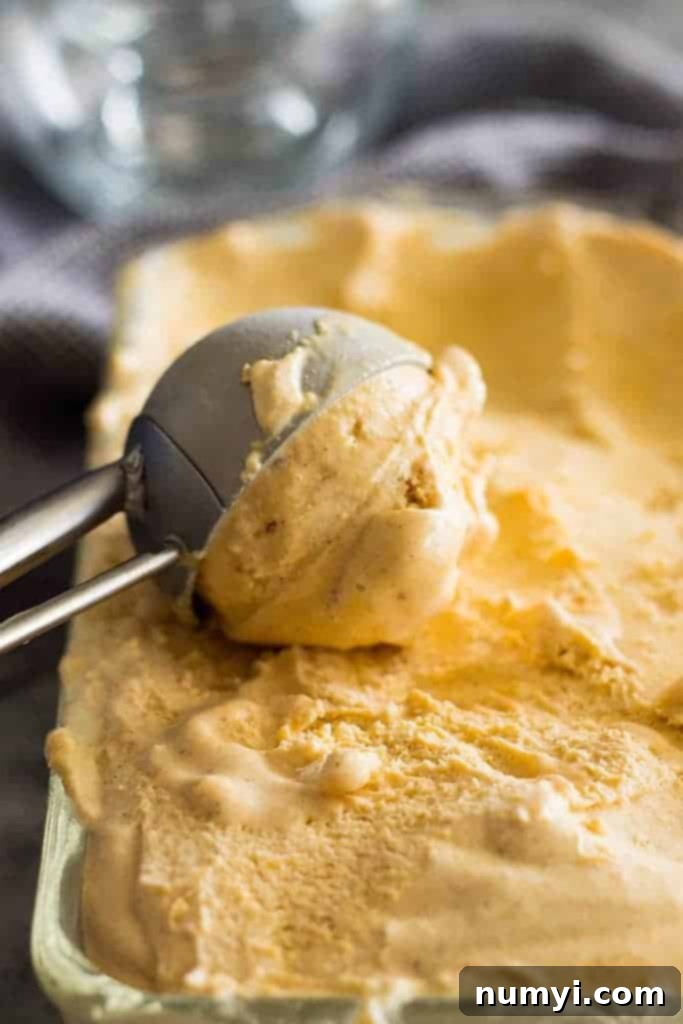
Fall Flavors: Pumpkin Perfection Without the Pie Crust
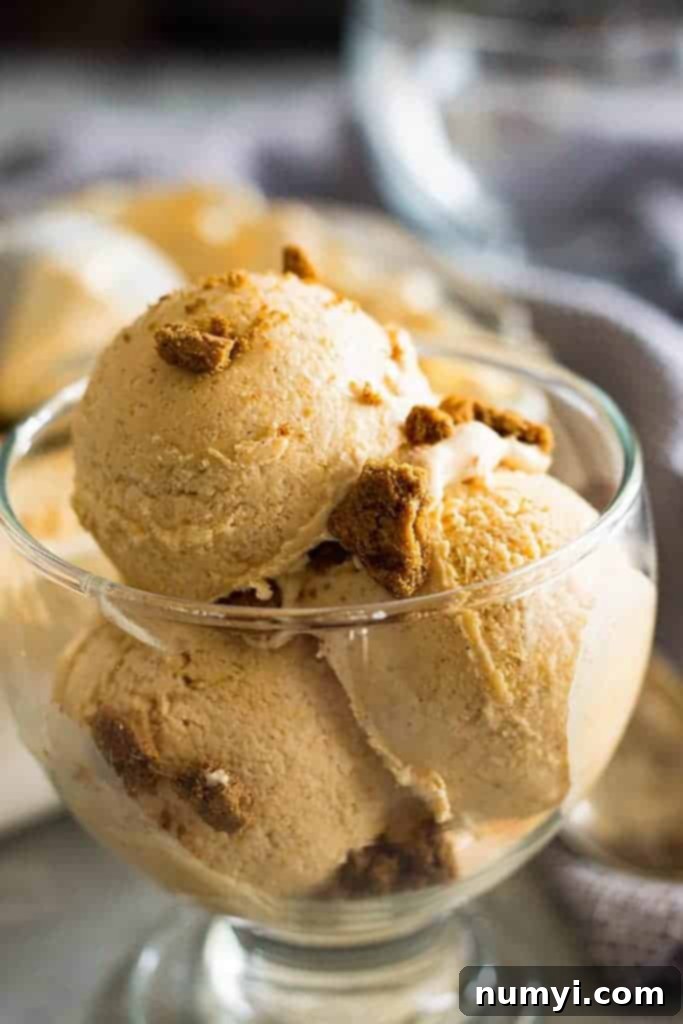
When it comes to Thanksgiving dessert, are you firmly on team pumpkin, or do you lean towards pecan? While I often find myself craving something chocolatey or fruity – like a Caramel Apple Pecan Cake – for my holiday finale, this no-churn pumpkin ice cream has absolutely won me over. My husband, a self-proclaimed pumpkin pie connoisseur, was genuinely astounded by how much it tastes like a classic pumpkin pie, but without the crust. In fact, for an extra touch of authenticity, you could even bake some pie dough, crumble it, and sprinkle it over your scoops for the ultimate pumpkin pie experience in ice cream form!
Confession time: ice cream is probably my all-time favorite dessert. And yes, I enjoy it year-round – no drop in temperature is going to stop me from indulging in a creamy, frozen treat! For years, I was a traditionalist, convinced that truly great homemade ice cream required an egg custard base and a dedicated ice cream maker. I resisted the “no-churn” trend, skeptical that it could ever measure up. But let me tell you, I am now a complete convert!
This no-churn method is not just easier; it consistently produces ice cream that is incredibly rich, smooth, and full of flavor. It’s a game-changer that has honestly made me question if I’ll ever go back to the traditional method. This pumpkin ice cream is proof that you don’t need fancy equipment or complicated steps to create a show-stopping dessert that will impress everyone.
Why You’ll Love This Pumpkin Pie Ice Cream Recipe
This recipe isn’t just easy; it’s a dream come true for anyone who loves homemade ice cream but dreads the lengthy process. Here’s why this no-churn pumpkin pie ice cream will become your new fall favorite:
- Super Easy to Make: With minimal steps and simple mixing, you’ll have your ice cream base ready for the freezer in no time.
- No Machine Needed: Forget about bulky ice cream makers. This recipe only requires a mixer (stand or handheld) to whip the cream.
- Prepped in Just 10 Minutes: From start to finish, the active preparation takes less than fifteen minutes, leaving more time for enjoying fall activities.
- Made with 5 Simple Ingredients: You won’t need a long grocery list for this. Just a handful of common pantry staples bring this delicious dessert to life.
- Naturally Egg-Free: Perfect for those with egg sensitivities or anyone looking for a lighter, yet still incredibly creamy, alternative to traditional custard-based ice creams.
- Perfect Fall Flavor: It perfectly captures the warm, comforting taste of pumpkin pie, making it ideal for holiday gatherings or a cozy night in.
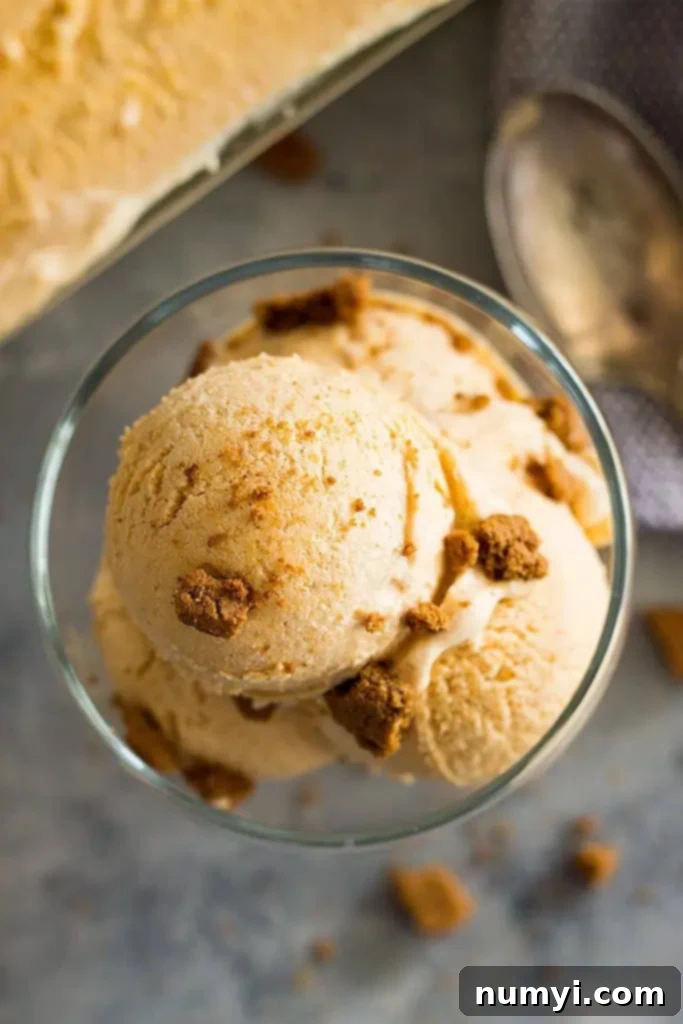
Key Ingredients to Master This Homemade Pumpkin Ice Cream
The magic of this no-churn pumpkin ice cream lies in its simplicity and the quality of its core ingredients. Each component plays a vital role in achieving that wonderfully creamy texture and authentic pumpkin pie flavor. Here’s a closer look at what you’ll need and why:
- HEAVY WHIPPING CREAM: This is the backbone of your no-churn ice cream. The high fat content (at least 30%, preferably 36% or higher) is absolutely essential. When whipped, it creates a light, airy base that becomes incredibly creamy when frozen. It also helps prevent the ice cream from freezing too hard, making it much easier to scoop. Don’t substitute with half-and-half or milk; the lower fat content will result in an icy, less satisfying texture.
- SWEETENED CONDENSED MILK: This ingredient serves two crucial purposes. First, it provides the perfect amount of sweetness, eliminating the need for granulated sugar. Second, and perhaps most importantly for no-churn recipes, it contributes significantly to the luxurious, creamy texture. Its thick consistency and sugar content help inhibit ice crystal formation, ensuring a smooth, decadent mouthfeel. Always opt for full-fat sweetened condensed milk for the best results.
- PUMPKIN PURÉE: For this pumpkin ice cream recipe, it’s critical to use pure pumpkin purée, not pumpkin pie filling. Pumpkin pie filling comes pre-mixed with added sweeteners, spices, and often preservatives, which will throw off the flavor balance of this recipe. Look for cans labeled “100% Pure Pumpkin” or “Pumpkin Purée.” If you’re feeling ambitious, you can even use homemade pumpkin purée made from pie pumpkins – just be sure it’s completely cooled before mixing!
- VANILLA EXTRACT: A staple in almost any dessert, vanilla extract adds a layer of warmth, depth, and a subtle sweetness that complements the pumpkin and spices beautifully. Use pure vanilla extract for the best flavor profile; imitation vanilla won’t provide the same richness.
- PUMPKIN PIE SPICE: This is where the “pumpkin pie” magic truly happens! A good pumpkin pie spice blend delivers that quintessential fall flavor with notes of cinnamon, ginger, nutmeg, and allspice. You can use a store-bought blend, or for a fresher, more customizable option, make your own. Homemade blends are often more potent and can be stored in your pantry for up to a year, ready for all your fall baking and dessert needs.
How to Make Easy No-Churn Pumpkin Ice Cream: Step-by-Step
Creating this delicious pumpkin ice cream is surprisingly straightforward. Follow these simple steps for a perfect frozen treat every time:
WHIP THE HEAVY CREAM: In a large, chilled bowl, using the whisk attachment of your stand mixer (or a handheld electric mixer), begin whipping the very cold heavy cream on a low speed. As small bubbles start to form, gradually increase the speed to high. Continue whipping until stiff peaks form. Stiff peaks mean that when you lift the whisk, the cream holds its shape firmly and doesn’t collapse. Be careful not to overbeat, as it can turn into butter!
COMBINE THE OTHER INGREDIENTS: In a separate, medium-sized bowl, add the sweetened condensed milk, pure pumpkin purée, vanilla extract, and pumpkin pie spice. Whisk these ingredients together until they are thoroughly combined and smooth. The mixture should be a lovely orange hue and smell wonderfully aromatic.
GENTLY FOLD TOGETHER: This step is crucial for maintaining the airy texture of your whipped cream. Carefully add the pumpkin mixture to the bowl of whipped cream. Using a spatula, gently fold the two mixtures together. The goal is to incorporate them without deflating the whipped cream. Use an upward motion from the bottom of the bowl, turning it over the top, until no streaks of white cream remain.
FREEZE UNTIL FIRM: Pour the combined pumpkin ice cream mixture into a freezer-safe container. A metal loaf pan is excellent for faster freezing, but any airtight container or an old ice cream bucket will work. Cover the surface of the ice cream directly with plastic wrap, pressing it down to eliminate any air pockets. This prevents ice crystals from forming on top. Place the container in the freezer for at least 8 hours, or ideally overnight, until the ice cream is firm and ready to scoop.
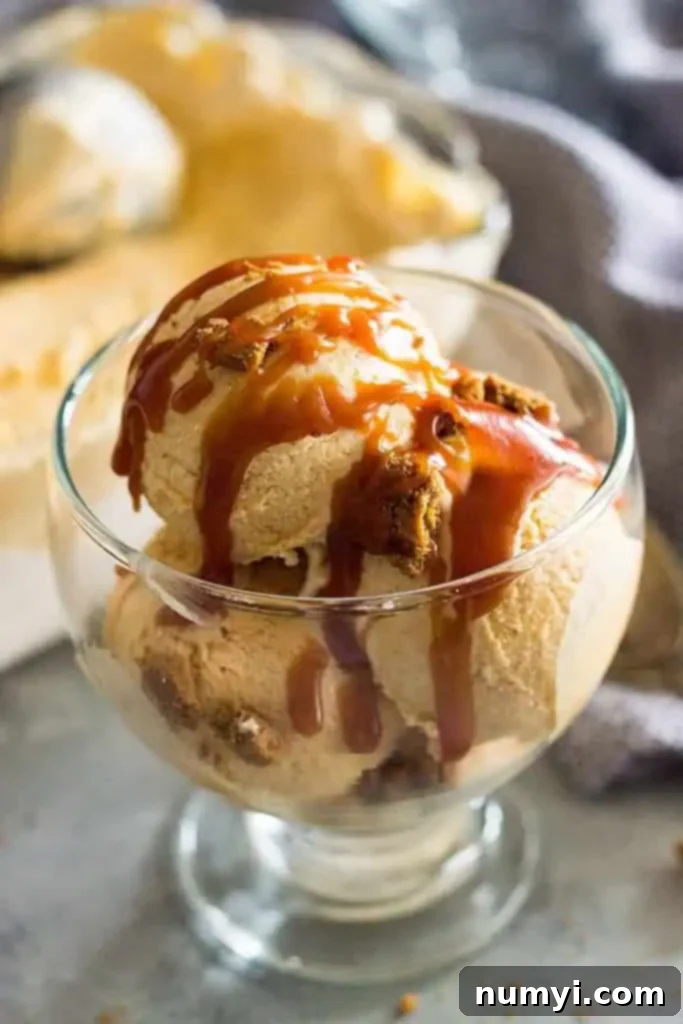
Frequently Asked Questions About No-Churn Pumpkin Ice Cream
For optimal freezing and easy scooping, a metal loaf pan (standard 9×5 inch size) is often my top recommendation. The metal helps to conduct the cold more efficiently, leading to faster freezing. However, any freezer-safe, airtight container will work beautifully – a Tupperware container, a sturdy plastic food storage container, or even a repurposed old ice cream bucket are all excellent choices. If you plan on making this delicious pumpkin ice cream recipe – or any other no-churn flavor – on a regular basis, you might consider investing in specialized reusable ice cream tubs designed specifically for homemade frozen treats.
When properly stored, this delightful pumpkin pie ice cream recipe will maintain its optimal freshness and texture for about 1 to 2 months in the freezer. To achieve this, ensure it is tightly wrapped in plastic wrap (with the wrap pressed directly onto the surface of the ice cream to prevent ice crystals) or transferred to a sturdy, airtight container with a well-fitting lid once it’s fully frozen. The key is to minimize air exposure to prevent freezer burn and maintain that wonderful creamy consistency.
The possibilities are endless for topping your pumpkin ice cream, especially when aiming for that “pumpkin pie in a scoop” experience! Crumbled gingerbread cookies or crushed graham crackers are fantastic choices, as they mimic the texture and spice of a pie crust. Of course, a dollop of fresh whipped cream is always a must. Beyond that, consider a drizzle of warm salted caramel sauce, a sprinkle of miniature chocolate chips, a light dusting of cinnamon or extra pumpkin pie spice, or even toasted pecans. For a fun, interactive dessert bar, set out a variety of toppings and let everyone create their own custom fall ice cream sundae!
While this specific recipe relies heavily on dairy for its creamy texture, it is possible to adapt it for a dairy-free diet. You would need to use full-fat canned coconut cream (chilled overnight so the solid cream separates) as a substitute for the heavy whipping cream, and a dairy-free sweetened condensed milk alternative. Be aware that the flavor profile will be slightly different due to the coconut, but it can still yield a delicious frozen treat.
Pumpkin Pie Ice Cream Recipe Pro Tips for Perfect Results
Achieving the best possible no-churn pumpkin ice cream is easy, especially when you keep a few expert tips in mind. These small details can make a big difference in the final texture and flavor of your homemade treat:
- Chill Your Tools for Optimal Whipping: This is a trick professional bakers use! Cream whips up much easier, faster, and to a greater volume when your mixing bowl and whisk attachments are super cold. Place them in the freezer for 10-15 minutes before you begin whipping the heavy cream. This helps the fat in the cream stay cold and stable, allowing it to incorporate more air.
- Start Whipping Cream on Low, Then Increase Speed: To avoid a splattery mess in your kitchen, begin whipping your heavy cream on a low speed. Once you see small bubbles start to form on the surface, gradually increase the speed to high. This gentle start prevents the liquid from sloshing out of the bowl and ensures a smooth progression to stiff peaks.
- Watch Your Cream to Avoid Overbeating: Whipping cream can go from perfectly stiff peaks to slightly grainy, over-beaten cream very quickly. Pay close attention and beat only until stiff peaks form. This is when the cream is thick, holds its shape well, and stands straight up when you lift the beater. If it looks dry or curdled, you’ve gone too far, and it won’t yield a silky ice cream.
- Gently Fold the Pumpkin Mixture: After whipping your cream to perfection, it’s vital to gently fold in the pumpkin mixture. If you stir vigorously like you would a regular batter, you’ll lose all the precious air you just incorporated into the cream. More air equals a lighter, silkier, and ultimately creamier ice cream texture. Use a spatula to gently scoop from the bottom and fold over the top until just combined.
- Cover Directly with Plastic Wrap to Prevent Ice Crystals: For the smoothest, most delectable no-churn ice cream, prevent ice crystals from forming on the surface during freezing. The best way to do this is to press a layer of plastic wrap or wax paper directly onto the surface of the ice cream mixture, ensuring no air is trapped between the ice cream and the wrap. Then, cover the container with its lid.
- Allow No-Churn Ice Cream to Thaw Slightly Before Scooping: Because no-churn ice cream doesn’t have the constant aeration of a traditional ice cream maker, it can freeze a bit harder. For the easiest scooping and the most delightful texture, remove it from the freezer and let it sit on the counter for 10-15 minutes before serving. This brief thaw will make it perfectly pliable.
More Delicious No-Churn Ice Cream Recipes to Try
If you’ve fallen in love with the ease and deliciousness of this no-churn pumpkin ice cream, you’re in for a treat! The no-churn method opens up a world of possibilities for homemade ice cream flavors. Here are a few more irresistible recipes to expand your frozen dessert repertoire, perfect for any season:
- No-Churn Peppermint Cookie Ice Cream: A festive and refreshing treat for the winter holidays, packed with peppermint flavor and cookie bits.
- No-Churn Dark Chocolate Ice Cream: Rich, decadent, and intensely chocolatey – a must-try for any chocolate lover.
- No-Churn Cinnamon Ice Cream: Warm, spicy, and comforting, this is a versatile flavor that pairs well with almost any dessert.
- No-Churn Strawberry Ice Cream: Bursting with fresh fruit flavor, it’s a delightful taste of summer, no matter the time of year.
We hope this easy no-churn pumpkin ice cream becomes a staple in your fall dessert rotation. It’s truly a wonderful way to enjoy the classic flavors of pumpkin pie without any of the fuss. Give it a try and prepare to be amazed by how simple and delicious homemade ice cream can be!
Thanks so much for reading! Let me know what you think about this pumpkin pie ice cream in the comments below!
HUNGRY FOR MORE? Subscribe to my newsletter and follow along on Pinterest, Facebook, and Instagram for all my latest updates!
Pumpkin Ice Cream (No Churn!)
Ingredients
- 2 cups very cold heavy whipping cream at least 30% fat
- 1 14 oz can sweetened condensed milk
- 1 cup pumpkin puree not pumpkin pie filling
- 1 teaspoon pure vanilla extract
- 1 teaspoon pumpkin pie spice
Instructions
-
In a large bowl whip cream starting on low. When bubbles start to form increase the speed and whip until stiff peaks form. Set aside.
-
In a separate bowl, combine the sweetened condensed milk, pumpkin puree, vanilla and pumpkin pie spice. Gently fold this into the whipped cream until combined.
-
Pour mixture into a freezer safe container or a 9×5 loaf pan. Cover with plastic wrap. Be sure the plastic wrap is touching the ice cream to prevent ice crystals from forming. Freeze for at least 8 hours.
Notes
2. Serving options: plain, topped with salted caramel, chocolate chips, gingerbread cookies, baked pie dough, cinnamon sprinkled. Another idea is to have all these toppings out for your guests to make their own fall ice cream sundae!
3. No pumpkin pie spice use: 1/2 teaspoon ground cinnamon, 1/4 teaspoon ground ginger, 1/4 teaspoon ground allspice and 1/8 teaspoon ground nutmeg.
4. Store in the freezer for 1-2 months.
Nutrition
