The Ultimate Easy White Bread Recipe: Bake Soft, Fluffy Homemade Loaves Effortlessly
There’s nothing quite like the aroma of freshly baked bread wafting through your home. It’s a comforting scent that evokes warmth, nostalgia, and pure culinary joy. This incredibly easy white bread recipe is designed to bring that experience into your kitchen with minimal fuss and maximum flavor. Forget the days of settling for bland, store-bought loaves; once you try this simple, delicious method, you’ll be hooked on the superior taste and texture of homemade.
We’ve perfected this particular white bread recipe over countless baking sessions, finally realizing it was too good not to share. What started as an exploration into Italian bread techniques evolved into what we confidently believe is the best easy white bread. Its unique blend of simple ingredients and straightforward steps results in a loaf that is consistently soft, light, and wonderfully flavorful. It’s a true staple for any home baker, whether you’re a seasoned pro or just beginning your bread-making adventure.
This recipe is a game-changer for beginners. It’s remarkably forgiving, making it almost impossible to fail. The satisfaction of pulling a golden-brown, perfectly risen loaf from your oven is an experience that will leave you feeling like a baking superstar. Imagine serving warm, crusty slices to your friends and family – their smiles will be your ultimate reward. This isn’t just baking; it’s creating moments and memories around the table.
For those who love to experiment with their baking, this foundational recipe also opens doors to other delicious creations. Before we dive into the steps, consider trying our Soft and Fluffy One Hour Dinner Rolls if you’re looking for another quick and satisfying bread project!
Mastering This Easy White Bread: A Step-by-Step Guide
You’ll be amazed at how quickly you’ll memorize the steps for this incredibly simple and delicious homemade white bread. It’s designed for efficiency without compromising on quality, ensuring you get a perfect loaf every time.
Activating the Yeast: The Foundation of Fluffy Bread
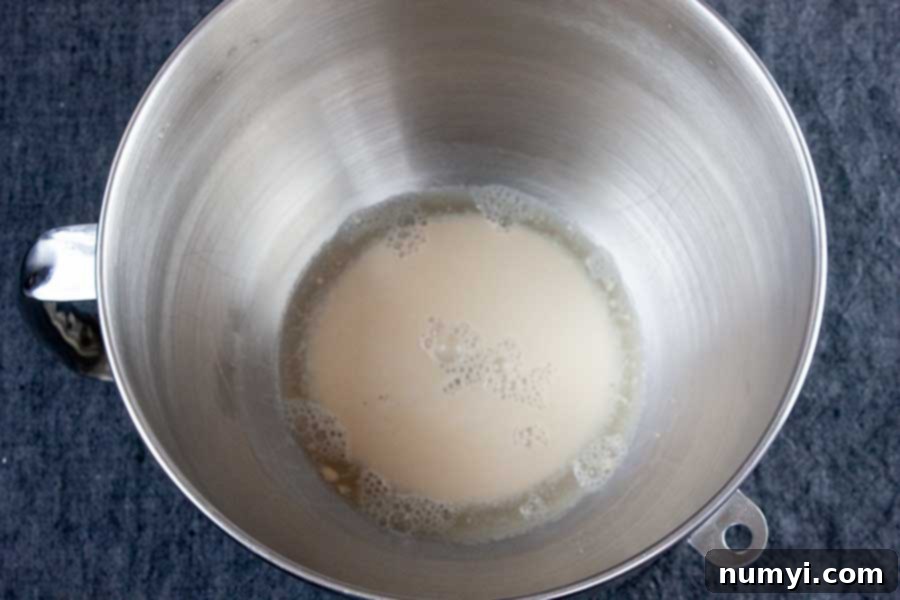
The first crucial step in any yeast bread recipe is activating your yeast. In the bowl of your stand mixer, fitted with a dough hook, combine warm water (ideally around 105-115 degrees Fahrenheit), a pinch of sugar, and the active dry yeast. The sugar isn’t just for sweetness; it acts as food for the yeast, helping it to wake up and become active. Let this mixture sit for about 5 to 10 minutes. You’ll know your yeast is alive and ready when the surface becomes visibly foamy and frothy, forming a light, bubbly layer. If nothing happens, your water might have been too hot (killing the yeast) or too cold (keeping it dormant), or your yeast might be old. In that case, start over with fresh yeast and properly tempered water.
Mixing and Kneading: Developing the Perfect Dough
Once your yeast is bloomed, it’s time to build the dough. Add two cups of all-purpose flour, the kosher salt, and the olive oil to the mixer bowl. Start mixing on a low speed. The dough will initially look shaggy and somewhat uncooperative. This is completely normal! Gradually increase the speed slightly (still below medium) and begin adding additional flour, a little at a time, until the dough starts to pull away from the sides of the bowl. This indicates that enough flour has been incorporated for proper gluten development. The amount of flour can vary based on humidity and how packed your flour is, so trust the feel of the dough rather than an exact measurement beyond the initial two cups.
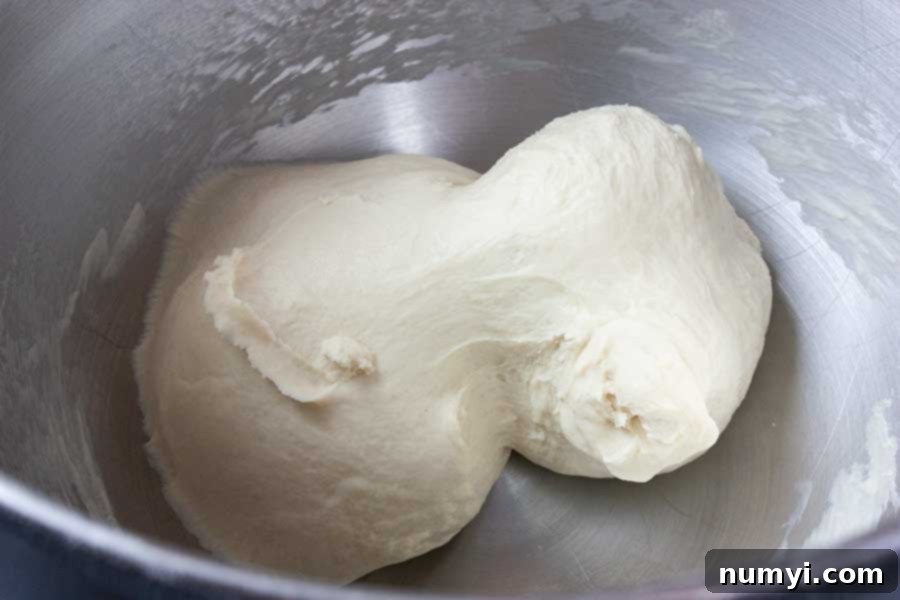
When the dough has come together, increase your mixer speed to medium and let it knead for a full 10 minutes. This kneading process is vital for developing the gluten, which gives your bread its structure, elasticity, and that wonderfully soft, chewy texture. After 10 minutes, the dough should be smooth, elastic, and slightly sticky to the touch. It should spring back gently when poked. This perfectly kneaded dough is the secret to a light and airy crumb.
For another fantastic bread experience, be sure to check out our No Knead Large Dutch Oven Bread recipe – proof that delicious bread doesn’t always require a mixer!
First Rise: The Proof of Patience
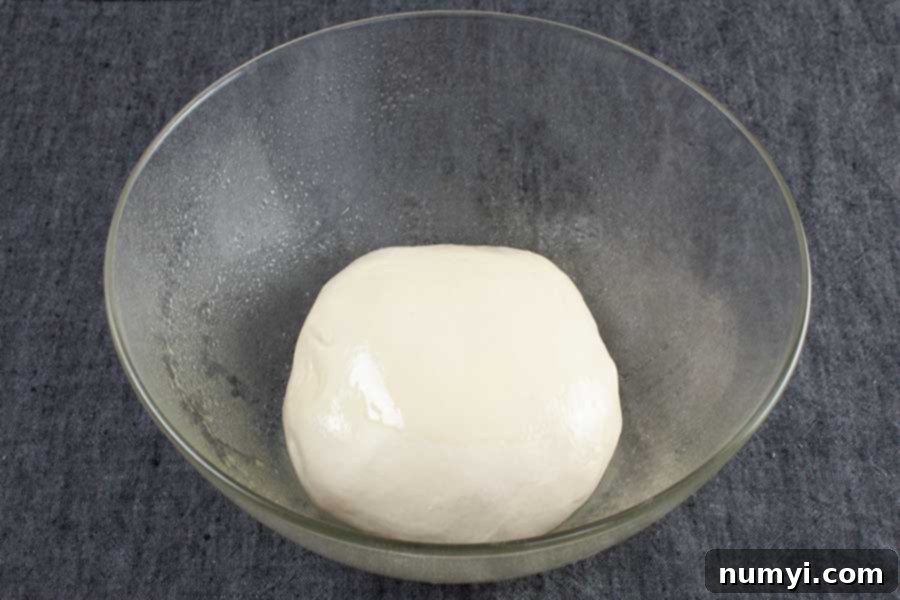
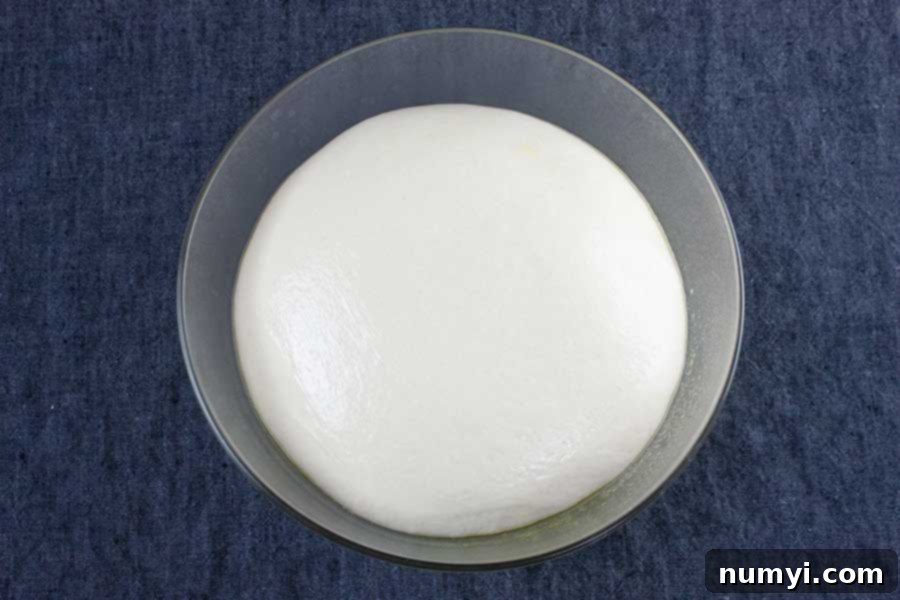
Once your dough is beautifully kneaded, lightly wet your hands and shape it into a rough ball. This makes handling the slightly sticky dough much easier. Transfer the dough to a greased bowl, ensuring all sides are coated to prevent sticking. Cover the bowl with plastic wrap or a clean kitchen towel and place it in a warm spot to rise. A warm environment is crucial for yeast activity, allowing the dough to double in size efficiently. We often use a clever trick: putting it in a turned-off oven with just the oven light on, creating a perfectly cozy spot for proofing. This first rise, also known as bulk fermentation, usually takes between 30 minutes to an hour, depending on the warmth of your kitchen.
Punch Down and Rest: Preparing for Shaping
Once your dough has gloriously doubled, it’s time to gently deflate it. Turn the risen dough out onto a lightly floured surface. Using your fingertips, gently punch down the dough to release the gases that have formed during the rise. This step helps to redistribute the yeast and creates a finer, more even crumb in the final bread. After punching it down, allow the dough to rest for about 10 minutes. This brief rest period helps the gluten relax, making the dough much easier to handle and shape into a loaf.
Shaping the Loaf: Crafting Your Masterpiece
After the rest, it’s time to shape your dough into a classic loaf. Start by gently pressing the dough into a rough rectangular shape. Imagine the length of your loaf pan as your guide. To create a tight, even crumb and a beautiful loaf, fold the top corners of the rectangle inward, towards the center. Then, starting from the top, fold the dough down by about one-third, pressing firmly to seal. Repeat this folding and pressing motion until you’ve rolled the entire dough into a compact, log-like shape. Finally, pinch the seam closed securely along the bottom and tuck the ends underneath to create a neat finish. This careful shaping helps build tension in the dough, which contributes to a good rise and an appealing appearance. Carefully transfer your beautifully shaped dough to a lightly greased or floured 9×5 inch loaf pan.
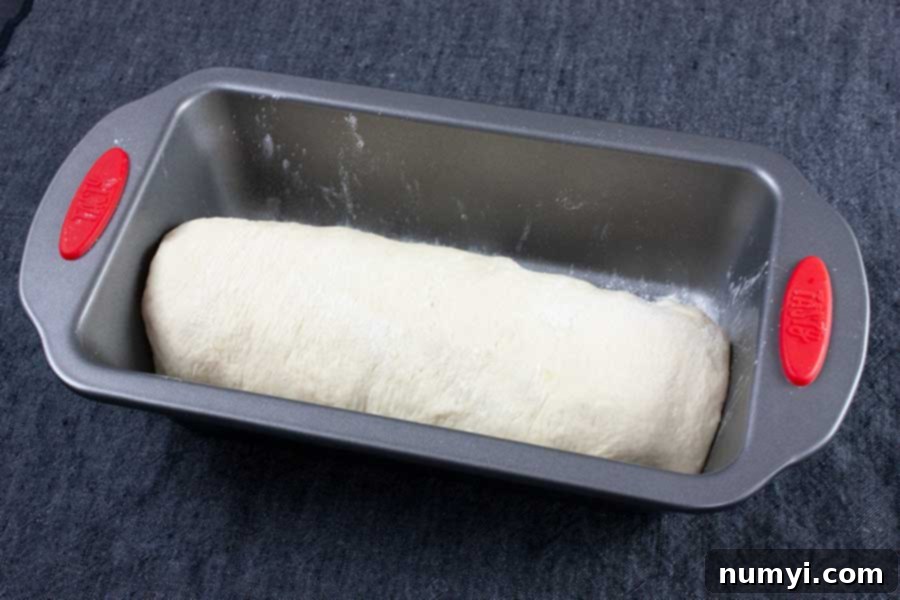
Second Rise and Baking: The Final Transformation
Now, let the dough enjoy its second and final rise in the loaf pan. Cover it again and return it to a warm spot until it has doubled in size once more, typically taking around 1 hour. This second proof, or final fermentation, is crucial for achieving that characteristic light and airy texture. While the dough is rising, preheat your oven to 400 degrees Fahrenheit (200 degrees Celsius). A properly preheated oven ensures a strong initial “oven spring,” where the bread gets a final burst of rising power.
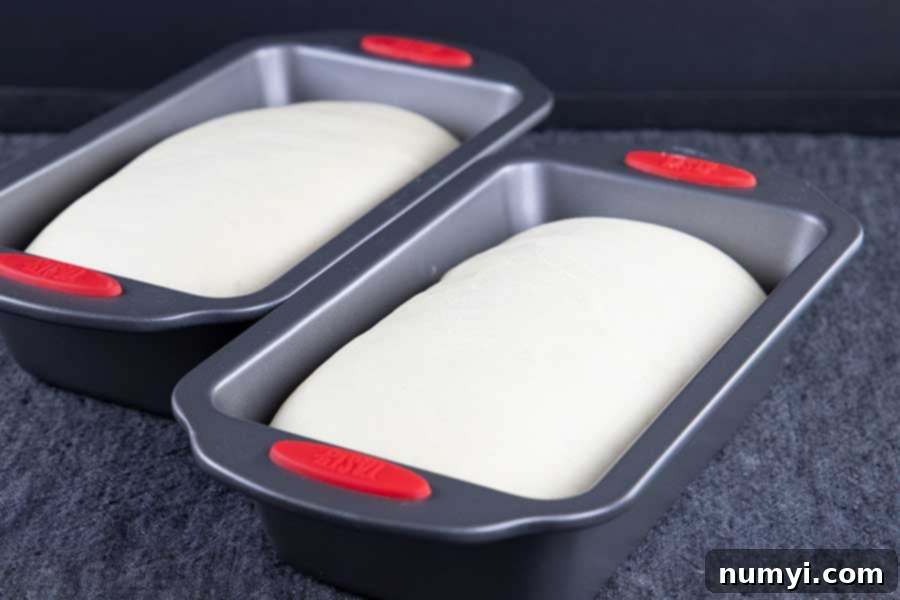
Bake your loaf for approximately 20 minutes, or until it reaches a beautiful golden-brown color on top and sounds hollow when tapped on the bottom. The rich, golden crust is not just for looks; it adds another layer of flavor and texture. Once baked, promptly remove the loaf from the oven and transfer it to a wire rack to cool completely.
The Hardest Step: Cooling and Slicing
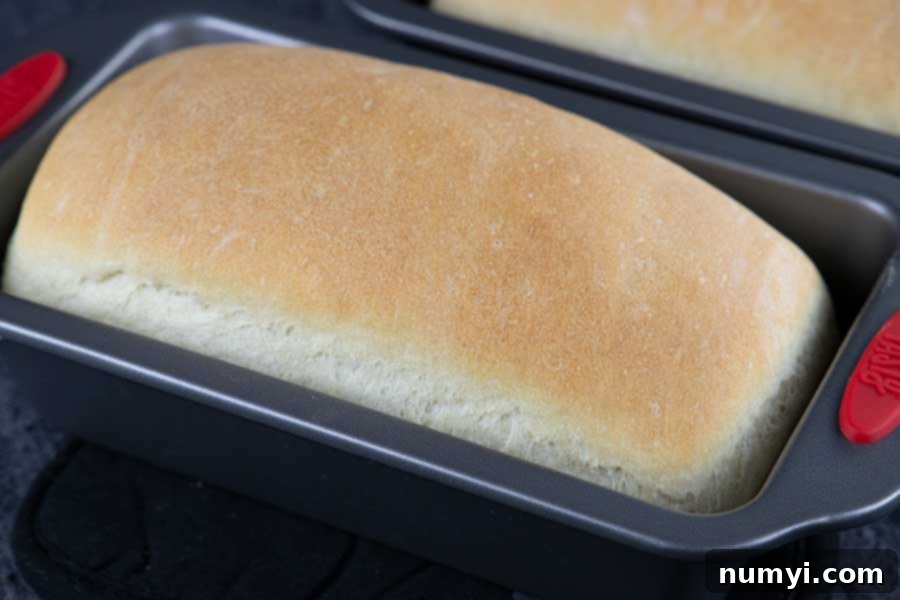
This might be the most challenging part of the entire process: waiting for the bread to cool before slicing. As tempting as it is to cut into a warm loaf, patience here is key. Allowing the bread to cool on a wire rack for at least 20-30 minutes (though 5 minutes is often my personal record!) allows the internal structure to set properly. Cutting into it too soon traps steam, which can lead to a gummy texture. Cooling allows the starches to firm up and the flavors to fully develop.
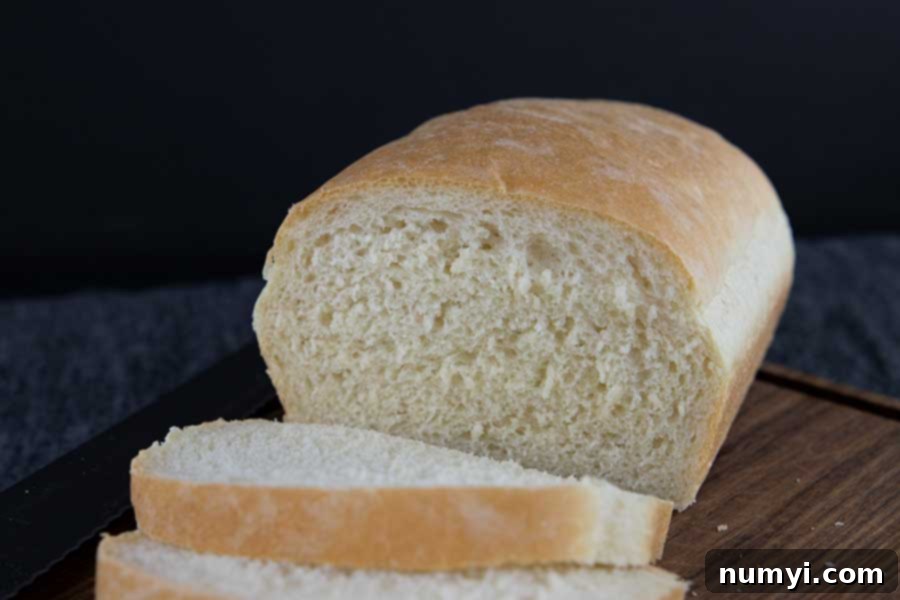
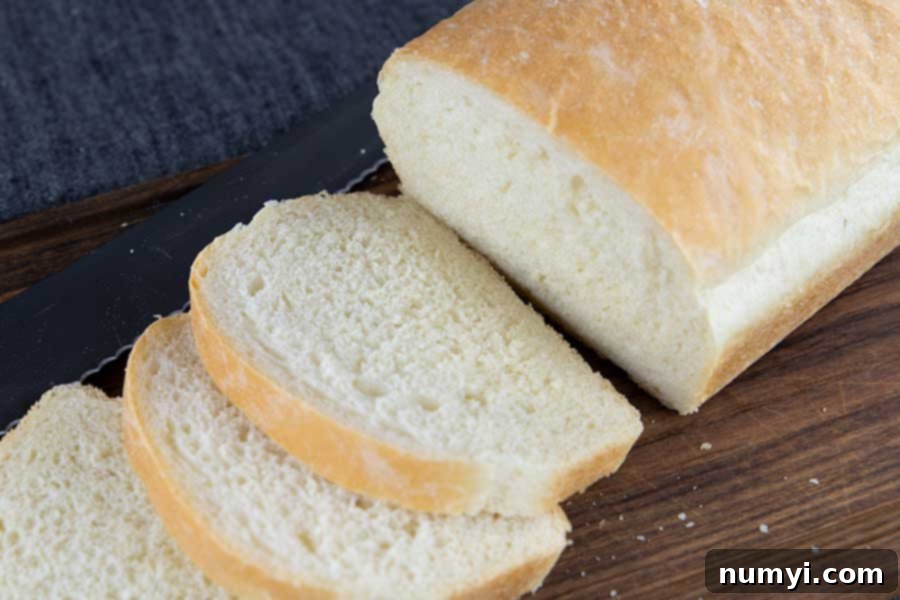
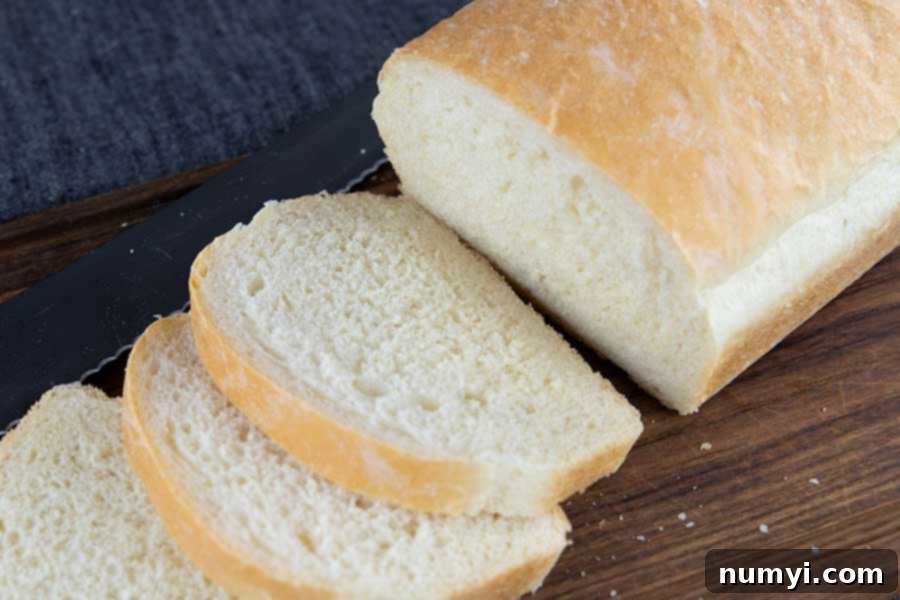
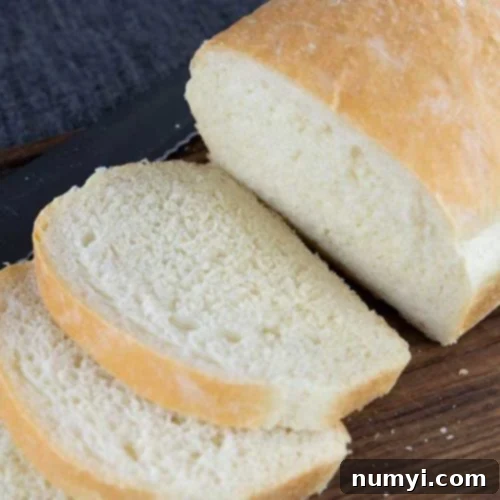
As you can see from the sliced bread, the crumb is wonderfully light and airy – a testament to the recipe’s effectiveness. What you can’t fully appreciate from a picture, however, is the incredible taste and the soft, yet substantial, texture. There’s truly only one way to fully experience the magic of this easy white bread: make it yourself! We promise, you won’t regret it.
While picking up a loaf from the grocery store might seem easier, the joy and superior quality of homemade bread are unmatched. When you can create two loaves of fresh, delicious bread in just a couple of hours, why settle for anything less? It’s a simple luxury that’s well worth the minimal effort.
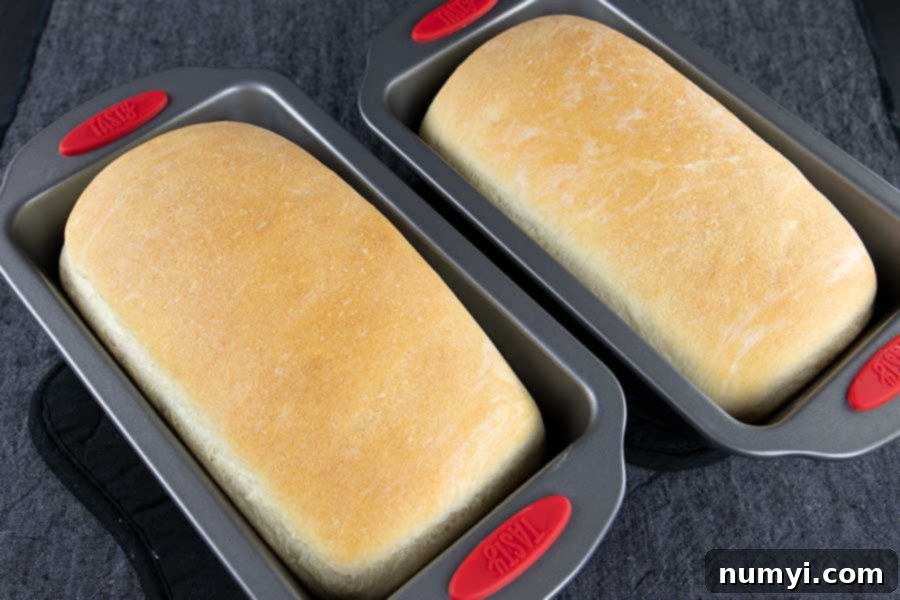
A helpful tip for larger families or for those who simply want more bread: this recipe is easily doubled! There are no special modifications needed; just double each ingredient, and you can make one or two loaves as your heart desires. It’s perfectly scalable and yields consistent results every time.
Furthermore, this versatile dough isn’t just for loaves. It’s absolutely perfect for making dinner rolls! Simply shape the dough into individual rolls after the first rise, place them on a baking sheet, allow them to double, and bake them at the same temperature for a slightly shorter time (check for golden brown and cooked through). Voila – homemade dinner rolls ready for any meal!
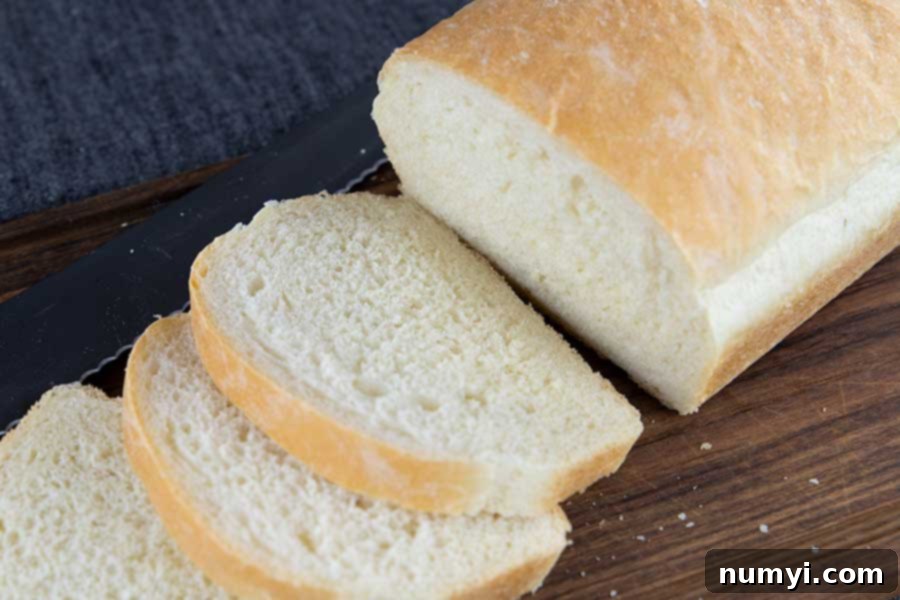
We genuinely hope you give this easy white bread recipe a try. It’s incredibly versatile, serving as the perfect base for sandwiches, a delightful accompaniment to soups, or simply enjoyed warm with a smear of butter. It’s fast, incredibly easy, and, most importantly, unbelievably delicious. We’ve relied on this recipe countless times, and its consistent, wonderful results never cease to impress. Give it a go; your taste buds will thank you!
If you’re looking for another simple bread idea, perhaps for a different cooking method, try our No Knead Skillet Bread recipe!
Easy White Bread Recipe
Print
Pin
Rate
Ingredients
- 1 Envelope Active dry yeast (1/4 ounce)
- 1 tsp Sugar
- 1 cup Warm water (Approx. 115 degrees Fahrenheit)
- 2-3 cup All-purpose flour (have 1 extra cup of flour ready to add if needed. We usually end up adding an additional half cup during the kneading process.)
- 2 tbsp Olive oil
- 1 tsp Kosher salt
Instructions
-
In the bowl of a stand mixer, combine warm water, yeast, and sugar. Let stand for approximately 5-10 minutes until the yeast begins to bloom (it will look foamy and frothy).
-
Add 2 cups of flour, kosher salt, and olive oil to the bowl. Mix on low speed for 1 to 2 minutes until ingredients are well combined.
-
Increase the mixer speed slightly (still below medium) and gradually add more flour, about half a cup at a time, until the dough begins to pull away from the sides of the bowl and forms a cohesive ball. The dough will appear shaggy at first but will become smooth.
-
Turn the mixer to medium speed and knead for 10 minutes. The dough should be smooth, elastic, and slightly sticky. Transfer to a greased bowl and allow to rise in a warm place until doubled in size (30 minutes to 1 hour, depending on kitchen temperature).
-
Turn the dough out onto a lightly floured surface. Using your fingertips, gently press into the dough to punch it down and allow it to rest for another 10 minutes.
-
Shape your dough into an 8-inch loaf: form a rectangle with the dough. Fold in each corner of the dough towards the center. From the top, fold the dough down by 1/3 and press to seal. Repeat this folding motion until the dough is rolled into a tight log. Pinch the seam closed securely along the bottom and tuck the ends underneath.
-
Place the shaped loaf into a greased 9×5 inch baking pan and allow it to rise again in a warm spot until doubled, approximately 1 hour. Preheat your oven to 400 degrees Fahrenheit (200 degrees Celsius).
-
Bake at 400 degrees Fahrenheit for 20 minutes, or until the top is golden brown and the loaf sounds hollow when tapped.
-
Remove the baked loaf from the oven and immediately transfer it to a wire rack to cool completely before slicing.
