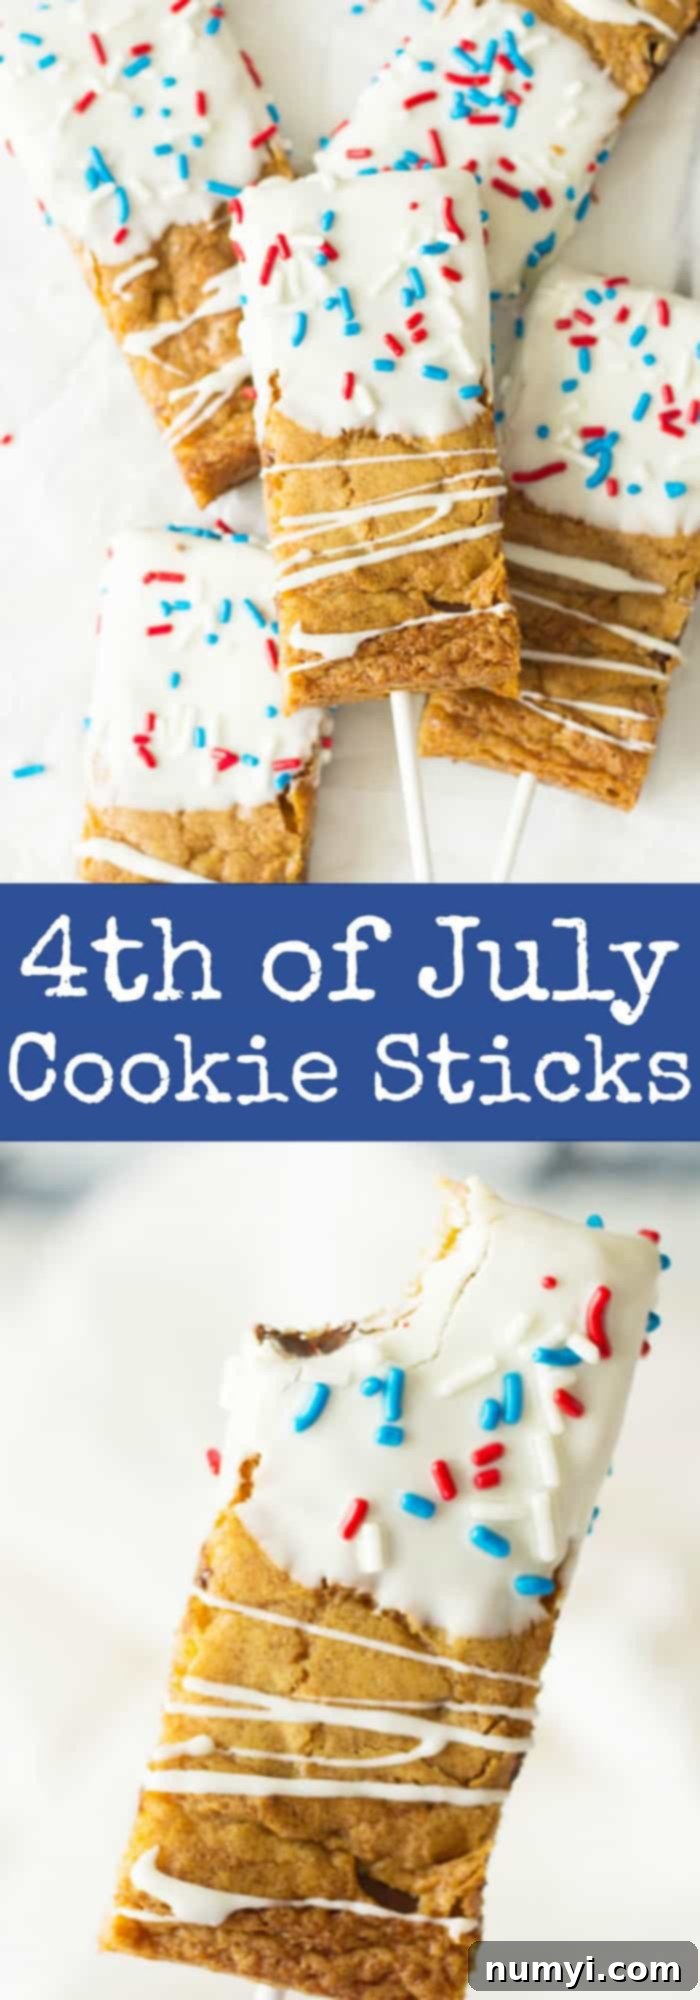
Irresistible Fourth of July Cookie Sticks: Chewy Chocolate Chip Bars Dipped in Patriotic Perfection!
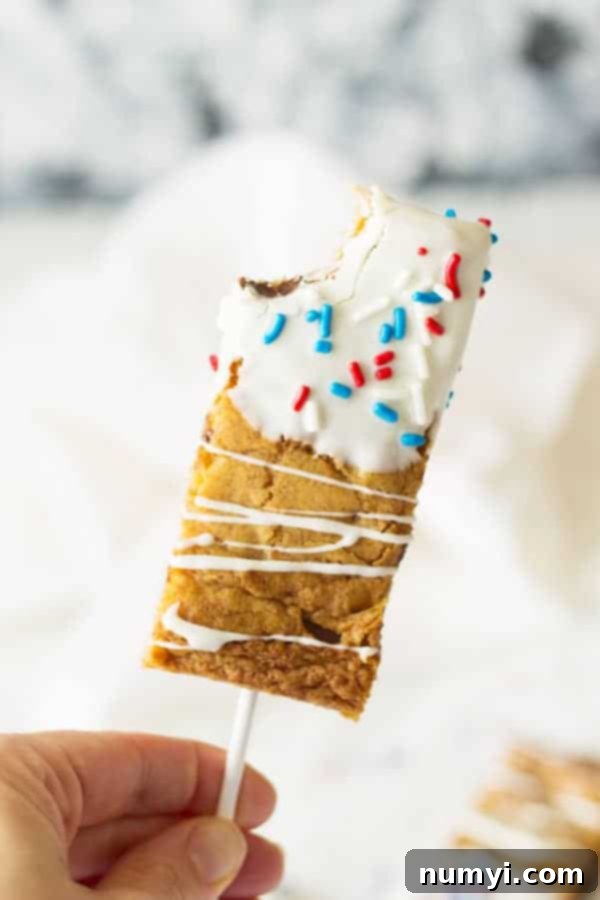
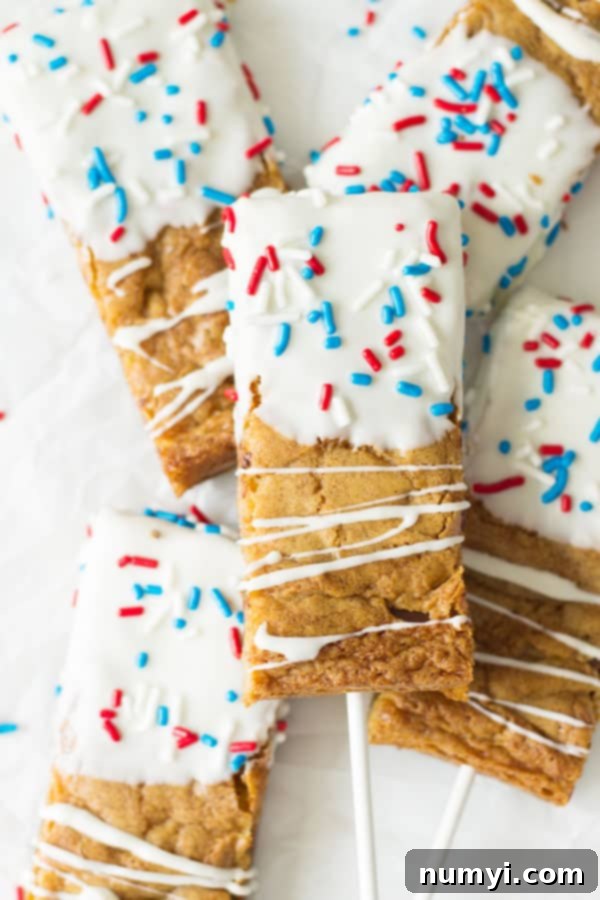
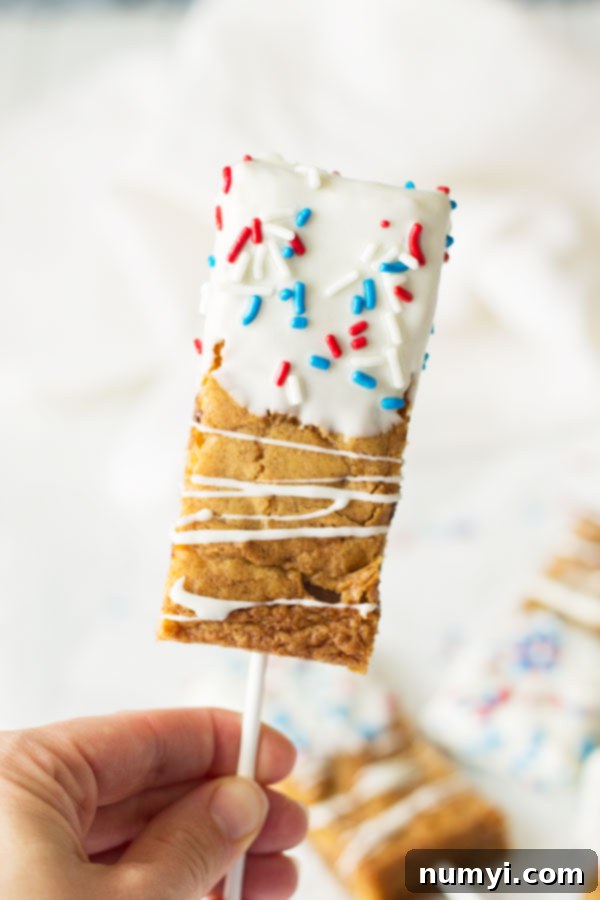
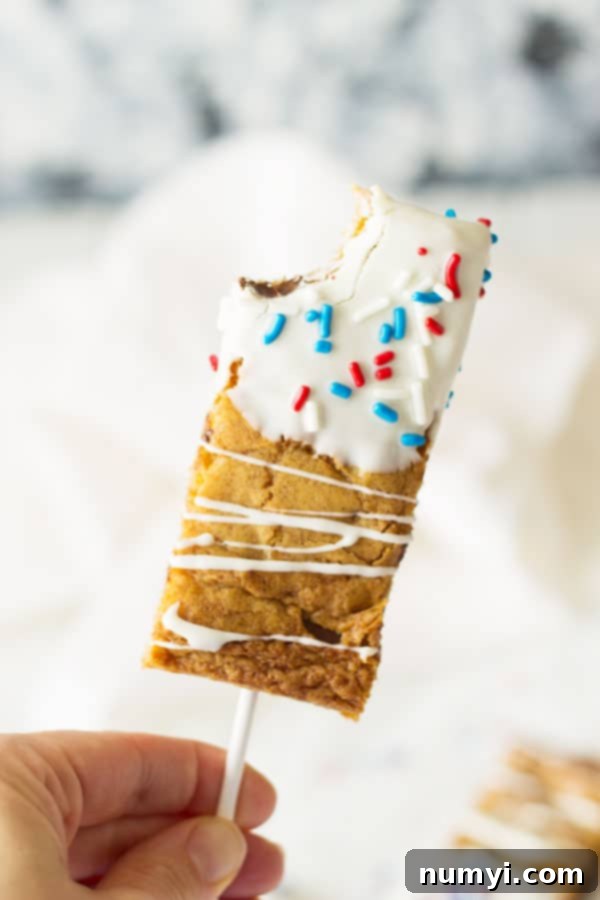
Get ready to add a burst of patriotic flavor and fun to your Fourth of July celebrations with these delightful Fourth of July Cookie Sticks! Imagine a perfectly chewy chocolate chip cookie bar, generously dipped in smooth white chocolate, and then showered with vibrant red, white, and blue sprinkles. These treats are not just delicious; they’re a visual celebration, guaranteed to be a hit with everyone, from the littlest guests to the grown-ups!
They offer a fantastic, hands-on way to enjoy a classic cookie with an exciting, festive twist. Forget the messy plates; these cookie sticks are easy to hold, making them ideal for backyard barbecues, picnics, or simply a fun summer afternoon treat. Let’s dive into making these memorable Fourth of July delights!
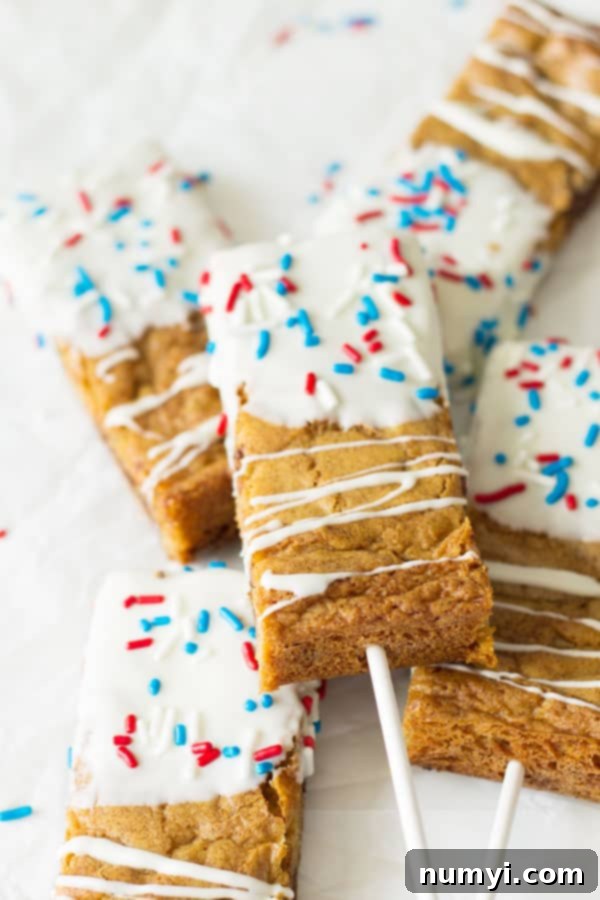
Why These Fourth of July Cookie Sticks Will Be Your New Favorite
As we approach the last week of June, the excitement for Fourth of July festivities is building! It’s the perfect time to start planning those festive treats, and these cookie sticks are at the top of my list for several reasons. Firstly, they are incredibly easy to make, requiring minimal fuss and simple ingredients. You don’t need to be an expert baker to achieve impressive results. Secondly, the combination of a soft, moist chocolate chip cookie with a crisp white chocolate shell is absolutely divine. And of course, the vibrant sprinkles transform them into an instant party favorite, perfectly embodying the spirit of Independence Day.
These cookie sticks are designed for convenience and maximum enjoyment. The stick makes them a no-fuss dessert, preventing sticky fingers and allowing guests to mingle and enjoy without needing extra plates or cutlery. Plus, they’re highly customizable, offering room for your own creative flair. Whether you’re hosting a large gathering or simply enjoying a quiet family celebration, these cookie sticks are sure to bring smiles.
Crafting Your Patriotic Perfection: Step-by-Step
Making these festive cookie sticks is straightforward and incredibly rewarding. The process starts with a simple, yet utterly delicious, chewy chocolate chip cookie bar base. Here’s a detailed breakdown of how you’ll bring these treats to life:
- Prepare the Cookie Base: You’ll start by spreading a rich, chewy chocolate chip cookie dough into a prepared baking pan. The key here is to use a 9×13 inch pan lined with foil, allowing enough overhang to create “handles.” This little trick will make it incredibly easy to lift the baked cookie slab out of the pan for cutting.
- Bake to Perfection: The cookie bars bake up beautifully in about 18-20 minutes, yielding a perfectly golden-brown and delightfully chewy texture. Resist the urge to overbake, as that’s how you maintain their signature chewiness.
- Cool Completely: This step is crucial! Allow the cookie bars to cool entirely before you even think about cutting them. Rushing this step will result in crumbly bars that are difficult to handle. Patience is a virtue when it comes to perfect cookie sticks.
- Cut into Bars and Insert Sticks: Once cooled, use the foil handles to gently lift the entire cookie slab from the pan. Then, carefully cut it into individual bars. These are best around 4 1/2 x 2 inches for a good hand-held size. Gently insert a candy stick or a popsicle stick into one end of each bar.
- Dip and Decorate: Now for the fun part! Melt your white chocolate chips until smooth. Dip each cookie bar, holding it by the stick, into the melted white chocolate, allowing any excess to drip off. Immediately after dipping, generously sprinkle with your red, white, and blue jimmies or other festive sprinkles.
- Set and Enjoy: Place the decorated cookie sticks on wax paper or parchment paper to allow the white chocolate to set completely. This ensures a firm, delicious coating. Once set, they’re ready to be devoured!
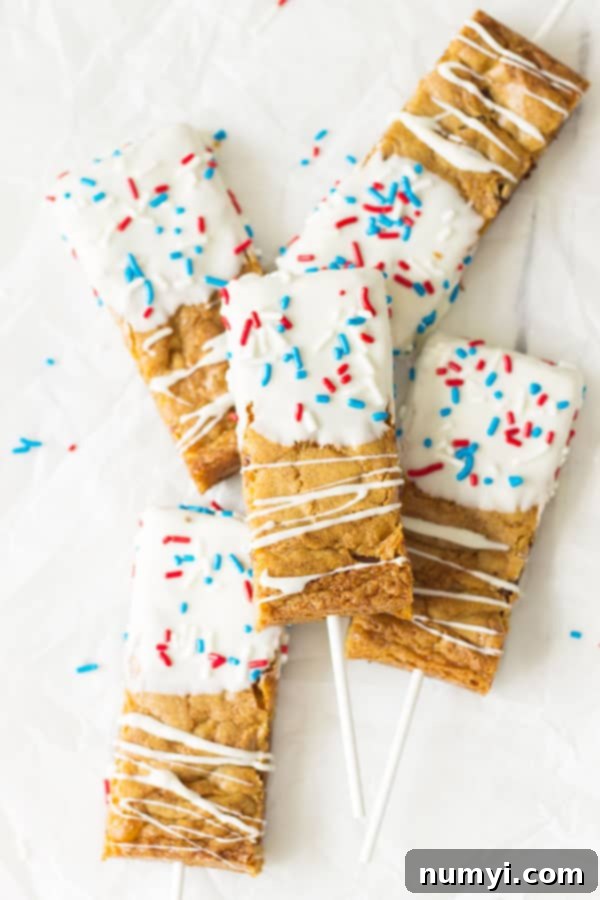
A Treat for All Ages (and a Little Family Update!)
My own kids absolutely adored these cookie sticks, and my husband and I were equally impressed. They truly are a crowd-pleaser for all ages! If you want to get even more creative, consider using red and blue colored sugar in addition to or instead of the jimmies for an extra sparkle and patriotic flair. The possibilities for dressing them up are endless!
Speaking of family, life around here has been full of its usual adventures! We recently celebrated our 4-year-old daughter’s birthday with a delightful, low-key gathering. All she wanted for her special meal was spaghetti, which made this mama very happy because, like these cookie sticks, it’s another easy-peasy meal that everyone loves. It’s those simple joys that truly matter the most.
On another note, our daughter who broke her arm is making fantastic progress. She’s diligently doing her stretching exercises every day and is incredibly determined to get her arm back to normal. The trickiest part is reminding her to be cautious and not fall on it again. I often feel it’s a bit of a lost cause; I’ll tell her to stop running or climb down from somewhere, and two minutes later, she’s right back at it! So, I’ve learned to close my eyes, hope for the best, and maybe just grab another cookie stick to ease my worries. 😉
Fourth of July Cookie Sticks
Ingredients
- 1 1/2 cups packed brown sugar
- 1/2 cup butter melted
- 2 large eggs lightly beaten
- 2 teaspoons vanilla
- 1 1/2 cups all purpose flour
- 1/2 teaspoon baking powder
- 1/4-1/2 teaspoon salt
- 1 cup semi sweet chocolate chips
- 1 1/2 cups white chocolate melting chips or white chocolate chips
- Red white and blue jimmies
- Cookie sticks or popsicle sticks
Instructions
-
Preheat oven to 350 degrees F (175°C). Line a 9×13 baking pan with foil, ensuring enough overlap on the edges to use as handles. This ingenious trick will allow you to effortlessly lift the baked bars out of the pan for cutting. Lightly grease or spray the foil, then set the prepared pan aside.
-
In a large mixing bowl, combine the packed brown sugar, melted butter, lightly beaten large eggs, and vanilla extract. Whisk these wet ingredients together until they are well incorporated and smooth. Next, gradually add in the all-purpose flour, baking powder, and salt. Stir the mixture vigorously until a soft, uniform dough forms, being careful not to overmix. Finally, gently fold in the semi-sweet chocolate chips, distributing them evenly throughout the dough. Spread this delectable mixture into the bottom of your prepared 9×13 inch pan, pressing it down lightly to form an even layer. Bake for 18-20 minutes, or until a toothpick inserted into the center of the bars comes out clean. The edges should be lightly golden. Once baked, remove the pan from the oven and allow the cookie bars to cool completely to room temperature before attempting to cut them. This step is crucial for clean, sturdy bars.
-
Once the cookie bars are entirely cooled, carefully use the foil handles to lift the entire slab of cookie out of the baking pan and place it on a cutting board. Using a sharp knife, cut the large cookie slab into 12 individual bars, each approximately 4 1/2 x 2 inches in size. Gently insert a cookie stick or popsicle stick into the bottom of each bar. These sticks will serve as convenient handles for dipping and enjoying your festive treats. Set the prepared cookie sticks aside while you prepare the chocolate coating.
-
Place the white chocolate melting chips (or regular white chocolate chips) in a microwave-safe bowl. Heat the chocolate in the microwave in short 15-second intervals, stirring thoroughly after each interval. Continue this process until the white chocolate is completely melted and smooth. Be careful not to overheat the chocolate, as it can seize. Once melted, dip each cookie bar into the white chocolate, ensuring it’s evenly coated. Allow any excess chocolate to drip back into the bowl. Immediately after dipping, generously sprinkle the wet white chocolate with red, white, and blue jimmies or your chosen festive sprinkles. Place the decorated cookie sticks on a sheet of wax paper or parchment paper. Let them stand at room temperature or chill briefly in the refrigerator until the white chocolate coating is completely set and firm.
Expert Tips for Perfect Patriotic Cookie Sticks
- Don’t Overbake the Cookie Base: For truly chewy cookie bars, keep a close eye on the baking time. They should be just set and slightly golden around the edges, but still soft in the center. They will continue to cook slightly as they cool.
- Cool Completely is Key: As mentioned, rushing the cooling process will make your bars fragile and difficult to cut. For best results, allow them to cool for at least an hour, or even pop them in the refrigerator for 20-30 minutes after they’ve cooled to room temperature.
- Use Quality White Chocolate: White chocolate melting chips (also known as candy melts or confectionery coating) are often easier to work with than regular white chocolate chips as they melt smoother and set more quickly. If using regular white chocolate chips, add a teaspoon of coconut oil or shortening to help achieve a smoother consistency for dipping.
- Melt Chocolate Carefully: White chocolate can be finicky. Melt it in short bursts in the microwave, stirring well after each. Overheating will cause it to seize and become clumpy. Alternatively, use a double boiler for a gentler melting process.
- Sprinkle Immediately: Once dipped, the white chocolate will start to set quickly. Have your sprinkles ready and apply them immediately for best adhesion and the brightest colors.
- Clean Cuts: For neat bars, use a sharp, non-serrated knife. You can even run the knife under hot water and wipe it dry between cuts to prevent sticking.
Creative Variations & Customization Ideas
While the classic red, white, and blue sprinkles are perfect for the Fourth of July, these cookie sticks can be adapted for any holiday or occasion:
- Different Sprinkles: Use green and red for Christmas, pastels for Easter, orange and black for Halloween, or rainbow sprinkles for birthdays!
- Colored Candy Melts: Instead of plain white chocolate, use colored candy melts (red or blue would be fantastic for a patriotic theme!) or tint your white chocolate with oil-based food coloring.
- Flavor Extracts: Add a drop of peppermint, almond, or orange extract to your melted white chocolate for an extra flavor boost.
- Nutty Crunch: Before the white chocolate sets, sprinkle with finely chopped nuts like pecans or walnuts for added texture.
- Drizzle Fun: Drizzle contrasting melted chocolate (milk or dark) over the white chocolate for an elegant touch.
Storing Your Festive Treats
These Fourth of July Cookie Sticks are best enjoyed fresh, but they can be stored in an airtight container at room temperature for up to 3-4 days. If you want to keep them longer, you can refrigerate them for up to a week. For longer storage, you can freeze the undecorated cookie bars in an airtight container for up to 3 months. Thaw them at room temperature, then dip and decorate as desired.
A Final Word on Celebrating the Fourth
The Fourth of July is a time for celebration, reflection, and, of course, delicious food! These cookie sticks embody the festive spirit of the holiday perfectly. They’re simple to make, a joy to eat, and visually stunning. Whether you’re hosting a grand celebration or a cozy family gathering, these patriotic cookie sticks will undoubtedly be a memorable part of your holiday spread.
So, gather your ingredients, enlist some eager helpers (especially for the sprinkling part!), and get ready to create a truly special treat that celebrates freedom with every bite. Happy Fourth of July!
