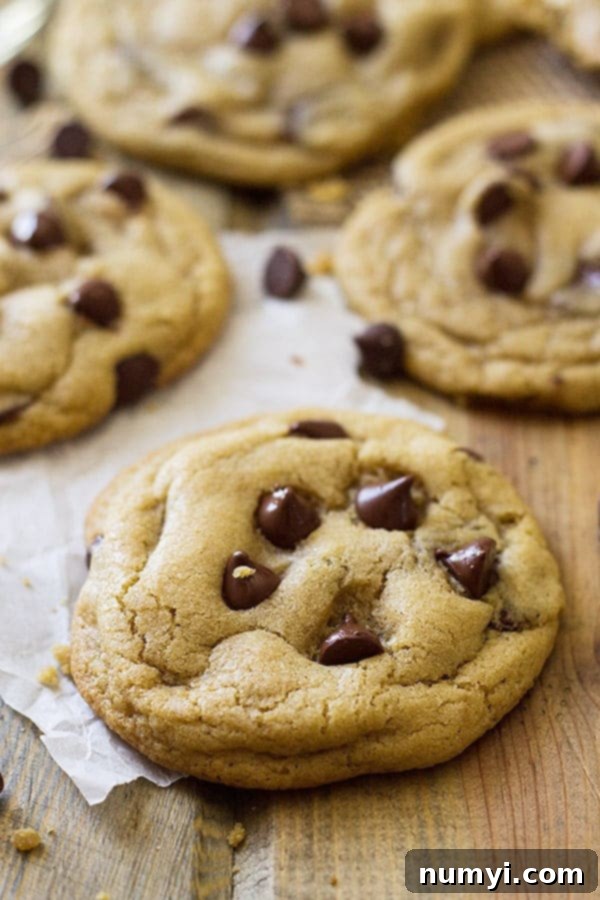
Irresistibly Soft & Chewy No Chill Chocolate Chip Cookies: Your New Favorite Recipe
Discover the secret to perfectly soft, wonderfully chewy, and incredibly delicious chocolate chip cookies that require absolutely no chilling time! This fool-proof recipe is packed with rich chocolate chips, comforting vanilla, and the deep sweetness of brown sugar, making it an instant classic in your kitchen. Get ready to bake the best homemade chocolate chip cookies with crispy edges and gooey centers, faster than ever before.
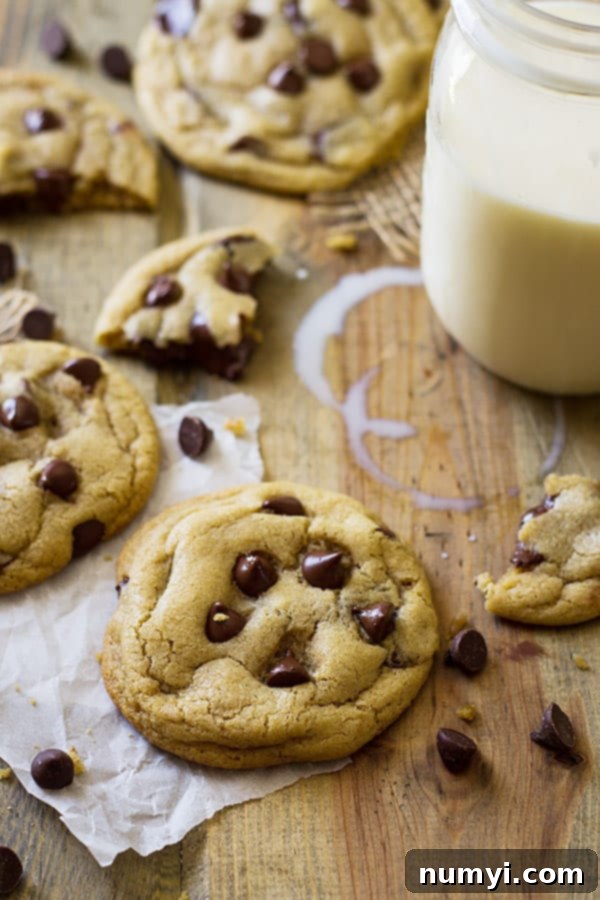
There’s something truly magical about a freshly baked chocolate chip cookie. The aroma filling your home, the anticipation of that first bite, and the blissful combination of warm, melting chocolate and soft, chewy dough – it’s pure comfort in cookie form. Whether it’s a mid-afternoon pick-me-up, a late-night treat, or a delightful dessert after a meal, a soft and chewy cookie is always a welcome indulgence. While many recipes demand patience, requiring you to chill your dough for hours, this incredible “no chill” version brings you all the joy and deliciousness without the wait. Say goodbye to delayed gratification and hello to instant cookie satisfaction!
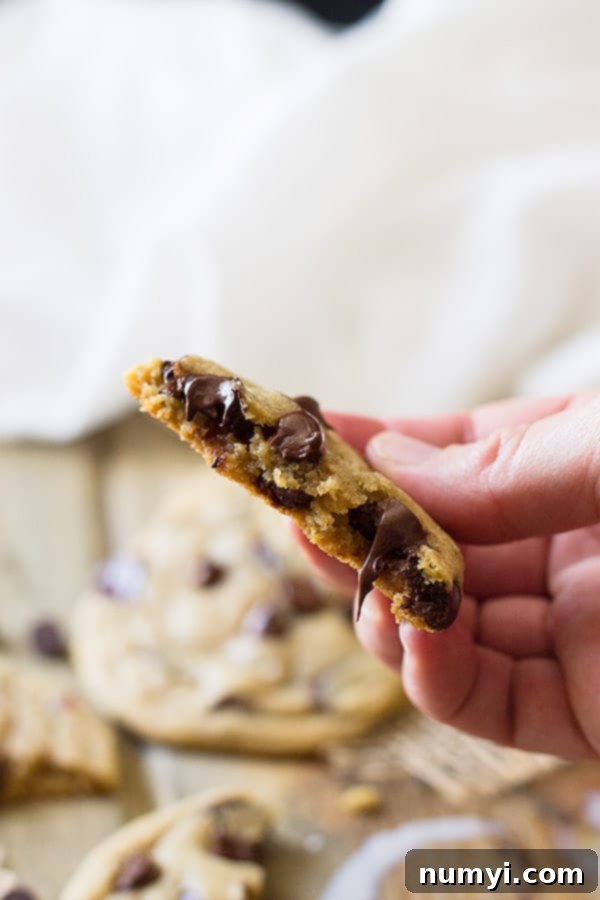
Why You’ll Adore This No Chill Cookie Recipe
This recipe isn’t just another chocolate chip cookie recipe; it’s a game-changer. Here’s why these cookies will become your new go-to:
- No Chilling Required: Instant Gratification! The most exciting part of this recipe is undoubtedly the elimination of the chilling step. We all know that feeling when a sudden craving for warm, homemade cookies hits, only to be thwarted by a recipe that demands hours of refrigeration. With these cookies, you can mix the dough and bake it immediately, satisfying those urgent cravings without delay. It’s perfect for impromptu baking sessions or when you need a quick dessert.
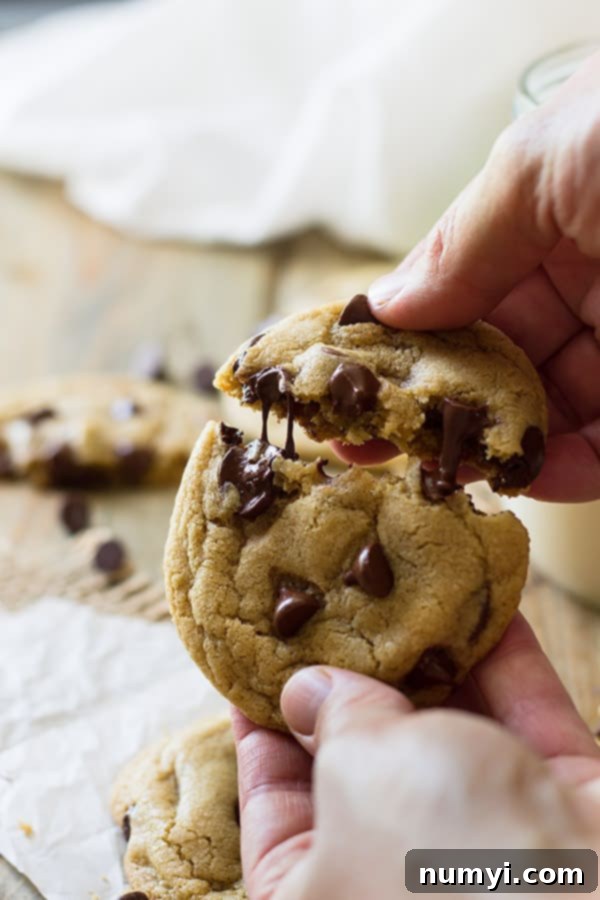
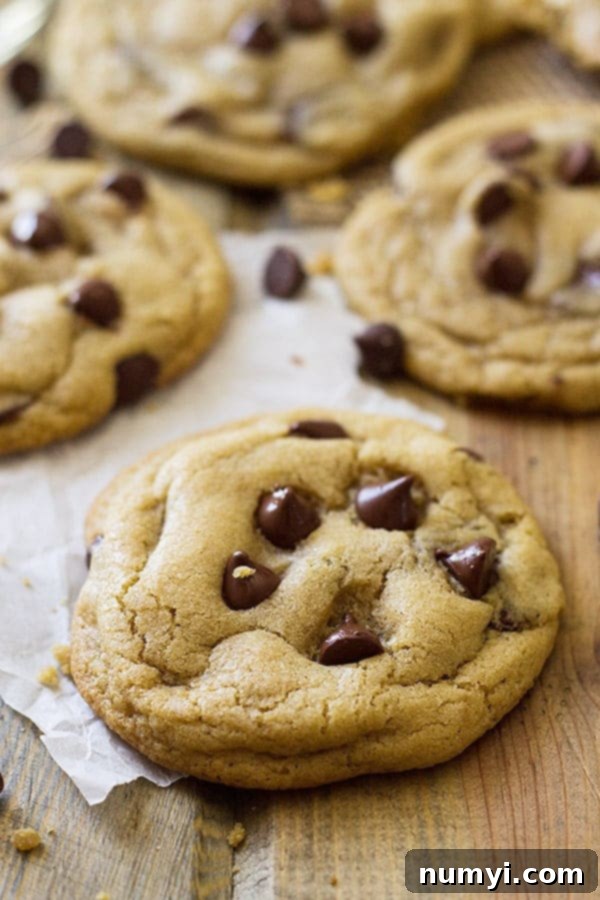
- Perfect Texture: Crispy Edges, Soft & Chewy Centers. These cookies achieve the coveted perfect texture balance. The edges bake up beautifully golden and slightly crisp, offering a delightful contrast to the incredibly soft, moist, and wonderfully chewy centers. Each bite is a harmonious blend of textures, making them utterly irresistible, especially when paired with a cold glass of milk.
- Incredibly Easy to Make: Beginner-Friendly. Even if you’re new to baking, this recipe is designed for success. With straightforward, step-by-step instructions, you’ll be guided through the process to achieve professional-tasting cookies every single time. It uses common pantry ingredients and simple techniques, proving that extraordinary cookies don’t require extraordinary effort.
- Rich, Deep Flavor Profile. Beyond the texture, the flavor is phenomenal. The combination of brown and white sugar creates a complex sweetness, while real vanilla extract elevates the overall taste. And, of course, a generous amount of chocolate chips ensures a burst of rich, melty goodness in every mouthful.
- Customizable and Versatile. This recipe serves as a fantastic base. Feel free to experiment with different types of chocolate, add nuts, or even a sprinkle of sea salt on top for an extra layer of flavor. They’re perfect for any occasion, from casual family desserts to impressive treats for guests.
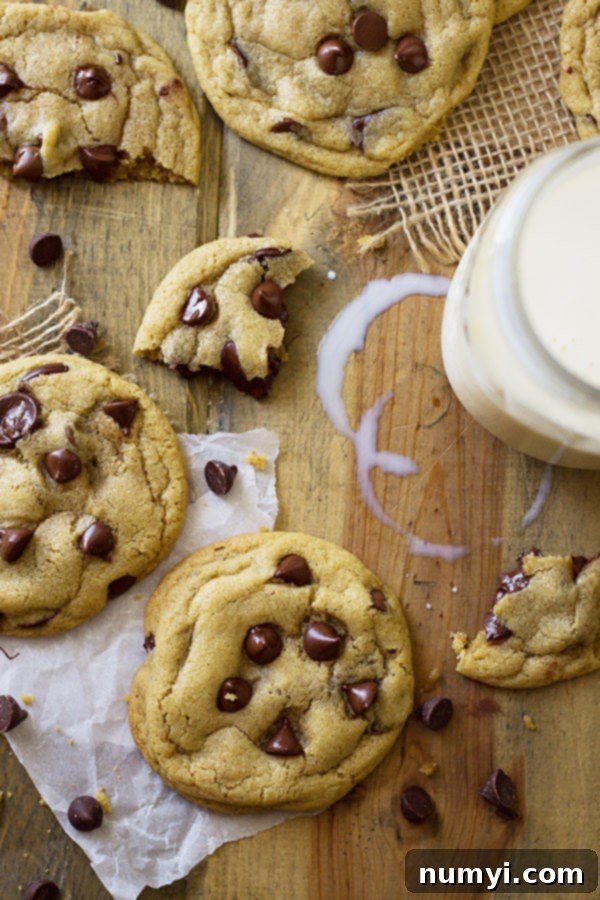
Essential Ingredients for Perfect Cookies
The beauty of these chewy chocolate chip cookies lies in their simplicity, using everyday ingredients you likely already have on hand. Each component plays a crucial role in creating the ultimate soft and chewy texture and rich flavor:
- BUTTER: For this recipe, melted butter is key. It helps to achieve that wonderfully chewy texture and spreads the flavors evenly throughout the dough. However, ensure your butter isn’t too hot, as this can affect the dough’s consistency and the final cookie texture. Just melted and slightly cooled is ideal. Using unsalted butter allows you to control the salt content precisely.
- SUGAR (Brown & White): We use a dynamic duo of sugars here – both brown and white granulated sugar. White sugar contributes to the crispy edges and slight spread, while brown sugar is the real star for moisture, chewiness, and a deeper, caramel-like flavor. You can use either light or dark brown sugar; dark brown sugar will impart an even richer, more molasses-like taste. Do not skip the brown sugar, as it is essential for the soft, moist texture of these cookies.
- EGG: A large egg acts as a binder, holding all the ingredients together, and is crucial for the cookies’ structure. It also contributes significantly to that delightful chewiness that everyone loves in a chocolate chip cookie. Ensure your egg is at room temperature for better incorporation into the batter.
- VANILLA EXTRACT: For optimal flavoring, a good quality vanilla extract is indispensable. It enhances all the other flavors, adding a warm, aromatic depth that makes these cookies truly special. Real vanilla extract offers a much richer flavor than artificial varieties.
- ALL-PURPOSE FLOUR: Standard all-purpose flour is used here. It provides the structure for the cookies. I haven’t tested this recipe with other types of flour, so for best results, stick with all-purpose. Unbleached flour works perfectly fine. Proper measurement of flour is critical to avoid dry, crumbly cookies, so use the spoon-and-level method.
- BAKING SODA: This leavening agent helps the cookies rise slightly and contributes to their soft, tender texture. It reacts with the acidic brown sugar to create the perfect lift.
- SALT: A pinch of salt is vital to balance the sweetness and enhance all the other flavors, particularly the chocolate. Don’t underestimate its importance; it brings out the best in every ingredient.
- CHOCOLATE CHIPS: The heart of any chocolate chip cookie! I recommend using a combination of both dark and milk chocolate chips for a more complex and satisfying chocolate experience. The different melting points and sweetness levels create a richer depth of flavor. However, feel free to use your favorite variety – semi-sweet, milk, or even white chocolate chips will work beautifully.
How to Bake No Chill Soft Chocolate Chip Cookies: Step-by-Step Guide
Creating these delightful no-chill cookies is surprisingly simple and incredibly rewarding. Follow these easy steps to achieve perfect results every time:
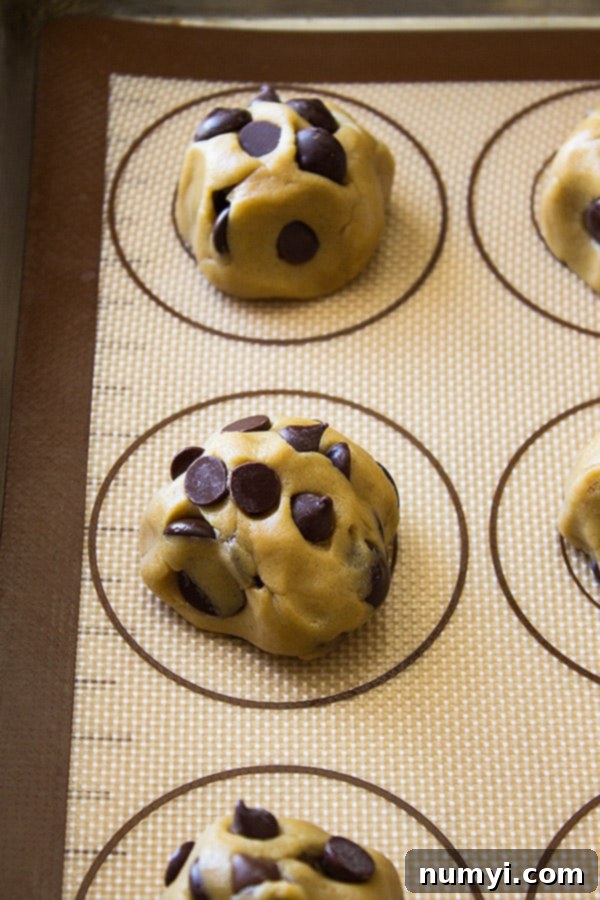
- Prepare Your Oven and Baking Sheet: First, preheat your oven to 350°F (175°C). Line a baking sheet with parchment paper or a silicone baking mat. This prevents sticking and ensures even baking, making cleanup a breeze.
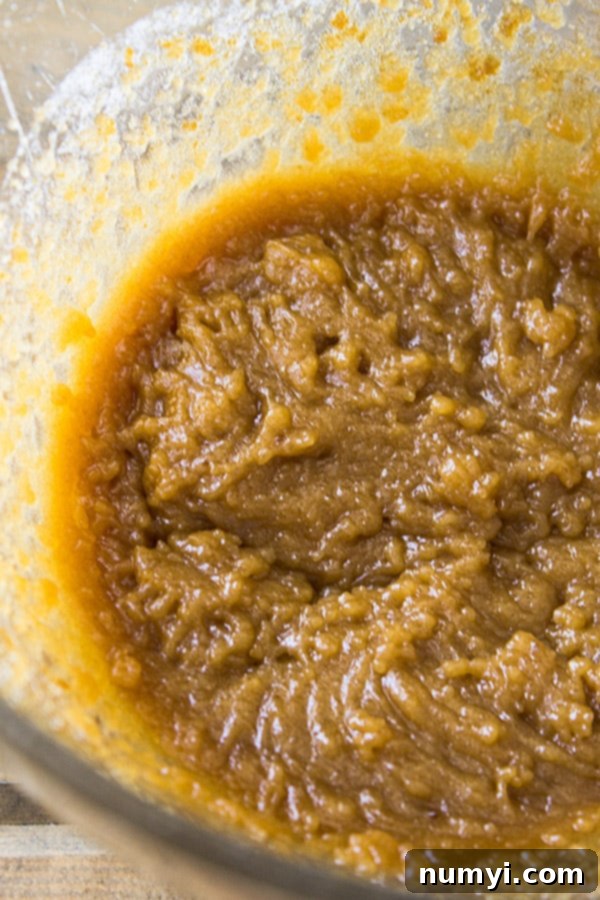
- Cream Butter and Sugars: In a large mixing bowl, combine the melted butter, brown sugar, and white granulated sugar. Using a hand mixer or a stand mixer, cream these ingredients together for 1-2 minutes until light and fluffy. This crucial step incorporates air into the mixture, which helps give your cookies a slight lift and a tender texture. Make sure the butter isn’t too hot, or it might melt the sugars instead of creaming them.
- Incorporate Wet Ingredients: Add the large egg and vanilla extract to the creamed butter and sugar mixture. Mix just until the egg is fully combined, being careful not to overmix. Overmixing at this stage can lead to tough cookies. Scrape down the sides of the bowl to ensure everything is well incorporated.
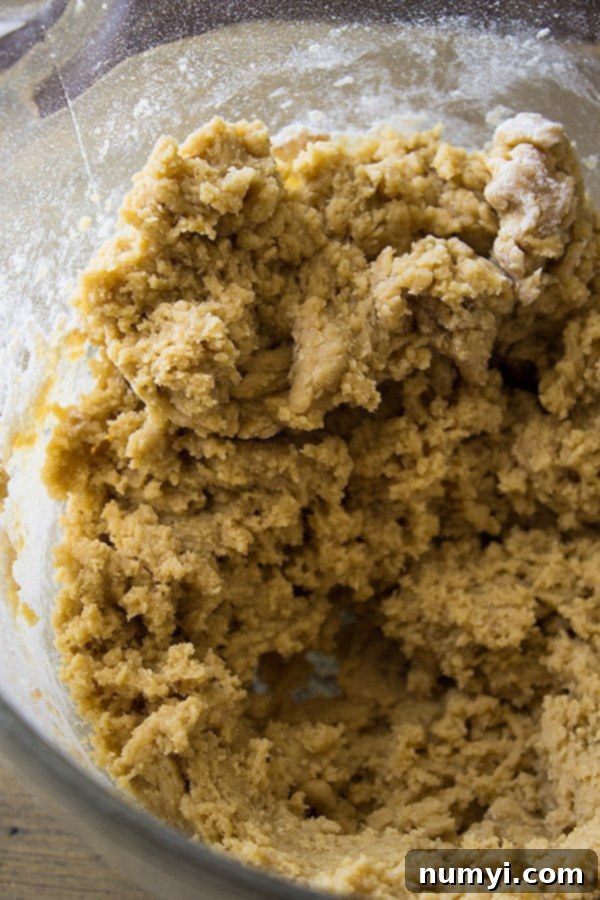
- Add Dry Ingredients: In a separate bowl, whisk together the all-purpose flour, baking soda, and salt. Gradually add these dry ingredients to the wet mixture, mixing on low speed until just combined. Stop mixing as soon as you no longer see streaks of flour. The dough will be thick and might still be slightly sticky, which is perfectly normal for a no-chill recipe. If it’s too sticky to handle, you can add a tiny bit more flour, a tablespoon at a time, until it’s workable but not dry.
- Fold in Chocolate Chips: Finally, gently fold in your chocolate chips by hand using a spatula or with a few quick pulses of your mixer. You want them evenly distributed throughout the dough.
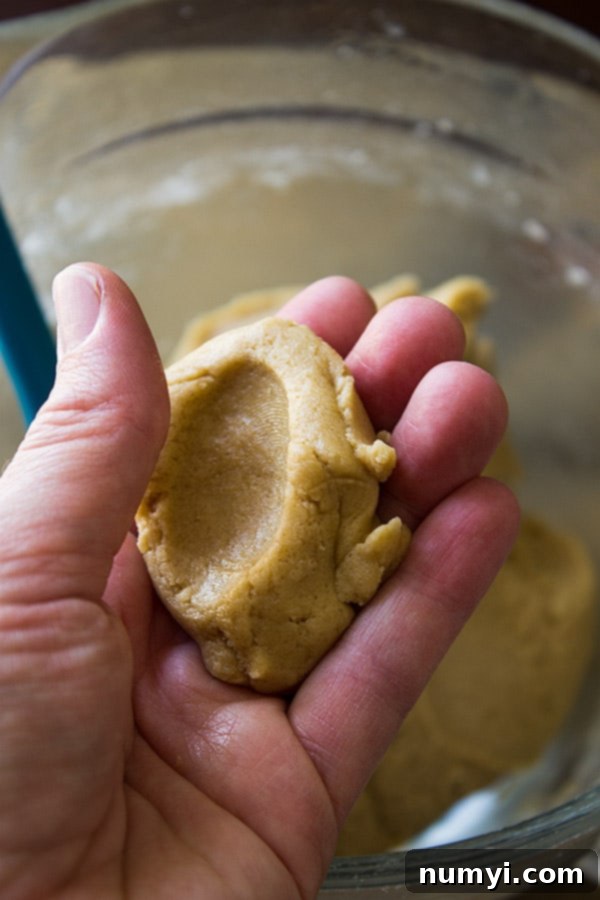
- Shape and Bake: Roll the dough into roughly 2-inch cookie balls. For consistent size and even baking, consider using a cookie scoop. Place the dough balls at least 2 inches apart on your prepared baking sheet. This ensures they have enough space to spread without merging.
- Bake to Perfection: Bake for 10-12 minutes, or until the edges are lightly golden brown and the centers still look slightly underdone and puffy. Remember, cookies continue to cook as they cool, so pulling them out when they look slightly “underbaked” is the secret to their incredible chewiness.
- Cool and Enjoy: Once baked, remove the baking sheet from the oven and let the cookies cool on the sheet for 5-10 minutes. This allows them to set up properly and finish cooking without becoming dry. Then, transfer them to a wire rack to cool completely, if you can resist eating them warm!
Pro Tips for the Best No Chill Cookies:
- Measuring Flour: Use the spoon-and-level method. Spoon flour into your measuring cup and then level it off with a straight edge. Don’t scoop directly from the bag, as this compacts the flour and can result in too much flour, leading to dry cookies.
- Room Temperature Egg: A room temperature egg emulsifies better with the butter and sugar, creating a smoother, more uniform dough. If you forget to take it out, place the egg in a bowl of warm water for 5-10 minutes.
- Don’t Overbake: This is crucial for soft and chewy cookies! The centers might look a little doughy when you pull them out, but they will firm up as they cool. Overbaking is the quickest way to end up with hard, dry cookies.
- Customize Your Chips: Feel free to mix and match chocolate chips (dark, milk, white, semi-sweet). You can also add other mix-ins like chopped nuts, toffee bits, or a sprinkle of flaky sea salt on top before baking for an elevated flavor.
- Storage: Store cooled cookies in an airtight container at room temperature for up to 5 days to maintain their freshness and chewiness.
Frequently Asked Questions (FAQs)
Absolutely, and this recipe proves it! While chilling cookie dough is often recommended to prevent spreading and deepen flavors, it’s not always necessary. This specific recipe is formulated to produce beautifully tender, soft, and chewy cookies without any chilling time, making it perfect for when you need a quick batch of homemade treats.
Yes, they do! This is a natural process as the fats and sugars solidify. To ensure your cookies remain wonderfully chewy, it’s essential to remove them from the oven when they are still slightly underbaked in the center. They will continue to “cook” and set on the hot baking sheet, achieving that perfect soft and gooey interior as they cool down. If you bake them until fully firm in the oven, they will likely become hard and crisp once cooled.
There are a few key secrets to achieving that desired super soft and chewy texture! Firstly, using a combination of brown sugar and white sugar is crucial; brown sugar adds significant moisture due to its molasses content, which contributes to chewiness. Secondly, not overbaking is paramount – pull the cookies from the oven when the edges are set but the centers still look slightly undone. Allowing them to cool on the warm baking sheet for 5-10 minutes after baking also helps them set properly without drying out. Finally, using melted butter (not hot!) can also contribute to a chewier texture compared to creamed softened butter.
To keep your freshly baked no-chill chocolate chip cookies soft and delicious, store them in an airtight container at room temperature. They will stay fresh and moist for up to five days. For longer storage, you can freeze baked cookies in a freezer-safe bag or container for up to six months. You can also freeze raw cookie dough balls; simply place them on a baking sheet to freeze solid, then transfer to a freezer bag. Bake frozen dough balls for an extra minute or two without thawing.
If your cookies turned out hard or crumbly instead of soft and chewy, several factors might be at play. The most common reasons include: Overmixing the dough (which develops too much gluten, making cookies tough), Overbaking the cookies (even a minute or two can make a huge difference, leading to dry results), or Improperly measuring ingredients (especially flour and sugar). Too much flour will make them dense, while too little brown sugar will reduce moisture. Ensure your oven temperature is accurate by using an oven thermometer, as an oven running too hot can also lead to overbaking. Learning to recognize the visual cues for perfectly baked cookies (golden edges, slightly pale center) is key.
Creative Serving Ideas for Your Cookies
These soft and chewy no-chill chocolate chip cookies are delightful on their own, but they also make a fantastic base for various desserts and treats:
- Classic with Milk: The timeless pairing! A tall, cold glass of milk perfectly complements the rich sweetness of the cookies.
- Warm with Vanilla Ice Cream: Serve a warm cookie with a scoop of your favorite vanilla (or even coffee or caramel) ice cream. The contrast of warm and cold, and the melting ice cream, is pure bliss.
- Decadent Milkshake Addition: Crumble a few cookies into a vanilla or chocolate milkshake for an extra layer of texture and flavor.
- Homemade Cookie Ice Cream Sandwiches: Take two cooled cookies and sandwich a generous scoop of ice cream in between. Roll the edges in sprinkles or mini chocolate chips for an extra festive touch.
- Coffee or Tea Companion: Enjoy them with your morning coffee or a soothing cup of tea for a delightful breakfast or afternoon snack.
- S’mores Inspired: Top a warm cookie with a toasted marshmallow and an extra piece of chocolate for a quick and easy s’mores experience.
Related Delicious Cookie Recipes to Try
If you loved these no-chill cookies, you might want to explore other delightful cookie creations from our kitchen:
- Monster Cookies
- Cinnamon Roll Cookies
- No Chill Chocolate Chip Cookies for Two
- White Chocolate Chip Cranberry Cookies
- Chocolate Chip Oatmeal Cookies
No Chill Soft Chocolate Chip Cookies

Ingredients
- ½ cup butter melted (not hot)
- ½ cup packed brown sugar light or dark, essential for moisture
- ⅓ cup white sugar
- 1 large egg at room temperature
- ½ tablespoon real vanilla extract
- 1 ½-1 ⅓ cup all purpose flour use the spoon-and-level method, adjust if dough is too sticky
- ½ teaspoon baking soda
- ¼ – ½ teaspoon salt adjust to your preference, fine sea salt works great
- ⅔ cup chocolate chips mix of dark and milk chocolate for best flavor
Instructions
-
Preheat your oven to 350 degrees F (175°C). Line a baking sheet with parchment paper or a silicone baking mat.
-
In a large bowl, cream together the melted butter (ensure it’s not hot), packed brown sugar, and white sugar for 1-2 minutes until the mixture is light and fluffy. You can use a hand mixer or a stand mixer for this step. Add in the room temperature egg and vanilla extract. Mix just until the egg is fully combined, scraping down the sides of the bowl as needed. Avoid overmixing.
-
In a separate bowl, whisk together the all-purpose flour, baking soda, and salt. Gradually add these dry ingredients to the wet mixture, mixing on low speed until just combined. The dough should be thick and may still be slightly sticky, which is ideal for a no-chill recipe. If it feels too wet to handle, add a tablespoon more flour at a time until it’s pliable. However, if it sticks just slightly to your fingers when rolling, that’s perfectly fine – it shouldn’t make a complete mess.
-
Gently fold in the chocolate chips, either by hand with a spatula or with a few quick pulses of your mixer, ensuring they are evenly distributed. Roll the dough into uniform 2-inch cookie balls and place them at least 2 inches apart on your prepared baking sheet. Bake for 10-12 minutes, or until the edges are lightly golden brown and the centers still appear slightly underdone and puffy. This ensures a soft and chewy interior. Leave the baked cookies on the baking sheet for 5-10 minutes to set before carefully transferring them to a wire rack to cool completely. They may look puffy right out of the oven but will settle as they cool.
Video
Notes
- Store these freshly baked cookies in an airtight container at room temperature for up to 5 days to maintain their soft and chewy texture.
- Make ahead & freezing tips: You can prepare the cookie dough up to 4 days in advance and store it in the refrigerator. Allow it to come to room temperature for about 30 minutes before rolling into balls and baking. Baked cookies freeze exceptionally well for up to 3 months when stored in a freezer-safe bag or container. Unbaked cookie dough balls can also be frozen for up to 3 months; simply freeze them on a baking sheet until solid, then transfer to a freezer bag. Bake frozen dough balls directly from the freezer, adding an extra minute or two to the baking time – no need to thaw!
