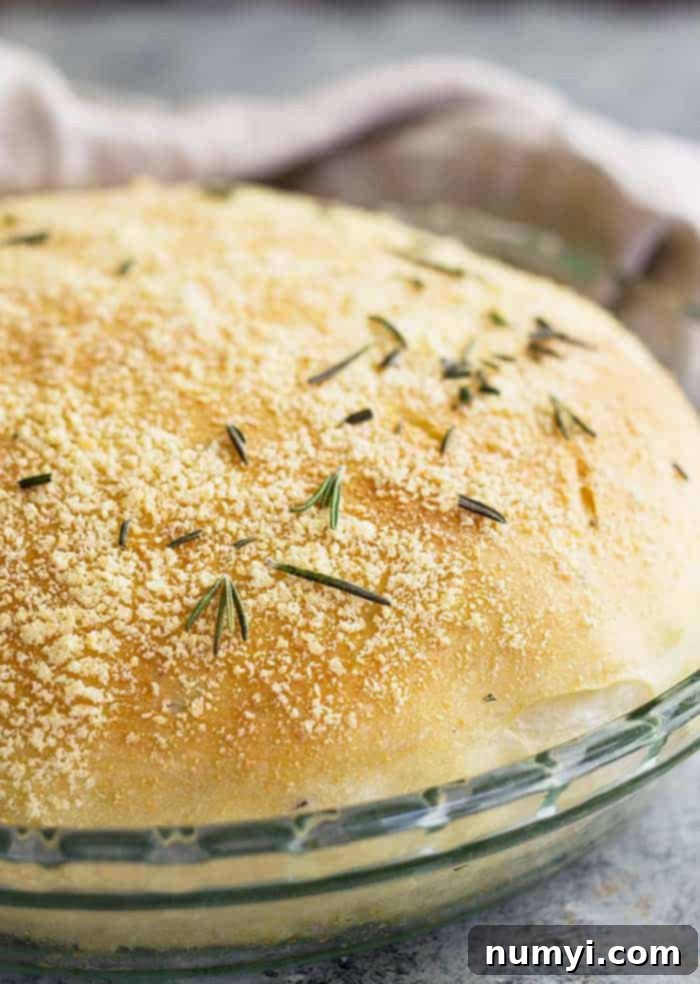
The Ultimate Guide to Baking Irresistible Rosemary Parmesan Bread
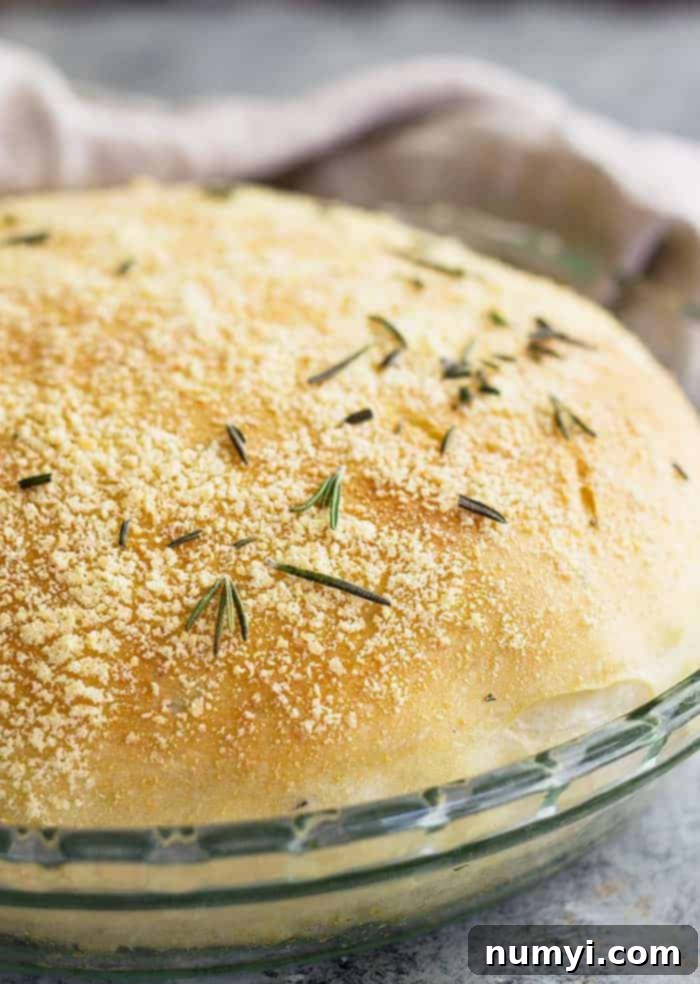
Elevate your dinner table with a loaf of homemade Rosemary Parmesan Bread! This simple yet incredibly flavorful yeast bread is generously studded with aromatic fresh rosemary and crowned with a hearty sprinkle of rich Parmesan cheese. It’s not just a side; it’s a culinary experience that pairs beautifully with almost any meal.
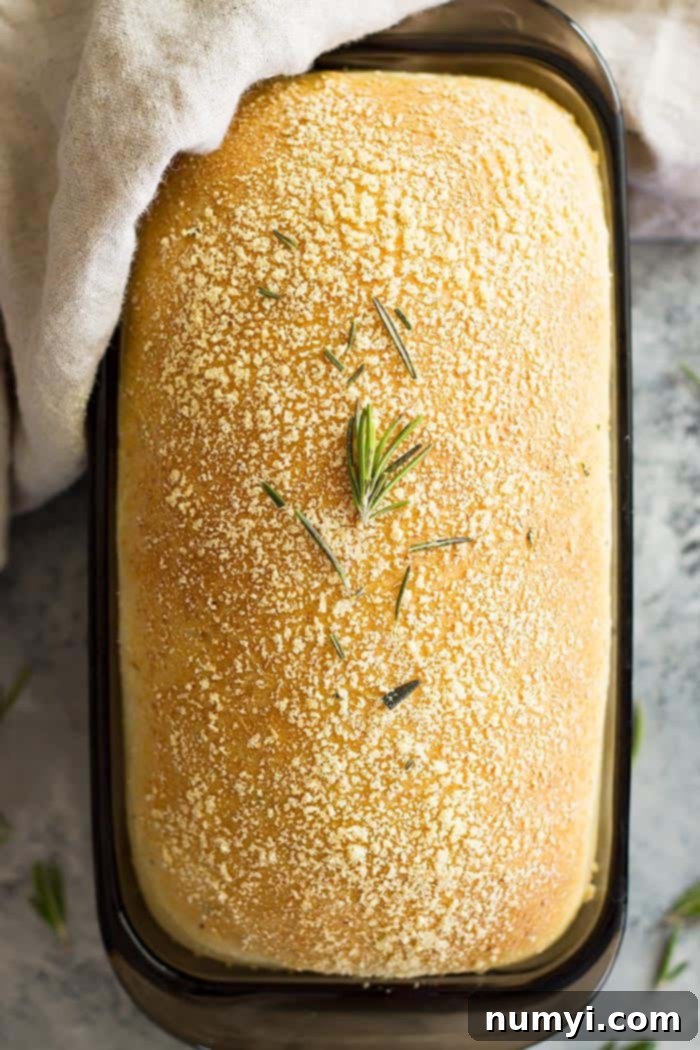
There’s a special kind of comfort that comes with baking homemade bread, and this Rosemary Parmesan Bread holds a truly cherished spot in my heart (though, let’s be honest, almost any fresh bread does!). It feels almost criminal that I haven’t shared this incredible recipe sooner. My first unforgettable encounter with this herb-infused delight was at my Grandma’s house during a family visit. From that very first bite, its unique blend of savory flavors and tender texture instantly captivated me, solidifying its place as an all-time favorite.
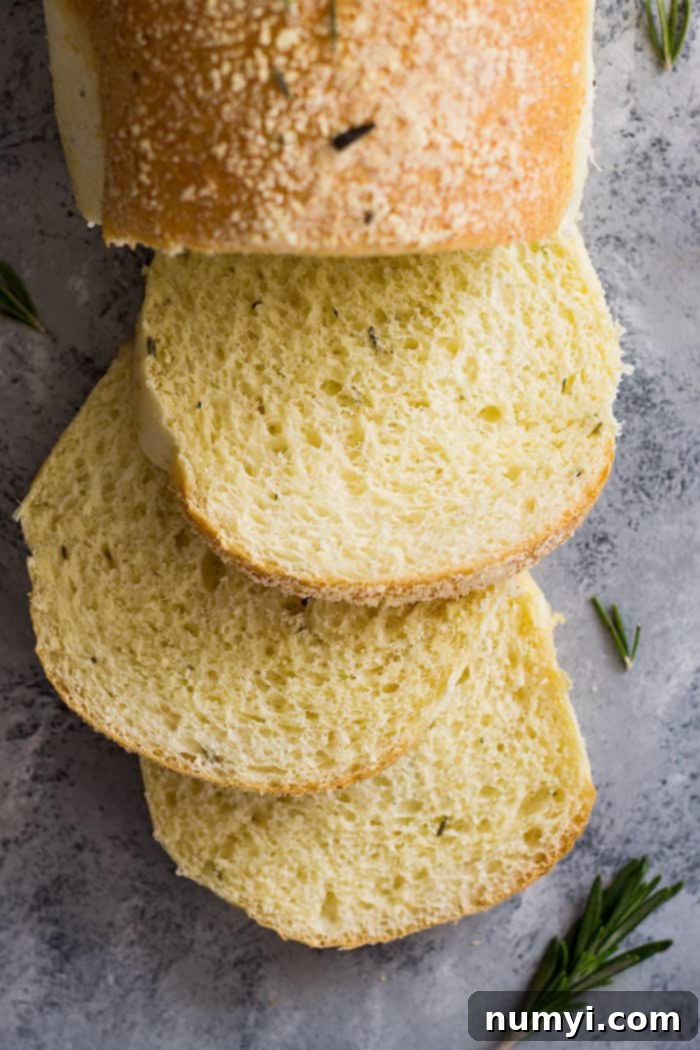
This isn’t just an ordinary loaf of bread. This rosemary bread recipe yields a loaf that is remarkably light, wonderfully fluffy, and delightfully airy, yet bursting with profound flavor from the fresh rosemary and sharp Parmesan cheese. The aroma alone as it bakes will fill your home with an inviting warmth that no store-bought bread can replicate. If you’re on the hunt for more sensational homemade bread recipes to add to your repertoire, I highly recommend trying our Cinnamon Swirl Bread for a sweet treat, or our Whole Wheat Oatmeal Bread, which is absolutely perfect for wholesome sandwiches. For those days when you’re short on time or simply prefer a no-yeast option, don’t miss our classic Traditional Irish Soda Bread and the surprisingly simple Beer Bread.
Why You’ll Fall in Love with This Rosemary Parmesan Bread Recipe
- Minimal Ingredients, Maximum Flavor: You’ll be amazed at the depth of flavor achieved with only 10 readily available ingredients. This simplicity makes it a fantastic choice for both seasoned bakers and newcomers alike.
- Effortless Baking Process: Our step-by-step instructions are designed to be incredibly easy to follow, ensuring a successful and enjoyable baking experience from start to finish. You don’t need to be a bread expert to achieve a perfect loaf.
- Perfect for Any Gathering: Whether you’re hosting a dinner party, a casual brunch, or simply enjoying a family meal, this Rosemary Parmesan Bread is an impressive and versatile addition that always receives rave reviews. It’s ideal for entertaining guests with minimal stress.
- Unforgettable Flavor Profile: The harmonious combination of fresh, pungent rosemary and sharp, salty Parmesan cheese creates a truly captivating taste that elevates any dish it accompanies. Every bite is a delightful explosion of savory goodness.
- A Holiday Table Essential: Its vibrant flavors and comforting aroma make this bread a particular favorite during the holiday season. It’s the perfect accompaniment to festive roasts and elaborate spreads, adding a touch of homemade elegance.
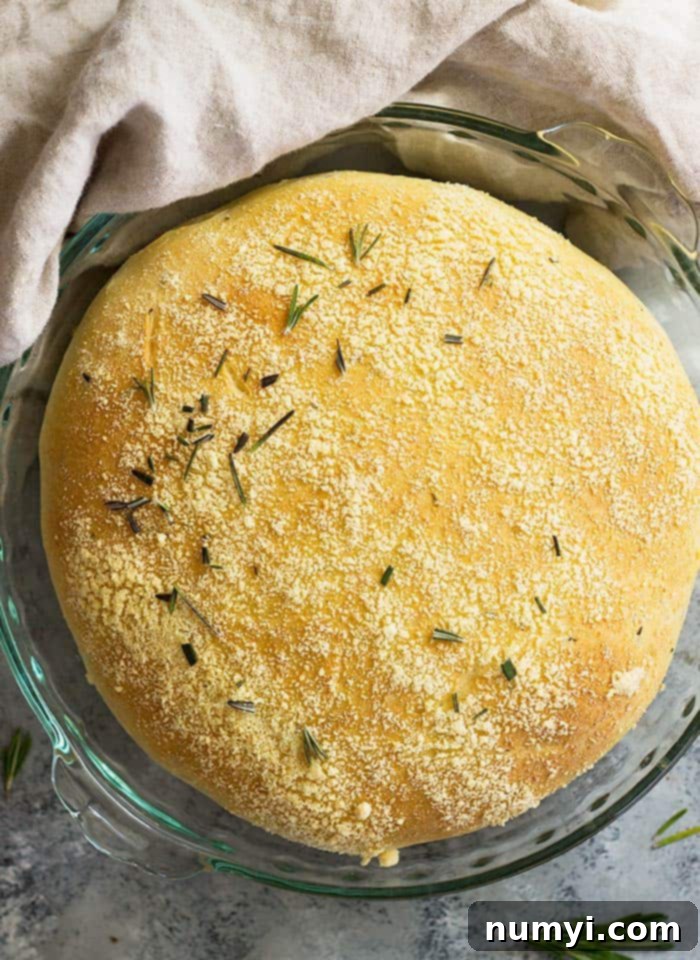
How To Master Baking This Parmesan Cheese and Rosemary Bread
Baking homemade bread might seem intimidating, but with this recipe, it’s a straightforward and rewarding process. Follow these simple steps to create your own perfect loaf of Rosemary Parmesan Bread.
Step 1: Combine the Dry and Wet Ingredients
Start by combining the measured flour and yeast in a large mixing bowl, preferably one compatible with a stand mixer. This ensures an even distribution of the leavening agent. Next, add the sugar, finely minced fresh rosemary, and salt to the dry mixture. Stir these dry ingredients thoroughly until they are well combined, creating a fragrant base. In a separate saucepan or microwave-safe bowl, gently warm the milk and butter until it reaches approximately 120 degrees Fahrenheit (49 degrees Celsius) – it should be warm to the touch but not scalding. Gradually pour this warmed milk mixture into the dry ingredients, along with one lightly beaten egg. Stir slowly with a spoon or on the lowest speed of your stand mixer until just combined. Overmixing at this stage can develop gluten too quickly and result in a tough bread.
Step 2: Knead the Dough and Allow for Its First Rise
Attach the dough hook to your stand mixer. If the dough appears too sticky, add a little more flour, one tablespoon at a time, until it forms a firm but slightly tacky ball that pulls away from the sides of the bowl. Knead the dough on low speed for about 5 minutes. This kneading process is crucial for developing the gluten, which gives the bread its structure and chewy texture. Once adequately kneaded, cover the dough bowl with plastic wrap or a clean kitchen towel and place it in a warm, draft-free spot. Allow it to rise until it has visibly doubled in size, which typically takes about 1 hour, depending on the warmth of your environment.
Step 3: Shape the Loaves and Prepare for the Second Rise
While your dough is rising, prepare your loaf pans. Drizzle 2 tablespoons of olive oil into two 9×5-inch loaf pans (or two deep-dish pie plates for round loaves) and use your hands or a pastry brush to ensure the entire interior surface is well-greased. Once your dough has doubled, gently punch it down to release the trapped air. Transfer the dough to a lightly floured work surface. Divide the dough into two equal portions. For traditional loaf pans, roll each dough ball into a rectangle measuring approximately 14×7 inches. Starting from one of the shorter sides, tightly roll up the dough and seal the end by firmly pinching the seams together. Place the rolled dough, seam-side down, into one of the greased loaf pans. Repeat this process for the second portion of dough. If using pie plates, simply press each dough portion into a large, even circle to fit the plate.
Once the dough is in the pans, I like to gently flip each loaf once or twice to ensure both sides are coated with the olive oil from the greased pan. This not only adds flavor but also helps the Parmesan cheese adhere better. Sprinkle a generous amount of Parmesan cheese over the top of each loaf. Cover the pans again and let them rise in a warm place until they have nearly doubled in size once more. This second rise contributes to the bread’s airy and soft texture.
Step 4: Bake to Golden Perfection
While your bread is undergoing its second rise, preheat your oven to 350 degrees Fahrenheit (175 degrees Celsius). Once the loaves have risen sufficiently, place them in the preheated oven. Bake for approximately 25-30 minutes, or until the crust is a beautiful golden brown and the internal temperature reaches 200-210 degrees Fahrenheit (93-99 degrees Celsius). A fully baked loaf will sound hollow when tapped on the bottom. Carefully remove the loaves from the oven and transfer them to a wire rack to cool slightly before slicing. Serve warm and enjoy the incredible aroma and taste of your homemade Rosemary Parmesan Bread!
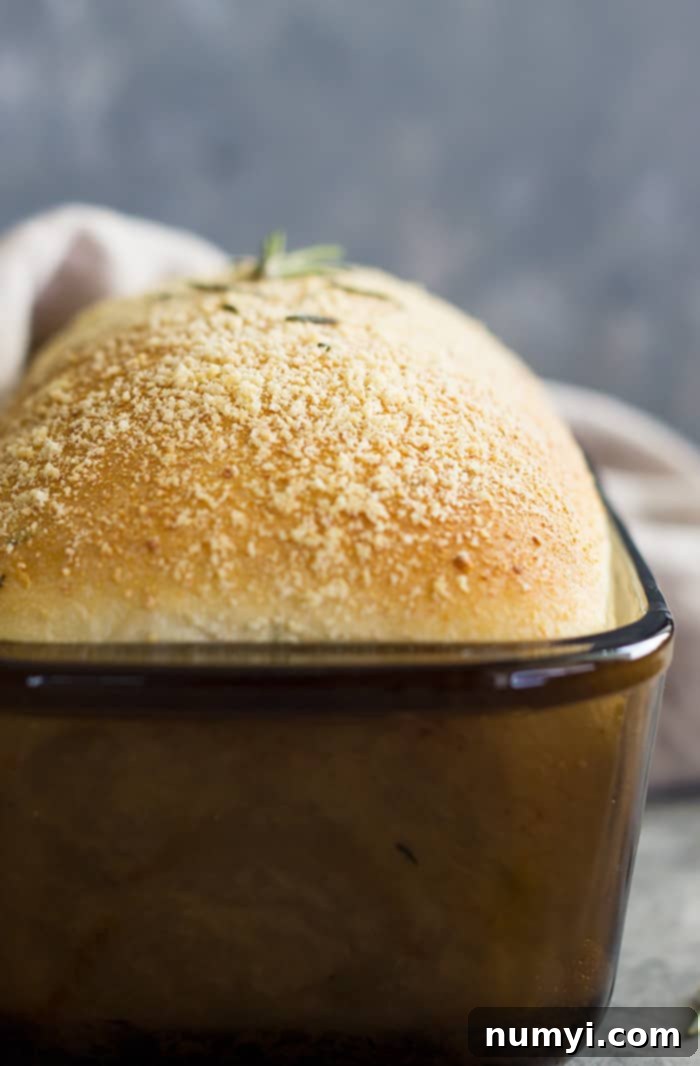
Essential Tips for Baking the Best Rosemary Parmesan Bread:
- I prefer using instant yeast for its convenience; there’s no need to proof it separately, which saves a step and often results in a faster rise. However, if active dry yeast is all you have on hand, don’t worry! This recipe still works wonderfully. The “dry blend” or “quick mix” method, where you add the yeast directly to your dry ingredients, allows you to skip the traditional proofing step even with active dry yeast. This method was actually a design feature of instant yeast (also known as quick rise or rapid rise yeast).
- For the most vibrant and authentic flavor, I strongly advocate for using only fresh rosemary in this herb bread. The aromatic oils in fresh rosemary truly shine when baked, imparting a distinct, bright, and slightly piney note that dried rosemary simply cannot replicate. I do not recommend substituting with dried rosemary, as the flavor profile will be significantly diminished and less impactful.
- When it comes to the cheese, you have flexibility. You can use either grated or shredded Parmesan cheese. Both work well, but they will offer slightly different textures. I often reach for shredded Parmesan when it’s available, as it melts beautifully and creates lovely cheesy pockets. However, in a pinch, grated Parmesan works perfectly fine, as it did when I made this batch for the photos. The key is to use good quality Parmesan for the best flavor.
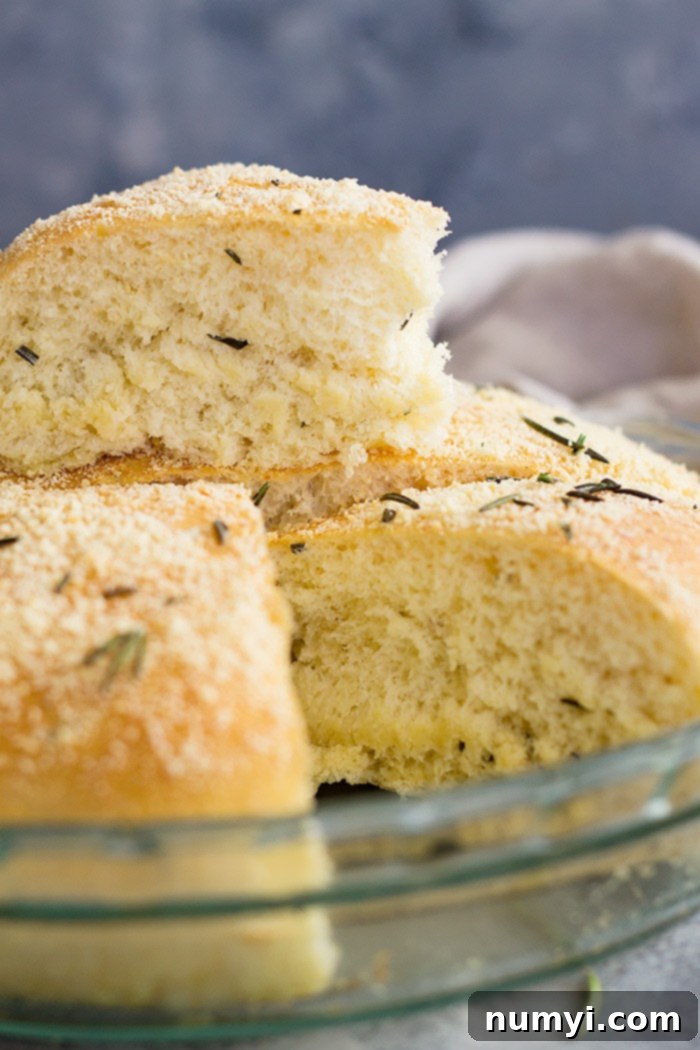
- This bread with Parmesan cheese is a true delight when served warm; it’s incredibly soft, tender, and pillow-like. As it cools completely, it will firm up slightly, becoming easier to slice without squashing its lovely texture. If you plan to serve it immediately, a serrated bread knife will be your best friend. For perfectly neat slices, allow it to cool thoroughly.
- Ensure your milk and butter mixture is the right temperature. Too hot, and it can kill the yeast; too cold, and the yeast won’t activate properly. Aim for 120-130°F (49-54°C).
- When kneading, resist the urge to add too much extra flour. A slightly tacky dough is desirable for a moist and tender crumb.
- Patience is key during the rising stages. Don’t rush them. A proper rise contributes significantly to the bread’s texture and flavor development.
Frequently Asked Questions About Rosemary Parmesan Bread
Absolutely! Please don’t let the idea of baking with yeast intimidate you. This particular rosemary and Parmesan cheese bread recipe is specifically designed to be incredibly easy and approachable for beginners. The steps are straightforward, and the forgiving nature of yeast bread means you’ll likely achieve a delicious result even on your first attempt. The most important thing to remember when embarking on your bread-baking journey is to allow ample time for the dough to rise. This herb bread does require a bit of patience during the rising periods, but every second spent waiting is undeniably worth it once you taste the warm, flavorful, homemade goodness.
The addition of milk to this rosemary Parmesan bread recipe serves a dual purpose, significantly contributing to the bread’s superior quality. Firstly, milk helps to create an incredibly soft and pillowy texture, making each slice a delight to bite into. Beyond texture, the most important reason to use milk is its ability to enrich the overall flavor of the bread. It adds a subtle sweetness and depth that water simply cannot provide, resulting in a more complex and satisfying taste experience that beautifully complements the rosemary and Parmesan.
While you technically *can* substitute dried rosemary for fresh, I strongly advise against it for this recipe. Fresh rosemary provides a vibrant, aromatic, and distinct flavor that dried rosemary simply cannot replicate. Dried herbs, especially woody ones like rosemary, often have a more concentrated but also a flatter, less nuanced flavor. Using fresh ensures that bright, pungent, and slightly piney essence that truly makes this Rosemary Parmesan Bread shine. If fresh isn’t available, consider another herb entirely (like fresh thyme) rather than dried rosemary.
To keep your homemade Rosemary Parmesan Bread fresh, store it at room temperature in an airtight container or tightly wrapped in plastic wrap. It will remain delicious for about 5 to 7 days. For longer storage, you can freeze the bread. Once completely cooled, wrap the entire loaf or individual slices tightly in plastic wrap, then place them in a freezer-safe Ziploc bag. It can be frozen for 2-3 months. Thaw at room temperature or gently warm in the oven before serving.
This recipe calls for either bread flour or all-purpose flour. Bread flour has a higher protein content, which contributes to a chewier texture and a stronger gluten structure, often preferred for artisan loaves. All-purpose flour will also yield excellent results, producing a slightly softer crumb. Both will work beautifully, so use whichever you have on hand. The key is to measure your flour correctly, preferably by weight (grams), for consistent results.
Perfect Pairings: What to Serve with This Rosemary Parmesan Bread:
This savory Rosemary Parmesan Bread is incredibly versatile and can elevate almost any meal. Its rich, aromatic flavors make it an ideal companion to a wide array of dishes. Here are some of our favorite ways to enjoy it:
- With Pasta Dishes: The robust flavors of this bread perfectly complement hearty pasta sauces. Imagine dipping a warm slice into a creamy Mac and Cheese, soaking up the rich sauce of spaghetti, twirling it with alfredo, or pairing it with a classic lasagna. It’s an essential for any Italian-inspired meal.
- Alongside Chicken Creations: From comforting roasted chicken to flavorful chicken Parmesan or crispy fried chicken, this bread adds a delicious dimension. Its herbaceous notes and cheesy crust beautifully enhance the mild flavor of poultry. Try it with our Homemade Oven Roasted Rotisserie Chicken for an unforgettable meal.
- Accompanied by Pork Dishes: The savory depth of this bread makes it a fantastic pairing for various pork recipes, especially during holiday feasts. It’s particularly delightful with glazed ham, a tender bacon-wrapped pork loin, or a rich pork marsala.
- Soups and Stews: There’s nothing quite like a slice of warm, crusty bread for dipping into a comforting bowl of soup or a hearty stew. The Parmesan melts slightly, adding an extra layer of richness to every spoonful.
- Cheese Boards and Appetizers: Slice it thin and serve it alongside an array of cheeses, cured meats, and olives for an elegant appetizer platter.
- Simple with Butter or Olive Oil: Sometimes, the best way to enjoy truly delicious bread is simply with a smear of good quality butter or a drizzle of your finest olive oil. The bread’s inherent flavors are more than enough to satisfy.
HUNGRY FOR MORE? Don’t miss out on our latest delicious creations! Subscribe to my newsletter for exclusive recipes and updates. You can also follow along on Pinterest, Facebook, and Instagram for daily inspiration and all my latest culinary adventures!
Rosemary Parmesan Bread
Ingredients
- 3½ cups (460g) Bread or all purpose flour
- 1¼ teaspoons instant yeast
- ¼ cup (55g) sugar
- 1½ tablespoons minced fresh rosemary
- 1 teaspoon salt
- 1¼ cups (295ml) milk
- 3 tablespoons butter
- 1 large egg, lightly beaten
- 2 tablespoons olive oil
- ¼ cup (25g) grated or shredded Parmesan cheese
Instructions
-
In the bowl of a stand mixer, combine 2 cups of the flour with the instant yeast. Add the sugar, finely minced fresh rosemary, and salt. Stir well to ensure all dry ingredients are thoroughly combined. In a small saucepan, gently heat the milk and butter until it is very warm (approximately 120-130 degrees F / 49-54 degrees C). Add this warm milk mixture to the dry ingredients, along with the lightly beaten egg. Stir on low speed just until all ingredients are moistened and combined.
-
Switch to the dough hook attachment. Gradually add enough of the remaining flour, a tablespoon at a time, to form a firm yet slightly tacky dough ball that pulls away from the sides of the bowl. Knead the dough on low speed for about 5 minutes, allowing the gluten to develop. Once kneaded, cover the dough bowl with plastic wrap or a clean kitchen towel and place it in a warm, draft-free spot. Let the dough rise until it has visibly doubled in size, which typically takes about 1 hour.
-
Using the 2 tablespoons of olive oil, generously grease two standard 9×5-inch loaf pans (or two deep dish pie plates if you prefer round loaves); set them aside. Once your dough has doubled in size, gently punch it down to release the air. Transfer the dough to a lightly floured work surface and divide it into two equal portions. If using loaf pans, roll each portion of dough into a rectangle measuring approximately 14×7 inches. Starting from one of the shorter sides, tightly roll up the dough and firmly seal the end by pinching the dough together. Place the rolled dough into the greased loaf pan with the sealed edge facing down. Repeat this process for the second portion of dough. If you are using pie plates, simply press each dough portion into a large, even circle to fit your prepared plate.
-
After placing the dough in the pans, I find it helpful to gently flip each dough ball once or twice within its pan to ensure both sides are coated with the olive oil used to grease the pan. This technique not only adds a subtle richness but also helps the Parmesan cheese adhere better. Generously sprinkle the tops of both loaves with your grated or shredded Parmesan cheese. Cover the pans again and allow the dough to rise in a warm place until it has nearly doubled in size once more (this is the second rise).
-
While the bread is rising for the second time, preheat your oven to 350 degrees F (175 degrees C). Once the loaves have risen sufficiently, place them in the preheated oven. Bake the Rosemary Parmesan Bread for 25-30 minutes, or until the crust is beautifully golden brown and the internal temperature reaches 200-210 degrees F (93-99 degrees C) with an instant-read thermometer. Remove the bread from the oven and allow it to cool slightly in the pans before transferring to a wire rack to cool completely. Serve warm and enjoy!
Notes
- Store this delicious bread at room temperature, tightly sealed in an airtight container or plastic wrap, for 5-7 days to maintain its freshness and flavor.
- To freeze: For longer storage, allow the baked bread to cool completely. Wrap the entire loaf or individual slices tightly in plastic wrap, then place them in a freezer-safe ziploc bag. It can be frozen for 2-3 months. Thaw at room temperature or rewarm gently in the oven before serving.
- This Rosemary Parmesan Bread is wonderfully soft and pillow-like when it is warm, making it a true comfort food. As it cools completely, it will firm up slightly, becoming much easier to slice neatly. For best results when slicing, place the bread on a cutting board and use a serrated bread knife or an electric knife. If the bread is still warm, turn it on its side while slicing to prevent squashing the top.
- If you’d like to transform this recipe into delightful dinner rolls, divide the dough into 24 equal-sized portions after the first rise. Shape them into small rolls and arrange them in a greased 9×13-inch baking pan. Allow them to rise again until nearly doubled, then bake for approximately 25-30 minutes, or until golden brown.
- For the best flavor and aroma, I highly recommend against using dried rosemary in this recipe. Fresh rosemary provides a vibrant, unmistakable essence that dried cannot replicate.
Nutrition
