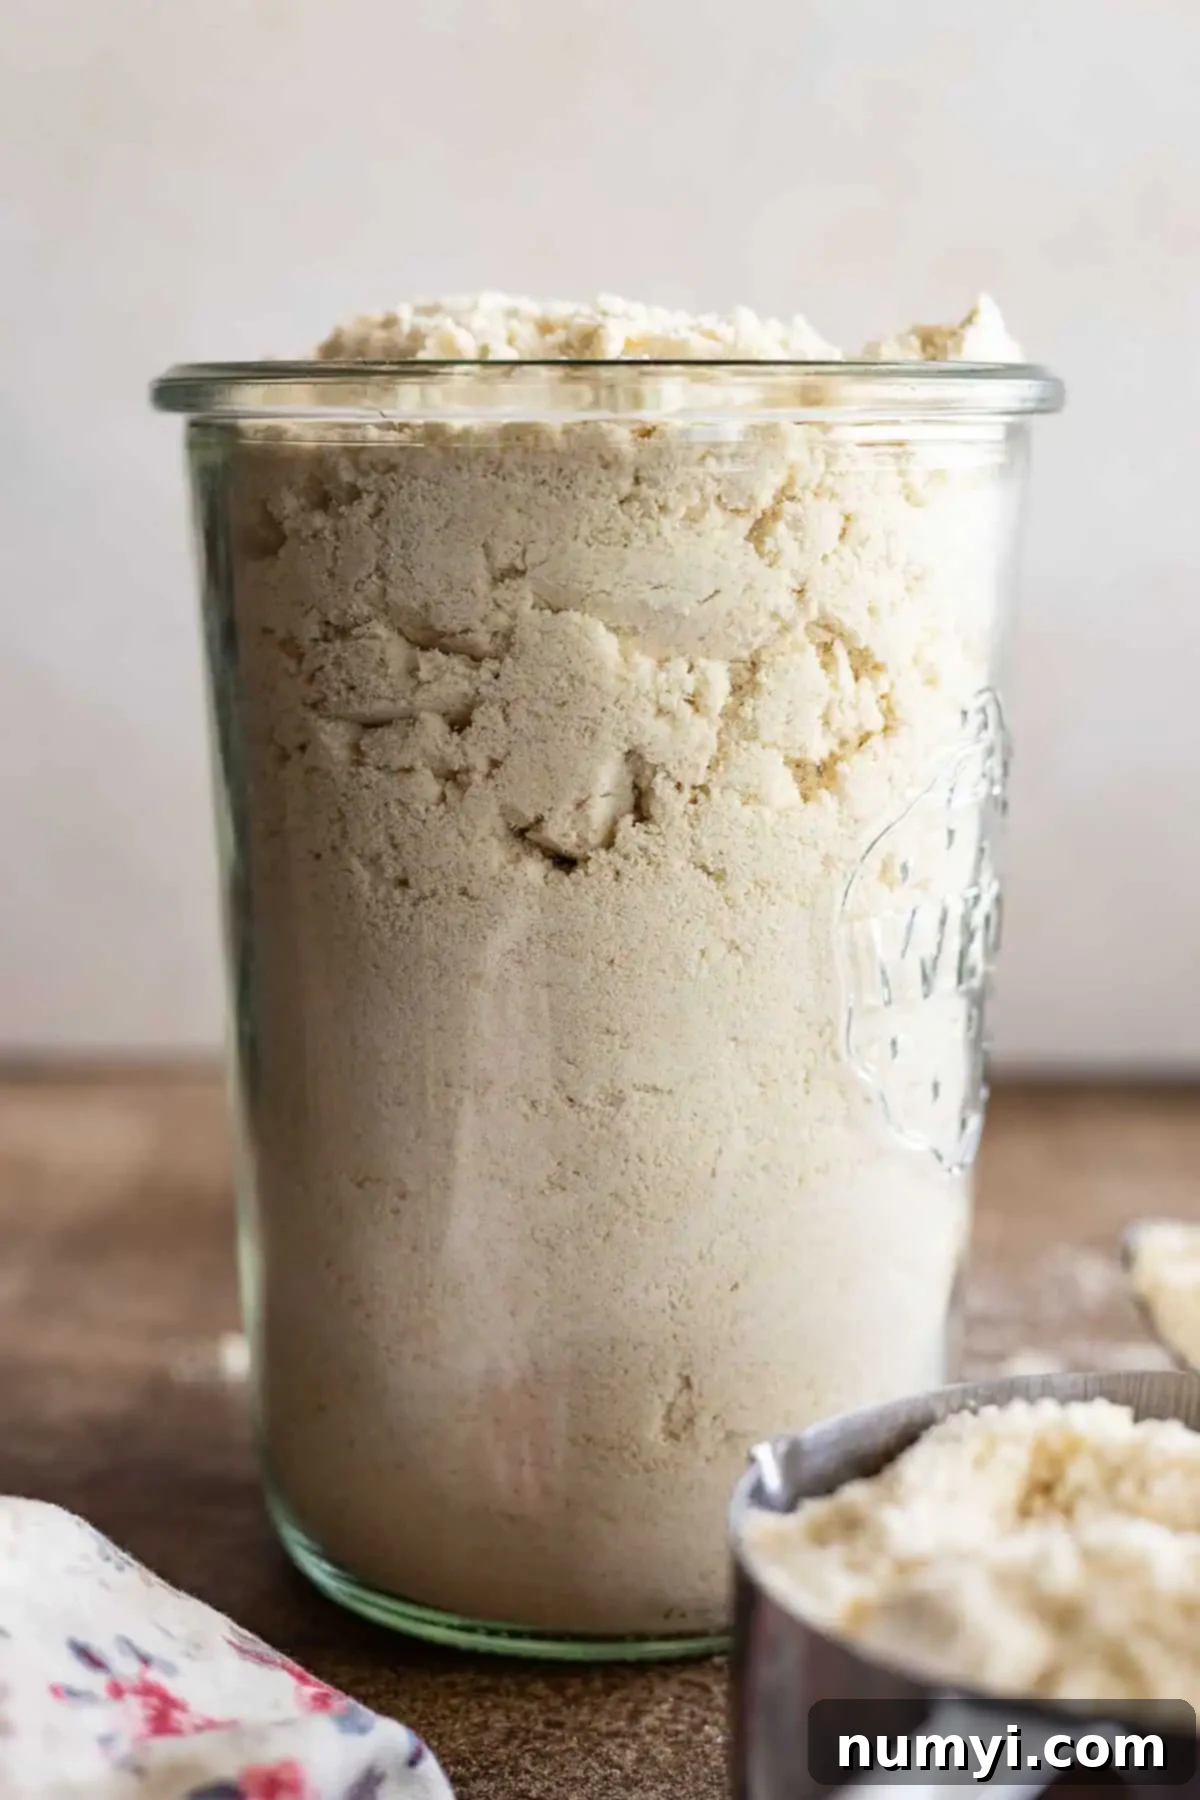
Homemade Bisquick Mix: Your Essential, Easy-to-Make Baking Staple
Ever found yourself mid-recipe, only to discover you’re out of Bisquick? Or perhaps you’re simply seeking a healthier alternative to store-bought mixes, with their often-questionable ingredients? Look no further! This incredibly simple and quick recipe for homemade Bisquick is the perfect solution, allowing you to create a versatile baking staple right in your own kitchen.
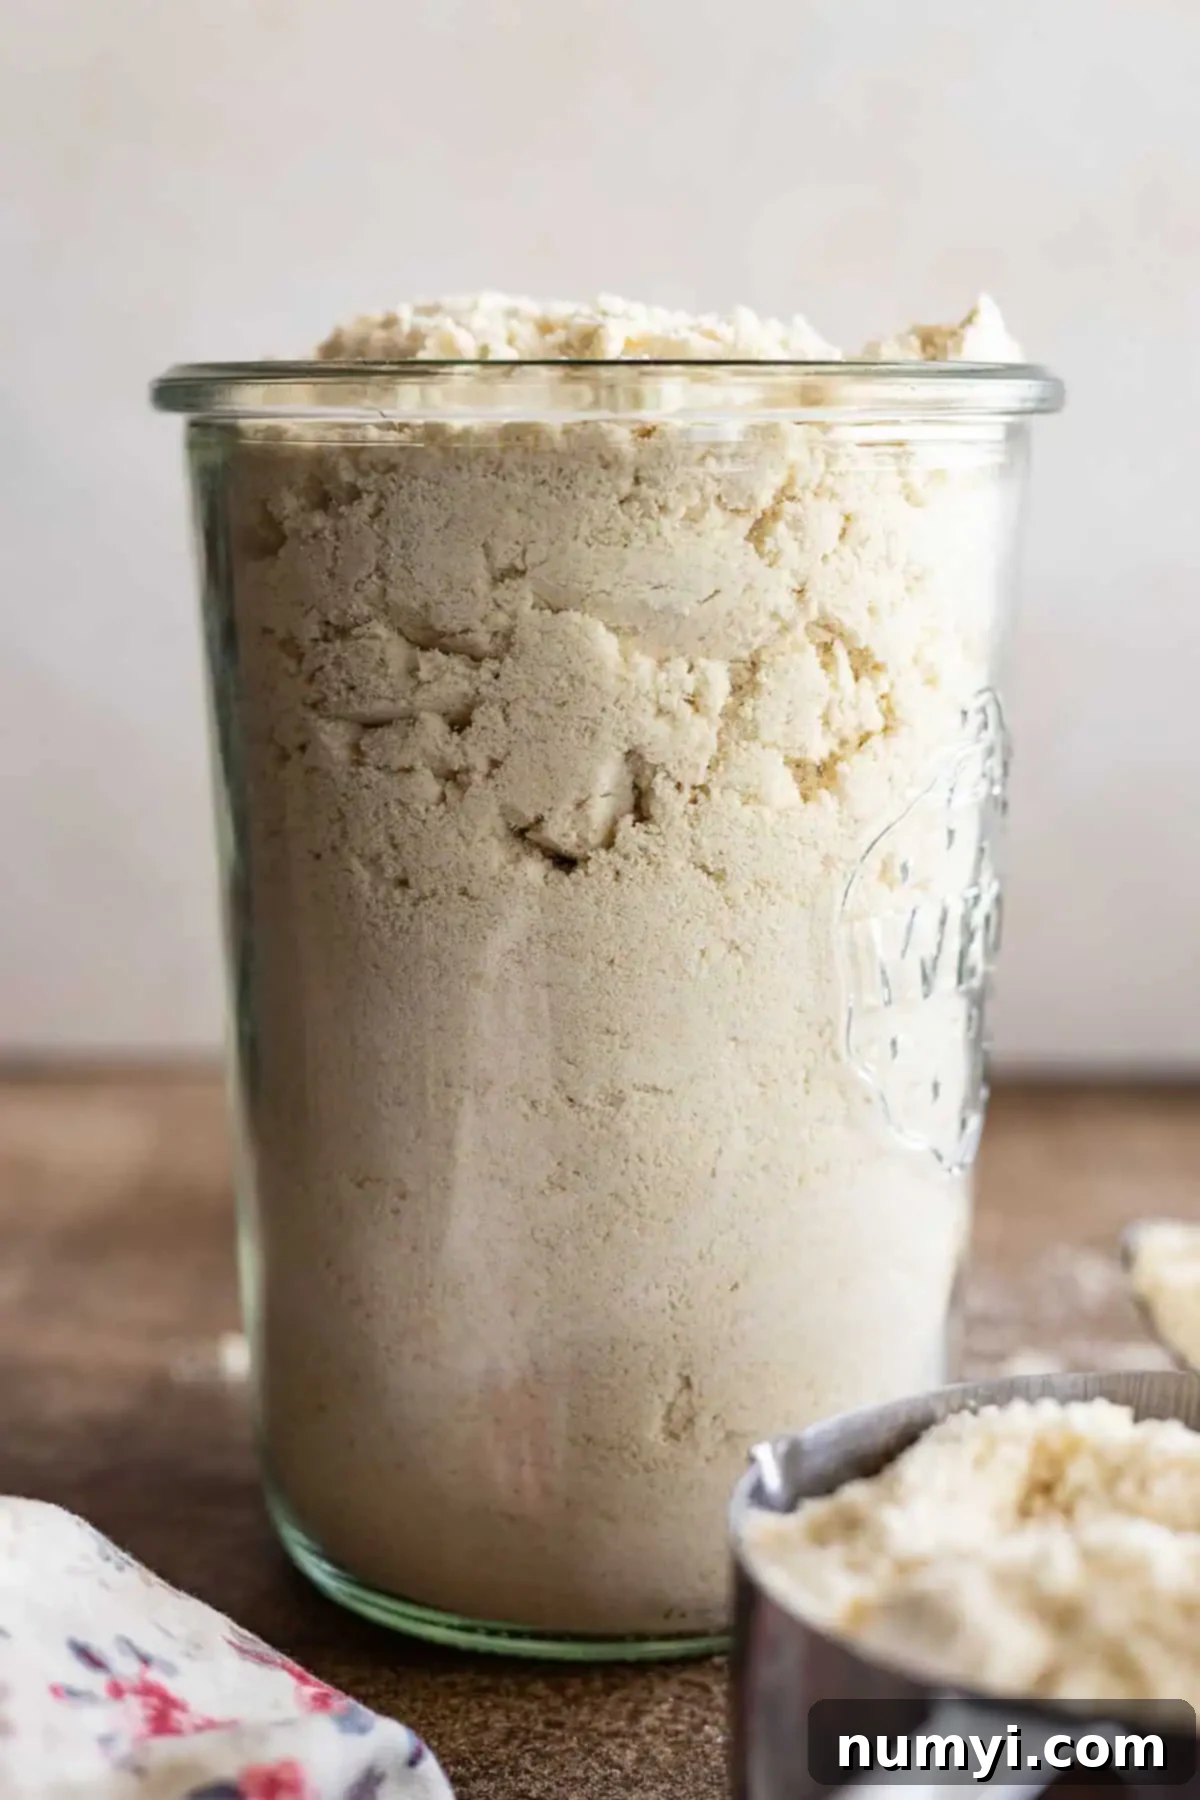
For many generations, Bisquick has been a quintessential pantry item, simplifying baking for countless families. This pre-made baking mix typically contains flour, fat, leavening agents, and salt, making it a convenient shortcut for everything from pancakes to biscuits. However, a growing number of home cooks are opting for homemade versions of their favorite packaged goods. This allows for complete control over ingredients, ensuring you use only the freshest, highest-quality components, free from unwanted additives or preservatives. Making your own Bisquick isn’t just about convenience; it’s about elevating your baking with wholesome goodness.
Why Choose Homemade Bisquick? Beyond Convenience
While the convenience of a pre-made mix is undeniable, crafting your own homemade Bisquick offers a multitude of benefits that extend far beyond simply having it on hand. It’s a choice for health, economy, and culinary freedom.
- Uses REAL, Wholesome Ingredients: Say goodbye to artificial flavors, hydrogenated oils, and unnecessary preservatives often found in commercial baking mixes. With homemade Bisquick, you dictate what goes in, ensuring a clean and natural product that you can feel good about serving to your family.
- Budget-Friendly Baking: Buying individual ingredients like flour, baking powder, salt, and your chosen fat is significantly more economical than repeatedly purchasing boxed mixes. This simple switch can lead to considerable savings over time, especially if you’re a frequent baker.
- Unmatched Versatility: Your homemade mix performs identically to the store-bought version. Use it as a direct, 1:1 substitute in any recipe calling for Bisquick, unlocking a world of delicious possibilities from breakfast to dinner.
- Tailor to Your Taste & Dietary Needs: This recipe empowers you to customize the type of fat used, allowing you to experiment with flavors and textures, or to accommodate specific dietary preferences. Whether you prefer the richness of butter or the neutral profile of shortening, the choice is yours.
- Make Ahead for Future Convenience: Prepare a large batch and store it, ensuring you always have a ready-to-use baking mix for those spontaneous pancake mornings or last-minute dinner preparations. It’s convenience without compromise.
Ingredient Notes: Essential Components for Your Mix
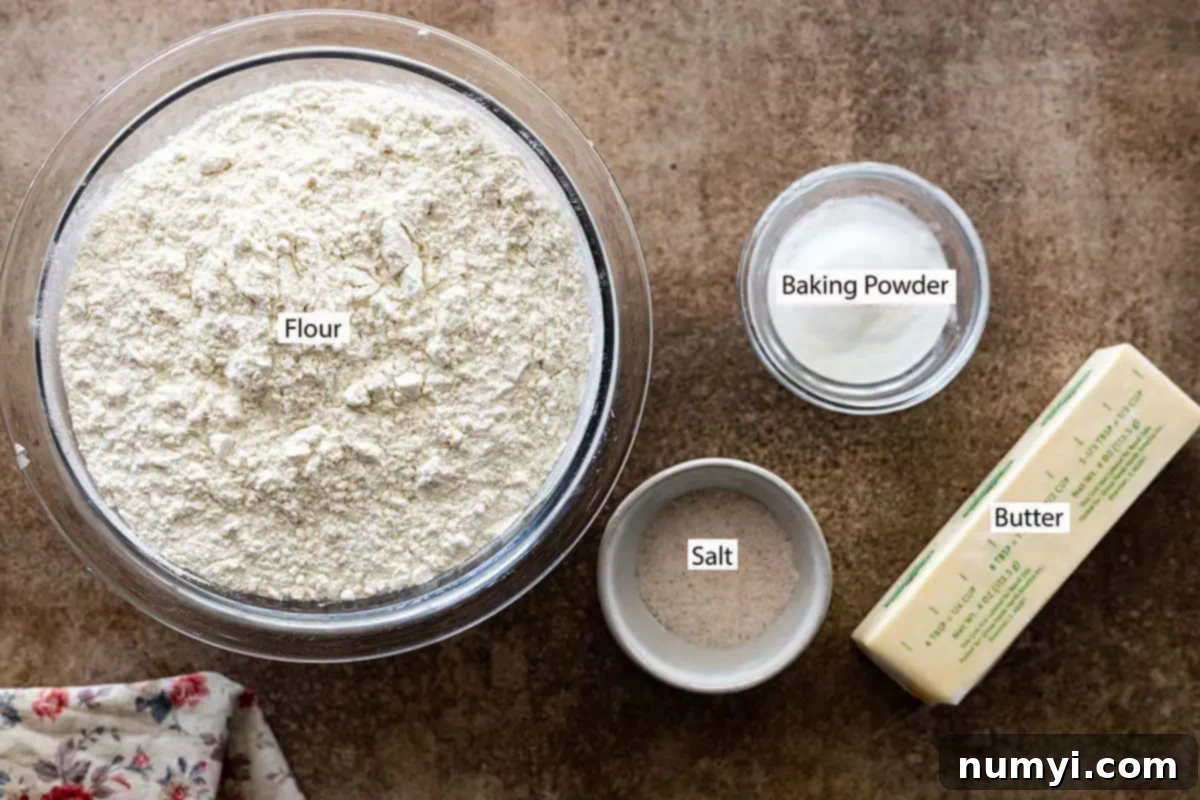
The beauty of this homemade Bisquick recipe lies in its simplicity, requiring just a few common pantry staples. Understanding the role of each ingredient will help you achieve the best results.
FLOUR: For this recipe, I primarily use all-purpose flour. It provides the ideal structure and texture for most baked goods. While I haven’t personally tested this recipe with gluten-free flour blends or whole wheat flour, their different protein and fiber content could alter the final texture and density of your baked goods. If you choose to experiment with these alternatives, be prepared for potential adjustments in liquid content or slightly different results.
FAT: The choice of fat is crucial, as it impacts both the flavor and the shelf-stability of your homemade mix. My preferred choice is butter, which imparts a delicious richness. However, you have several excellent options, including shortening, lard, or coconut oil. Each will lend a unique characteristic to your finished product and will require different storage considerations. More detailed information on selecting and storing with various fats can be found further down in this post.
SALT: A small amount of salt is essential for balancing flavors in baking. It enhances the taste of your ingredients and brings out the sweetness in recipes where sugar is present, even in a savory mix like this, it balances the leavening agents.
BAKING POWDER: This is your primary leavening agent, responsible for creating the light and fluffy texture we all love in pancakes, biscuits, and waffles. Ensure your baking powder is fresh for optimal results; old baking powder can lead to dense, flat baked goods.
How To Make Homemade Bisquick: A Quick and Easy Process
Preparing your own Bisquick mix is surprisingly straightforward and takes only minutes. Here’s a quick overview of the method. For precise measurements and step-by-step instructions, please refer to the printable recipe card at the very bottom of this article.
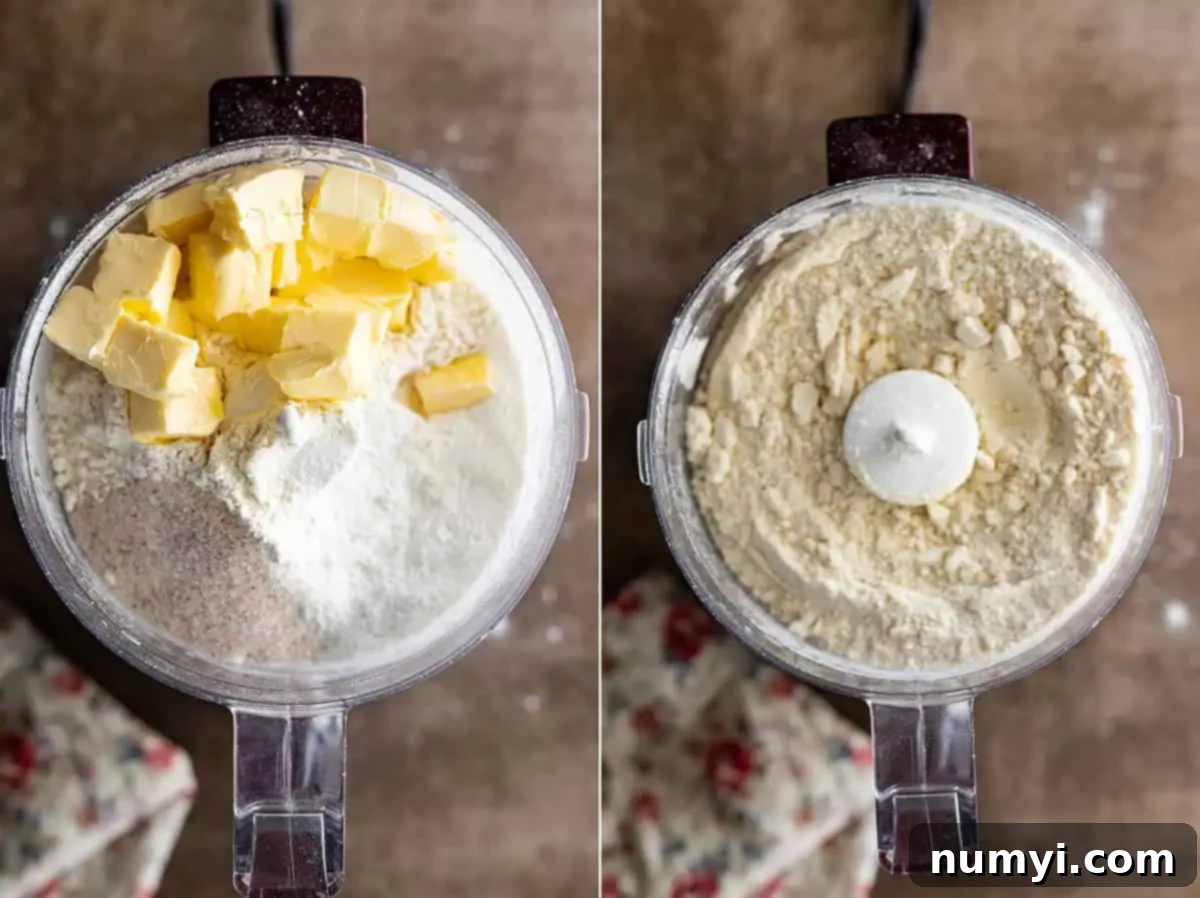
STEP 1: Combine Dry Ingredients and Fat. Begin by adding your flour, baking powder, and salt to the bowl of a food processor. Give it a few quick pulses to ensure the dry ingredients are thoroughly combined. Next, add your chosen cold fat (if using butter or shortening, ensure it’s cut into small pieces and very cold – this is key for a flaky texture). Pulse the mixture for at least 15 seconds, or until the fat is evenly distributed throughout the flour and the mixture resembles coarse cornmeal or small peas. This ensures that the fat is properly incorporated without over-mixing. Depending on the size of your batch and the capacity of your food processor, you may need to work in smaller batches to achieve the best consistency.
STEP 2: Store for Future Baking. Once your mix is prepared, transfer it to an airtight container or a heavy-duty Ziploc bag. Proper storage is essential for maintaining freshness and extending its shelf life. You can store this versatile baking mix in your pantry, refrigerator, or freezer, depending on the type of fat you’ve used. This homemade mix can then be used exactly as you would use any store-bought Bisquick in your favorite recipes.
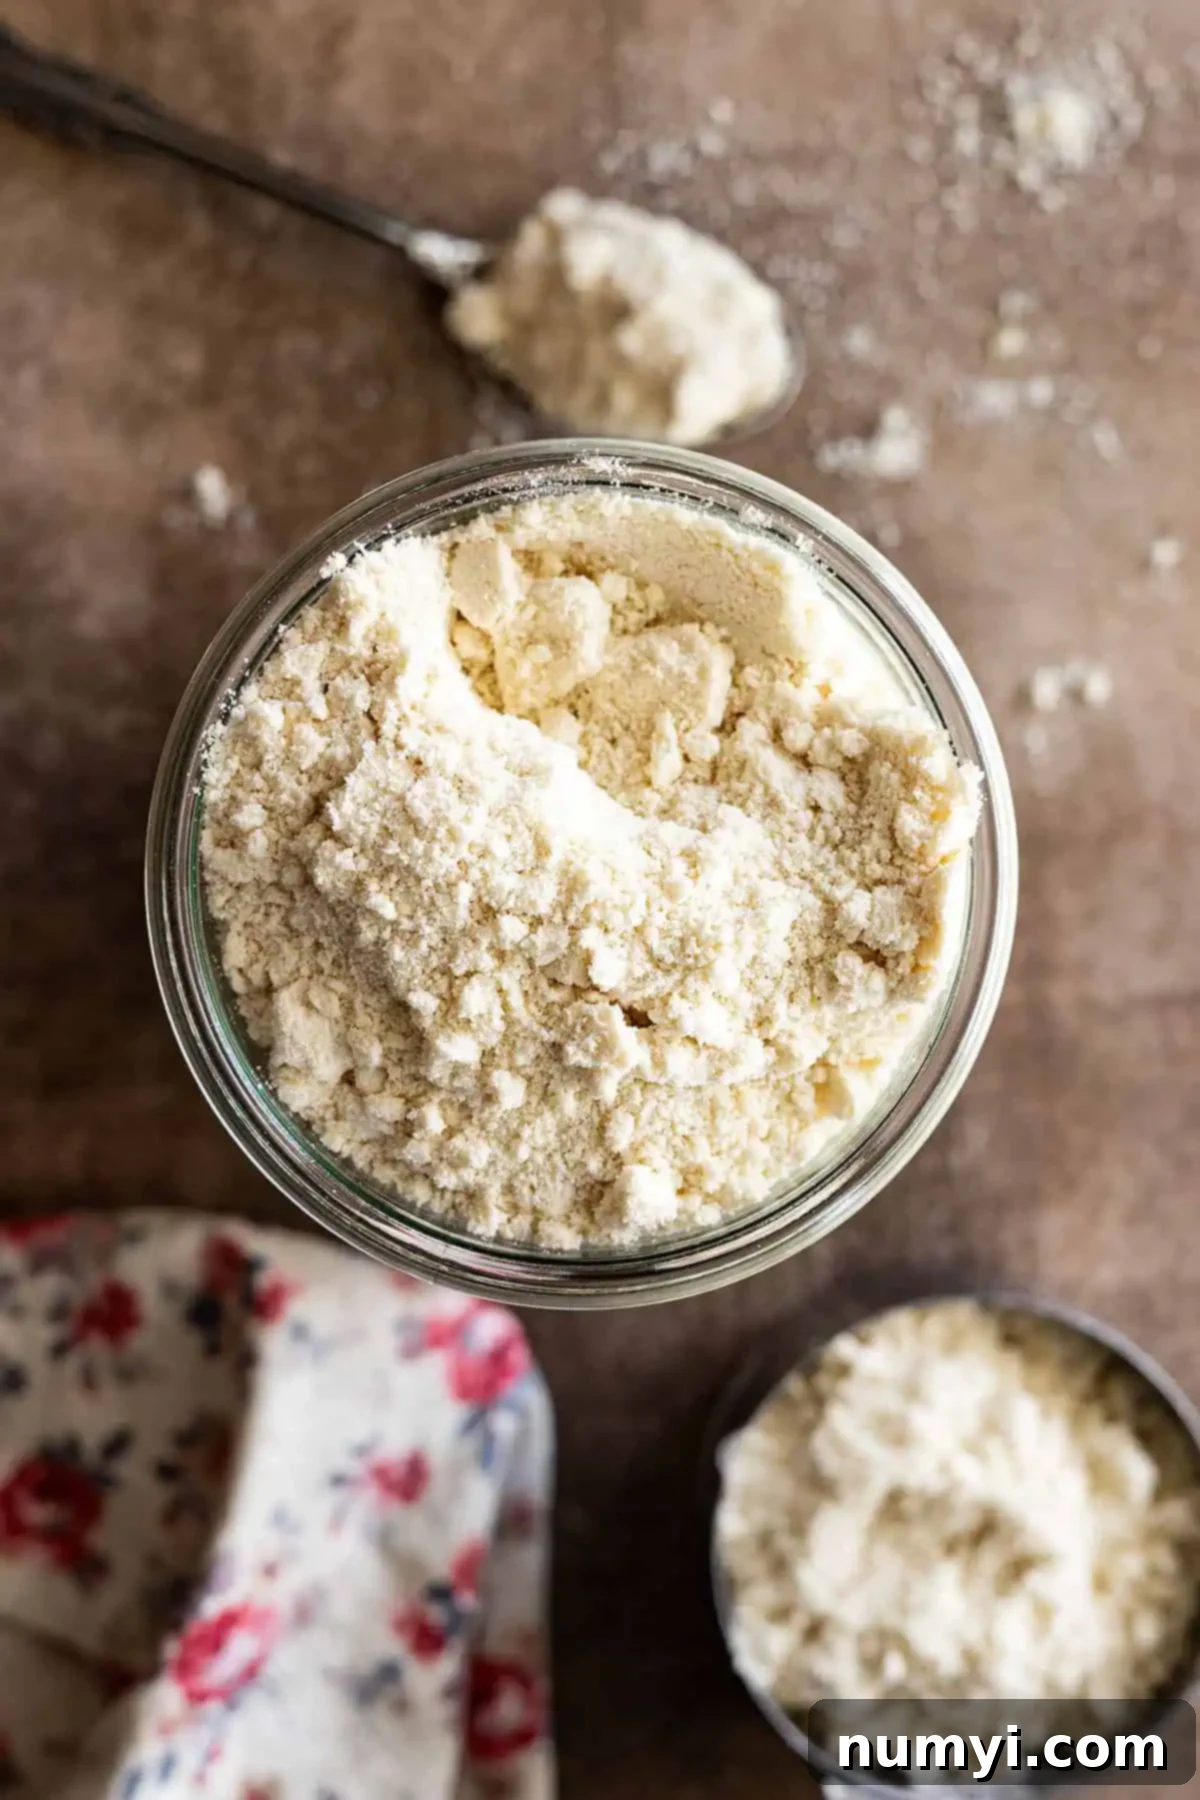
What Kind Of Fat Should I Use? A Detailed Guide
The fat you incorporate into your homemade Bisquick mix is a critical decision, as it influences flavor, texture, and storage. Here’s a comprehensive look at the most common options to help you make the best choice for your baking needs.
BUTTER: Using cold, unsalted butter in your mix will impart a rich, unmistakable dairy flavor to your baked goods, making them incredibly delicious. However, because butter contains dairy, it is less shelf-stable at room temperature and must be refrigerated or frozen to prevent spoilage. Store your butter-based baking mix in an airtight container or zip-top bag in the refrigerator for up to three months, or extend its life by storing it in a freezer-safe container for up to six months. Butter can sometimes make baked goods slightly denser, but when properly cut into the flour, it also contributes to wonderful flakiness.
SHORTENING: Vegetable shortening is an excellent choice if you’re looking for a shelf-stable option with a neutral flavor. It allows the other ingredients in your baked goods to shine without adding a distinct taste of its own. Shortening also has a higher melting point than butter, which can contribute to a very flaky and tender texture in items like biscuits. Store your baking mix made with shortening in an airtight container or zip-top bag at room temperature for up to three months. For even longer storage, it can be kept in the freezer for up to six months.
COCONUT OIL: For those seeking a plant-based alternative, coconut oil is a fantastic option. You can choose between refined coconut oil, which has virtually no taste or aroma, or unrefined (virgin) coconut oil, which will lend a subtle coconut flavor to your creations – a choice often preferred by many. Similar to shortening, baking mix made with coconut oil is generally shelf-stable at room temperature (assuming your room temperature keeps the coconut oil solid) for up to three months in an airtight container or zip-top bag. It can also be frozen for up to six months. Coconut oil can sometimes make certain baked goods slightly more dense and chewy, providing a delightful texture variation.
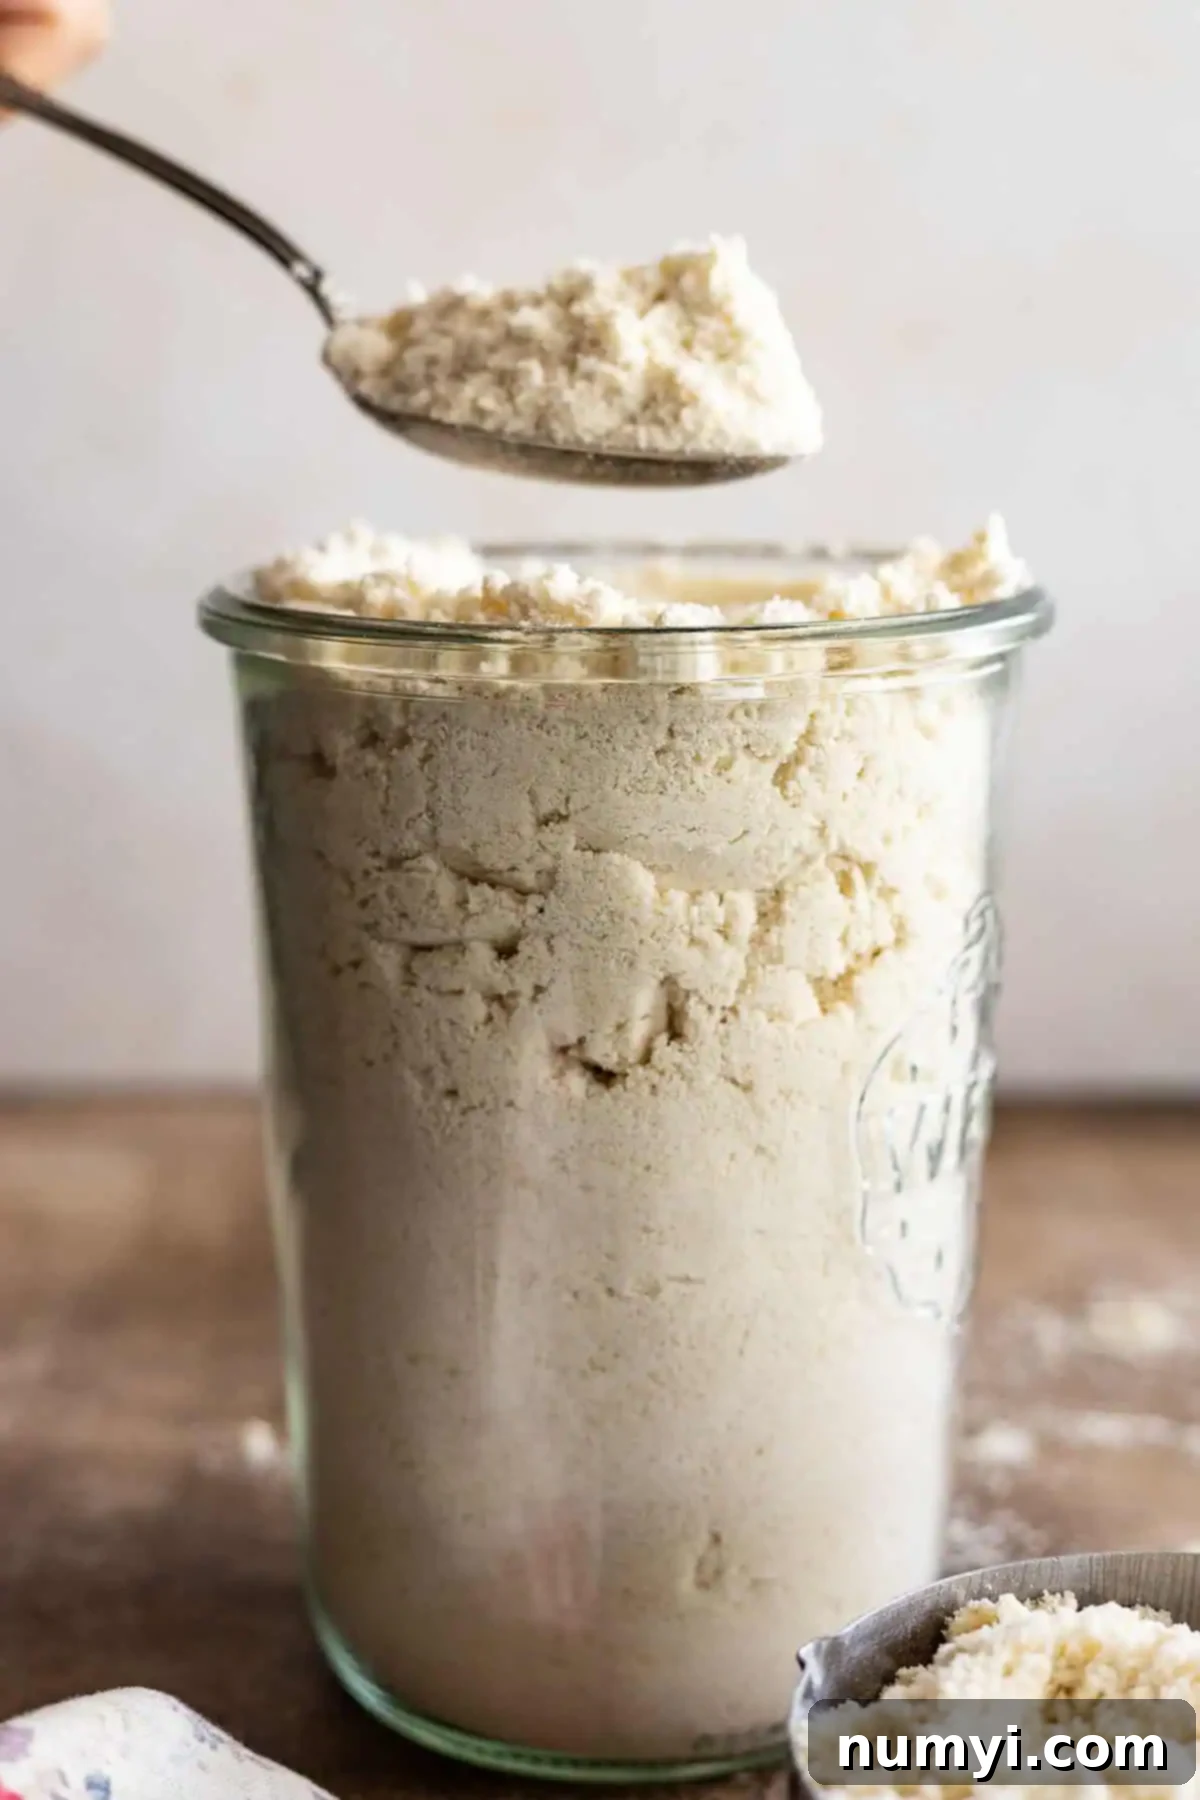
Unlock Endless Baking Possibilities with Homemade Bisquick
Having a batch of homemade Bisquick on hand means you’re always just minutes away from a wide array of delicious meals and treats. Its versatility makes it an indispensable component of any well-stocked pantry.
- Fluffy Pancakes and Waffles: The classic use! Whip up light, airy pancakes or crispy waffles for a perfect breakfast or brunch. Just add milk and an egg, and you’re good to go.
- Perfect Biscuits: From savory to sweet, homemade Bisquick is the foundation for tender, flaky biscuits. Serve them with butter and jam, alongside a hearty stew, or use them as a base for shortcakes.
- Savory Dumplings: Elevate your soups and stews with easy, tender dumplings. Simply drop spoonfuls of the dough into simmering liquid for a comforting addition.
- Speedy Chicken Pot Pie Topping: Forget the fuss of making pie crust from scratch. A simple Bisquick dough spread over your chicken pot pie filling creates a golden, flaky topping that’s both delicious and convenient.
- Quick Breads and Muffins: Use your mix as a base for various quick breads, scones, or muffins. Just add sugar, fruit, spices, and liquid for an easy baked good.
- Effortless Pizza Crust: Believe it or not, homemade Bisquick can even be transformed into a simple and quick pizza crust. Perfect for busy weeknights!
- Cheesy Garlic Biscuits: Add grated cheese and garlic powder to your mix for savory biscuits that pair wonderfully with pasta dishes or chili.
Tips for Perfect Homemade Bisquick Every Time
To ensure your homemade Bisquick mix is consistently excellent and performs beautifully in all your recipes, keep these simple tips in mind:
- Keep Your Fat Cold: If using butter or shortening, make sure it’s very cold when you add it to the flour. This prevents it from melting into the flour, instead allowing it to create small pockets of fat that result in flaky baked goods.
- Don’t Over-Process: When using a food processor, pulse the ingredients just until the fat is evenly distributed and the mixture resembles coarse cornmeal. Over-processing can warm the fat and develop the gluten too much, leading to tougher results.
- Use Fresh Baking Powder: Baking powder is a perishable ingredient. If it’s old, your baked goods won’t rise properly. To test for freshness, put a spoonful in hot water; it should bubble vigorously.
- Store Properly: Always use an airtight container or a heavy-duty freezer bag to prevent moisture and air from degrading your mix. Label it with the date it was made and the type of fat used.
- Experiment with Flavors: While the basic recipe is versatile, feel free to add a pinch of sugar for sweeter applications, or a touch of onion powder for savory dishes if you plan to use it specifically for those.
Frequently Asked Questions About Homemade Bisquick
Here are answers to some common questions you might have about making and using your own Bisquick mix:
Q: Can I make this recipe gluten-free?
A: While I haven’t personally tested this recipe with gluten-free flours, many readers have reported success using a 1:1 gluten-free baking blend. Be aware that the texture might be slightly different, and some blends may require minor adjustments to liquid content in your final recipes.
Q: How long does homemade Bisquick last?
A: The shelf life depends heavily on the type of fat you use. Mixes made with butter should be stored in the refrigerator for up to 3 months or frozen for up to 6 months. Mixes made with shortening or refined coconut oil can typically be stored at cool room temperature for up to 3 months, or in the freezer for up to 6 months.
Q: Can I double or triple the recipe?
A: Absolutely! This recipe is easily scalable. If you’re making a very large batch, you might need to process it in your food processor in two or more smaller batches to ensure the fat is evenly distributed without overloading the machine.
Q: My biscuits aren’t as fluffy as I’d like. What went wrong?
A: This could be due to a few factors. Ensure your baking powder is fresh, that your fat was very cold when added, and avoid over-mixing the dough once liquids are added. Overworking the dough can develop gluten too much, leading to tougher, less fluffy results.
Other Great Homemade Substitutes You Should Try:
- Homemade Condensed Cream Of Chicken Soup
- Homemade Condensed Cream Of Mushroom Soup
- Buttermilk Ranch Dressing
- Homemade Applesauce
- Dark Chocolate Hot Cocoa Mix
HUNGRY FOR MORE? Subscribe to my newsletter and follow along on Pinterest, Facebook, and Instagram for all my latest updates!
Homemade Bisquick
Ingredients
- 3 cups (415g) all-purpose flour
- 1½ tablespoons baking powder
- 1½ teaspoons salt
- ½ cup butter or other fat you choose to use
Instructions
-
Add the flour, baking powder, and salt to the bowl of a food processor and pulse for a few seconds to combine. Add the cold butter (or other chosen fat, cut into small pieces) and pulse for at least 15 seconds or until the mixture resembles coarse cornmeal.
-
Transfer the mix to an airtight container or Ziploc bag. Store in the refrigerator for up to 3 months (if using butter) or at room temperature (if using shortening/coconut oil). Can be frozen for up to 6 months. See the full post for detailed storage instructions based on fat choice.
Notes
- NUTRITION: Nutrition is calculated for the entire recipe and using butter. Since different brands of ingredients have different nutritional information, the information shown is just an estimate. This website is not intended as nutritional advice, or a diet or health plan. Readers of this website are ultimately responsible for all decisions pertaining to their health.
Nutrition
