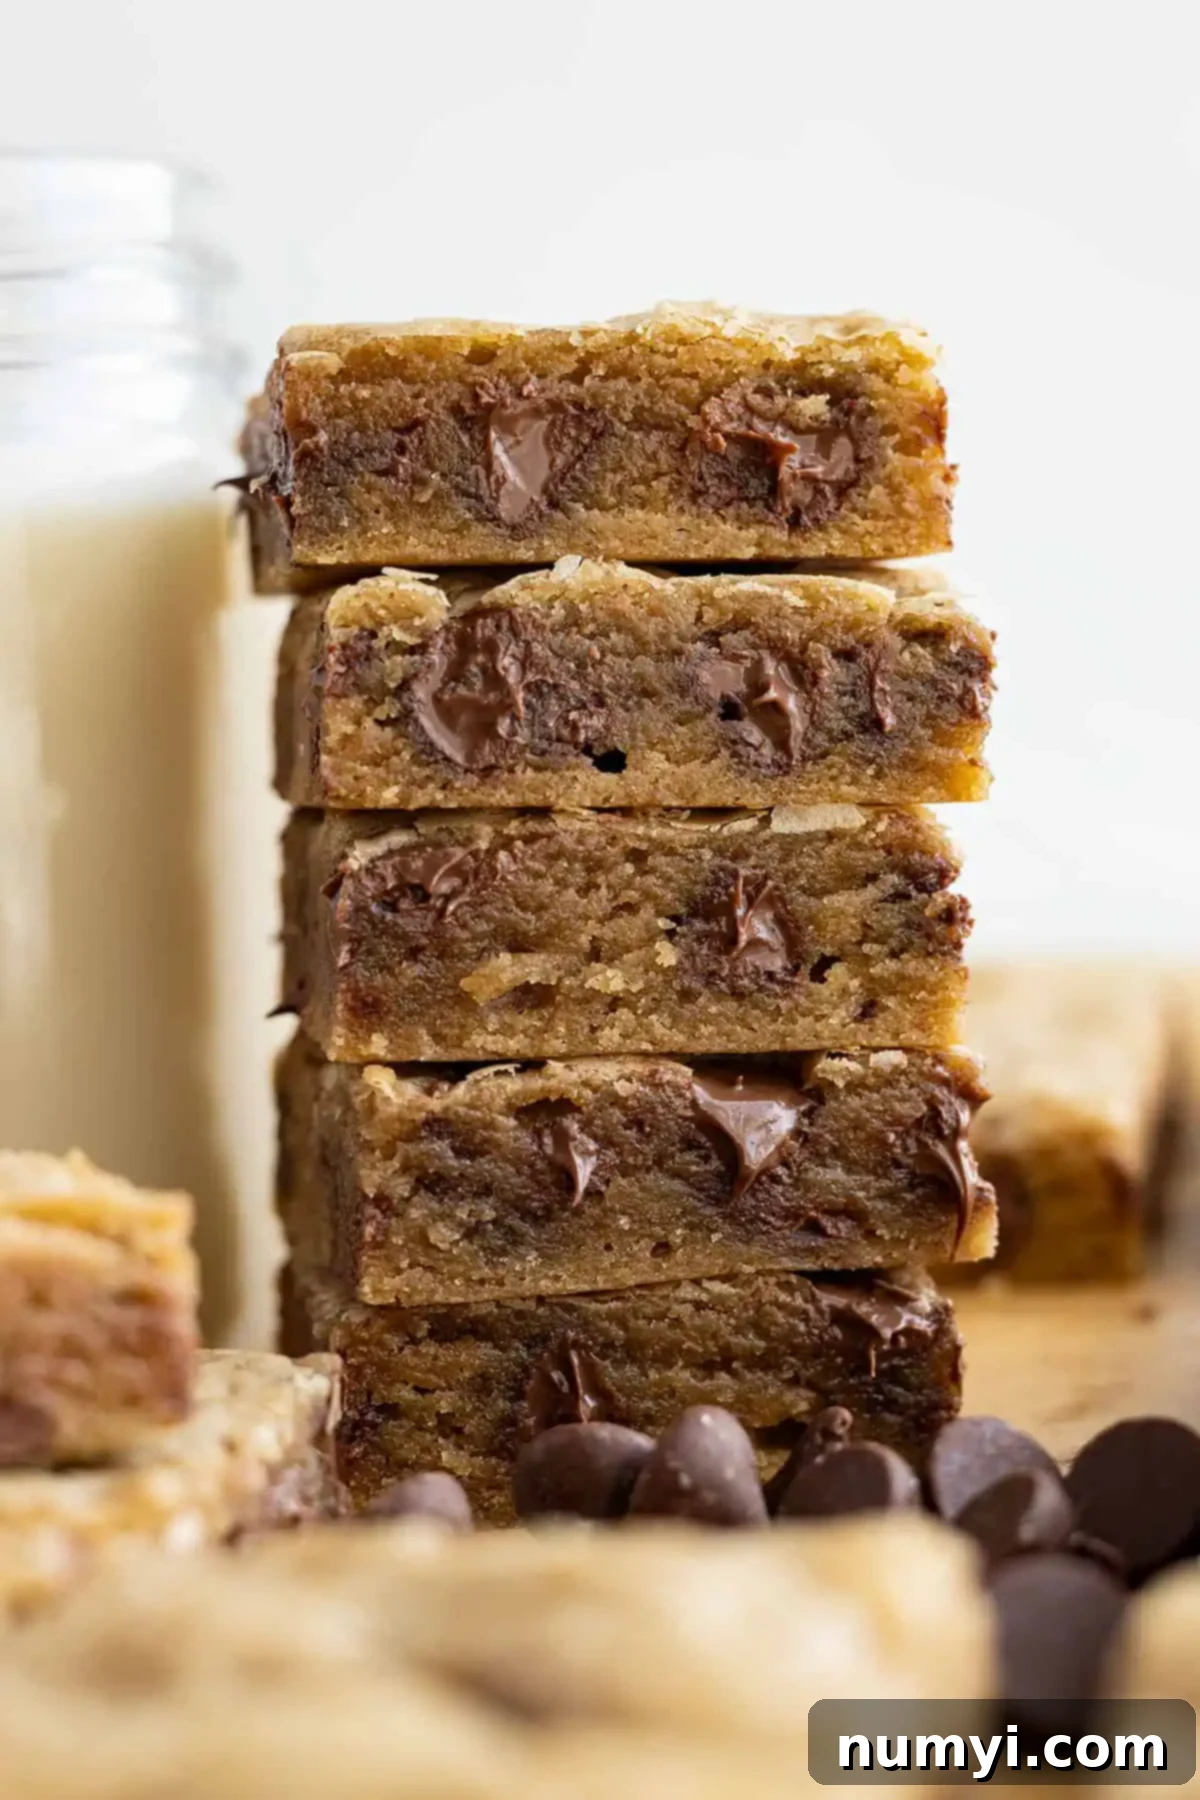
Irresistible Chewy Chocolate Chip Cookie Bars: The Easiest One-Bowl Recipe for Any Occasion
Say goodbye to the tedious process of scooping and rolling individual cookies! If you, like many home bakers, find traditional cookie-making a bit too time-consuming, then you’re in for a delightful treat. These Chocolate Chip Cookie Bars are an absolute game-changer. They offer all the beloved flavor and texture of classic chocolate chip cookies but in a much simpler, stress-free bar form. Soft, wonderfully chewy, and generously loaded with melty chocolate chips, these bars are unbelievably easy to whip up, requiring just one bowl and no electric mixer. Perfect for quick cravings, last-minute gatherings, or a comforting family dessert, they truly are a lifesaver in the kitchen and ideal for sharing with everyone you love.
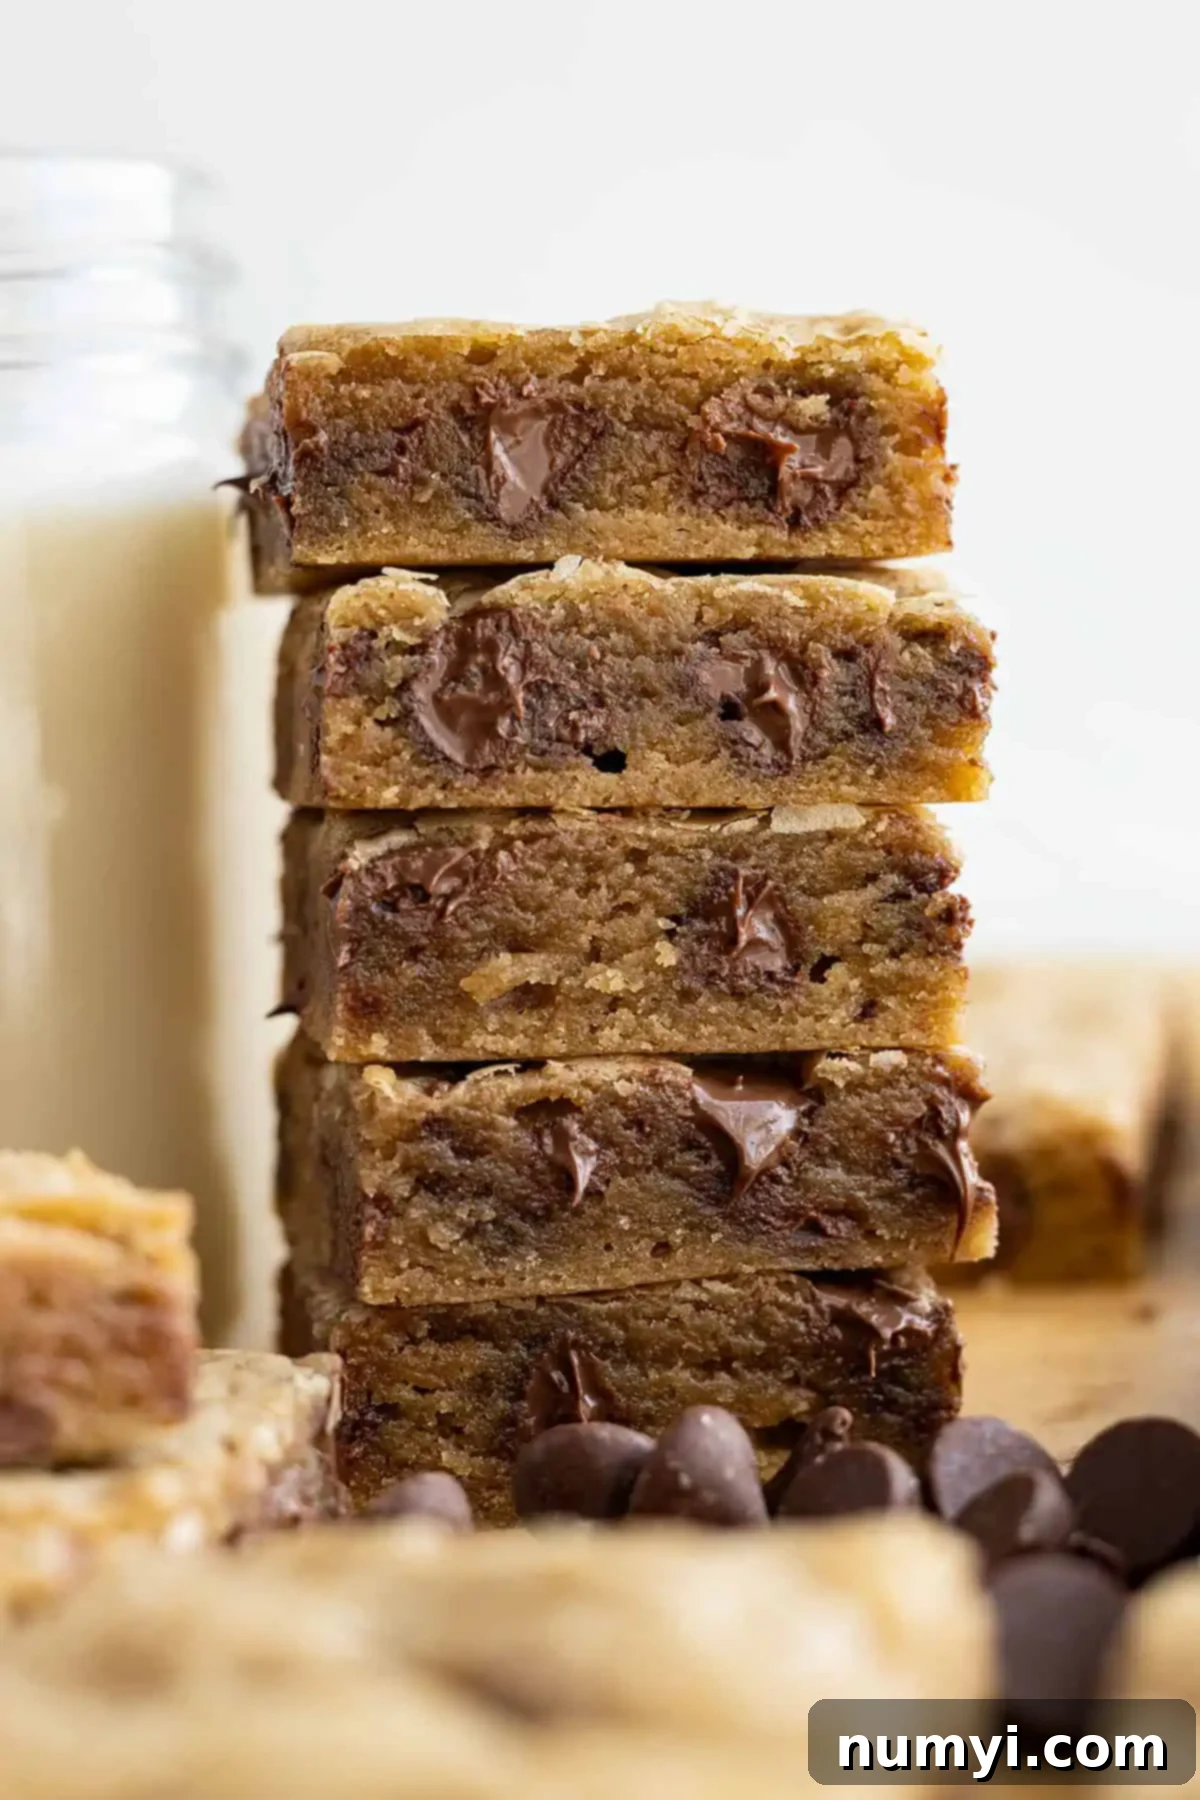
For those who appreciate simple yet satisfying desserts, these chocolate chip cookie bars are an absolute winner. Much like the incredibly easy Scotheroos, these bars are not only effortless to make but also universally loved. If you’re seeking other quick and delicious treats, don’t miss out on the One Bowl Cocoa Brownies or the wonderfully Soft Rice Krispy Treats – perfect options when time is of the essence and you need a delightful homemade dessert!
Why You’ll Fall in Love with These Chocolate Chip Cookie Bars:
- Effortless One-Bowl Preparation: Our recipe is designed for minimal fuss. Everything comes together in a single bowl, drastically cutting down on cleanup time. This means less scrubbing and more enjoying your delicious creation, making it ideal for busy weekdays or impromptu baking sessions.
- No Mixer Required: Forget about dragging out heavy kitchen appliances. This recipe is made entirely by hand, using just a whisk and a spatula. It’s perfect for bakers of all skill levels, or when you just want a simple, straightforward baking experience without any specialized equipment.
- Unbeatable Simplicity: Compared to traditional cookies, these bars are a dream. There’s no need to chill the dough, meticulously scoop individual portions, or roll them out. Just mix, press into the pan, and bake! This convenience makes them a go-to dessert when you’re short on time but still want something homemade and incredibly delicious.
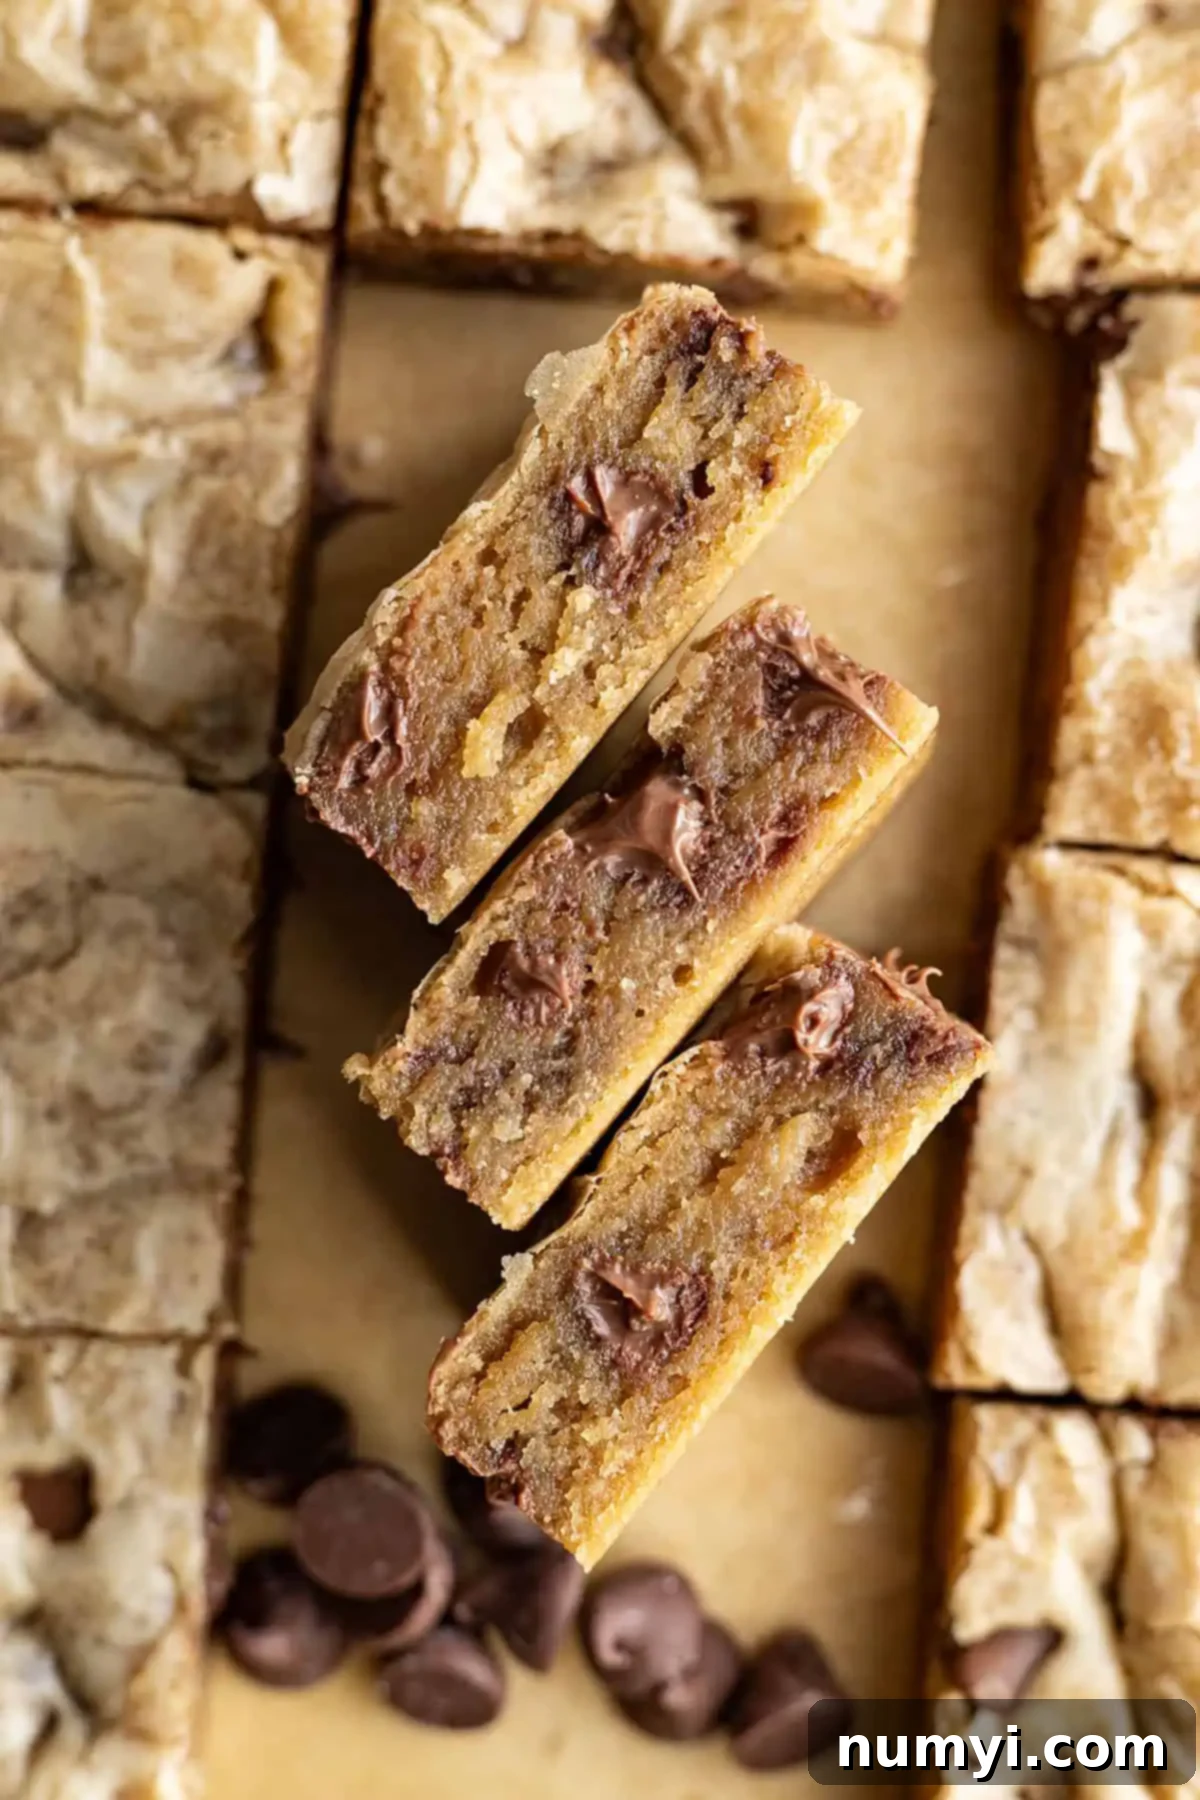
- Irresistible Soft, Chewy, and Buttery Texture: Each bite delivers that perfect balance of softness and chewiness, enhanced by a rich, buttery flavor that’s utterly satisfying. The texture is consistently delightful throughout the entire pan, ensuring every piece is a perfect mouthful of bliss.
- Pure Indulgence, Especially Warm: Served warm from the oven, these cookie bars reach peak deliciousness. The melty chocolate chips combined with a generous scoop of vanilla ice cream create a truly heavenly dessert experience that’s hard to resist. This perfect pairing is the ultimate comfort food for any dessert lover.
Essential Ingredients for Perfect Cookie Bars:
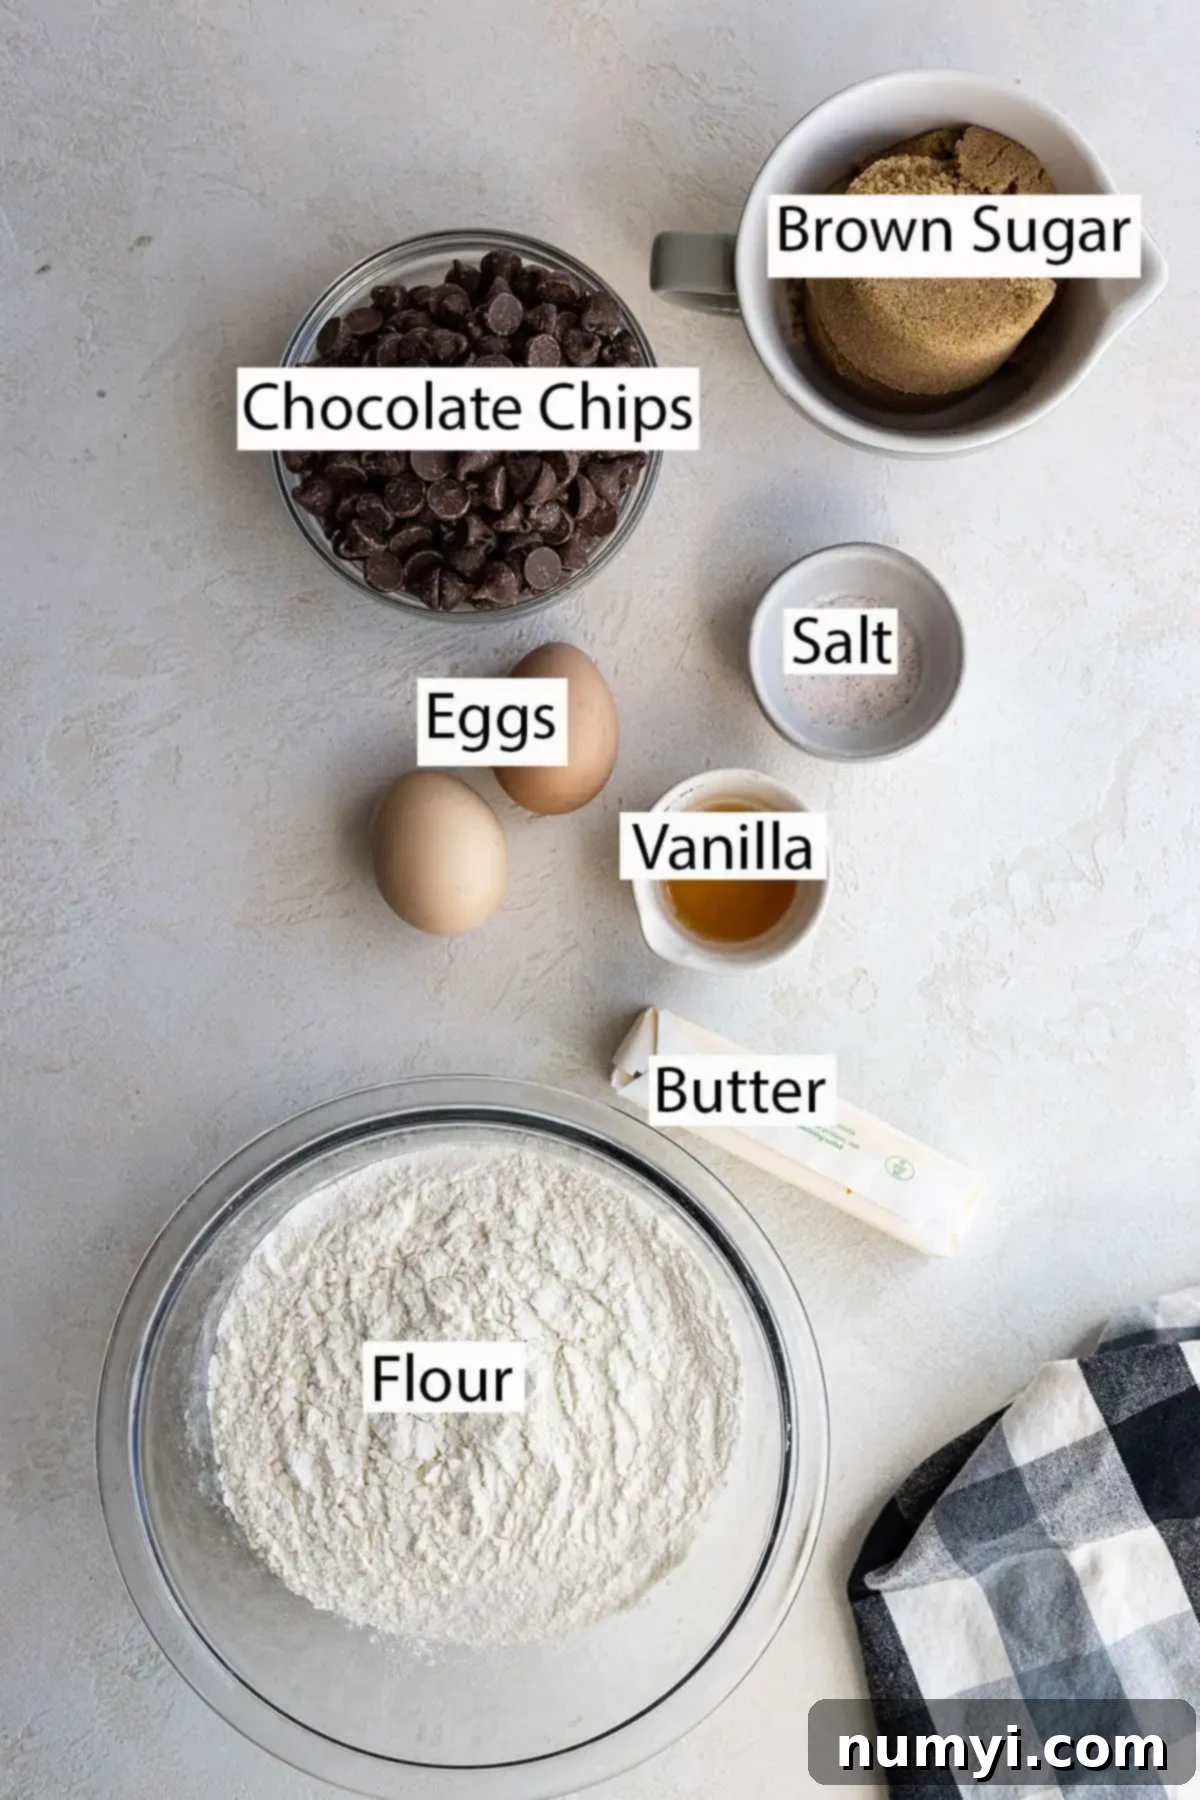
The beauty of these chocolate chip cookie bars lies in their straightforward ingredient list. You likely have most of these pantry staples on hand already, making this a spontaneous baking win! The components are quite similar to our popular No Chill Soft Chocolate Chip Cookies, ensuring a familiar and reliable taste with every batch.
Let’s dive into what makes each ingredient crucial for the ultimate cookie bar:
- ALL-PURPOSE FLOUR: This recipe calls for standard all-purpose flour, making it accessible and simple. No need for specialized flours or complex measurements. For the best and most accurate results, we recommend measuring your flour by spooning it into the measuring cup and then leveling it off with a straight edge, rather than scooping directly from the bag, which can compact it and lead to dry, dense bars.
- PACKED BROWN SUGAR: We exclusively use brown sugar in this recipe to achieve that wonderfully moist and chewy texture that defines a great cookie bar. I particularly favor dark brown sugar for its deeper molasses flavor, which adds an extra layer of richness and complexity to the bars. The natural molasses content in brown sugar is key to keeping these bars incredibly soft and preventing them from becoming dry or crumbly.
- MELTED BUTTER: The use of melted butter is a secret weapon for both ease and texture. It eliminates the need for softened butter and an electric mixer, making the dough incredibly simple to combine by hand. More importantly, melted butter contributes significantly to the bars’ signature chewy texture and rich, irresistible buttery taste. You can use either salted or unsalted butter; if using salted, you might slightly reduce the amount of added salt in the recipe to balance the flavors.
- LARGE EGGS: Eggs act as a vital binder in this recipe, holding all the ingredients together and providing essential structure. They also contribute significant moisture and richness, which are crucial for the overall softness and chewiness of the bars. For better incorporation into the dough and a more uniform texture, ensure your eggs are at room temperature before mixing.
- VANILLA EXTRACT & SALT: These two essential ingredients are flavor powerhouses that truly elevate the cookie bar experience. A good quality vanilla extract (pure vanilla, if possible) elevates the overall taste, adding warmth, aromatic depth, and a classic dessert profile. Salt, often overlooked, is crucial for balancing the sweetness of the sugar and chocolate, enhancing all the other flavors without making the bars taste overtly salty.
- CHOCOLATE CHIPS: This is where the magic happens and you can truly customize your cookie bars! While semi-sweet chocolate chips are a classic choice and widely recommended for their balanced flavor, feel free to use your favorite variety. Milk chocolate chips will yield a sweeter bar, dark chocolate chips offer a richer, more intense flavor, and white chocolate chips can provide a creamy contrast. You can also chop up your favorite chocolate bar for irregular, melty pockets of chocolate throughout. Don’t be shy with the chocolate – these bars are meant to be generously packed with it!
Simple Steps to Bake Your Delicious Chocolate Chip Cookie Bars:
Creating these heavenly cookie bars is incredibly straightforward and requires minimal effort. Just follow these easy steps for a perfect batch every single time!
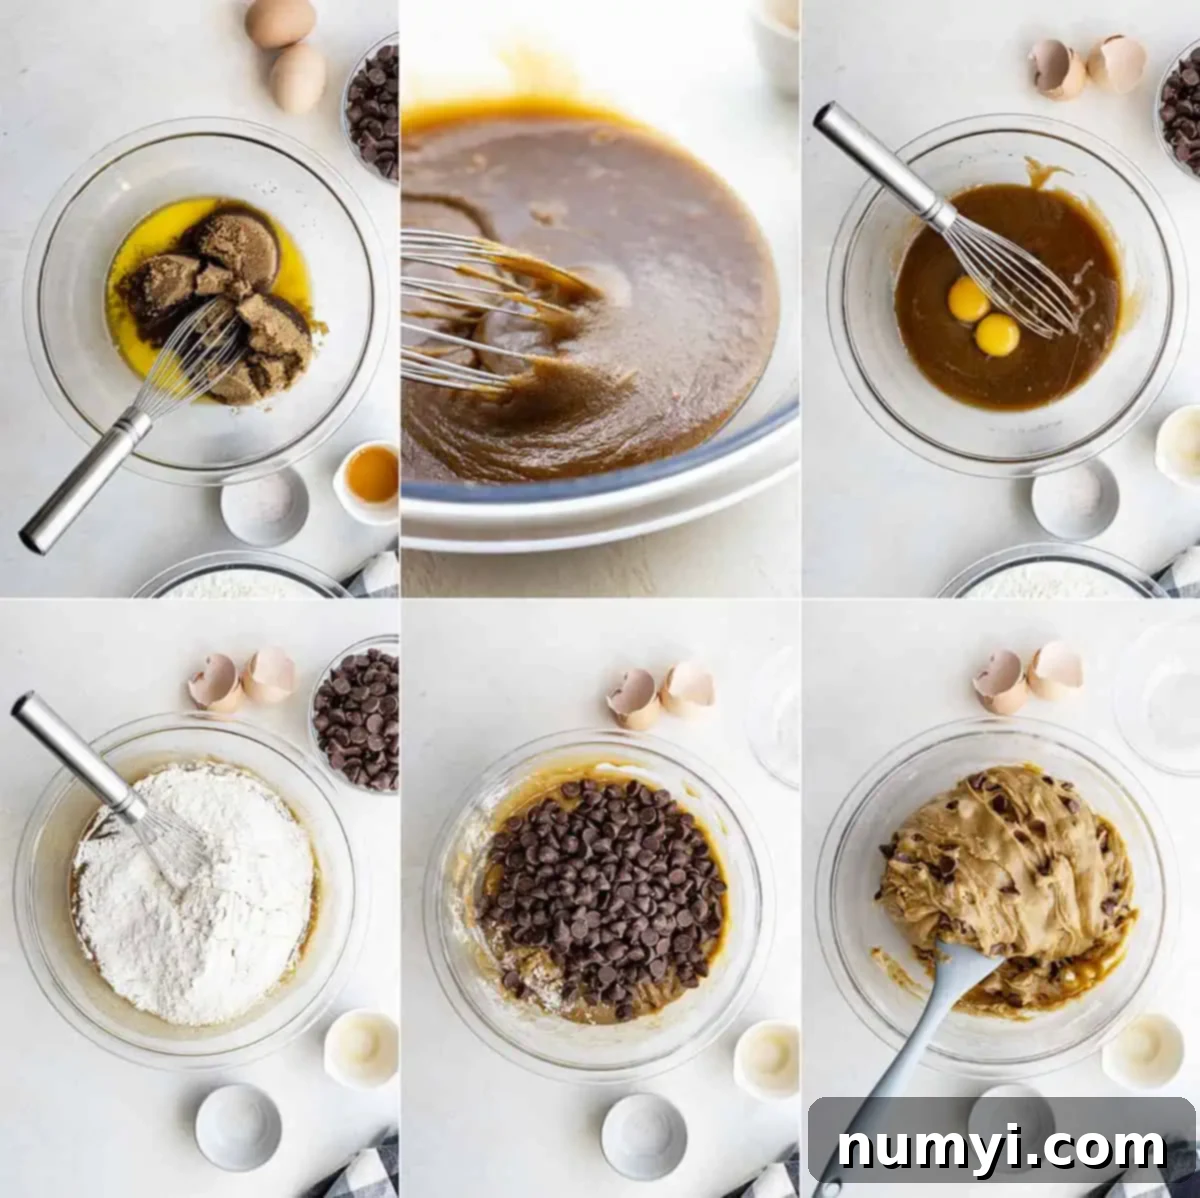
- STEP 1: Prepare Your Wet Ingredients. Begin by preheating your oven to 350°F (175°C) and lining a 9×13 inch baking pan with parchment paper or foil, leaving an overhang on the sides for easy removal later. Set this aside. In a large mixing bowl, combine the melted butter and packed brown sugar. Whisk vigorously for about 1-2 minutes until the mixture is completely smooth, well-combined, and no longer appears separated. This vigorous whisking helps to dissolve the sugar and creates a cohesive, glossy base. Next, stir in the large eggs and vanilla extract. Mix just until they are fully incorporated into the butter and sugar mixture. Be careful not to overmix at this stage, as over-aerating the eggs can lead to a tougher bar texture.
- STEP 2: Introduce Dry Ingredients and Chocolate. Gradually add the all-purpose flour and salt to the wet ingredients in the bowl. Stir gently with a sturdy spatula until the flour is *almost* fully combined – you should still see a few small streaks of flour at this point. Now, add your generous amount of chocolate chips (or any preferred mix-ins). Continue to stir just until the flour streaks disappear and the chocolate chips are evenly distributed throughout the dough. Remember, overmixing the flour can develop too much gluten, which results in dense, dry, or tough bars, so a light hand and quick mixing are key here.
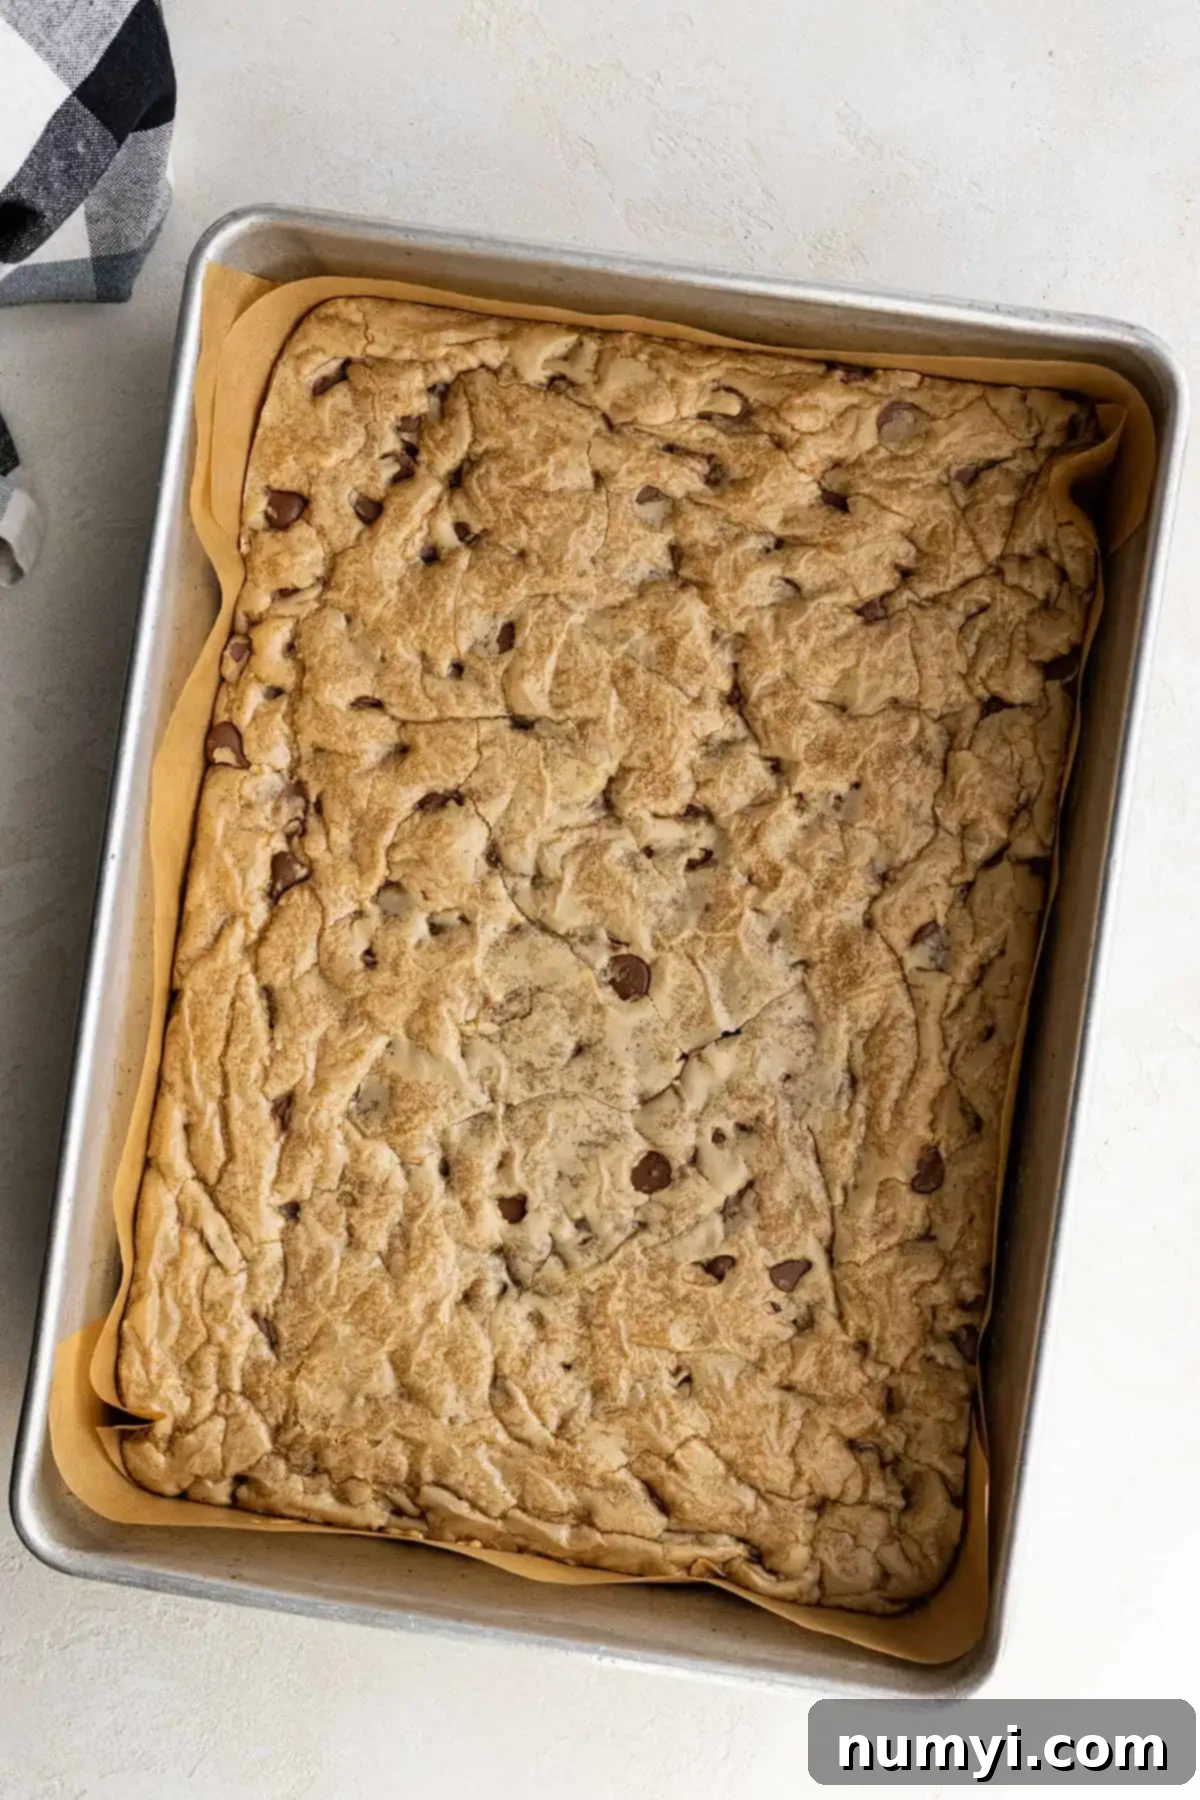
- STEP 3: Bake to Golden Perfection. Evenly spread the prepared cookie dough into your lined baking pan. Use the back of a spoon or your hands (lightly floured if sticky) to press the dough into an even layer, ensuring consistent thickness for uniform baking. Bake in your preheated oven for approximately 20-25 minutes. The bars are ready when the edges are lightly golden brown and a toothpick inserted into the very center comes out clean or with a few moist crumbs attached. Avoid the temptation to overbake, as this is the quickest way to dry out the bars and lose that coveted chewy texture. Allow them to cool completely in the pan on a wire rack before removing and cutting.
Frequently Asked Questions About Chocolate Chip Cookie Bars:
Once your cookie bars have cooled completely to room temperature, store them in an airtight container. This will keep them wonderfully fresh and chewy for up to 5 days when stored at room temperature on your countertop. If you prefer to extend their freshness for a longer period, you can store them in the refrigerator for up to 1 week. For the best flavor and texture, bring them back to room temperature or warm slightly in the microwave before serving.
Absolutely! Chocolate chip cookie bars freeze beautifully, making them perfect for meal prep or enjoying a homemade treat whenever a craving strikes. After they have completely cooled, cut them into individual portions. Place them in a single layer in a freezer-safe bag or an airtight container, separated by parchment paper if stacking multiple layers. They will stay fresh in the freezer for up to 2 months. To enjoy, simply thaw them overnight at room temperature or gently warm them in the microwave for a few seconds until soft.
For optimal baking results and that perfect golden-brown crust with a chewy interior, I highly recommend using a metal baking pan for these cookie bars. Metal pans conduct heat more evenly and efficiently. If you opt to use a glass baking dish, please be aware that glass retains heat differently and can sometimes lead to slightly longer baking times. You may need to increase the baking time by a few minutes (typically 5-10 minutes) to ensure they are fully cooked through. Always keep a close eye on them and use the toothpick test for doneness.
While I haven’t personally tested a gluten-free version of this specific recipe, it should work well with a high-quality “cup-for-cup” or “1-to-1” gluten-free all-purpose flour blend. These blends are specifically formulated to substitute regular wheat flour in most recipes. When choosing a blend, make sure it contains xanthan gum, or add about ½ teaspoon if the blend you choose does not list it, as xanthan gum helps provide structure and elasticity that gluten would normally provide.
Expert Tips for the Best Chocolate Chip Cookie Bars:
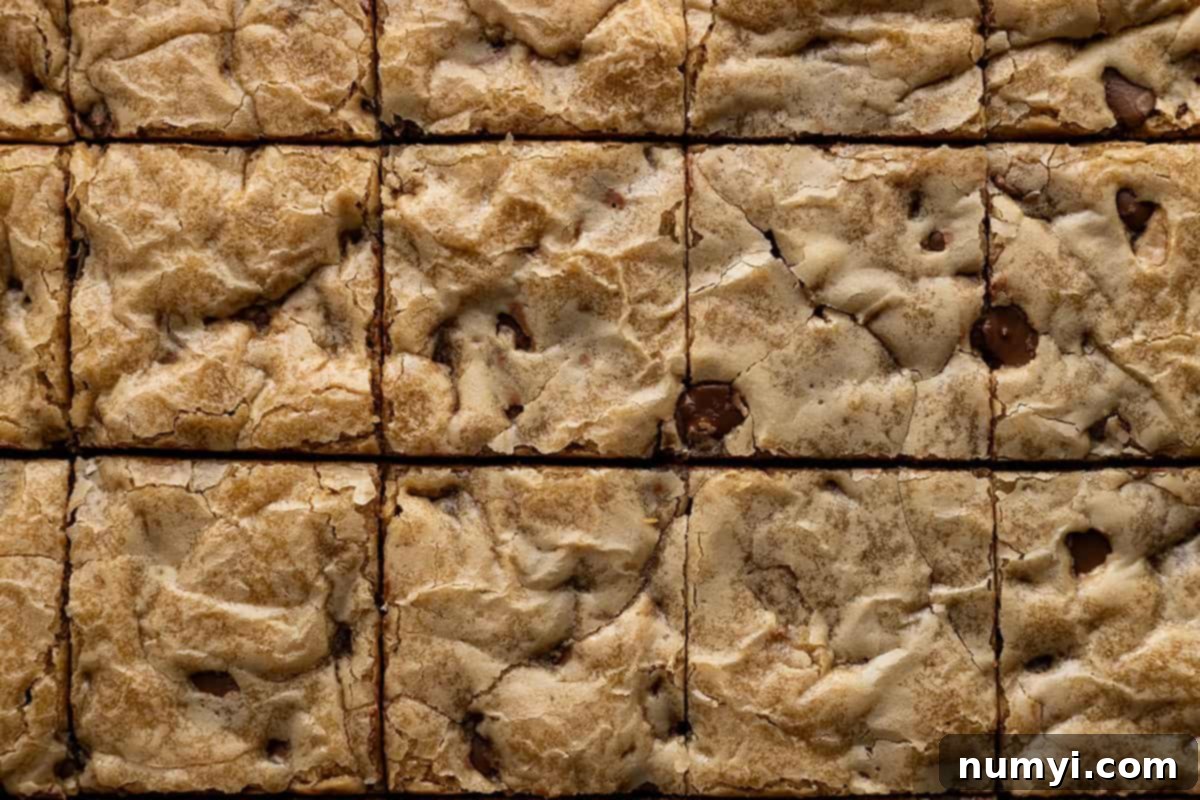
- Patience is Key for Cooling: To ensure your bars maintain their perfect shape and cut cleanly into neat squares, it is absolutely essential to let them cool entirely in the pan before attempting to slice them. Warm bars will be crumbly, messy, and difficult to portion. Allow at least 1-2 hours for complete cooling on a wire rack.
- Effortless Removal with Parchment or Foil: Lining your baking pan with parchment paper or foil is a game-changer for easy removal. Leave an overhang on the sides of the pan to create “handles.” Once the bars are completely cooled, you can simply lift the entire slab out of the pan, transfer it to a cutting board, and slice them with ease, minimizing mess and preventing sticking.
- Achieve Clean Cuts: For perfectly neat squares or rectangles, use a long, sharp knife. For the cleanest possible cuts, wipe the knife blade clean with a damp cloth or paper towel after each slice. This simple step prevents sticky residue from tearing or smearing the next bar.
- Adjusting Batch Size: This recipe, when made in a standard 9×13 inch pan, typically yields between 24 and 36 bars, depending on how large or small you cut them. If you’re baking for a smaller group or simply want fewer treats, you can easily halve the recipe and bake it in a 9×9 inch baking pan, which will yield approximately 12 to 16 bars.
- Elevate Flavor with Browned Butter: For a sophisticated twist and an added layer of nutty depth, try browning your butter before mixing it with the sugar. Browned butter adds a rich, toasty, caramel-like flavor that takes these cookie bars from delicious to truly extraordinary. Just be sure to let it cool slightly (but still be melted) before combining with other ingredients.
- Don’t Overbake: Overbaking is the quickest way to dry out your cookie bars and lose that coveted soft and chewy texture. Keep a close eye on them towards the end of the baking time. They should look slightly underdone and still a little soft in the very center when you pull them out of the oven; residual heat will continue to cook them as they cool.
- Room Temperature Eggs: Using room temperature eggs allows them to incorporate more smoothly and evenly into the butter and sugar mixture, resulting in a more uniform dough and a better overall texture in the final baked product.
- Quality Chocolate Matters: While any chocolate chips work in a pinch, investing in good quality chocolate can significantly enhance the flavor and melt-factor of your cookie bars. High-quality chocolate melts more smoothly and offers a richer, more nuanced taste experience.
Delicious Variations and Creative Add-Ins:
While classic chocolate chip cookie bars are perfect as is, they also serve as a fantastic canvas for your culinary creativity! Here are some ideas to customize your batch and make them uniquely yours:
- Nutty Delights: Stir in a cup of chopped walnuts, pecans, or almonds along with the chocolate chips for added crunch and earthy flavor. Toasting the nuts lightly beforehand can deepen their taste and aroma.
- Different Chocolate Combos: Experiment with different types of chocolate chips! Use a mix of semi-sweet, milk, dark, or even white chocolate chips for a multi-layered chocolate experience. Chocolate chunks, both store-bought or from a chopped chocolate bar, can also provide a luxurious, melty bite.
- Candy & Sweet Mix-Ins: For a fun and colorful twist, fold in M&M’s, chopped Snickers, Rolo candies, or even crushed Oreos for a delightful, candy-bar inspired treat that kids and adults alike will love.
- Caramel or Toffee Swirl: After spreading the dough into the prepared pan, dollop spoonfuls of caramel sauce (or even softened cream cheese for a cheesecake swirl) over the top and gently swirl with a knife for a beautiful and delicious pattern. Add toffee bits for an extra buttery, crunchy element.
- A Hint of Sea Salt: Just before baking, sprinkle a pinch of flaky sea salt (like Maldon) over the top of the unbaked dough. This simple addition beautifully enhances the chocolate flavor and provides a delightful contrast to the sweetness, creating a sophisticated finish.
- Citrus Zest: For a bright and unexpected twist, add a teaspoon of fresh orange or lemon zest to the dough. Citrus pairs wonderfully with chocolate and adds a refreshing note.
Perfect Ways to Serve Your Cookie Bars:
These versatile chocolate chip cookie bars are incredibly delicious at any temperature and suitable for virtually any occasion. Here are some of our favorite ways to enjoy them:
- Classic Warm & A La Mode: As mentioned, serving them warm from the oven with a generous scoop of vanilla bean ice cream is an unbeatable classic. The warm, gooey cookie with cold, melting ice cream is pure bliss and a truly indulgent experience.
- With a Tall Glass of Milk: A timeless pairing that brings back childhood memories! Enjoy a fresh cookie bar with a cold glass of milk for the ultimate comforting treat and a simple pleasure.
- Dessert Platter Star: Cut into smaller, bite-sized squares, these bars make a fantastic and easily shareable addition to any dessert platter for parties, potlucks, family gatherings, or holiday celebrations.
- Coffee Break Companion: Pair a soft, chewy cookie bar with your morning coffee, afternoon tea, or an evening espresso for a delightful pick-me-up or a satisfying end to a meal.
- Thoughtful Gift: Package a few freshly baked bars in a pretty box or cellophane bag tied with a ribbon for a thoughtful homemade gift that everyone will appreciate, whether it’s for a neighbor, teacher, or friend.
Troubleshooting Common Cookie Bar Issues:
Even simple recipes can sometimes present challenges. Here’s a quick guide to troubleshooting common issues you might encounter while baking your chocolate chip cookie bars:
- Bars are Too Dry/Crumbly: This is often a sign of either too much flour or overbaking. Ensure you’re measuring flour correctly (spoon and level, not scooping directly). Always use the toothpick test for doneness, and remember to pull them out of the oven when they still look slightly soft in the center, as they will continue to set as they cool.
- Bars are Too Greasy: If your bars feel excessively greasy, it could be due to too much butter (ensure accurate measurement) or not allowing them to cool completely before cutting. Using room temperature ingredients (especially eggs) can also help ensure better emulsion and a less greasy texture.
- Bars are Hard/Dense: Overmixing the flour is usually the main culprit here. Once you add the flour, mix only until the flour streaks disappear – literally a few seconds. Developing too much gluten by overmixing will make the bars tough and dense rather than soft and chewy.
- Chocolate Chips Sank to the Bottom: This can happen if your batter is too thin or if the chocolate chips are very heavy. Using room temperature eggs can help create a slightly thicker batter that better suspends the chips. You can also lightly dust your chocolate chips with about a teaspoon of flour before adding them to the dough; this light coating helps them suspend more evenly throughout the batter.
- Uneven Baking: If parts of your bars are overcooked while others are undercooked, your oven might have hot spots. Rotating the pan halfway through baking can help ensure more even results. Using a metal baking pan, which conducts heat efficiently, is also beneficial in achieving consistent baking.
HUNGRY FOR MORE? Subscribe to my newsletter and follow along on Pinterest, Facebook, and Instagram for all my latest updates!
Chocolate Chip Cookie Bars
Ingredients
- ¾ cup (170g) butter, melted
- 1½ cups (220g) packed brown sugar
- 2 large eggs
- 2 teaspoons vanilla extract
- 2¼ cups (310g) all-purpose flour
- ½ teaspoon salt
- 1¾ cups (285g) chocolate chips
Instructions
-
Preheat oven to 350℉ (175°C). Line a 9×13 inch baking pan with foil or parchment paper, leaving an overhang on the sides; set aside.
-
In a large bowl, vigorously whisk the melted butter and brown sugar until completely combined and no longer separated. Stir in the eggs and vanilla extract just until combined.
-
Stir in the flour and salt until almost combined. Add the chocolate chips and stir just until combined. Spread evenly into the prepared pan and bake for 20-25 minutes or just until a toothpick inserted in the center comes out clean or with a few moist crumbs. Cool completely before removing from pan to cut.
