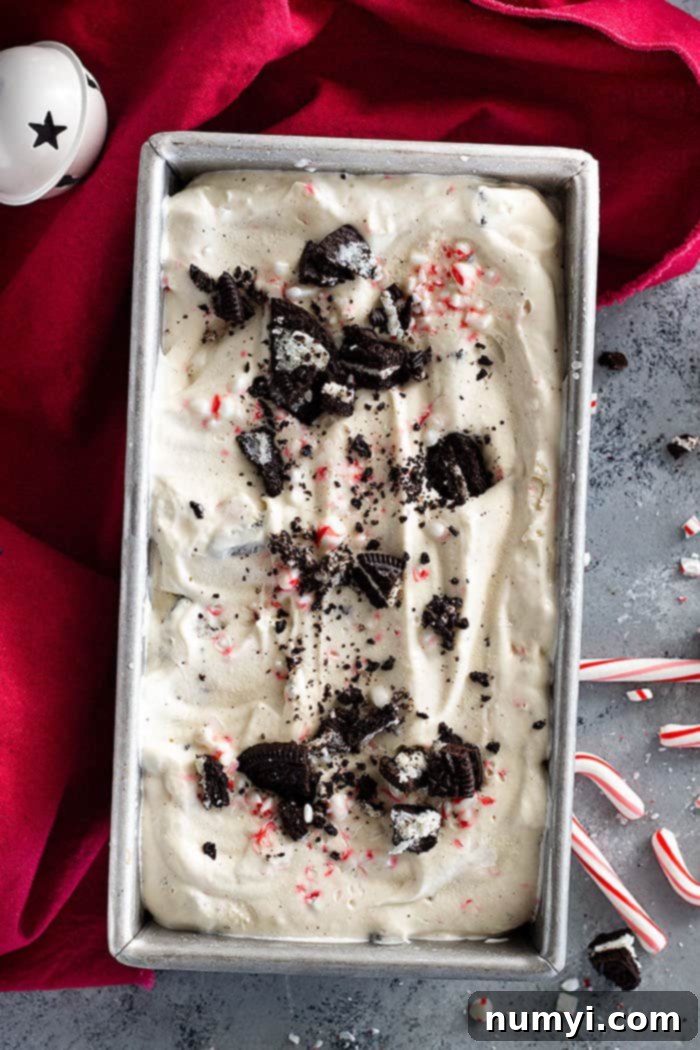
Indulge in Creamy Delight: The Best No-Churn Peppermint Oreo Ice Cream Recipe
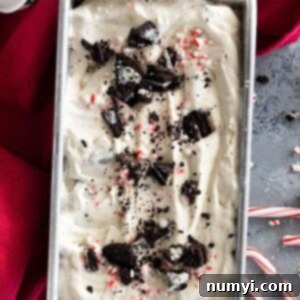
Craving a festive treat without the fuss? This No-Churn Peppermint Cookie Ice Cream is your answer! It requires absolutely no ice cream maker, yet delivers a rich, incredibly creamy, and wonderfully refreshing dessert. It’s the ultimate winter delight and holiday showstopper!
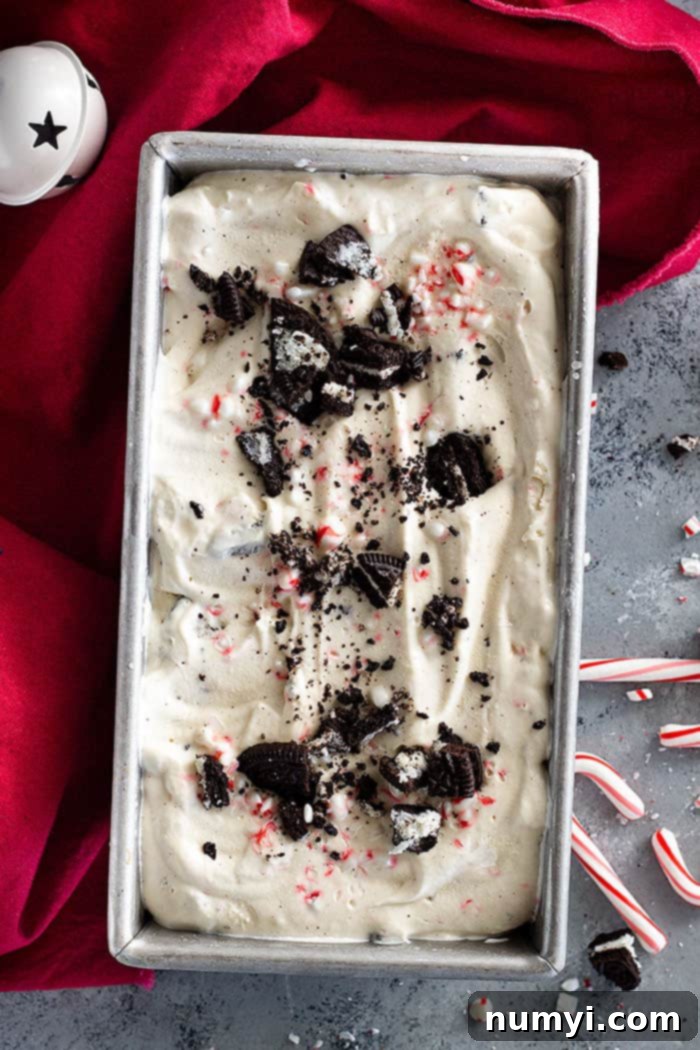
Discover the Magic of Homemade No-Churn Peppermint Cookie Ice Cream
As the festive season approaches, or even when you simply desire a refreshing and indulgent dessert, this No-Churn Peppermint Cookie Ice Cream stands out as a true gem. Forget the complicated machinery and tedious churning; this recipe proves that incredible, gourmet-quality ice cream can be made right in your home freezer with minimal effort. If you’re searching for a special holiday dessert that impresses guests and satisfies every sweet tooth, look no further!
The combination of cool, crisp peppermint and the irresistible crunch of chocolate cream cookies (yes, we’re talking about Oreos!) creates a flavor profile that is both nostalgic and exciting. This ice cream isn’t just easy to make; it tastes phenomenal. Trust me – once you try this recipe, you’ll wonder why you ever bothered with traditional ice cream makers. Its simplicity is both a blessing and a curse; a blessing because anyone can make it, and a curse because having such a delicious, tempting treat perpetually stocked in your freezer is a delightful challenge to resist!
For those who love delightful frozen treats, especially during the holidays, this peppermint Oreo ice cream is a must-try. Its vibrant flavor and festive appearance make it a perfect addition to any seasonal celebration or a cozy night in. And if you enjoy this simple yet elegant dessert, you might also like to explore other comforting recipes such as Cranberry Bread Pudding with Whiskey Cream Sauce, Creamy Rice Pudding, and Chocolate Meringue Pie.
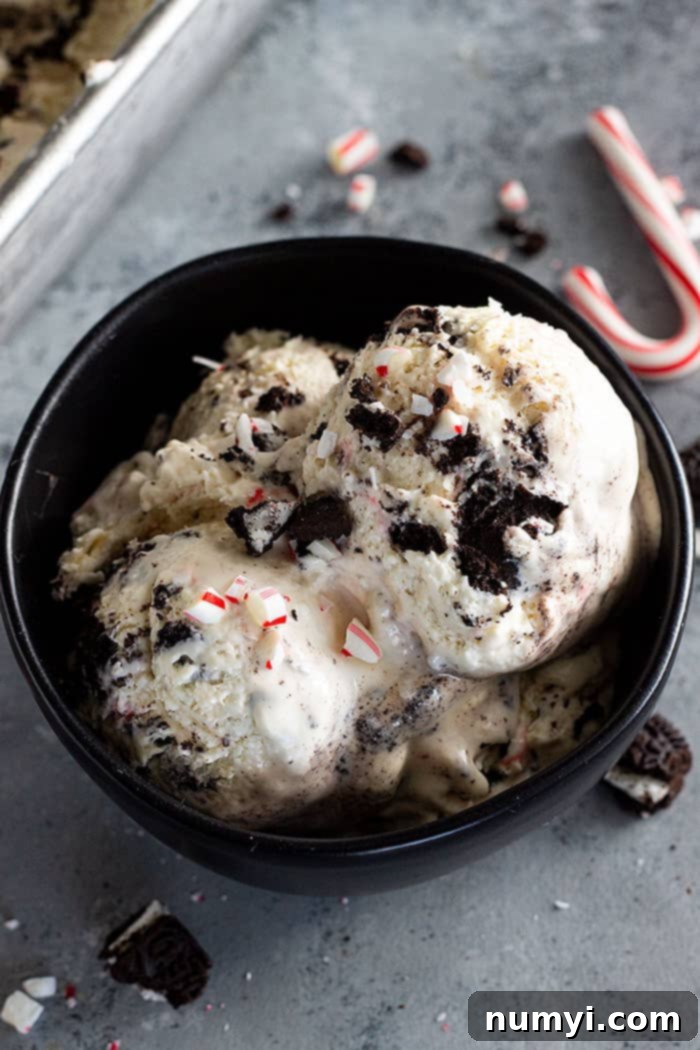
The Secret Behind No-Churn Ice Cream: Essential Ingredients Explained
Creating a luscious, scoopable ice cream without an ice cream machine might seem like magic, but it’s all thanks to a few key ingredients working in harmony. Each component plays a vital role in achieving that rich, creamy texture and delightful flavor. Here’s a closer look at what you’ll need for your homemade peppermint cookie ice cream:
Heavy Whipping Cream (Heavy Cream)
- This is the backbone of your no-churn ice cream. It’s crucial to use cream with a fat content of at least 30%, which is typically labeled as “heavy whipping cream” or “heavy cream.” The high-fat content is what allows the cream to whip up into stiff peaks, incorporating air that gives the ice cream its light and airy structure. More importantly, this fat content prevents the ice cream from freezing too hard, ensuring it remains wonderfully easy to scoop straight from the freezer. Lower fat creams will result in an icier, harder product that lacks the desired creamy mouthfeel. Ensure your cream is well-chilled before whipping for the best results.
Sweetened Condensed Milk
- Sweetened condensed milk serves two critical functions in this recipe. Firstly, it provides the primary sweetness for the ice cream base, eliminating the need for granulated sugar. Secondly, and perhaps more importantly for no-churn varieties, its thick, viscous consistency and high sugar content are essential for keeping the ice cream smooth and creamy. The sugar acts as an antifreeze, preventing large ice crystals from forming, which can make ice cream gritty. I highly recommend sticking to regular sweetened condensed milk and avoiding low-fat versions or substitutions, as these can drastically alter the final texture and consistency.
Vanilla Extract
- A touch of vanilla extract is a standard addition to most dessert recipes, and no-churn ice cream is no exception. It enhances the overall flavor profile, adding a subtle warmth and depth that complements the bright peppermint without overpowering it. Always opt for pure vanilla extract for the best taste.
Peppermint Extract
- This is where the signature festive flavor comes from! Peppermint extract delivers that refreshing, cool taste that defines this ice cream. The recipe calls for 1 1/4 teaspoons, which provides a pleasantly prominent peppermint flavor. However, the intensity of peppermint can be a personal preference. If you adore a strong, bold peppermint kick, feel free to increase it slightly to 1 1/2 teaspoons. For a more subtle, delicate hint of mint, reduce it to 1 teaspoon. It’s always a good idea to start with slightly less and add more if desired, as a little peppermint extract goes a long way.
Crushed Peppermint Candies
- Beyond just flavor, crushed peppermint candies (whether you use classic candy canes or the round starlight mints) add a wonderful textural contrast and a beautiful visual appeal. The tiny shards of candy provide a delightful crunch and an extra burst of peppermint, making each spoonful an exciting experience. Crushing them can be done easily by placing them in a Ziploc bag and gently pounding with a rolling pin or meat tenderizer.
Chocolate Cream Cookies (Oreo’s)
- Often affectionately known as Oreos, these chocolate sandwich cookies are truly optional, but they are an absolute game-changer in this recipe! Their rich chocolate flavor and satisfying crunch marry perfectly with the cool peppermint. They add another layer of texture and a touch of indulgence that takes this ice cream from great to extraordinary. Roughly chopping them ensures you get substantial cookie pieces throughout your ice cream.
Effortless Steps to Your Easy Homemade Peppermint Ice Cream
One of the greatest joys of this no-churn peppermint cookie ice cream is its sheer simplicity. You don’t need any special skills or equipment, just a bowl, a mixer, and a freezer. This easy yet impressive ice cream comes together in just a few straightforward steps, making it perfect for even novice bakers.
- Whip the Cream Mixture: In a large, chilled bowl, combine the cold heavy whipping cream, vanilla extract, and peppermint extract. Using an electric mixer (handheld or stand mixer), beat the mixture on high speed. Continue whipping until stiff peaks form. This means when you lift the beaters, the cream should hold its shape firmly and not droop. Be careful not to over-whip, as this can turn the cream grainy.
- Gently Fold in Sweetness and Mix-ins: Once your whipped cream base is ready, it’s time to incorporate the sweetened condensed milk. Carefully pour it into the whipped cream. Using a spatula, gently fold the condensed milk into the whipped cream. The key here is to fold, not stir, to maintain as much of the air you’ve whipped into the cream as possible. After the condensed milk is mostly combined, add your crushed peppermint candies and chopped chocolate cream cookies. Continue to gently fold until all ingredients are just incorporated and evenly distributed throughout the mixture. Avoid overmixing.
- Transfer to a Freezer-Safe Container: Spoon the entire ice cream mixture into any freezer-safe container. A loaf pan (9×5 inches) works perfectly, or you can use a large airtight container. Ensure the surface is as even as possible.
- Prevent Ice Crystals: This step is crucial for achieving a smooth, non-icy texture. Place a piece of plastic wrap directly onto the surface of the ice cream, pressing it down gently to eliminate any air pockets between the ice cream and the wrap. This barrier will prevent ice crystals from forming on the surface during freezing.
- Freeze to Perfection: Place the covered container in the freezer for at least 8-10 hours, or preferably overnight. This allows the ice cream to fully set and develop its creamy consistency. Once frozen, remove the plastic wrap, and your delightful no-churn peppermint cookie ice cream is ready to be enjoyed!
Pro Tips for the Best No-Churn Peppermint Cookie Ice Cream
While this recipe is incredibly simple, a few expert tips can elevate your homemade ice cream from good to absolutely amazing:
- Chill Your Tools: For optimal whipping, place your mixing bowl and beater attachments in the freezer for 10-15 minutes before you start. Cold equipment helps the heavy cream whip up faster and more efficiently, resulting in a lighter, more stable base.
- Use Cold Cream: Always ensure your heavy whipping cream is very cold. Warm cream simply won’t whip properly.
- Don’t Over-Whip: Watch your cream closely during whipping. Once stiff peaks form, stop immediately. Over-whipping can lead to a grainy texture and eventually turn the cream into butter.
- Gentle Folding is Key: When incorporating the sweetened condensed milk and mix-ins, use a light hand and a folding motion. This preserves the air in the whipped cream, which is what gives no-churn ice cream its characteristic light and airy texture.
- Quality Ingredients Matter: Since this recipe uses only a few ingredients, the quality of each really shines through. Use good quality vanilla and peppermint extracts for the best flavor.
- Crush Your Candies and Cookies Well: For the best texture, ensure your peppermint candies and Oreos are crushed to your desired size. Some prefer fine crumbs for a subtle hint, while others love larger chunks for a more pronounced bite.
- Freezing Time is Essential: Don’t rush the freezing process. A minimum of 8-10 hours (or overnight) is needed for the ice cream to firm up completely and achieve its ideal creamy, scoopable texture.
Creative Variations to Your Peppermint Ice Cream
Once you master the basic no-churn technique, the possibilities for customization are endless! Here are a few ideas to inspire your next batch of homemade ice cream:
- Chocolate Lover’s Dream: Swirl in some melted dark chocolate or a homemade fudge sauce before freezing. You can also add mini chocolate chips or chopped chocolate bars for extra chocolatey goodness.
- Different Cookies: Experiment with other types of chocolate or even vanilla cookies. Graham crackers or shortbread cookies could offer a different texture and flavor profile.
- Mint Chocolate Chip: Instead of regular Oreos, try mint-flavored chocolate sandwich cookies, or add a handful of mint chocolate chips for a double dose of minty chocolate.
- White Chocolate Peppermint: Fold in some melted white chocolate or white chocolate chips for a creamier, milder chocolate flavor that still complements the peppermint perfectly.
- Extra Festive: Add a drop or two of red or green food coloring to the ice cream base for an even more vibrant and holiday-appropriate look.
Serving and Storage Suggestions
Once your No-Churn Peppermint Cookie Ice Cream is perfectly frozen, it’s time to enjoy it!
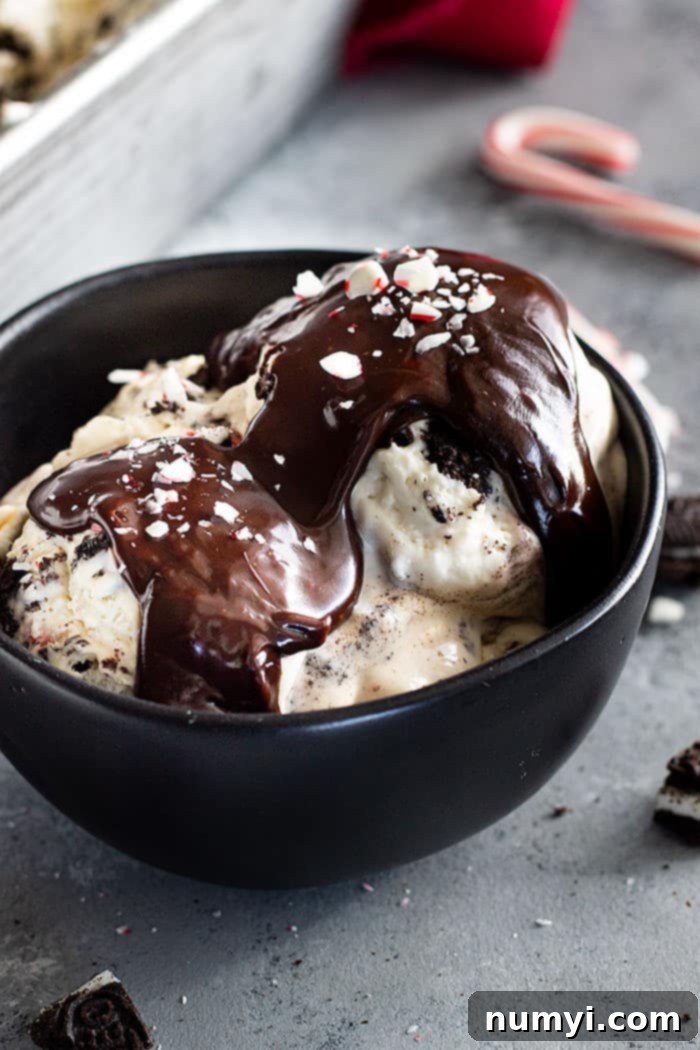
- Perfect Presentation: Scoop generous portions into bowls or cones. Garnish with an extra sprinkle of crushed peppermint candies, a few whole mini chocolate cream cookies, or a drizzle of warm homemade hot fudge sauce. A dollop of freshly whipped cream can also add an elegant touch.
- Dessert Pairings: This ice cream is fantastic on its own, but it also pairs beautifully with other desserts. Try a scoop alongside a warm brownie, a slice of chocolate cake, or even a festive fruit tart.
- Storage: Store the ice cream in an airtight, freezer-safe container to prevent freezer burn. If you used a loaf pan, transfer it to an airtight container after it’s fully frozen. It will maintain its best quality for up to two weeks in the freezer. For longer storage (up to a month), the texture might slightly degrade, but it will still be delicious.
- Softening Before Serving: If your ice cream is very hard directly from the freezer, let it sit on the counter for 5-10 minutes before scooping. This will allow it to soften slightly for easier serving and a creamier mouthfeel.
Frequently Asked Questions (FAQs) About No-Churn Ice Cream
- Can I use light cream or half-and-half instead of heavy whipping cream?
No, it’s highly recommended to use heavy whipping cream (at least 30% fat content). Lighter creams will not whip up properly and will result in an icy, hard ice cream that lacks the desired creamy texture. - Why do I need to press plastic wrap directly onto the surface?
This step is crucial for preventing ice crystals from forming on the surface of your ice cream. Air exposure during freezing can lead to crystallization, making your ice cream unpleasantly icy. - Can I make this ice cream ahead of time for a party?
Absolutely! This is one of the best features of no-churn ice cream. You can prepare it up to a week or two in advance, making it a perfect make-ahead dessert for holidays and gatherings. - What if my ice cream turns out too hard?
If your ice cream is too hard, it might be due to not enough fat (if you didn’t use heavy cream) or too much air lost during folding. Always allow it to sit out for 5-10 minutes at room temperature before scooping. - How long does it last in the freezer?
When stored properly in an airtight container, no-churn ice cream typically lasts for 2-4 weeks in the freezer. After that, its texture and flavor may start to degrade.
HUNGRY FOR MORE? Subscribe to my newsletter and follow along on Pinterest, Facebook, and Instagram for all my latest updates!
No-Churn Peppermint Cookie Ice Cream
Ingredients
- 2 cups (475ml) cold heavy whipping cream (heavy cream)
- 2 teaspoons vanilla
- 1-1½ teaspoons peppermint extract
- 1 (14oz)(396g) can sweetened condensed milk
- 1 cup (90g) roughly chopped chocolate sandwich cookies (Oreo’s)
- ¼ cup (45g) crushed peppermint candies or candy canes
Instructions
-
In a large bowl beat the heavy whipping cream, vanilla, and peppermint extract on high until stiff peaks form. Fold in the condensed milk, chopped cookies and crushed candies just until combined.
-
Spoon into a large container or 2 loaf pans. Cover with plastic wrap pressing against the surface to prevent ice crystals from forming. Place in freezer for a minimum of 10 hours.
Notes
- I used 1 1/4 teaspoons of extract in this recipe. It provides a nice prominent peppermint flavor. If you like a strong peppermint flavor use 1 1/2 teaspoons or if you want it a little more subtle take it down to 1 teaspoon.
- Nutrition Facts: Since different brands of ingredients have different nutritional information, the information shown is just an estimate.
