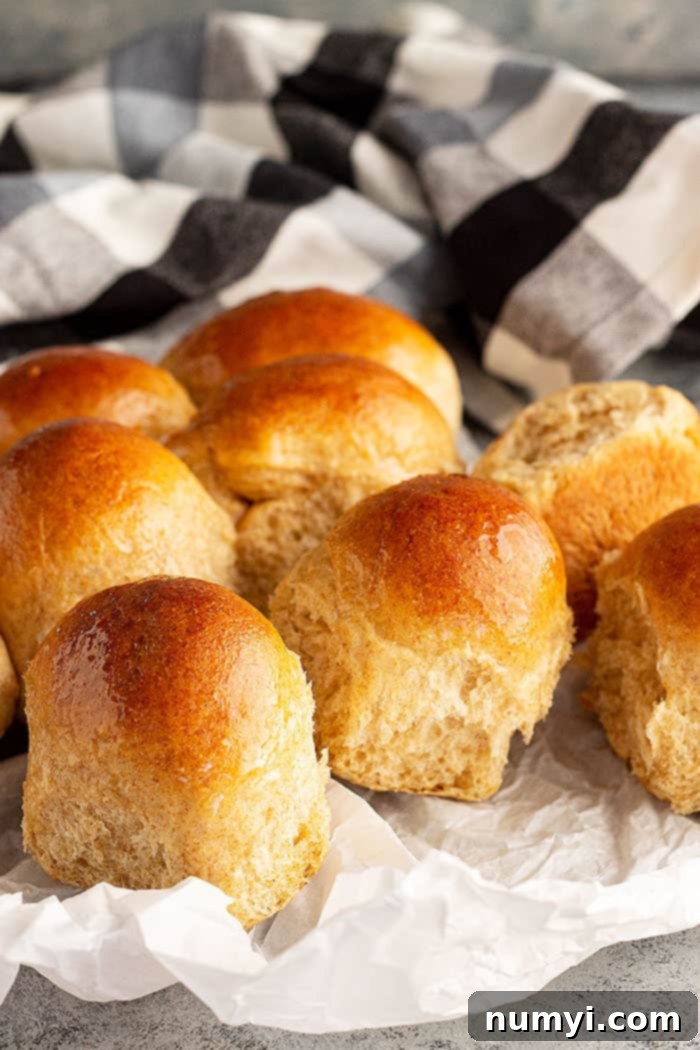
Fluffy Homemade Honey Wheat Dinner Rolls: Your Ultimate Guide
Discover how to bake incredibly soft and fluffy Honey Wheat Dinner Rolls, featuring a perfect blend of white and whole wheat flour, sweetened with a touch of golden honey. These rolls are a family favorite for a reason!
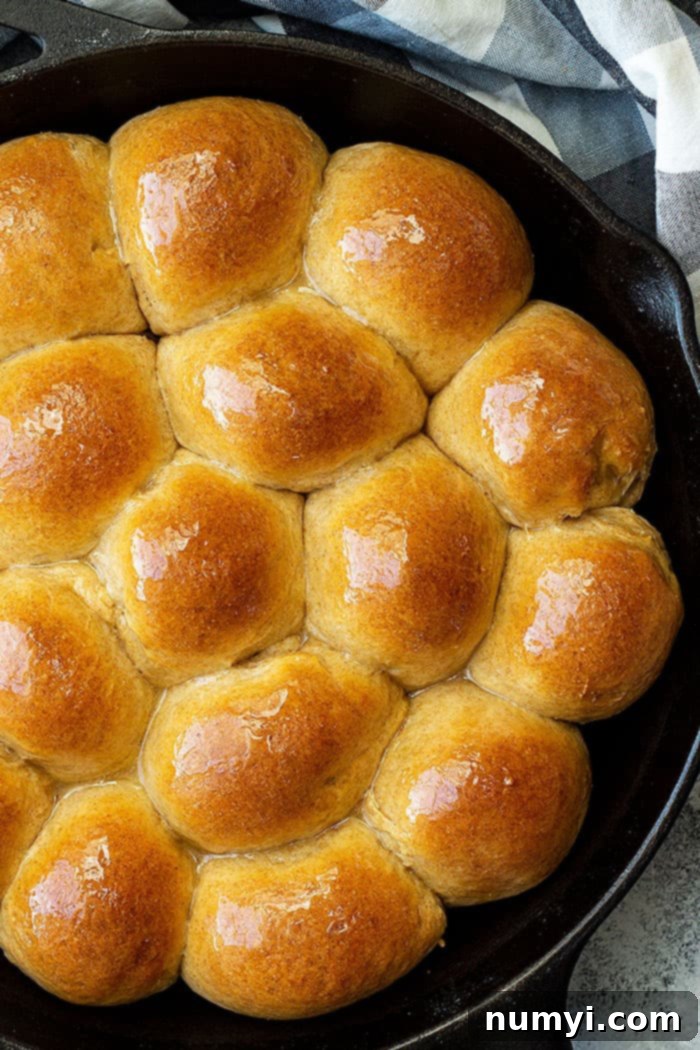
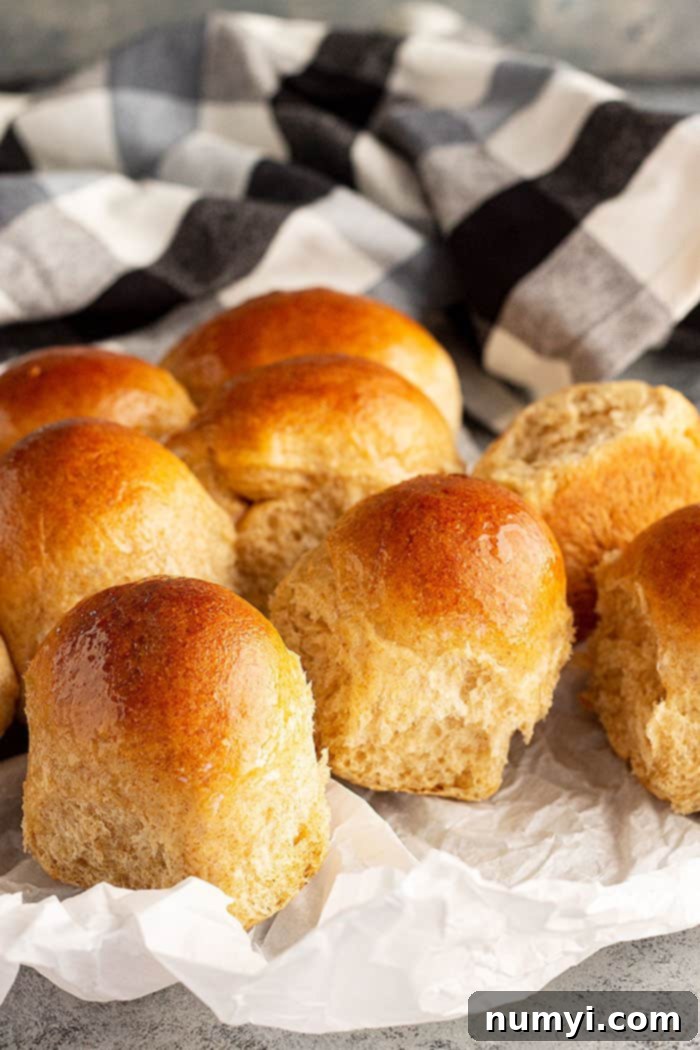
There’s nothing quite like the aroma of freshly baked bread filling your home, and these Honey Wheat Dinner Rolls are no exception. They are a beloved staple at our family dinners, and honestly, who doesn’t love all kinds of bread? These rolls are a game-changer, offering the comforting appeal of homemade bread with a delightful twist. Forget dense, heavy rolls; these are designed to be light, airy, and utterly irresistible.
What makes these rolls truly special is the thoughtful combination of flours. Instead of relying solely on all-purpose flour, we incorporate a 50/50 blend of white and whole wheat flour. This ingenious mix provides a wonderful, hearty texture and a depth of flavor that pure white flour can’t achieve, without making the rolls feel weighted down or too dense. You’ll never end up with a “hockey puck” dinner roll when following this recipe – only perfectly pillowy goodness.
If you’re as passionate about baking bread as we are, you might also enjoy exploring some of our other fantastic bread recipes. Give these a try: Classic Crescent Rolls, savory Rosemary Parmesan Bread, or this incredibly easy Beer Bread. Each recipe offers a unique baking experience and a delicious result to share with your loved ones.
Why You’ll Love These Honey Wheat Rolls
These Honey Wheat Dinner Rolls are more than just a side dish; they’re a centerpiece! Here’s why they’re destined to become a staple in your kitchen:
- Perfect Texture: The 50/50 blend of all-purpose and whole wheat flour creates a roll that is incredibly soft, fluffy, and tender, yet still has a satisfying chew. It’s the best of both worlds!
- Subtle Sweetness: Natural honey provides a delicate sweetness that beautifully complements the wholesome wheat flavor, without being overly sugary.
- Hearty & Wholesome: Incorporating whole wheat flour adds fiber and nutrients, making these rolls a slightly healthier option than traditional white rolls.
- Versatile for Any Meal: Whether served with a holiday feast, a weeknight dinner, or as a base for mini sandwiches, these rolls are always a hit.
- Make-Ahead Friendly: With several options for preparing ahead of time, you can easily fit fresh, homemade rolls into your busiest schedule.
Key Ingredients for Perfect Honey Wheat Rolls
Crafting the perfect batch of Honey Wheat Dinner Rolls starts with understanding the role each ingredient plays. Here’s a detailed look at what you’ll need and why:
- Yeast: This living organism is the magic behind every fluffy yeast bread. It consumes sugars (like the honey in this recipe) and produces carbon dioxide, causing the dough to rise and giving homemade bread its distinct flavor and aroma. You can use either active dry yeast or instant yeast. If using active dry, ensure your milk is warm enough (around 105-115°F or 40-46°C) to activate it, and let it sit for 5 minutes until foamy. Instant yeast can often be mixed directly with dry ingredients, but for consistency, we’ll activate it in milk here. We recommend reliable brands like Fleischmann’s or Red Star.
- Milk: Warm milk is essential for activating the yeast. Beyond that, it contributes richness and helps keep the dough incredibly soft and tender. Whole milk is preferred for the best flavor and texture, but lower-fat milk can be used if necessary. While we haven’t tested non-dairy milk extensively, some bakers have success with unsweetened almond or soy milk, keeping in mind the texture might vary slightly.
- Flour: Our signature 50/50 blend of all-purpose flour and whole wheat flour is key. All-purpose flour provides the necessary gluten structure for a light and airy texture, while whole wheat flour adds a nutty flavor, a heartier chew, and beneficial fiber. This balance prevents the rolls from being too dense or too airy. High-quality flour makes a difference; King Arthur Flour is a fantastic choice for homemade bread.
- Honey: More than just a sweetener, honey plays multiple crucial roles. It provides natural sugars to feed the yeast, aiding in a robust rise. It also imparts a distinct, mellow sweetness and contributes to the beautiful golden-brown crust of the rolls during baking.
- Salt: Don’t skip the salt! It’s vital for enhancing the overall flavor of the bread, preventing it from tasting bland. Additionally, salt helps to regulate the yeast activity, ensuring the dough rises at an even pace and preventing over-proofing, which can lead to a crumbly texture.
- Butter: Softened unsalted butter enriches the dough, contributing to its tender crumb and delightful flavor. It also helps to keep the rolls soft and moist, even a day or two after baking.
- Egg: A large egg adds protein, which contributes to the dough’s structure and strength. It also provides richness and helps to create a slightly golden hue in the baked rolls.
Mastering the Art of Shaping Dinner Rolls
Shaping dinner rolls might seem intimidating at first, but with a little practice, it becomes intuitive. The goal is to create a smooth, tight surface on top and a neatly pinched bottom, which helps the rolls rise evenly and achieve that beautiful, rounded shape. You can shape them either on a clean countertop or directly in your hands. I personally prefer the hand-rolling method for its tactile control. Remember to divide your dough into 15 equal portions for consistent roll sizes. Using a kitchen scale for this step is highly recommended for accuracy!
Countertop Version:
Place one portion of dough on a clean, lightly floured work surface. Gently cup your palm over the dough ball and begin moving it in a circular motion, applying light pressure. As you roll, the dough will start to tighten and form a smooth ball underneath your hand. Continue rolling, slightly lifting your hand to form a “cage” around the dough with your fingers, guiding it into a perfect round shape. Don’t worry if your first few aren’t perfect; practice makes perfect!
Rolling in Your Hands:
Take a portion of dough and gently roll it between your palms, applying even, gentle pressure. As the dough begins to firm up, slightly stretch the top surface of the roll downwards, tucking it under the base. This motion creates a smooth, taut top. Continue to rotate and tuck until you have a perfectly round, smooth roll. Pinch the bottom seam closed to seal it, ensuring it holds its shape during the second rise and baking.
No matter which method you choose, the key is consistency. Uniformly shaped rolls will bake more evenly, leading to a batch of perfect rolls every time.
Preparing Your Honey Wheat Rolls in Advance
One of the greatest advantages of baking these Honey Wheat Dinner Rolls is their flexibility with make-ahead options. This allows you to enjoy freshly baked rolls even on busy days. Here are a few options to plan ahead:
- Overnight Cold Fermentation of Dough: After kneading the dough, instead of letting it rise at room temperature, place it in a lightly greased bowl, cover it tightly with plastic wrap, and refrigerate it overnight (for a maximum of 15-16 hours). This slow, cold rise develops deeper flavors in the dough. The next day, remove the dough from the refrigerator and let it come to room temperature for about 30-60 minutes before proceeding with shaping and the second rise as per the recipe.
- Refrigerating Shaped Rolls: Once you’ve kneaded and shaped the dough into individual rolls, arrange them in a greased baking pan. Cover the pan securely with plastic wrap and refrigerate overnight (up to 12 hours). The cold temperature significantly slows down the rising process. On baking day, take the pan out of the refrigerator and allow the rolls to come to room temperature and complete their second rise (which may take 1-2 hours) before baking. This method is perfect for a stress-free morning bake.
- Freezing Unbaked Rolls: To freeze rolls for longer storage, shape the kneaded dough into individual rolls. Place them on a parchment paper-lined baking sheet, ensuring they don’t touch each other. Freeze for about 2 hours, or until solid. Once frozen, transfer the rolls to a freezer-safe container or bag and store for up to 3 months. To bake from frozen, arrange the frozen rolls in a greased baking pan, cover, and let them thaw and rise at room temperature for approximately 4 hours (or until doubled in size) before baking as directed.
- Freezing Already Baked Rolls: You can also bake the rolls completely, let them cool down to room temperature, and then freeze them. Place the cooled rolls in a freezer-safe container or heavy-duty freezer bag for 2-3 months. To serve, simply thaw them at room temperature or reheat them gently in a warm oven (around 300°F/150°C for 10-15 minutes, covered with foil to prevent drying) until warmed through. This is ideal for having fresh-tasting rolls on demand.
These make-ahead options offer incredible flexibility, allowing you to enjoy the unparalleled taste and texture of homemade bread whenever you desire.
Tips for Baking Success
Baking homemade rolls is a rewarding experience, and a few key tips can ensure your success every time:
- Check Your Yeast: Always ensure your yeast is active. If your milk-and-yeast mixture doesn’t get foamy after 5-10 minutes, your yeast might be expired or inactive. Start with a fresh batch.
- Don’t Over-Flour: While it’s tempting to add more flour if the dough feels sticky, do so sparingly, one tablespoon at a time. Too much flour will result in dry, dense rolls. The dough should be soft and slightly tacky, but not sticking excessively to your hands or the bowl.
- Kneading is Key: Proper kneading develops the gluten, which gives the rolls their structure and chewiness. Knead until the dough is smooth and elastic. You should be able to stretch a small piece of dough thin enough to see light through it without it tearing (the “windowpane test”).
- Warm Place for Rising: Yeast loves warmth! Find a cozy, draft-free spot for your dough to rise. This could be a slightly warm oven (turned off), near a sunny window, or on top of a warm appliance.
- Don’t Over-Proof: While under-proofing leads to dense rolls, over-proofing can cause them to collapse in the oven or have a coarse texture. The dough is ready for baking when it has roughly doubled in size and springs back slowly when gently poked.
- Baking Temperature and Time: Preheat your oven thoroughly. Bake until the tops are golden brown. If they’re browning too quickly, you can lightly tent them with foil.
Serving Suggestions and Leftover Ideas
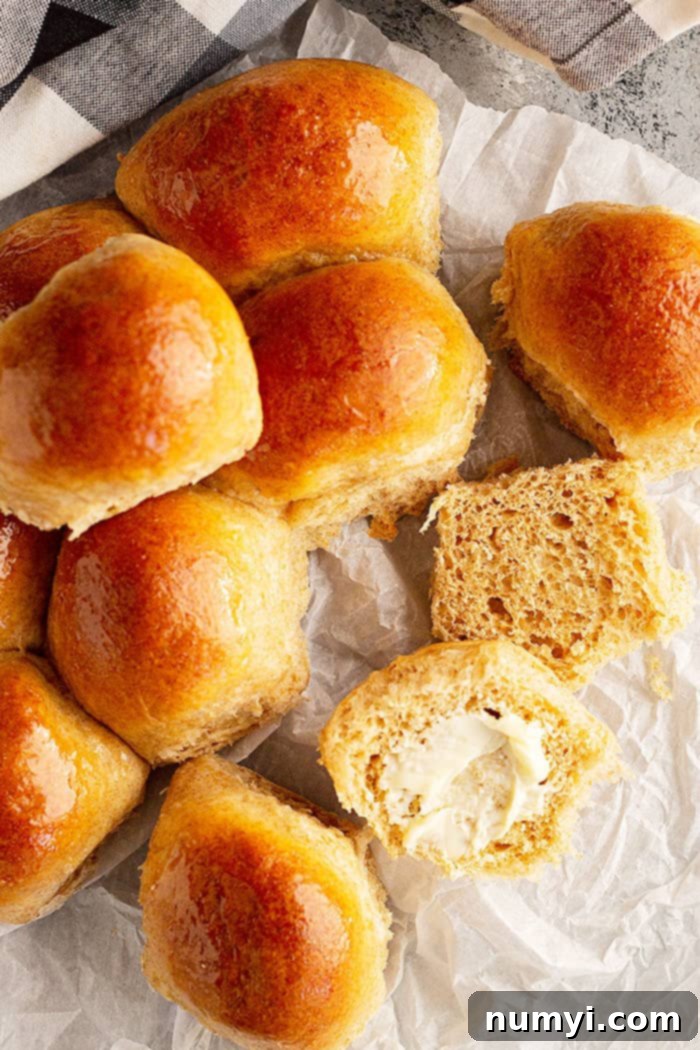
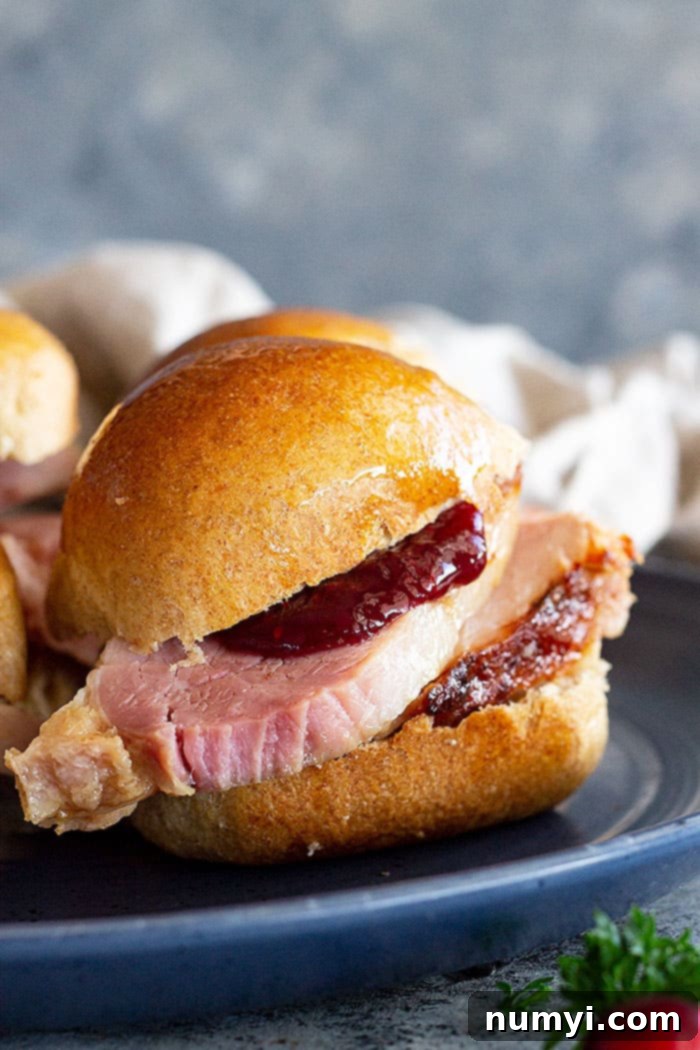
These Honey Wheat Dinner Rolls are incredibly versatile and can elevate any meal. Serve them warm with a pat of butter, alongside your favorite roast chicken, beef stew, or a hearty soup. They’re also fantastic for holiday gatherings like Thanksgiving or Christmas. Beyond the dinner table, these rolls make excellent small sandwiches or sliders. Slice them horizontally and fill with ham and cheese, sliced turkey, or even mini burger patties. For breakfast, slice them and spread with jam, honey butter, or cream cheese. Leftovers (if there are any!) can be used for bread pudding or simply reheated for a quick snack.
Frequently Asked Questions (FAQ)
Here are some common questions about making Honey Wheat Dinner Rolls:
- Can I use all whole wheat flour? While possible, it will result in a much denser, chewier roll. For the soft, fluffy texture, the 50/50 blend is recommended.
- What if my dough isn’t rising? First, check your yeast. If it didn’t foam in the milk, it’s likely inactive. Also, ensure your rising environment is warm enough and free of drafts.
- How do I store leftover rolls? Store tightly covered at room temperature for up to 2 days, or freeze for longer storage (see make-ahead options).
- Can I substitute other sweeteners? While honey provides unique flavor and browning, you could experiment with maple syrup or brown sugar, though the taste and texture may vary.
HUNGRY FOR MORE? Subscribe to my newsletter and follow along on Pinterest, Facebook, and Instagram for all my latest updates!
Honey Wheat Rolls

Ingredients
DOUGH:
- 1 cup (235ml) warm milk (about 110°F or 43°C)
- 1½ teaspoons active dry yeast
- 1½ cups (190g) all-purpose flour
- 1½ cups (215g) whole wheat flour
- 3 tablespoons honey
- 3 tablespoons softened unsalted butter
- ½ teaspoon salt
- 1 large egg
HONEY BUTTER TOPPING:
- 1 tablespoon softened butter
- 1 tablespoon honey
Instructions
-
Pour the warm milk into the bowl of a stand mixer. Sprinkle with active dry yeast and stir gently to combine. Allow this mixture to sit undisturbed for 5 minutes. The surface should become foamy, indicating the yeast is active. If it doesn’t foam, your yeast may be old or inactive, and you will need to replace it.
-
To the foamy yeast mixture, add the all-purpose flour, whole wheat flour, honey, softened butter, salt, and the large egg. Attach the dough hook to your stand mixer and mix on low speed just until all the ingredients are combined and a shaggy dough forms. Increase the speed to low (setting 1 or 2 on most mixers) and knead for 5-10 minutes. The dough should become smooth, elastic, and pull away from the sides of the bowl. It should feel soft but not overly sticky. If the dough is still too sticky, add flour one tablespoon at a time until the desired consistency is reached.
-
Remove the dough from the mixer bowl and form it into a smooth ball. Place the dough into a lightly greased large bowl, turning once to coat. Cover the bowl tightly with plastic wrap or a clean kitchen towel. Let the dough rise in a warm, draft-free place until it has visibly doubled in size. This typically takes 1-2 hours, depending on the warmth of your environment.
-
Once the dough has doubled, gently punch it down to release the air. Remove the dough from the bowl and place it on a lightly floured work surface. Briefly knead it for about 1 minute to ensure even distribution of gases. Divide the dough into 15 equal portions. For best results, use a kitchen scale to ensure each portion weighs approximately the same. Shape each portion into a smooth, round roll using either the countertop or hand-rolling method described in the main article. Arrange the shaped rolls in a greased 9×13-inch baking pan, leaving a little space between each. Cover the pan again and allow the rolls to rise a second time in a warm place until they are visibly puffy and have nearly doubled in size (this usually takes 45 minutes to 1 hour).
-
While the rolls are completing their second rise, preheat your oven to 350°F (175°C). Once the rolls have risen, place the baking pan into the preheated oven and bake for 18-22 minutes, or until the tops are beautifully golden brown and the internal temperature reaches 190-200°F (88-93°C).
-
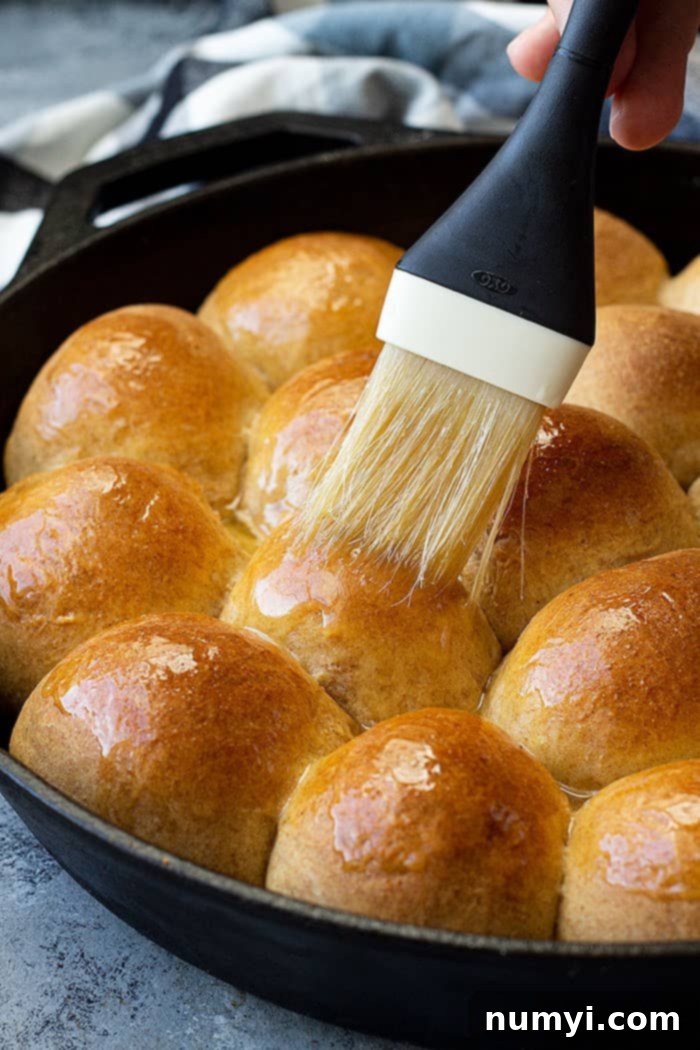
While the rolls are baking, prepare the honey butter topping. In a small bowl, combine 1 tablespoon of softened butter with 1 tablespoon of honey. Once the rolls are out of the oven, immediately brush the warm honey butter mixture generously over the tops of the hot rolls. This adds a lovely sheen, extra flavor, and keeps them soft. Serve warm and enjoy!
Notes
- Storage: To keep your rolls fresh, store them tightly covered in an airtight container at room temperature for up to 2 days.
- Make Ahead Options: For detailed instructions on preparing these rolls in advance (including refrigerating dough, shaped rolls, or freezing unbaked/baked rolls), please refer to the “Preparing Your Honey Wheat Rolls in Advance” section in the main article above.
- Nutrition Facts: Please note that nutritional information can vary based on specific brands and exact measurements of ingredients used. The provided values are estimates only.
Nutrition
