Irresistibly Soft & Fluffy Homemade Cinnamon Rolls with Cream Cheese Frosting (Easy Overnight Option!)
Welcome to your new favorite recipe for classic homemade cinnamon rolls! These delightful pastries consistently turn out incredibly soft and fluffy, boasting a generous, gooey cinnamon-sugar filling and crowned with a luscious, tangy cream cheese frosting. The best part? You can even prepare them overnight for a stress-free morning treat!

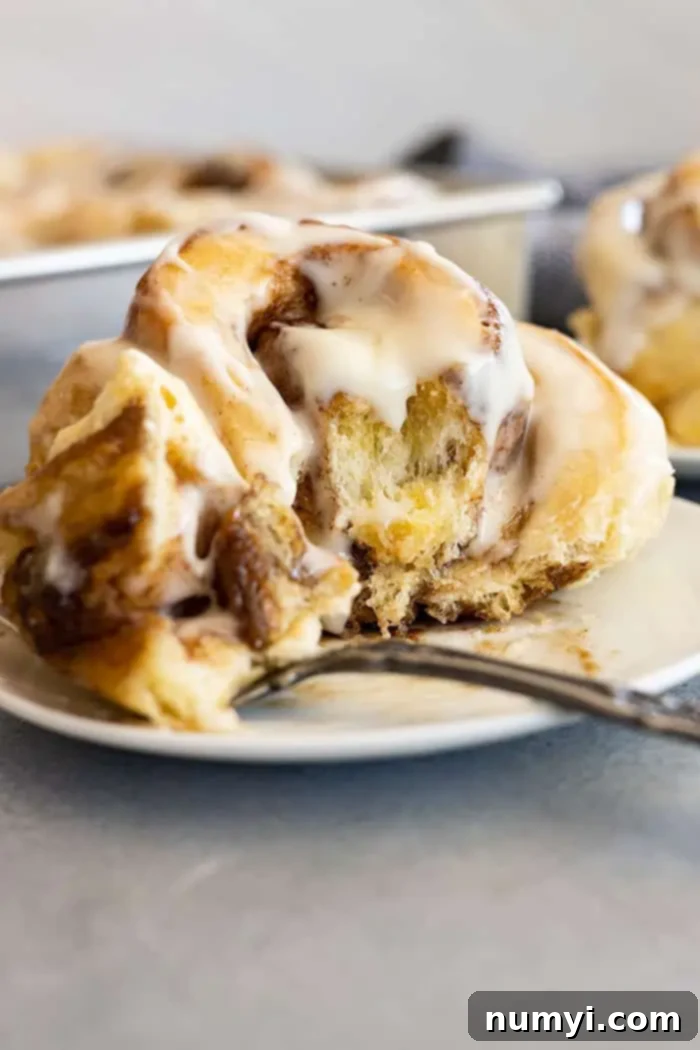
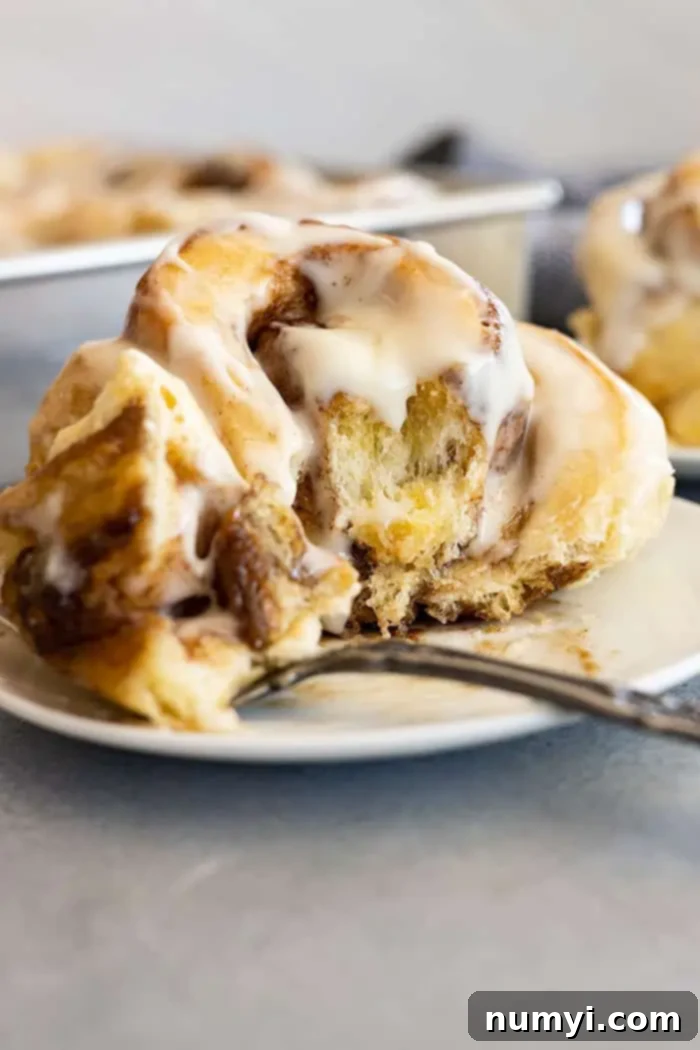
There’s nothing quite like the comforting aroma of freshly baked cinnamon rolls wafting through your home. These aren’t just any cinnamon rolls; they are the quintessential homemade delights – those soft, pillowy rolls with irresistibly gooey centers that make every bite pure bliss. This recipe has been a treasured family favorite for years, consistently delivering perfect results. Whether you’re planning a special holiday breakfast, a relaxed weekend brunch, or simply craving a sweet treat, these cinnamon rolls are guaranteed to elevate any morning into an extraordinary occasion.
While these sweet rolls are a staple for our Christmas morning traditions, sometimes a savory option is in order. If you’re looking to balance out your breakfast spread, you might also enjoy this Hearty Biscuits and Gravy Casserole. And for another festive and flavorful sweet option, these Gingerbread Pancakes are equally special and perfect for celebratory mornings!
Why This Is Your Go-To Homemade Cinnamon Roll Recipe
This recipe isn’t just easy; it’s designed for success, even if you’re new to baking with yeast. Here’s why these homemade cinnamon rolls will become your absolute favorite:
- Perfect for Planning Ahead: You can easily make the dough in advance or freeze the baked rolls, making them ideal for busy mornings or unexpected guests. This flexibility means you can enjoy fresh-baked goodness without the rush.
- Beginner-Friendly: With clear, straightforward steps and readily available ingredients, this recipe is designed to be accessible for bakers of all skill levels. Don’t be intimidated by yeast – we’ll guide you through it!
- Unbelievably Soft and Fluffy: The secret lies in a carefully balanced dough enriched with milk, butter, and eggs, ensuring a tender crumb that melts in your mouth. You’ll achieve that coveted pillowy texture every single time.
- Irresistibly Ooey Gooey Cinnamon Sugar Filling: The generous layer of cinnamon, brown sugar, and butter creates a deliciously sticky and aromatic center that’s the hallmark of a truly great cinnamon roll.
- Simple and Accessible: Forget complicated techniques or hard-to-find ingredients. This recipe uses common pantry staples and a logical progression of steps, ensuring a smooth baking experience from start to finish.

Essential Ingredients for the Perfect Cinnamon Roll Dough
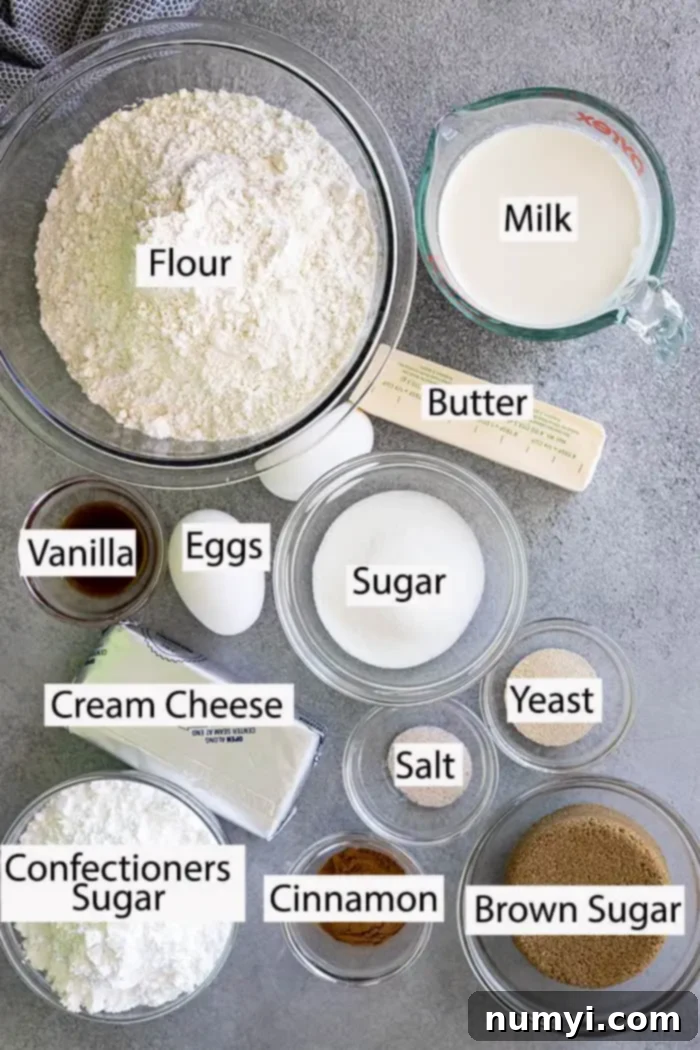
Crafting the perfect cinnamon roll begins with the highest quality dough, and that means understanding the role of each ingredient. This list outlines what you’ll need to create the richest, fluffiest dough you’ve ever had, along with insights into why each component is crucial:
MILK: For truly rich and incredibly soft cinnamon rolls, whole milk is your best friend. Its higher fat content contributes to a more tender crumb and a richer flavor profile. While any milk will work, whole milk will undoubtedly yield superior results.
FLOUR: The choice between all-purpose and bread flour can subtly alter your rolls’ texture. All-purpose flour provides a universally soft roll, while bread flour, with its higher protein content, will give your rolls a slightly chewier, more substantial texture. Both options are excellent, so choose based on your preference or what you have on hand.
SUGAR AND SALT: These two seemingly opposite ingredients work in harmony to create the perfect dough. Sugar isn’t just for sweetness; it’s vital for activating the yeast, helping the dough to rise beautifully. Salt, on the other hand, plays a critical role in controlling the yeast’s activity, preventing it from rising too quickly and ensuring a balanced fermentation process that develops flavor and texture. Both are indispensable for a successful rise and taste.
BUTTER AND EGGS: These are the secret weapons for an enriched dough. Eggs contribute to the dough’s structure, color, and richness, making it incredibly tender. Butter adds luxurious flavor, moisture, and further tenderness, resulting in that melt-in-your-mouth quality we all crave in a cinnamon roll.
YEAST: The heart of any risen bread, yeast is what gives your cinnamon rolls their airy, light texture. You can use either active dry or instant yeast for this recipe. I highly recommend proofing your yeast first in warm milk with a pinch of sugar. This simple step ensures your yeast is alive and active before you commit to the rest of the ingredients, saving you from potential baking disappointments. If it foams, you’re good to go!
For the Gooey Cinnamon-Sugar Filling:
- Brown Sugar & Granulated Sugar: A mix of both sugars creates the perfect balance of sweetness and moisture, contributing to that irresistible gooey texture.
- Cinnamon: The star of the show! Use good quality ground cinnamon for the best flavor.
- Very Soft Butter: This acts as the binder, allowing the sugar and cinnamon to adhere beautifully to the dough and melt into a luscious, gooey layer during baking.
For the Tangy Cream Cheese Frosting:
- Very Soft Cream Cheese: The base for a classic, tangy frosting. Ensure it’s softened to room temperature for a smooth, lump-free consistency.
- Confectioners’ Sugar: Also known as powdered sugar, this is essential for a smooth, sweet, and firm-enough-to-hold-its-shape frosting.
- Milk: A small amount helps achieve the desired spreadable consistency.
- Vanilla Extract: Enhances the flavor of the frosting, adding a warm, aromatic note.

How To Make Incredibly Soft and Fluffy Cinnamon Rolls: Step-by-Step Guide
Follow these detailed steps to create cinnamon rolls that are the epitome of soft, fluffy, and utterly delicious. Precision and patience are your best tools!
Part 1: Preparing the Enriched Dough
STEP 1: Activate Your Yeast. In the bowl of your stand mixer, combine the warm milk (ideally around 100-110°F or 38-43°C, which is warm to the touch but not hot), the specified amount of sugar for the dough, and the yeast. Give it a gentle stir. Let this mixture sit undisturbed for 5 to 10 minutes. This critical step, known as proofing, allows the yeast to activate. You’ll know your yeast is alive and working if the mixture becomes visibly foamy and bubbly (as shown in picture 2 in the original series). If there’s no foam, your yeast might be old or the milk too hot/cold, and it’s best to discard it and start with fresh yeast.
STEP 2: Mix and Knead the Dough to Perfection. Once your yeast is active, add the softened butter, about half of the total flour, the salt, and the eggs to the yeast mixture. Mix these ingredients by hand or with a spatula just until they are combined. Then, gradually add the remaining flour. Continue mixing until the dough starts to become stiff and pulls away from the sides of the bowl. At this point, transfer the dough to your stand mixer fitted with a dough hook attachment. Knead the dough on a low speed (speed 1 or 2) for approximately 5 minutes (refer to picture 5). This kneading develops the gluten, which is essential for the dough’s elasticity and the rolls’ chewiness and rise. The dough should become smooth and elastic. Once kneaded, cover the dough loosely with plastic wrap and place it in a warm, draft-free spot. Allow it to rise until it has doubled significantly in size (as depicted in picture 6). Rising time can vary greatly depending on your room temperature, typically taking 1 to 2 hours.
Part 2: Assembling and Second Rise
STEP 3: Roll, Fill, and Cut Your Rolls. Once the dough has doubled, gently punch it down to release the air. Remove it from the bowl and transfer it to a lightly floured surface. Using a rolling pin, roll the dough into a large rectangle, roughly 12×18 inches (as shown in picture 1 below). Ensure an even thickness for uniform rolls. Now, generously spread the very soft butter evenly over the entire surface of the rolled dough. In a separate small bowl, whisk together the brown sugar, granulated sugar, and cinnamon for your filling. Sprinkle this fragrant cinnamon-sugar mixture evenly over the buttered dough (as seen in pictures 2 and 3 below). Starting from one of the longer sides, carefully roll the dough into a tight log (picture 4). Once rolled, use a sharp knife or a piece of unflavored dental floss to cut the log into 12 equally sized rolls (picture 5). Arrange these cut rolls in a lightly greased 9×13 inch baking pan. Cover the pan loosely with plastic wrap again and let the rolls rise in a warm place until they have nearly doubled in size, becoming visibly puffy and nestled together (pictures 6 and 7 below). This second rise is crucial for extra soft rolls.
Part 3: Baking and Frosting
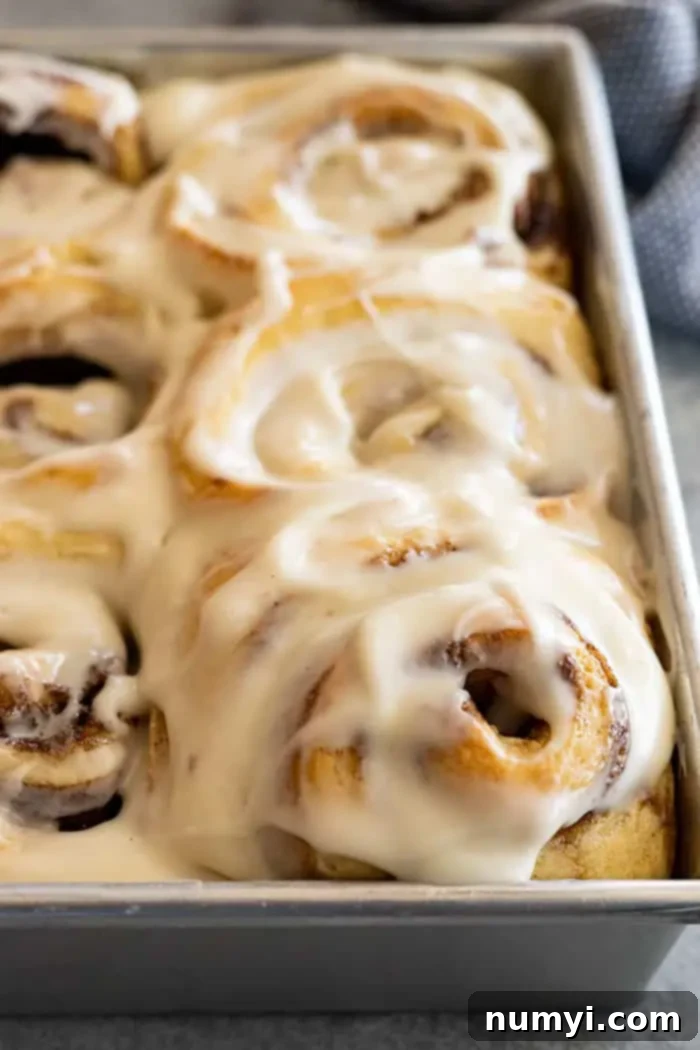
STEP 4: Bake to Golden Perfection and Frost Warm. Preheat your oven to 350°F (175°C). Once preheated and the rolls have completed their second rise, bake them for approximately 25-27 minutes, or until the tops are lightly golden brown and the centers are cooked through. Baking time can vary slightly depending on your oven, so keep an eye on them! While the cinnamon rolls are cooling slightly (but still warm), prepare your creamy dream cheese frosting. In a medium bowl, beat together the very soft cream cheese, confectioners’ sugar, milk, and vanilla extract until the mixture is smooth, creamy, and lump-free. Once the rolls are out of the oven and still warm, generously spread the prepared cream cheese frosting over them. The warmth of the rolls will slightly melt the frosting, allowing it to seep into every crevice, creating that irresistible gooey texture that makes homemade cinnamon rolls so utterly divine.

Frequently Asked Questions (FAQs) About Homemade Cinnamon Rolls
Here are answers to some common questions that arise when baking homemade cinnamon rolls, helping you achieve perfect results every time.
The most common reason for dense or heavy cinnamon rolls is insufficient rising time. For truly fluffy rolls, it’s absolutely crucial to allow the dough to rise until it has visibly doubled in size during both the first and second proofing stages. Rising time is not an exact science; it varies significantly depending on the ambient temperature and humidity in your home. A warmer environment will result in a faster rise, while a cooler one will take longer. Be patient and rely on visual cues (doubled in size) rather than strictly adhering to a timer. Ensure your yeast is active (check Step 1) and that your dough is kneaded sufficiently to develop gluten for structure.
Uneven rising during baking is often attributed to two main factors: either using a baking pan that is too small for the number of rolls, leading to overcrowding, or rolling the dough too tightly before cutting. Overcrowding prevents individual rolls from expanding uniformly. For this recipe, a standard 9×13 inch baking pan is recommended to allow adequate space for each roll to grow. If you notice the centers rising significantly higher than the edges after baking, gently push them back down with the back of a spoon while they are still warm. This can help create a more even surface for frosting.
To maintain their freshness and delightful texture, store your baked and frosted cinnamon rolls properly. At room temperature, tightly covered with plastic wrap or in an airtight container, they will remain delicious for up to 2 days. For extended freshness, you can store them in the refrigerator, again, in an airtight container, for up to 5 days. Reheat gently in the microwave for a few seconds before serving to restore their warmth and softness.
Cinnamon rolls are excellent for freezing, offering a convenient make-ahead option. You have a couple of choices:
- Baked and Frosted: Tightly cover baked and completely cooled rolls (with or without frosting) with heavy-duty aluminum foil, then place them in a freezer-safe bag or container. They can be frozen for up to 3 months. When ready to enjoy, thaw them overnight in the refrigerator, and then frost if not already frosted. You can warm them gently in the oven or microwave.
- Partially Baked (Par-baked): Bake the rolls for only 10 minutes (they will still be pale). Remove them from the oven and let them cool completely. Once cool, cover them tightly and freeze for up to 3 months. When you want fresh rolls, thaw them in the refrigerator overnight, then finish baking them at 350°F (175°C) for an additional 15-20 minutes, or until golden brown and cooked through. Frost while warm. This method yields a fresher-tasting roll.
Preparing cinnamon rolls overnight is a fantastic way to enjoy fresh-baked treats without the morning rush. Simply follow the recipe through Step 3, which includes rolling, filling, cutting, and arranging the rolls in the baking pan. Instead of letting them rise at room temperature for the second rise, cover the pan tightly with plastic wrap and place it in the refrigerator for up to 12 hours (overnight). The cold temperature will significantly slow down the yeast activity. The next morning, remove the pan from the refrigerator and let the rolls sit in a warm spot for 1 to 2 hours, or until they have nearly doubled in size and look puffy. Then, bake as directed in the recipe. This method ensures a warm, fresh batch of cinnamon rolls ready for breakfast or brunch!

Expert Tips and Suggestions for Perfect Cinnamon Rolls
Achieving bakery-quality cinnamon rolls at home is within reach with these helpful tips and tricks:
- Always Check Your Yeast: Yeast is a living organism, and its activity is crucial for a good rise. Before starting your dough, always check the expiration date on your yeast package. More importantly, proof your yeast first (as described in Step 1 of the instructions). If it doesn’t foam up within 5-10 minutes, your yeast is likely inactive, and it’s best to get a fresh batch rather than waste your other ingredients.
- Optimal Dough Rising Conditions: When allowing your dough to rise, always cover the bowl or baking pan with plastic wrap instead of a kitchen towel. Plastic wrap creates a better seal, trapping moisture and preventing the dough from drying out and forming a crust. A dry crust can inhibit rising and make the dough difficult to work with. Kitchen towels can also sometimes stick to the dough, causing issues when removed. For a warm place, you can turn your oven on for a minute, then turn it off and let the dough rise inside the slightly warmed oven (ensure it’s not too hot!).
- Clean Cuts for Beautiful Rolls: To achieve neat, uniform cinnamon rolls, use either a very sharp knife (serrated works well) or, for an even cleaner cut, unflavored dental floss. To use floss, slide a piece underneath the rolled dough log, cross the ends over the top, and pull them tightly to slice through. This prevents squishing the dough and preserves the lovely spiral shape.
- Choose the Right Baking Pan: The material of your baking pan can impact baking time. Metal or glass baking pans conduct heat efficiently and are generally recommended for this recipe. If you opt to use a ceramic pan, be aware that it may require a slightly longer baking time to ensure the centers are fully cooked through, as ceramic tends to heat up slower.
- Prevent Over-Browning: If you notice your cinnamon rolls browning too quickly on top before the centers are fully baked, you can easily prevent this by tenting them loosely with aluminum foil. Simply place a piece of foil over the pan for the last 10-15 minutes of baking. This reflects heat from the top, allowing the rolls to cook through without burning.
- Don’t Over-Bake: Over-baking is the enemy of soft cinnamon rolls. Keep an eye on them towards the end of the baking time. They should be lightly golden brown on top, but still feel soft. A slightly underbaked roll is often better than an overbaked one, as it will retain more moisture and tenderness.

HUNGRY FOR MORE? Don’t miss out on more delicious recipes and baking inspiration! Subscribe to my newsletter and follow along on Pinterest, Facebook, and Instagram for all my latest updates and culinary adventures!
Homemade Cinnamon Rolls

Ingredients
CINNAMON ROLL DOUGH:
- 1 cup (240ml) whole milk
- ¼ cup (55g) sugar
- 1 (.25oz) package active dry or instant yeast or (2¼ teaspoons)
- 3¾-4 cups (581.25-620g) flour (all-purpose or bread)
- 4 tablespoons soft butter
- 2 large eggs
- 1 teaspoon salt
FILLING:
- 1 cup (195g) packed brown sugar
- ½ cup (110g) granulated sugar
- 1 tablespoon cinnamon
- ½ cup (113g) very soft butter
CREAM CHEESE FROSTING:
- 4 ounces (113g) very soft cream cheese
- 1½ cups (180g) confectioners sugar
- 2 tablespoons milk
- 1 teaspoon vanilla
Instructions
-
In the bowl of a stand mixer combine the warm milk (100°F), sugar, and yeast. Allow to sit for 5 minutes. The mixture should be foamy. If it isn’t your yeast isn’t active and can’t be used.
-
Add ½ of the flour, butter, eggs, and salt. Mix by hand just until combined. Add the remaining flour and mix until it becomes stiff. Place on stand mixer fitted with dough hook and knead on speed 1 or 2 for 5 minutes. Cover and allow to rise in a warm place until double in size.
-
Punch dough down and remove from the bowl. Roll into a 12×18 inch rectangle. Spread with soft butter. Sprinkle with sugars and cinnamon. (can mix the sugars and cinnamon in a bowl first to make it easier to sprinkle evenly). Roll the dough to form an 18 inch log. Cut into 12 equal rolls. Place in a lightly greased 9×13 baking pan.
-
Cover and allow to rise until double in size. Bake at 350°F for 20-25 minutes or until lightly browned on top. Remove from oven and allow to cool while making the frosting. Combine the cream cheese, confectioners sugar, milk, and vanilla until smooth. Spread over warm rolls.
Notes
- Read the post for storage, freezing, and overnight instructions.
Nutrition
