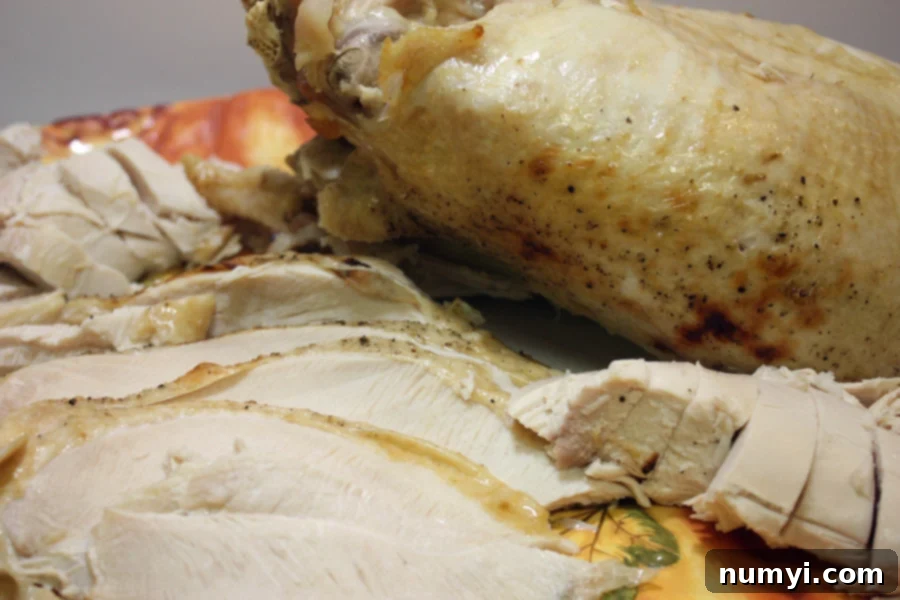
Unlock Unforgettable Flavor: The Ultimate Guide to Brining and Roasting a Perfect Turkey Breast
Prepare to revolutionize your holiday feasts and everyday meals! Learning how to brine a turkey breast will transform your kitchen experience, delivering a dish so succulent and flavorful, it will become an instant family favorite. We promise, once you experience the incredible tenderness and juiciness that brining imparts, you’ll never consider roasting a turkey without it again. This simple yet highly effective method guarantees a memorable meal that will have your guests raving for years to come.
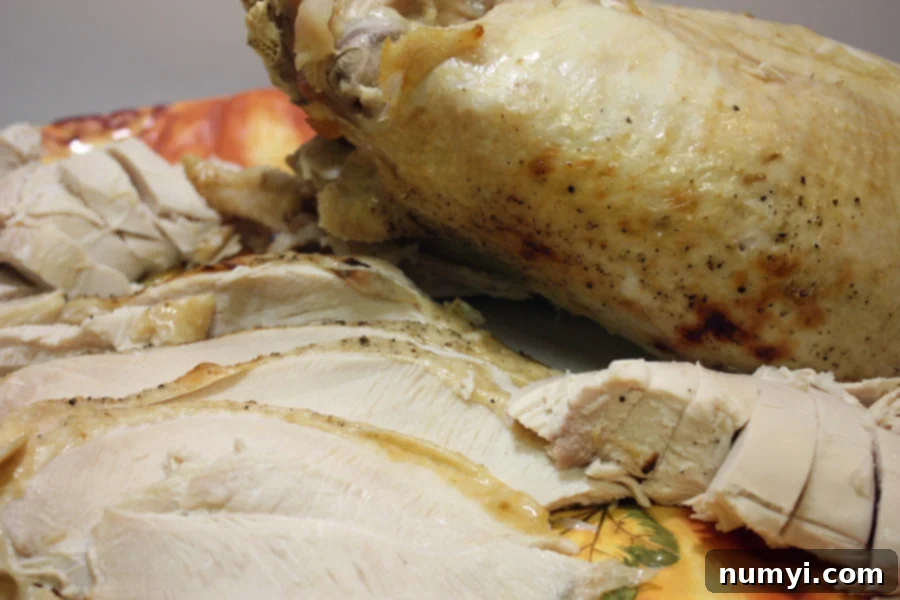
The secret to this culinary magic was passed down to us by a seasoned home chef (my brother-in-law, to be precise) many years ago, and it truly was an eye-opening Thanksgiving experience. Since then, our turkeys have been consistently moist, tender, and bursting with flavor. The difference it makes in the texture and taste of the meat is astounding. For smaller gatherings, a turkey breast is an ideal choice, offering all the deliciousness without the fuss of a whole bird.
And speaking of delicious additions to your turkey meal, don’t forget to explore our homemade cranberry sauce recipe. It’s the perfect sweet and tangy complement, and we even show you how to give it that classic “canned” look, if nostalgia calls!
The Science and Simplicity of Turkey Breast Brining
Brining is a method of soaking meat in a solution of salt, sugar, and various aromatics. This process works on a scientific principle called osmosis, where the salt solution penetrates the turkey meat. The salt helps to denature the proteins in the turkey, causing them to unravel and form a matrix that traps moisture. This not only infuses the meat with flavor but also keeps it incredibly moist during the roasting process, even if slightly overcooked. The result is a turkey breast that is tender, juicy, and never dry.
Crafting Your Signature Brine
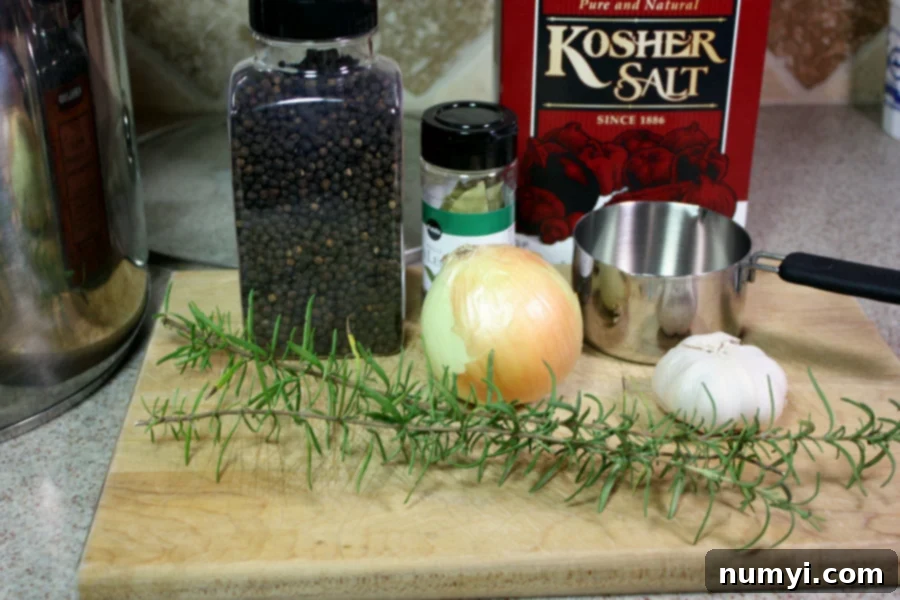
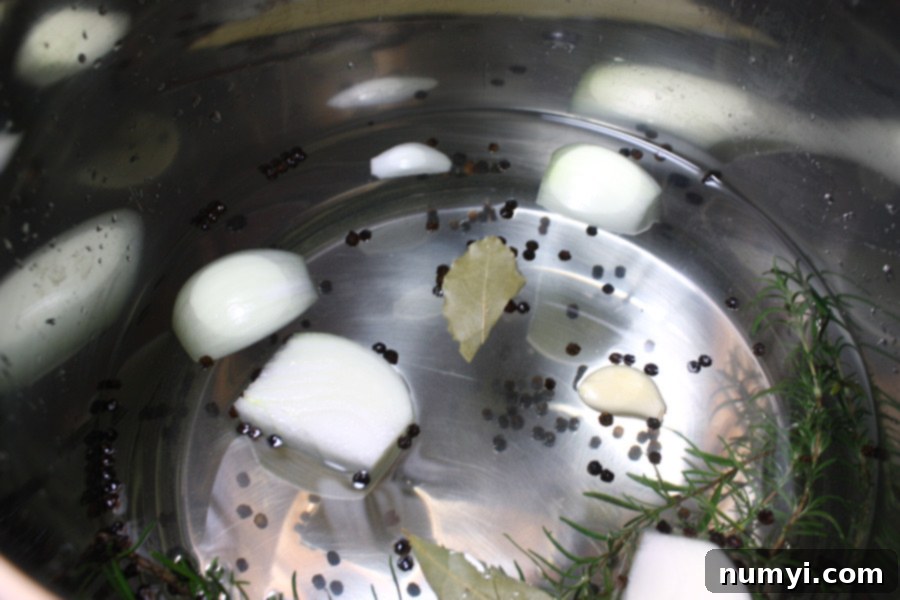
The beauty of brining lies in its versatility. While the core components of salt and sugar are essential, you can customize the flavor profile of your brine with a wide array of herbs, spices, and aromatics. For our classic recipe, we chose a fragrant combination of fresh rosemary, pungent garlic, sweet onion, earthy bay leaves, and aromatic peppercorns. However, feel free to experiment with other delightful options like zesty citrus (lemon, orange), fresh sage, thyme, or even a touch of apple cider for a festive twist. The possibilities are endless, allowing you to create a unique flavor tailored to your palate.
Streamlined Brine Preparation: No Heat Required!
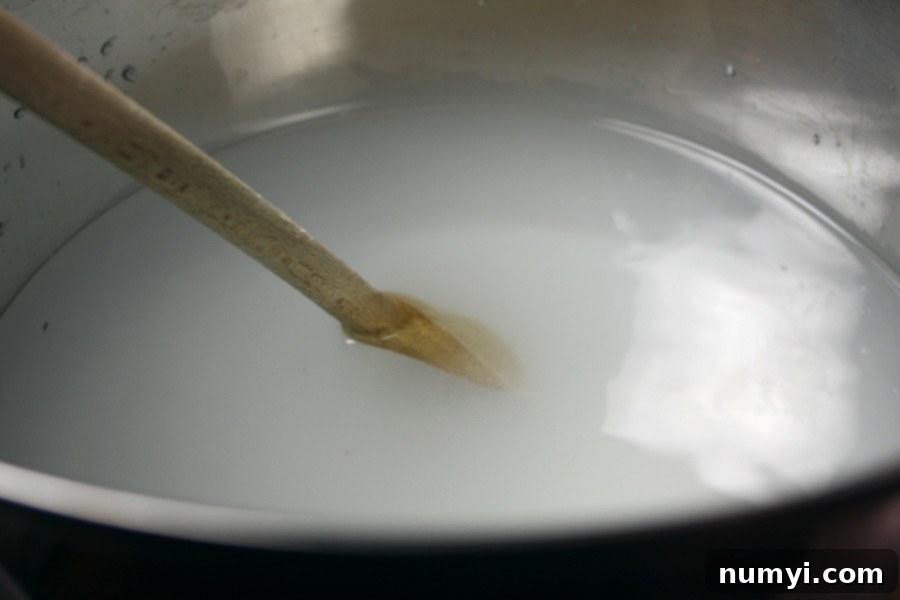
Many brining recipes instruct you to heat the water to help dissolve the salt and sugar, then cool the solution completely before adding the turkey. But let’s be honest, who has time for that extra step, especially during busy holiday preparations? Here’s a brilliant tip from our resident turkey expert (my brother-in-law again!): heating the brine is entirely unnecessary. We find that simply stirring the salt and sugar into room temperature water for about a minute is perfectly sufficient for them to dissolve. This shortcut saves you precious time and effort without compromising the effectiveness of the brine. Once dissolved, simply add all your chosen flavorings – the rosemary, garlic, onion, and peppercorns – and you’re ready for the next step.
The Brining Immersion: Let the Magic Happen
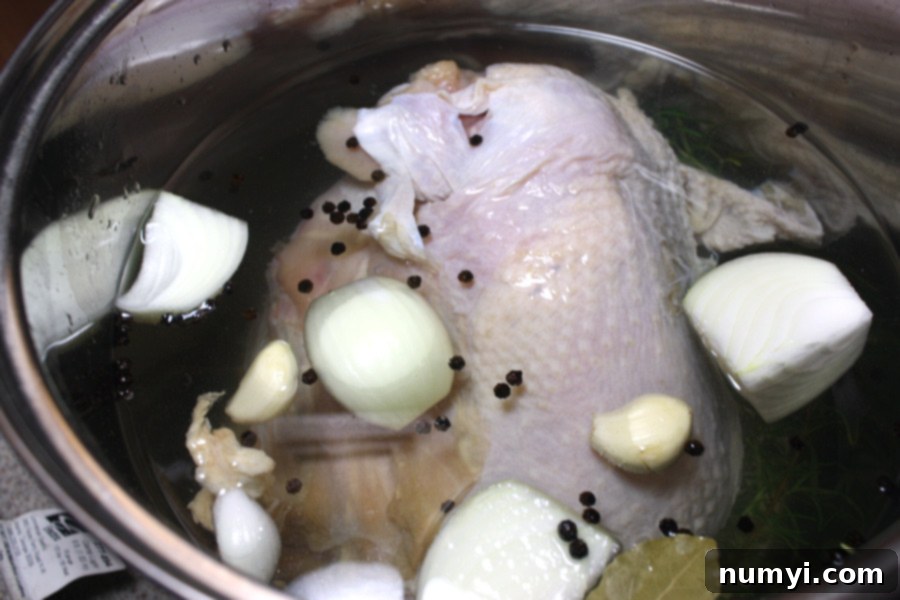
Once your brine is prepared and infused with all those wonderful aromatics, it’s time for the turkey breast to take its luxurious bath. Gently submerge the entire turkey breast into the brine, ensuring it’s completely covered by the liquid. If you’re using a large pot, simply place the turkey in. If you opt for a brining bag, place the bag within a large pot or bowl to catch any potential leaks – a little insurance never hurts! Cover the container and refrigerate for 10 to 24 hours. This extended soak allows the brine to work its magic, tenderizing the meat and permeating it with incredible flavor. While it requires a bit of planning ahead, the minimal effort is handsomely rewarded with an unbelievably juicy and delicious turkey. This commitment to planning is truly the key to a stress-free and successful holiday meal.
Post-Brine Prep: Rinsing and Drying for Perfect Skin
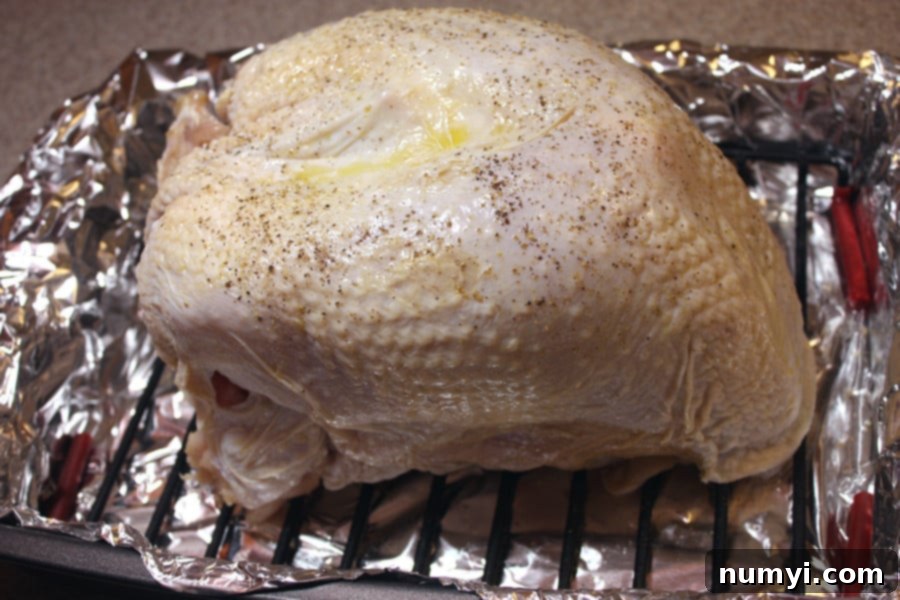
After its refreshing brine bath, carefully remove the turkey breast from the solution. While our recipe notes suggest that rinsing isn’t strictly necessary for flavor, many home cooks prefer to give the turkey a quick rinse under cold water to remove any excess surface salt. The most crucial step after brining is to thoroughly pat the turkey dry with paper towels. Following this, place the turkey breast on a wire rack set inside a foil-lined roasting pan and refrigerate it uncovered for several hours, ideally 3 to 4 hours, or even overnight. This drying period, often called “air-drying,” is paramount for achieving that coveted golden-brown, crispy skin. The dry surface allows the skin to render fat and crisp up beautifully in the oven, creating a delightful textural contrast to the moist meat beneath. This extra planning step truly elevates the final result.
Roasting Your Brined Turkey Breast to Perfection
When you’re ready to roast, ensure your oven is preheated to 350 degrees Fahrenheit (175 degrees Celsius). As mentioned, your turkey breast should be resting on a wire rack within a foil-lined roasting pan. The foil makes for easy cleanup, and the rack ensures even air circulation around the turkey, promoting uniform cooking and crispier skin. For an extra golden and crispy skin, consider brushing the turkey breast generously with melted butter before it goes into the oven. This step adds both flavor and aids in browning.
Roast the turkey breast for approximately 20 minutes per pound. However, oven temperatures can vary, and turkey sizes differ, so the most reliable way to determine doneness is with a quality meat thermometer. Begin checking the internal temperature after about an hour of cooking. The turkey is perfectly cooked when it reaches an internal temperature of 165 degrees Fahrenheit (74 degrees Celsius) in the thickest part of the breast, without touching the bone. For example, our 7.5 lb turkey breast took about an hour and 45 minutes to reach the ideal temperature. Always use an instant-read thermometer for accuracy.
The Importance of Resting and Slicing
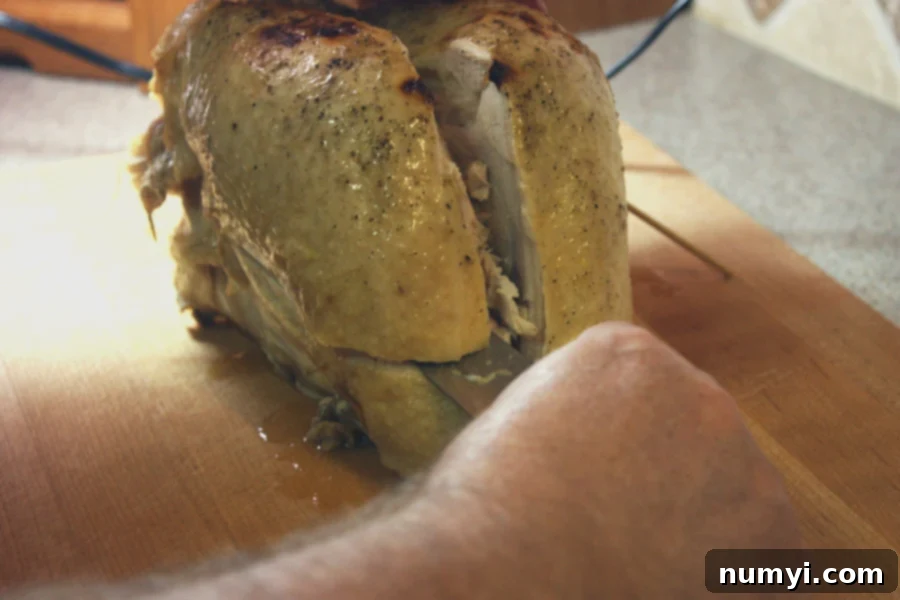
Once your turkey breast reaches the target internal temperature, remove it from the oven and tent it loosely with aluminum foil. This step is crucial. Allow the turkey to rest for at least 15 minutes before carving. During this resting period, the juices redistribute throughout the meat, ensuring every slice is incredibly moist and flavorful. Cutting into the turkey too soon will cause these precious juices to run out, resulting in a drier bird. After resting, slice the turkey against the grain for maximum tenderness and prepare to devour this culinary masterpiece.
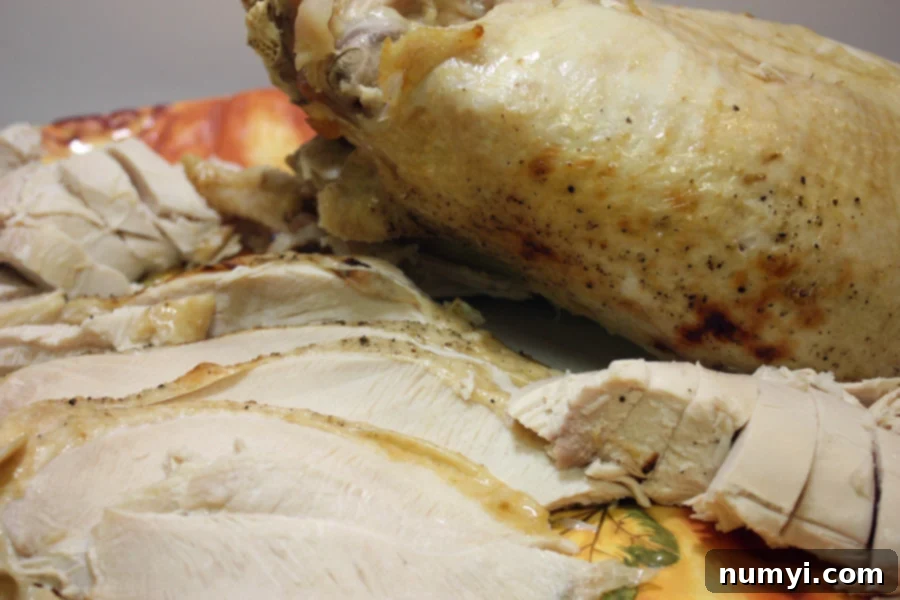
The entire process, from brining to roasting, results in an incredibly easy and succulent turkey breast. This method truly simplifies holiday cooking and ensures a show-stopping main course every time.
Update
Since this wet brine recipe was first posted, we’ve explored and discovered an alternative method: dry brining. This technique offers an equally incredible, if not superior, result with less mess, intensely flavorful and moist meat, and a remarkably crispy, golden-brown skin. Dry brining involves rubbing the turkey with a salt mixture and allowing it to rest, drawing moisture out, then reabsorbing it with concentrated flavor. While this traditional wet brine recipe still produces very moist meat, this new dry brine method has become our absolute go-to for the perfect, hassle-free turkey. We highly recommend checking it out if you’re looking for another fantastic option:
Simple Succulent Dry Brined Roast Turkey
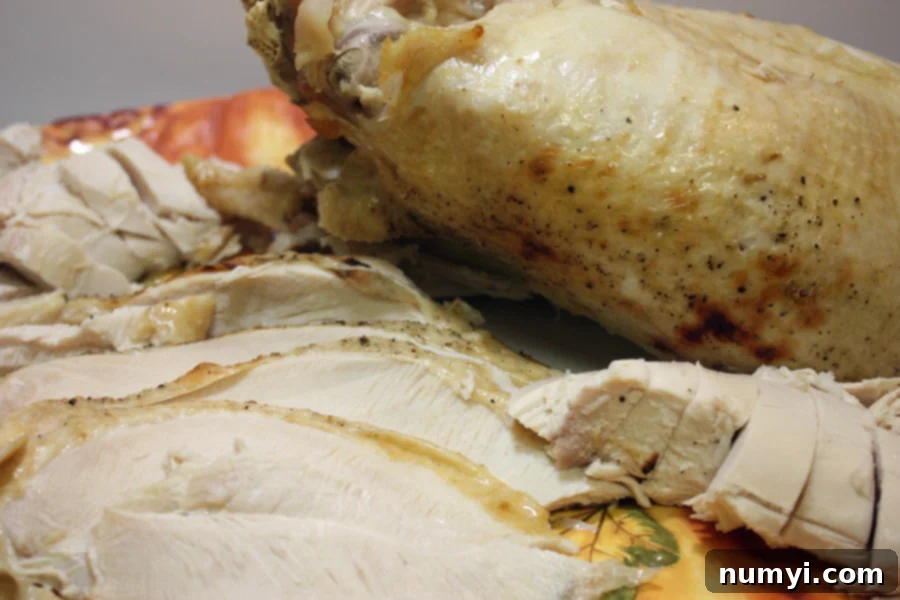
How to Brine and Roast a Turkey Breast
Print
Pin
Rate
Ingredients
- 1 Cup Kosher salt
- 1 Cup White Sugar
- 1 Onion, cut into quarters
- 3 Garlic cloves, cracked
- 2 Tablespoons Whole Peppercorns
- 3 Sprigs Fresh Rosemary
- 1 Gallon Cold Water
Instructions
-
In a large pot or a heavy-duty brining bag (ensure it’s large enough to comfortably fit your turkey breast), combine the cold water, white sugar, and kosher salt. Stir vigorously for about one minute until both the sugar and salt are fully dissolved.1 Cup White Sugar, 1 Gallon Water, 1 Cup Kosher salt
-
To the dissolved brine, add your chosen aromatics: the sprigs of fresh rosemary, cracked garlic cloves, quartered onion, and whole peppercorns. Stir gently to combine these flavor boosters into the solution.1 Onion, cut into quarters, 3 Garlic cloves, cracked, 3 Sprigs Fresh Rosemary, 2 Tablespoons Peppercorns
-
Carefully place the turkey breast into the brine, ensuring it is fully submerged. Cover the pot or seal the brining bag, then transfer it to the refrigerator. Allow the turkey to brine for a minimum of 10 hours and up to 24 hours for optimal flavor and moisture retention.
-
Once brining is complete, remove the turkey breast from the brine. You may rinse it under cold water if desired, then thoroughly pat it dry with paper towels. Place the dried turkey breast on a wire rack set in a roasting pan and return it to the refrigerator to air-dry for another 3 to 4 hours, or ideally, overnight. This step is crucial for achieving crispy skin.
-
Preheat your oven to 350°F (175°C). Roast the turkey breast for approximately 20 minutes per pound. Begin checking the internal temperature with a reliable instant-read meat thermometer after about one hour of cooking. The turkey is done when the thickest part of the breast reaches an internal temperature of 165°F (74°C). After removing from the oven, allow the turkey to rest for at least 15 minutes before slicing to ensure maximum juiciness.
Notes
While some recipes suggest rinsing the turkey after brining, we’ve found it’s not strictly necessary and often skip this step without impacting the final taste or saltiness.
For the best roasting results, use a shallow metal roasting pan paired with a wire rack. This setup allows hot oven air to circulate completely around the turkey breast, ensuring even cooking and crispier skin.
To achieve an irresistibly golden-brown and crispy skin, brush the turkey breast generously with melted butter or olive oil just before placing it into the oven for roasting.
An accurate instant-read meat thermometer is your best friend in the kitchen. It’s the only way to precisely determine when your turkey is perfectly cooked to 165°F (74°C) without guessing or overcooking.
Allowing the turkey breast to rest for a minimum of 15 minutes after roasting is a critical step. This rest period enables the juices to redistribute throughout the meat, resulting in a much more tender and moist final product.
