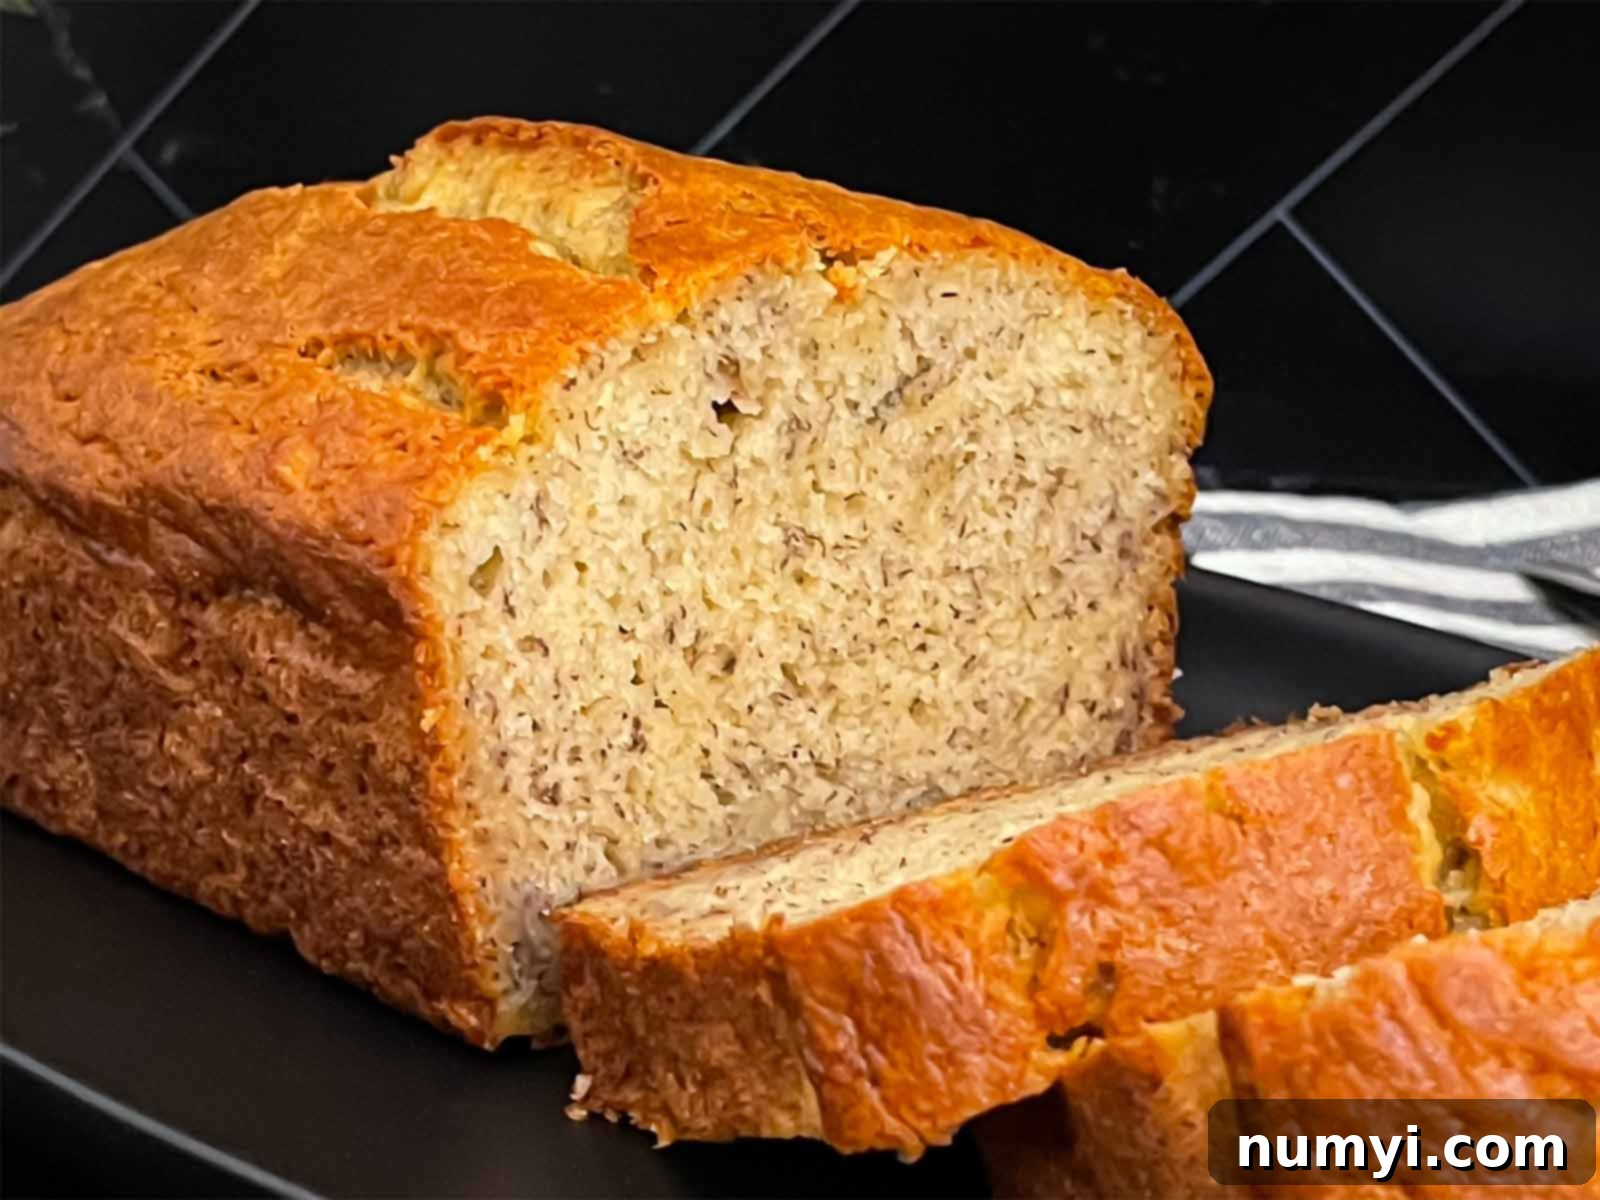
The Ultimate Moist Banana Bread Recipe: Your Go-To for Overripe Bananas
Say goodbye to tossing out those forgotten, overripe bananas! This ultimate moist banana bread recipe is destined to become your absolute favorite. It’s a culinary masterpiece: incredibly tender, wonderfully moist, and bursting with a rich, natural banana flavor that will delight your senses. Prepare to transform those spotty bananas into a truly irresistible treat that everyone will rave about.
Why This Banana Bread Recipe Stands Out
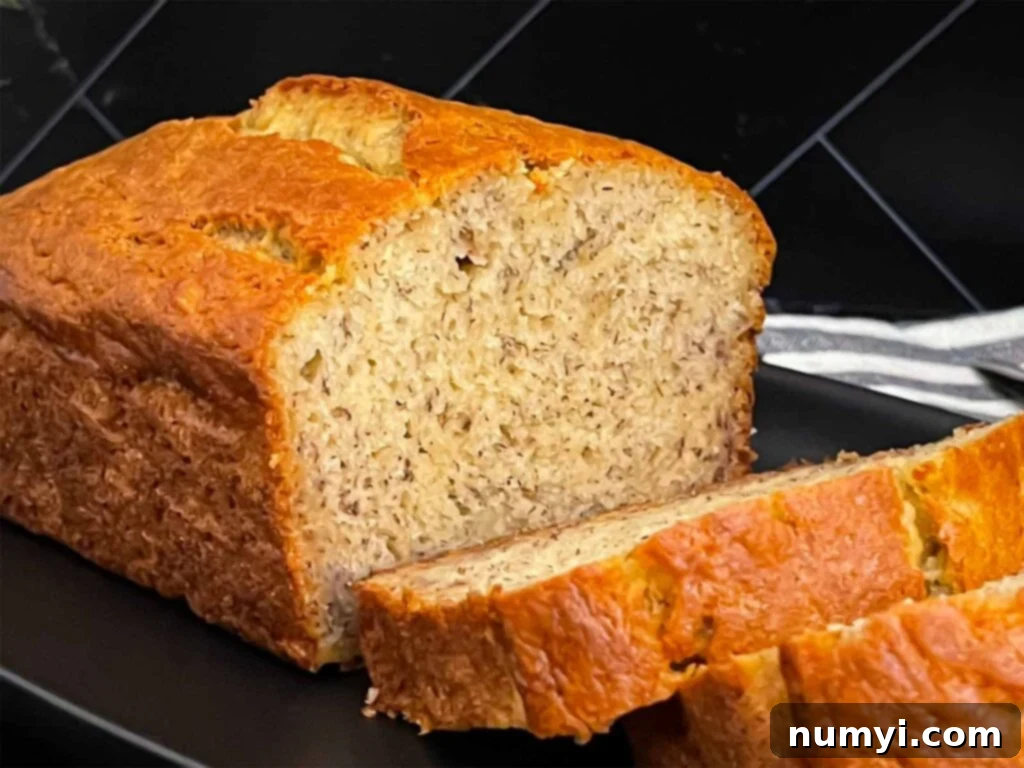
This isn’t just another banana bread recipe; it’s the one you’ll keep coming back to. We believe in letting the natural star of the show shine: the bananas themselves. That’s why this particular recipe needs no vanilla extract or additional brown sugar. The intense flavor and inherent sweetness from truly overripe bananas provide everything you need, creating a depth of taste that artificial additives simply can’t replicate. Every bite offers the ideal balance of texture, a pleasing denseness, and a full-bodied banana flavor that comes together in perfect harmony.
Many banana bread recipes suggest adding sour cream for moisture. However, we’ve found that the simple addition of buttermilk creates an unparalleled moistness and a subtle tang that elevates the flavor without being overpowering. While some bakers enjoy incorporating warm spices like cinnamon, nutmeg, or allspice, our preference leans towards a pure, unadulterated banana bread. We let the sweet, fragrant essence of those deliciously ripe bananas be the sole and star flavor profile, ensuring a classic taste that appeals to all.
Beyond its incredible flavor and texture, this banana bread recipe is exceptionally easy to follow, making it perfect for bakers of all skill levels. The recipe is designed to yield two generous loaves, which is fantastic for sharing with friends and family, freezing for later, or simply having extra on hand. If you only need one loaf, the ingredients are easily halved, providing flexibility to suit your household’s needs.
Don’t Waste Those Overripe Bananas!
We all encounter those bananas that have sat on the counter a little too long, turning brown and spotty. But don’t despair or discard them! These aren’t spoiled; they’re actually at their peak for baking. Their natural sugars have fully developed, making them incredibly sweet and easy to mash, which is exactly what you want for the best banana bread. I personally love to collect them. When I have more overripe bananas than I can use immediately, I simply place them in a zip-top freezer bag and store them in the freezer until I’ve accumulated enough to bake a batch of this wonderful banana bread.
If you’re a fan of comforting, sweet quick breads, you’ll surely appreciate some of our other cherished recipes. These include delicious Sweet Potato Muffins, the warming Spicy Gingerbread Loaf, delightful Buttermilk Cranberry Muffins, our Best Ever Banana Muffins, and the bright, zesty Meyer Lemon Bread. Each offers a unique blend of flavors and textures, perfect for any occasion.
Selecting and Preparing Bananas for the Best Banana Bread
The secret to truly outstanding banana bread lies almost entirely in the ripeness of your bananas. So, exactly how ripe should your bananas be? For optimal flavor and sweetness, they should be well beyond the point of being yellow with a few brown spots. Look for bananas that have developed lots of dark brown or black spots, indicating that their starch has converted into sugar. They should also feel noticeably soft to the touch, making them incredibly easy to mash. The darker and softer the banana, the sweeter and more flavorful your bread will be, contributing significantly to that signature moist texture.
How to Ripen Bananas Quickly (and Why It Works)
Sometimes you get a sudden craving for banana bread, but your bananas aren’t quite ready. Don’t worry, there are a few simple tricks to speed up the ripening process:
- The Paper Bag Method (24 Hours): If you have about 24 hours to spare, this is a gentle and effective method. Keep your bananas attached to their stem (or stems) and place them in a brown paper bag. Loosely fold the top of the bag to trap the ethylene gas that bananas naturally emit. Ethylene is a plant hormone that signals ripening, and concentrating it in the bag accelerates the process. Leave the bag at room temperature, and check on them periodically. You’ll notice them softening and developing more dark spots much faster than if left exposed.
- The Oven Method (15-20 Minutes): For truly instant gratification, the oven method is your best friend. This technique is perfect for bananas that are still a bit green or only lightly spotted. Simply place the unpeeled bananas on a baking sheet lined with parchment paper. Bake them at 250 degrees F (120 degrees C) for about 15 to 20 minutes. You’ll observe their skins turning completely black, and the bananas themselves will become incredibly soft and sweet inside. Be sure to cool them completely before peeling and mashing, as they will be very hot. This quick method mimics the natural ripening process by breaking down starches into sugars rapidly.
Step-by-Step Guide to Making the Best Banana Bread
Creating this delicious banana bread is a straightforward process, but paying attention to each step ensures a perfect outcome every time.
-
Preparation: Begin by preheating your oven to 325º F (160º C). This slightly lower temperature ensures a more even bake and helps prevent the edges from over-browning before the center is cooked through. Next, prepare two standard loaf pans (8×4 inches or 8.5×4.5 inches). Generously coat them with non-stick baking spray, then line them with parchment paper slings. These parchment slings are incredibly helpful, making it effortless to lift the baked loaves out of the pans once cooled.
-
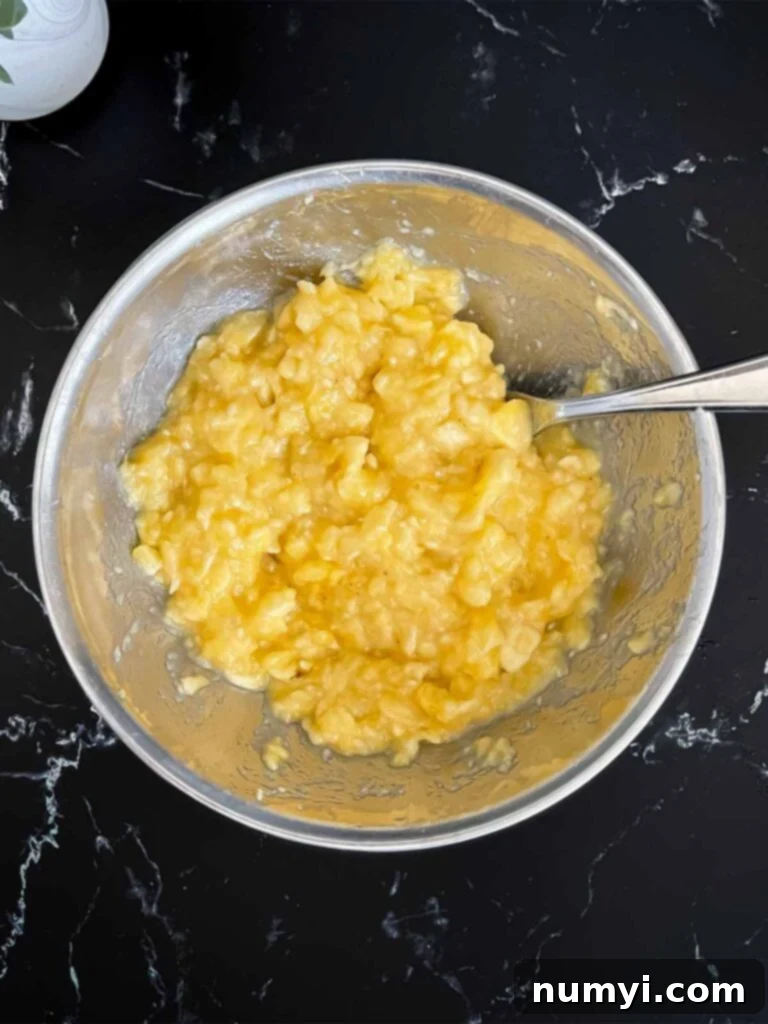
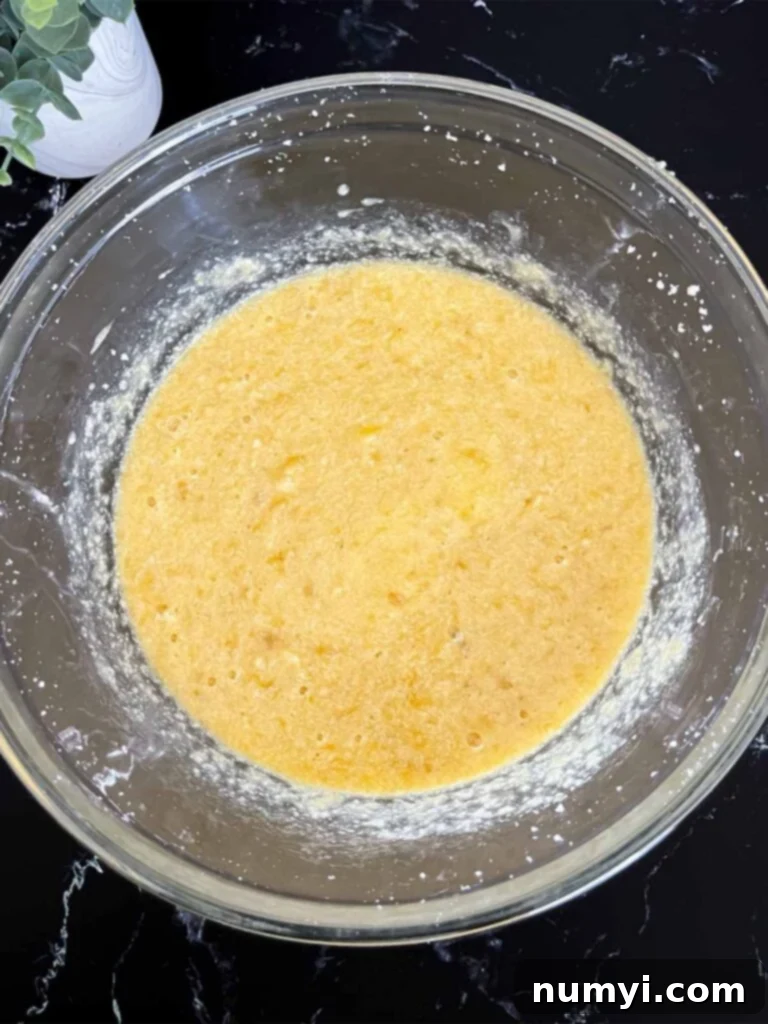
Mixing Wet and Dry Ingredients: In a medium bowl, peel and thoroughly mash your very ripe bananas using a fork or a potato masher until they reach a consistency with some small lumps (not completely smooth, as a little texture is nice). In a separate medium-sized bowl, combine all the dry ingredients: flour, salt, baking powder, and baking soda. Whisk these together thoroughly to ensure they are well combined and evenly distributed – this prevents pockets of leavening agents in your final bread. Set this mixture aside. Now, in a large bowl, use a hand mixer to cream together the granulated sugar and softened unsalted butter until the mixture is light and fluffy. This step incorporates air, which contributes to the bread’s tender crumb. Beat in the eggs, adding them one at a time and mixing well after each addition. Finally, fold in your mashed bananas, ensuring they are well integrated into the wet mixture.
-
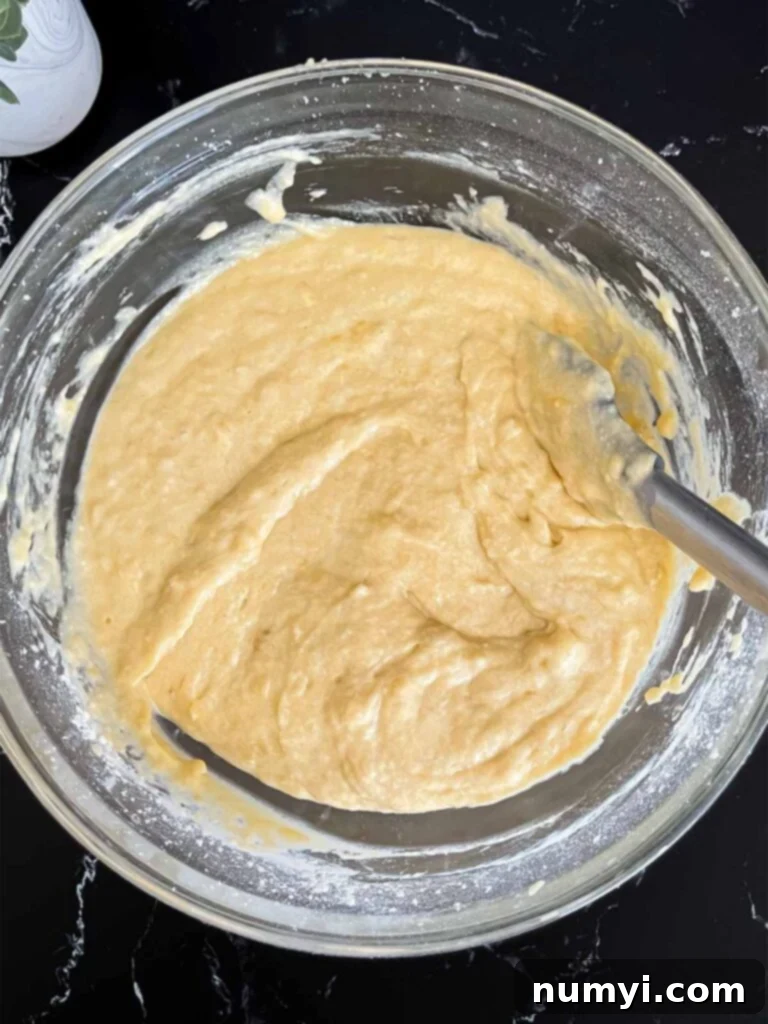
Combining Mixtures: Gradually add the whisked dry ingredients (flour mixture) to the wet banana mixture, alternating with the room temperature buttermilk. Begin and end with the dry ingredients. It’s crucial during this stage to avoid overmixing. Mix just until the ingredients are combined and no streaks of flour remain. Overmixing can develop the gluten in the flour too much, resulting in a tough, chewy bread rather than the desired tender, moist crumb. If you’re a fan of texture and extra flavor, this is the perfect moment to fold in about 1 cup of chopped walnuts or pecans, or even chocolate chips. Once combined, pour the batter evenly into your two prepared loaf pans, ensuring an equal distribution for consistent baking.
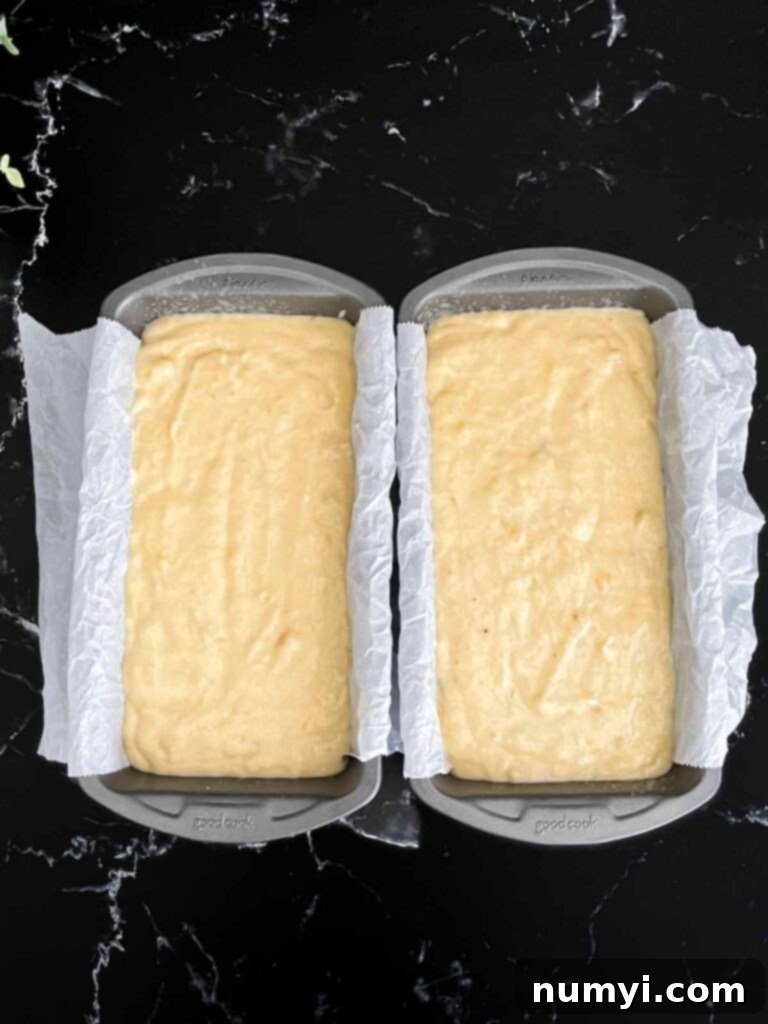
-
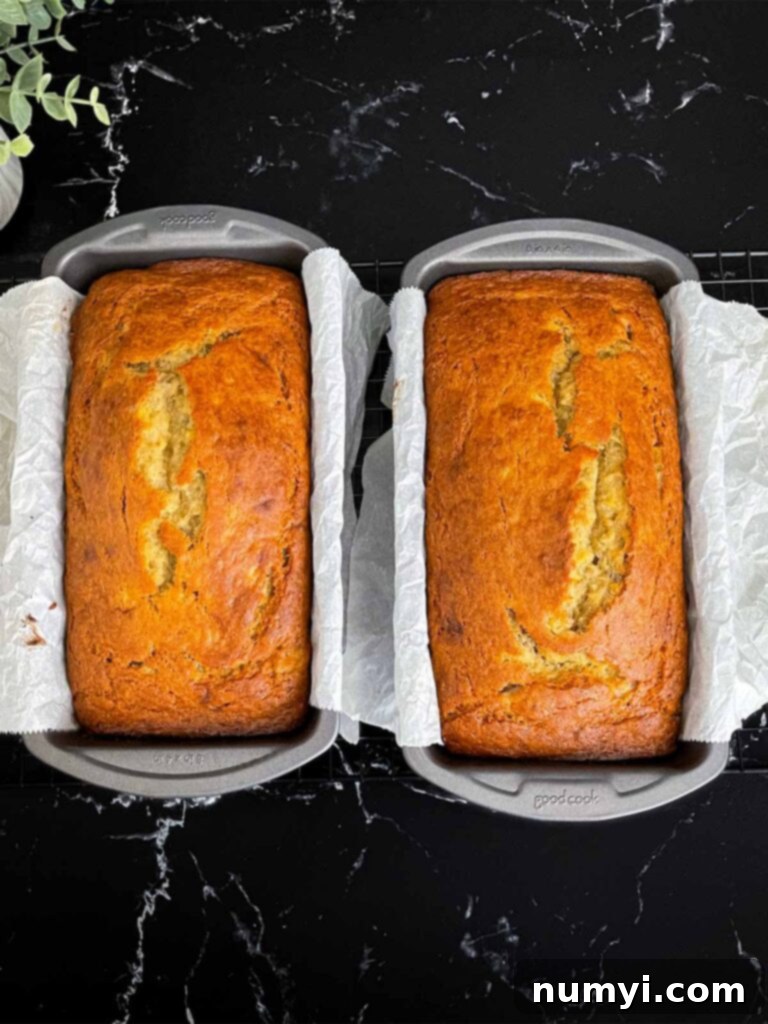
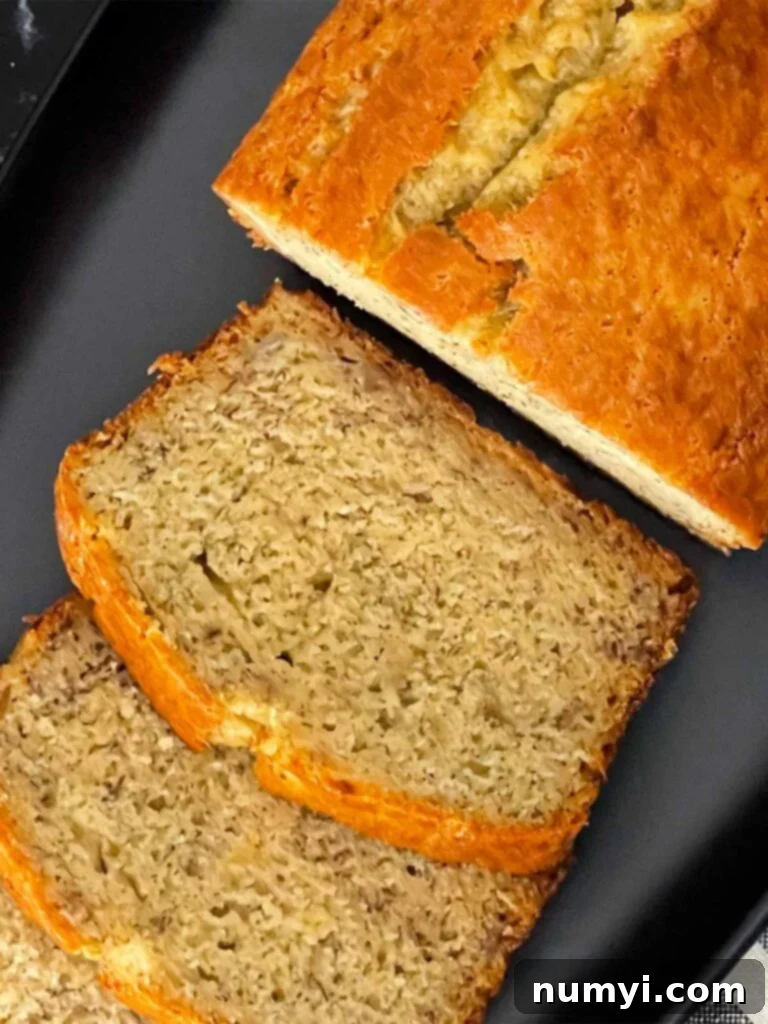
Baking and Cooling: Place the loaf pans in your preheated oven and bake for approximately 50-60 minutes. Keep a close eye on your bread, as all ovens can vary significantly in temperature and baking efficiency. To check for doneness, insert a wooden toothpick or a thin skewer into the very center of a loaf. If it comes out clean or with only a few moist crumbs attached, your banana bread is ready. If it’s still wet, continue baking for a few more minutes and re-test. Once baked, remove the pans from the oven and let the loaves cool in the pans for about 10-15 minutes before carefully lifting them out using the parchment slings. Transfer them to a wire rack to cool completely. This cooling process is crucial for the bread’s texture and makes slicing much easier.
Expert Tips for the Most Delicious Banana Bread
Achieving banana bread perfection is simple with these additional insights:
- Embrace the Ripeness: This cannot be stressed enough – use VERY RIPE bananas! As bananas ripen, their starches convert into natural sugars, intensifying their sweetness and flavor significantly. The browner and softer they are, the more pronounced the banana flavor will be, and the more moist your bread will turn out. Don’t be shy about using bananas that look almost black; these are truly ideal for baking.
- Choose Your Loaf Pan Wisely: This recipe is written for two 8×4-inch loaf pans, which are excellent for producing a beautifully tall, professional-looking loaf. If you opt for an 8 1/2×4 1/2-inch loaf pan, your bread will be slightly shorter but equally delicious. Keep in mind that a larger pan means the batter spreads out more, so the baking time will likely be shorter. For those using a 9×5-inch pan, expect an especially short, but still incredibly tasty, loaf. Always adjust baking times accordingly based on your specific pan size and oven.
- The Art of Mixing (or Not Overmixing!): This is a critical step for tender banana bread. Once you start combining the wet and dry ingredients, mix just until they are barely incorporated. Over-stirring the batter develops the gluten in the flour, which leads to a dense, rubbery, and tough texture. Gentle folding is key to maintaining that light, soft, and moist crumb that makes banana bread so irresistible.
- Monitor Your Oven’s Performance: Baking times are always approximate. Every oven behaves a little differently, some running hotter or cooler than their set temperature. Therefore, always start checking your banana bread a few minutes before the suggested baking time to prevent over-baking.
- Prevent Over-Browning: If you notice the top of your banana bread is browning too quickly, or if it’s already a deep golden brown but the center isn’t quite cooked through, simply tent it loosely with aluminum foil. This clever trick reflects heat away from the top, preventing further browning while allowing the inside to continue baking evenly until done.
- Proper Storage for Lasting Freshness: Once your banana bread has completely cooled (this is important to prevent sogginess), wrap individual loaves or slices tightly in plastic wrap. At room temperature, it will stay fresh and moist for up to 4 days. For extended freshness, you can store it in the refrigerator for up to one week. For longer-term storage, banana bread freezes beautifully.
Delicious Variations to Customize Your Banana Bread
While this classic banana bread recipe is perfect as is, it also serves as an excellent base for various delicious additions. Customize your loaves to suit your taste preferences:
- Banana Nut Bread: The most popular variation! Stir in 1 cup of chopped walnuts or pecans (or a mix of both) during the final mixing step with the dry ingredients. The nuts add a wonderful crunch and a rich, earthy flavor that complements the sweet bananas perfectly.
- Sweet Additions: For an extra burst of sweetness, fold in 1 cup of chocolate chips (milk, semi-sweet, or dark work equally well) or a cup of plump raisins. Chocolate chips melt into gooey pockets, while raisins add a chewy, fruity dimension. Mini chocolate chips are great for a more even distribution.
- Spice It Up: If you prefer a hint of spice, add 1 teaspoon of ground cinnamon and a ¼ teaspoon of nutmeg to your dry ingredients. These warm spices enhance the banana flavor without overpowering it, adding a cozy depth.
- Tropical Twist: For an exotic touch, consider adding ½ cup of shredded coconut along with a handful of chopped macadamia nuts.
- Streusel Topping: For an extra special touch, prepare a simple streusel topping (butter, flour, brown sugar, and a pinch of cinnamon) and sprinkle it over the batter before baking. It adds a delightful crispy crust and extra flavor.
Frequently Asked Questions About Banana Bread
Absolutely! This is one of my favorite kitchen hacks, especially when I only have a couple of bananas left that are past their prime. Freezing overripe bananas is an excellent way to prevent food waste and ensure you always have them on hand for future baking projects. Simply place them, peel and all, into a freezer-safe sealable bag. Make sure to press out as much air as possible before sealing. They can be frozen for up to 3 months. Alternatively, you can peel them first, slice them into smaller chunks, and then freeze them in a single layer on a baking sheet before transferring them to a freezer bag. This way, they won’t stick together, and you can grab just what you need. Always thaw frozen bananas in the refrigerator overnight before using them in this (or any) banana bread recipe.
Yes, absolutely! Since this recipe yields two loaves, freezing one (or both!) is a fantastic idea. You can freeze an entire loaf or individual slices, depending on how you plan to enjoy it later. For a whole loaf, ensure it’s completely cooled, then wrap it tightly first in plastic wrap, and then again in aluminum foil. For slices, wrap each slice individually in plastic wrap, then place them all in a freezer-safe sealable bag. Remove any excess air from the bag before sealing. Frozen banana bread can be stored for up to four months. Thaw frozen loaves or slices in the refrigerator or at room temperature. You can even warm individual slices in the microwave for a few seconds for a freshly baked feel.
If you find yourself without buttermilk, don’t worry – you can easily make a homemade substitute! For every 1 cup of buttermilk needed, simply pour 1 cup of regular milk (dairy or non-dairy works) into a measuring cup. Then, add 1 tablespoon of white vinegar or lemon juice. Stir it gently and let it sit for 5-10 minutes. The milk will curdle slightly and thicken, mimicking the acidity and texture of real buttermilk. This acidity is important for activating the baking soda in the recipe, contributing to the bread’s rise and tender texture.
Explore More Delicious Quick Bread Recipes
If you love the simplicity and comfort of quick breads, be sure to check out these other fantastic recipes from our collection:
Cranberry Orange Bread
Better Than Starbucks Pumpkin Bread Recipe
Walnut Fig Bread
Are you on Pinterest? Click the button below to add this recipe to one of your boards!
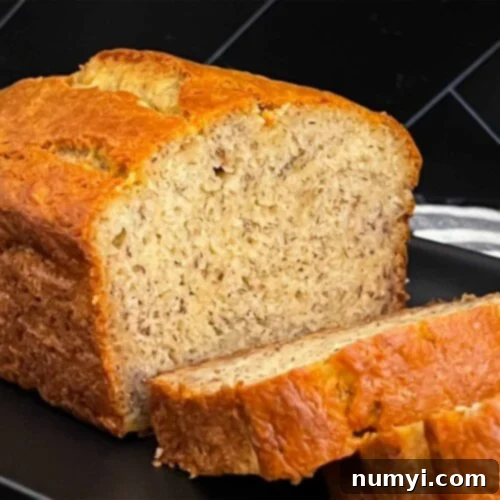
Easy And Moist Banana Bread Recipe
Print
Pin
Rate
Ingredients
- 3 cups All-purpose flour
- ½ teaspoon Kosher salt
- 1½ teaspoon Baking powder
- 1½ teaspoon Baking soda
- 1 cup Granulated sugar
- ½ cup Unsalted butter softened
- 2 large Eggs room temperature
- 1 cup Buttermilk room temperature
- 5 Very ripe bananas mashed
Instructions
-
Preheat oven to 325ºF degrees.
-
Prepare two loaf pans with non-stick spray and parchment paper slings.
-
Whisk flour, salt, baking powder and baking soda together, set aside.3 cups All-purpose flour, ½ teaspoon Kosher salt, 1½ teaspoon Baking powder, 1½ teaspoon Baking soda
-
In a separate bowl, cream sugar, and butter until light and fluffy. Mix in eggs, one at a time, then add the mashed bananas.1 cup Granulated sugar, ½ cup Unsalted butter, 2 large Eggs, 5 Very ripe bananas
-
Add dry ingredients and buttermilk, alternating until incorporated, ending with the the dry. Do not over mix.1 cup Buttermilk
-
Bake in prepared 8×4 loaf pans for 50-60 minutes or until a toothpick comes out clean. Watch carefully, all ovens are not the same.
Notes
Baking times vary so start checking the bread a few minutes before the suggested baking time.
Nutrition
Recipe adapted from kitchenconfidante
