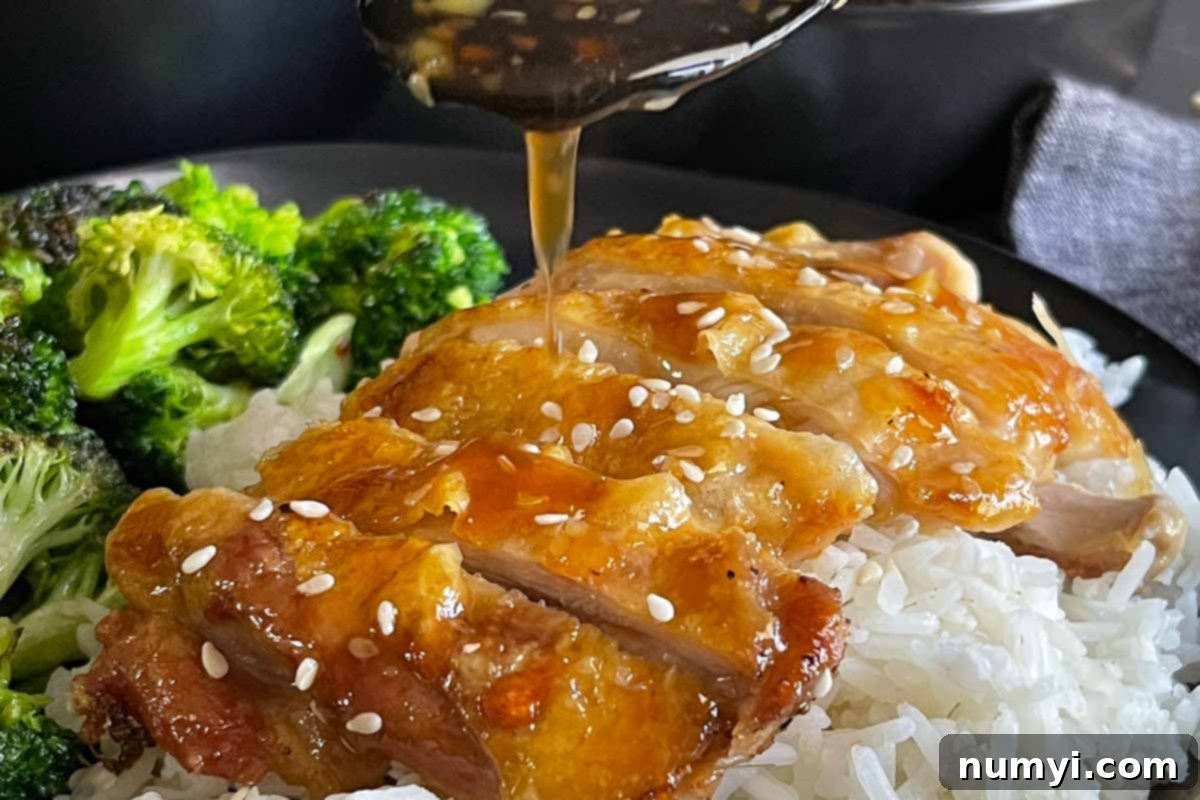
Crispy Chicken Teriyaki Thighs: The Ultimate Homemade Recipe for Restaurant-Quality Flavor
Embark on a culinary journey to create truly delicious and memorable chicken teriyaki thighs right in your own kitchen. This recipe proves that crafting a dish with authentic, restaurant-quality flavor is far easier than you might imagine. Forget about store-bought bottled sauces; we’re going entirely from scratch to achieve an incredibly tasty and satisfying meal that will become a new family favorite. Get ready for quick preparation, simple steps, and a result that will impress even the most discerning palates.
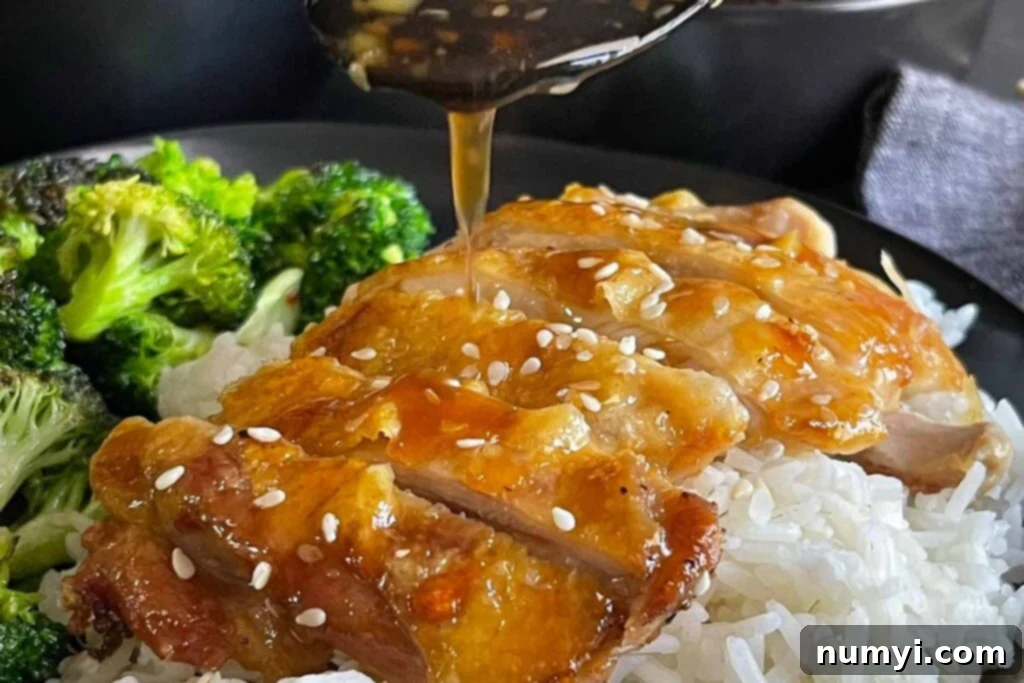
Chicken Teriyaki is one of those universally beloved dishes that graces many restaurant menus, yet it often feels intimidating to recreate at home. While everyone knows and loves the sweet and savory glaze, actually seeing it at the family dinner table can be a rare treat. Our goal with this comprehensive recipe guide is to change that, empowering you to bring this classic Japanese-inspired favorite into your regular meal rotation with confidence and spectacular results.
If there’s one pivotal secret to mastering a truly delicious and memorable chicken teriyaki, it’s undeniably the decision to **make your own teriyaki sauce from scratch**. This isn’t just a minor improvement; it makes all the difference in the world, elevating your dish from good to extraordinary. The depth of flavor, the perfect balance of sweet, savory, and umami, simply cannot be matched by pre-made alternatives. And here’s the best part: crafting this homemade sauce is significantly easier than many people assume, requiring just a few staple ingredients and a short amount of time.
How To Make Perfectly Crispy Chicken Teriyaki Thighs at Home
Creating this show-stopping chicken teriyaki is remarkably straightforward. The process essentially boils down to two main components: pan-frying succulent chicken thighs to achieve an irresistible crispy skin, and whipping up our signature homemade teriyaki sauce. The sauce itself relies on a handful of readily available ingredients, many of which you might already have in your pantry. The key is in the technique and the fresh, vibrant flavors that come together effortlessly.

While most of the sauce ingredients are pantry staples, you might need to make a quick trip to your local Asian grocery store or a well-stocked supermarket for authentic Japanese sake and mirin. These two ingredients are crucial for achieving the characteristic sweet and tangy notes of a traditional teriyaki. The great advantage of our homemade sauce recipe is that it yields a generous quantity, which can be stored in the refrigerator for up to three months. This means you can prepare a batch in advance and have delicious teriyaki sauce on hand for future meals, making weeknight cooking a breeze. You’ll likely find yourself pouring this versatile sauce over everything – yes, even your broccoli will get a delicious upgrade!
Essential Ingredients for Delectable Chicken Teriyaki Thighs
The beauty of this recipe lies in its simplicity and the power of its core ingredients. Using fresh, high-quality components will truly make your homemade teriyaki shine. Here’s what you’ll need to gather:
Meat Selection
- Deboned Skin-On Chicken Thighs: We highly recommend using deboned, skin-on chicken thighs for their incredible flavor, juicy texture, and the ability to achieve a wonderfully crispy skin. If they aren’t pre-deboned, it’s an easy task to do at home.
Homemade Teriyaki Sauce Essentials
- Sake: A Japanese rice wine that adds depth, sweetness, and complexity to the sauce, balancing the other flavors.
- Mirin: A sweet Japanese rice wine, similar to sake but with a lower alcohol content and higher sugar content. It’s essential for the signature sweetness and glaze of teriyaki.
- Soy Sauce: The savory foundation of teriyaki. Opt for low-sodium soy sauce to control the saltiness, as you can always add more if needed.
- Vegetable Oil: Used for sautéing the aromatics and cooking the chicken. A neutral oil is best here.
- Fresh Garlic: Finely chopped garlic adds a pungent, aromatic kick that is integral to the sauce’s flavor profile.
- Fresh Ginger: Freshly grated or finely chopped ginger provides a bright, zesty, and slightly spicy warmth, distinguishing homemade sauce from store-bought.
- Cornstarch and Water (Slurry): This combination is used as a thickening agent, giving the teriyaki sauce its classic luscious texture.
- Sesame Seeds: An optional but highly recommended garnish that adds a nutty flavor, delightful texture, and visual appeal to the finished dish.
Perfect Side Dishes
- This is entirely up to your personal preference! For a classic and satisfying meal, we highly recommend serving your crispy chicken teriyaki thighs with fluffy white rice and steamed or sautéed broccoli. These sides perfectly complement the rich flavors of the chicken and sauce.
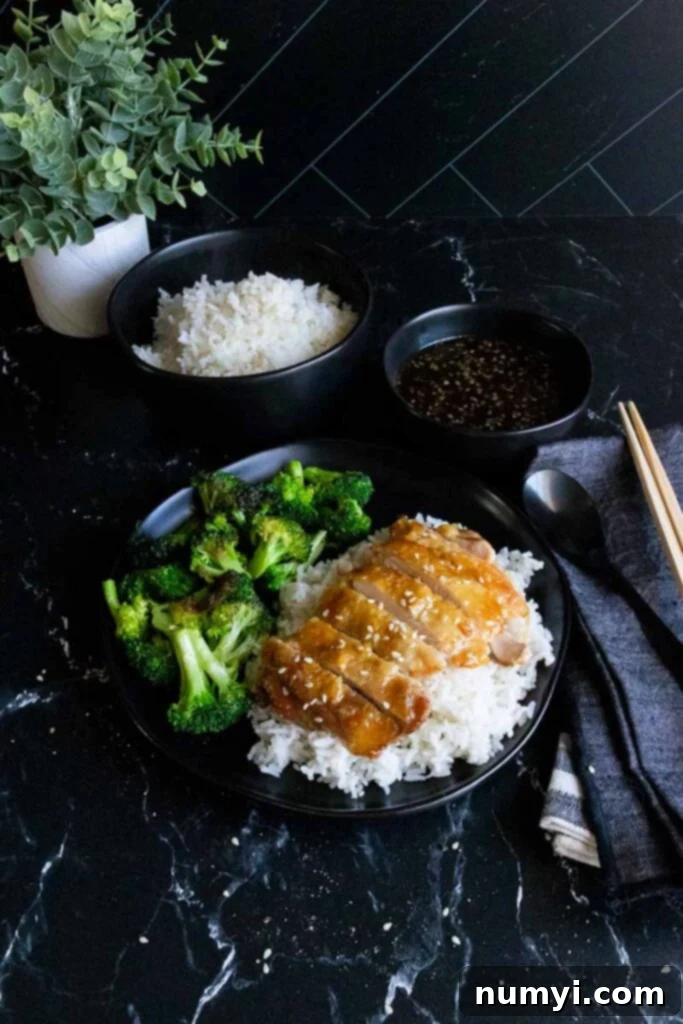
When I prepare this delightful dish, I like to multitask, cooking the chicken, making the teriyaki sauce, and preparing the rice all at the same time to ensure everything is ready to serve simultaneously. Once the chicken reaches its perfect crispiness and doneness, I often use the rendered chicken fat to quickly cook the broccoli, infusing it with extra flavor. The cooked chicken can then be placed in a preheated oven at a low temperature (around 200 degrees Fahrenheit or 95 degrees Celsius) to keep warm while you finish up your sides and get ready to serve.
Our recipe specifically calls for deboned chicken thighs with the skin on. This choice is deliberate, as the skin is paramount for achieving that incredible, satisfying crispness that truly elevates this dish. While you could technically use skinless chicken thighs or even chicken breasts if you prefer, please note that the results will be different. If opting for skinless cuts, I would strongly recommend marinating the chicken beforehand to ensure maximum flavor and tenderness, as they tend to dry out more quickly. However, for this particular recipe, we’re chasing that coveted CRISPY skin, and a marinade would prevent that from happening by adding too much moisture. Trust us, the skin-on method is worth it!
To prepare the chicken for optimal crispiness, after deboning, place the chicken thighs uncovered in the refrigerator. This drying period should be at least 30 minutes, but ideally for up to 24 hours. Allowing the skin to dry out significantly reduces moisture, which is the secret to achieving that coveted crackling, golden-brown exterior when cooked. We’ve successfully prepared these crispy chicken thighs using both the 30-minute and 24-hour methods, and while 30 minutes yields wonderfully crisp skin, if I plan ahead, I’ll always opt for the full 24 hours for truly extraordinary results.
While your chicken thighs are patiently drying out in the refrigerator, use this time efficiently to gather and prepare all your other ingredients. Finely chop your fresh ginger and garlic, setting them aside for the sauce. Wash and cut your broccoli or any other chosen side vegetables. Having everything prepped and organized (a cooking technique known as “mise en place”) before you start cooking prevents frantic searching for ingredients mid-recipe, ensuring a smooth and enjoyable cooking experience.
Mastering the Art of Crispy Chicken Thighs
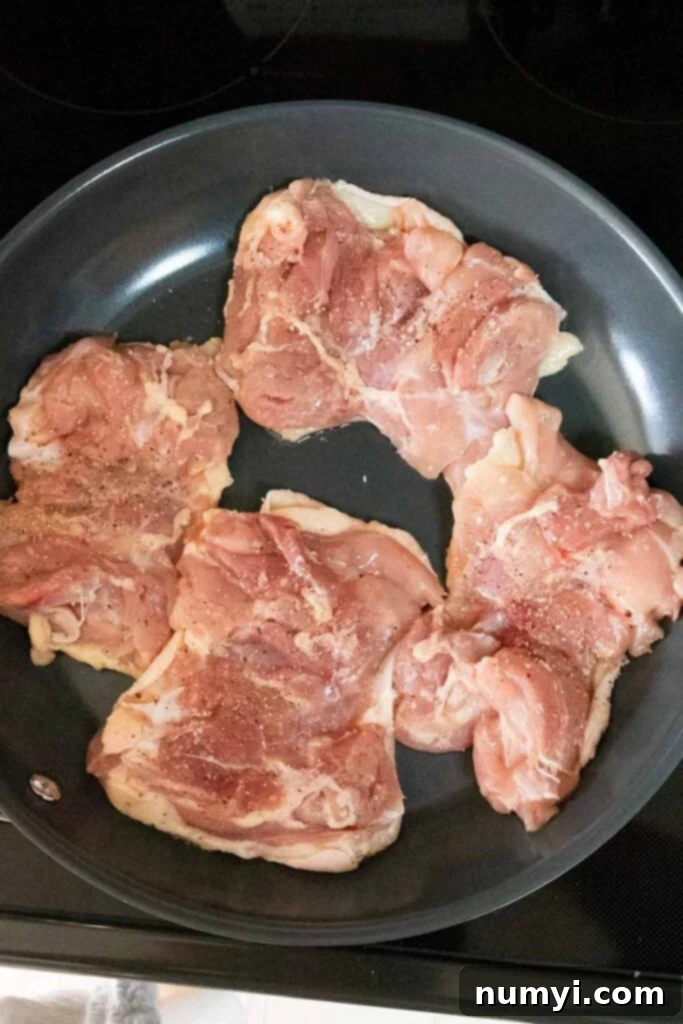
When you’re ready to cook, remove the deboned chicken thighs from the refrigerator. Pat them thoroughly dry one last time with paper towels to eliminate any residual moisture, then generously season both sides with salt and freshly ground black pepper. This simple seasoning is all you need before cooking, allowing the teriyaki sauce to be the star flavor.
The secret to incredibly crispy chicken skin starts with a cold pan. Place the seasoned chicken thighs, skin-side down, in a large, cold skillet. Then, and only then, increase the heat to medium. Starting cold allows the fat to render slowly and evenly, preventing the skin from burning before it has a chance to crisp up. This method also helps prevent the chicken from sticking to the pan.
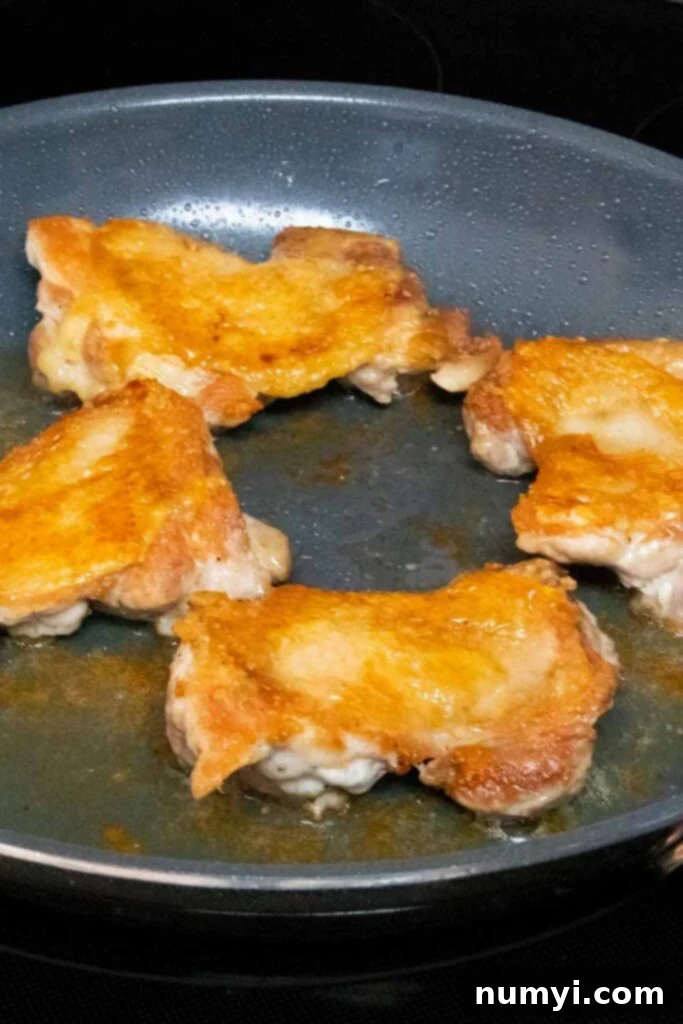
Carefully monitor the heat as the chicken cooks, adjusting it as needed to maintain a steady medium temperature. Cook the chicken skin-side down until the skin develops a beautiful, crispy sear and turns a deep golden brown, which typically takes around 10-12 minutes. Resist the urge to move the chicken too much during this stage; let it sit and crisp up undisturbed. If you anticipate that the chicken will be done before your other components are ready, preheat your oven to a low temperature of 200 degrees Fahrenheit (95 degrees Celsius). You can then transfer the cooked chicken to the oven to keep it warm and maintain its crispiness while you prepare your chosen sides.
Once the skin is perfectly crispy and golden, flip the chicken thighs over and continue to cook for another 5 to 7 minutes on the other side. This ensures the chicken cooks through evenly and reaches an internal temperature of 165 degrees Fahrenheit (74 degrees Celsius), indicating it’s safe to eat and perfectly juicy.
Crafting Your Exquisite Homemade Teriyaki Sauce
While your chicken is happily cooking and crisping up in the skillet, you can simultaneously begin preparing the star of the show: your homemade teriyaki sauce. Place a small saucepan over medium-low heat to start the magic.
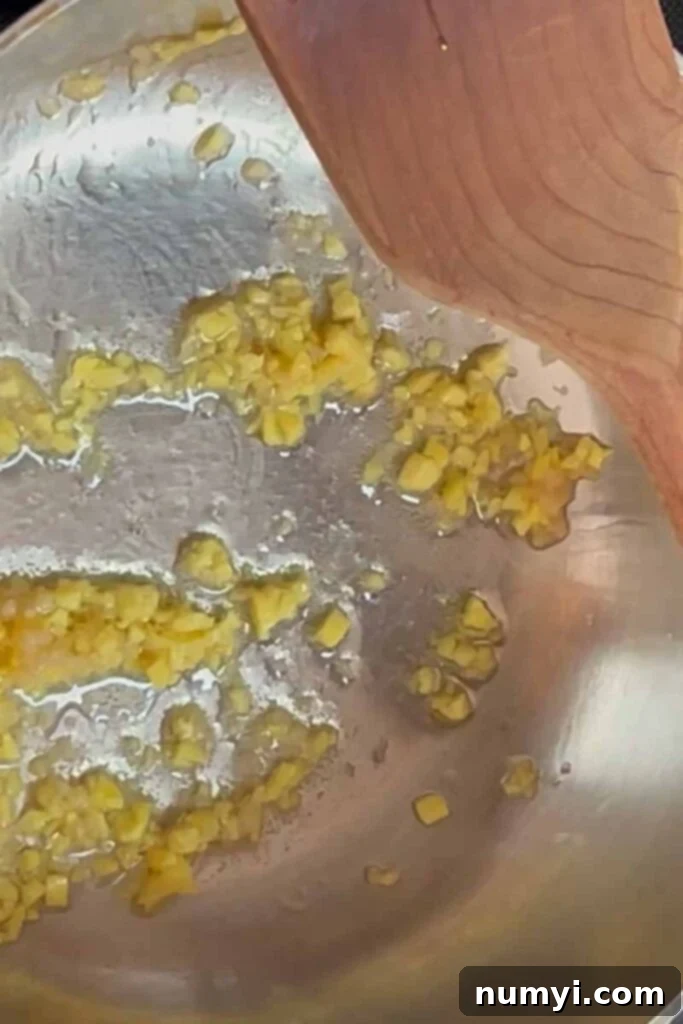
Add a tablespoon of vegetable oil to the saucepan. After about a minute, once the oil is shimmering, add your finely chopped garlic and minced fresh ginger. These aromatics are the foundation of our sauce’s vibrant flavor. Sauté them gently for approximately 3 to 4 minutes, stirring occasionally. The goal here is to allow the aromatics to “bloom” – releasing their fragrant oils and softening without burning. Adjust your heat as needed to prevent them from turning brown or bitter.
Next, carefully add one cup each of sake, mirin, and low-sodium soy sauce to the saucepan. Bring the mixture to a low simmer. Allow it to cook gently for about 5 minutes; this crucial step allows the alcohol from the sake and mirin to cook off, leaving behind only their delicious flavors. Continue to let the sauce simmer, allowing it to naturally reduce by approximately one-third. This reduction concentrates the flavors, making the sauce richer and more intense.
To achieve that signature glossy, thick teriyaki consistency, we’ll create a cornstarch slurry. In a small separate bowl, combine two tablespoons of cornstarch with four tablespoons of cold water. Whisk these together thoroughly until you have a smooth, lump-free mixture. Gradually add this cornstarch slurry to the simmering teriyaki sauce in the saucepan, whisking continuously. You’ll notice the sauce will begin to thicken almost immediately. Continue whisking for another minute or two until it reaches your desired consistency – a beautiful, luscious glaze.
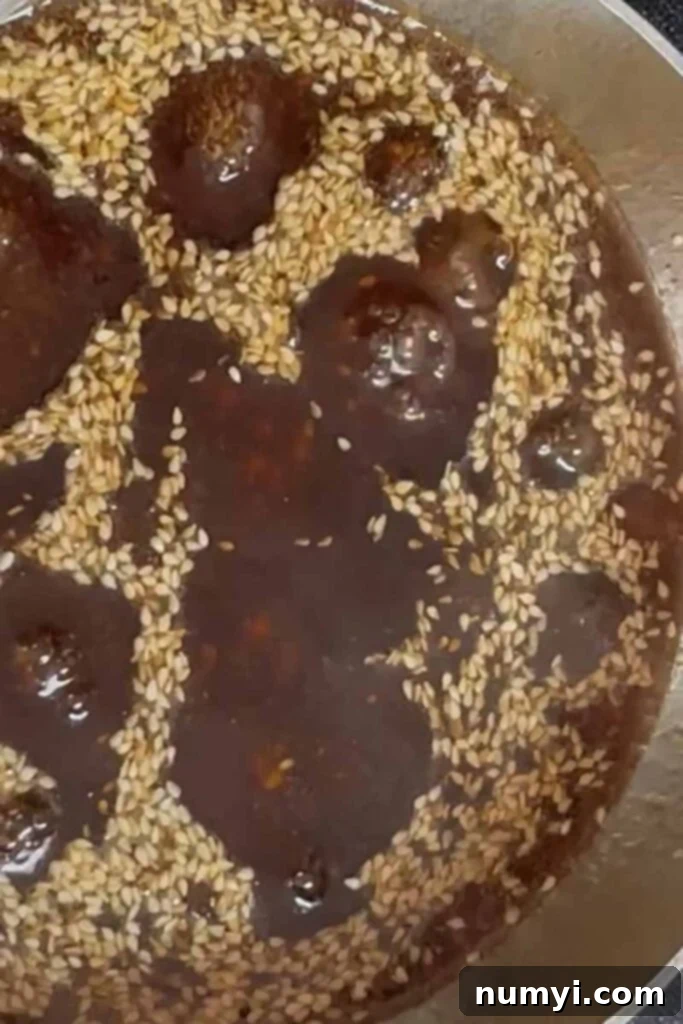
As a final, optional but recommended step, stir in one tablespoon of sesame seeds. The sesame seeds add a wonderful nutty flavor, a subtle textural contrast, and, in my opinion, significantly enhance the visual appeal of the finished sauce. Once the sauce is complete, glossy, and perfectly seasoned, you are truly ready to serve your magnificent homemade chicken teriyaki!
Flavorful Variations for Your Teriyaki Sauce
One of the joys of cooking at home is the ability to customize flavors to your exact preference. For this teriyaki sauce, I personally found that the natural sugars present in the mirin provided ample sweetness for my taste. However, palates vary greatly, and you might prefer a slightly sweeter profile.
I encourage you to taste the sauce once it has reduced and thickened. If you desire additional sweetness, simply stir in an extra teaspoon of granulated sugar, brown sugar, or even a touch of honey until you reach your ideal balance. Experiment to find your perfect sweetness level!
For those who appreciate a bit of heat to complement the sweet and savory notes, introducing a spicy element is a fantastic idea. You can easily add a teaspoon of red pepper flakes during the simmering process, or stir in some sriracha sauce at the end, to infuse your teriyaki sauce with a delightful kick. Start with a small amount and add more gradually to control the spice level.
Beyond chicken, this versatile homemade teriyaki sauce is truly a game-changer. It works exceptionally well on a variety of proteins. Don’t hesitate to try it on salmon, beef, tofu, or even as a glaze for grilled vegetables. If you have a favorite protein, give this sauce a try – you might just discover a new obsession!
Assembling Your Delectable Teriyaki Chicken Thighs Meal
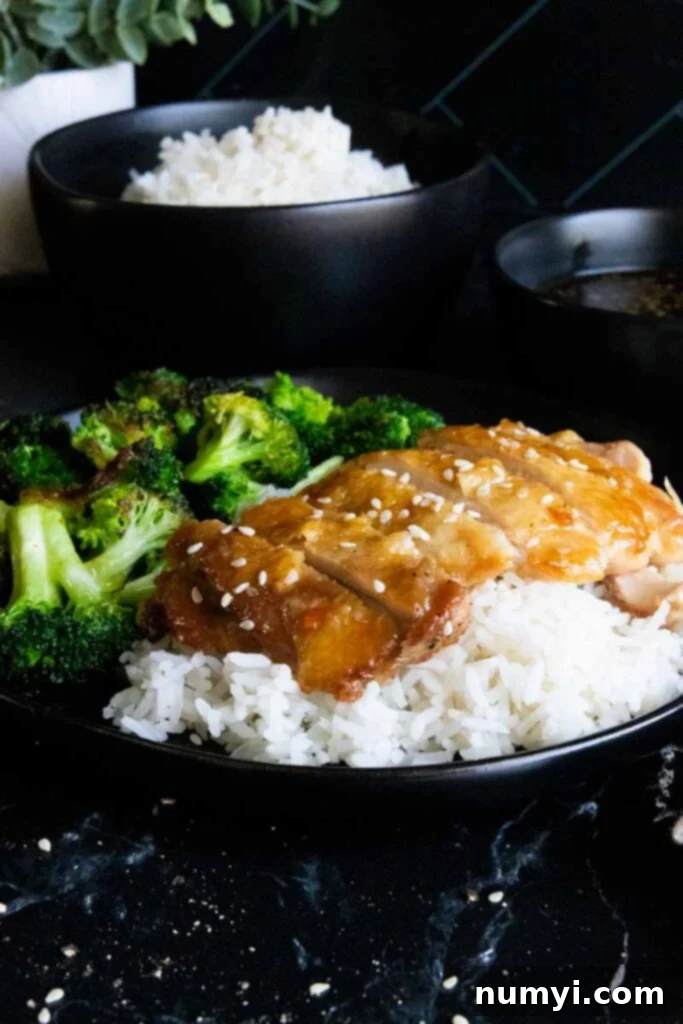
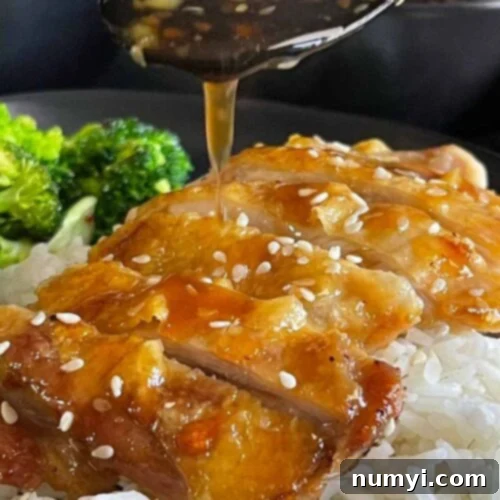
There’s no single “right” way to add the luscious teriyaki sauce to your crispy chicken; the best method is whichever way you prefer! For this particular recipe, I enjoy dipping each perfectly cooked chicken thigh directly into the warm, rich sauce. This ensures every piece is generously coated with that irresistible glaze, maximizing flavor in every bite.
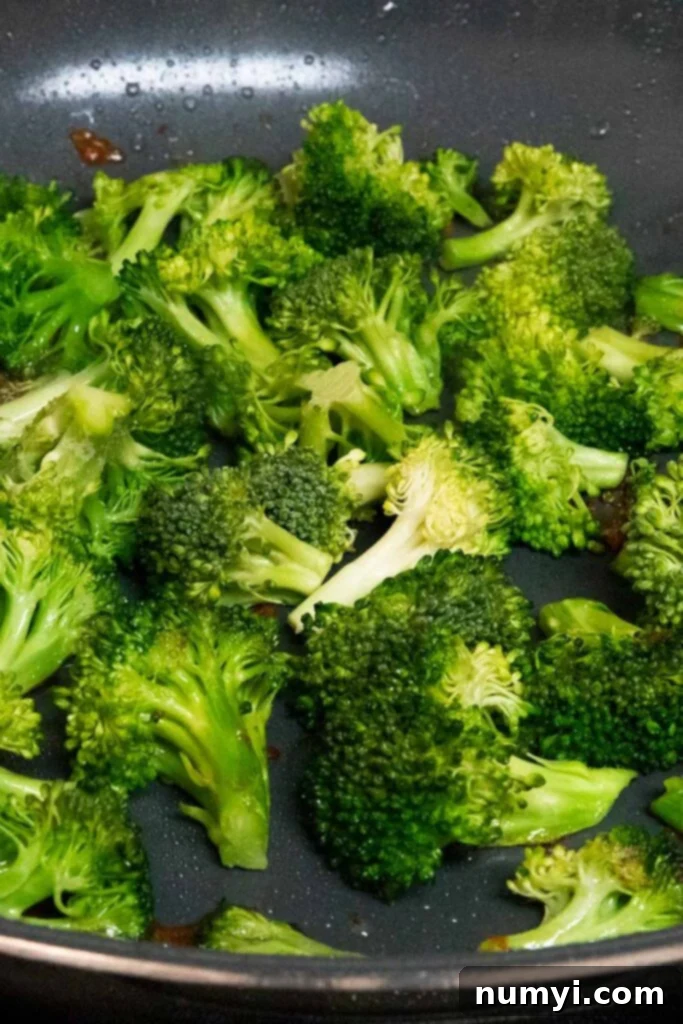
Serve your magnificent chicken teriyaki with your preferred side dishes. As mentioned, my go-to pairing is steamed white rice and fresh broccoli, creating a balanced and complete meal. For an extra layer of flavor and a touch of indulgence, I often cook the broccoli directly in the rendered chicken fat remaining in the skillet after frying the chicken. The results are truly amazing, infusing the broccoli with savory chicken notes. Of course, a simpler steamed broccoli is also a wonderfully healthy choice if you prefer a lighter option.
To add a final touch of freshness and visual appeal, consider chopping up some vibrant green onions on a bias and sprinkling them generously over the finished chicken and sauce as a beautiful garnish. A sprinkle of extra sesame seeds can also enhance the presentation and provide a little more nutty crunch.
Conclusion: Why This Homemade Teriyaki Stands Apart
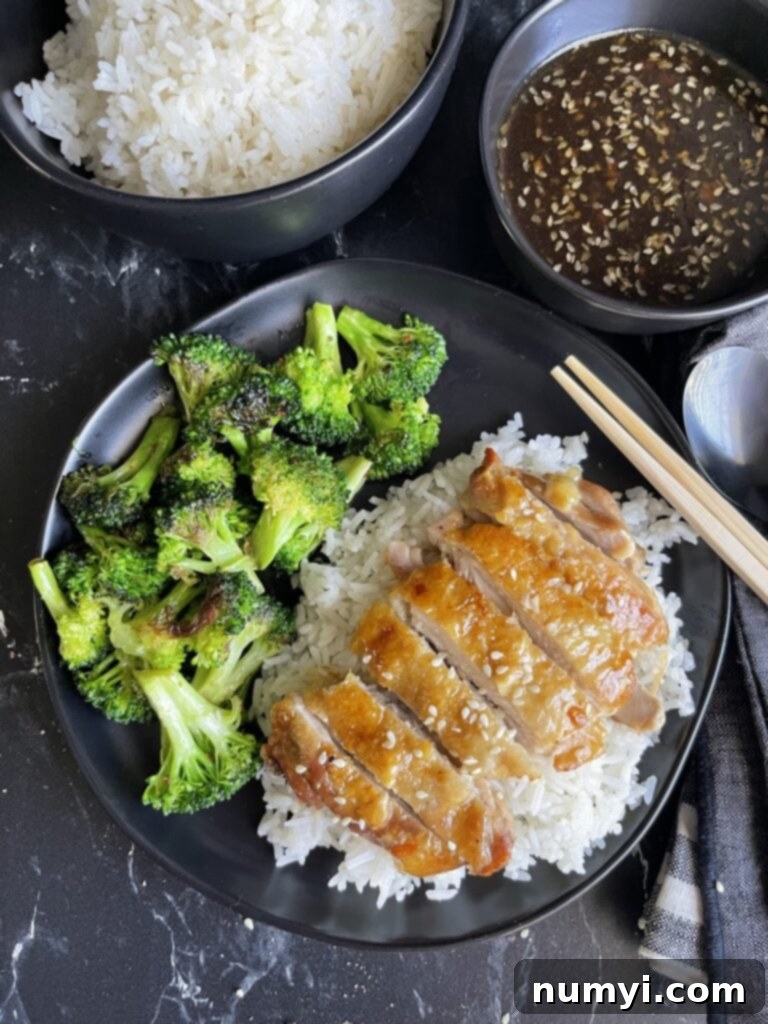
As I mentioned earlier, teriyaki is a household name, but all too often, our experience with it involves calling in an order for takeout or picking up a pre-made meal. This homemade teriyaki sauce, however, is an absolute game-changer. It elevates the entire dish, proving that a freshly prepared meal in your own kitchen can undeniably surpass anything you’d get from a restaurant.
This crispy chicken teriyaki recipe isn’t just good; it consistently beats what we’ve come to expect from commercial establishments. The difference is palpable – it’s fresh, incredibly delicious, and served piping hot, exactly to your liking. While I know that chicken teriyaki can be adapted for a slow cooker for a convenient “dump-and-go” solution, if you’re truly craving that irresistible crispy skin and a superior flavor profile, then this pan-frying method is absolutely the way to go.
The flavor of this homemade teriyaki sauce hits on all levels, offering a complexity and depth that I rarely encounter when eating out. The interplay of savory soy, sweet mirin, aromatic sake, and fresh ginger and garlic creates a truly harmonious and unforgettable taste experience. You absolutely need to try this! I am confident that once you make this, it will quickly earn a permanent spot among your other favorite chicken recipes.
Furthermore, if you enjoy exploring different chicken thigh preparations, you should also check out our recipe for Crispy Chicken Thighs With Garlic Cream Sauce. It employs a similar technique for achieving perfectly crispy chicken skin, but results in a totally different yet equally delicious dish!
Crispy Chicken Teriyaki Thighs Recipe
Crispy Chicken Teriyaki Thighs Recipe
Print
Pin
Rate
Ingredients
Meat
- 4 Chicken thighs deboned, skin on
Sauce
- 1 cup Sake
- 1 cup Mirin
- 1 cup Soy sauce low sodium
- 1 tbsp Vegetable oil
- 1 tbsp Garlic Finely chopped
- 2 tbsp Ginger Fresh, finely chopped
- 2 tbsp Cornstarch For slurry
- 4 tbsp Water For slurry
- 1 tbsp Sesame seeds Optional
Instructions
Preparing The Chicken
-
Debone the chicken thighs, if needed. Place in the refrigerator uncovered for 30 minutes up to 24 hours to dry out the skin for maximum crispiness.
-
When ready to cook, remove chicken, pat dry again, and season both sides with salt and pepper.
-
Place chicken skin side down in a cold, large skillet. Increase heat to medium.
-
Monitor the heat closely. Cook until the skin has a beautiful crispy sear and is golden brown, about 10-12 minutes.
-
If the chicken finishes cooking before other components, preheat your oven to 200 degrees Fahrenheit (95°C) and transfer the chicken to keep warm.
-
Flip the chicken and continue to cook for 5 to 7 minutes more, or until the other side is crispy and the internal temperature reaches 165 degrees Fahrenheit (74°C).
Preparing The Teriyaki Sauce
-
While chicken cooks, place a small saucepan over medium-low heat for the teriyaki sauce.
-
Add 1 tablespoon of vegetable oil. After about a minute, add the finely chopped garlic and fresh ginger to the oil.
-
Cook for approximately 3 to 4 minutes, stirring occasionally, until aromatics bloom but do not burn. Adjust heat as needed.
-
Add one cup each of sake, mirin, and soy sauce to the saucepan and bring to a low simmer. Cook for about 5 minutes to cook off the alcohol.
-
Allow the sauce to continue cooking until it has reduced by about one-third, concentrating the flavors.
-
In a small bowl, combine two tablespoons of cornstarch and 4 tablespoons of cold water until well mixed into a smooth slurry. Add this mixture gradually to the simmering sauce, whisking constantly until the sauce thickens to a glossy glaze.
-
Optionally, stir in 1 tablespoon of sesame seeds for added texture and visual appeal.
Putting It Together
-
Drizzle the warm teriyaki sauce generously over the crispy chicken, or for a more immersive experience, dip each chicken thigh directly into the sauce. Choose whichever way you like best!
-
Serve immediately with your favorite sides. Fluffy rice and a vibrant vegetable like broccoli make a perfect pairing. Garnish with chopped green onions and extra sesame seeds if desired.
-
Store any extra teriyaki sauce in an airtight container in the refrigerator. It will keep for up to 3 months, ready for your next culinary creation!
