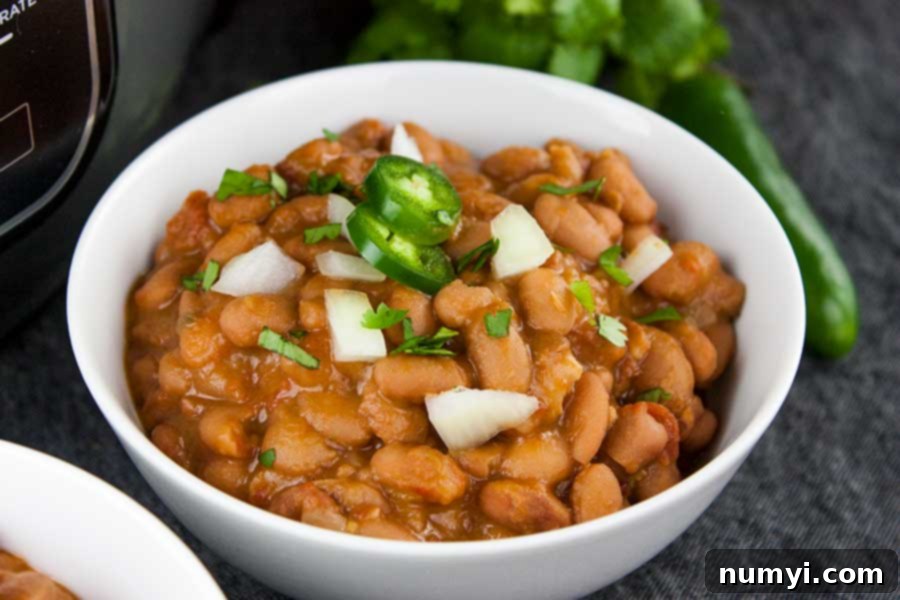
Delicious Ninja Foodi Mexican Pinto Beans (Charro Beans): Easy Pressure Cooker Recipe
Transforming simple pinto beans into a flavorful, hearty Mexican dish has never been easier, thanks to the Ninja Foodi. This recipe for Mexican Pinto Beans, also widely known as Frijoles Charros or “Cowboy Beans,” delivers an incredible depth of flavor in a fraction of the traditional cooking time. Whether you’re seeking a robust main course or a perfect side dish to complement your favorite Mexican meal, these beans are sure to impress with their rich, savory, and subtly spicy profile.
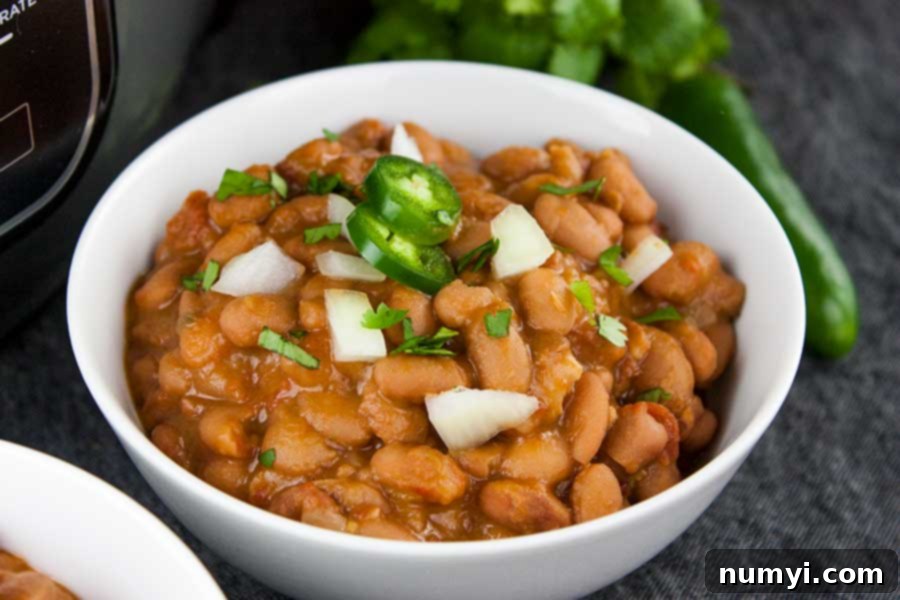
My journey into electric pressure cooking began with a quest for efficiency and flavor, and these Mexican Pinto Beans were one of the very first recipes to truly highlight the capabilities of my Ninja Foodi. The speed at which it transforms dried beans into a tender, succulent dish, infused with the smoky essence of bacon and vibrant Mexican spices, is nothing short of culinary magic. What often takes hours on a stovetop can be achieved much faster, without compromising on taste or texture.
For a long time, I resisted the pressure cooker craze, specifically the Instant Pot. My hesitation stemmed from the need for multiple appliances to achieve browning or crisping, a feature I found lacking in many models. I wanted a single, versatile kitchen gadget that could handle it all. That’s where the Ninja Foodi stepped in, offering the best of both worlds: efficient pressure cooking combined with the ability to air fry, crisp, and sauté directly in the same pot. It eliminated the need for transferring food, simplifying the entire cooking process and solidifying its place as an indispensable tool in my kitchen.
Why the Ninja Foodi Shines for Beans and Beyond
While I’m not sponsored to sing its praises, I genuinely love the Ninja Foodi, and it’s become my go-to for recipes like these flavorful Charro beans. It resolves many of the minor frustrations I experienced with other electric pressure cookers. Here are just a few reasons why it stands out:
- **Superior Pot Design:** The large cooking pot features a ceramic non-stick coating that makes cleanup incredibly easy. Food simply wipes out, preventing stubborn messes. This is a significant advantage when cooking starchy foods like beans.
- **Pressure Cooker That Crisps:** This dual functionality is truly revolutionary. It allows you to sauté ingredients like bacon and aromatics, pressure cook the beans to tender perfection, and even thicken the sauce afterward, all in one pot. No more transferring to another appliance or pan!
- **Efficient Pressure Building:** In my experience, the Foodi seems to come to pressure noticeably faster than other electric pressure cookers I’ve tried. This saves valuable time, especially on busy weeknights.
- **Handy Accessories (with a tip):** While the cook & crisp basket is generally easy to clean, the removable diffuser can be a bit tricky. I’ve found that using a silicone trivet in its place is a fantastic alternative for easier handling and cleaning.
It’s important to note that I don’t believe every dish benefits from pressure cooking. Some recipes truly thrive with a long, slow, traditional simmer to develop their full potential. However, for dried beans, the pressure cooker is a game-changer. It drastically cuts down cooking time while still allowing the flavors to meld beautifully, making it an ideal method for this hearty Mexican staple.
Ninja Foodi Mexican Pinto Beans (Charro Beans): A Flavorful Delight
What are Charro Beans? Delving into Frijoles Charros
Frijoles Charros, which translates to “cowboy beans,” is a beloved and traditional Mexican dish known for its rich, smoky, and savory flavor. Originating from Northern Mexico, particularly in ranching communities, these beans are a staple that embodies the hearty, rustic cuisine of the region. At their core, Charro beans consist of tender pinto beans stewed with a aromatic base of onion, garlic, and crispy bacon. However, their true magic lies in the array of additional ingredients that can be incorporated, creating a complex and deeply satisfying flavor profile. Common additions often include chili peppers (like jalapeños or serranos), diced tomatoes, fresh cilantro, and various forms of pork suchs as ham, sausage, or spicy chorizo. Each addition contributes to a unique blend of flavors, making every spoonful a culinary adventure. The combination of smoky pork, tender beans, and aromatic vegetables creates a dish that is both comforting and incredibly flavorful, a true testament to traditional Mexican cooking.
Mastering Mexican Charro Beans in Your Electric Pressure Cooker
Cooking Frijoles Charros in an electric pressure cooker like the Ninja Foodi or Instant Pot is a fantastic way to achieve deeply flavored, perfectly tender beans with significantly reduced cooking time. Here’s a detailed breakdown of the process to ensure culinary success:
Prepping Your Pinto Beans: To Soak or Not to Soak?
Traditionally, dried beans are soaked overnight to reduce cooking time and aid in digestion. I typically follow this practice, as it can potentially lead to fewer digestive issues for some people. While soaking is not strictly necessary when using a pressure cooker, which can cook unsoaked beans effectively, I find that a good overnight soak often results in a more consistently tender bean and can reduce pressure cooking time slightly. If you choose to soak your pinto beans, remember to drain the soaking water thoroughly before adding them to the pot. This is crucial as the soaking water can contain oligosaccharides, which are difficult for some to digest. If you opt to skip the soaking step, ensure you rinse and pick through your dried beans to remove any small stones or debris. For unsoaked beans, increase the chicken broth to 4 cups and pressure cook for at least 45 minutes to achieve optimal tenderness.
Building the Flavor Base: Sautéing Aromatics and Bacon
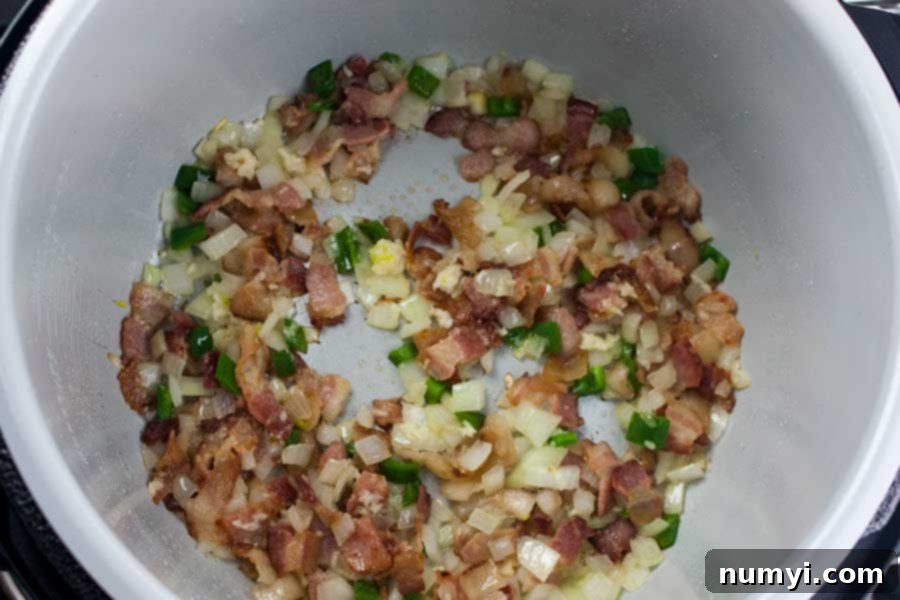
The first step in creating truly authentic Charro beans is to establish a robust flavor foundation. Begin by setting your Ninja Foodi or Instant Pot to the “Sauté” function on medium-high heat. Once the pot is hot, add the diced bacon. Cook the bacon for 6-8 minutes, stirring occasionally, until it’s beautifully crispy and has rendered its fat. This crispy bacon provides a crucial smoky and savory element that defines Charro beans.
Next, add the diced onion and jalapeño to the pot with the bacon fat. Sauté these for an additional 2-3 minutes, stirring until they just begin to soften. This step mellows their raw bite and brings out their sweetness. Finally, add the minced garlic and sauté for just 1 minute more. Be careful not to burn the garlic, as it can turn bitter very quickly. This aromatic trinity forms the heart of your bean’s flavor.
Pressure Cooking for Perfection
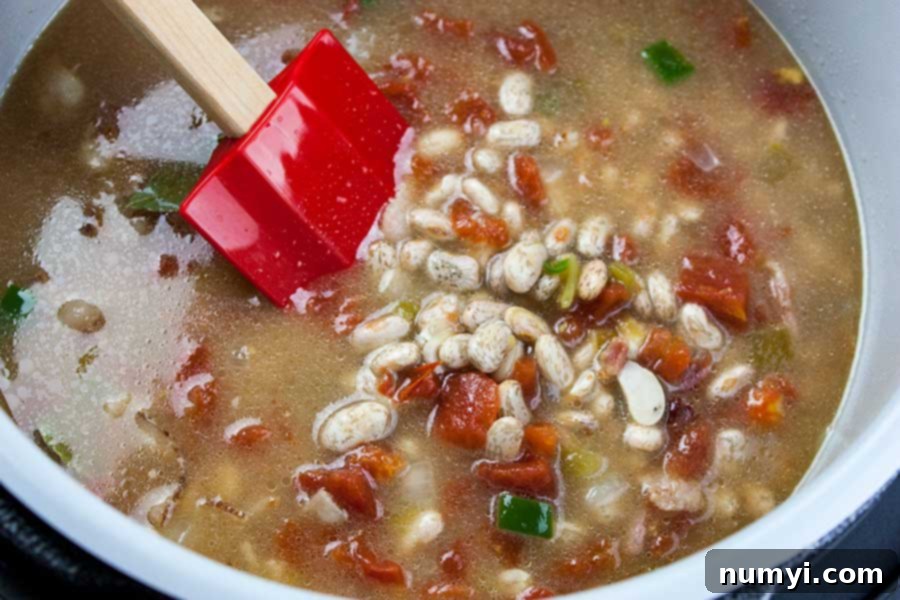
Once your flavor base is established, it’s time to combine the remaining ingredients. In the pot of your pressure cooker, add the soaked (or rinsed, unsoaked) pinto beans, diced fire-roasted tomatoes, chopped green chilies, the seeded and diced chipotle pepper in adobo (leave the seeds if you prefer more heat), bay leaves, and 3 cups of chicken stock. Give everything a good stir to ensure all ingredients are well combined and the beans are submerged in the liquid.
Secure the pressure cooking lid in place and lock it. Set your Ninja Foodi or Instant Pot to “High Pressure” and cook for 30 minutes. If you skipped the overnight soaking, remember to adjust the cooking time to at least 45 minutes with 4 cups of chicken broth to ensure the beans are fully tender.
Releasing Pressure and Final Touches
After the cooking cycle is complete, allow the pressure to naturally release for 15-20 minutes. Natural release is especially beneficial for beans as it helps prevent their skins from bursting and ensures a more tender, creamy texture. After the natural release, proceed with a controlled release (also known as a quick release, but done gradually). A controlled release simply means turning the pressure release valve back and forth in short bursts to slowly release any remaining pressure. This prevents a sudden burst of steam and liquid. Once the float valve drops, carefully remove the lid.
Stir in the sea salt. Start with 1/2 teaspoon, then taste and adjust as needed. Adding salt at the end prevents the beans from toughening during the pressure cooking process.
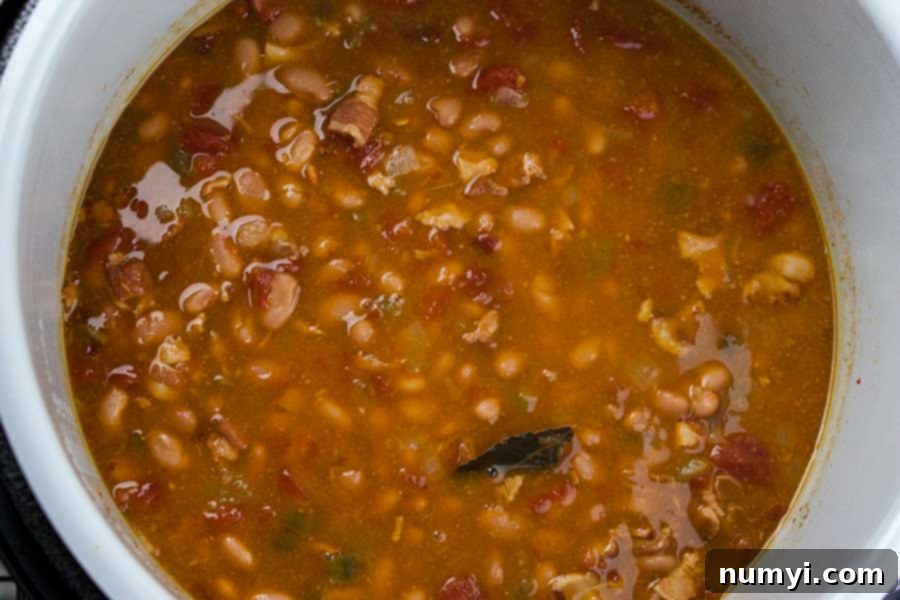
Achieving Your Desired Consistency
At this stage, your Mexican pinto beans will likely have a soupy consistency, which is perfect if you enjoy them that way. If you prefer a thicker, more stew-like consistency, leave the pot in the Ninja Foodi and set the “Sauté” function to medium-low. Bring the beans to a gentle boil and cook uncovered, stirring occasionally, until the liquid reduces and the beans reach your desired thickness. For our preference, this usually takes about 15-20 minutes. Keep in mind that the beans will also thicken slightly as they cool.
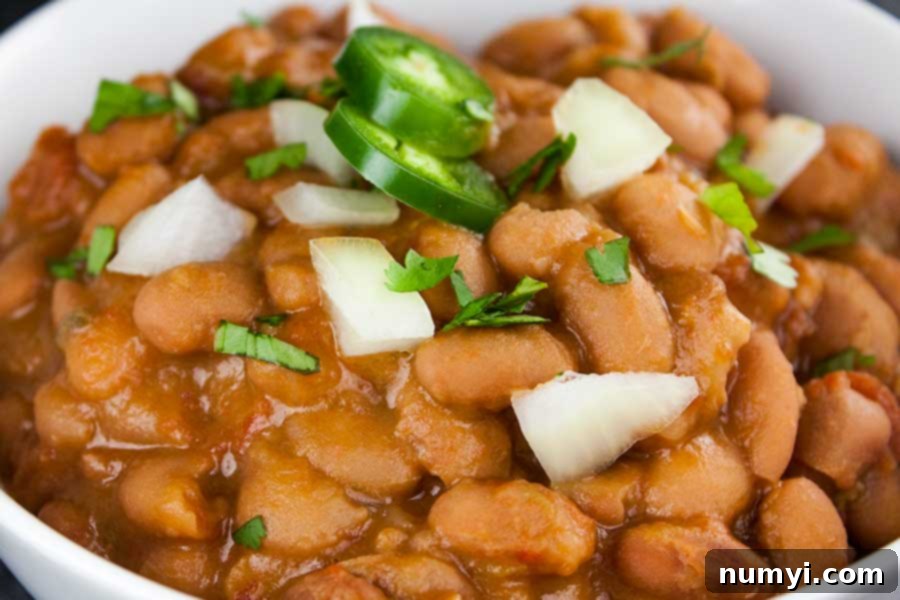
Prepare to savor the most flavorful Mexican Pinto Beans you’ve ever tasted! The combination of the pressure cooker’s efficiency and the carefully layered flavors makes this dish a true triumph.
Serving Suggestions for Your Charro Beans
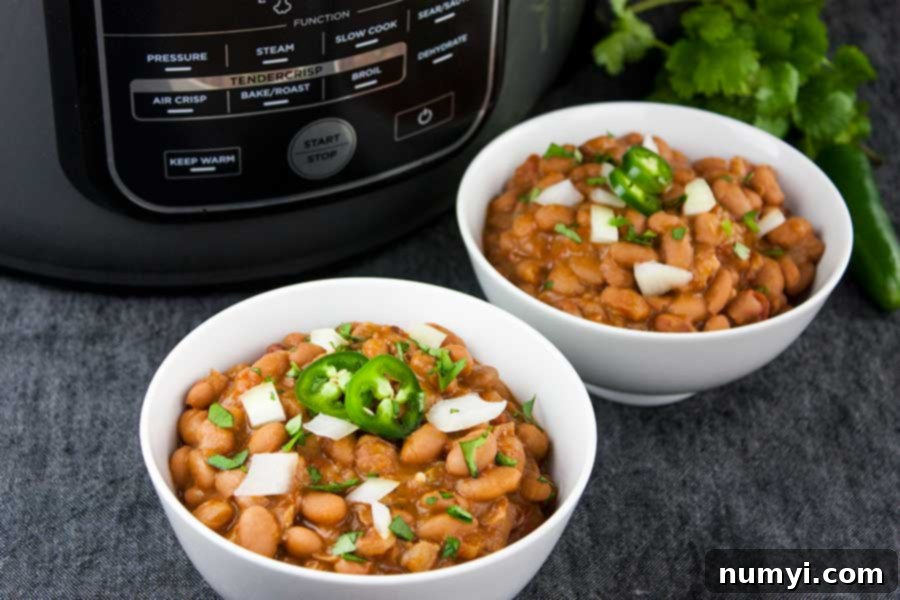
These incredibly versatile Mexican Pinto Beans are a fantastic addition to almost any meal. Their robust flavor makes them substantial enough to be a main dish, perhaps served with warm tortillas and a sprinkle of cheese. However, they truly shine as a side dish, complementing a wide array of Mexican entrees.
- Pair them with our Baked Chicken Chimichangas for a complete and satisfying meal.
- They are also an excellent accompaniment to our Crispy Pork Carnitas, where their tender texture and savory broth cut through the richness of the pork.
- Beyond these, consider serving them alongside tacos, burritos, enchiladas, or grilled steak for an authentic Mexican feast.
For additional easy side dishes that perfectly complement these beans, try our Mexican Rice or the bright and zesty Cilantro Lime Rice. Garnish your Charro beans with a generous sprinkle of fresh cilantro, diced red onion, or even a dollop of sour cream or Mexican crema for an extra burst of flavor and freshness.
Ninja Foodi or Instant Pot Mexican Pinto Beans Recipe
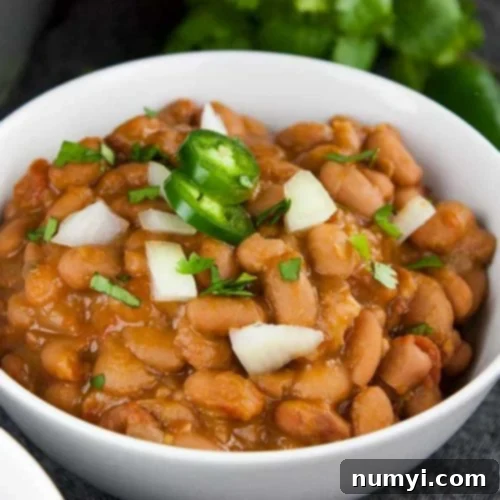
Ninja Foodi Mexican Pinto Beans (Charro Beans) Recipe
Such an easy recipe to spice up pinto beans. Perfect side dish to any Mexican meal! Hearty enough to be the main meal.
4.70 from 20 votes
Pin
Rate
Course: Main Dish, Side Dish
Cuisine: Mexican
Prep Time: 10 minutes
Cook Time: 1 hour
Total Time: 1 hour 10 minutes
Servings: 8
Calories: 217kcal
Author: Leigh Harris
Ingredients
- 1 pound pinto beans (dried)
- 8 oz bacon (diced)
- 1 small onion (diced)
- 1 fresh jalapeno (diced)
- 3 cloves garlic (minced)
- 1 (4.5 oz) can green chilies (chopped)
- 1 Chipotle pepper in adobo (seeded & diced – leave seeds for more spice)
- 1 (14 oz) can fire-roasted tomatoes (diced)
- 2 bay leaves
- 3 cups chicken stock
- 1/2 teaspoon sea salt (or more to taste)
TOPPING:
- 1/2 medium red onion (chopped)
- 1 cup cilantro (minced)
- 2 fresh jalapenos (sliced)
Instructions
- Soak the pinto beans overnight in water. The next day, drain and discard the soaking water thoroughly.
- Set your pressure cooker (Ninja Foodi or Instant Pot) to “Sauté” on medium-high heat. Once hot, add the diced bacon and cook for 6-8 minutes, or until it’s just crispy.
- Add the diced onion and jalapeño to the pot. Cook for an additional 2-3 minutes, stirring until they begin to soften. Stir in the minced garlic and sauté for 1 minute more, being careful not to burn it.
- In the pressure cooker pot, combine the soaked beans, fire-roasted tomatoes, green chilies, chipotle pepper, bay leaves, and chicken stock. Stir everything well to combine.
- Secure the pressure cooking lid and lock it. Set to “High Pressure” and cook for 30 minutes. (If using unsoaked beans, rinse and pick through them, use 4 cups of chicken broth, and pressure cook for at least 45 minutes.)
- Allow the pressure to naturally release for 15-20 minutes, then perform a controlled release of any remaining pressure. Once safe, remove the lid. Add the sea salt and stir.
- If you prefer a thicker consistency, set the “Sauté” function to medium-low and cook uncovered, stirring occasionally, until the beans reach your desired thickness (about 15-20 minutes).
Notes
Nutrition facts are estimates and will vary based on ingredients used. Please calculate for yourself if precise information is required.
If you choose to cook the beans without soaking them first, ensure they are thoroughly rinsed and picked through. Use 4 cups of chicken broth and pressure cook for at least 45 minutes.
IMPORTANT: Do not be tempted to double this recipe. When cooking items that expand, like dry beans, you should never fill your pressure cooker more than halfway to ensure safe operation and proper cooking.
Storing: Let the beans cool completely before transferring them to an airtight container. Refrigerate for up to 4 days.
Freezing: Place cooled beans in a freezer-safe container and freeze for up to 3 months. Thaw in the refrigerator overnight before reheating.
Nutrition
Serving: 8g | Calories: 217kcal | Carbohydrates: 21g | Protein: 10g | Fat: 10g | Saturated Fat: 3g | Cholesterol: 17mg | Sodium: 447mg | Potassium: 432mg | Fiber: 6g | Sugar: 3g | Vitamin A: 295IU | Vitamin C: 8.9mg | Calcium: 36mg | Iron: 1.5mg
