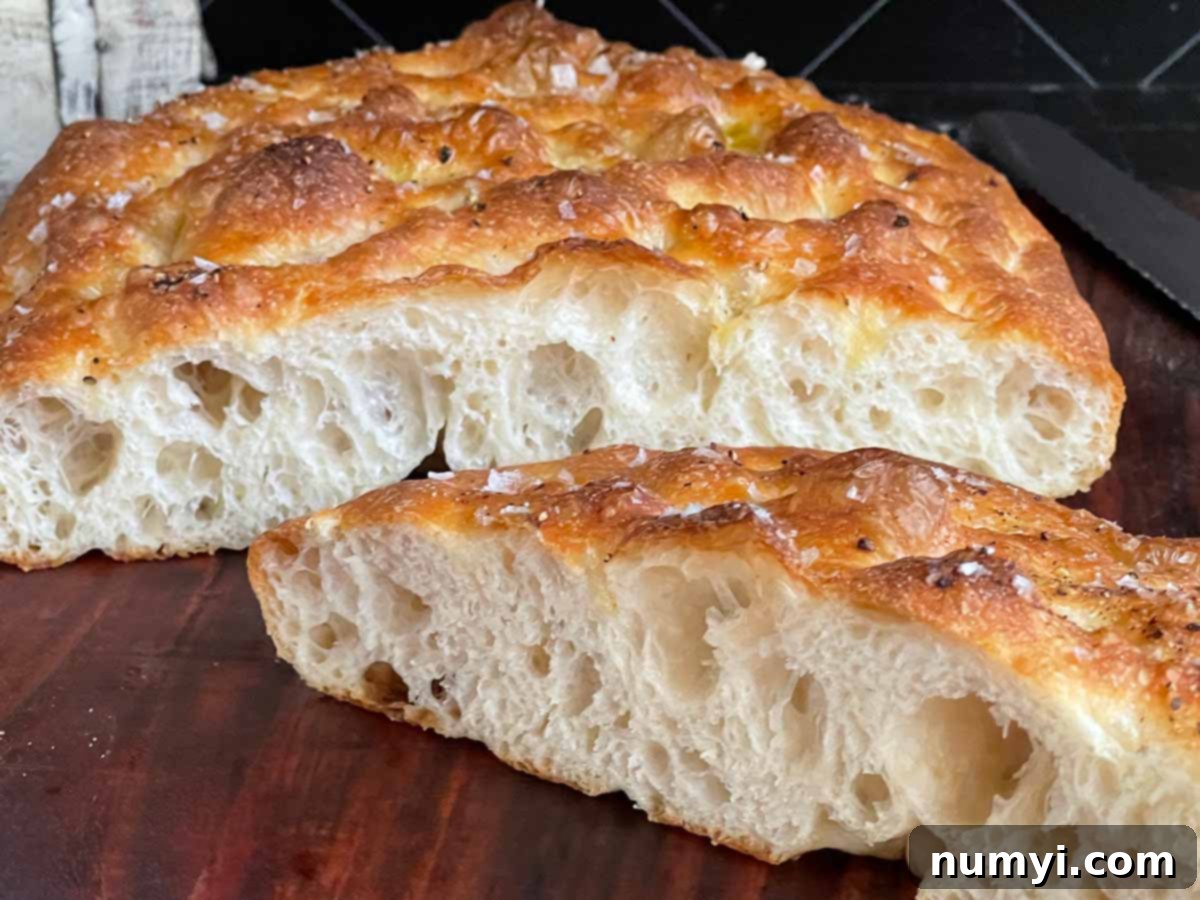
Easy No-Knead Overnight Focaccia Bread: Your Guide to Perfect Homemade Italian Delight
Imagine a bread so effortlessly simple to create, yet so remarkably flavorful that it instantly becomes a household favorite. This no-knead overnight focaccia bread is precisely that – a testament to how humble ingredients and a little patience can yield extraordinary results. While its preparation requires minimal effort, the rich, deeply satisfying taste and delightful texture of this focaccia often surprise even seasoned bakers. It’s an undeniable star, consistently earning its place as one of the most cherished homemade breads we’ve ever made.
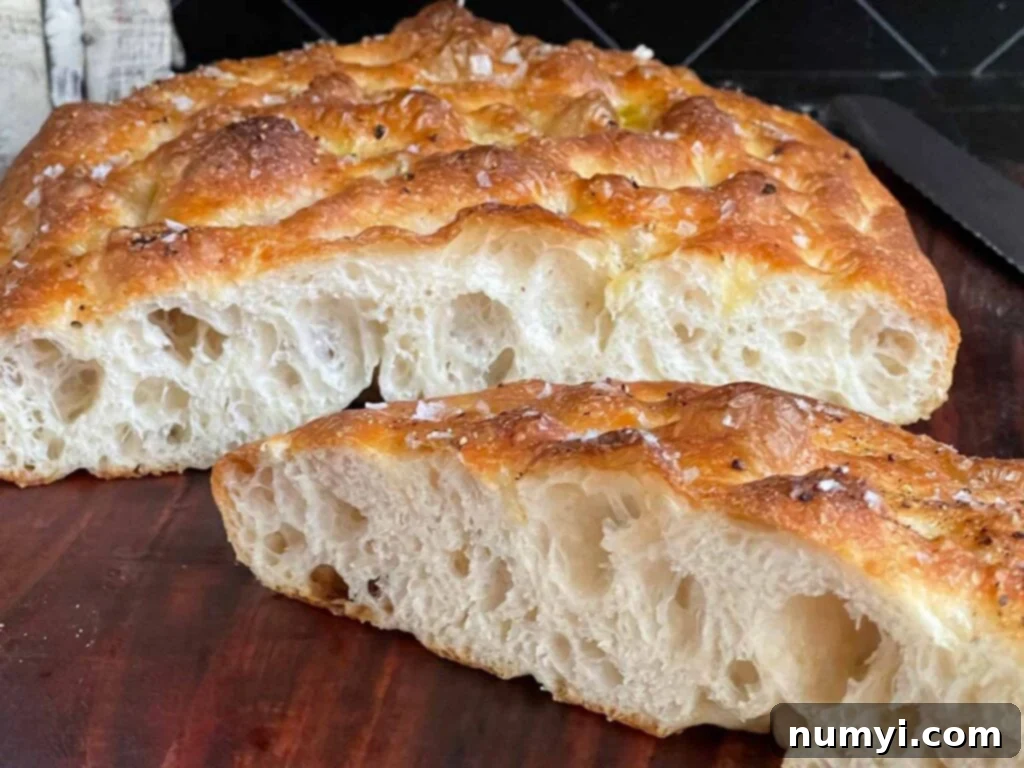
🤔 Why This No-Knead Focaccia Recipe Will Become Your Favorite
There’s a certain magic in turning a few pantry staples into something truly spectacular, and this focaccia bread embodies that magic. Using only simple ingredients, it produces a bread with a depth of flavor that rivals, and often surpasses, anything you’d find at a high-end restaurant or bakery. We are consistently amazed by how something so straightforward can deliver such an exquisite taste experience.
This focaccia truly stands out. While our regular sourdough bread has long held the top spot in our kitchen – a staple we bake weekly – this no-knead focaccia is a strong contender for its crown. Its unique profile and addictive qualities make it a tough competitor. It’s that good, and we believe you’ll agree once you taste it.
As with all our recipes, extensive testing is a fundamental part of our process. We experimented with various methods for this focaccia, including a one-day recipe and a two-day resting period, alongside countless topping variations. Our goal was to find the optimal combination that yielded the most flavorful and satisfying bread possible.
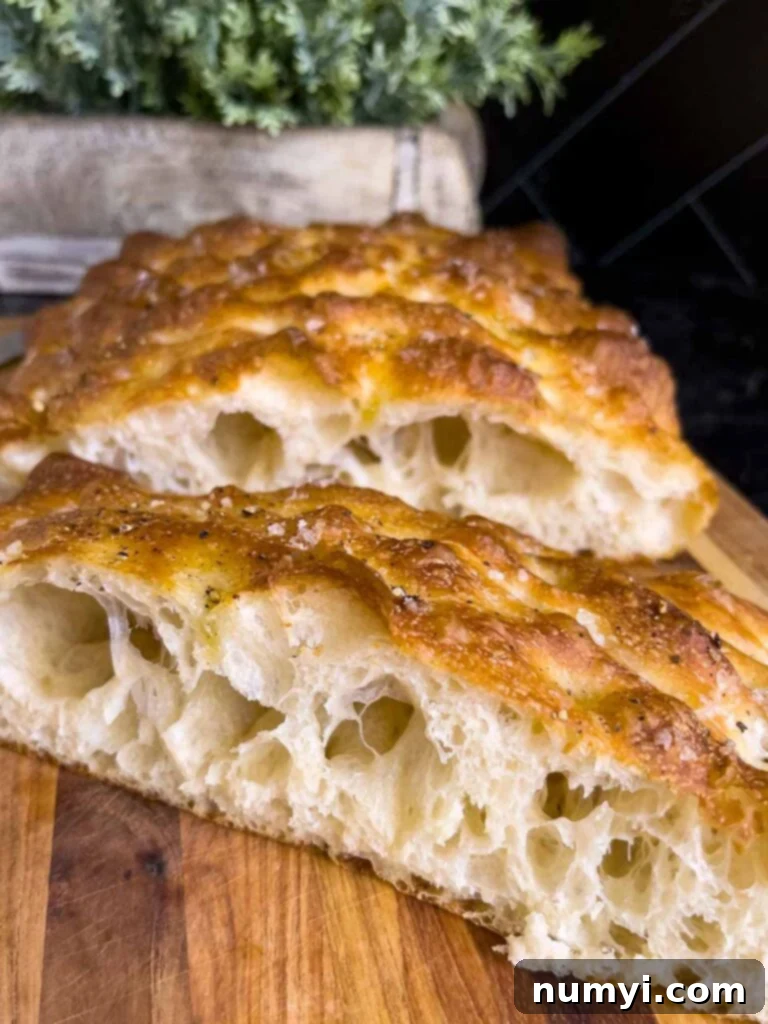
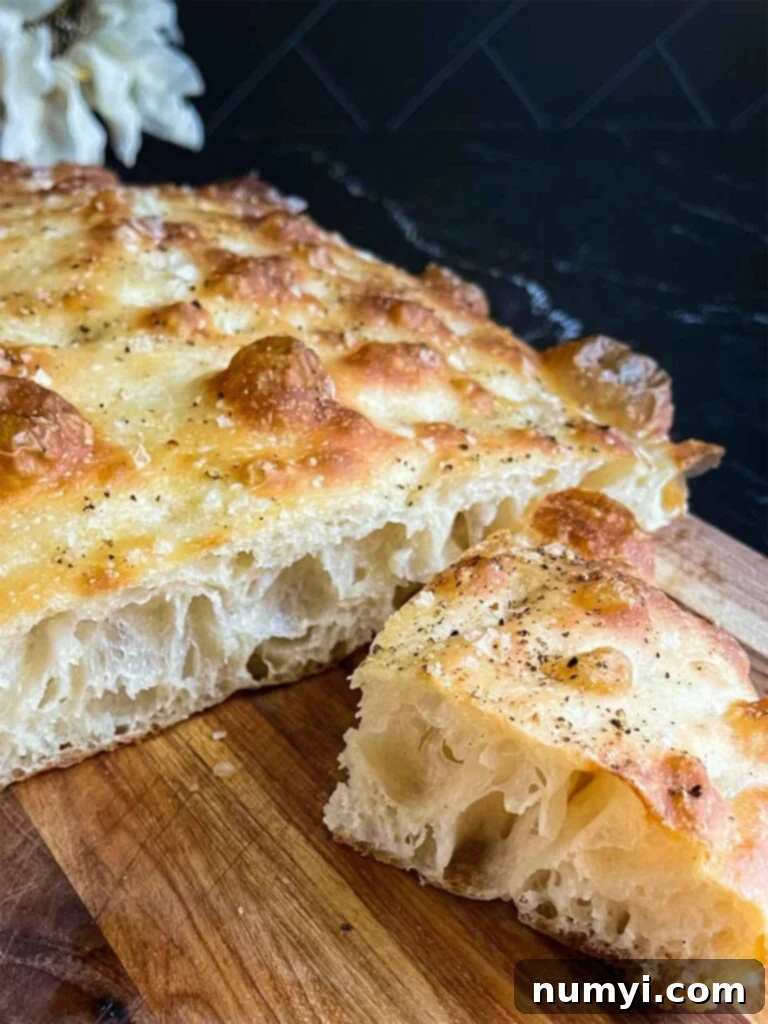
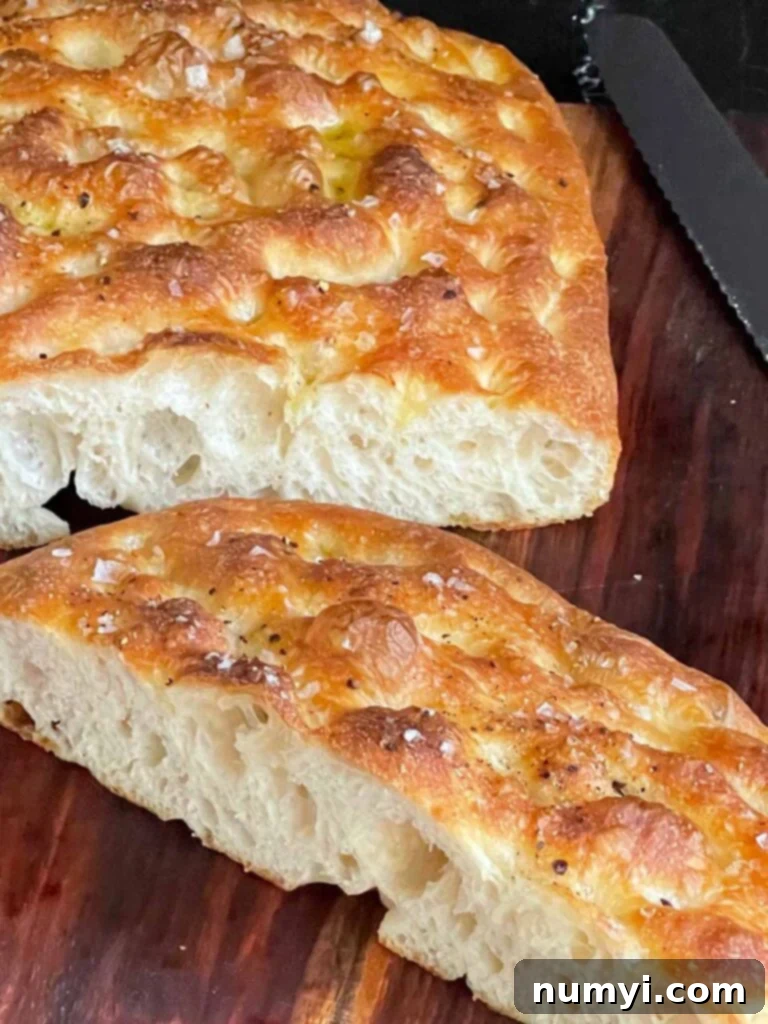
The result of our rigorous testing is this very recipe. It strikes all the right notes: an irresistibly crispy crust, a beautifully airy and tender crumb, and layers of rich flavor. Each bite offers a perfect harmony – the briny crunch of flaky sea salt, a hint of spice from cracked black pepper, and luscious pools of olive oil nestled within the characteristic dimples, all complemented by that wonderfully crusty bottom. It’s a sensory delight that makes it incredibly hard to stop at just one piece.
Truth be told, on its first bake, my family and I devoured three-quarters of the entire loaf in a single day. We’d take a bite, walk away for a few minutes, then find ourselves drawn back for more. This cycle repeated until there was barely anything left! Consider this a friendly warning: resisting this focaccia is a challenge, but it’s a challenge worth facing for the sheer pleasure of it. And honestly, we’re not sorry; it truly is that delicious. Sometimes, the simplest approach yields the most profound satisfaction, and that’s certainly our experience with this magnificent focaccia.
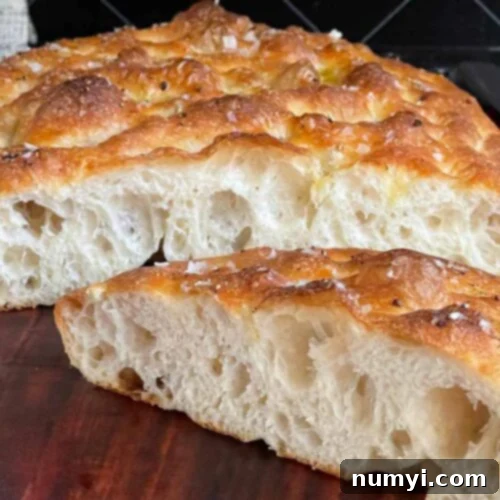
This bread delivers everything you could wish for in a homemade focaccia: a gorgeous golden-brown hue, an intensely flavorful profile, a delightfully crispy top and bottom crust, and an open, airy interior. Crowned simply with good olive oil, flaky sea salt, and freshly cracked black pepper, it’s a celebration of simplicity and taste. Plus, the best part? It’s incredibly easy to make! There’s no need for a stand mixer, no tedious kneading, and no complicated techniques. You’re going to absolutely adore baking and eating this focaccia!
👩🏽🍳 How To Make This Easy Overnight Focaccia Bread
You’ll be pleasantly surprised by how quickly and effortlessly this focaccia dough comes together. But we guarantee you’ll be even more astonished when you experience its incredible taste for the very first time! This recipe is designed to be forgiving and accessible, making it perfect for both novice and experienced bakers.
Initial Mixing & Hydration
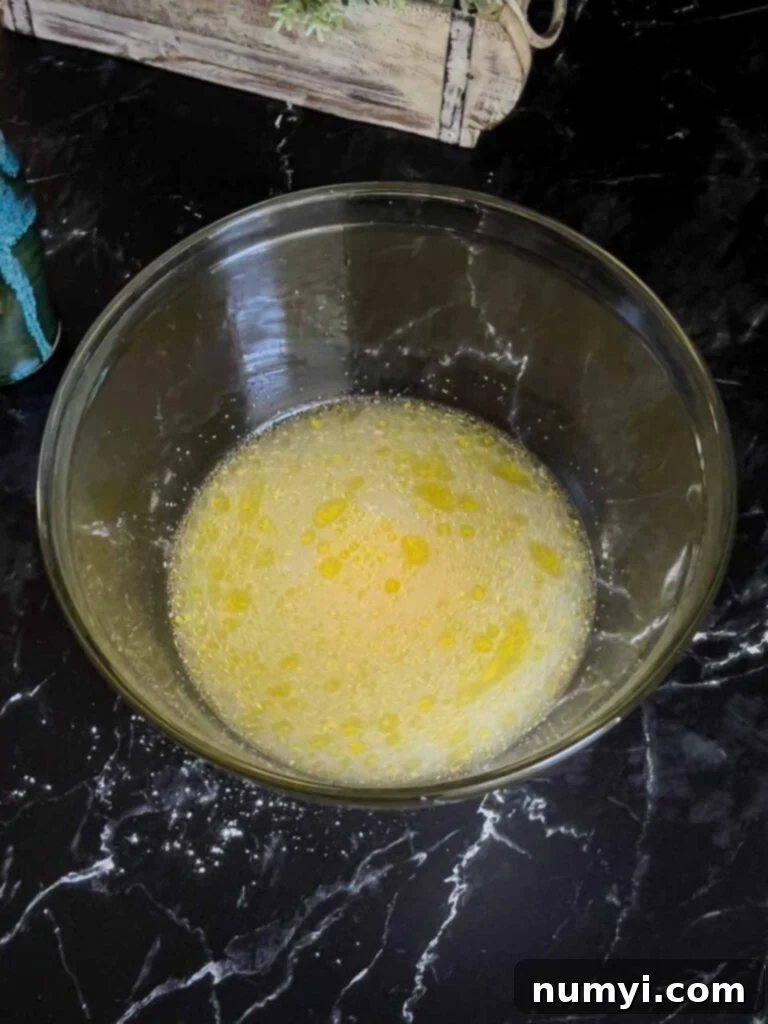
Begin by combining your wet ingredients in a large mixing bowl. Add the lukewarm water – ideally around 105-115°F (40-46°C) to optimally activate the yeast without killing it – along with the instant yeast, a generous tablespoon of olive oil, and a touch of honey. The honey serves as a food source for the yeast, encouraging vigorous activity and contributing to the bread’s subtle sweetness and golden crust. Give these a quick stir to ensure the yeast begins to dissolve and activate.
In a separate, medium-sized bowl, whisk together the bread flour and kosher salt. Keeping these dry ingredients separate initially helps ensure even distribution of salt, preventing it from inhibiting yeast activity if it were to come into direct contact in concentrated amounts.
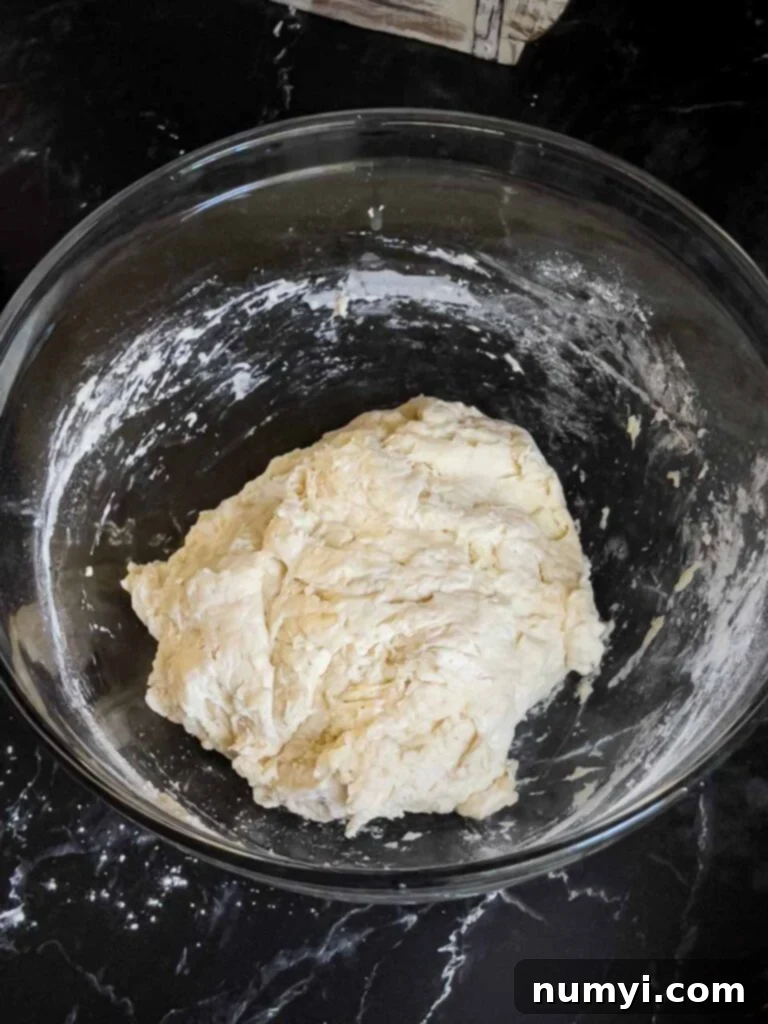
Once your dry ingredients are mixed, add them to the large bowl containing your water and yeast mixture. Use a sturdy rubber spatula or a large wooden spoon to gently incorporate everything. Mix until there’s no dry flour visible – a shaggy, somewhat sticky dough will form. Avoid overmixing at this stage; a light touch is all that’s needed.
Developing Gluten with Stretch & Folds
Cover the bowl loosely with a clean kitchen towel or plastic wrap and allow the dough to rest for 10 minutes. This short rest, known as autolyse, allows the flour to fully hydrate and gluten development to begin naturally, making the dough easier to work with.
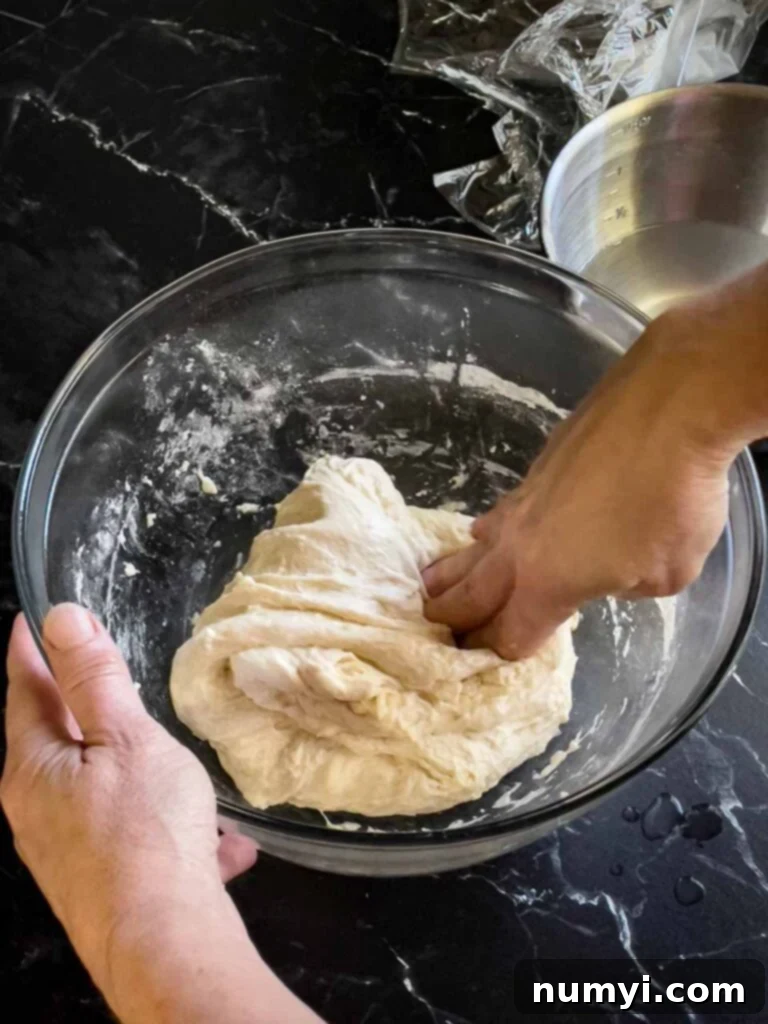
After the 10-minute rest, remove the cover. Lightly dampen your hands with water – this prevents the sticky dough from adhering to your fingers. Now, perform the first series of stretch and folds. Grab the dough at the 12 o’clock position, gently stretch it upwards, and then fold it over itself towards the 6 o’clock position. Turn the bowl a quarter turn (90 degrees) and repeat the stretch and fold. Continue this process, turning the bowl and stretching and folding the dough, until it becomes noticeably tighter and resists further stretching. This gentle action, without traditional kneading, effectively develops strong gluten strands, which are crucial for the focaccia’s characteristic airy crumb.
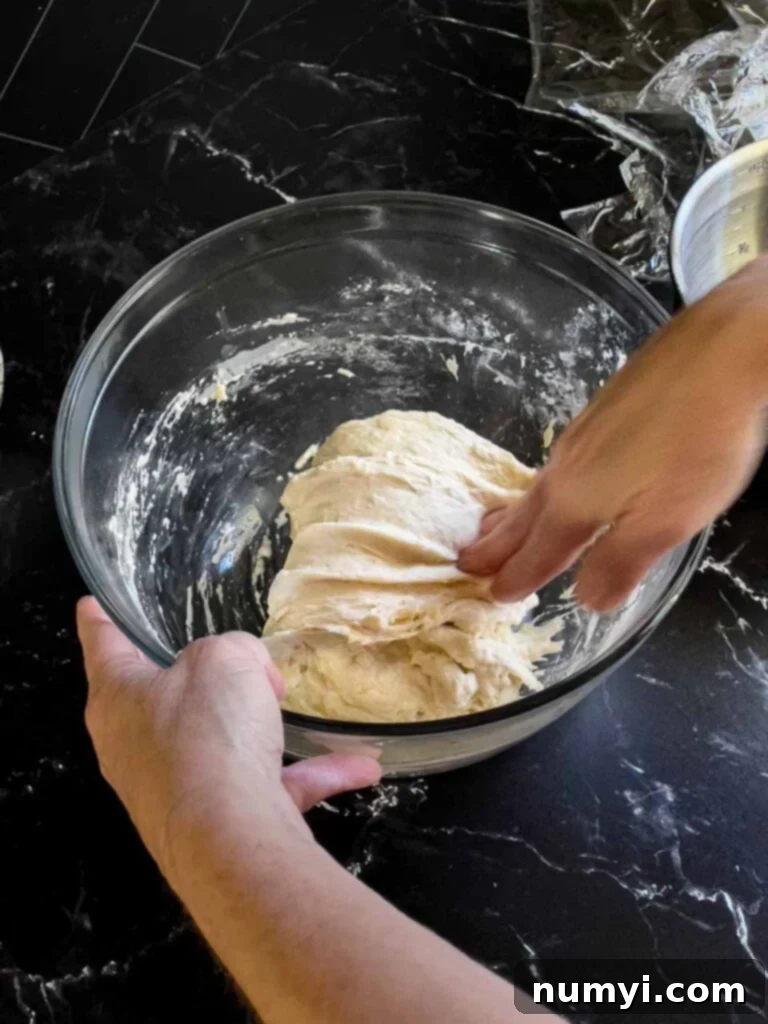
Cover the dough again and let it rest for another 10 minutes. This brief interlude allows the gluten to relax, making the dough more extensible for the next round of folds.
Repeat the entire stretch and fold process one more time. You’ll notice the dough becoming even smoother, more elastic, and tighter with each repetition. It should be significantly stronger and more cohesive after this second set of folds.
The Overnight Chill: Flavor Development
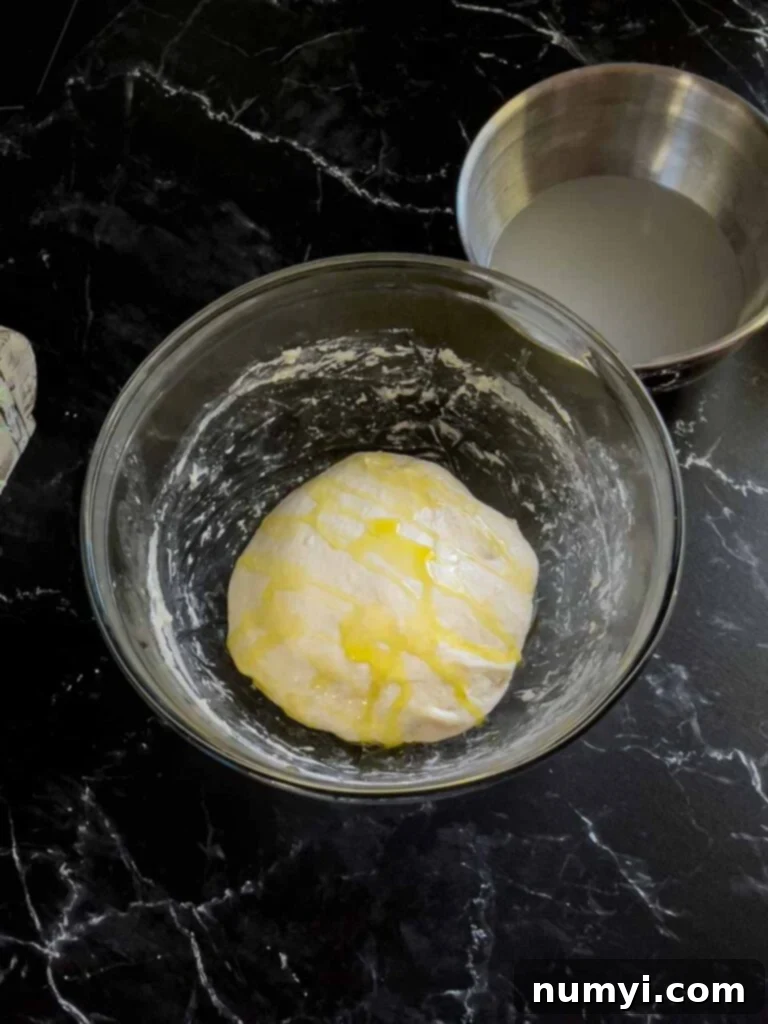
Once the second series of stretch and folds is complete, lightly dampen your hands again (you can use water or a little olive oil) and gently turn the dough over so the seam side is down. Liberally coat the entire surface of the dough with a good quality olive oil. This not only adds flavor but also prevents a skin from forming and keeps the dough pliable.
Cover the bowl tightly with plastic wrap. Ensure it’s sealed well to prevent the dough from drying out. Transfer the covered bowl to the refrigerator for a minimum of 24 hours. While 24 hours is great, allowing it to rest for up to 48 hours can further enhance the depth of flavor. This slow, cold fermentation is key to developing the complex, nuanced taste that makes this focaccia truly exceptional.
Baking Day: From Fridge to Fantastic
On baking day, remove the dough from the refrigerator. Prepare a 9×13 inch baking sheet by pouring a little olive oil onto it and spreading it evenly across the bottom. Lay a sheet of parchment paper over the oiled surface; this makes removal easier and ensures a perfect crust. Drizzle an additional 3 tablespoons of olive oil generously over the parchment paper.
Carefully transfer the cold focaccia dough onto the prepared baking sheet. Flip the dough once to ensure both sides are coated in the olive oil. This extra oil is vital for achieving that desirable crispy bottom and flavorful crust.
Lightly oil your fingertips with olive oil and gently spread the dough across the pan. It might resist a little at first, but don’t force it. Aim for a roughly even appearance, allowing it to relax naturally.
Cover the baking sheet (you don’t need to tightly seal it, a loose cover or even leaving it uncovered is fine due to the oil coating) and let the dough rise in a warm spot for at least two hours. During this final rise, the dough will awaken, expand significantly, and become light and airy. It should double in size, become pleasantly jiggly, and feel beautifully fluffy when gently touched.
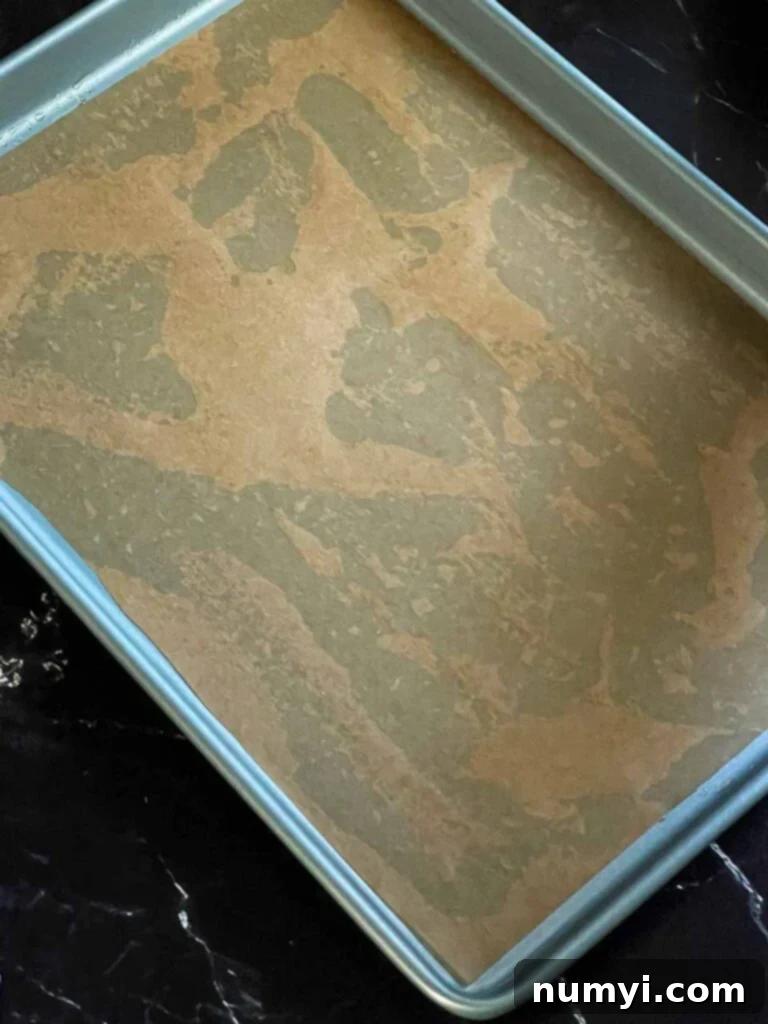
As the two-hour mark approaches, preheat your oven to 430 degrees Fahrenheit (220°C). A hot oven is crucial for creating that beautiful golden crust and soft interior.
Dimpling & Toppings
Once the dough has completed its final rise and the oven is preheated, it’s time for the signature focaccia dimples. Oil your hands again and gently press your fingertips deep into the top of the dough, all the way down to the baking sheet. Create an array of dimples across the entire surface. As you do this, gently coax the dough to fully fill the baking sheet, if it hasn’t already. These dimples aren’t just for aesthetics; they create pockets for the olive oil and toppings, ensuring every bite is bursting with flavor.
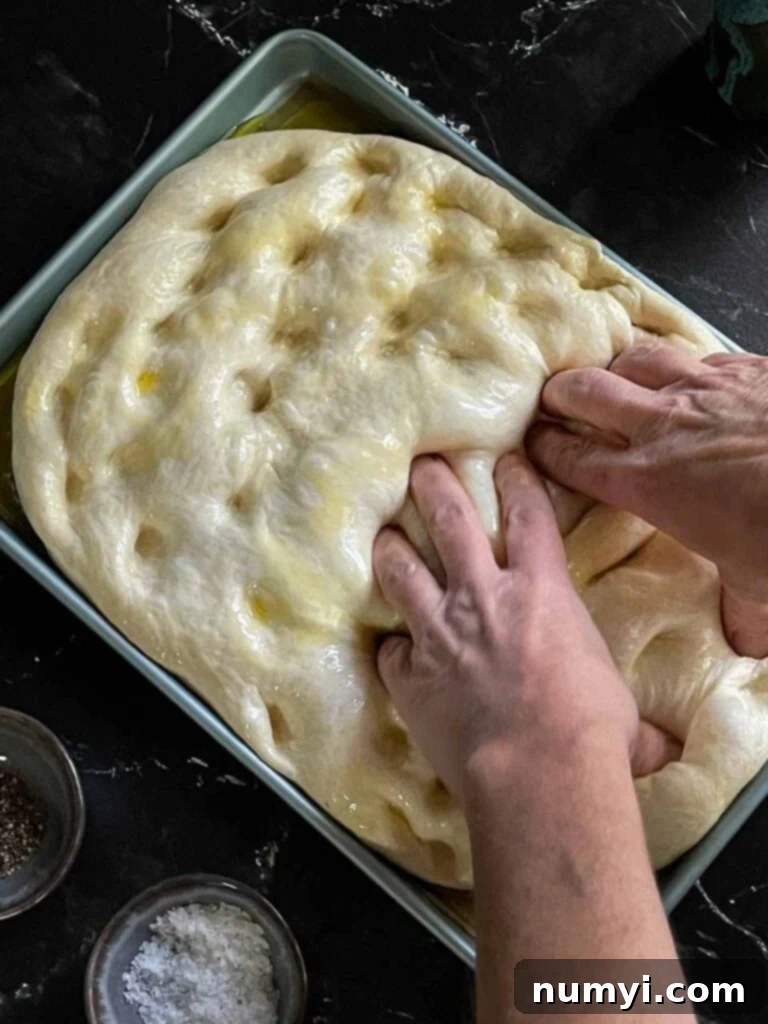
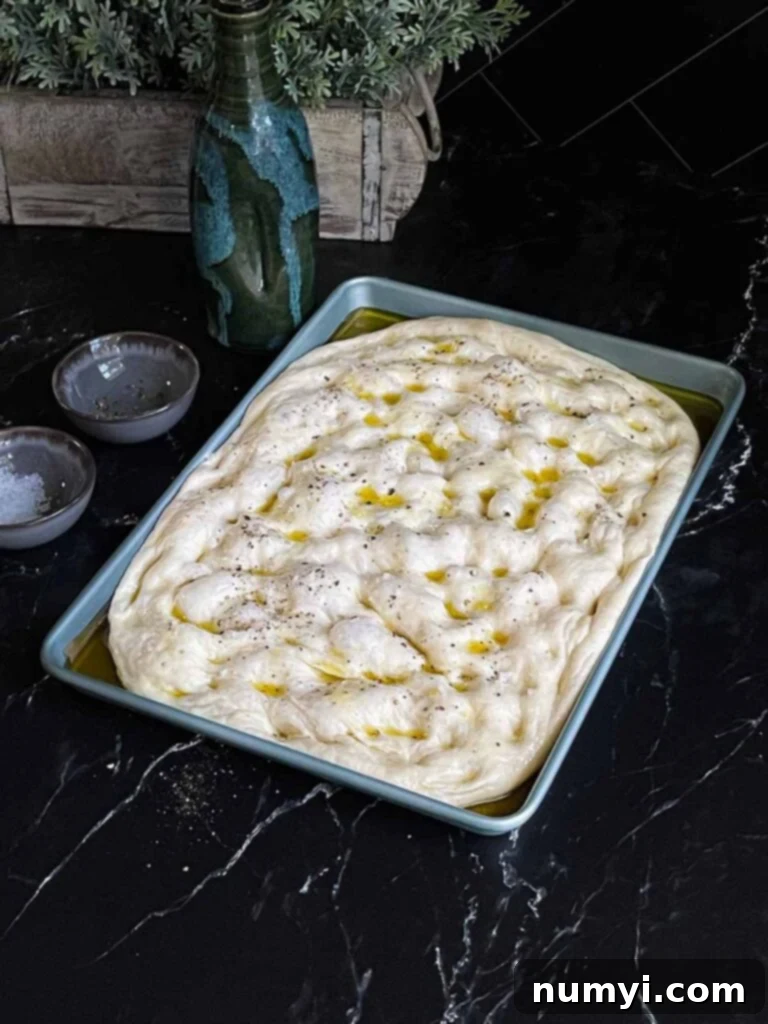
Now for the finishing touches: liberally drizzle additional olive oil over the dimpled dough. Don’t be shy! Sprinkle generously with flaky sea salt (Maldon salt is fantastic here) and freshly cracked black pepper. This simple topping allows the natural flavors of the bread to shine through beautifully.
Baking & Cooling
Place the baking sheet into the preheated oven and bake for approximately 20 minutes, or until the top is beautifully golden brown and the crust is crisp. Keep an eye on it, as oven temperatures can vary.
Once baked to perfection, remove the focaccia from the oven. Allow it to cool in the pan for about 5 minutes. This brief rest helps it set and makes it easier to handle.
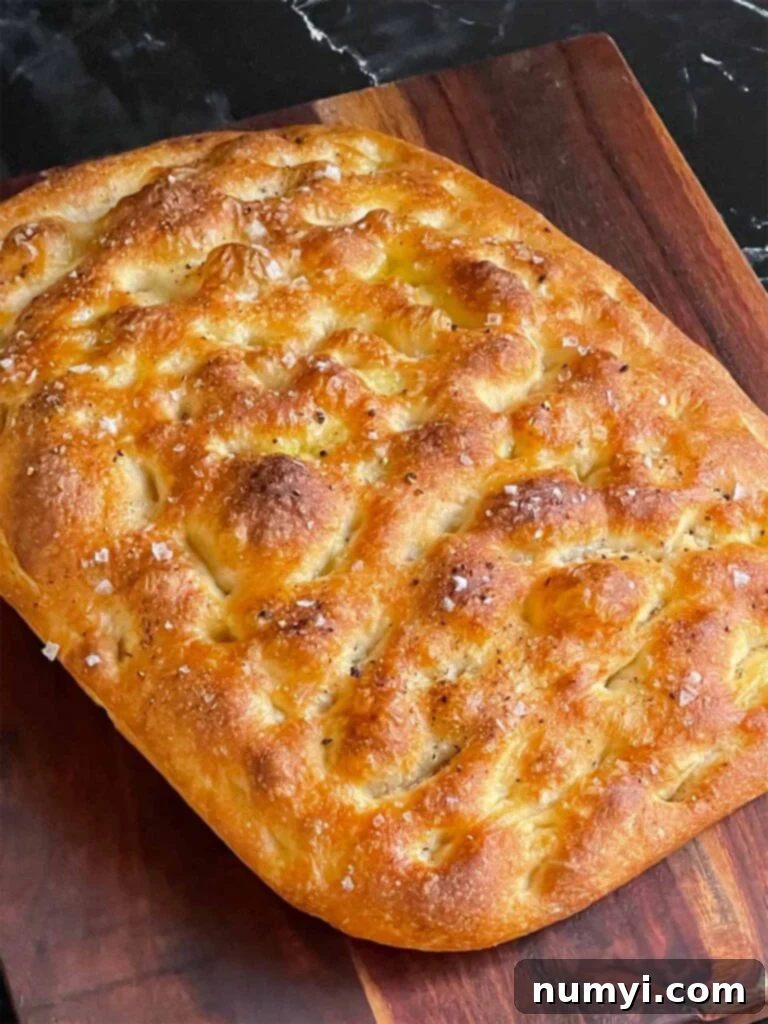
After 5 minutes, carefully transfer the focaccia from the pan (using the parchment paper to lift it) to a wire cooling rack. Allow it to cool for an additional 15 minutes before slicing and serving. This cooling period is crucial for the bread’s internal structure to stabilize, resulting in the best possible texture and flavor.
Slice it up however you like – into long strips, squares for dipping, or larger pieces perfect for sandwiches. Or, take our advice: cut it into bite-sized portions, dip this incredible bread into a small bowl of high-quality olive oil, and enjoy every single morsel right there in your kitchen. However you choose to serve it, you will be absolutely amazed by the delightful texture and the unparalleled deliciousness of this easy, no-knead overnight focaccia bread. It’s a true culinary triumph!
😎 Endless Variations for Your No-Knead Focaccia
Our go-to recipe for this focaccia celebrates simplicity, featuring a topping of flaky sea salt and cracked black pepper. Our absolute favorite way to savor this incredibly flavorful bread is by tearing off a piece and dipping it into a small bowl of high-quality olive oil infused with red pepper flakes, extra black pepper, and a medley of fresh herbs. This method truly highlights the bread’s inherent deliciousness.
However, the beauty of focaccia lies in its versatility. This excellent base bread can be adorned with an endless array of toppings to suit any palate or occasion. Don’t hesitate to get creative once you’ve tried the classic version! Here are some fantastic ideas to inspire you:
- **Herbaceous Delights:** For an aromatic and deeply fragrant focaccia, sprinkle generously with additional fresh herbs before baking. Think fragrant rosemary, earthy oregano, sweet basil, or a mix of all three. The heat of the oven will release their essential oils, infusing the bread with incredible aroma and flavor.
- **Cheesy Goodness:** Elevate your focaccia with a layer of cheese. Grated Romano, crumbled Feta, or sharp Parmesan are all superb choices. For the ultimate indulgence, why not combine them all for a multi-layered cheese experience? The melted cheese adds a savory, salty dimension and a wonderful texture.
- **Savory Mediterranean Toppings:** Create a truly savory focaccia by adding sliced olives (kalamata or green), thinly sliced red onions, or even sun-dried tomatoes. These additions bring a delightful tang and umami to the bread.
- **Meat Lover’s Dream:** For a heartier focaccia, consider adding thinly sliced deli meats like spicy hard salami, classic pepperoni, or zesty capicola before baking. Even better, bake the plain or herb-topped focaccia and then pile it high with a selection of Italian meats and cheeses to create an epic sandwich.
The possibilities are truly limitless with this versatile bread. We highly recommend making it as-is for your very first time. This allows you to fully appreciate the wonderful simplicity of this no-knead focaccia with just olive oil, salt, and pepper. It’s a fantastic experience in itself, and once you’ve tasted its perfection, you’ll feel more confident experimenting with your favorite flavor combinations.
FAQ About No-Knead Overnight Focaccia
Plain focaccia will be good for two days at room temperature if well wrapped. If the focaccia contains meat or dairy, it’s recommended to store it in the refrigerator for up to four days.
Yes. Place the room temperature focaccia bread in a freezer-safe container or zip-lock and freeze for up to 2 months.
Yes. To reheat, allow it to come to room temperature, then reheat at 375 degrees F until hot and crispy.
Other Amazing Bread Recipes You’ll Love
Sourdough Bread Recipe
Italian Bread Recipe
Quick And Easy White Bread Recipe
Easy No Knead Overnight Focaccia Bread Recipe
Print
Pin
Rate
Ingredients
- 3 cup Bread flour plus 2 tbsp (423 grams)
- 1 1/2 cup Water lukewarm (344 grams)
- 1 tbsp Olive oil
- 2 tsp Kosher salt (10 grams)
- 1 tsp Instant yeast (4 grams)
- 1 tsp Honey (5 grams)
Instructions
-
In a large bowl, mix the water, yeast, olive oil, and honey until combined.1 1/2 cup Water, 1 tbsp Olive oil, 1 tsp Instant yeast, 1 tsp Honey
-
Whisk the flour and salt together in a separate bowl.3 cup Bread flour, 2 tsp Kosher salt
-
Add the flour and salt to the large bowl containing the water and yeast mixture.
-
Mix with a large spoon or spatula until well combined and no dry flour remains.
-
Cover with a cloth or plastic wrap and allow it to rest for 10 minutes.
First Stretch And Fold
-
After 10 minutes, remove the covering from the bowl. Wet your hand and stretch and fold the dough over on itself. Turn the bowl 1/4 turn and stretch and fold again. Continue to turn the bowl a 1/4 turn and stretch and fold until the dough tightens up and will no longer stretch.
-
Cover and let the dough rest for 10 minutes.
Second Stretch And Fold
-
Repeat the stretch and fold steps. Continue until the dough tightens up and will not stretch anymore.
-
Dampen your hands (with water or oil) and turn the dough seam side down. Cover liberally with olive oil.
-
Cover the bowl tightly with plastic wrap and place in the refrigerator overnight to 48 hours. A longer rest period will increase the flavor.
The Next Day
-
Pour a little olive oil down on a 9×13 baking sheet. Spread it around so it’s evenly coated.
-
Add parchment paper to the baking sheet.
-
Add an additional 3 tbsp of olive oil on top of the parchment paper.
-
Place the focaccia dough onto the baking sheet. Flip the dough over so that each side of the dough is coated in oil.
-
Oil your hands with olive oil and using your fingertips and spread the dough out a bit so it has a roughly even appearance.
-
Cover the dough and allow it to rest for two hours.
-
When the dough is ready it should be fluffy and jiggles when you shake the baking sheet.
-
Preheat the oven to 430 degrees Fahrenheit.
-
Oil your hands and press your fingers into the dough, down to the baking dish, creating dimples in the dough. While doing this, shape the dough to the shape of the baking sheet.
-
Top the dough with a liberal amount of olive oil, cracked black pepper, and flaky salt (maldon salt). Optionally, add additional toppings such as red pepper flakes, rosemary, olives, etc.
-
Bake for approximately 20 minutes until golden brown on the top.
-
Remove from the oven and allow the focaccia to cool in the pan for 5 minutes.
-
Remove the focaccia from the pan to a cooling rack. Allow it to cool for approximately 15 minutes before serving.
Notes
Measuring – Weighing your ingredients is best. But we have made this bread both ways. Be sure if using measuring cups to aerate, spoon, and swoop level the flour.
Dough – There is no need to cover the dough while rising in the pan. There should be plenty of olive oil on the surface to keep it from drying out. We’ve covered the dough with plastic wrap and it tends to stick.
